DIY Transfer Paper
Hi, I’m Gina! I’m a blogger and crafter and you may know me from my blog, The Shabby Creek Cottage. This week, I’m sharing a pretty simple project for making our own DIY Transfer paper for an InkJet Printer. You are going to love this simple easy technique that uses Freezer Paper! {I love this awesome technique!} I started with this table runner (you can learn how to make it over at my blog, you can find the link at the bottom of this post for that.) You could make one too … or a store bought one is also fine. Ikea can be a great resource for simple linens that are inexpensive, so keep that in mind.
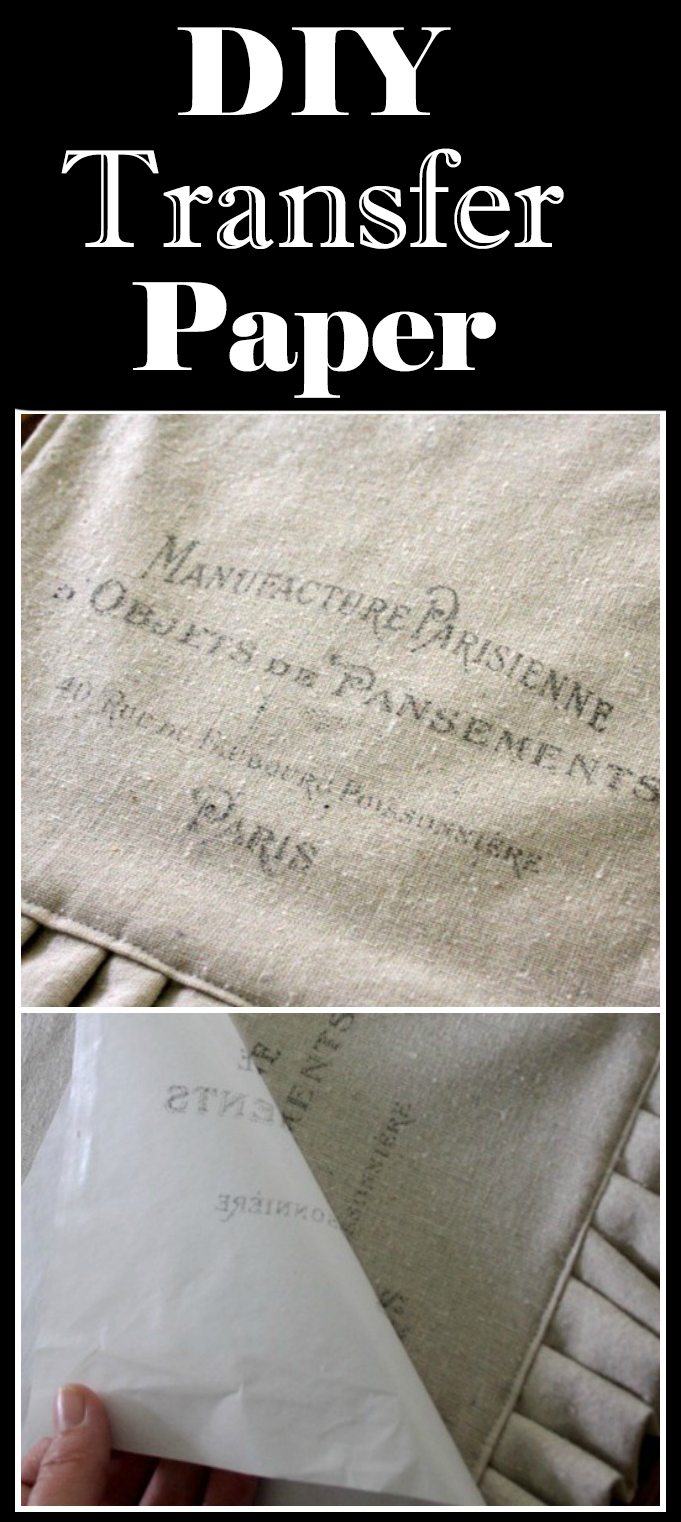
Of course you don’t have to make a runner, this technique will work with any fabric project. Just keep in mind that the ink won’t be washable so make sure you use it on decorative projects only and not on wearables. Throw pillows, fabric ornaments or soft Junk Journal covers would all be great uses for this technique too.
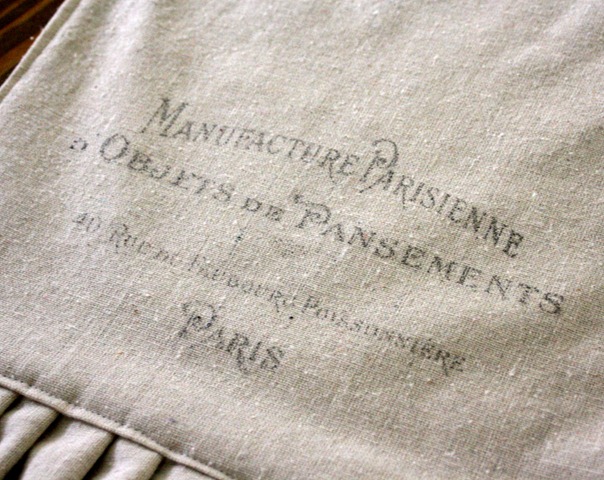
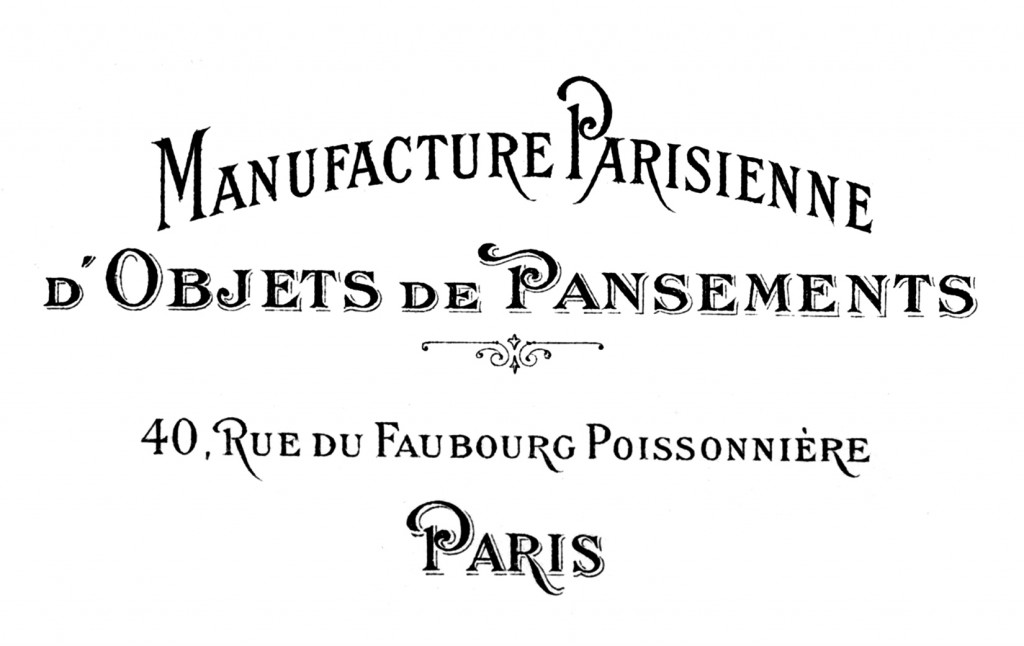
I used a French Transfer, which you can find at the bottom of this post) for this project but you can use any graphics or artwork that you like.
DIY Transfer Paper Step by Step Tutorial
Supplies:
Table Runner or other Fabric Project
Image of choice (find the transfer that I used in this project, at the bottom of the post)
Inkjet Printer
Scissors
Cardstock
Please Note: I have not tried this with Laser Printers so I do not know if it would work or not, I would be concerned that it might damage that type of printer
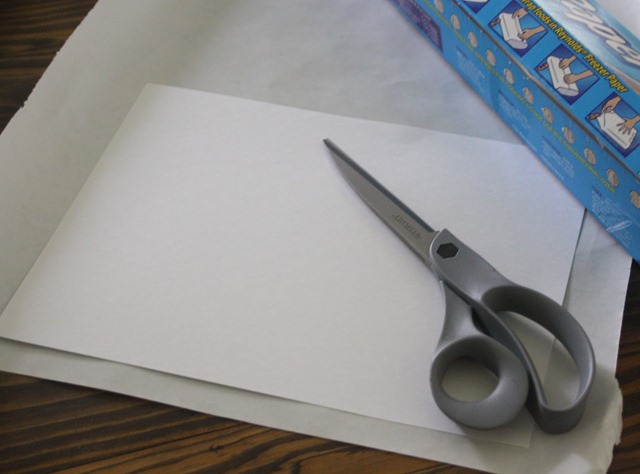
Step 1: First you need to cut your freezer paper to the size of a sheet of paper. I had cardstock on hand, so I used it as a template and cut with scissors. You could also use a mat and cut it 8 1/2 x 11. Either way works great.
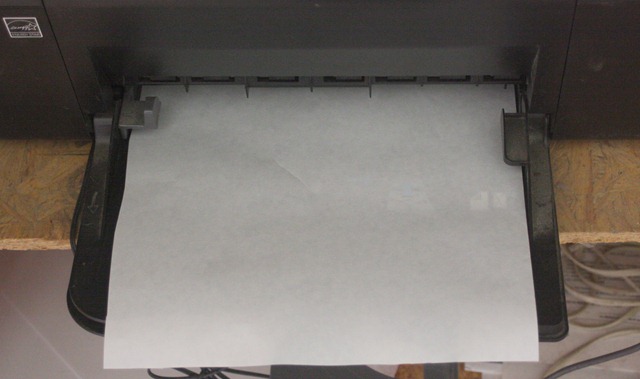
Step 2: Now put the cut piece of freezer paper in your home printer – you’ll want it so that the plastic side will receive the ink. {Please excuse my messy cabinet!} Make sure you stay close to your printer so that you can guide it through.
Step 3: If you are using an image with text or Typography on it then print your image in reverse, and be careful not to touch the ink. It will stay wet until the next step and you don’t want it to smudge.
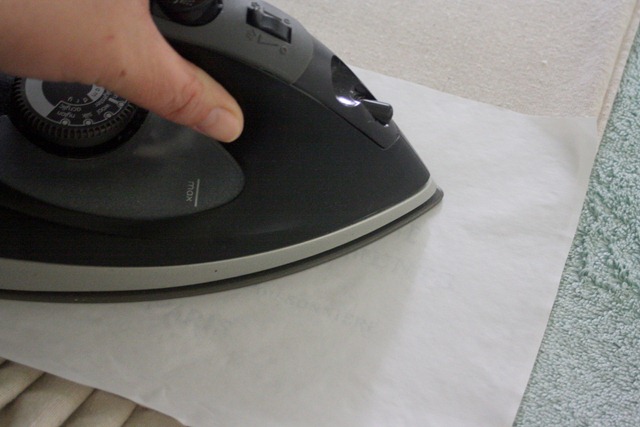
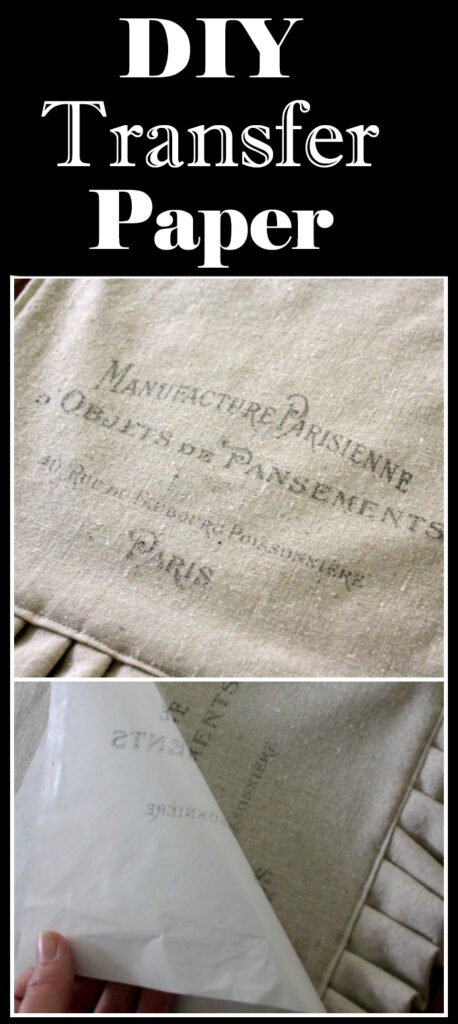
Step 4: Carefully lay the printout down on the fabric where you want the graphic and iron it down with your household iron. Make sure your iron is set on NO steam. I ironed about 60 seconds, just to make sure that everything was in place.
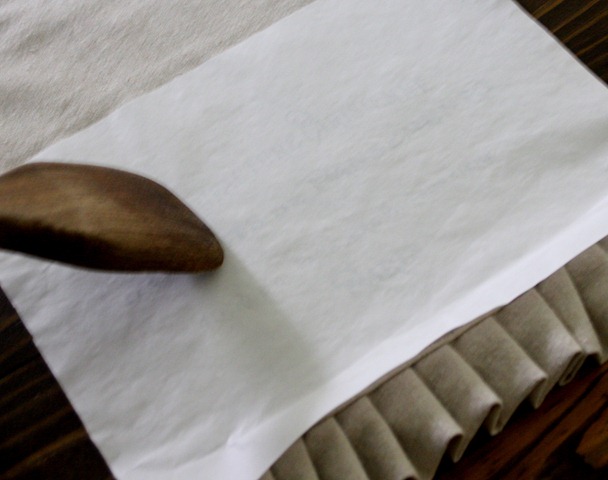
Step 5: After you’ve ironed it down, put the runner on a hard surface (like a table) and use something to burnish down the paper even more. (I used a wooden spoon for this) I did it with and without this step – it really does make a big difference! Just rub, rub, rub and make sure that you’ve went over all of the graphic.
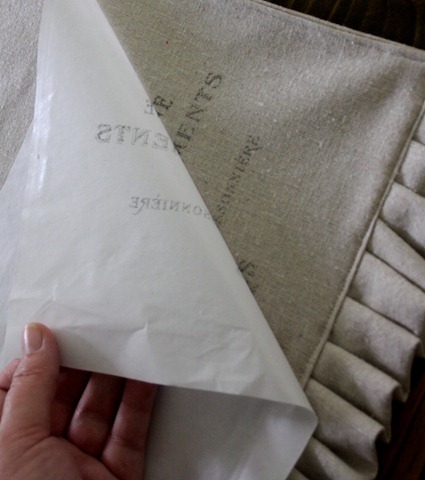
Step 6: Then peel off the paper – and you are done! It’s like magic! The ironing makes the paper grab to the fabric, so it will be a bit like peeling off tape.




Isabelle says
merci Gina pour tes idées merveilleuses ! J’ai enfin fini par trouver ce fameux papier (j’habite en France) sur Amazon. Je vais pouvoir tester et j’ai hâte d’essayer.
Saba Musharrif says
Hey Gina!
Thank you for this lovely tutorial. I was wondering whether the print is permanent. Does it wash off?
sillsuthcork says
Freezer paper is not sold here,(Ireland) nor are there quilt shops – so what would be the equivalent or alternative for this product please?
Karen Watson says
You could always use Iron on Transfer Paper. Or maybe you could buy Freezer Paper online? Have you tried Amazon?
Ada says
Thank you
Kellie says
I am so excited to try this!! Thank you for sharing!
RanRan says
Check your printer options. You might have to push a few buttons to find them. My current “mirror image” option is under “Layout.” Some word processing programs give you that option, as well.
Linda Wohlford says
If I want to use my own word image. How do you get it to print in reverse? Thanks so much. Love your work, You are so dedicated to your site!! Thank you.
k r Munro says
what a great idea. Would allowing image to dry and then misting fabric with hairspray first work? I’ve been looking up transfer methods all morning and hairspray features quite a lot. I am off to try transfer method with freezer paper and wood…
also think that coating surface with watered down pva or modge podge and allowed to dry would solve this problem as it is used to transfer images direct from paper.
Pat Smeback says
Love this idea! Question I haven’t seen addressed: You mention that the ink will stay wet until placed on the fabric. Have you had problems with incorrect positioning? I don’t want to put it down and think, aw, it’s crooked” and then not be able to move it because some ink has already soaked in. Has anyone had an issue with this? Thanks for the lovely idea!
tze ching yeung says
So, who can tell me how i can make non-water fast ink permanent on fabric ? Thanks.
Anthrounit says
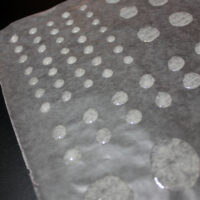
I was printing on my Epson Artisan 810 with a sheet of freezer paper I cut to fit in it and the image always comes out with the ink beading up on the paper like its using to much or something. Ive been testing this out on different printer settings for paper type and Ive noticed some differences but anyone care to share how they are printing or if they are printing pictures and not just text? I specifically want to know what paper type your selecting and quality of the photo the size, right now any info would be helpful. So far the tests ive done with the images ive ironed on look about the same as when they are fresh out of the printer..
TxDisneyFan says
Did you figure out what to do? I have the same printer. I thought it looked pretty good transferred onto a t-shirt (it did look faded- but to me that made it look kind of vintage). However, today when I touched the image on the shirt, the ink came off onto my hand! 🙁
Anonymous says
For some reason, when I print onto my Freezer paper, the ink fades away as it dries so that my image is hardly visible. Does anyone know what would be causing this and how I can fix it?
Linda M says
I did everything the tutorial said, transferring it to painters cloth, etc., but the image was so faint that I could barely see it. I burnished on a hard surface, I ironed it non-steam. Any idea how to get the image darker?
Anonymous says
Will color ink transfer or only black ink?
Kudzu says
wow, thanks for the great tutorials!
kudzu