DIY Twig Frame
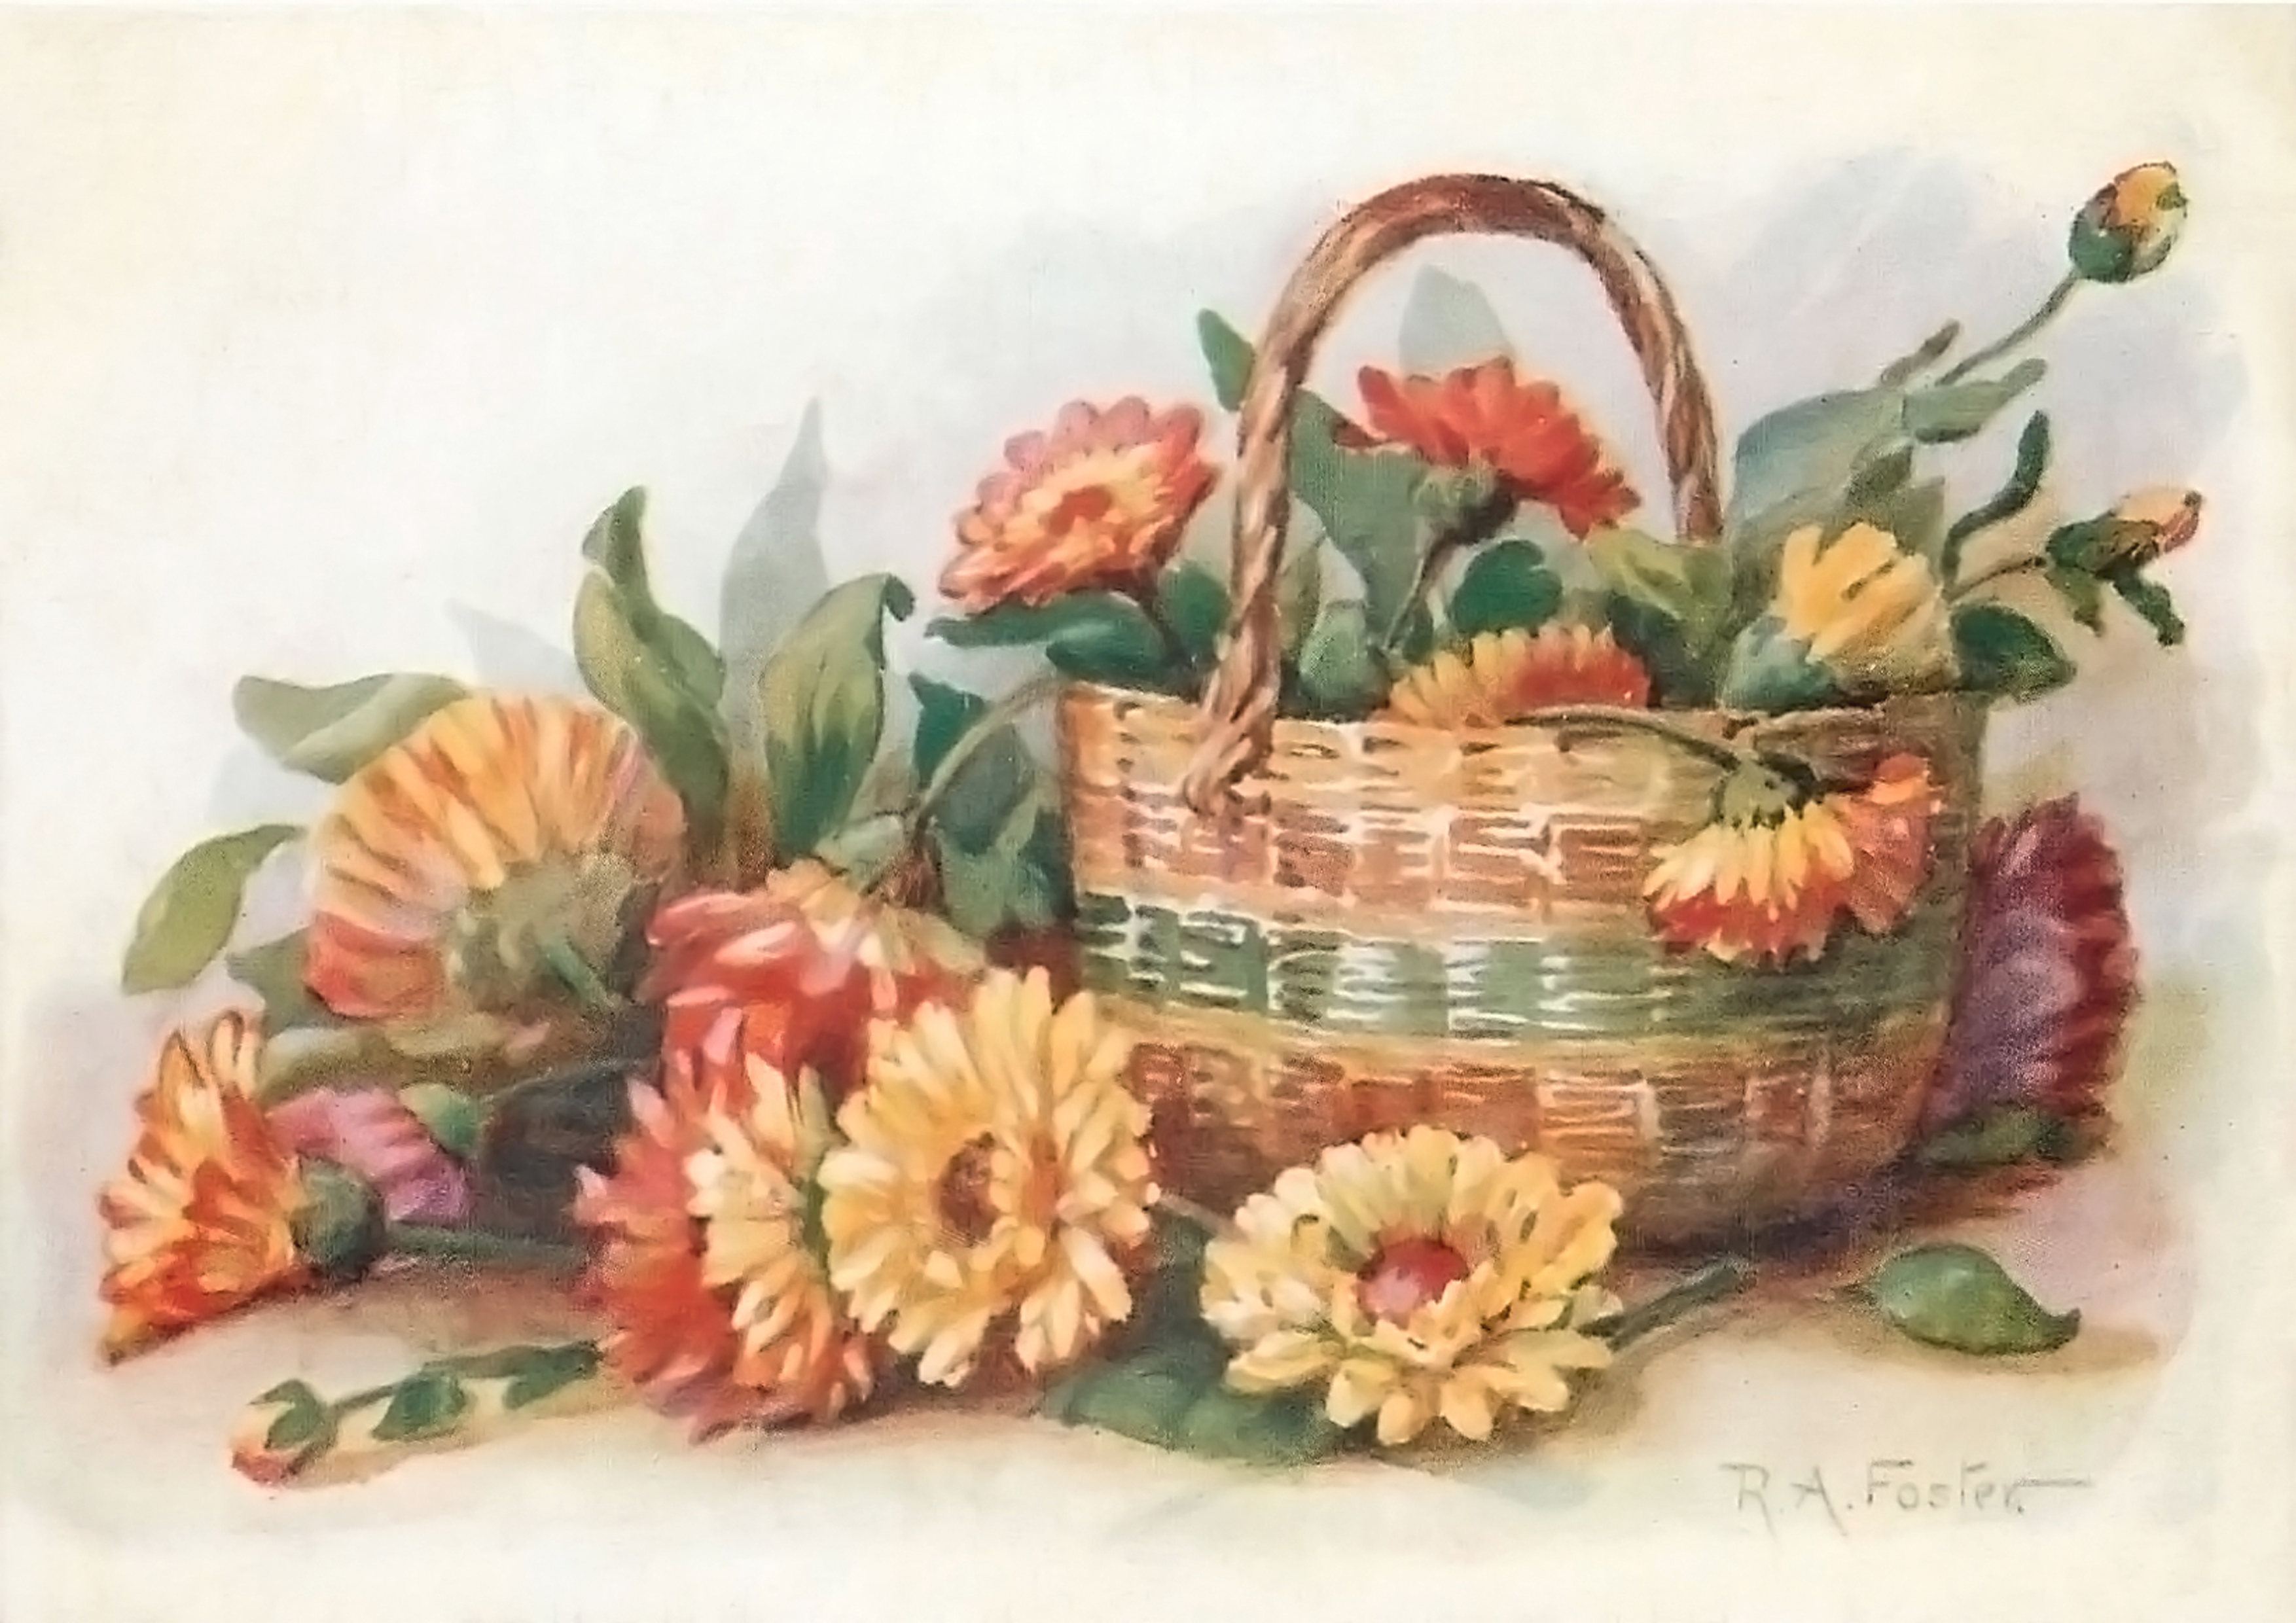
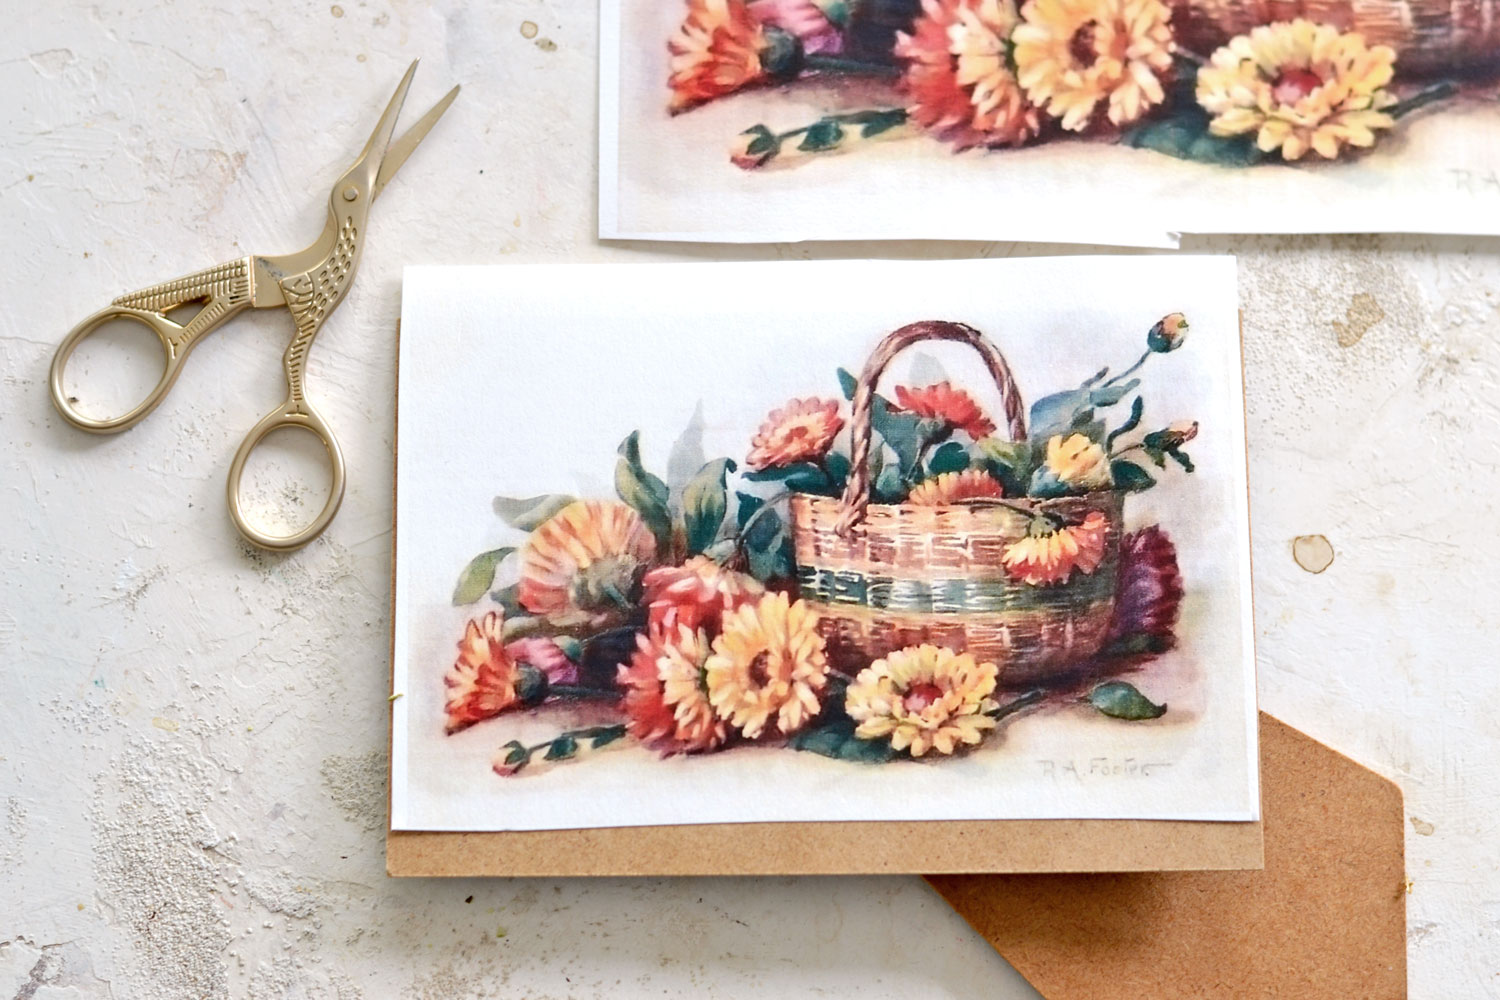
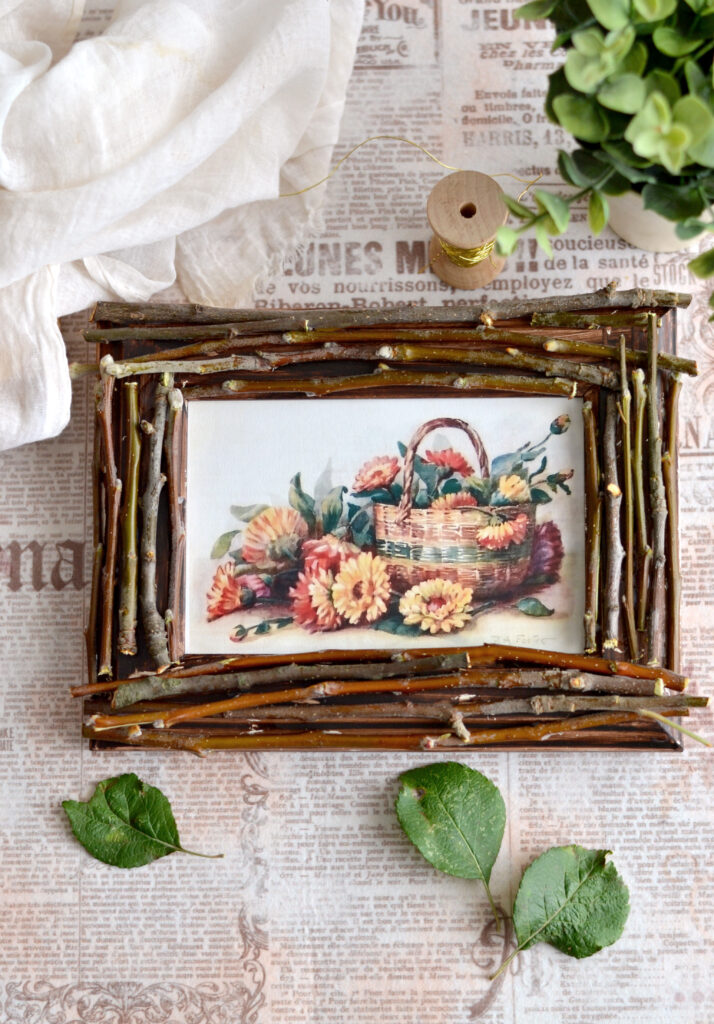
Hello Graphics Fairy friends! I’m Diana from Dreams Factory and I’m happy to be here again to share another DIY project with you! Today we are bringing a little bit of nature indoors while creating this lovely DIY Twig Frame with a vintage vibe! We will be experimenting with a selection of glues for this project, you will see that some will work better than the others for this handmade rustic frame. But if you want to keep this project fuss-free and really cut down on the execution time, you could also use a hot glue gun!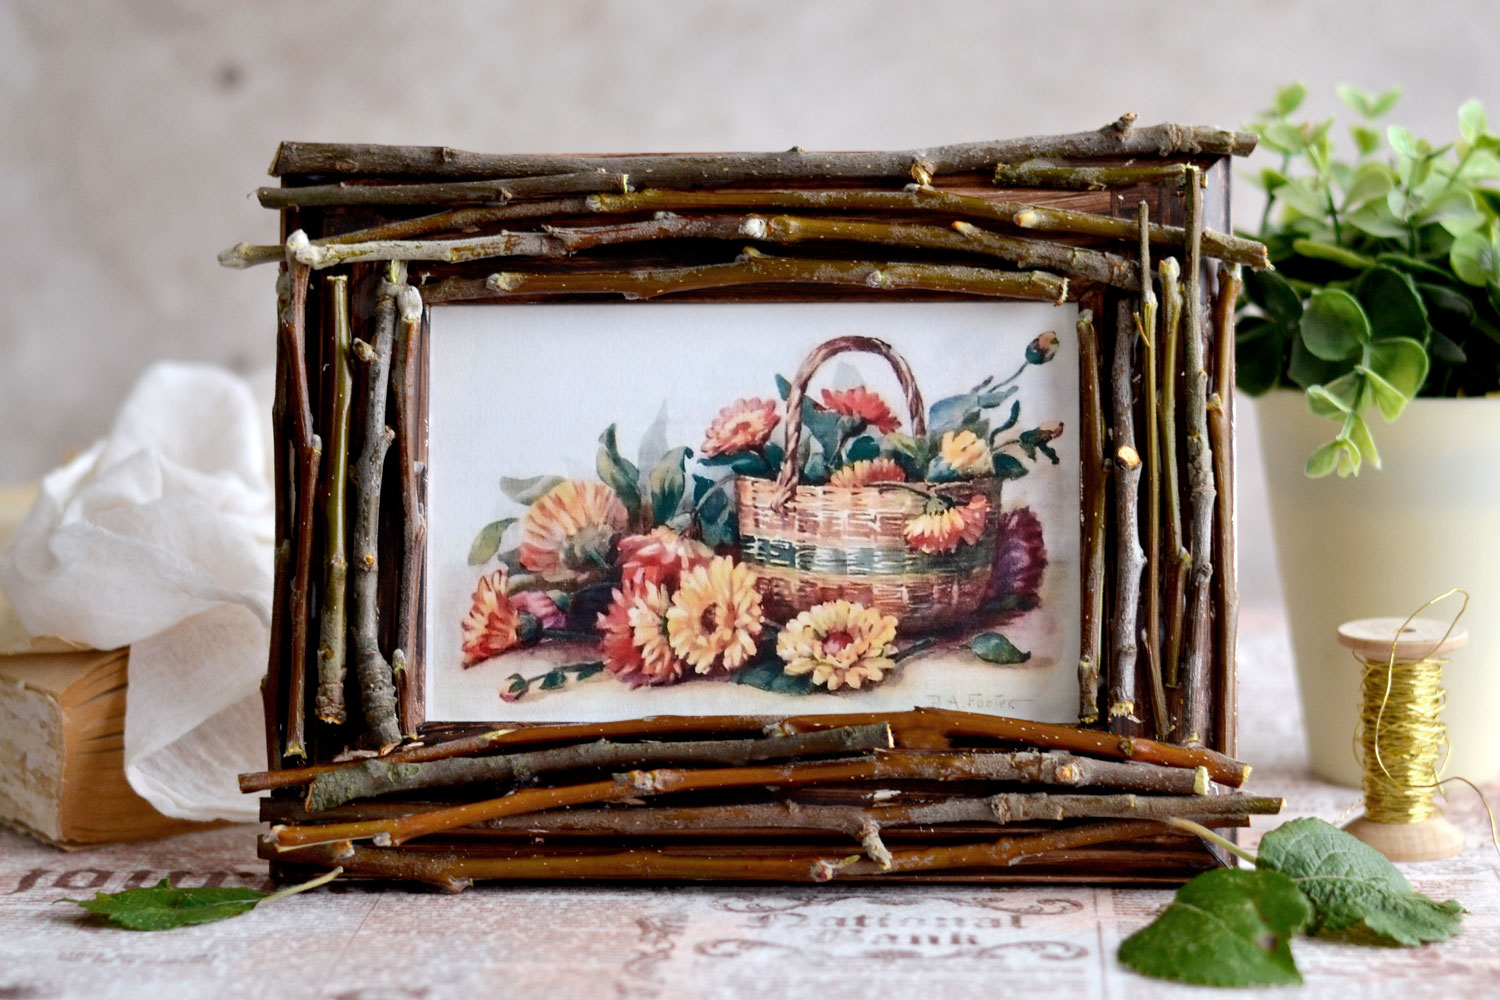 This simple little rustic diy twig frame will make a great gift for friends and family no matter the time of year. You just need to place a beautiful seasonal image inside and your lovely frame with natural elements will be ready for gifting! Because fall is just around the corner, I thought it would be fun to use this gorgeous image with a wicker basket and some lovely marigolds. I did make some changes to the original image to make it look more like a watercolor painting and I think now it is simply perfect for our project. The colors are absolutely gorgeous and will complement any home while getting ready for the new season.
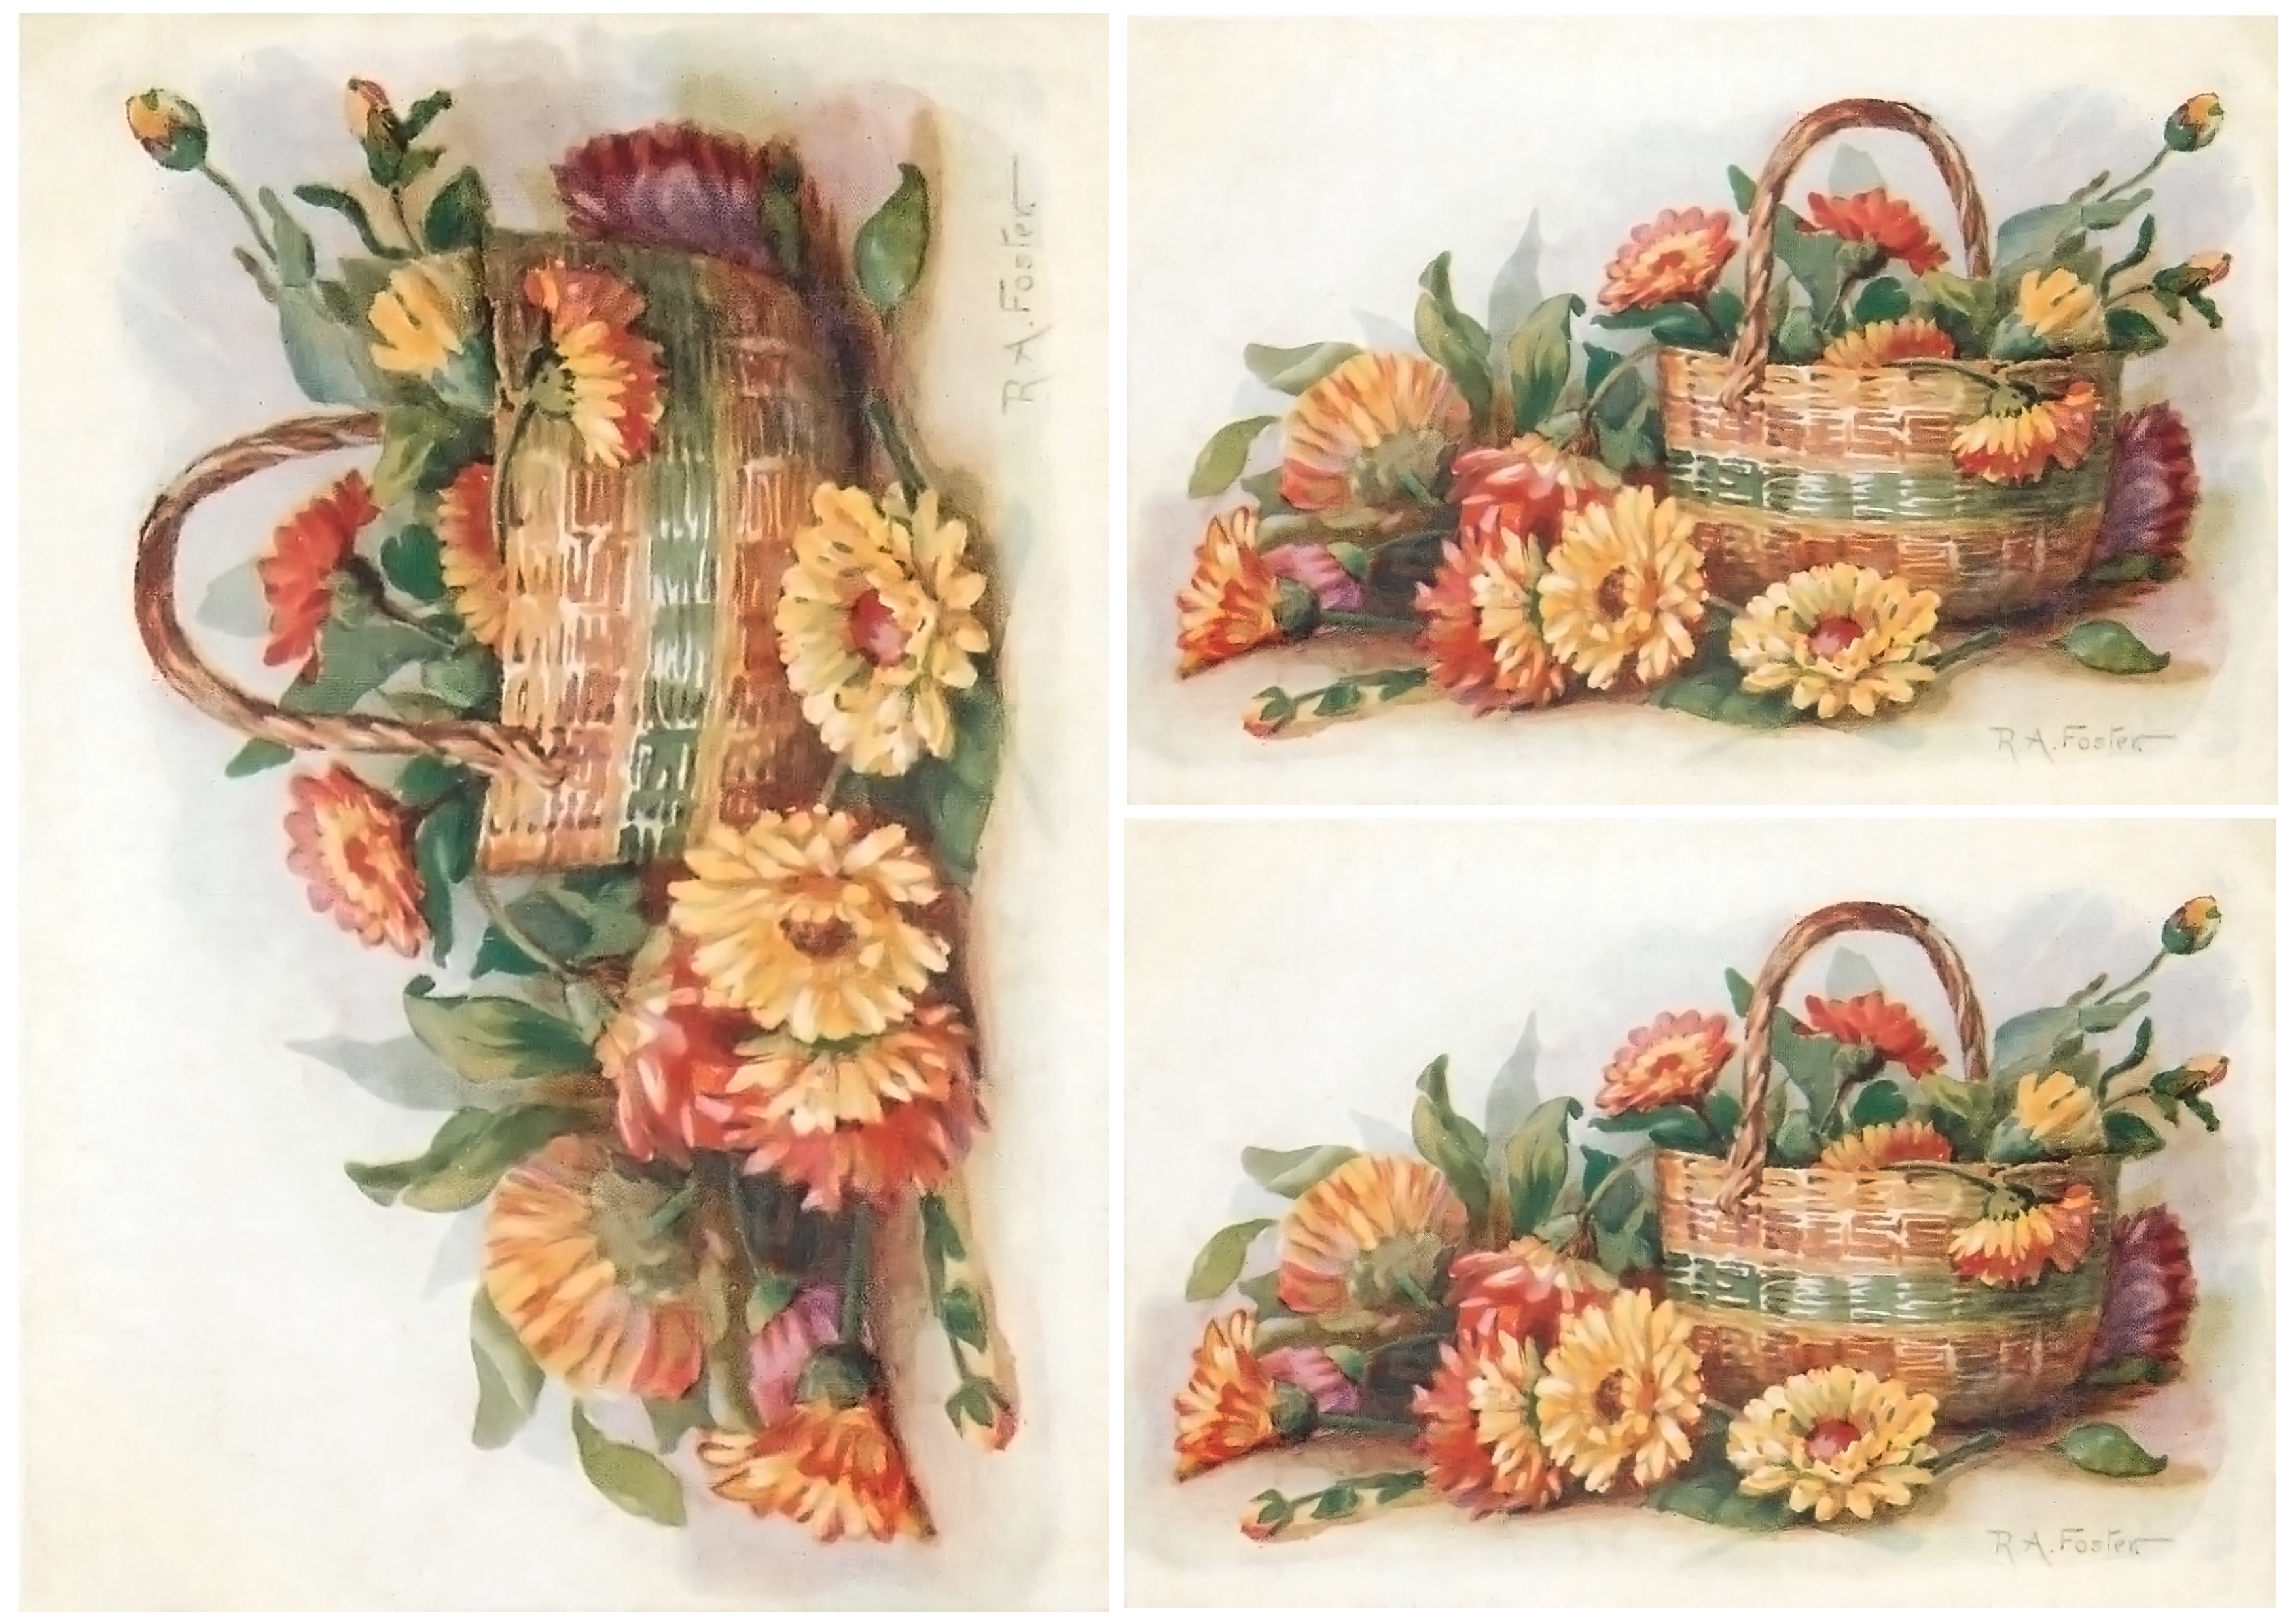
To make things easier for you, I’ve created two printables where I’ve included 3 different sizes – large, medium and small! This will turn our project into a highly adaptable one because you will be able to use some of the old frames that you already have around. Thrift store frames are also a good option, but I would suggest going for the flatter ones that you can find, it will be easier to arrange and glue the twigs on a flat surface.
—-> CLICK HERE TO DOWNLOAD THE FULL SIZE PRINTABLE PDF – large <—-
—-> CLICK HERE TO DOWNLOAD THE FULL SIZE PRINTABLE PDF – medium & small<—-
DIY TWIG FRAME SUPPLIES
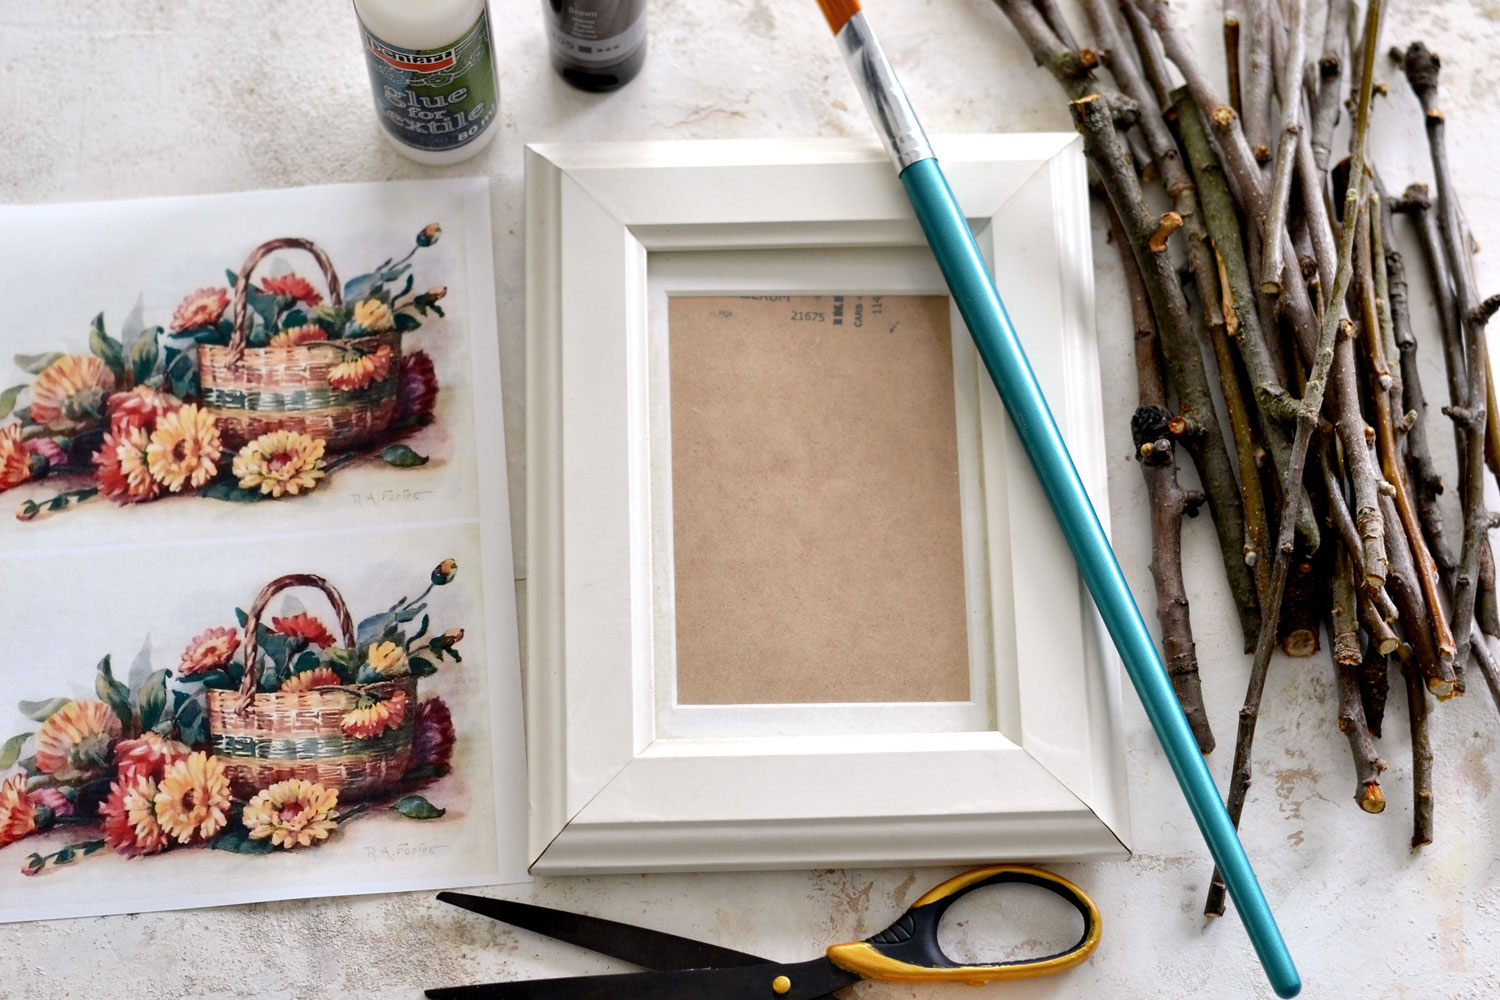
- the lovely free Fall printables – choose one according to your frame size
- frame
- small twigs – bought or cut from your garden
- regular printing paper or cardstock paper (I used cardstock)
- Home printer
- scissors
- fabric glue or wood glue or hot glue gun with hot glue stick
- brush + brown acrylic paint (to paint the frame if it doesn’t have a darker color)
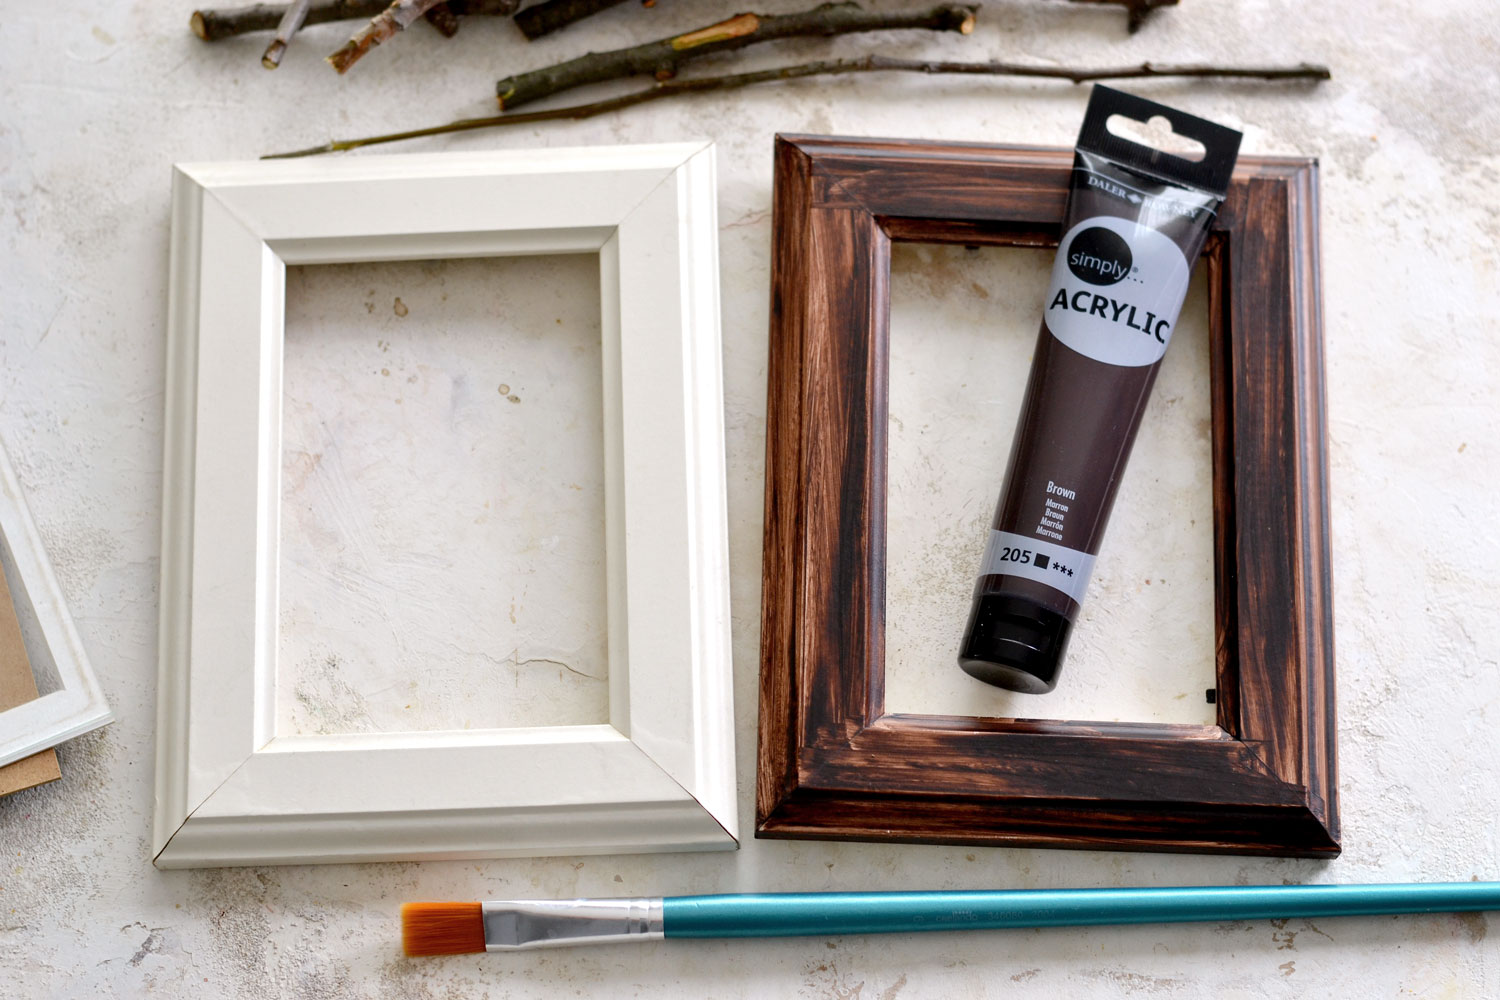
You know all those cooking shows (hello Martha) where the host would explain how to make a tart and then miraculously just pops up a baked one from under the counter? I did that here with my frame, which was a white frame from Ikea and I painted it brown last night just to speed things up today! You can probably find a similar frame at Hobby Lobby or even your hometowns flea market. I used brown acrylic paint because I thought it would be more natural looking, just like the twigs. Don’t stress too much to perfectly cover the frame with the paint, the brown paint will act as some sort of a background.
If your frame is already brown or has a darker color, you can skip this painting step altogether.
Start by measuring one of the longer sides of your frame, you’ll need to cut twigs from your garden that would be about the same size or slightly longer. I first cut about 20 larger branches with leaves from one of our apple trees using pruning scissors – our apple tree really needed a haircut. Then I removed the leaves and finally cut each branch in half or thirds, depending on how long it was. I tried to choose branches that were younger and more straight, rather than old ones that were quite bumpy because I knew it would be hard to glue them on top of my frame.
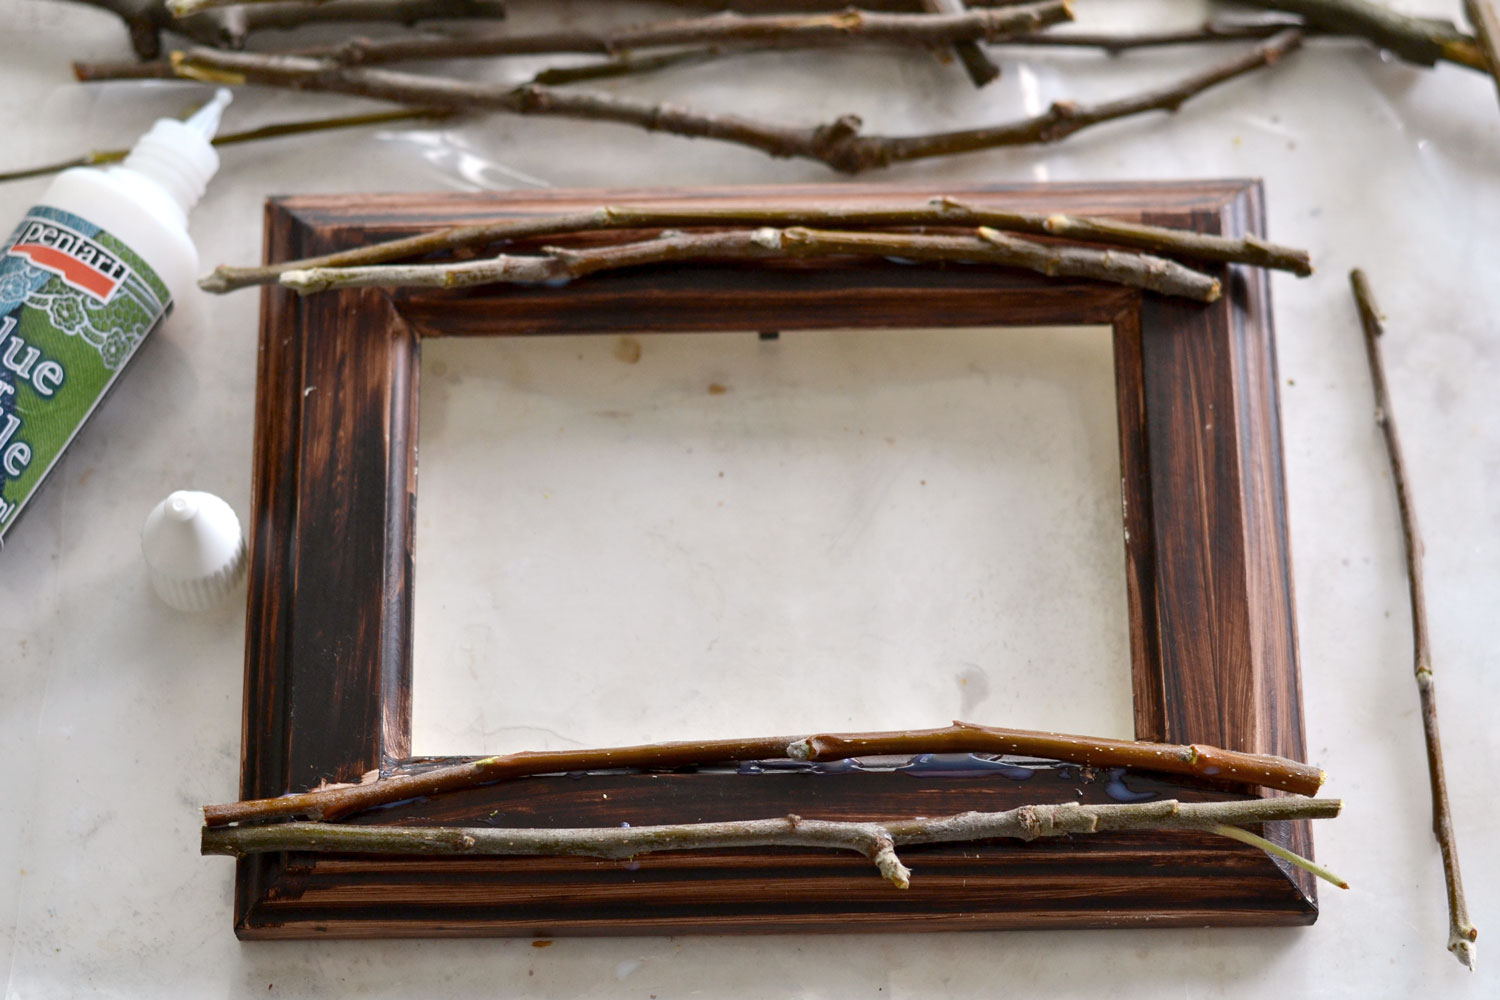
It would be best to arrange some of the twigs on the frame to get an idea of how they will look before actually gluing them down.
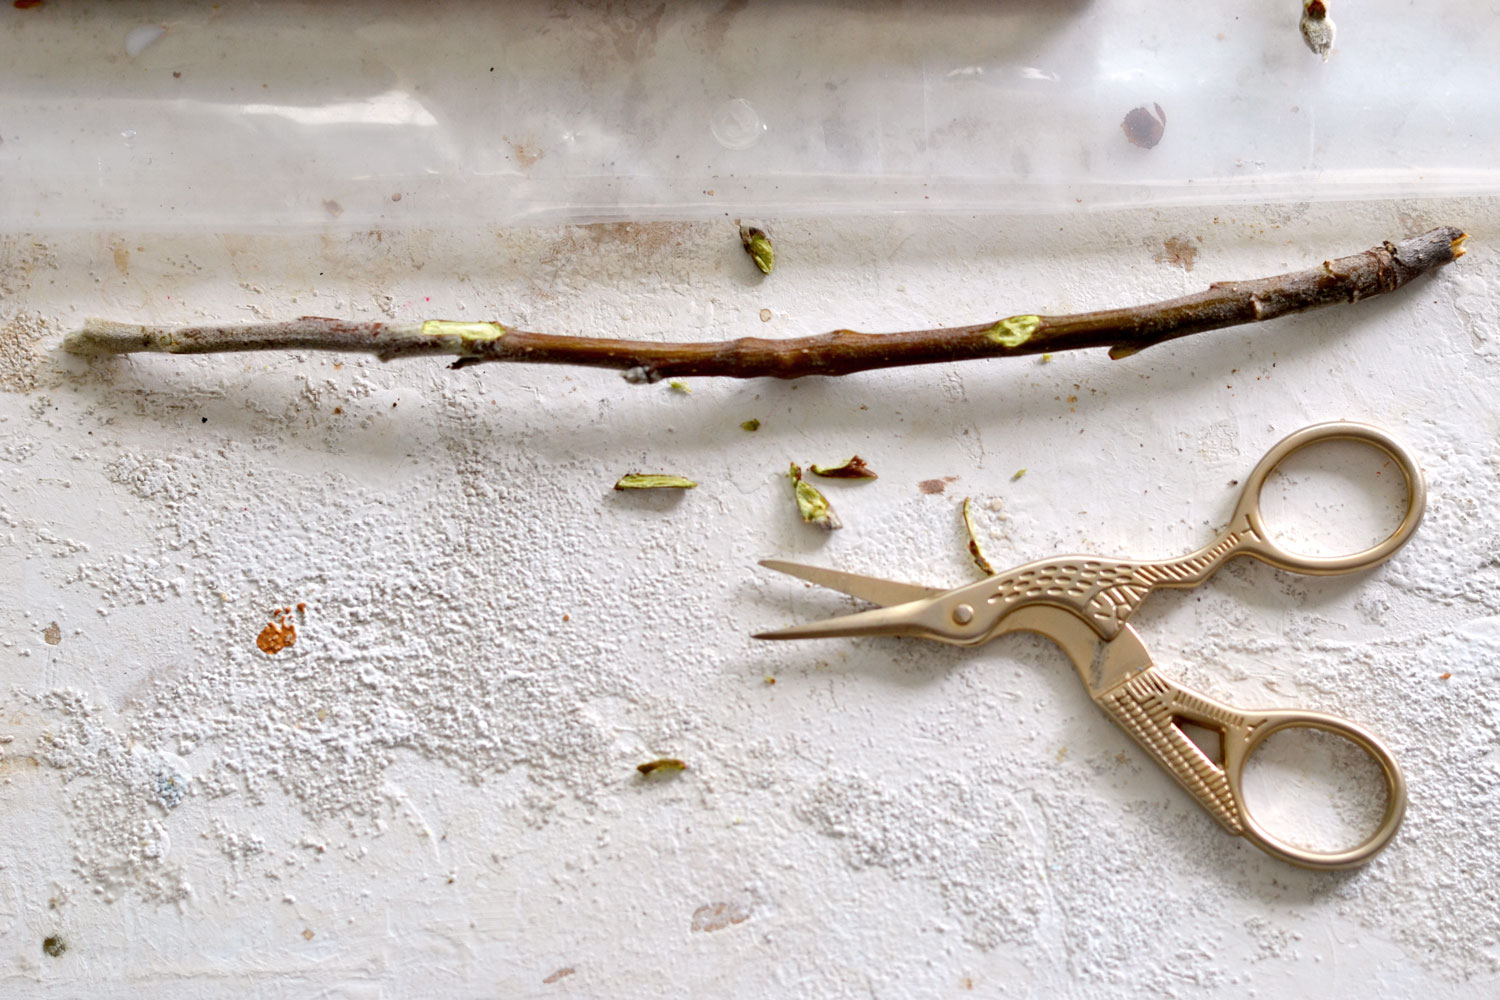
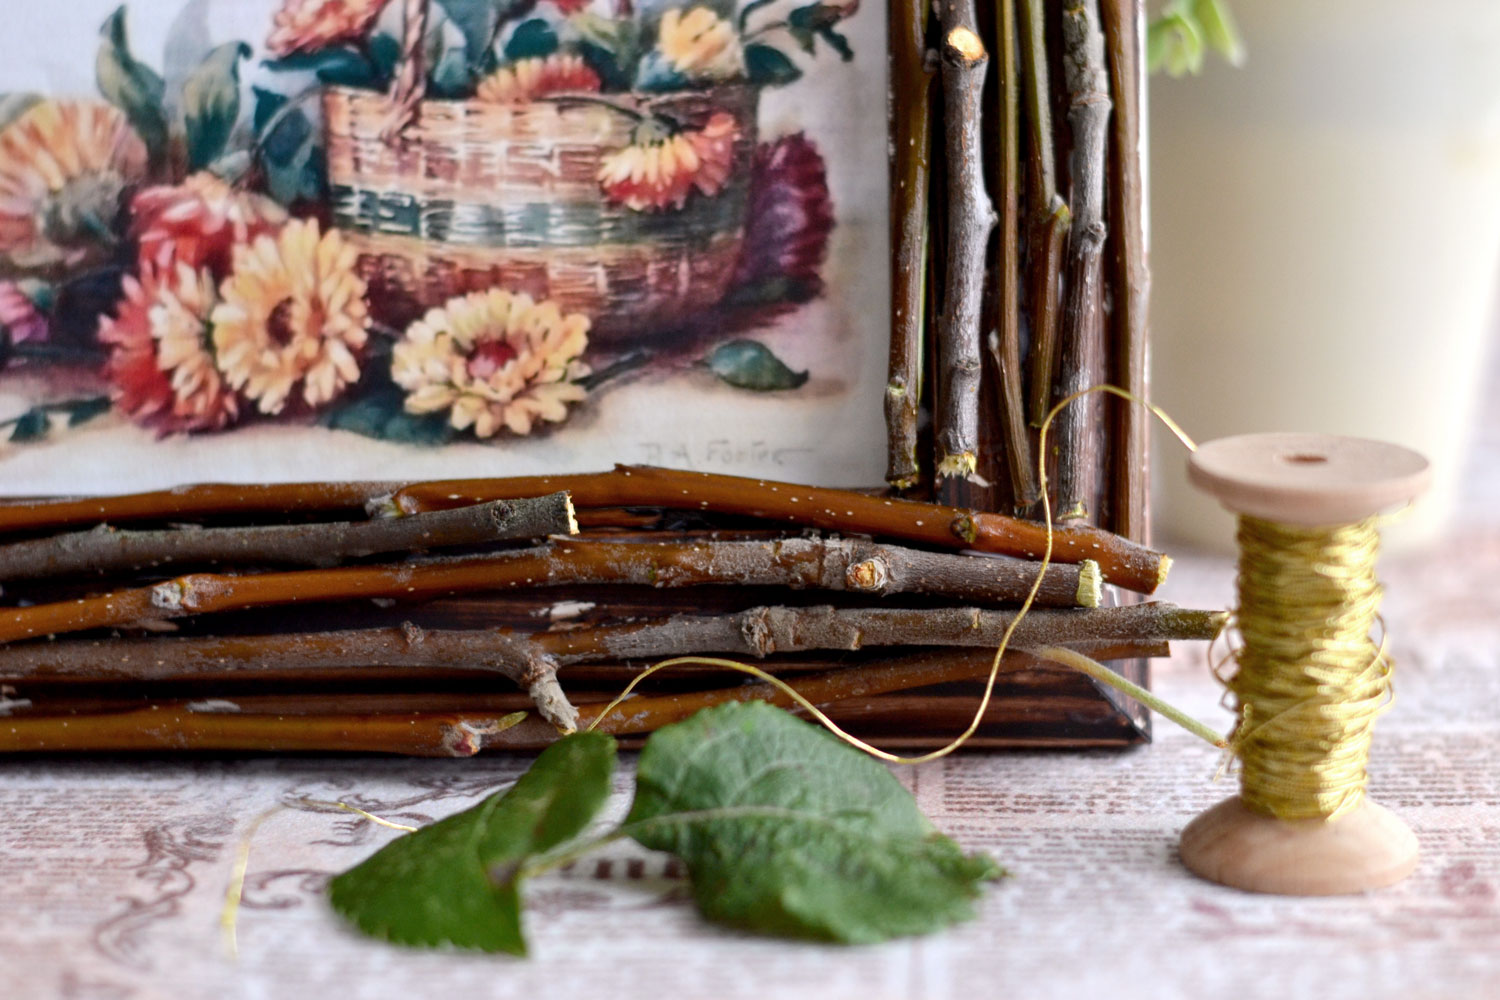
I wanted to get that organic flow tree branches usually have, so after placing each twig on the frame to see how it lays down on its own, I used some small scissors to cut off some of the underneath knots. Just to make them a little flatter!
It’s important to lay the twigs on the frame or on your table first, you will see that each one will have a strong will of its own and will only lay down the way it wants to! These twigs have quite a character!
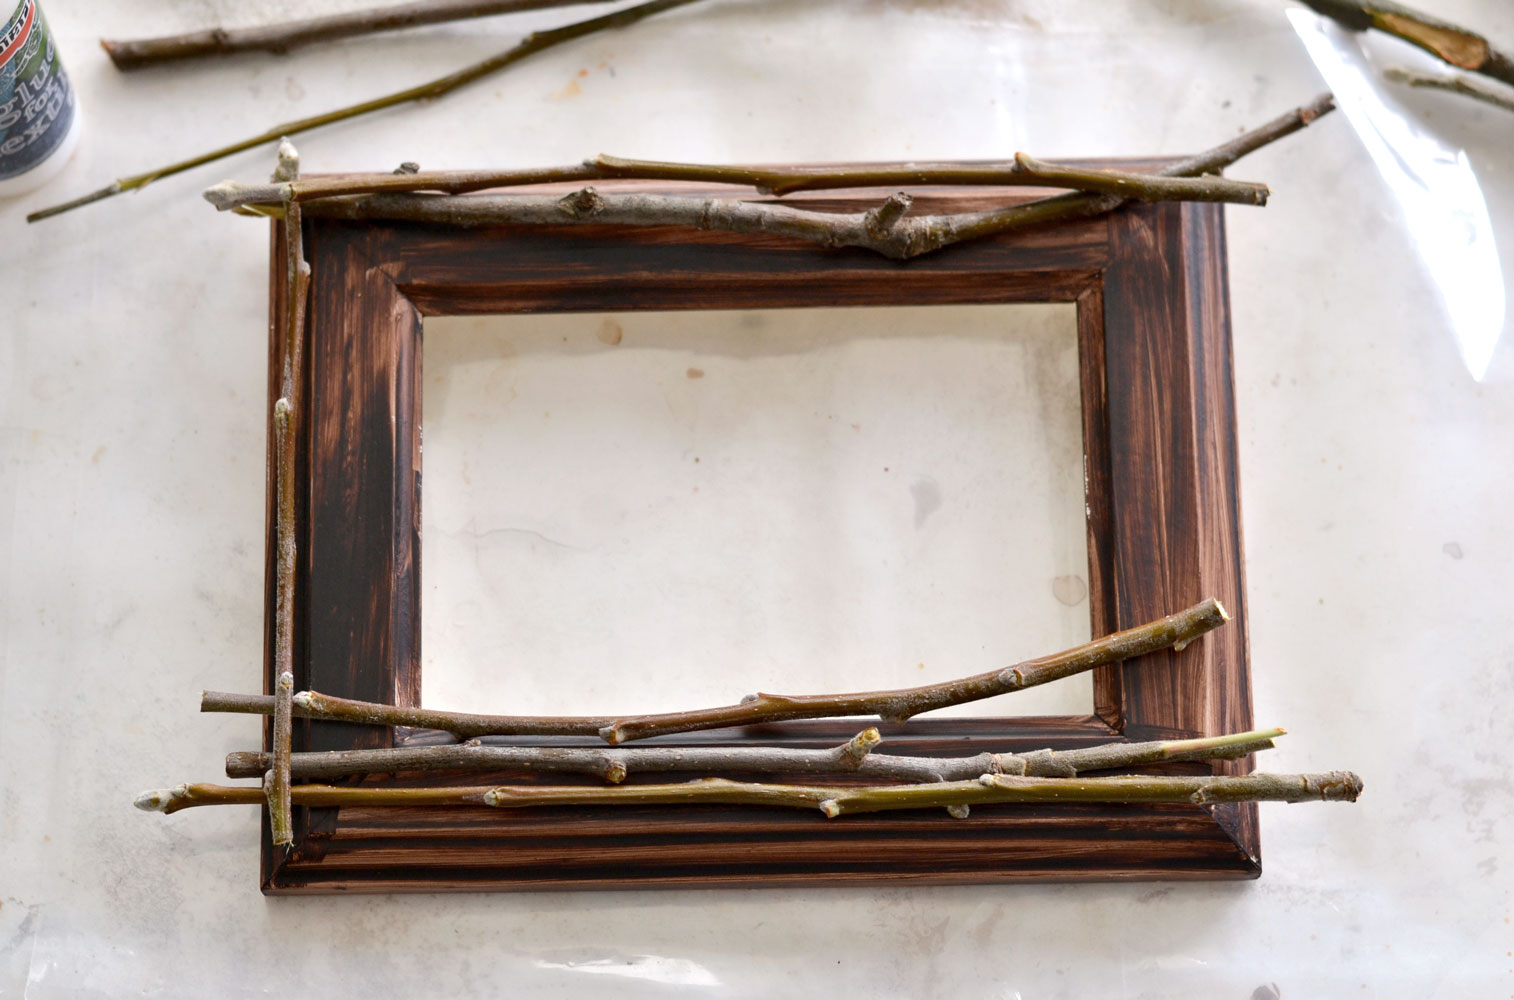
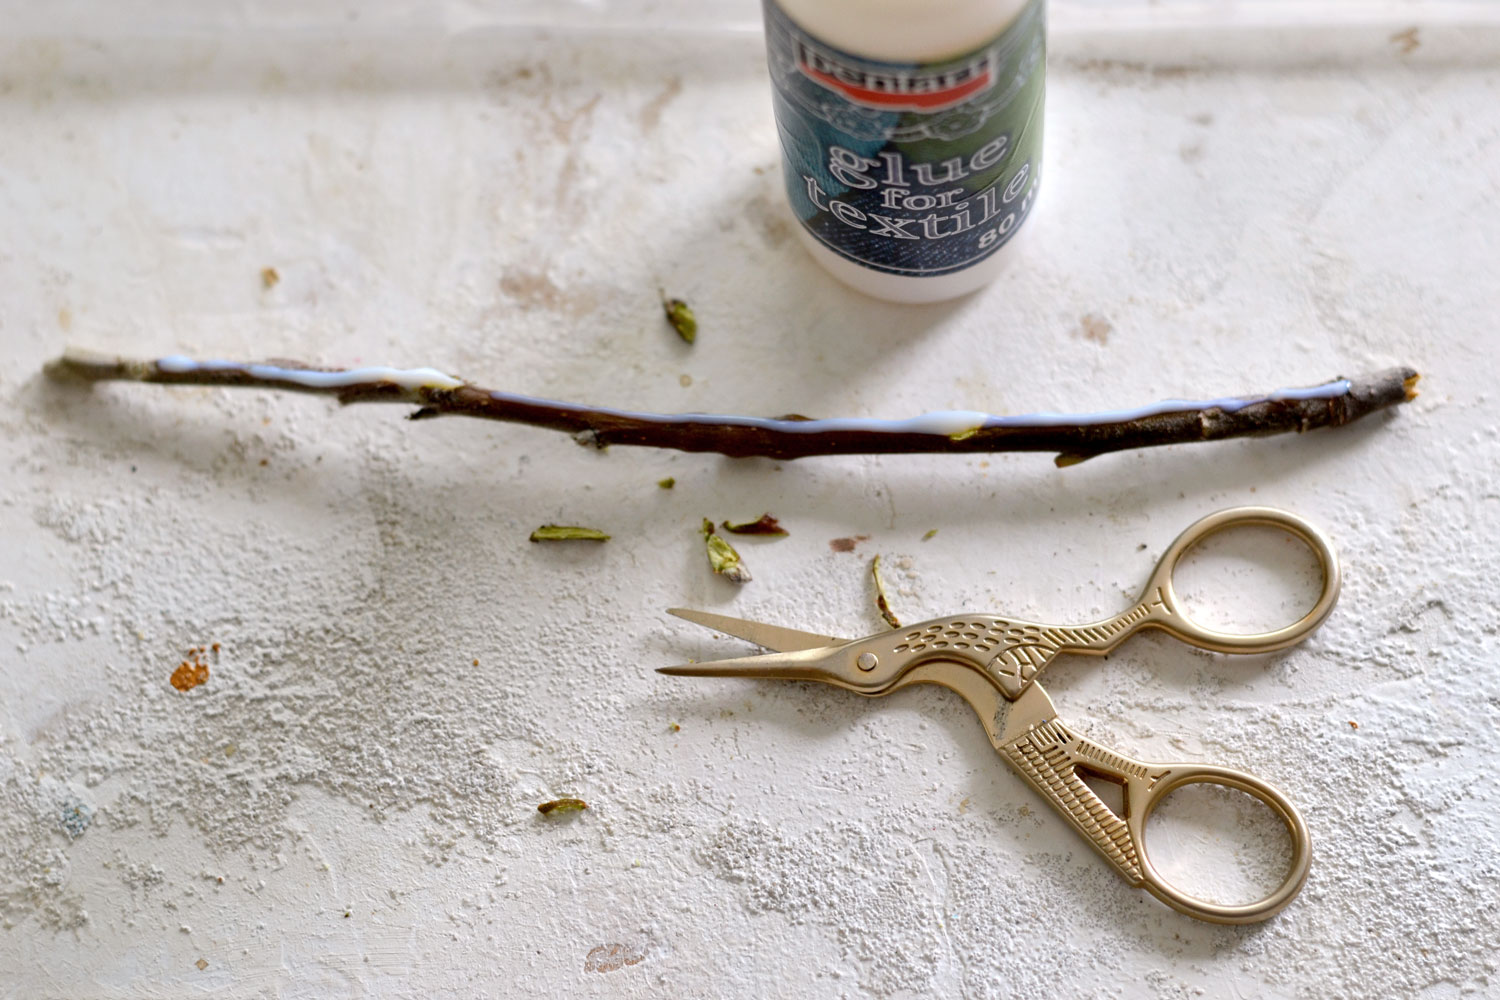
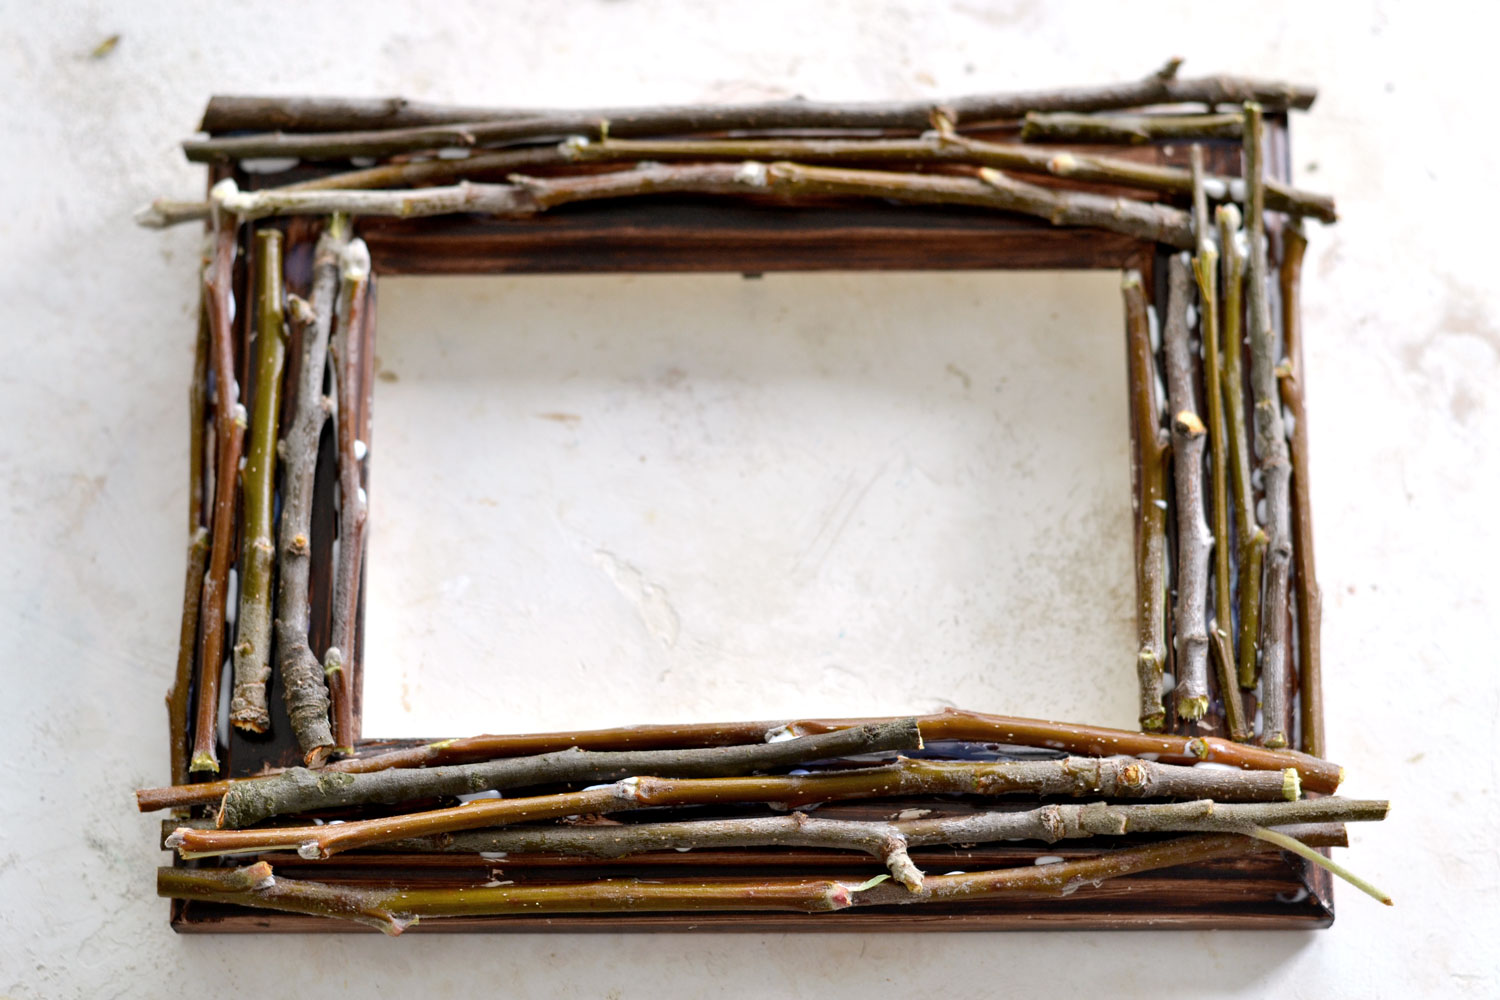
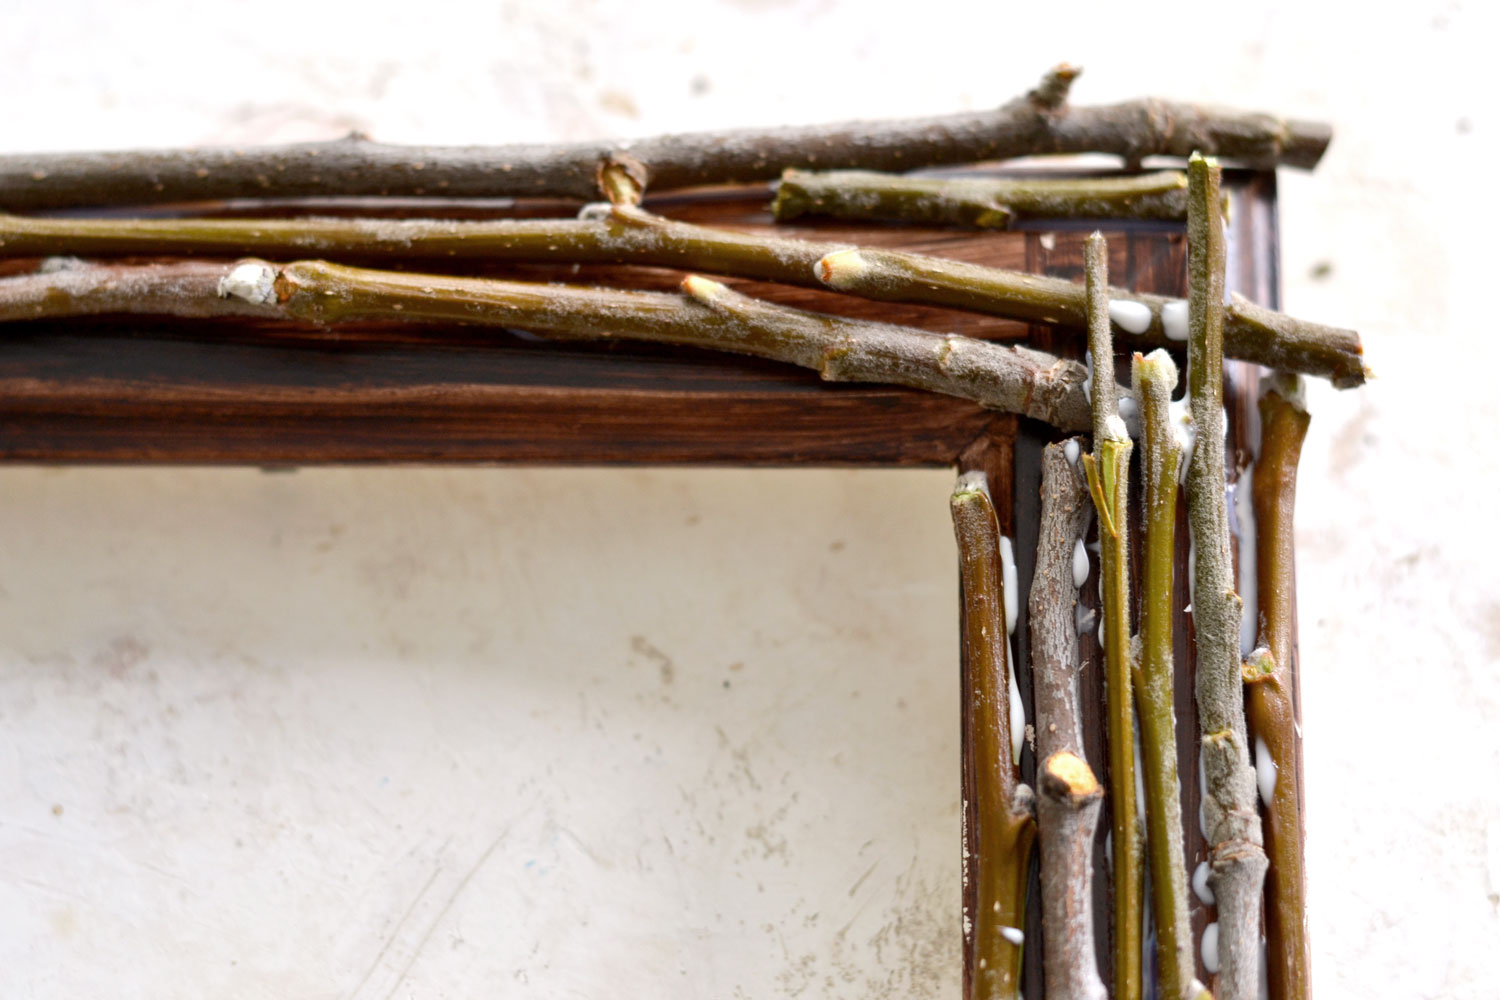
When you’ve managed to determine which side of your twig is the flat side, you can apply the glue there. I applied a long line of glue along the whole length of the twig even though only some areas will actually get in touch with the frame.
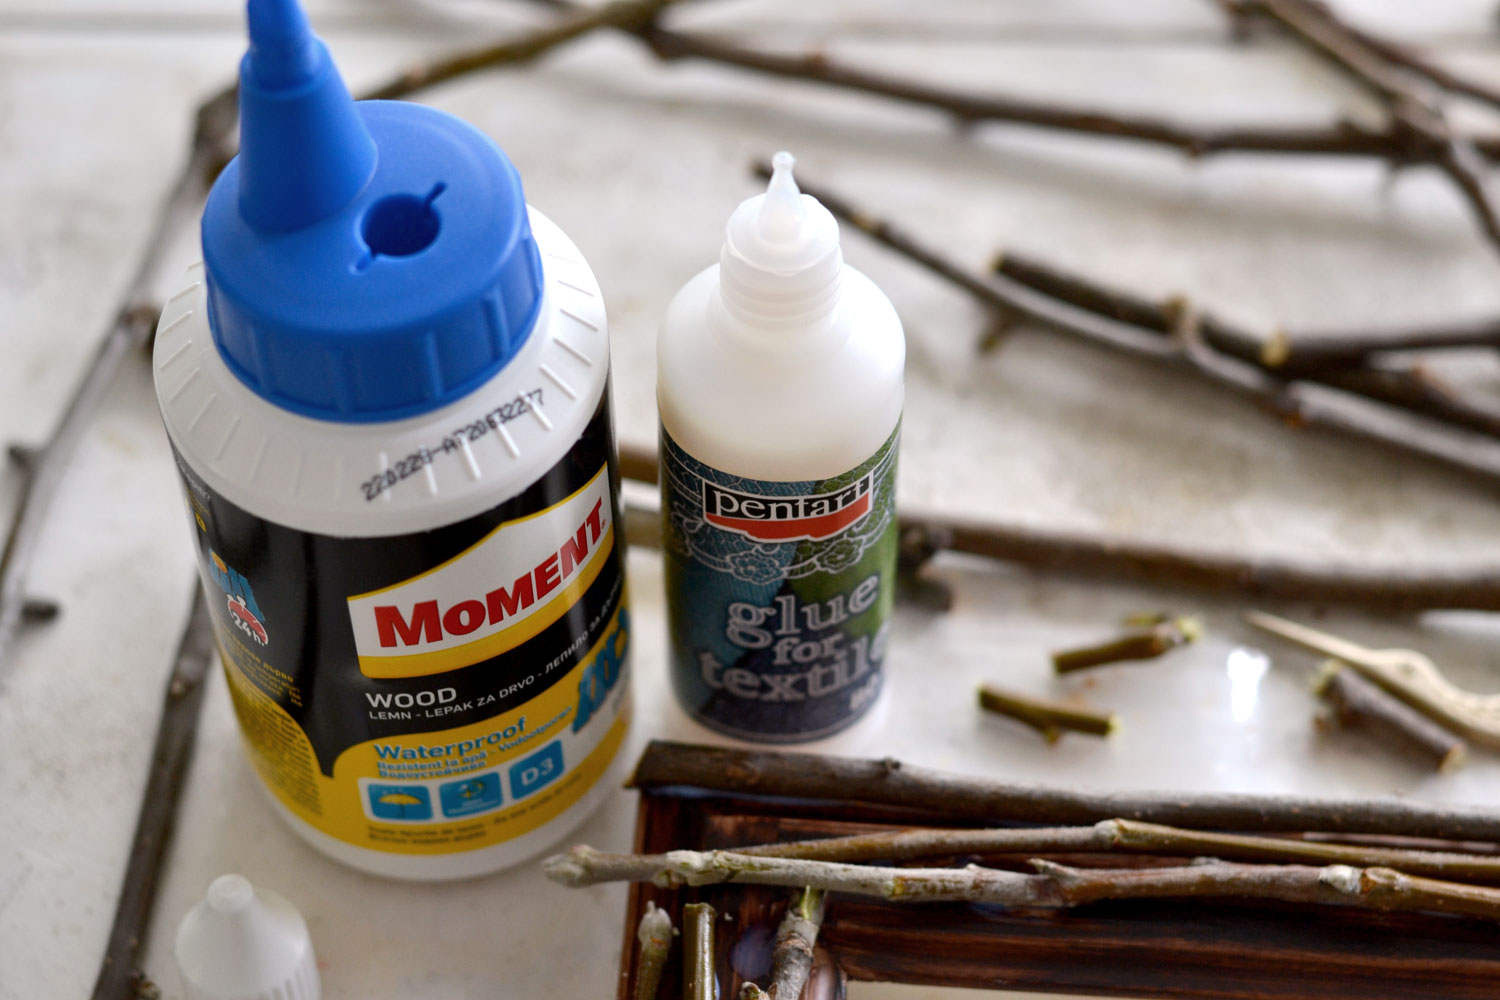
Let’s talk about the glues that I’ve tried for this project for a second! It might sound strange to you that I’ve used fabric glue for wood, but I wanted to give it a try and see if it works. At first, I used this water-based fabric glue because I knew it dries so much faster than wood glue.
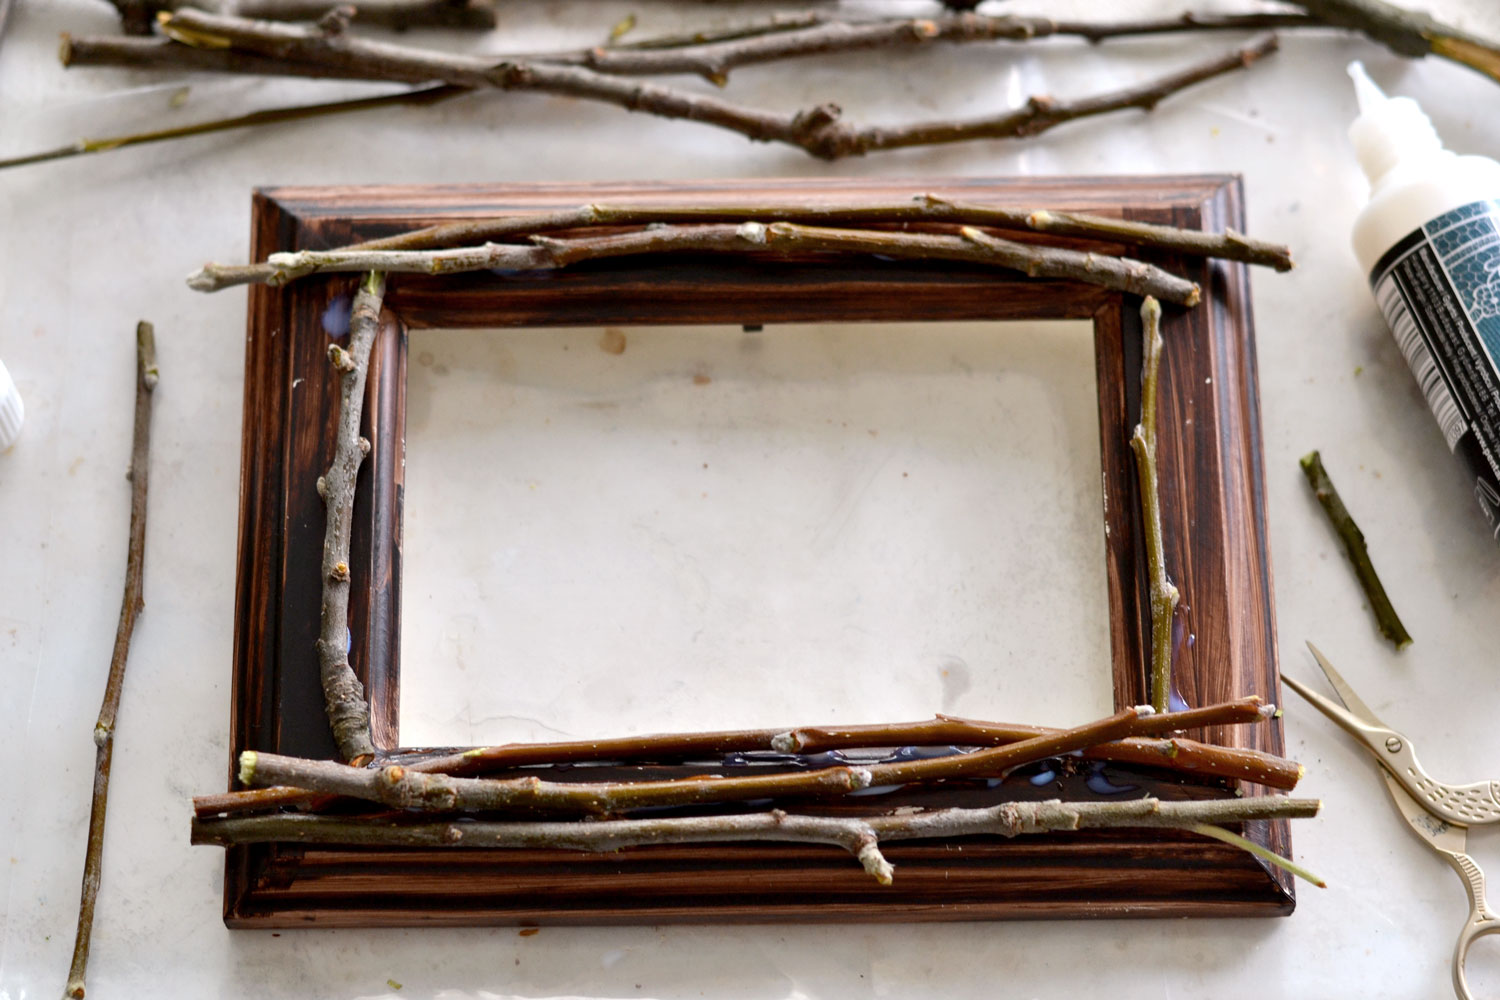
I started to randomly arrange and glue more and more twigs, but the glue didn’t dry as quickly as I would have hoped. It was a little bit difficult to place the next twigs, I had to be extra careful while doing that.
At some point, I switched to a water-based wood glue because I felt that it had a little more body. I feel like the wood glue was a little bit better, but I didn’t notice a huge difference.
It’s really important to use fabric glue or wood glue that dries clear, just keep this in mind while choosing either one of them, as regular white craft glue is not strong enough.
This is how my final piece turned out, I just let the glue dry for a couple of hours while the frame lay flat on the table.
If you want to speed things up and really turn this gluing process into a 10-minute job, just use a hot glue gun for those last minute projects!
Hot glue guns and I are not exactly best friends, I’m not usually happy with how things turn out. Maybe it’s my glue gun, I don’t know, but I just hate using it! Of course, if you have one that you love or is more reliable, it would be great to use it here.
In the meantime, don’t forget to cut your beautiful ‘painting’ to size – just use the backing cardboard of your frame to determine that size. You could use some coffee to lightly distress the paper if you want to imprint even more of that vintage vibe.
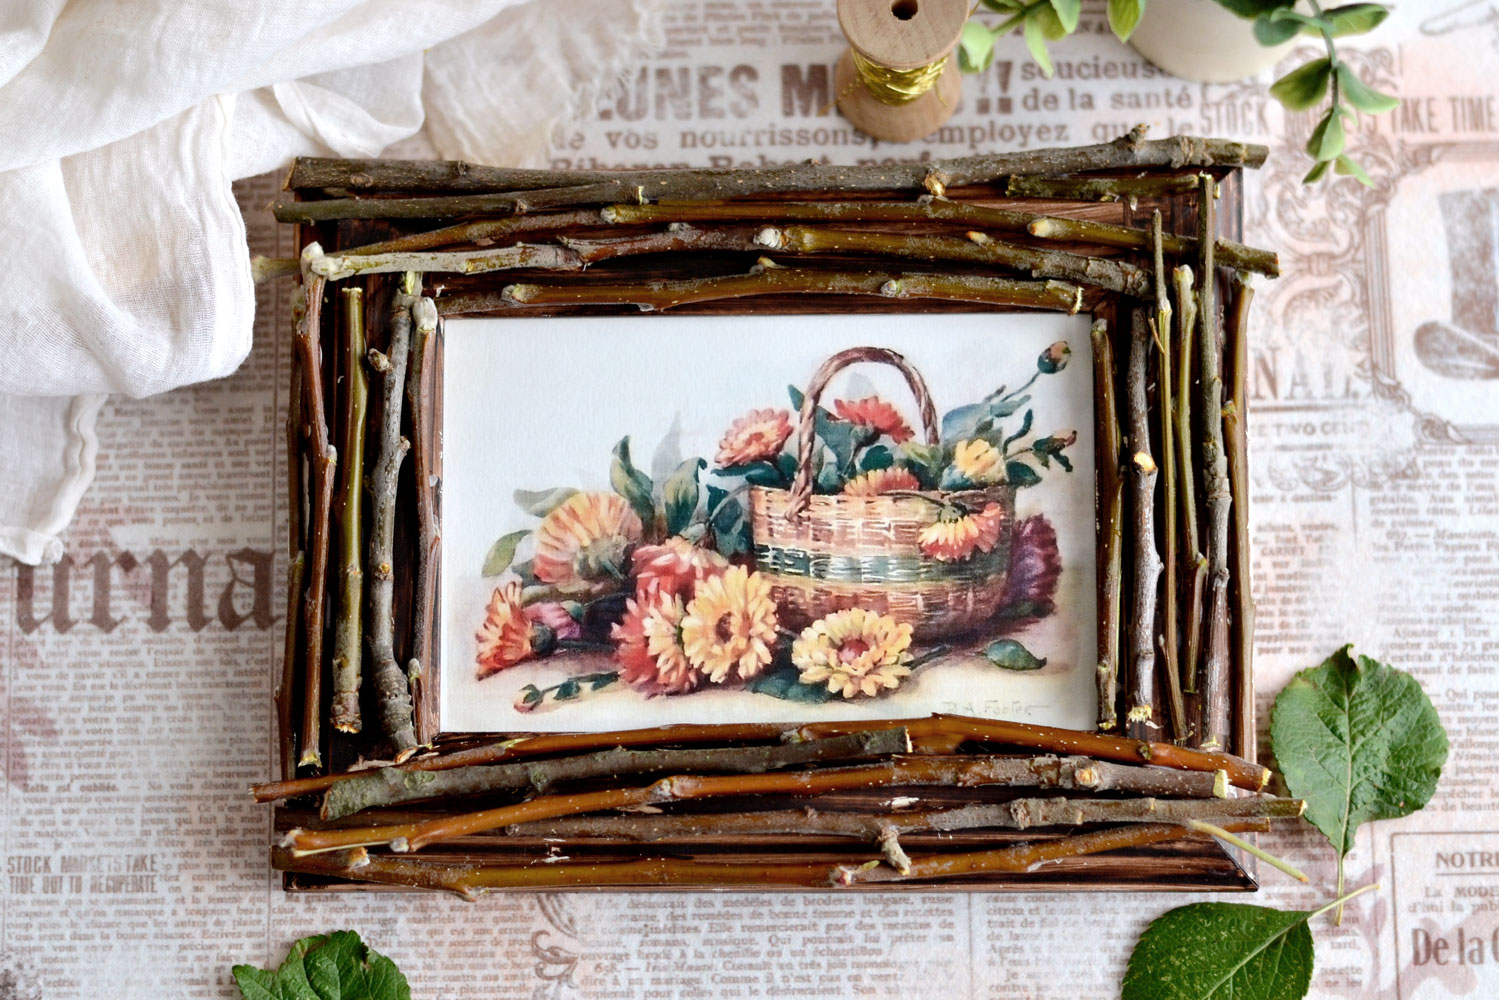
I’m really happy with how my DIY Twig Frame turned out! I was concerned that it would look a little bit too rustic for my taste, but sometimes we have to step outside our comfort zone to expand our horizons so we can learn new things. I just love the organic feel of the twigs with all their different shades and colors!
If you want to further decorate your handmade rustic frame, you could try adding fresh or dried leaves, aromatic herbs, decorative faux moss or any type of flowers. Choose something that is in tune with your favorite season. But for now, I feel that the ‘painting’ printable is simply perfect for this frame. It has a great personality and is in perfect harmony with the upcoming season!
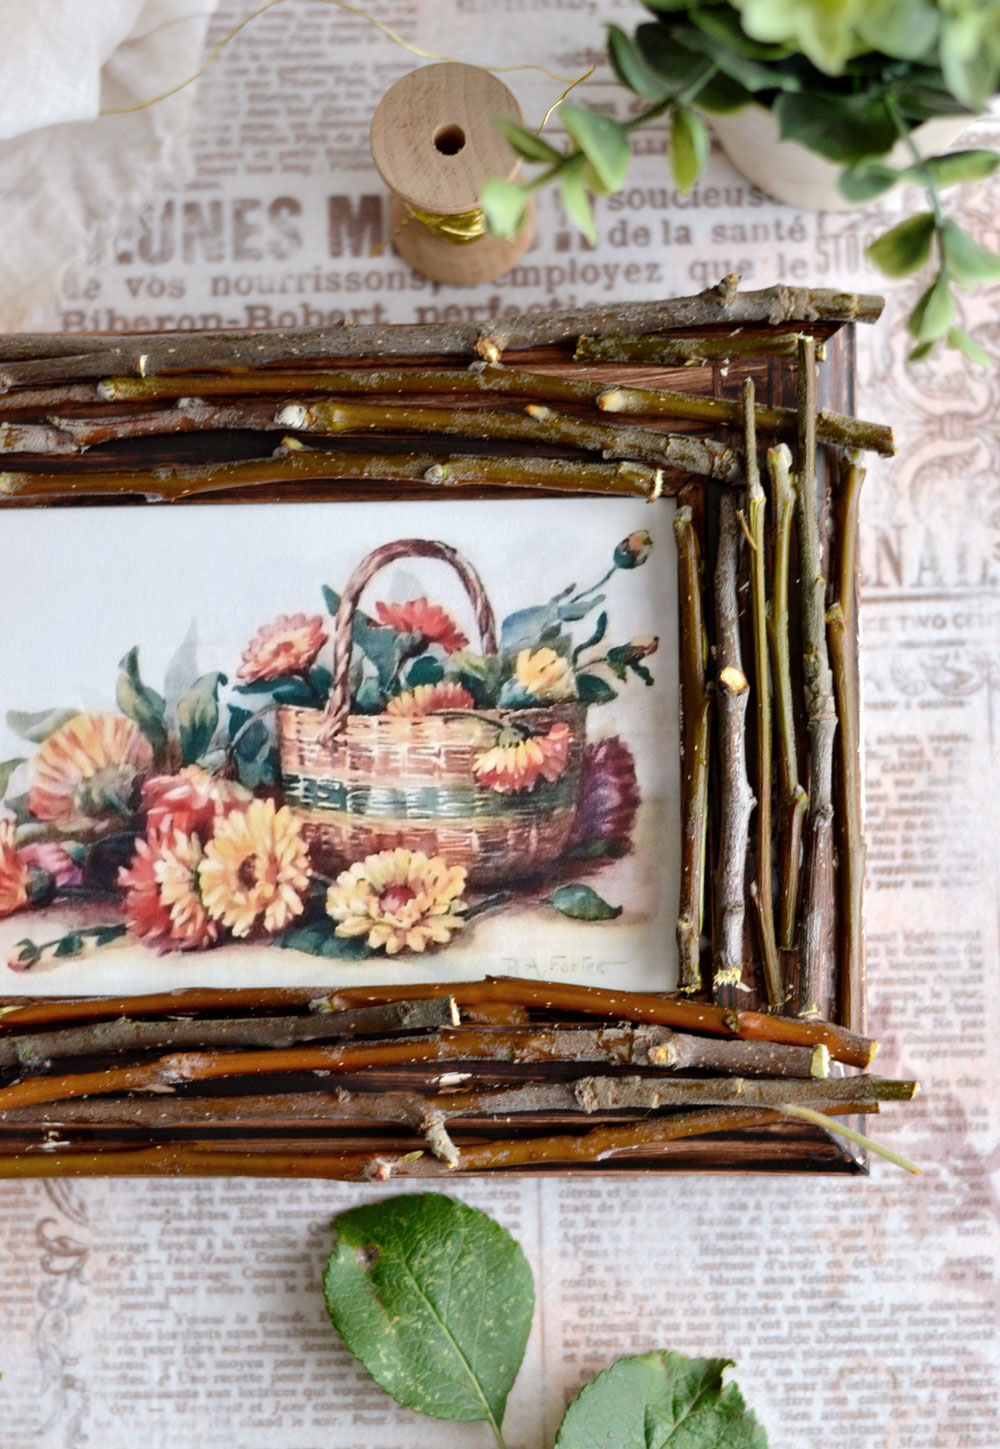 Hope you’ll love this diy picture frame project! Who says we need to raid the craft stores for fancy materials when we can simply go outside and let Mother Nature inspire us to create something so beautiful and unique? Sometimes the most inexpensive projects are the best!
You might also want to check out these Free Vintage Art Prints for more options to use in your Handmade Frames and my Boho Wall Decor project with Simple Frame HERE.
Happy crafting
Diana / Dreams Factory



Loretta Houben says
I really like this. Thanks so much for the great idea.
I plan on making it.
Karen Watson says
Have fun making one of these wonderful rustic frames Loretta! 🌻