Faux Encaustic Technique
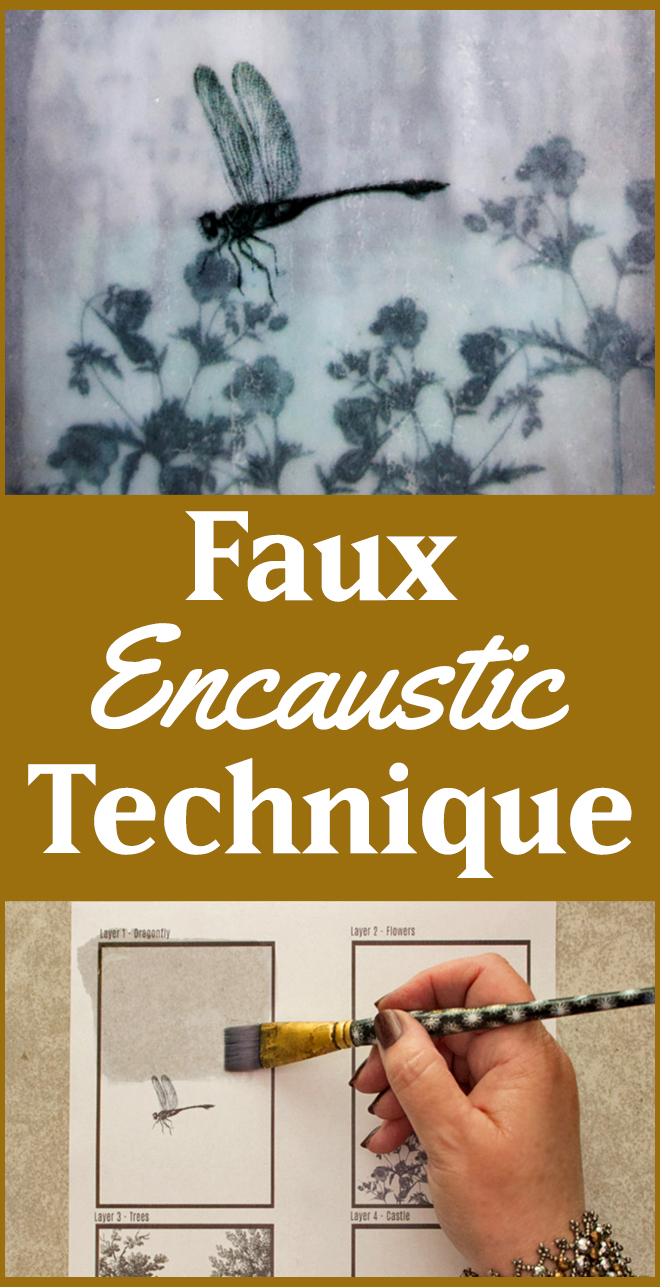
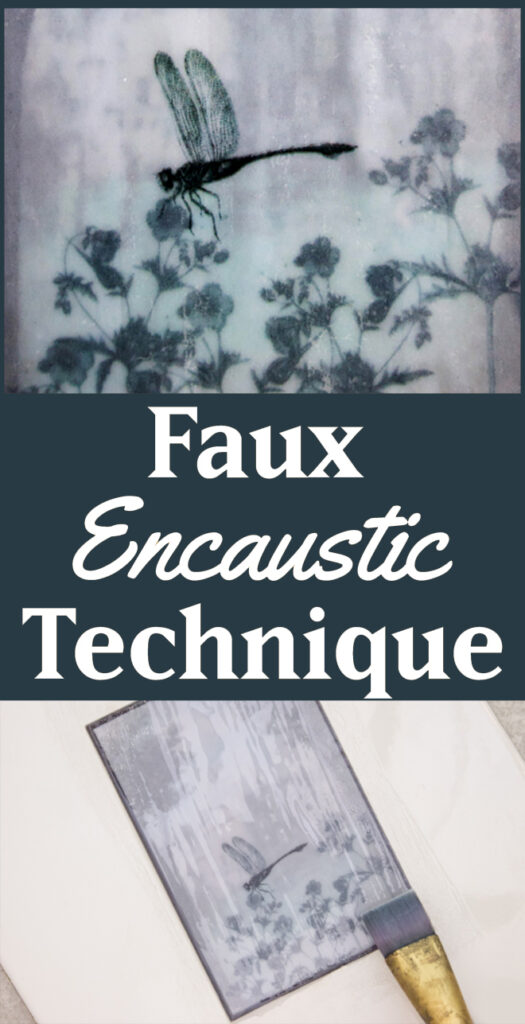
This Faux Encaustic Technique is so magical! I can’t wait to share it with you. Hello my Fabulous Graphics Fairy Friends! It’s Heather from Thicketworks. I’ve been experimenting again…and this fun faux encaustic technique is the result. Let’s find out how simple it is to create a multi-layered and mysterious Mixed Media artwork using Graphics Fairy images…
This technique is an elaboration of the DIY Vellum Technique I recently developed. If you haven’t explored that yet, you can find out all about it here: DIY Vellum Technique
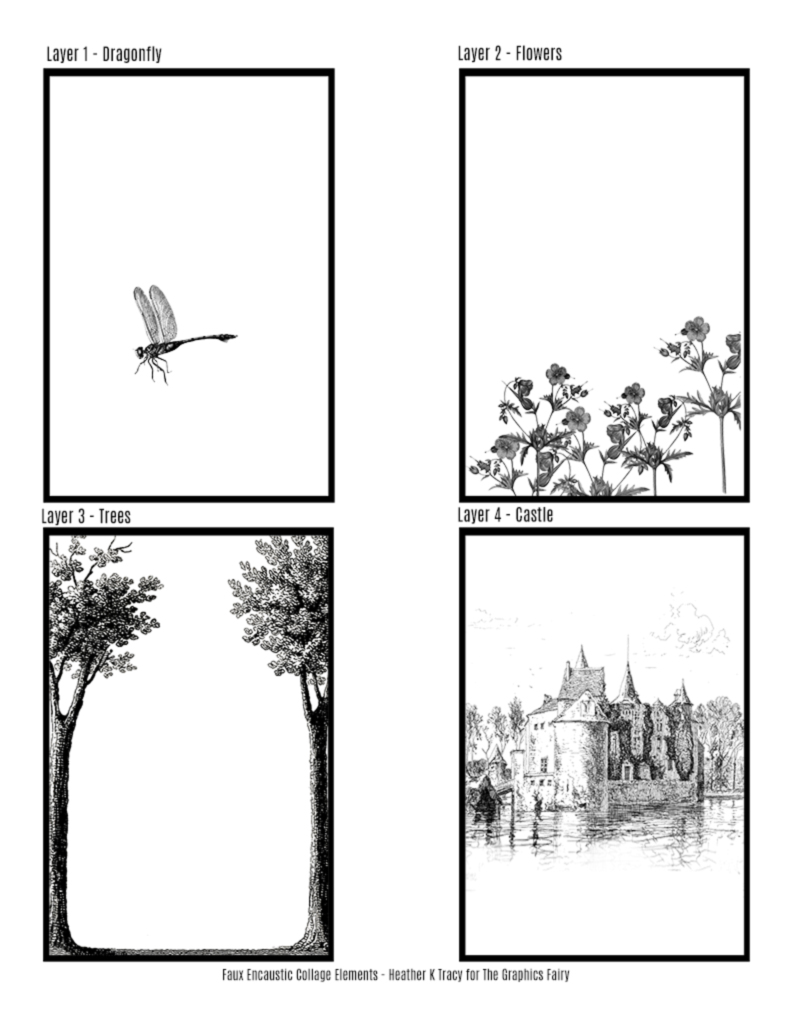
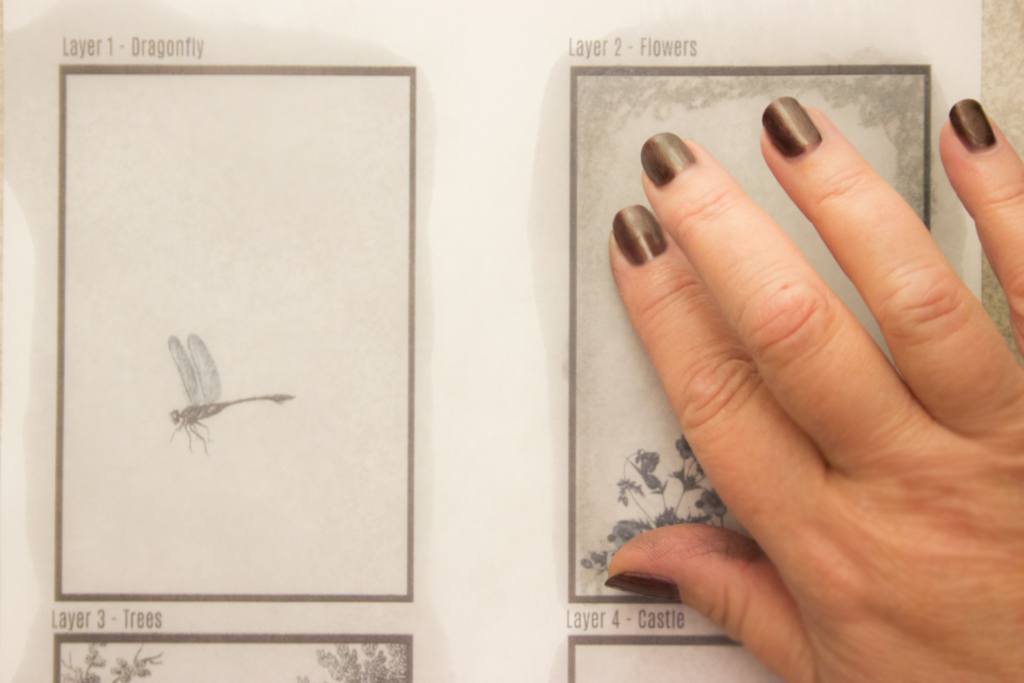
We’ll be adding a total of 4 layers of graphics to achieve the atmospheric and romantic feel of an encaustic painting!
You can click on the image above to download your Free Printable!
(feel free to resize the images to fit your needs)
Graphics Fairy Source Images:
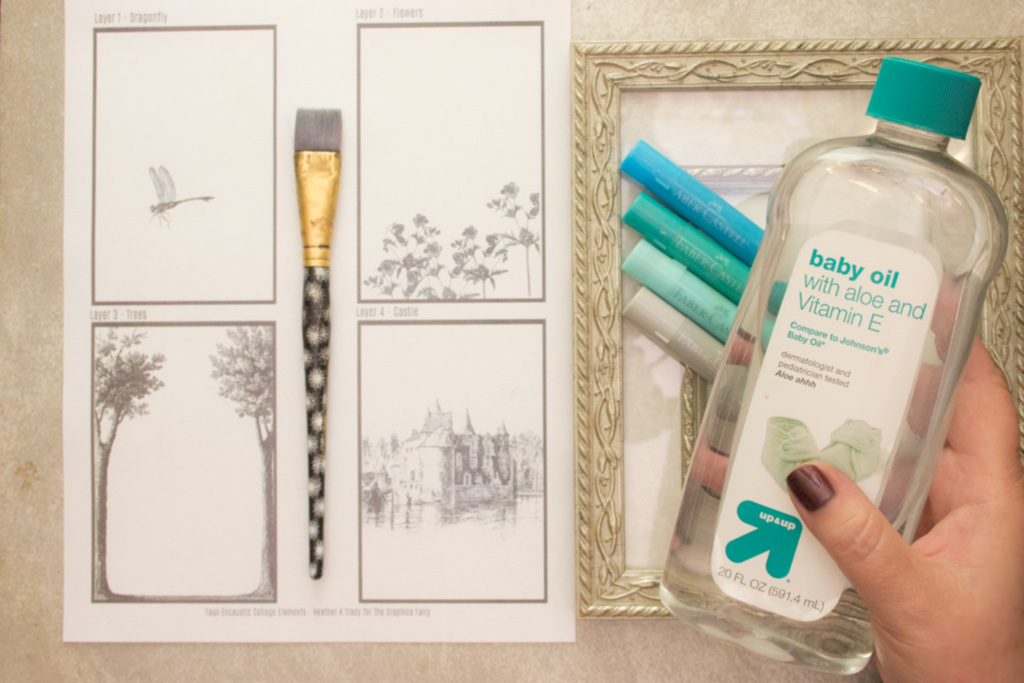
If you would like to experiment with the Faux Encaustic Technique, here’s what you’ll need to create your layered Mixed Media Art…
Supplies:
- Several images printed on plain old printer paper & sized to layer nicely together (inkjet or laser prints are fine)
- Baby Oil. Yep – other oils may work, but the light consistency and pleasant scent make this my first choice.
- A Paint Brush
- A clean absorbent cloth
- A Heat Tool
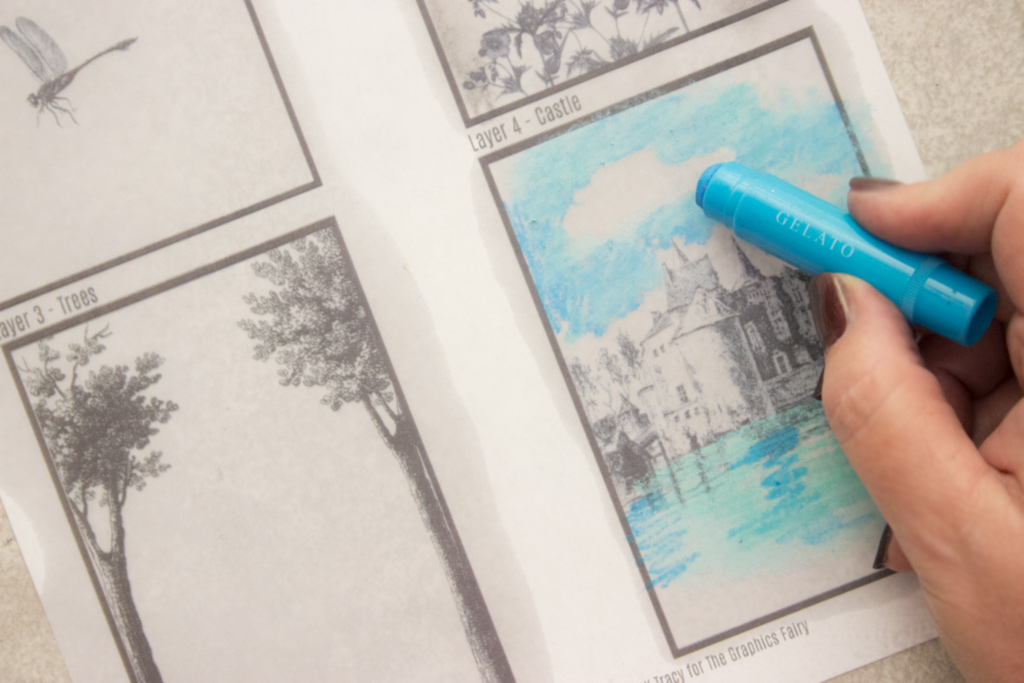
- Gelatos or other ‘blendable’ media
- Water (for blending the Gelatos)
- Scissors or a Paper Trimmer
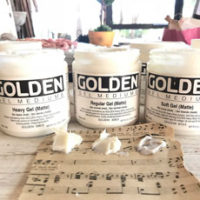
- Triple Thick Gloss Glaze
- A sharp Craft Blade
- Metal Ruler
- A non-porous work surface (think glazed ceramic tile or sheet of sturdy glass)
Optional:
- A 3″ x 4.5″ Matte or Picture Frame
How to employ the Faux Encaustic Technique:
Make sure you are working on a clean, non-porous work surface – (one that can handle having a craft blade drawn over it)
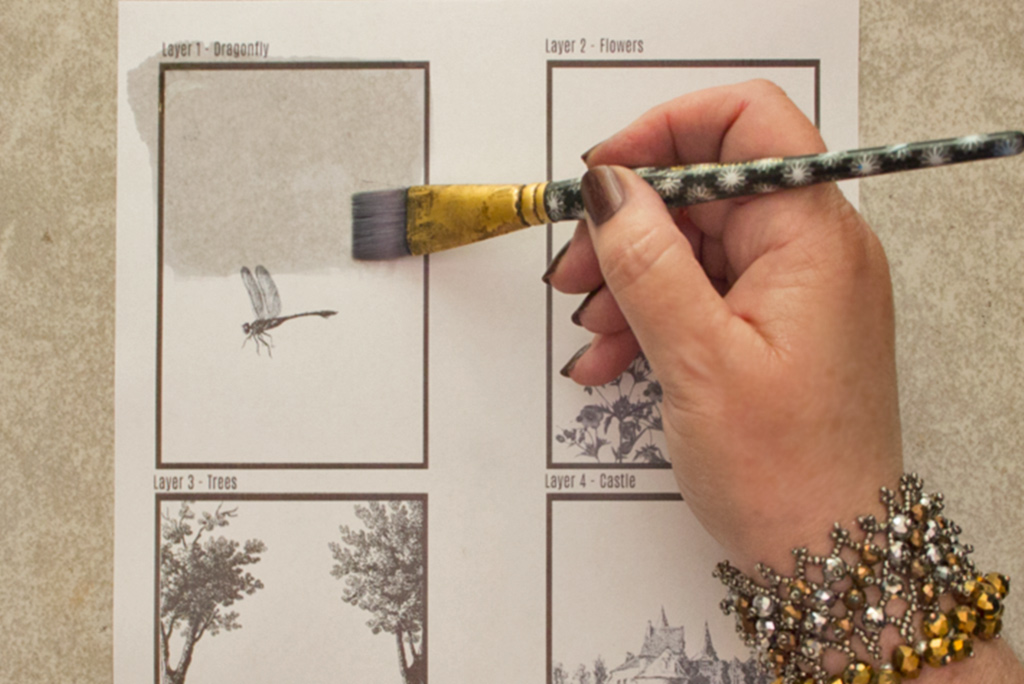
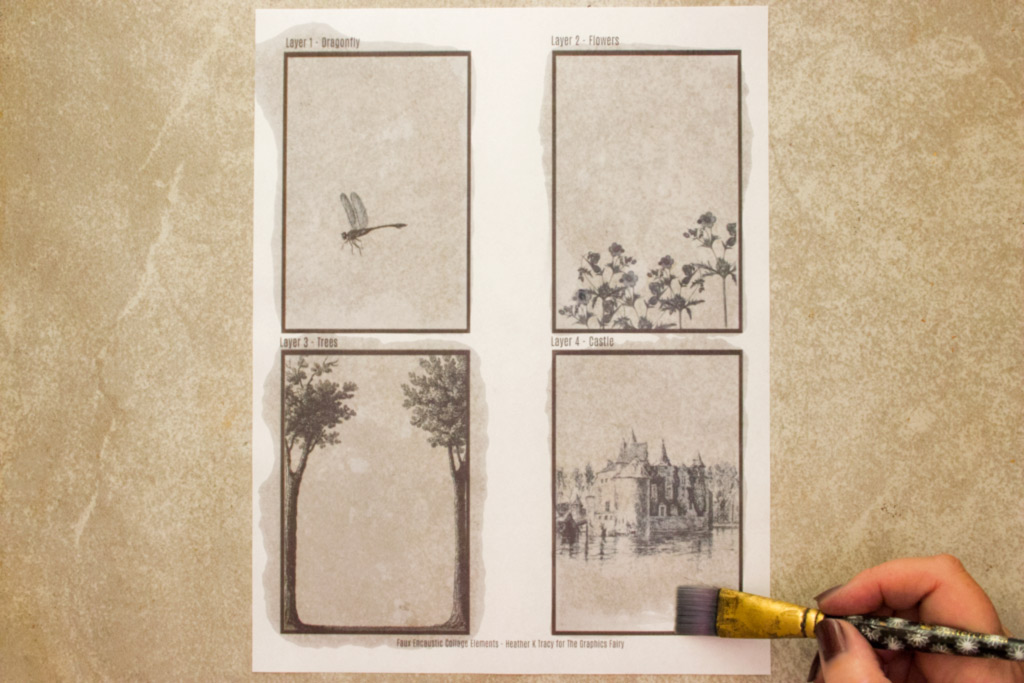
Paint the surface of your printed graphics with Baby Oil.
Continue until you have coated all four images.
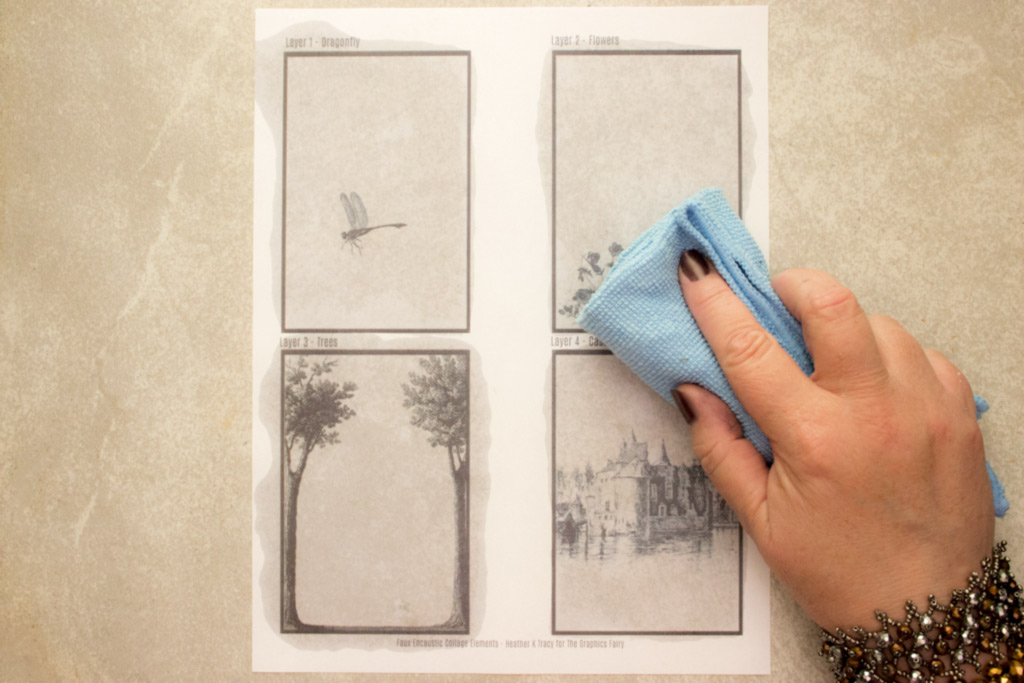
Wipe away the excess oil from the front and the back of your print. You’ll want to clean the work surface, as well.
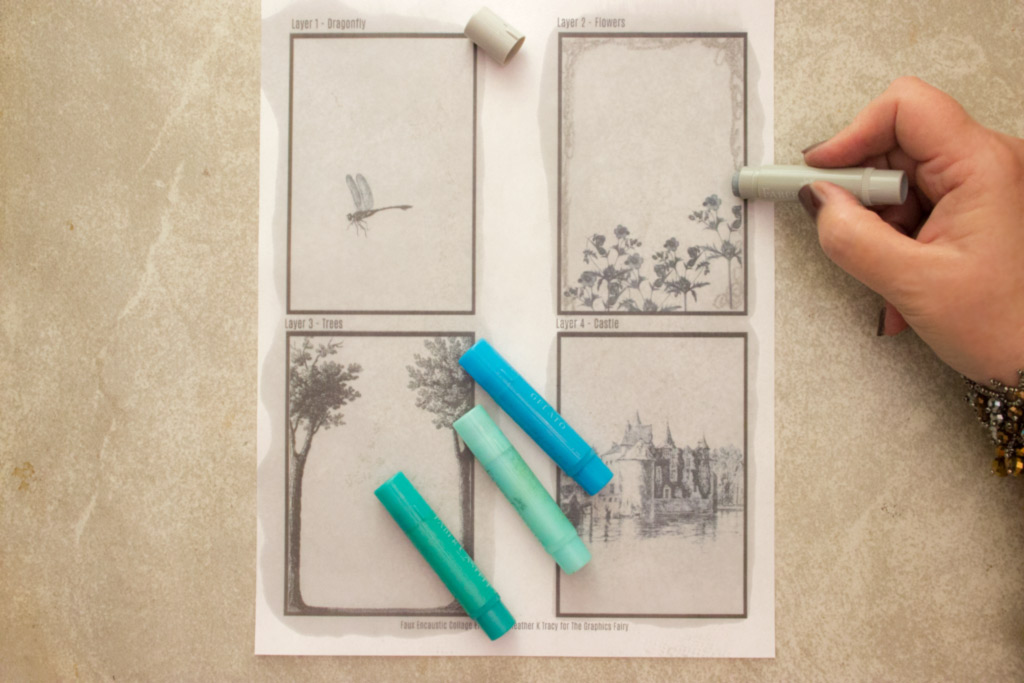
Select a misty color of Gelato, and scribble a light & loose border around the Flowers Image.
Dip your finger in water, and gently blend the color until it becomes smooth and very subtle.
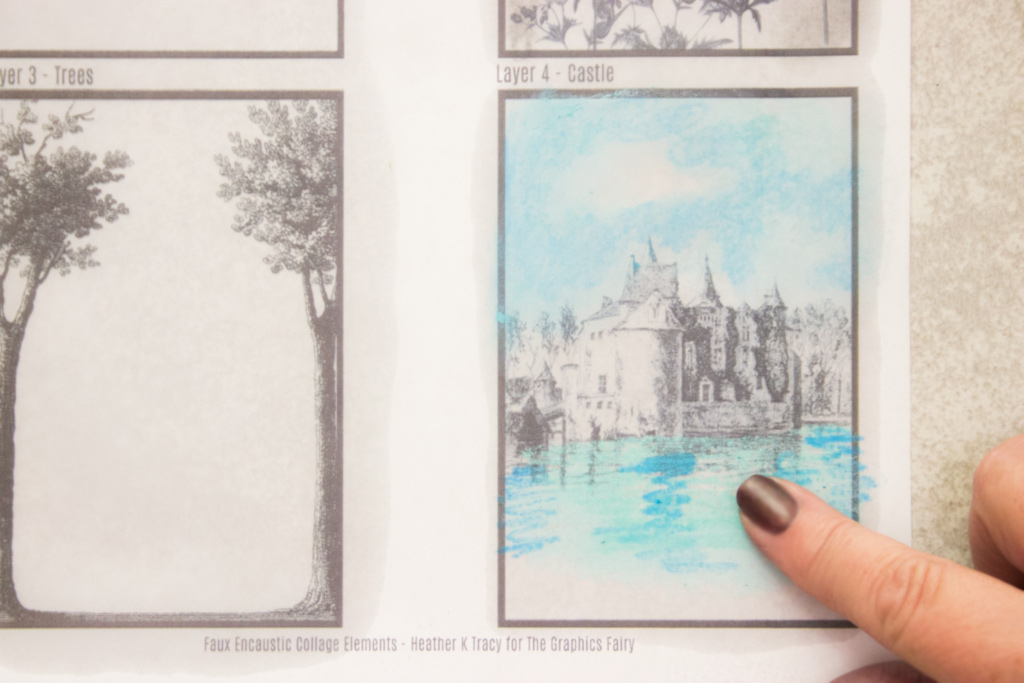
Next, grab a couple of shades of blue, and scribble a loose ‘sky’ on the Castle Image. Add blue and green scribbles to the watery reflection.
Gently blend with your fingertips to create a softly romantic effect.
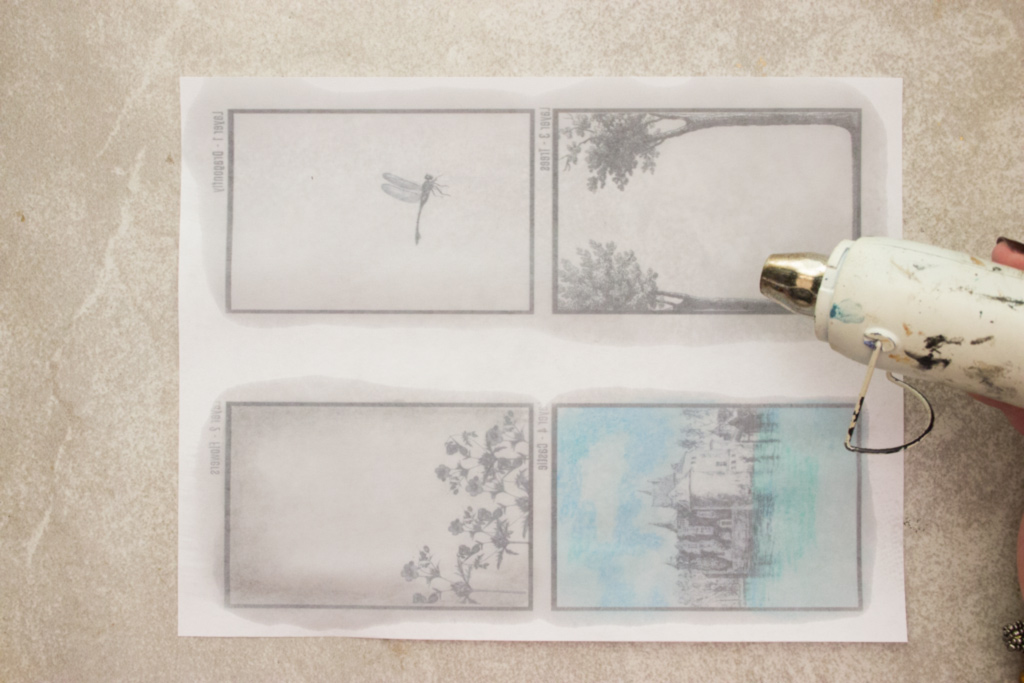
Use a Heat Tool to evaporate any remaining moisture from the paper.
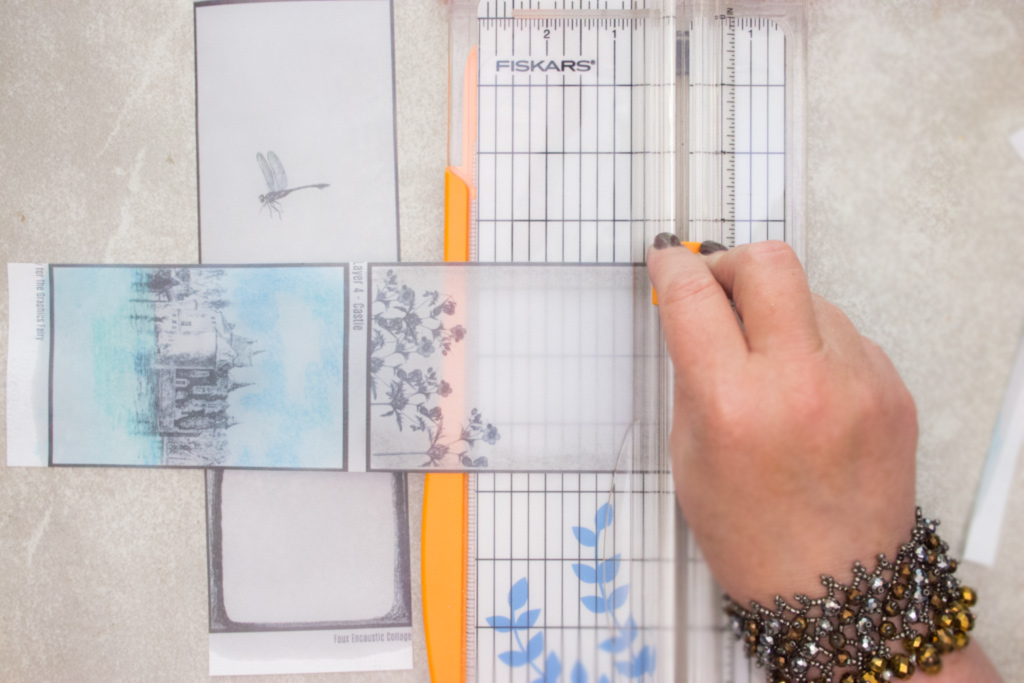
Trim the images along the borders.
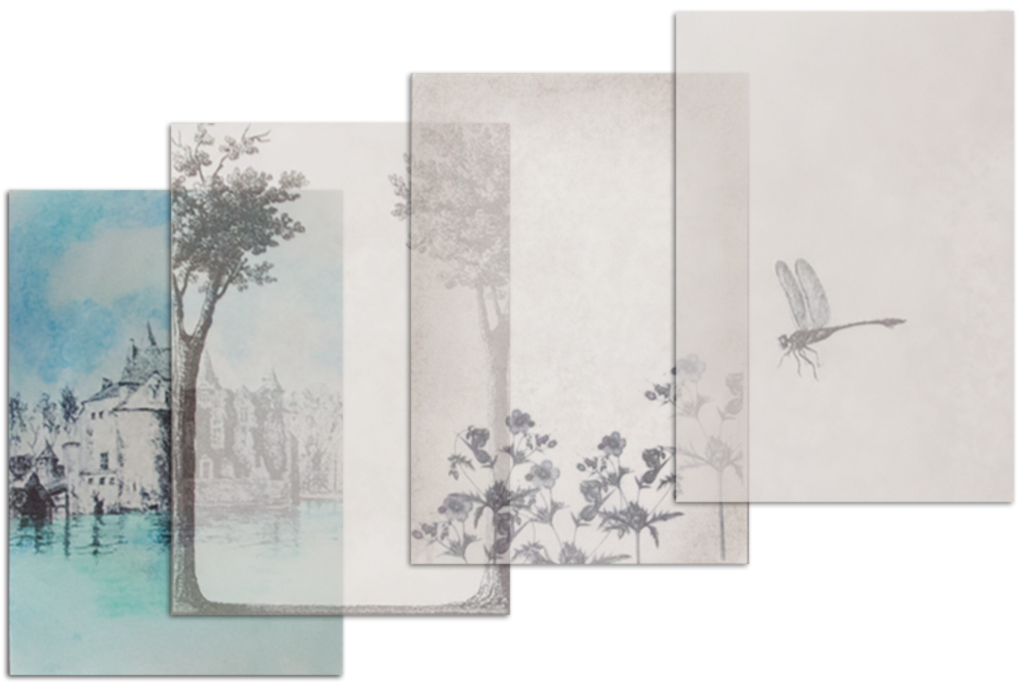
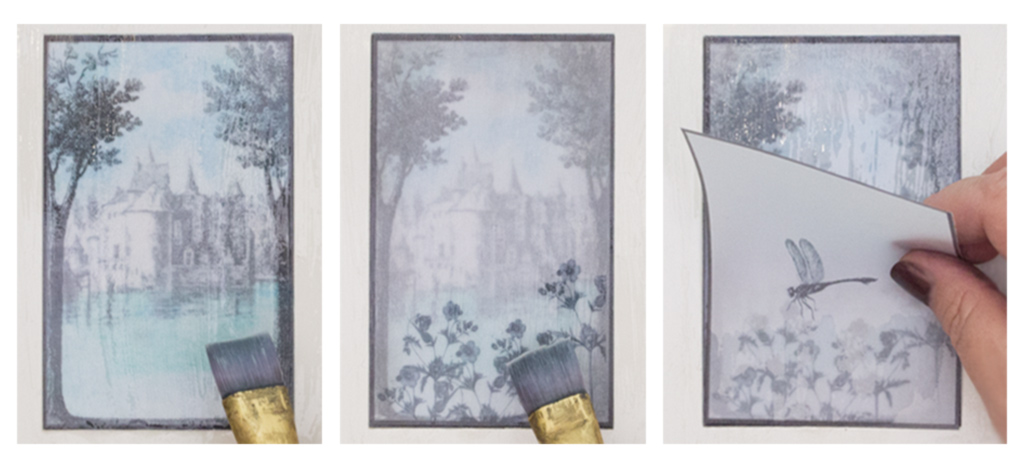
Here’s how they will ‘stack’ up, from bottom to top:
- Castle
- Trees
- Flowers
- Dragonfly
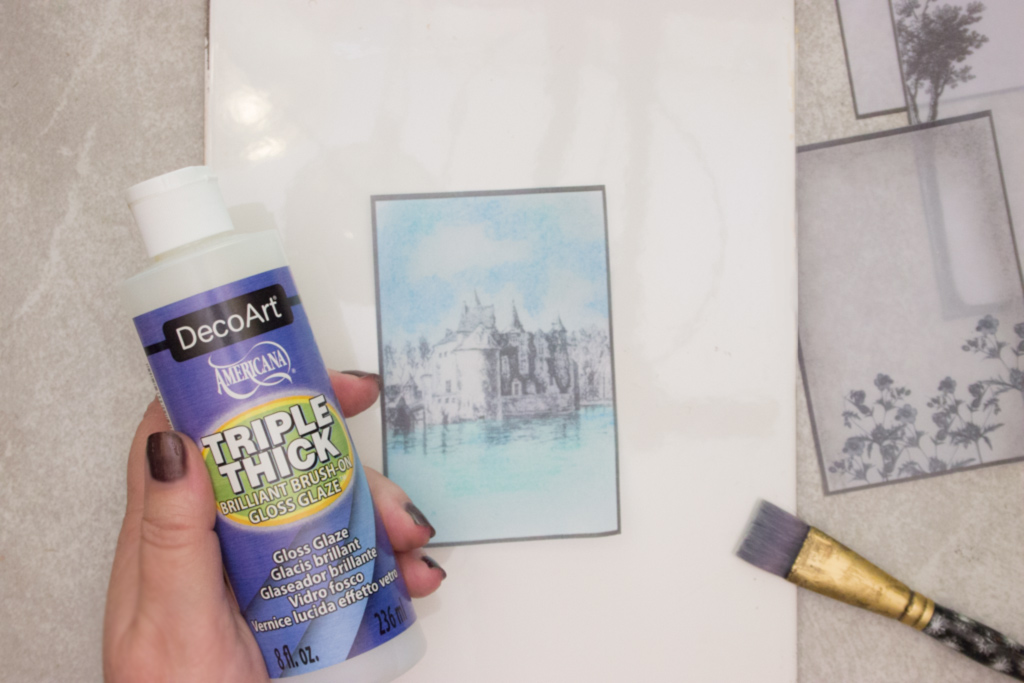
Place the Castle Image onto a smooth, clean, non-porous surface.
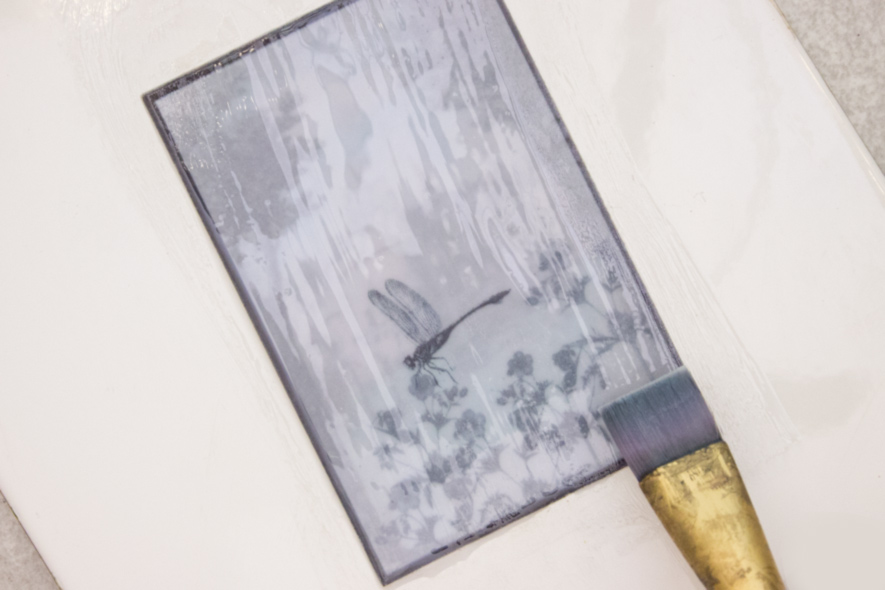
Apply a generous coat of Triple Thick to the surface of the image, making certain to extend the brushstrokes beyond the boundaries, onto the work surface.
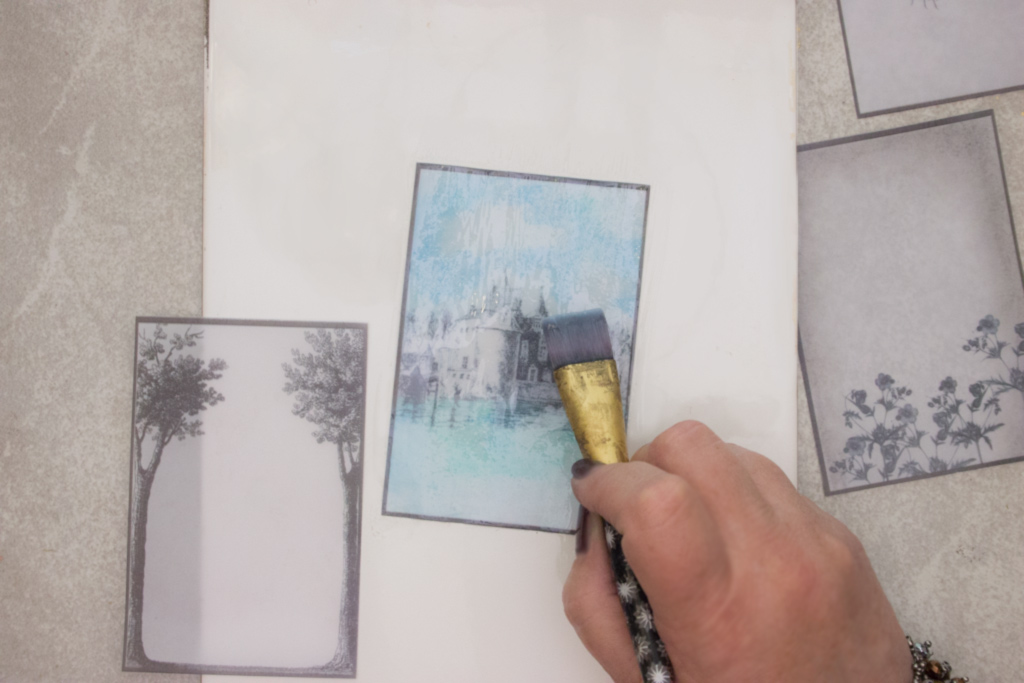
While the Triple Thick is still wet, place the Trees Image on top of it, and apply another layer of Triple Thick over this layered stack of two images.
Repeat this process with the Flowers, and finally, with the Dragonfly Image.
Apply a final coat of Triple Thick over all stacked layers. Try to minimize brush strokes.
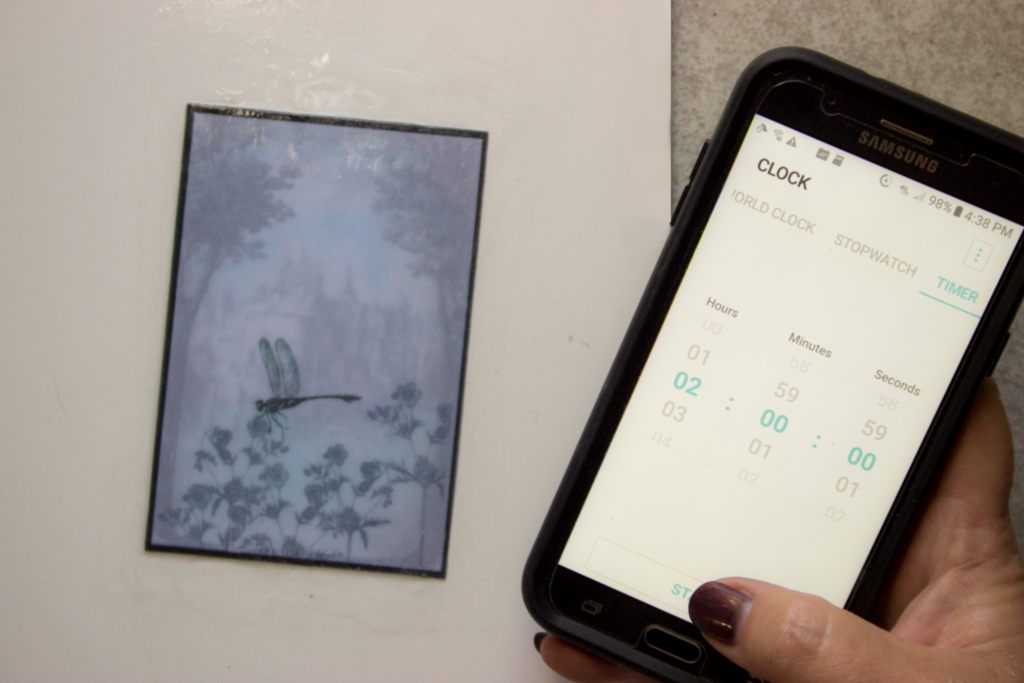
Allow the image to dry naturally. Depending on temperature and humidity, drying times will vary. Shoot for a minimum of 2 hours to begin with.
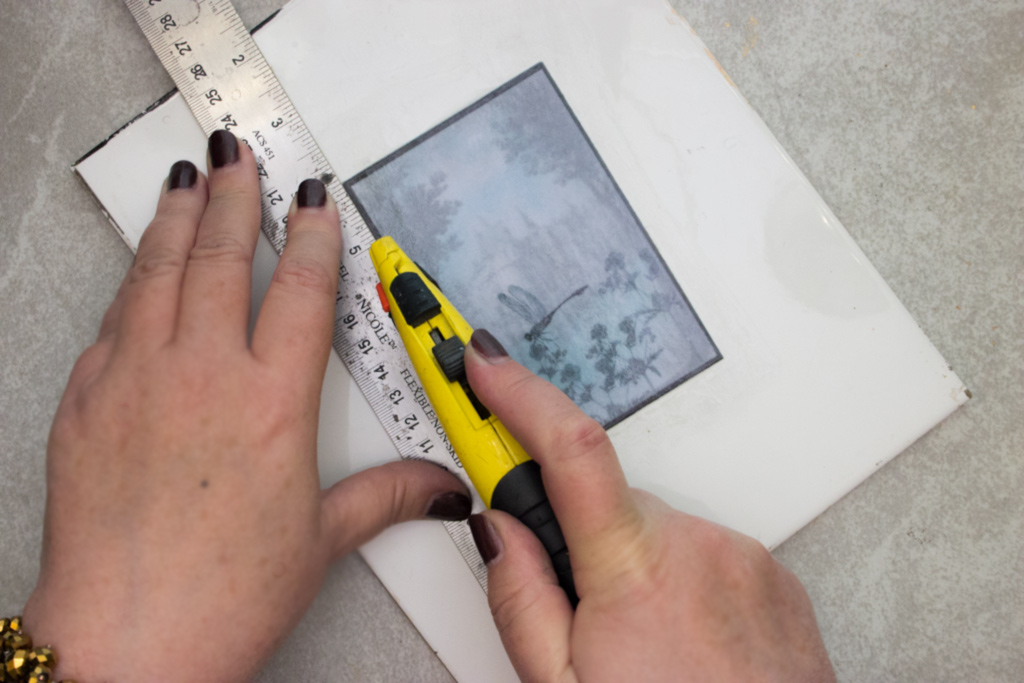
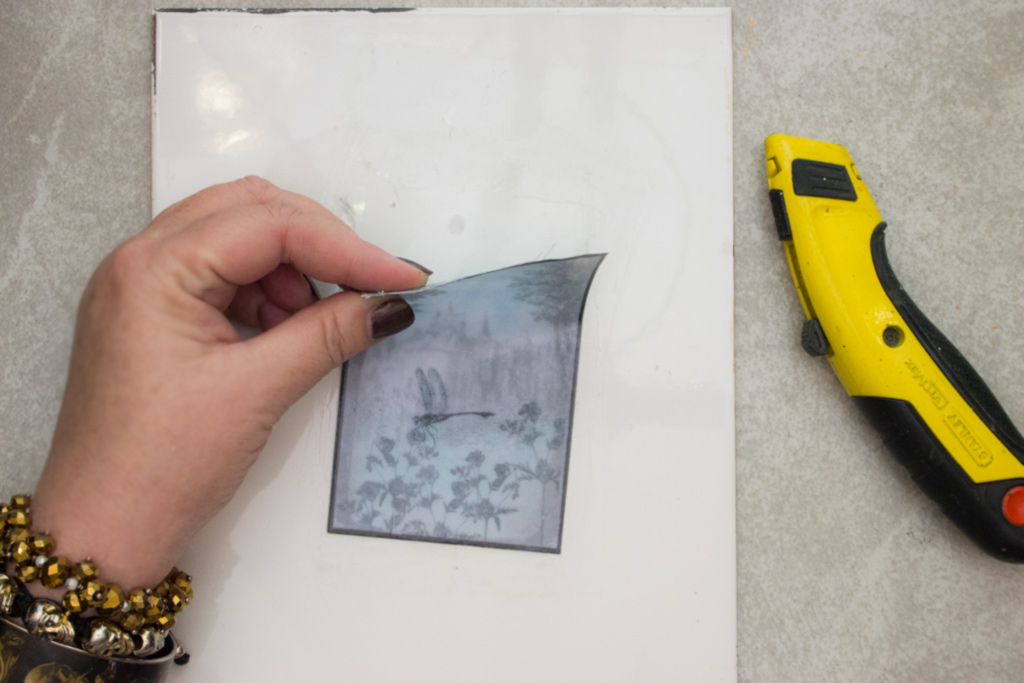
Once the Triple Thick has completely cured, ‘free’ the edges with a sharp blade drawn around the perimeter of the piece.
Use the edge of your blade to gently pry up one corner, then carefully peel the laminated piece off the surface.
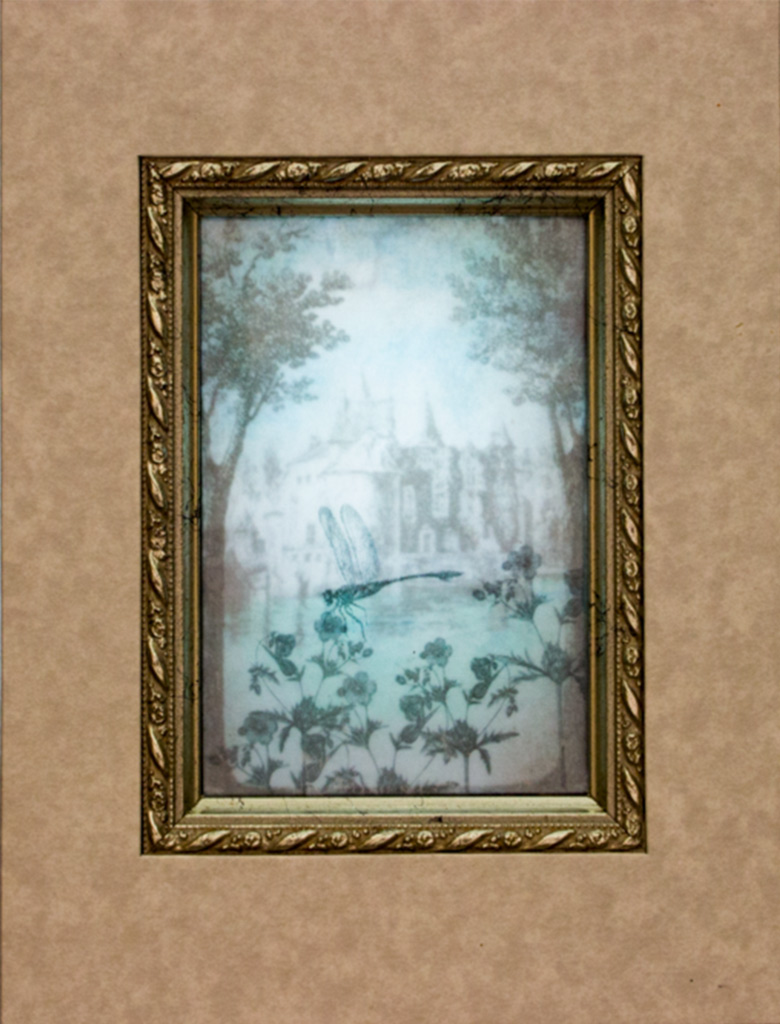
The material is translucent, but quite thick and sturdy. The Faux Encaustic Technique has resulted in a piece that is ready to use in whatever way you see fit! Here, I’ve temporarily mounted it over a night light. I’ll be making several of these – so pretty!
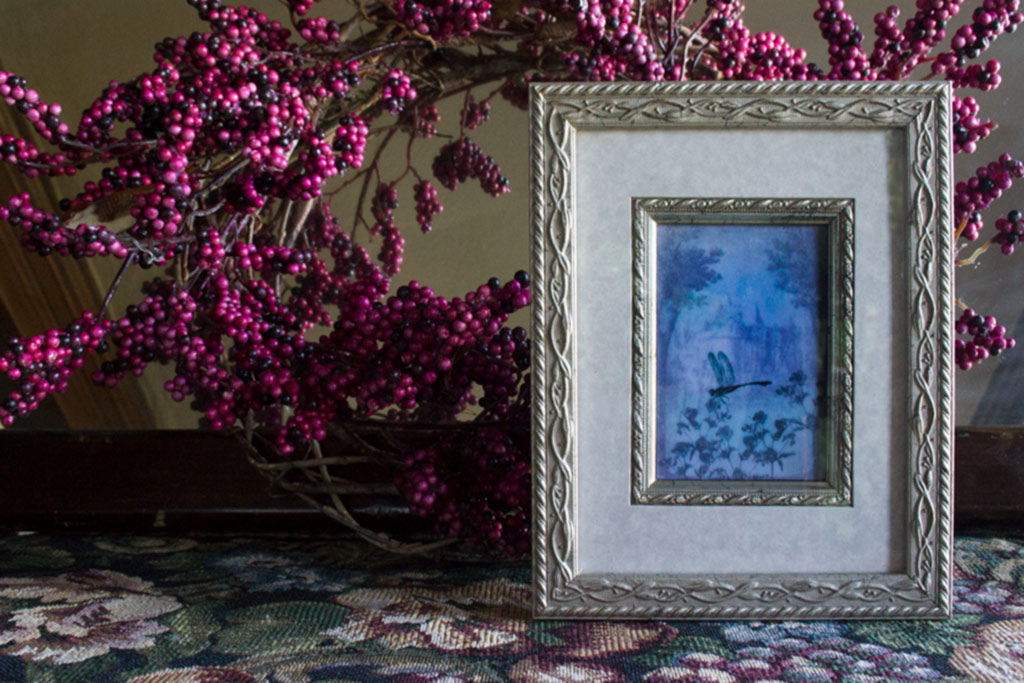
The soft and misty result looks lovely mounted in a frame, as well.
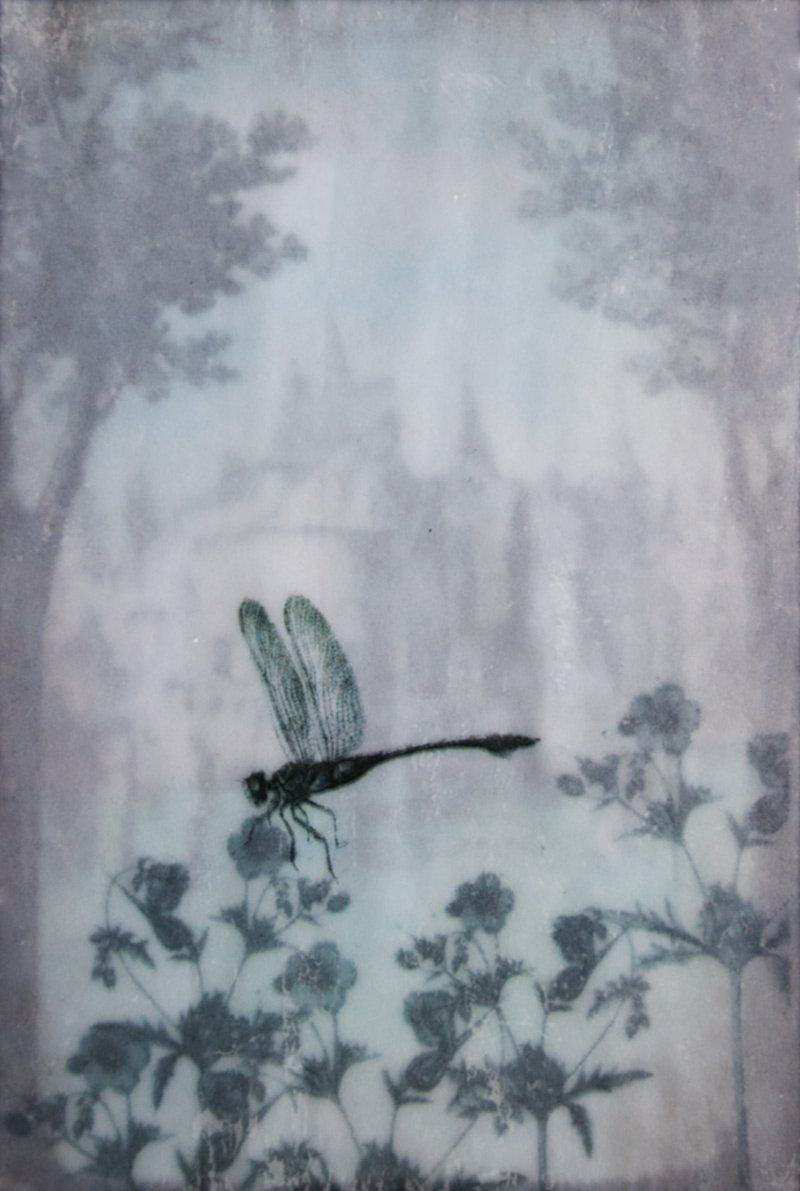
Here’s a final closeup of the layered images. I love the romantic atmosphere that layering these translucent images creates!
Thank you for visiting The Graphics Fairy today! It’s been a pleasure to share this fun discovery with you…and I hope you can envision many different ways of using this Faux Encaustic Technique in your Mixed Media Art!
C’mon over to the Thicketworks Blog – where there is always some mischief brewing!
Until next time,
Heather
Our students have SO much fun in the Mixed Media for Beginners online course…



Lorie A Waite says
I made this and put it on a Crown Royal bottle and added lights. Gave it to a friend as a gift, and now she wants me to make another one. Thank you for the great idea.
Heather Tracy says
Hi Lorie! Wow – that is so cool! I’m so happy that your friend liked the gift – and I love your idea of putting lights in the bottle. Thank you for letting us know how it turned out! xox
Cindy says
Thank you for sharing this! I have tried it and ended up with bubbles between the layers. could it be that i used too much triple thick gel? do you lightly squeegee the new layer before you put gel on it?
Heather Tracy says
Uh oh! I’m so sorry that happened, Cindy…sounds like it may be a combination of a bit too much Triple Thick, coupled with not smoothing each layer thoroughly between applications. You want to make sure you don’t leave a ‘puddle’ of Triple Thick between layers – ‘squeegeeing’ it out as you suggest is best! xox
Diane says
I am very excited to try this with some images from my genealogy work I have been doing. Wanting to make some “shadow box” memories for my daughters with pix & momentos from the past generations. . .gave me some new ideas on displaying & preserving the past. . .Thanks!
Heather Tracy says
Your genealogy work sounds amazing, Diane! I can totally see this technique being appropriate. Thank you for stopping by! xox
Kitty Tatman says
Hi! I’m surprised you don’t have to let each layer dry before proceeding… just seems as if the middle layers would stay tacky. Glad I read all the instructions!! Your tutorials are always amazing, thanks so much for sharing.
Heather Tracy says
Hi Kitty! It’s possible that this would work well, drying each layer before adding the next. I’m impatient, so I just went for it. The results are fully cured, in spite of it! Thank you for your kind words, my friend. xox
Rupa says
So mysterious! Love the simple technique used to achieve such gorgeous effects. You are a genius and a generous soul. Thanks once again for sharing these beautiful projects and detailed steps.
Heather Tracy says
Hi Rupa! You know I can’t keep it to myself when I figure out something cool! We’ve ALL gotta have the info… it warms my heart that you find this effective. Thank you, my friend. xox
Annette K. says
This is awesome! I love that it looks vintage and ethereal.
Heather Tracy says
Ethereal! That is the perfect word, Annette! So happy that you like it – hope you’ll play with the technique. xox
Lanna says
I love this! Another hauntingly beautiful project you’ve given us! Thank you, Heather, for being so generous with your talent and such a sweetheart to boot!
Heather Tracy says
Hey Lanna! It is my pleasure to share these little discoveries with my friends! Thank you so much for your kindness! xox
Su C says
I have to try this, it’s beautiful ….. you don’t need a hard non porous surface to work on though …. when you are doing something like this try laying down a piece of silicon coated parchment paper first … any hard surface then will work … once dry your piece will simply peal off the parchment and you can place it on your cutting board and trim …
Heather Tracy says
Good point, Su C. Parchment paper has a zillion uses! Thanks so much for pitching in! xox
Kristin says
Wonderful and Stunning!! (as usual!) What if you don’t have any Gelatos,- what would you suggest as a substitute?? You are amazingly Creative and are so generous for freely sharing your tips with us! You are truly a lovely person inside and out!!! We need more like you in this world!!!
Heather Tracy says
I think Distress Inks would work beautifully for this, Kristin. Maybe even watercolors…think blendable, soft colors. It’s my pleasure to share these little discoveries with you, my friend. Thank you for being so kind. xox
Dorothy says
This is such a beautiful effect. I love the atmospheric look of fog. This seems so much easier than encaustic. Can’t wait to try it. Thank for sharing.
Heather Tracy says
Thank you so much, Dorothy…that softness and mystery makes this such a pleasant little technique. xox
Rosemary says
So gorgeous and romantic love it
Heather Tracy says
Hi Rosemary! That softly atmospheric effect just thrills me – so glad you like it too! xox
Linda Knox says
Oh how fun this is going to be to make. Thanks oh mighty creative one!
Heather Tracy says
Ha ha! Silly girl. But, YES, it’s fun! Thank you, as always, Linda. Your kindness is deeply appreciated. xox
Peggy S says
Very fun effect, and not too hard to do, it appears. Thank you for sharing this!
Heather Tracy says
Not hard at all, Peggy! And just think of the fun compositions you can make with your favorite Graphics Fairy Images! Yay! xox
Ruth Bryant says
Lovely.
Heather Tracy says
So glad you like it, Ruth! Thank you. xox
Dorthe Hansen says
It is stunning Heather, a fantastic result, of all the layers on top of each other,
dreamy, and maybe as seen, on a foggy day , where things are kind of disappearing .
Magical with the water, and darker “frame” .
I dont know if the Triple Thick , is available here , but maybe I can try another .`
Thank you again, wonderful woman, for yet another gorgeous how to.
Big hugs, from Dorthe xxx
Heather Tracy says
Hi Dorthe! Whatever clear gloss medium you have available should provide a similar effect…thank you so much for leaving such encouraging comments, my friend. xox