Decoupage Technique
Hi, this is Heather, and today, I’m going to share this wonderful Decoupage Technique for your craft projects! This charming Golden Grunge Technique adds the flair of metallic glimmer to your decoupage projects!
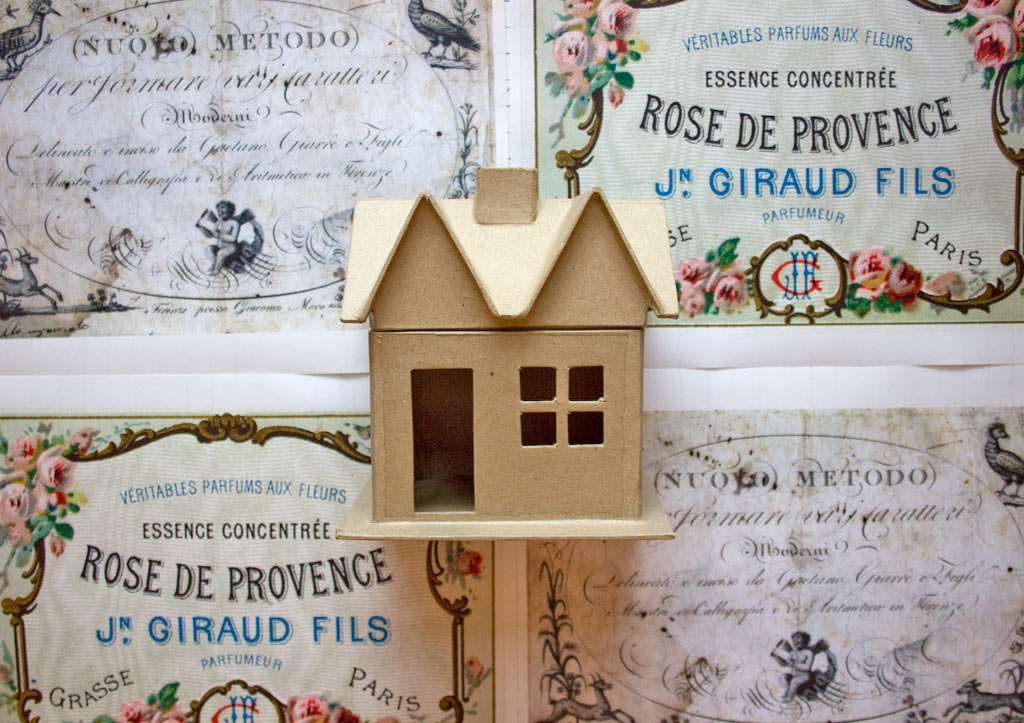
By using just two classic Graphics Fairy images, we can cover this entire Paper Mache House.
Once the decoupage is complete, let the Golden Grunge Begin!
Source images:
Decoupage Technique Supplies:
- A Paper Mache House (these are a bit smaller than the one that I used, mine was 6″)
- White Gesso
- Distress Stain: Black Soot
- Distress Stain: Walnut Stain
- Black Craft Paint
- Inka Gold: Old Gold
- Paint brushes
- A container of water
- Scissors and/or Craft Knife and Cutting Mat
- A pencil
- Aleene’s Tacky Glue
- Mod Podge Matte Finish
- A Heat Tool
- Medium Grit Sandpaper + a Craft Stick
Optional:
- Dresden Trim
- Adhesive Flat Backed Pearls
- Prima / Iron Orchid Vintage Decor Moulds: Baroque No. 3
- Paper Clay
How to add a Golden Grunge Finish to Decoupage:
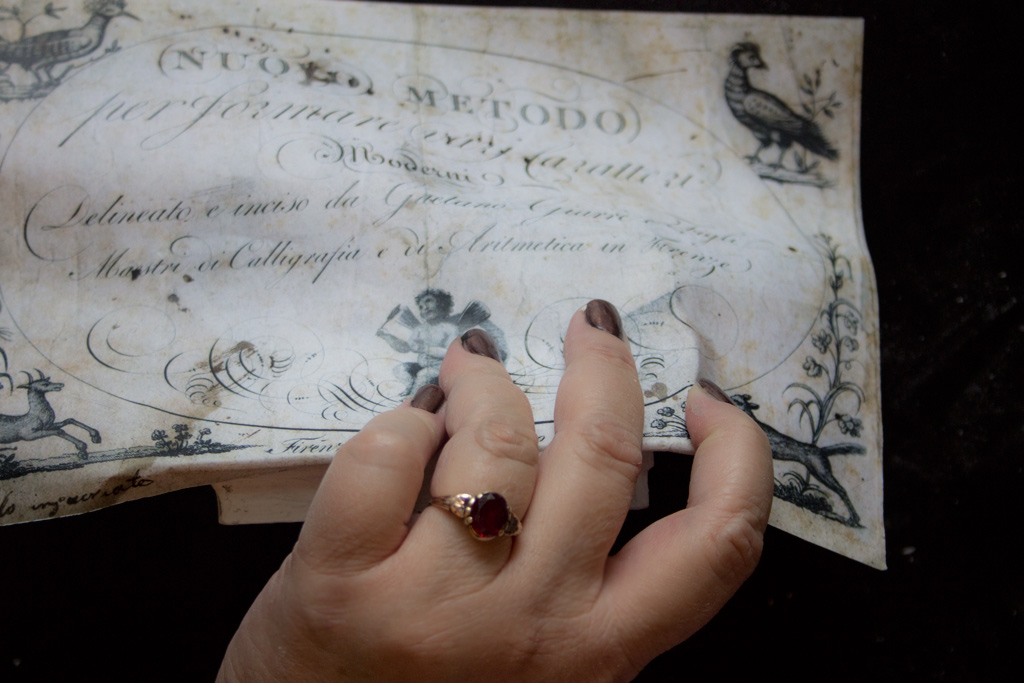
Begin by enlarging and printing out two copies each of the images of your choice.
4 sheets (2 copies of each print) of 8.5″ x 11″ printer paper will give us enough to work with.
Note: Because we will be using wet Media on top of the decoupage, determine whether or not to use Laser or Inkjet Prints. Laser prints were used in this demonstration.
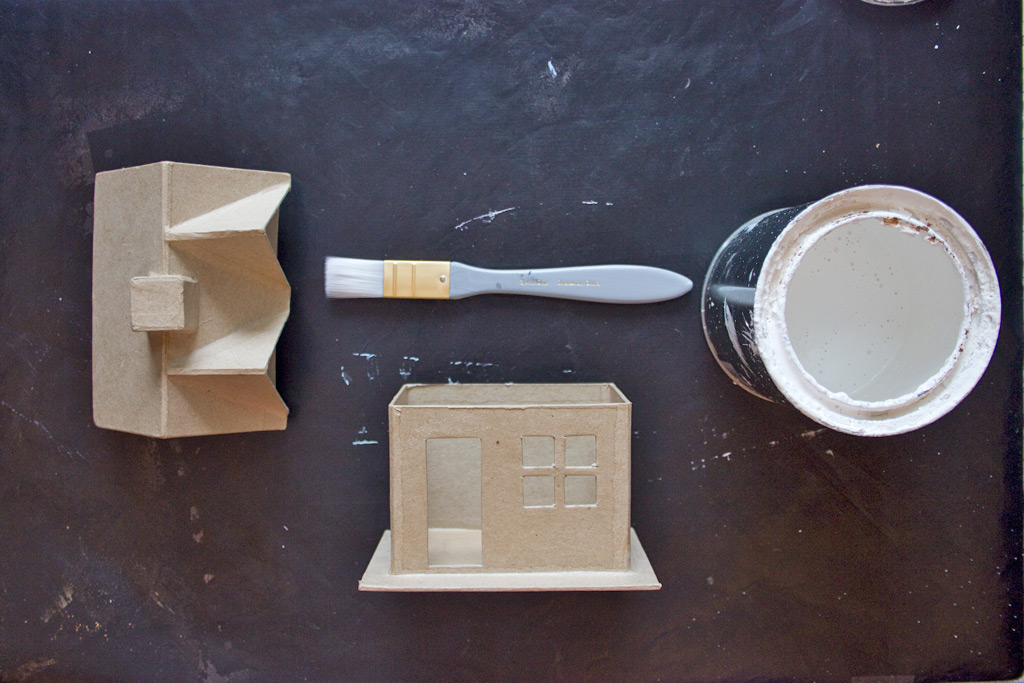
Gather your supplies, and remove any tags from the Paper Mache House.
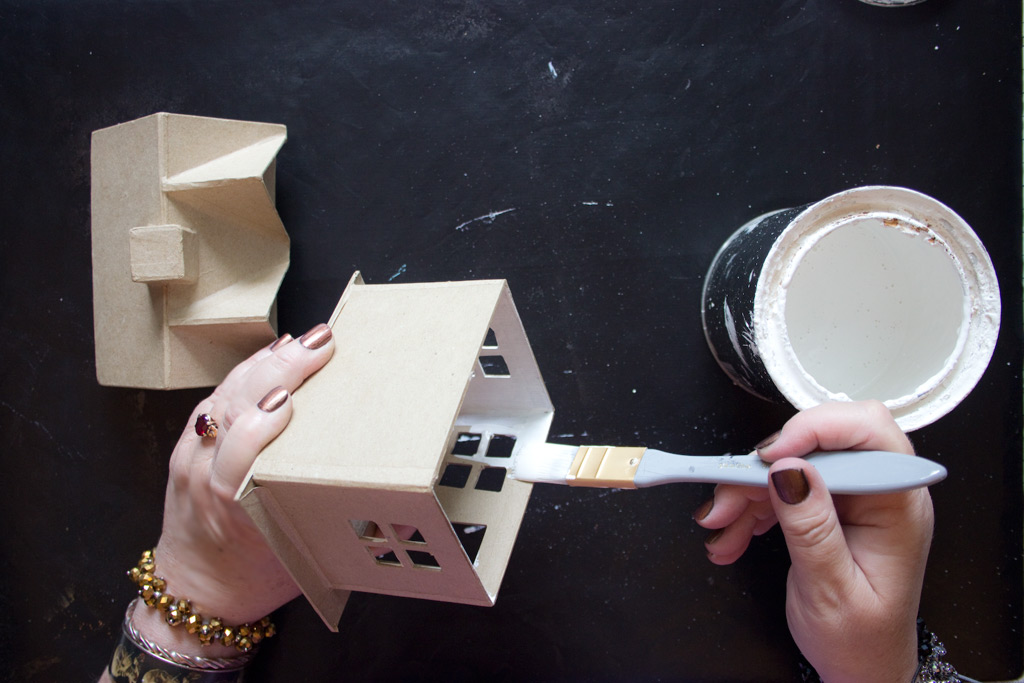
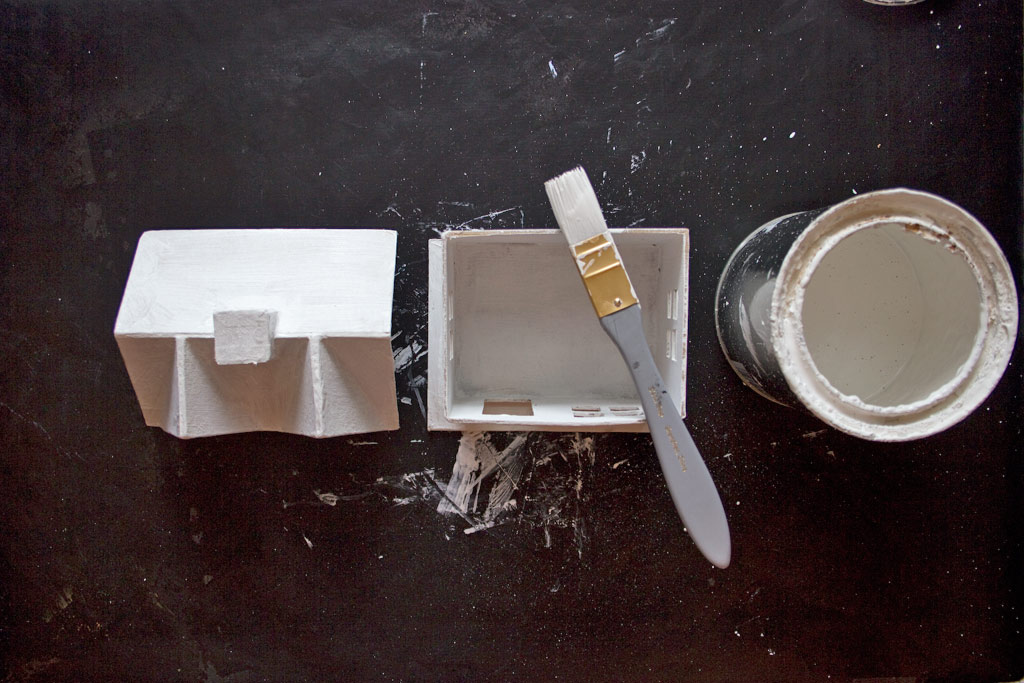
Paint a solid coat of White Gesso, or White chalk paint, inside and out:
Allow to dry.
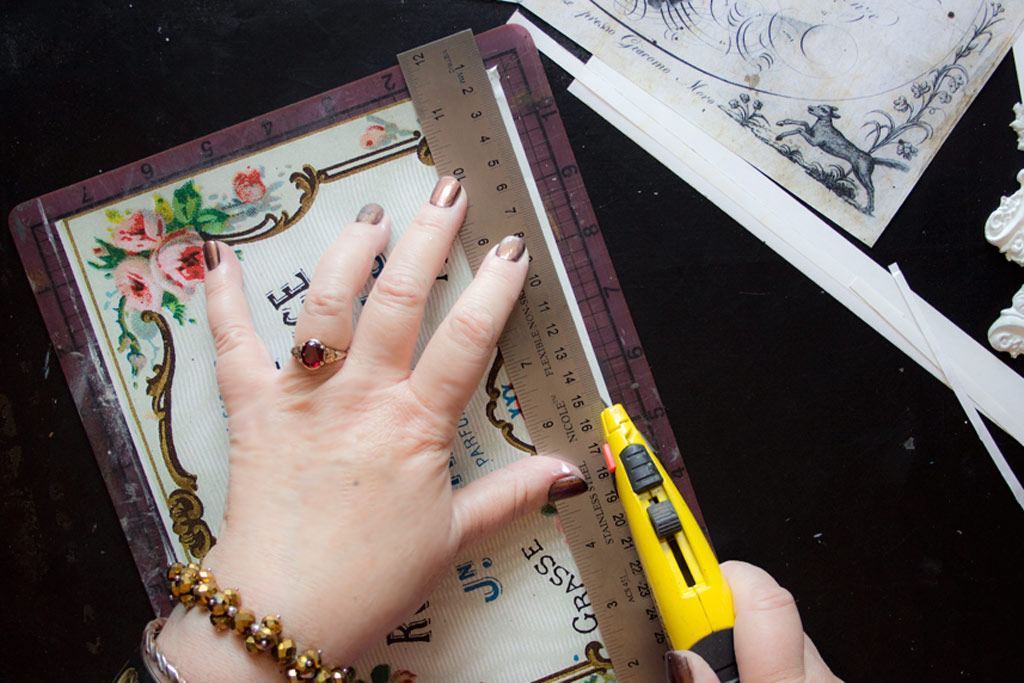
Trim the prints to remove all white edges.
Remove the Roof from the Base – set aside.
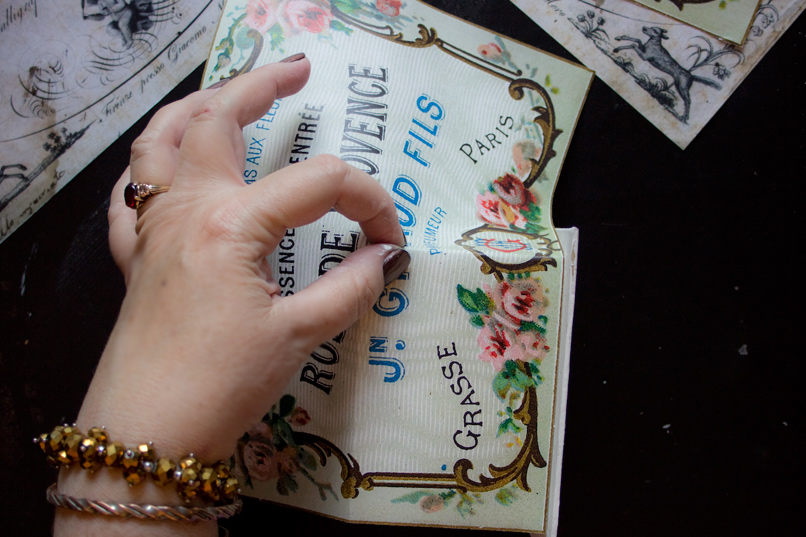
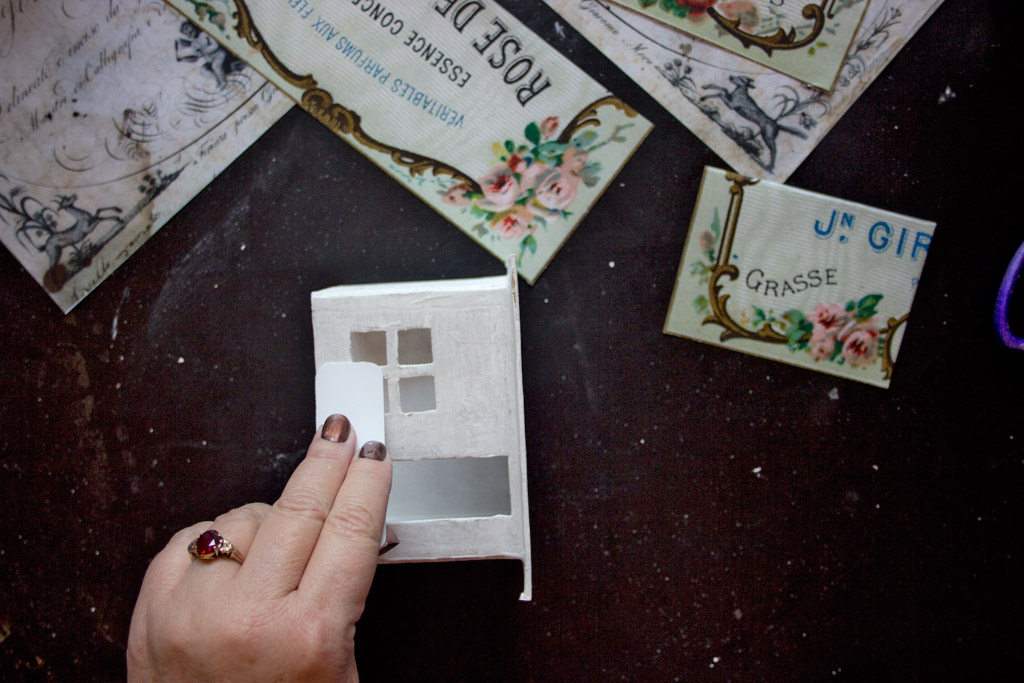
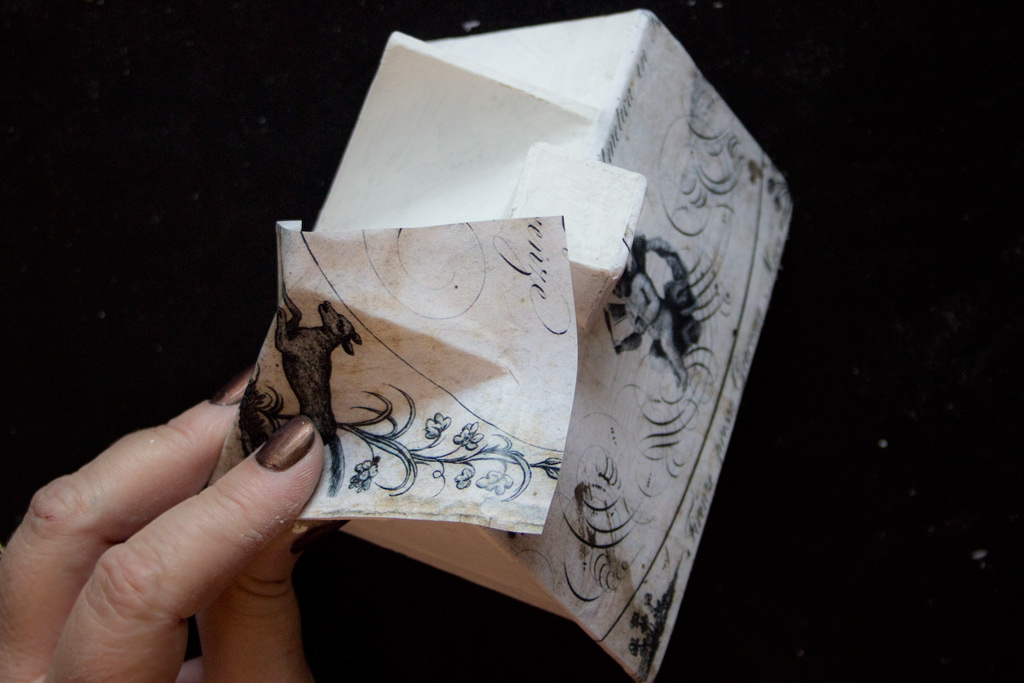
Fit a corner of your desired print across the base of the house front.
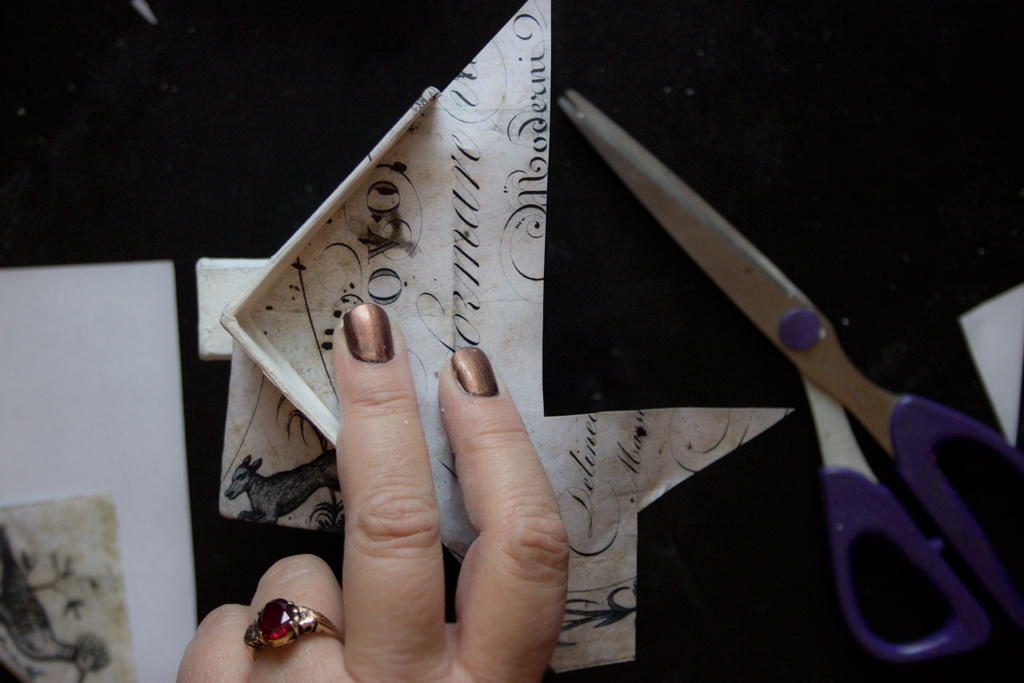
Crease the paper along the edges of the house with your fingers.
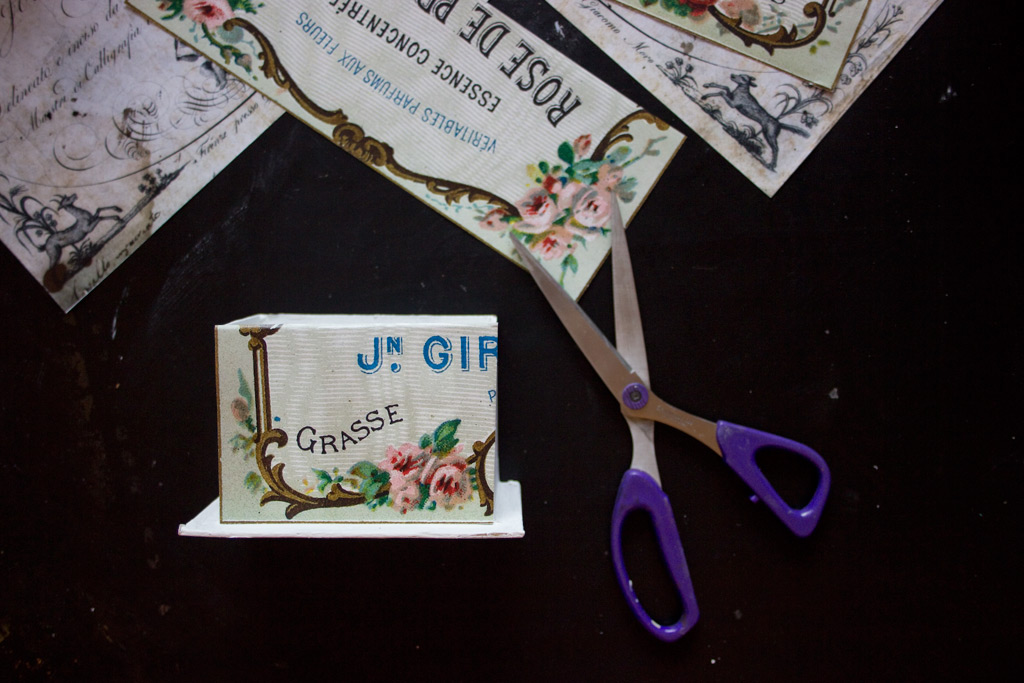
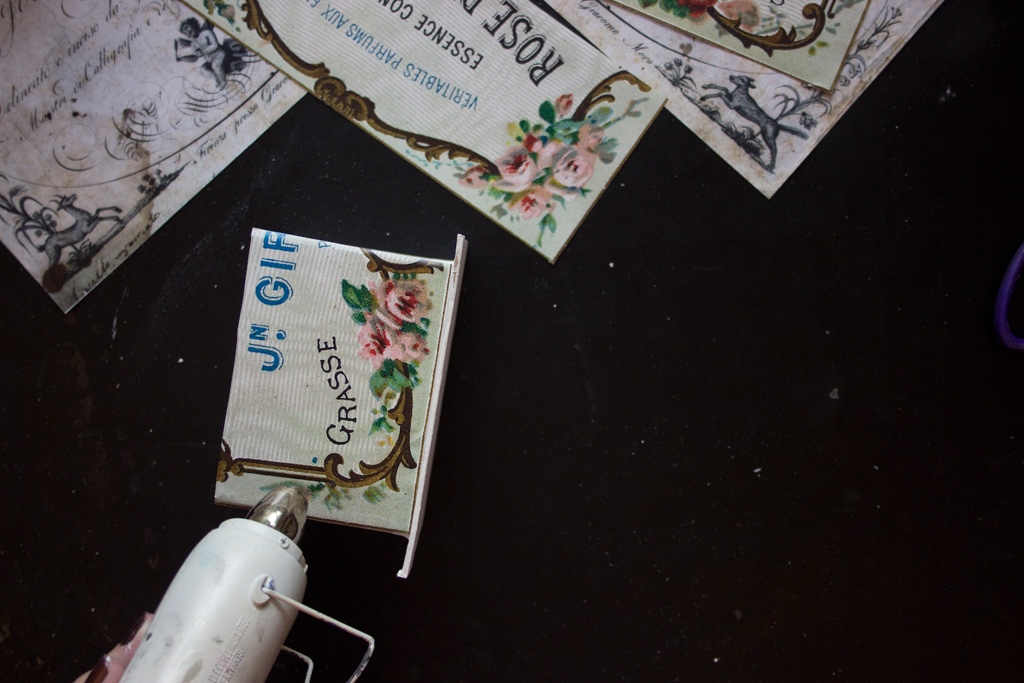
Cut along the creases.
Dry fit. Trim if necessary.
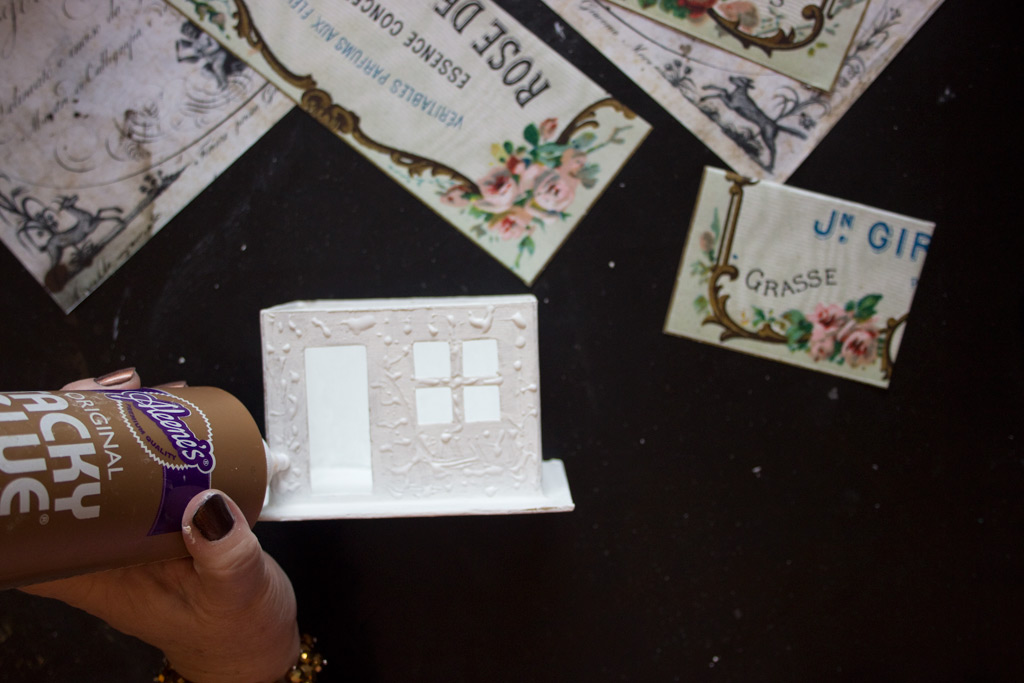
Apply adhesive to the house front:
Smooth the adhesive to ensure even coverage:
Press paper in place, and dry.
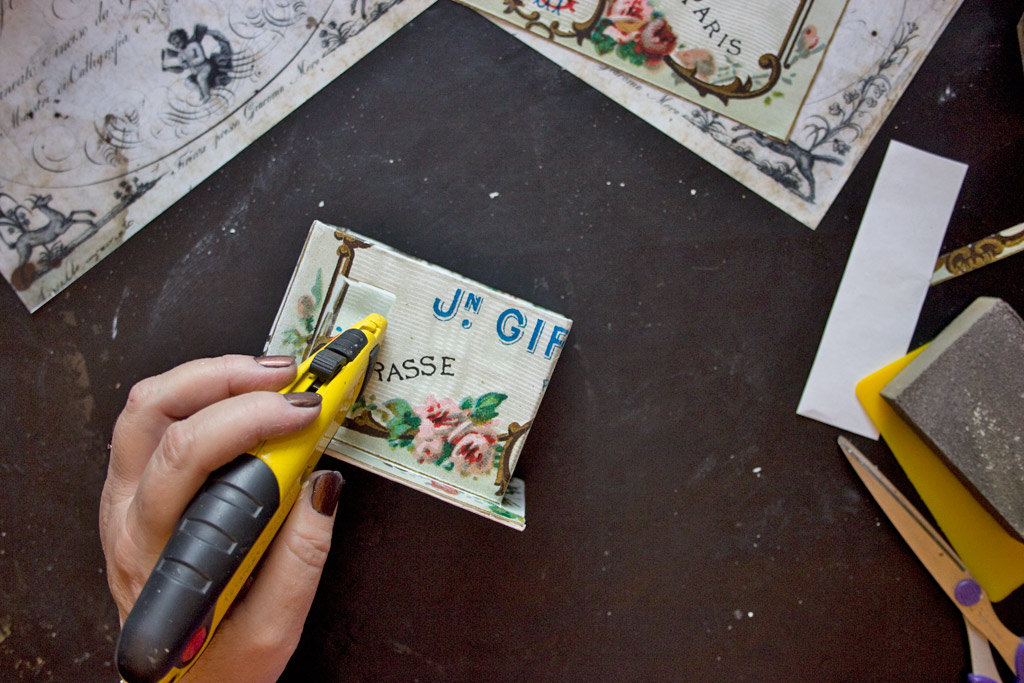
Once thoroughly dry, use a sharp blade to cut the paper out of the door and window openings.
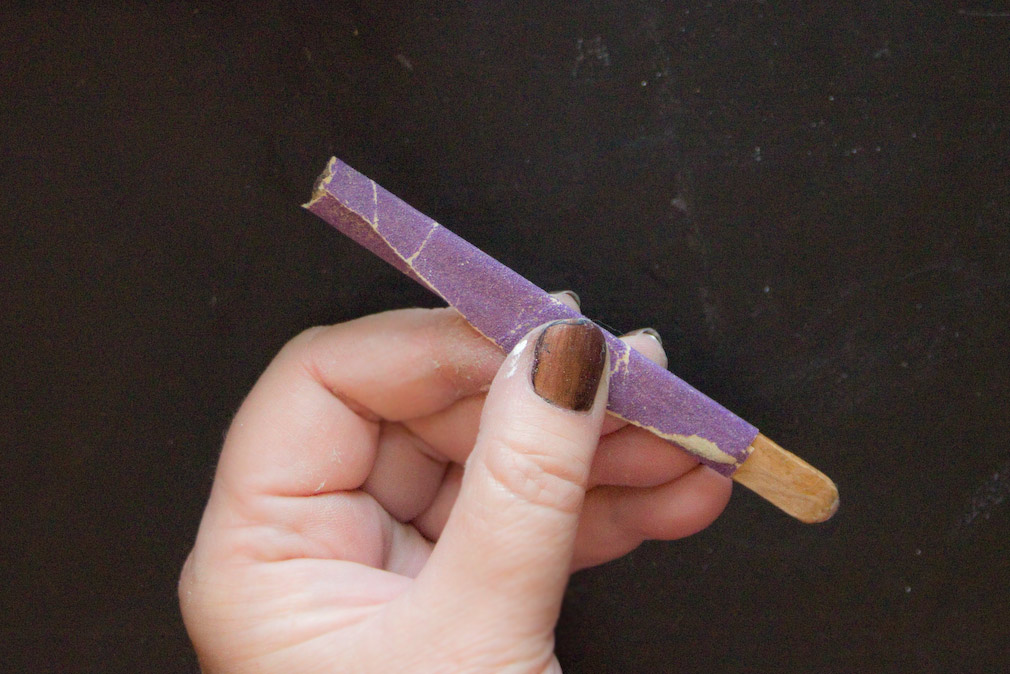
Fold a small scrap of sandpaper over a craft stick…
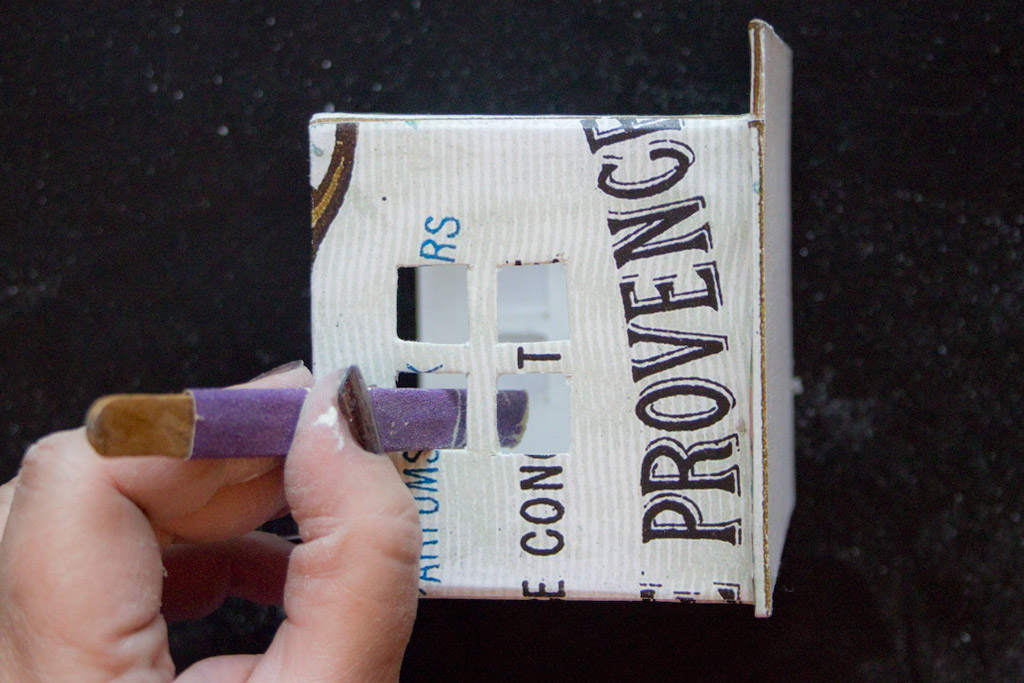
Neaten the edges of the window ‘panes’ and door opening:
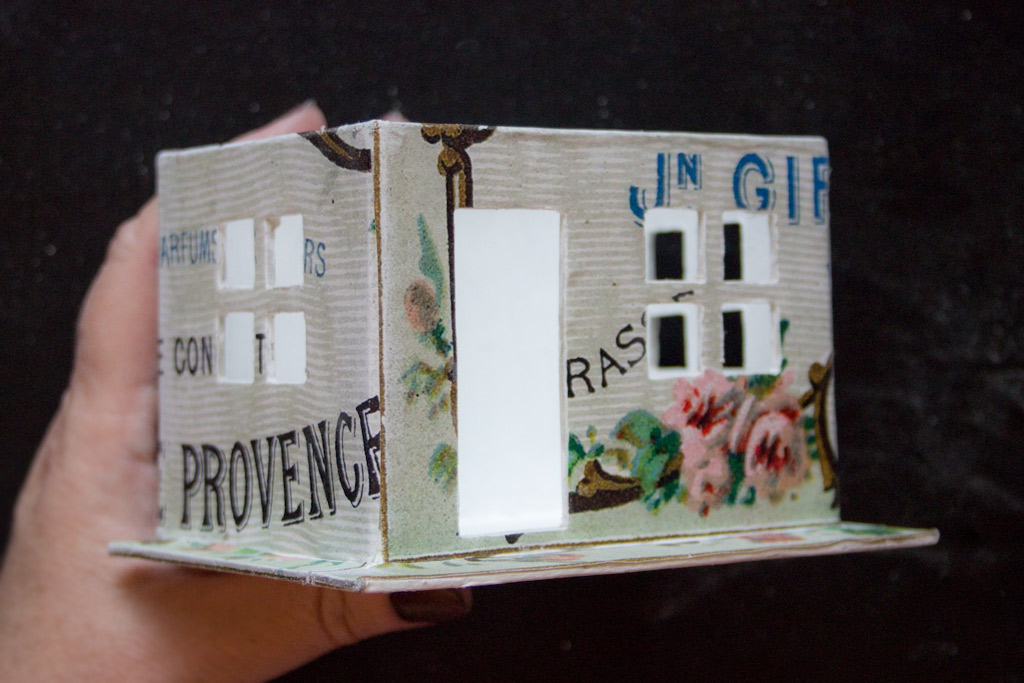
Continue this process until all sides of the house are complete:
Don’t forget to cover the bottom!
Covering the Roof is a little more challenging…but again, no measuring.
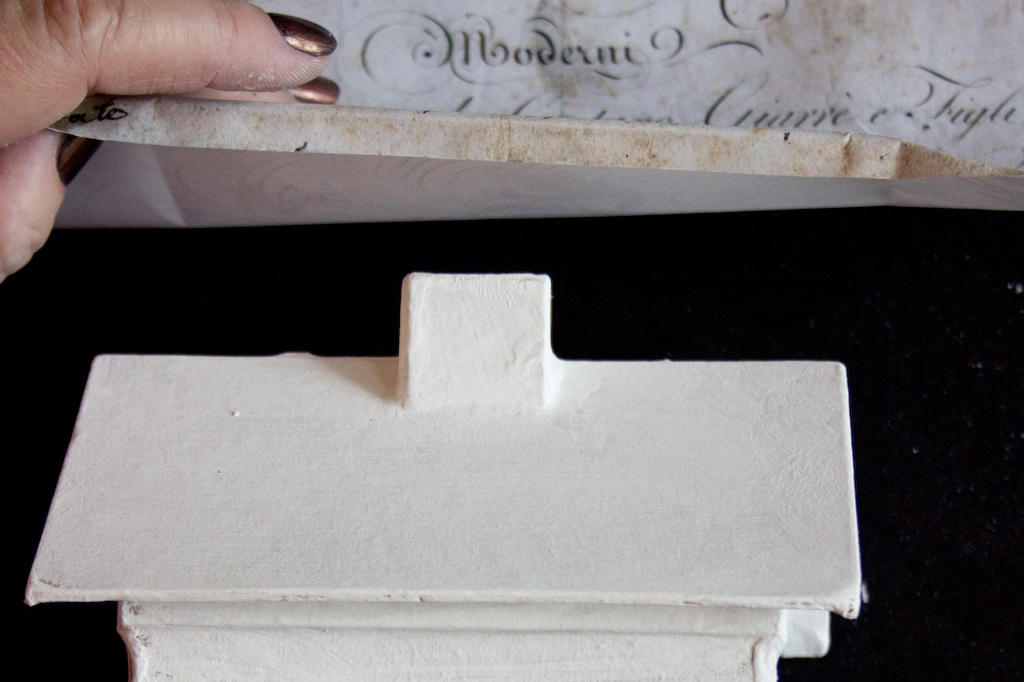
Fit the paper over the rear roof, folding the long edge to ‘catch’ beneath the eaves:
Use your fingers to crease along the outer edges of the roof.
Using the creases as a guide, trim the paper to the width of the roof.
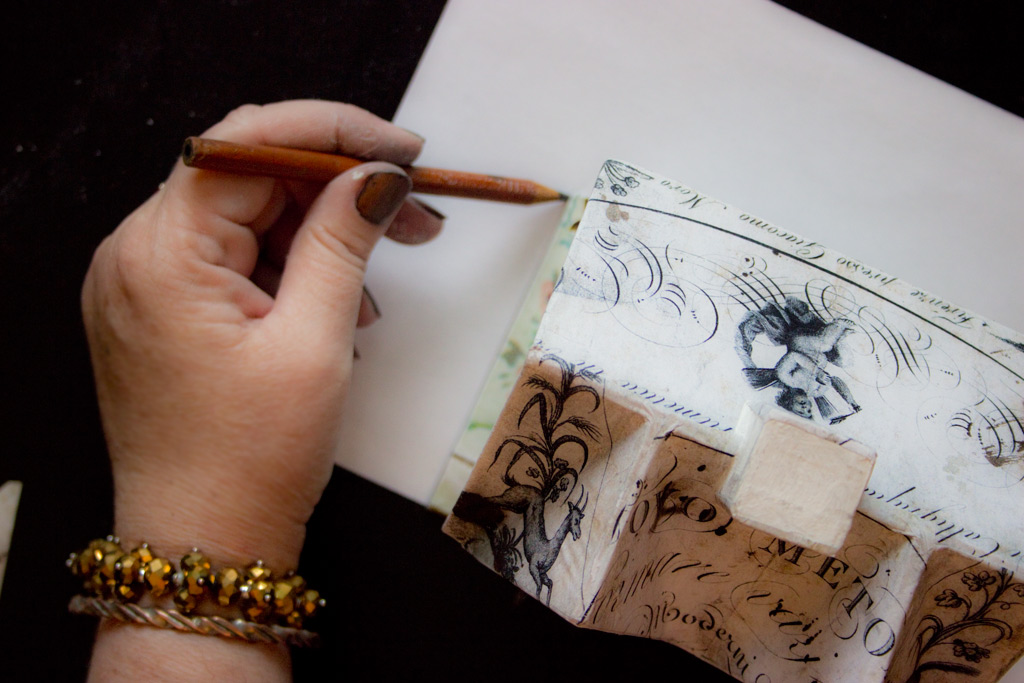
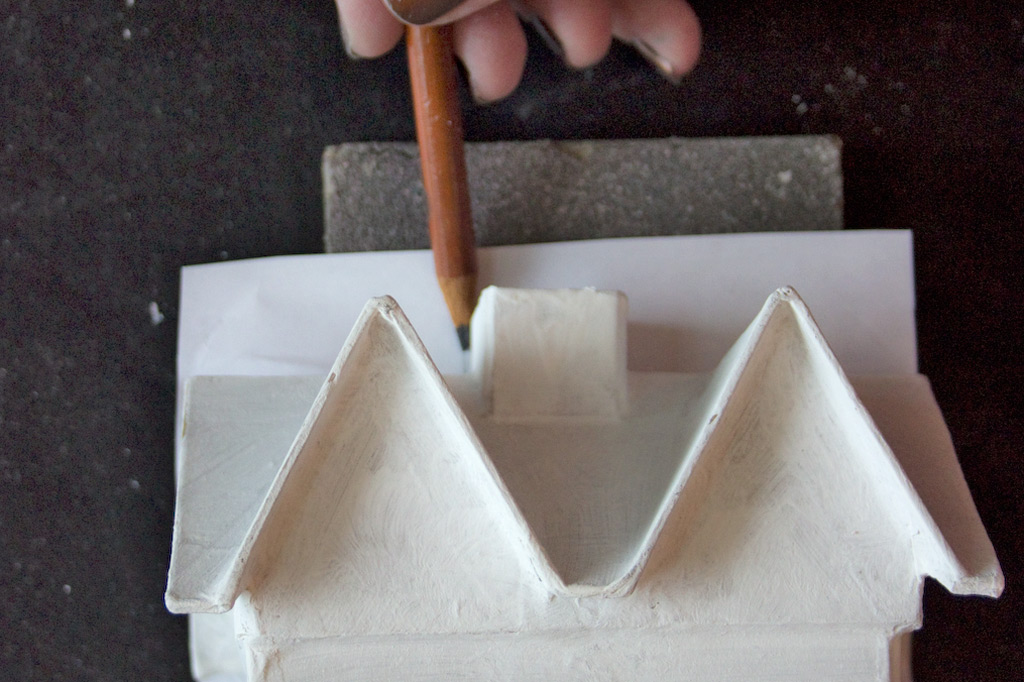
Place the roof face-down atop the trimmed paper, and trace the chimney with a pencil.
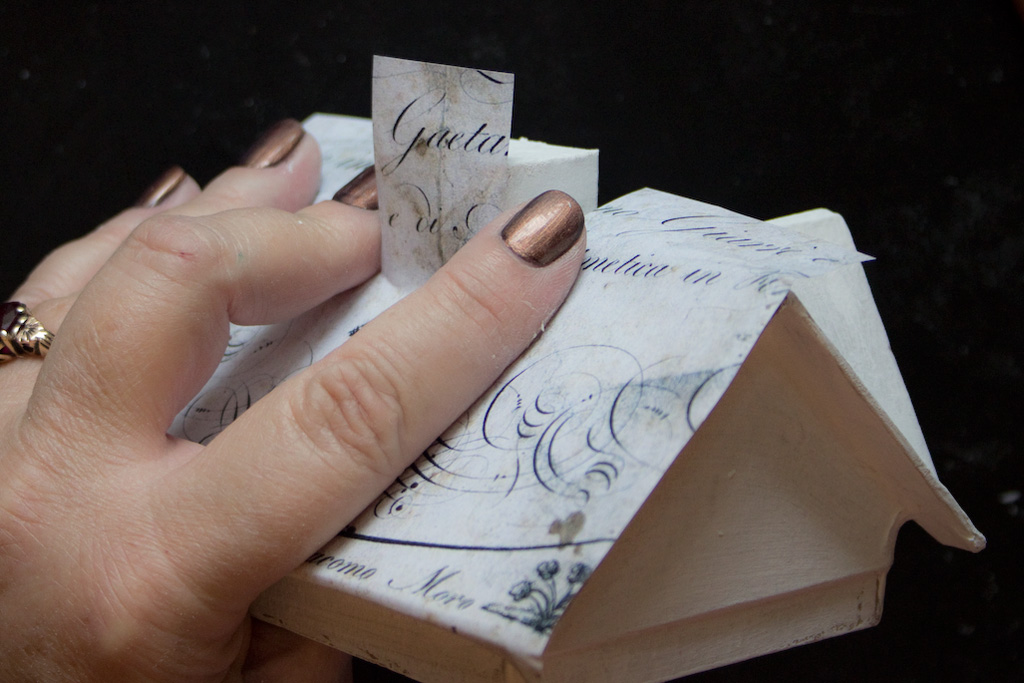
Cut two vertical slits in the upper edge of the paper, the width of the chimney.
Use this same process to cut/adhere pieces for the sides of the Dormers:
And the Gable Ends:
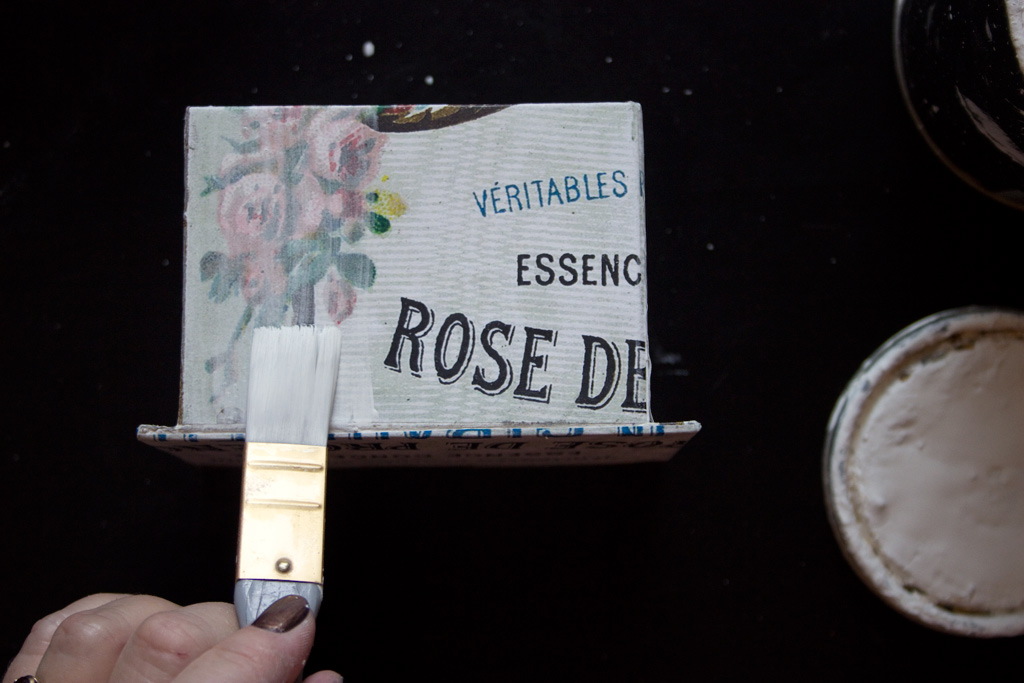
Once the adhesive has dried, add a light whitewash to mute the colors of the print:
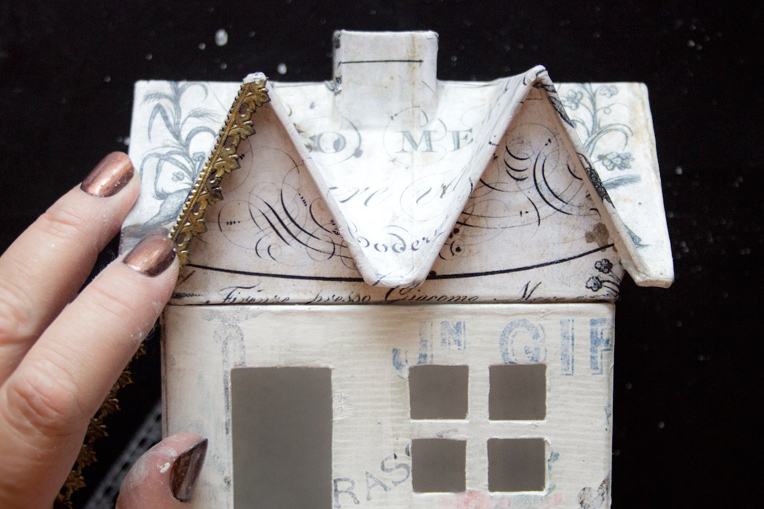
Adhere Dresden Trim to the Roof-Line, using Aleene’s Tacky Glue.
Allow the glue to cure.
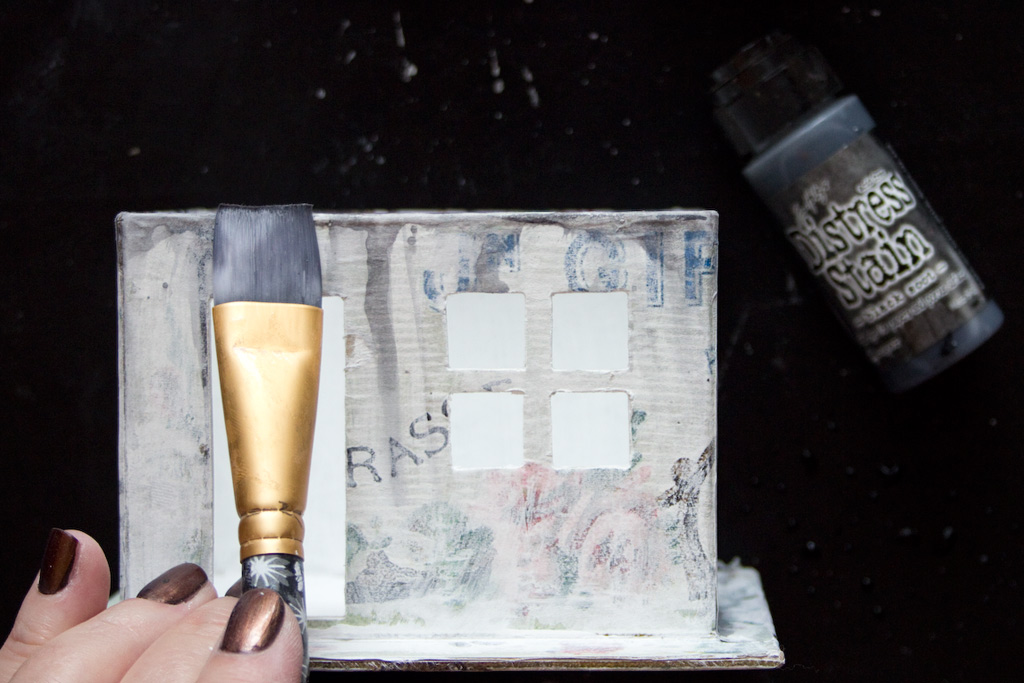
Using a watery blend of Distress Stain: Black Soot, add soft drips and a dark border to the piece:
Add a soft antique tint with a watery mix of Distress Stain: Walnut Stain.
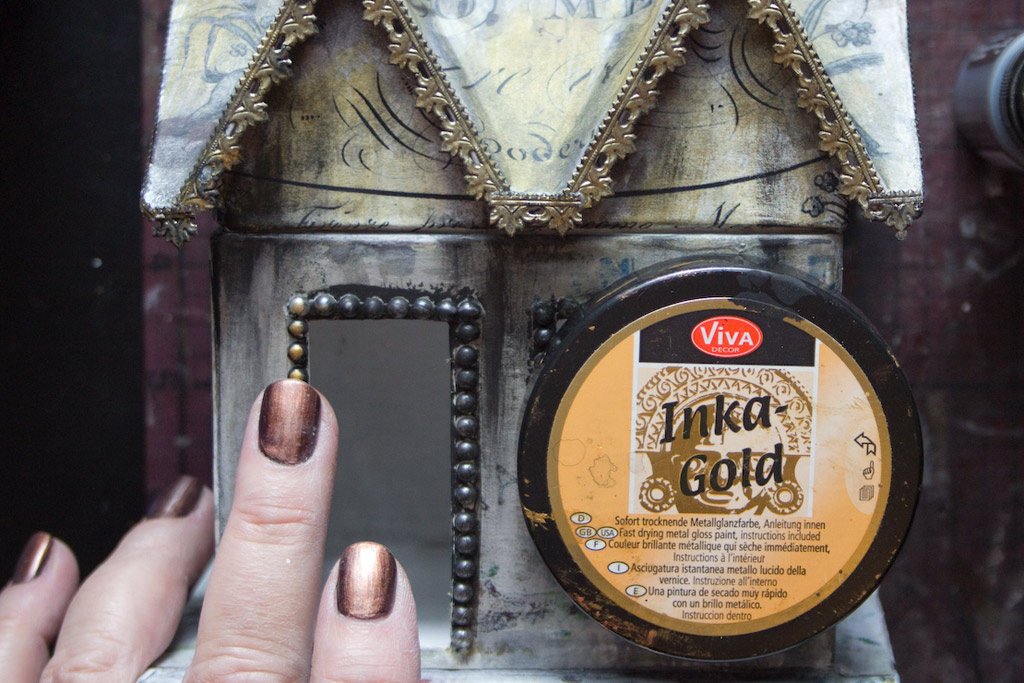
Embellish the door and window frames with Adhesive Flat Backed Pearls, if you wish:
Add more drama by outlining the door and window frames with Black Craft Paint.
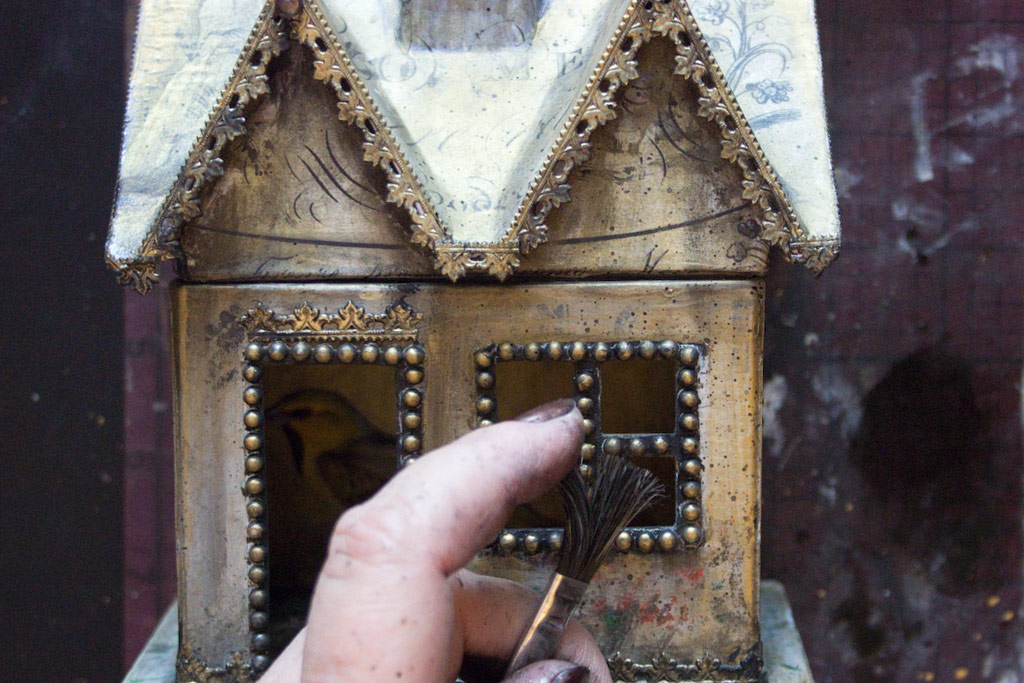
Add Inka Gold: Old Gold to the pearls with a fingertip:
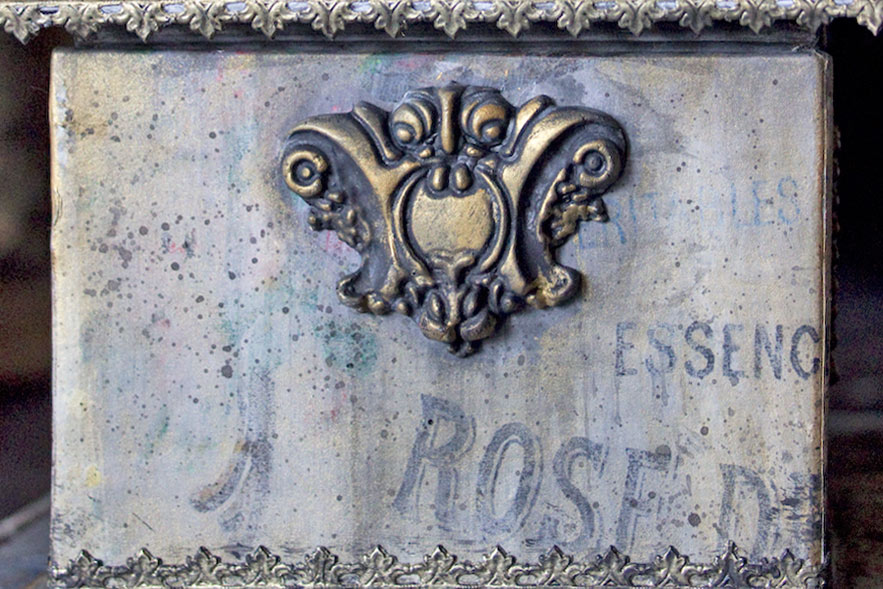
Add rich touches of Gold on the peak of the roof, and along the corners of the house.
Use a watery mix of Gold to coat the entire exterior.
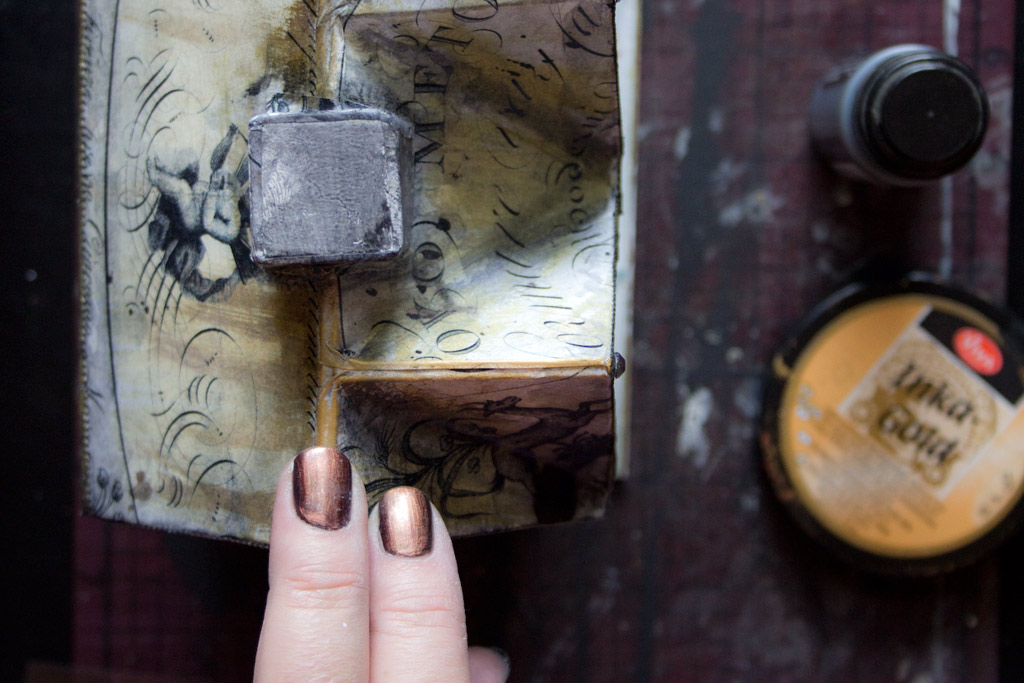
Paint the interior with a blend of Black and Gold.
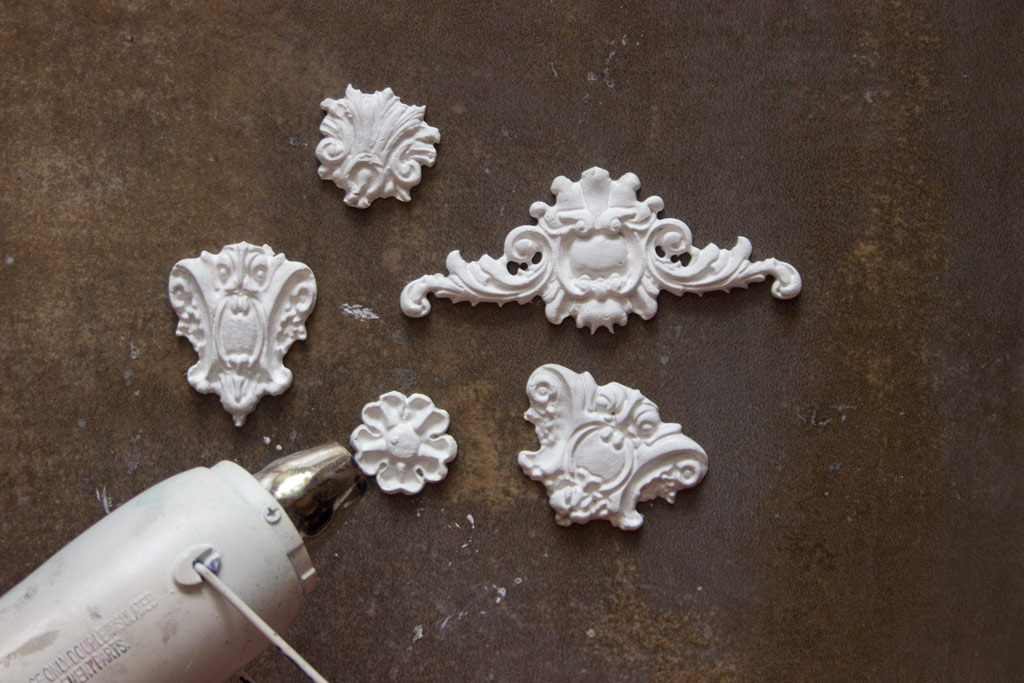
For even more magic, cast Paper Clay embellishments using the Prima / Iron Orchid Vintage Decor Moulds: Baroque No. 3 (other Prima moulds would work well too).
Once dry, Seal with Gesso or Paint. Dry.
Cover with Black Craft Paint, dry, then apply Inka Gold to the upper surfaces.
Adhere to the building, wherever you like:
Create tiny splatters of black using a stiff brush:
Once dry, seal with Mod Podge.
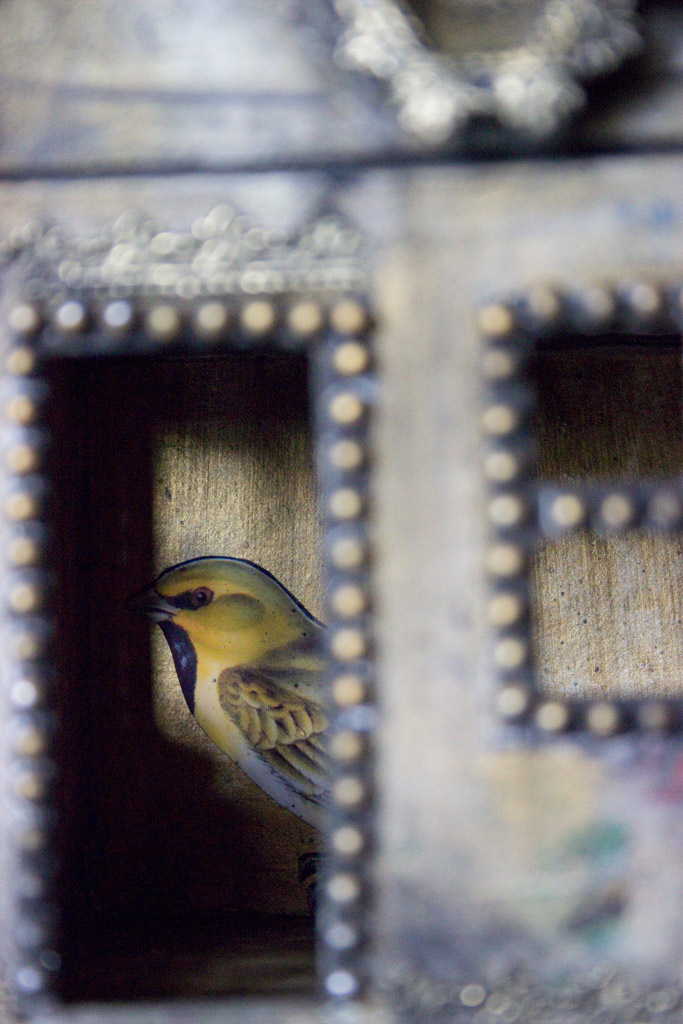
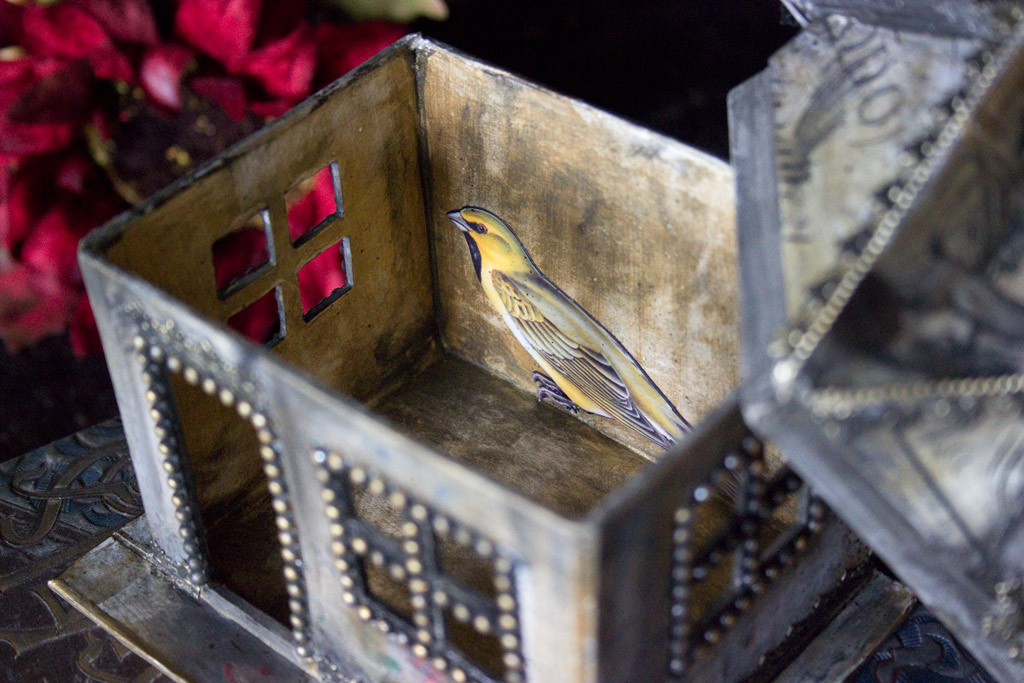
What’s this? Someone seems to have taken up residence!
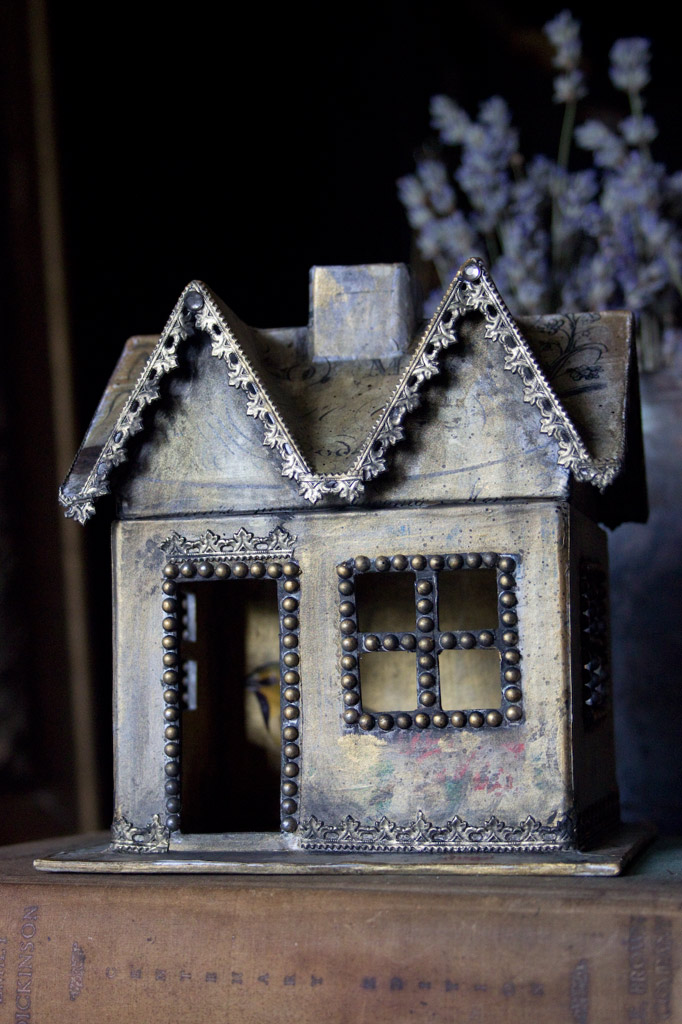
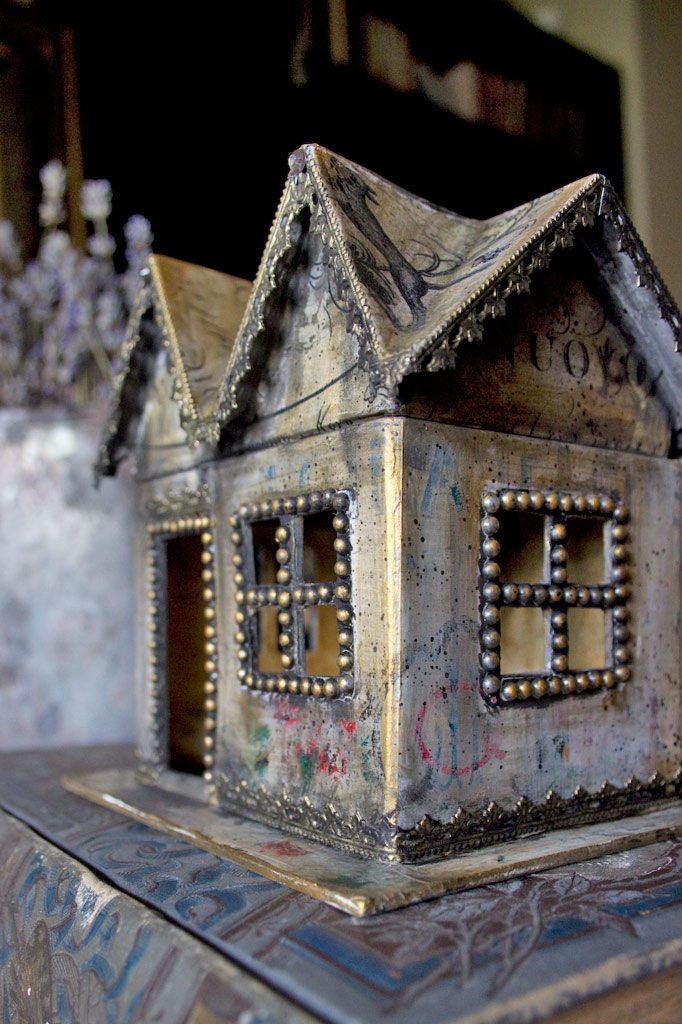
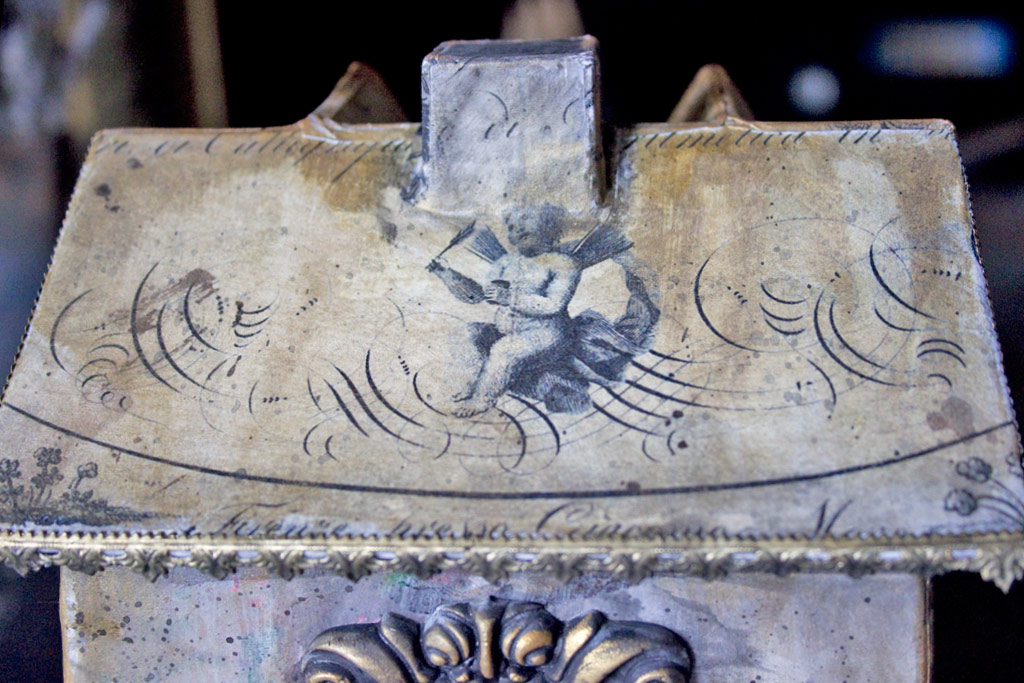
This Golden Grunge technique results in such an elegantly aged finish…
The layers of graphics and pigment combine to create an almost Fairy Tale atmosphere…
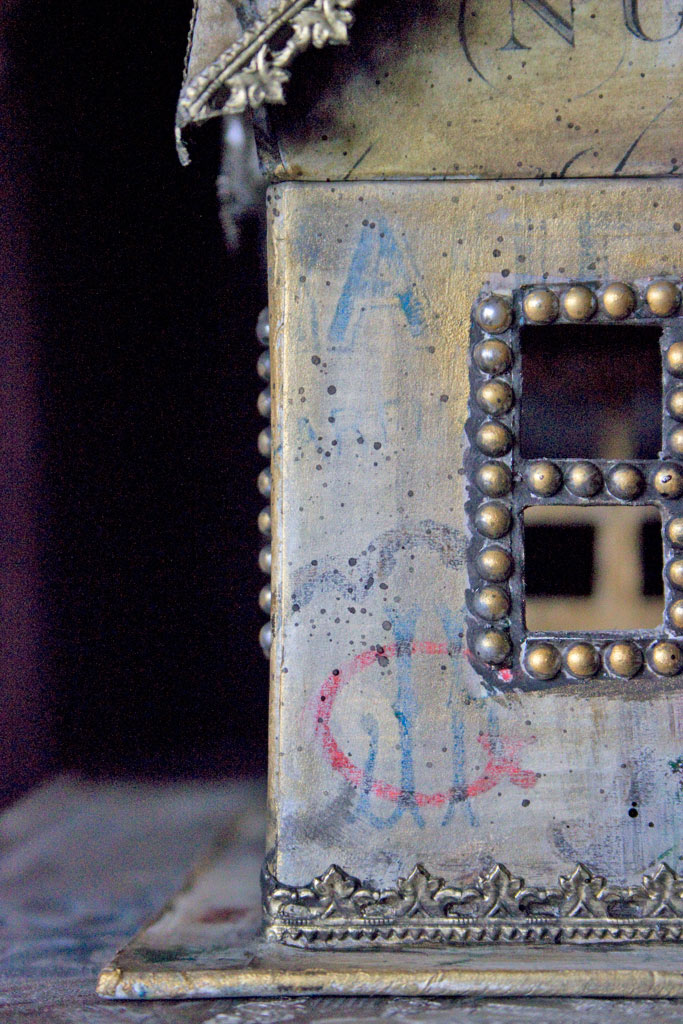
I love how the Inka Gold gives us this translucent shimmer, while the tiny splatters of black add a touch of grunge!
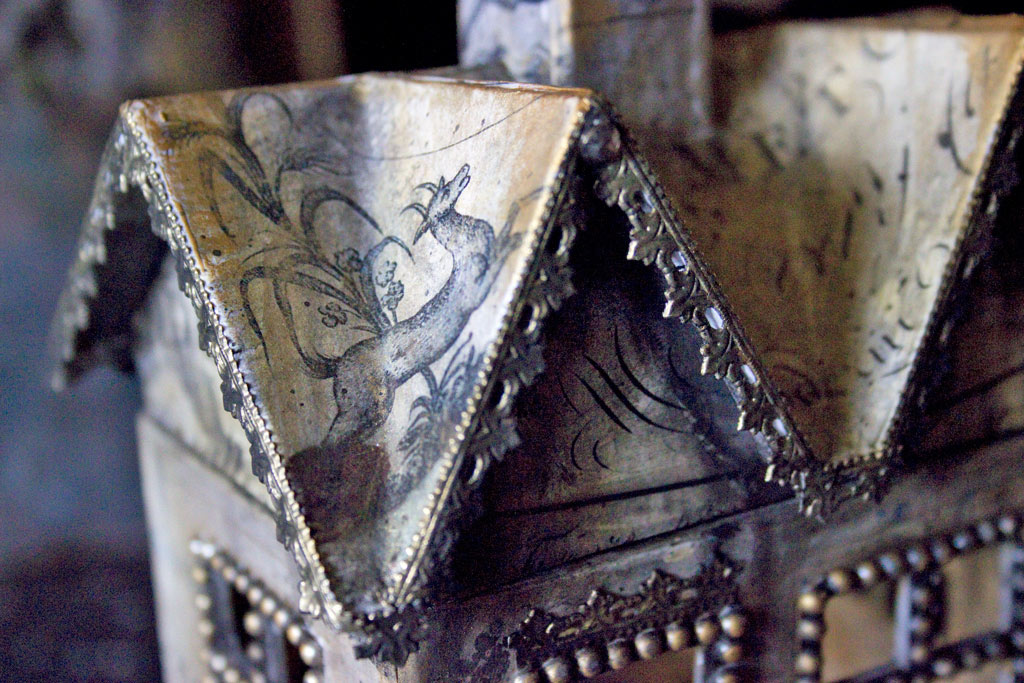
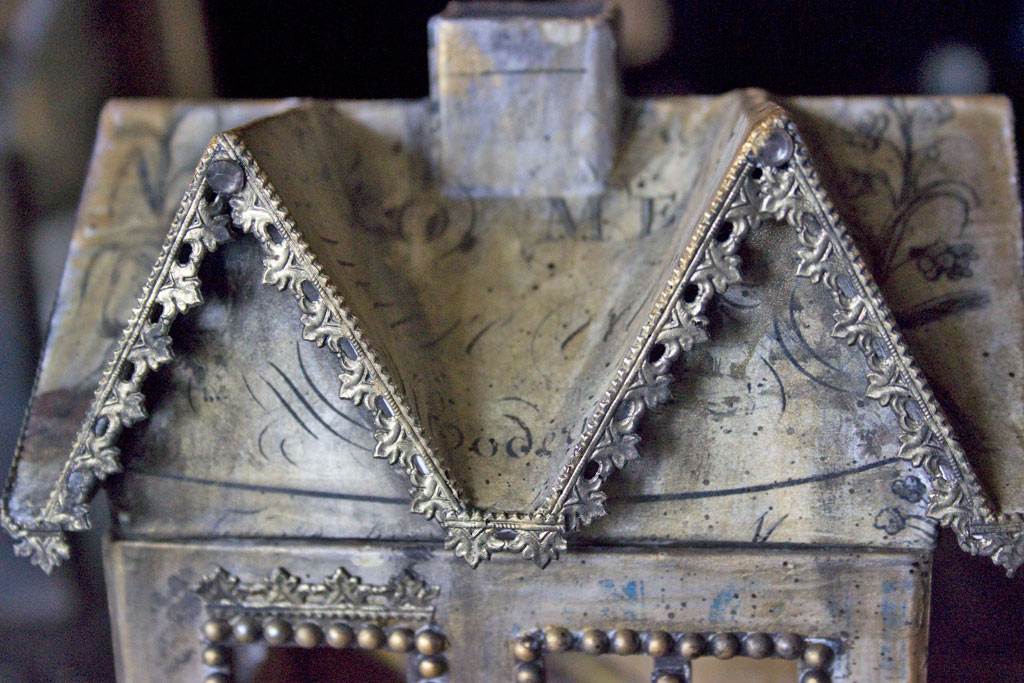
And Dresden Trim? So delicious.
The trim creates such a Gingerbread feel to this little house…
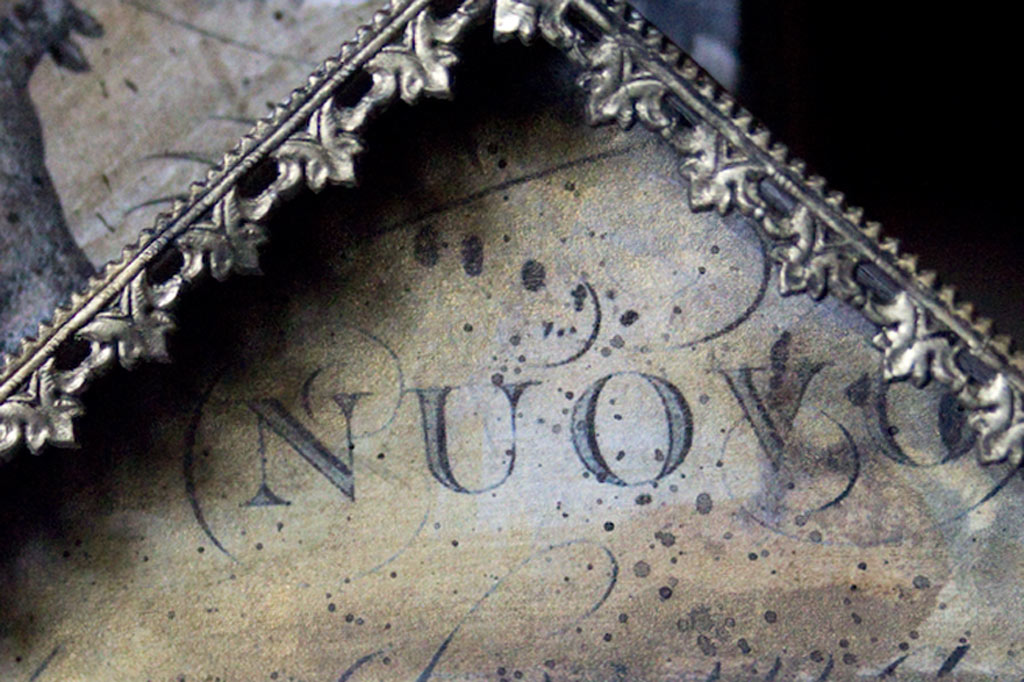
And the Antique Ephemera gives it such soul…
Now I want to make a whole village with this soft Golden Grunge finish!
Who will live in your enchanted dwelling?
This was such a joy to create…combining Graphics Fairy ephemera with the charm of this tiny house was too tempting to resist…
And adding Golden Grunge? Essential.
Thank you for visiting The Graphics Fairy today…I hope this has inspired you to experiment with this decoupage technique, gold, and grunge! You might also like this Decoupage Glue Guide HERE.
Come see me at Thicketworks, where a happy mess is always in the making!
Until next time,
Heather
Are you interested in learning more fabulous Techniques from Heather Tracy? We have an amazing Mixed Media Video Course in the works! You can learn more about it, and sign up to receive updates, HERE.






Saru says
Hi..thanks for the wonderful and detailed tutorial. Really enjoyed it. I wanted to ask what paper did you use?
Heather Tracy says
Hi Saru! So glad you enjoyed this one…The images are printed on standard (cheap) printer paper. Toner based prints were used in this project. Thank you for taking the time to visit, and to comment! xox
Wendi says
Wonderful!!!! It’s gorgeous
Heather Tracy says
Hi Wendi! I’m so glad that you like it – it was a delight to create! xox
Marjan says
Awesome! love the golden shimmer and the trim is gorgeous!
Heather Tracy says
Well, hello Marjan! {thanks for visiting Thicketworks, my friend!} That shimmer just thrills me…and the trim? Yum! Thanks for your kindness.
Linda K says
I love this house…is it move=in ready?? I just happen to have this same house in my studio just waiting for me to give it some love. Thanks for the inspiration.
Heather Tracy says
Hi Linda! These little houses are SO inspiring…such a wonderful little canvas for various techniques. Thank you for liking this one!
Linda Weeks says
the Dresden trim is awesome! It is a perfect fit for your house! Keep up the good work, and I’ll try to catch up with you! First, I’ll need a little house…..
Heather Tracy says
Hi Linda…oh, yes…Dresden Trim. It makes everything better! Hope you pick up a little house and make some magic!
Geri Ann says
All of your work is so inspiring to me thank you for sharing your talent xoxox
Heather Tracy says
Hi Geri Ann! And your encouragement is so very inspiring to ME! Thank you, my friend. xox
Candi Harris says
OMG! How adorably grungy…or is that grungily adorable…whichever…you know what I mean! Love the gingerbread trim & the splatters! If I try this I wind up w/ bubbly paper & raggedy edges for the doors & windows. This is so cute though…and if I could maybe find a castle to work on ’cause I’ve got some dragons that need a home…
Heather Tracy says
Hey Candi – you know, I picked up a little wooden castle at the Craft Store not too long ago…hmmnnn…
Regarding the bubbly paper / raggedy edges issue: it REALLY helps to use a smoothed layer of Tacky Glue, rather than Mod Podge to adhere the paper. Exercising patience and allowing everything to dry thoroughly helps, too. A touch of sandpaper takes care of the raggedy edges, and besides, with all the trim, who will notice anyway? Good luck with your Dragons…I hear they can be rambunctious!
Carolyn B. Hines, Ph.D. says
I love this technique! It looks wonderful!! I am just adding one comment to those who do not know. I used to love Hobby Lobby–until a gay friend was refused service at a store in Louisville, Kentucky. He was told that “we don’t need your kind here.” Without getting political on this wonderful and (to me) well-used site, I always feel bad when all people are not treated equal.
I will understand if you delete this comment.
I love Graphics Fairy and seeing the wonderfully creative work of others.
graphicsfairy says
Hi Carolyn,
Thanks so much for the kind words about the site! No worries, we don’t judge here 🙂
cmt says
Love every detail. When I saw “Golden Grunge” I knew it had to be you. Somehow I’m fixated on those pearls and the roof trim. Move over bird, I want to move into this house with you.
Heather Tracy says
Hey Cath…Somehow, I think that this little cottage is large enough for ALL of us! Thank you for your kindness. xox
Kristin says
WOW!!and DOUBLE WOW!! Your work and creativity is just amazing!! I just love that you are so generous and always give step by step instructions and pictures on your fabulous projects. I didn’t think that The Graphics Fairy site could get any better, but, adding your talent to the site makes it even better. You are a treasure! ! Some mixed-media instructors are kinda stingy about sharing their techniques or use products that are too expensive or use ones that you don’t already have on hand , etc. You also have when one has a “creative block” and just reading and looking at your site and projects gets the old “creative gears” going again! Thanks for sharing your creative spirit and time with us.
Heather Tracy says
Kristin – you are so RIGHT! Any time I feel ‘uninspired’, all I have to do is spend a few minutes at The Graphics Fairy, and suddenly I’m filled with ideas. It was a dream come true for me when Karen invited me to contribute here! Thank you for your encouragement and appreciation: it’s pure gold! Sharing techniques and ‘work-arounds’ for expensive products is my passion, and it thrills me when it’s of use to others! xox
JaneEllen says
If you want to make more spooky houses can get patterns at Lia Griffith. She has some wonderful houses and fence/trees would look so good with gold grunge technique Might have to join her site to get patterns, is $5 a month.
This such an incredible technique, love how it looks. Luckily am subscribed to Heathers blog.
Enjoy your weekend
Heather Tracy says
Hi JaneEllen! Lia Griffith is great…thank you for your kind words, my friend! And, thank you SO much for being a Thicketworks subscriber: Xox!
Rupa says
I love the simple and elegant house with the gold and grunge all playing so well together! Could easily be turned into a Halloween project. You are the technique queen!! My fav part: the moulds! Oh the moulds and the vintage gold finish on them! I think I have everything for this project (minus the house lol!). Will def give this a try. I am going to have to use a diff set of moulds I have may be…..
Heather Tracy says
Hi Rupa! Playing with moulds is so fun…once I start casting it’s hard to stop! I seem to require multiples of everything (hee hee). I love the way this finish can be tweaked to favor Halloween, Christmas or everyday! Thank you for your sweet comments, my friend!
Shawn Cardinelli says
AWESOME!!! I have this same house I am making for a fairy tree!! Perfect idea, just what I need to make it exactly what I want! I will pick out the perfect designs and send a picture when it is done!!! Will not be until November..
Heather Tracy says
Yay! Shawn, I’m thrilled that you like this effect…I think your house will be awesome!
carol says
Gorgeous …I’ve done these houses in glitter, but your technique is far more sublime…and it’s grungy. time for a hobby lobby run…you probably know that the paper mache stuff (as well as the glass) goes on 50% sale rather frequently…
Heather Tracy says
Hi Carol…thank you for your kindness. I love the glitter houses, too. The nearest HL to me is about 40 minutes away – but oh, my goodness, when I get the chance I stock UP!