How to Emboss Vellum
Hello, my lovely paper crafters. It’s Rebecca E Parsons, with a beautiful Mixed Media technique tutorial – How to Emboss Vellum! You have to try this to understand just how elegant Embossed Vellum Paper can be! You will discover so many uses for this crafting technique, especially for Handmade Cards, Mixed Media Collage, and Junk Journals!! I have been embossing almost everything that I can find lately. You can view my previous embossing tutorials for Embossing Brown Paper Lunch Bags HERE, Embossing Toilet Paper HERE, Embossing Aluminum Foil HERE, and DIY Embossed Envelopes HERE!
Translucent Beauty of Embossed Vellum Papers
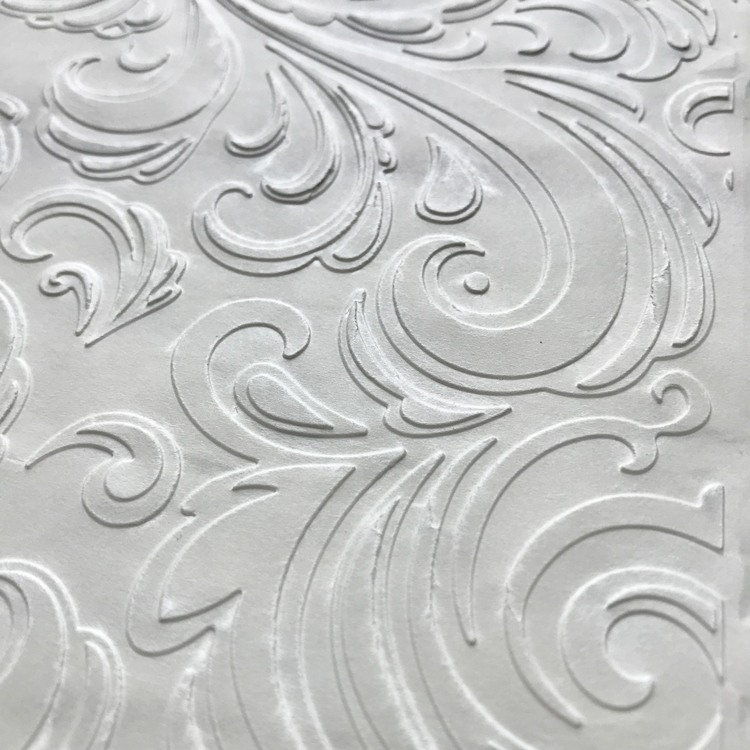
The loveliness of these papers when embossed makes me giddy. The translucent papers develop a deeply etched texture that just screams to be used in your paper art! Depending on the embossing folder you choose, the paper becomes frosty in some places, giving it another layered nuance. All over patterns are gorgeous. I actually prefer a busy pattern with vellum. Deep embossing plates also work well in this process. I urge you to experiment and determine what works best in your machine.
Supplies:
Vellum Papers: 32-67 lb. Trimmed to size of machine
Embossing Folders – all seem to work
Embossing Machine
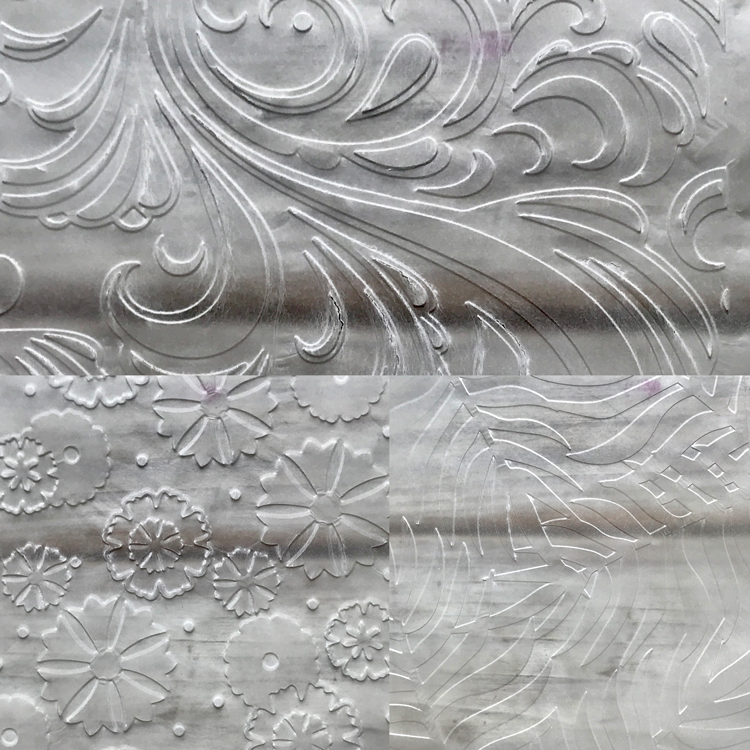
A word about the Vellum. For our tutorial we are using manmade Vellum Papers for the Arts and Crafts market. Traditional Vellum is made from calfskin. Not using that! Today, there are many faux vellum and vellum-type papers out there in several different weights and colors. You can even find Heavyweight Translucent Vellum Cardstock. It truly can be confusing. I tested several different weights and types – Vellums, Tracing Paper, and a translucent Parchment Paper. Most worked beautifully. TIP: From my research, I prefer a 32-40 lb. paper. HINT: Heavier weight papers and cardstocks tend to tear when embossed, but this can be used to your advantage in many ways. Below l-r: 32 lb. Vellum Tracing Paper, 40 lb. Vellum Paper, and 67 lb. Heavy Weight Vellum Parchment Paper. You can see the different levels of translucency in the dark areas under the paper.
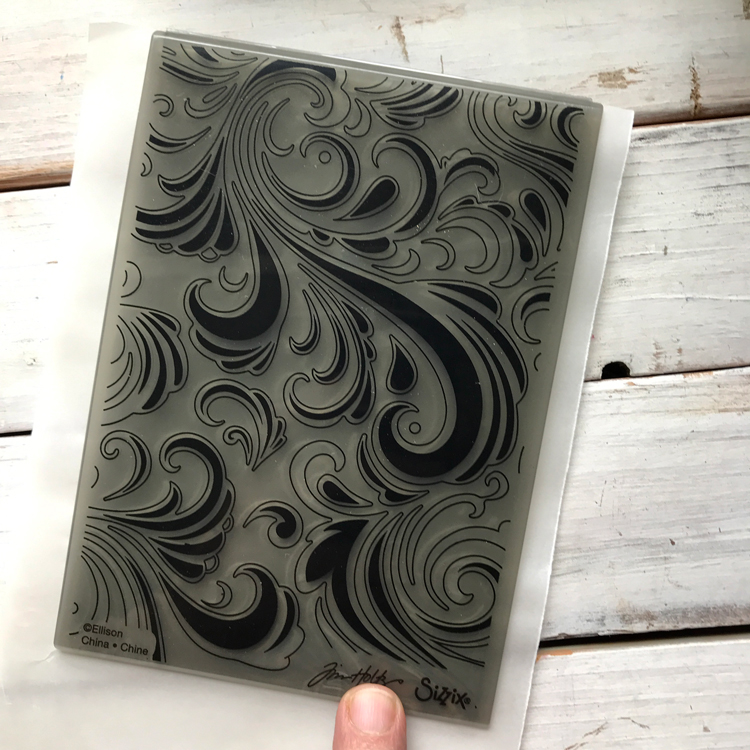
A word about the embossing folders. An embossing folder is made of a heavy plastic which is folded in two. It has a pattern or design moulded into it. It has a positive side where the pattern is raised and a negative side where the design is recessed. The folders come in a few different sizes and different styles. There are thin folders, Medium folders, thick textured folders, and thicker 3D folders. Most are designed to fit a standard size machine. The standard sizes are: 4″x 6″ and 5″x 7″. I have seen a few other sizes: 1” border designs, 3”x 4” designed for Artist Trading Cards, and a few larger – 6-1/2″ x 4-1/2″, 8” x 8”, and 8-1/2” x 11”designs. My embossing machine is 6″ wide. I can use the majority of folders as long as one of the dimensions is under 6″. I would love to have some of the letter size folders and the larger machine!! Your only limitation is the size of your machine. Any size folder that fits the width of your embossing machine is fine. Use your own judgement for positioning.
A word about the embossing machines. There are so many different machines out there today. I have a Sizzix® Big Shot , a CuddleBug®, and Sidekick®. Others are Gemini, Anna Griffin, Tim Holtz, Spellbinders, and Evolution, to name a few.
Vellum Experiments
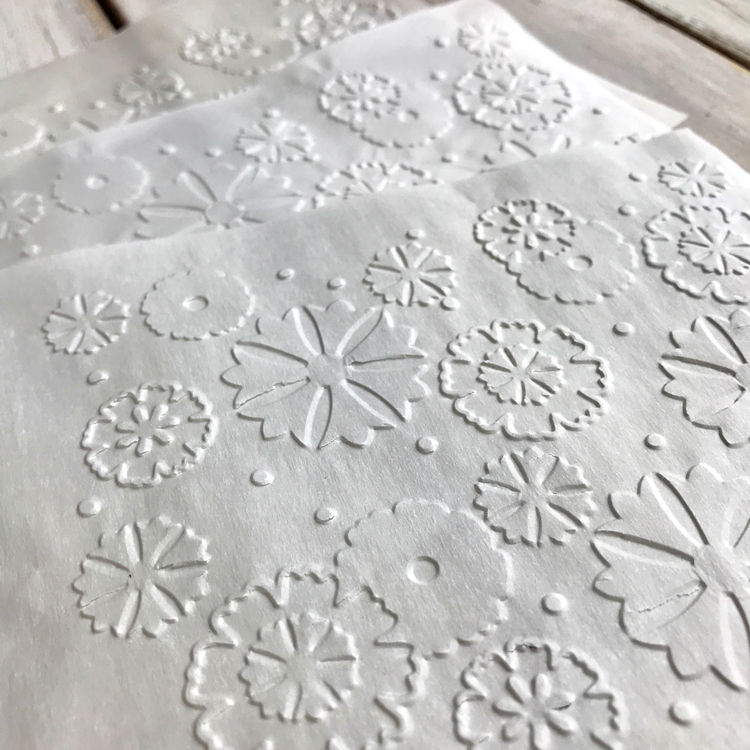
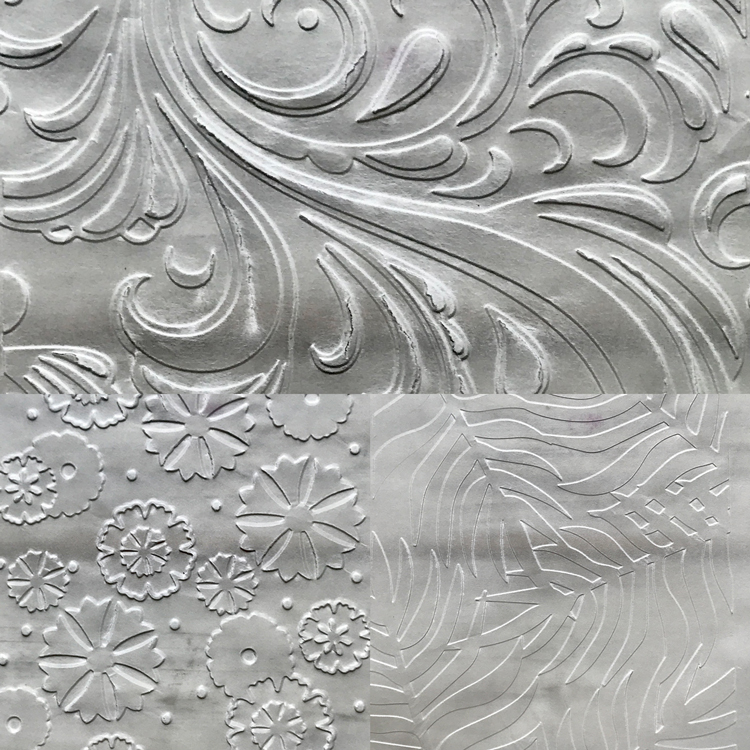
Embossing 32 lb. Vellum Tracing Paper: This fine, nearly transparent paper works beautifully when using this technique. You will find crisp edges and pattern lines on the paper. You can get a frosty appearance on some designs. TIP: It can be a little slippery to work with, but the results are worth the care you need to take. Below are my experiments: Top photo is the Textured Impressions folder. Bottom Left is a thin Sissix folder. Bottom Right is a medium weight Momenta folder run through the machine with a silicone embossing mat.
Embossing 36-40 lb. Vellum Papers: This paper has a little more weight than tracing paper. That little bit makes a big difference when handling and working with the paper. It produces crisp, deep edges, and often gives a frosty appearance that is stunning. TIP: It can be a little harder to find this weight, but it is worth the time. I especially like the ‘Translucent Printing Paper’ from Neenah Paper. Below I think you can see why I adore this weight of paper: Top photo is the Textured Impressions folder. Bottom Left is a thin Sissix folder. Bottom Right is a medium weight Momenta folder run through the machine with a silicone embossing mat.
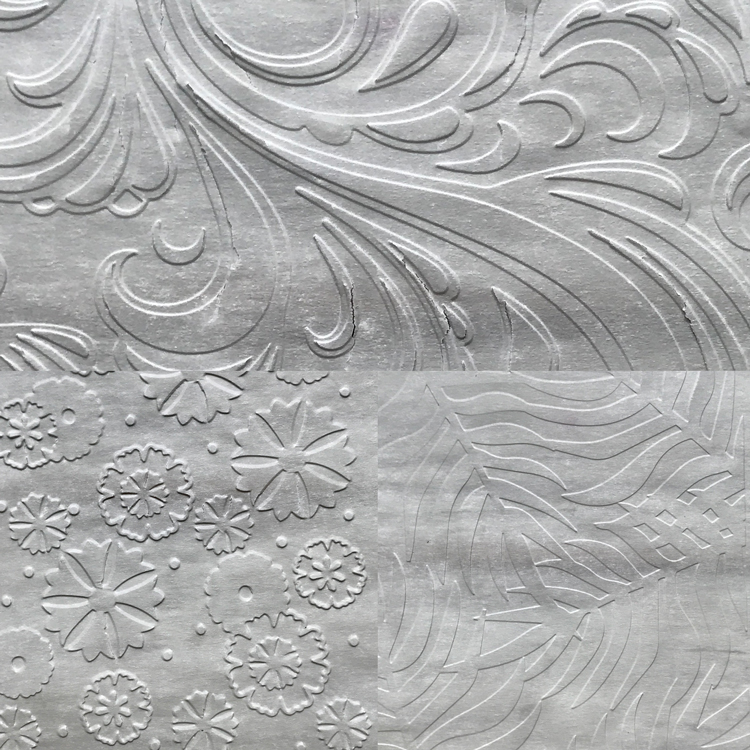
Embossing 67 lb. Vellum Parchment Papers: This is a Heavy Weight paper, which less translucent. It is not cardstock. It produces deep, deep edges that can sometimes fray and tear. You cannot control the tearing. TIP: I like the look of the fraying and tearing along the lines. It gives a rustic look and feel to the more opaque papers. Below are my experiments: Top photo is the Textured Impressions folder. Bottom Left is a thin Sissix folder. Bottom Right is a medium weight Momenta folder run through the machine with a silicone embossing mat.
As part of the testing, I embossed some translucent cereal paper I had laying on my table. I think it worked out pretty well! Inexpensive recycled loveliness!!
How to Emboss Vellum – Step-by-Step Directions
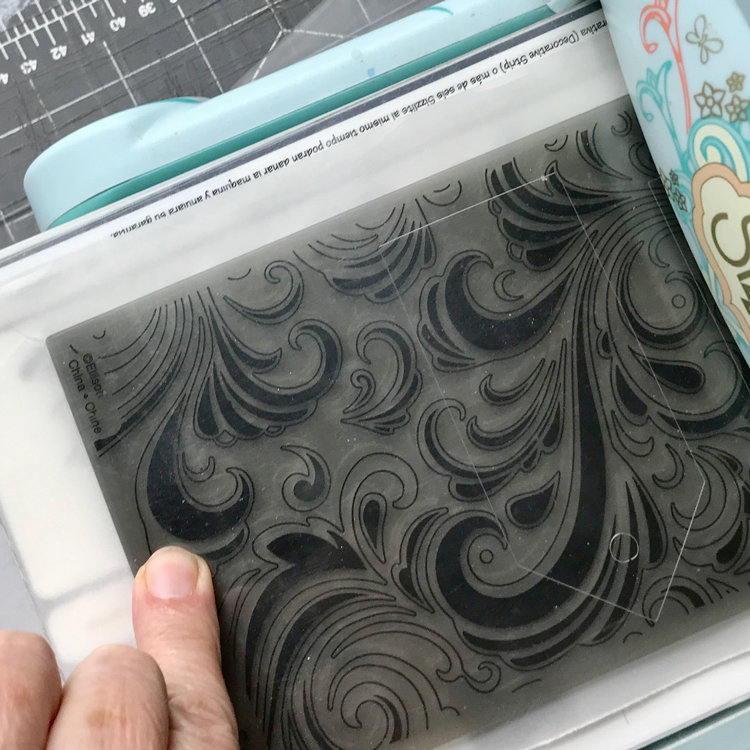
Step 1 – Place the Embossing Folder Around the Vellum: I cut my paper to about 5″ wide and leave a little tail sticking out the bottom to manage the slipperiness better.. Open the folder and carefully place the vellum inside and close. TIP: Make sure that the pattern is straight on the paper. A wonky pattern does not look so good, but you could always trim it to straighten.
Step 2 – Place the Folder on the Plate: Vellum is slick stuff. Once the folder is closed around the vellum it can still slip around! ARGHHH! That’s why I leave that long tail piece that sticks out of the folder bottom. Just be careful as you place it between the plates. Place it between the correct layers of acetate and run it through your Embossing Machine. It can be fussy to keep it aligned straight. TIP: Press a finger tightly on the top piece of acetate as you begin to roll it through the machine. Don’t roll your finger through please!! WARNING: DO NOT roll this back through your machine. That can tear all weights of vellum. Once is enough.
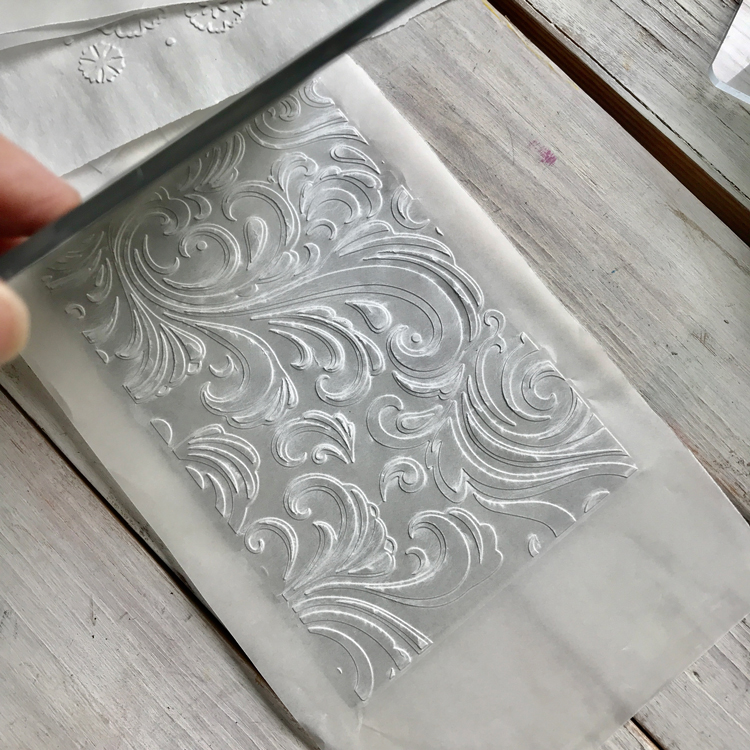
Step 3 – Remove Folder: Open the folder and see the beautiful design. WOW!!!
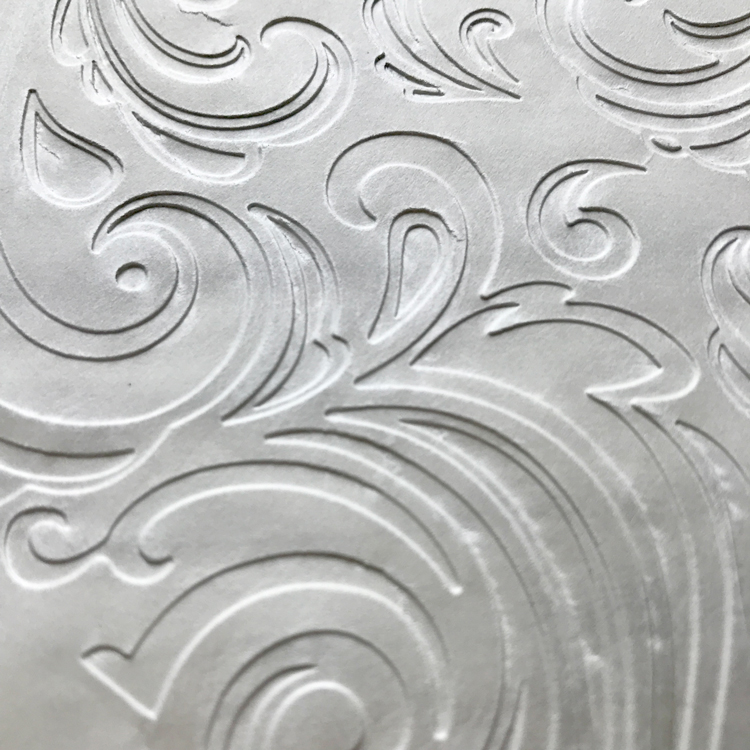
Here we have the negative (or recessed – debossed) side:
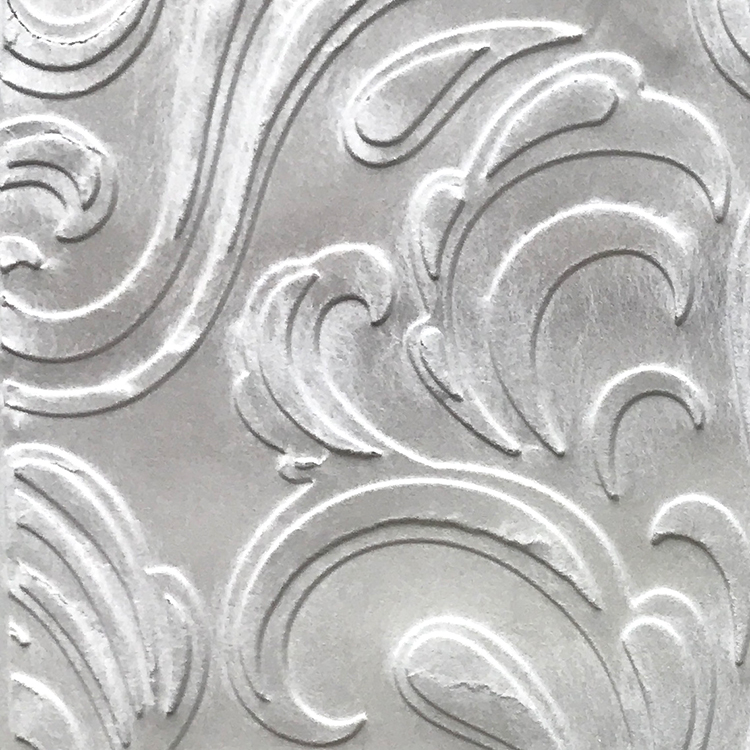
Below you can see the frosty look that happens with some papers:
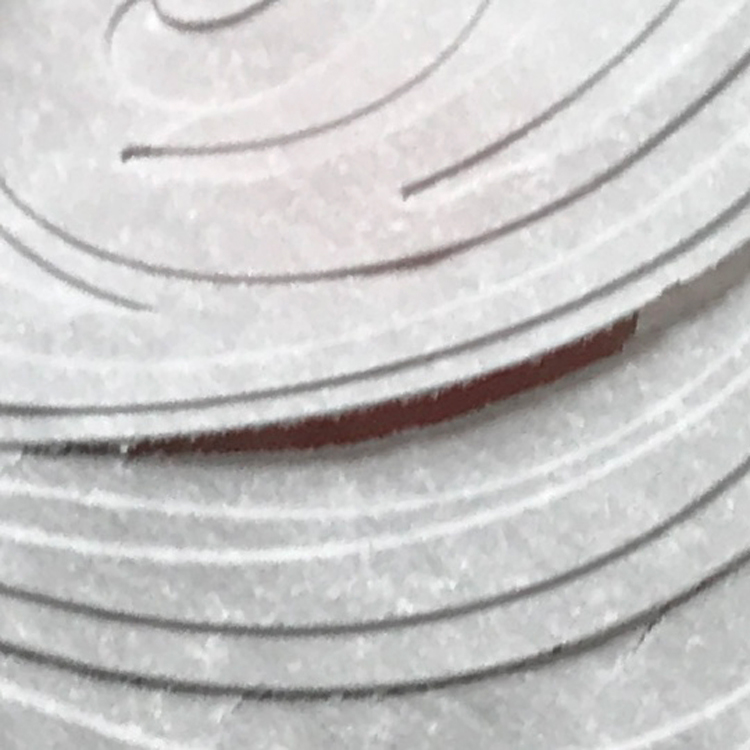
Here you can see the fraying and tearing that can happen to heavier weight papers:
Finishing Options
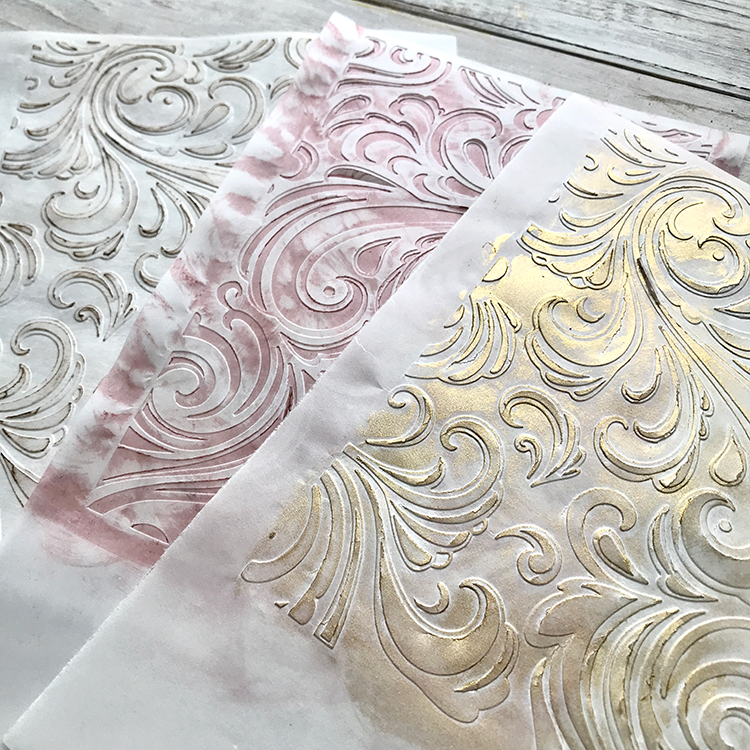
You have many options to finish your Embossed Vellum Papers. I actually prefer to leave mine unfinished, but you can rub stamp pads over them for aging or colorizing if you wish. Glitter or metallics can be added. You can also sand them lightly with very fine sandpaper for a more pronounced frosty and rustic torn appearance. What’s important is to just have fun experimenting. Here are a few examples:
I hope that you had fun learning How to Emboss Vellum with me!! When I am not exploring with new and old Techniques for Mixed Media in my Graphics Fairy sandbox, I also create Photoshop Elements tutorials and craft project videos over on The Graphics Fairy Premium Membership site. You can find even more of my books, junk journals, mixed media art, classes, and whimsical shenanigans on Rebecca E Parsons Dot Com.






Lucy says
Correct spelling for the brand name embossing machines mentioned are Cuttlebug and Sizzix, in caase anyone is going to shop for one.
Thank you for these tips. I do a lot of embossing with cardstock, but have been afraid of vellum. Now, I feel good enough to give it a try.
Karen says
I’m so glad you found the tips helpful. Vellum can feel a little tricky at first, but once you try it, you’ll love the effect. Can’t wait for you to give it a go!
Diana Khanagov says
I recently grabbed a pad of tracing paper at the store. It was 45lb tracing paper. Imagine my surprise. It prints well but rarely folds without a tear. Can you show me the package of Neenah Translucent Paper?
Karen Watson says
I bet you could emboss that tracing paper too Diana. This post was written a few years ago, but I would think any brand of Vellum would do. In fact, go ahead and experiment with whatever types of paper you have on hand, I bet you will get some wonderful results!
Jennifer Watson says
VERY helpful – thanks so much!
graphicsfairy says
Hi Jennifer, you are so very welcome, so glad you found it helpful, enjoy!
Clare says
Love using different papers ie toilet paper & vellum! Thanks fir the ideas – simple but pretty!
graphicsfairy says
Thanks Clare, I hope you give it a try! Have fun 🙂 Have a great Holiday weekend!
Cheryl Tallafuss says
This is genius Rebecca and quite inspirational can’t wait to give it a try!!
graphicsfairy says
Thanks so much Cheryl, have fun and have a great and safe Holiday weekend!