How to Make Mini Pom Poms with a Fork
Hello Graphics Fairy friends and makers! It’s Rebecca E. Parsons, aka Cre8tiva, and I am here today with another fun and easy crafting tutorial. Today’s tutorial is How to Make Mini Pom Poms with a Fork. Yep. These are cute teeny tiny Pom Poms to use in, or on, your Junk Journals, Handmade Cards, Bookmarks, Tag Art creations, and so much more.
Don’t you just love simple easy crafts? These are a great tv watching craft too, as they don’t involve any messy ingredients to make them. I’m sure that you will find so many uses for these, as they are quite versatile. I’ve even seen these adorable mini poms made into garlands that you can use in your home decor, or even on your Christmas Tree! There will be quite a few tips and tricks throughout the tutorial to make it easy peasy for you to duplicate. I hope you enjoy making these sweet little bits, they are just balls of fluffy, happy, fun!
Why Make Pom Poms with a Fork?
Well… forks are the perfect tool to create pom poms. Forks come in many different sizes and most of us have them right in our kitchen drawer, so easily accessible. The Dinner fork in my set has 3 prongs so it is smaller than the 4 pronged salad fork, so I can make two sizes there. I used the four pronged one in this demonstration so you could see the contrast in the steps. I could even make other sizes with my serving forks as well. These cuties will be small, under 1″ in diameter, but oh so useful and fun!!
How to Make Mini Poms Poms with a Fork Tutorial
Craft Supplies
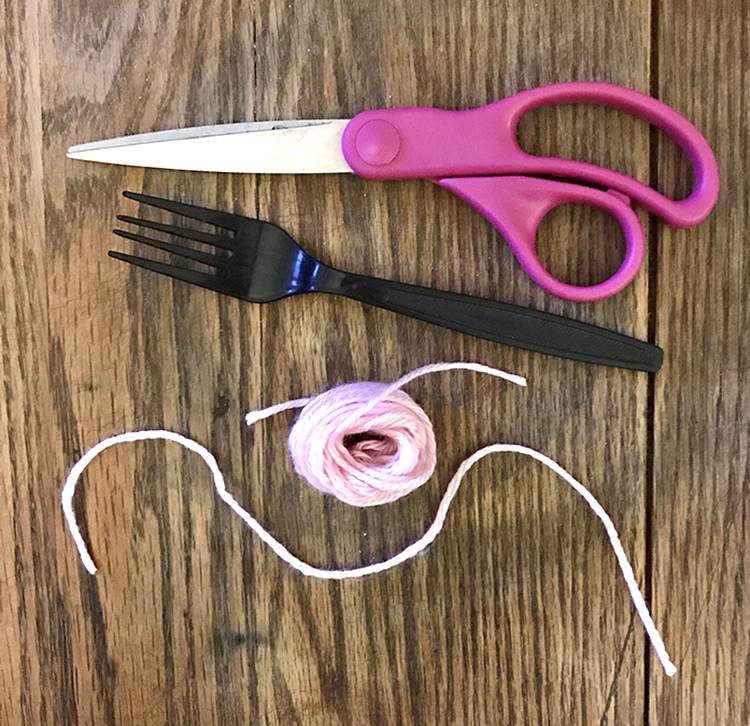
The only tools you need are a fork, some yarn, and a pair of scissors.
Yarn – I used Light Worsted weight (any color) 1- 12″ strand and 1- 2-1/2 yard strand
Scissors
Fork – I used a 1″ width plastic fork
Circle Template punched from 1 3//4″ circle punch
Directions
With this method, you can make cute little mini pom poms in just minutes. It is super easy and way too much fun! I used Light Worsted weight of yarn because that is what I had on hand. You could use the Sport or Fine Worsted as well. I would not go and heavier weight as they would be too bulky. NOTE: OOPS! I apologize for my fingernails in the photos. They were stained from making dye earlier in the day!
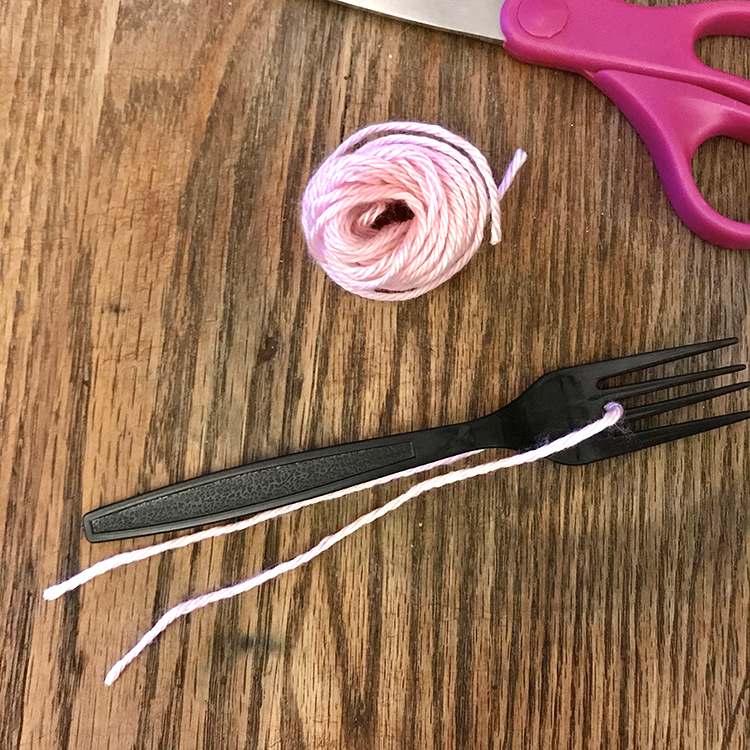
Step 1 – Anchor Tie Placement. Place the 12″ strand through the middle space of the fork before you start to wrap the yarn. Hold it out of the way with your thumb. TIP: I found it easier to do this than to try to insert if after I wrapped the yarn.
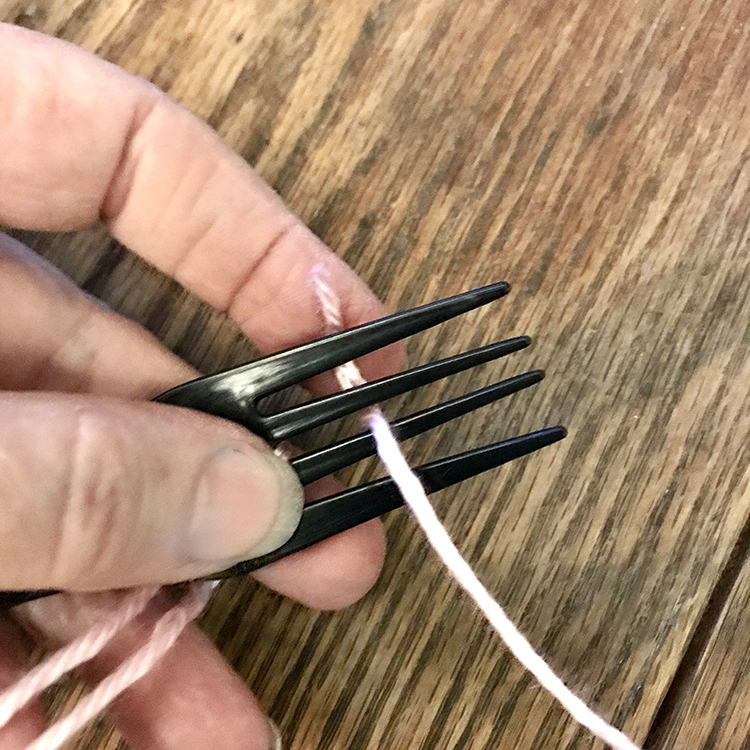
Step 2 – Starting to Wind. Then pull a tiny tail through the middle space and hold it with my pointer finger. Then wrap a couple of times to secure the yarn on the fork. HINT: If you just start wrapping, it usually falls off. WINK!
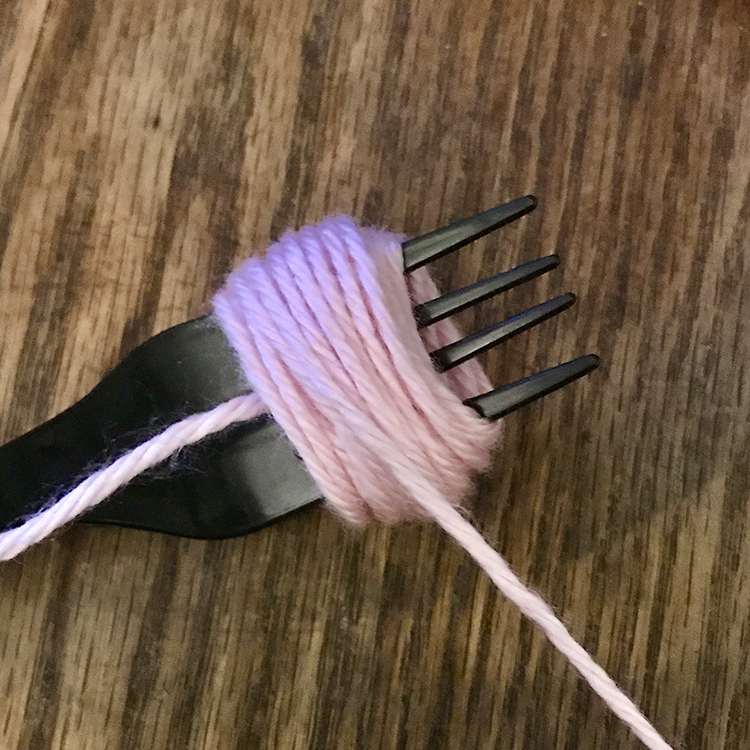
Step 3 – Wrap Yarn Around the Tines of the Fork. I like to wrap about 35-40 times. I found this made the most manageable size. Of course, you can wrap more, or less, times if you like. HINT: If you go for more wraps, it becomes harder to work with. TIP: Try to keep the yarn evenly placed on the fork like you see below. If you have more yarn on one side or a big bunch in the center it is harder to trim and fluff.
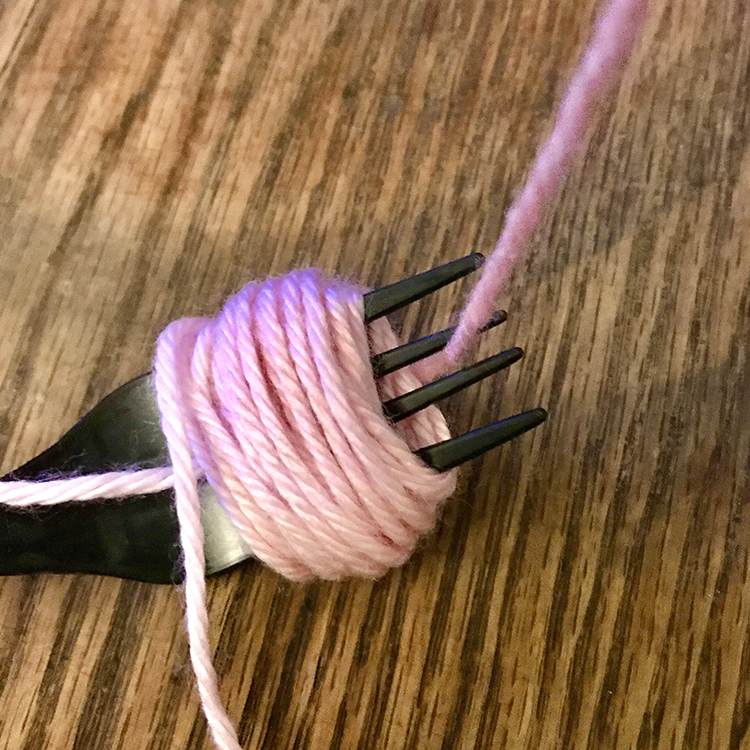
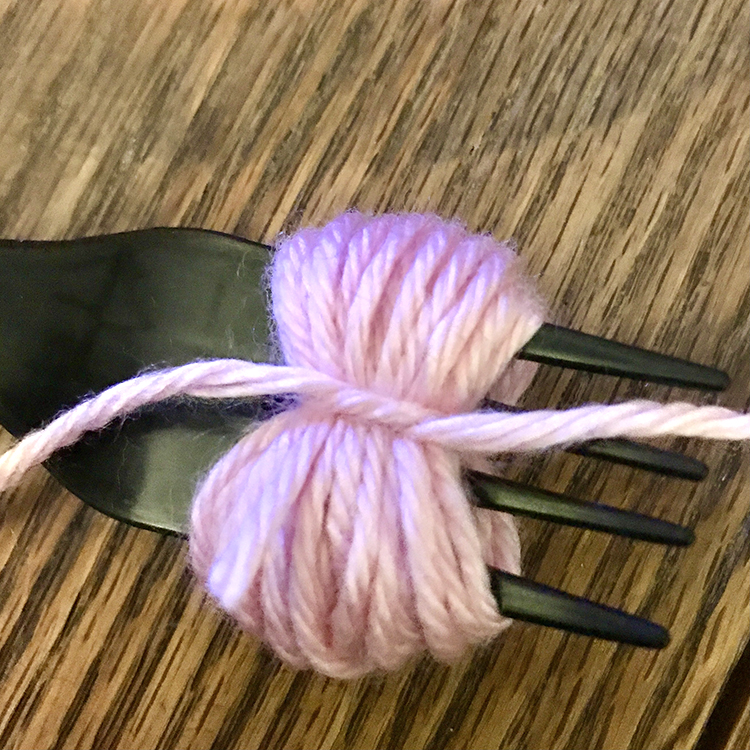
Step 4 – Tie Off. Wen finished wrapping, thread the 12″ strand of yarn under the yarn on the bottom of the fork.
Pick up both ends of the tie and pull them to gather the yarn. HINT: Do not pul too tightly or you will have a difficult time removing it from the fork.
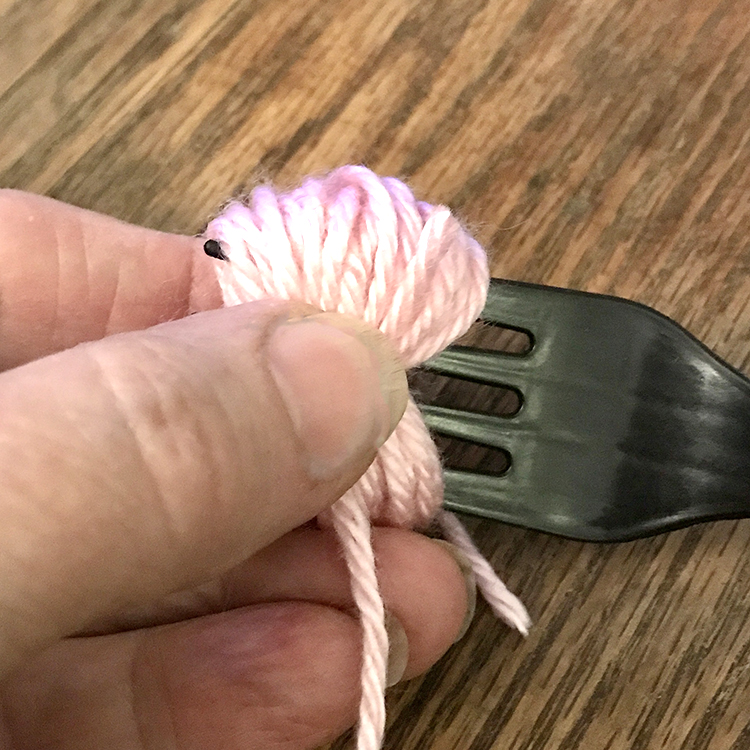
Step 5 – Remove Yarn from Fork.
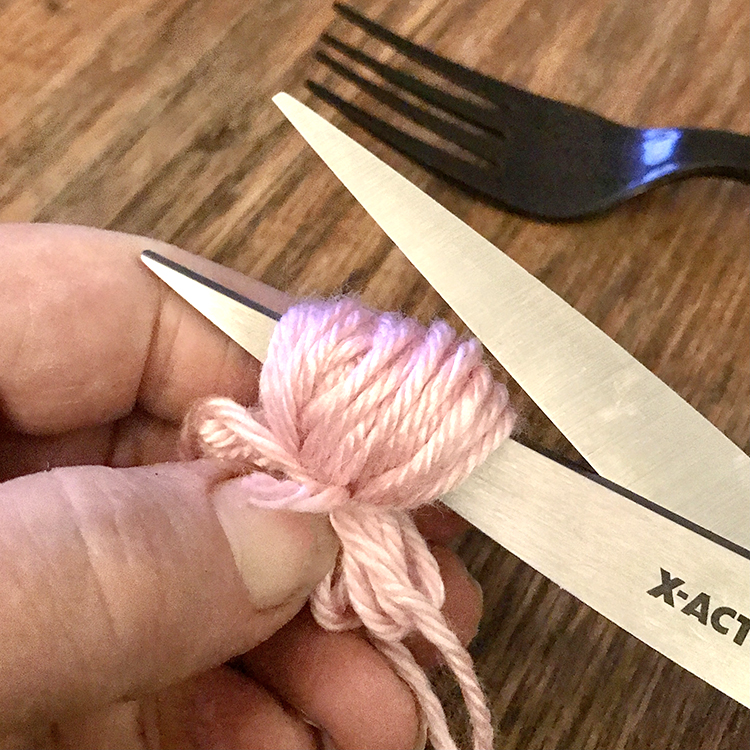
Step 6 – Trim Edges. It can be tricky to get the scissor blade through the yarn if the bundle is too tight. Slip the scissors in and trim edges on both sides.
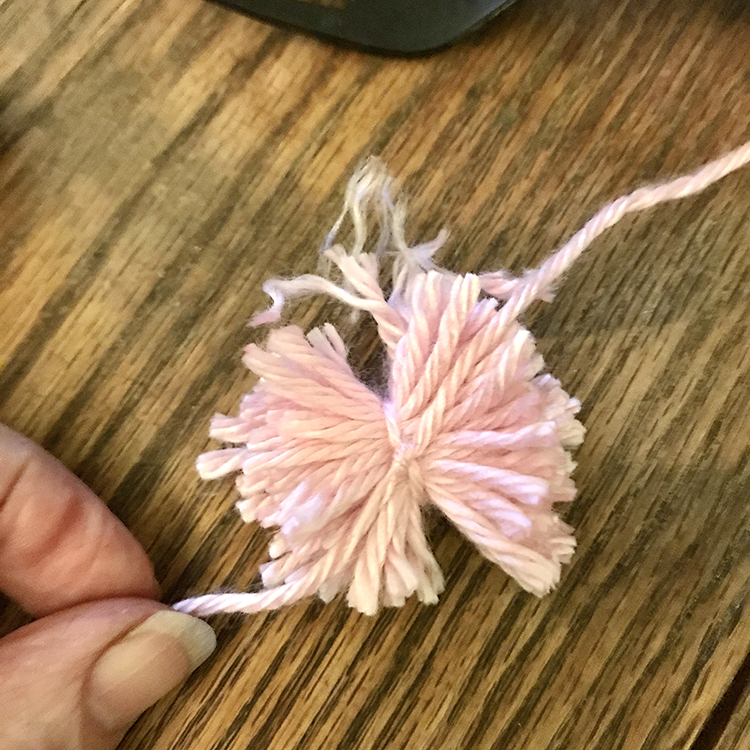
Step 7 – Pull the Anchor Tie Tight. Make sure you knot it securely. I make a square knot.
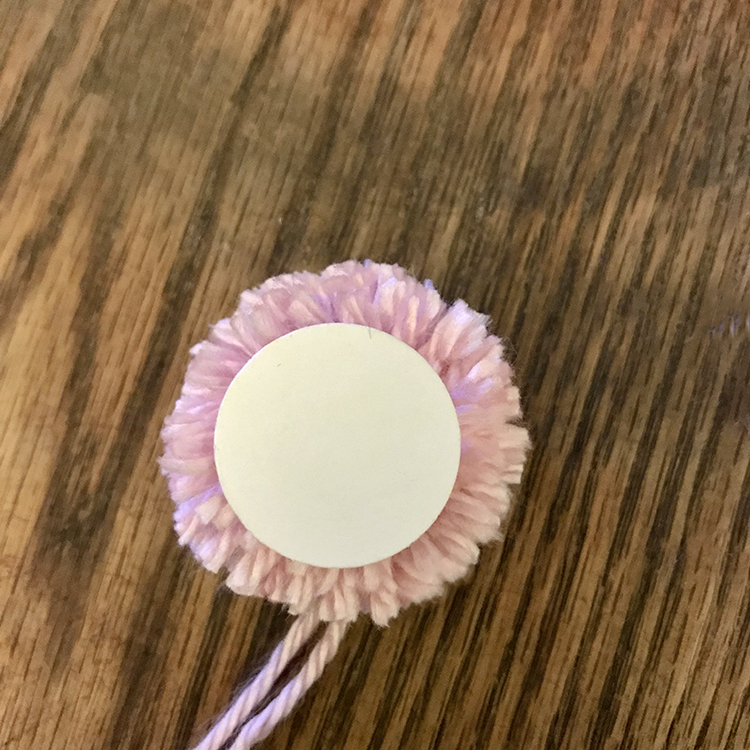
Step 8 – Trim around Circle Template. Make a small template with a round punch. The one I use is 3/4″. Trim carefully around the template making sure not to cut the Anchor Tie.
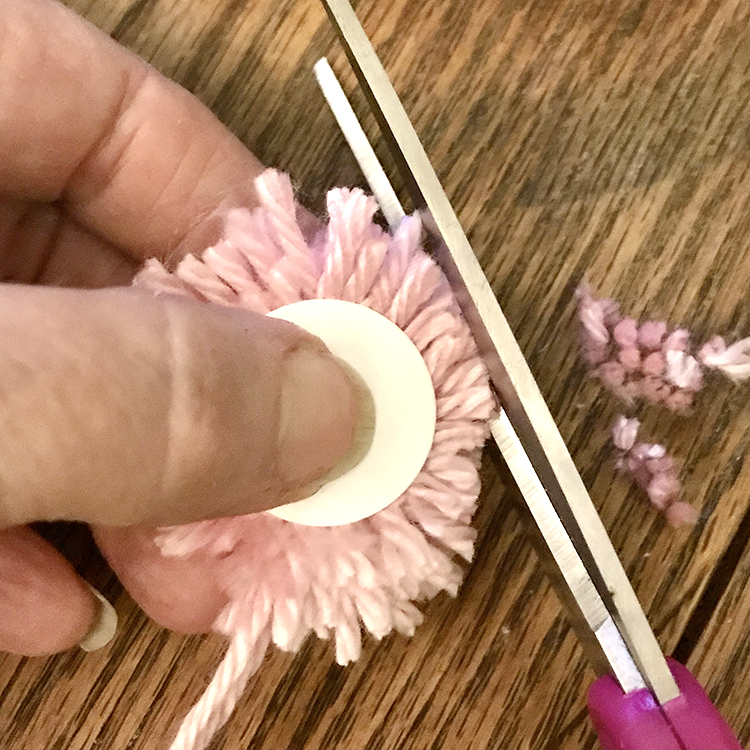 You can come in close to the template or leave a little space. I left some pace so you could see the evenness. That is the most important part!
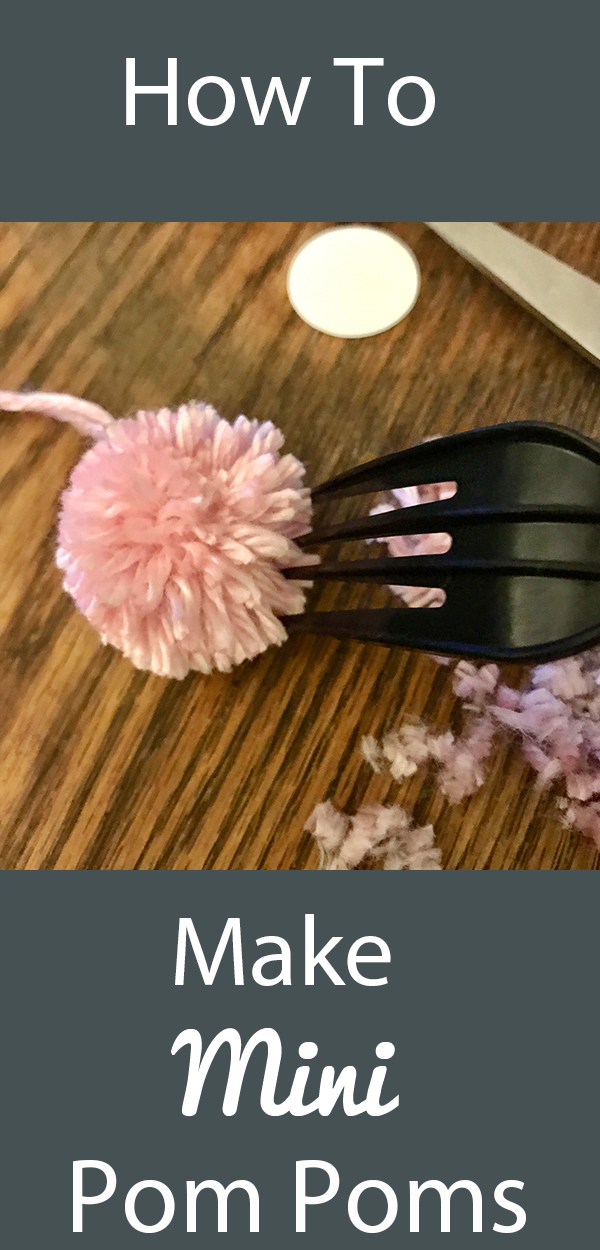
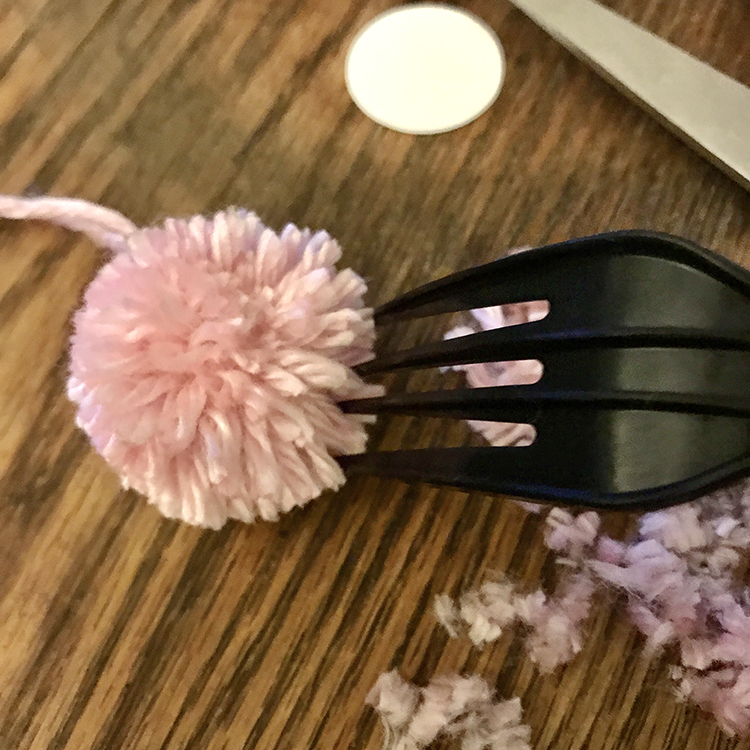
Step 9 – Fluff with Fork. Drag the fork tines carefully through the pom pom. It makes it fluffy and rounds it out. Trim any loose yarn.
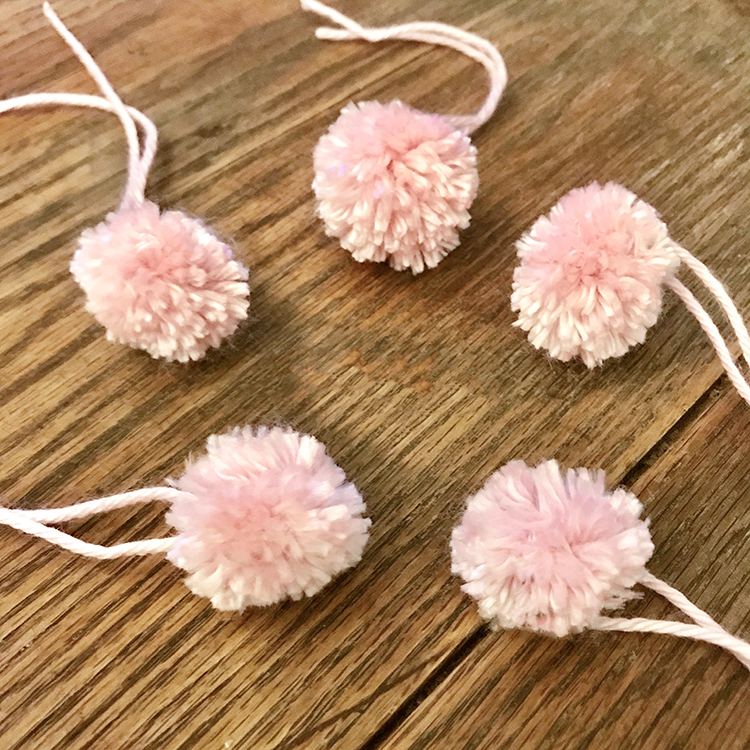
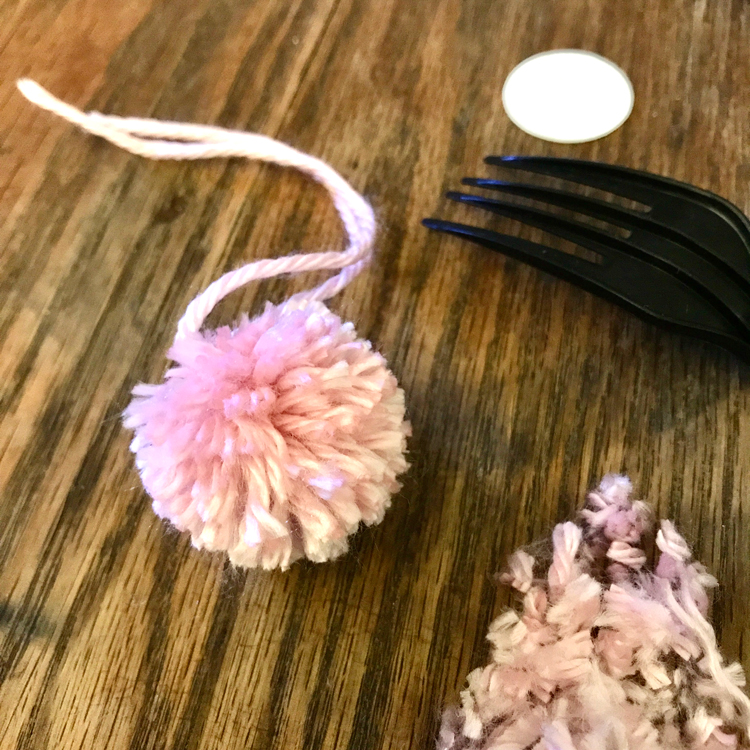
Here is a photo of the pom pom all fluffed up and finished.
I hope that you had fun learning my methods for How to Make Mini Pom Poms with a Fork!! You can really vary this project up by with the fiber that you choose as well, so do keep that in mind. How about using some metallic threads for Holiday themed poms, or some garden twine for a more rustic Farmhouse style version? And of course you could use multiple colors too, or a more variegated type yarn or thread. There are just so many different options! I actually made several of these to use on an upcoming Handmade Book that I am making. If you like mini crafts, you might also like our post on How to Make Mini Tassels HERE.
When I am not exploring new and old Techniques for Mixed Media in my Graphics Fairy sandbox, I also create Photoshop Elements tutorials and craft project videos over on The Graphics Fairy Premium Membership site. You can find even more of my books, junk journals, mixed media art, classes, and whimsical shenanigans on Rebecca E Parsons Dot Com.


Francesca says
Very pretty .. So how did you make it completely round? Did you do two and stick the punched circles together?
graphicsfairy says
Hi there, no she just used the round circle as a template to trim the pop pom in a perfect circle. She said she used the fork to fluff all the strands to make it round 🙂