How to Make Peel and Stick Dots of Glue
Hi everyone, how are you?! It’s Andrea from The Cottage Market. It is so great to be with you once again. Today I have a SUPER Quick & Easy DIY for you. We are going to learn How to Make Peel and Stick Dots of Glue in any Size!
You know those little sticky dots that you use for Scrapbooking…Card Making… Junk Journals …and all kinds of other Paper Crafts? I even use them to keep certain picture frames straight. There are probably over 101 uses! I bet you didn’t know how easy they were to make yourself! They are fun to make too and it’s nice to save a little money by making your own craft supplies. If you buy a lot of craft supplies like I do, it’s good to have a few Craft Supply DIY’s up your sleeve, to save time and money!
Supplies for Easy Peel Off Glue
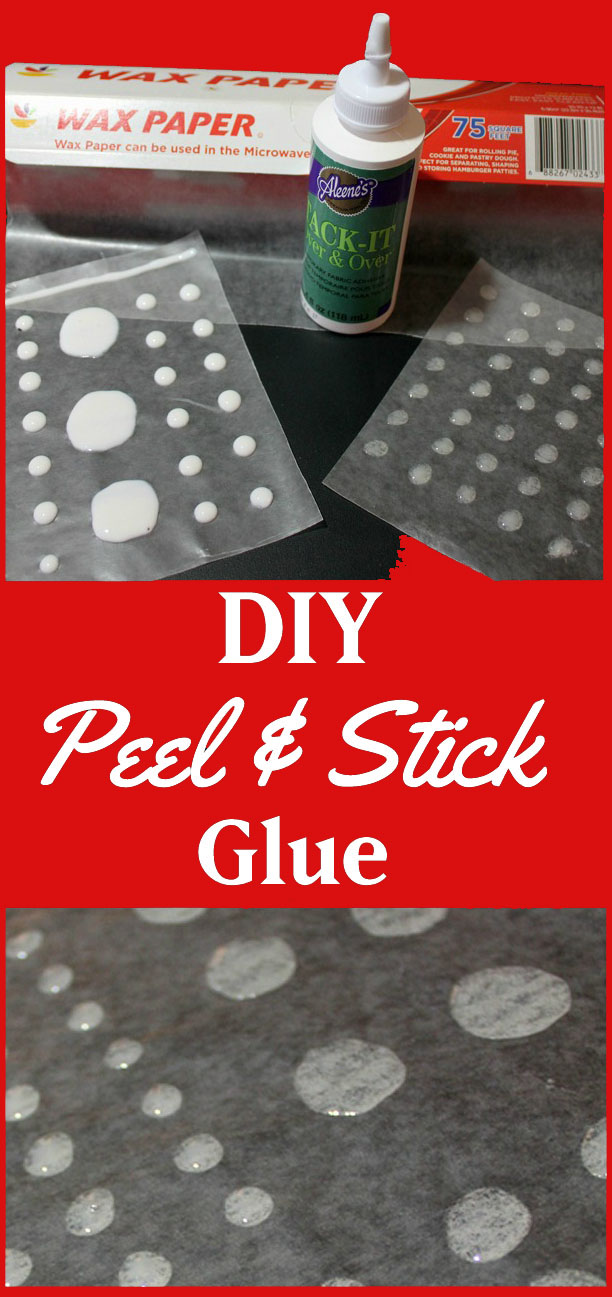
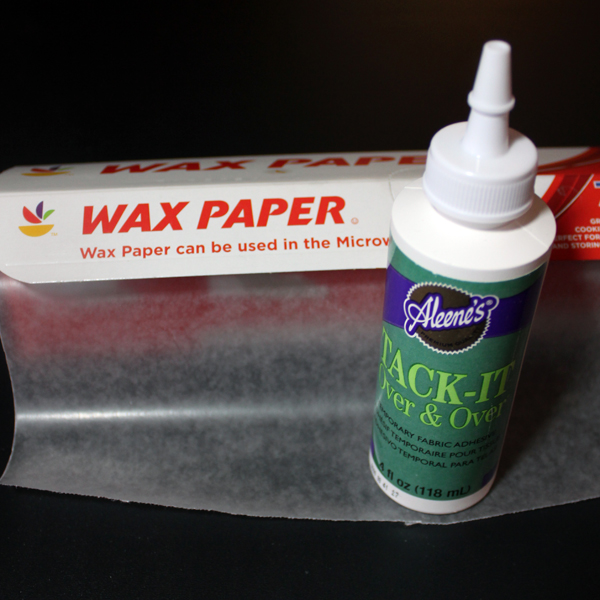
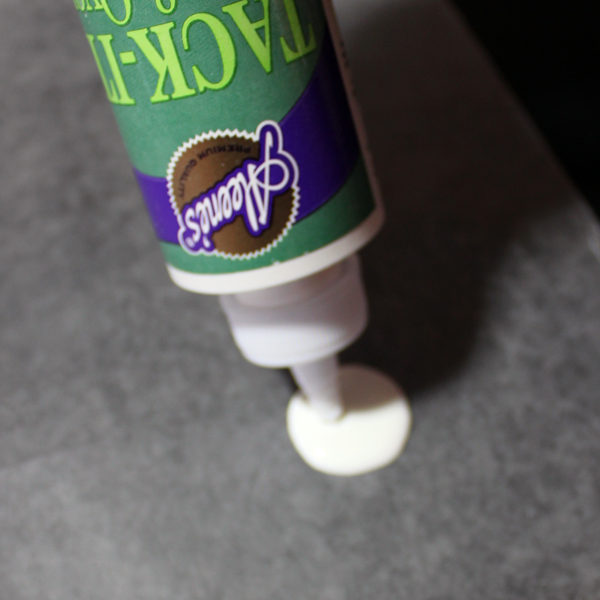
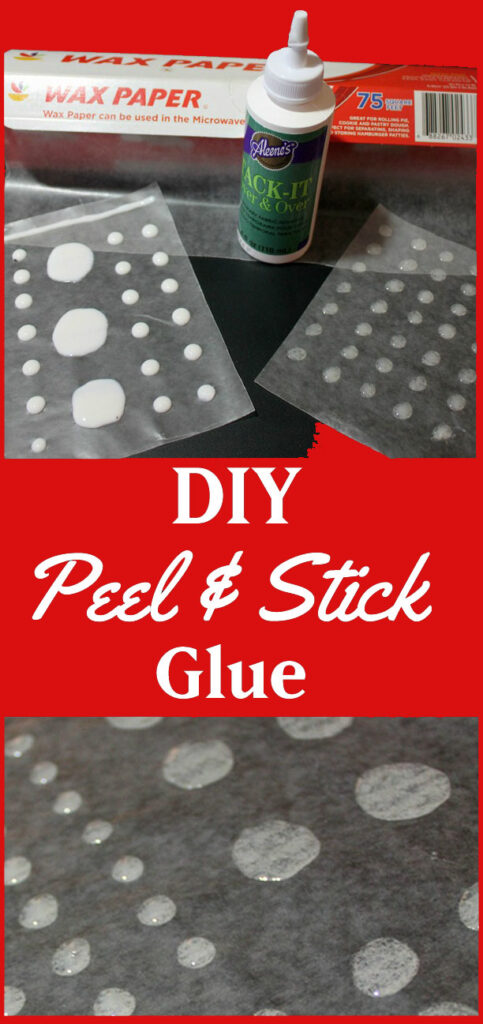
All you are going to need for this project are two items…Aleene’s Tack-it Over & Over Glue and Wax Paper (or any non stick type paper that you have on hand…like the back of a sheet of Avery Labels…etc.) That’s it, that’s all you need! Simple right?
Instructions for making the Dots of Glue
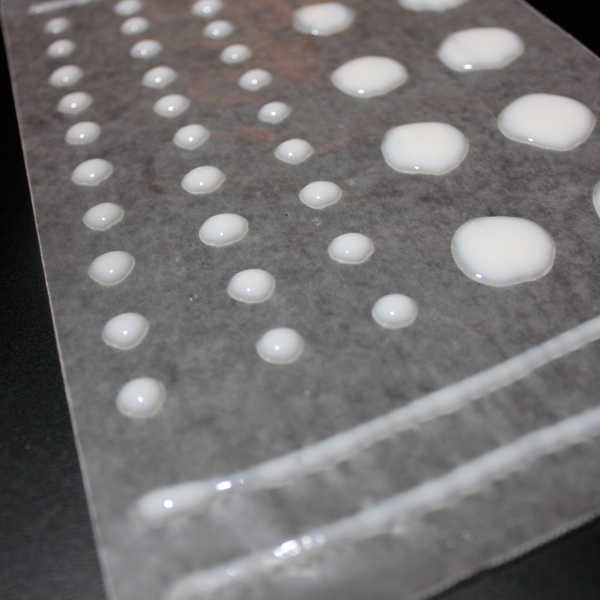
Cut a piece of the Wax Paper around the size that you know you want to fill with dots. Then simply start forming the dots and the sizes you need for your project. All you have to do is squeeze lightly…forming a round dot shape.
Now just keep making your dots over and over and over again. You can even vary up the sizes, so that you have different sizes for different projects.
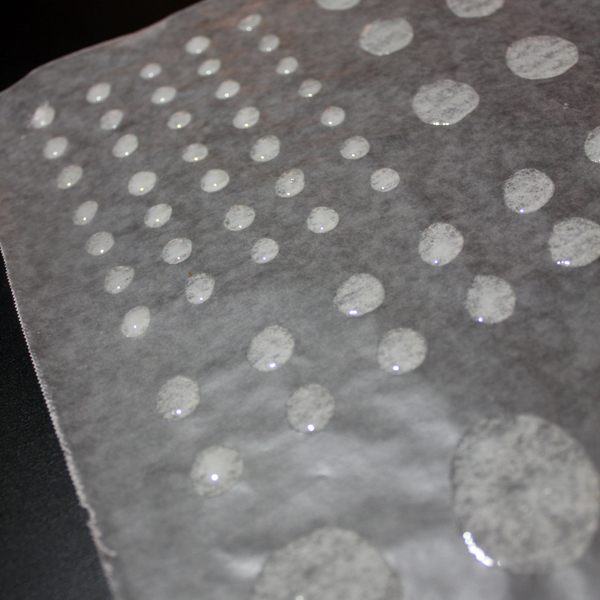
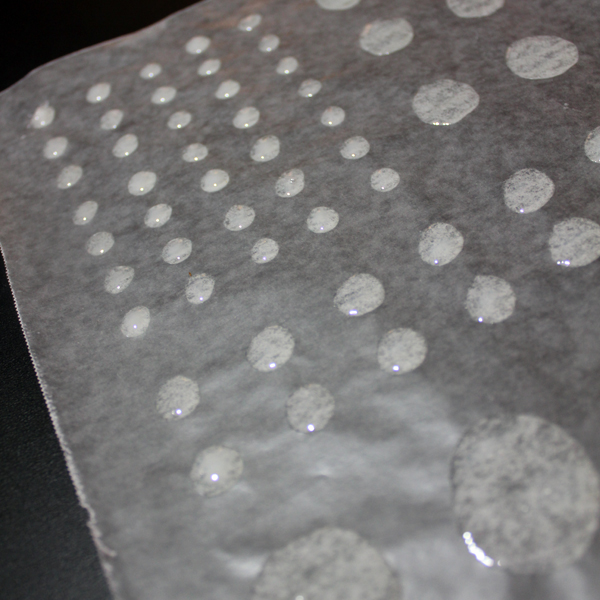
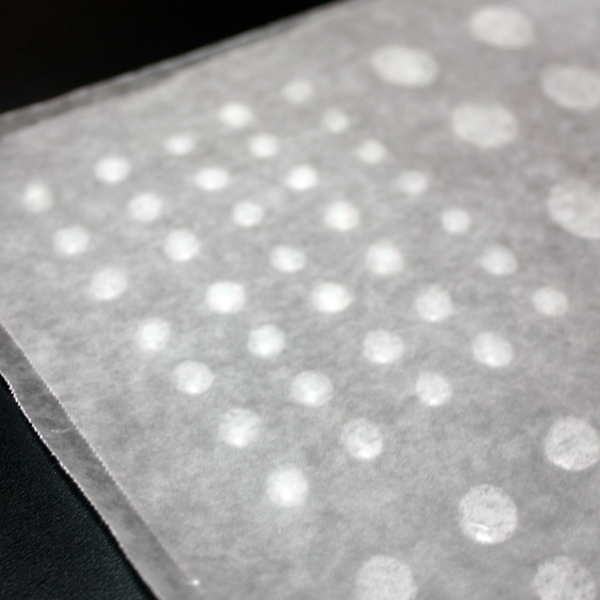
Once you have them all made…simply allow them to dry for about 24 hours or so, to be sure they have completely cured. They will appear a foggy clear, instead of a glue white, when they are completely cured. See photo below.
Once they are dry…they are ready to be used. When you are done with them…simply place a second sheet of wax paper over top them and put them in an envelope and file them away for future use.
Believe it or not…it truly is just that Simple! You will be able to make 100’s and 100’s of these dots all different shapes just for the price of glue ..it’s pretty awesome! Whip some up in the sizes that you use the most, and then you’ll have them on hand for when you need them for your projects. I sure hope you enjoyed learning How to Make Peel and Stick Dots of Glue!
If you would prefer to buy the actual ready made Glue Dots, you can grab them HERE.
If you like saving money, by making your own craft supplies, be sure and check out this post on how to Custom Color your Glitter in any shade HERE.
I will see you really soon and if you would like to visit…I am always hanging out over at The Cottage Market.
Hugs…
Andrea
P.S. For another fast and fun DIY Technique, you might also like the post DIY Packing Tape Transfers HERE!


Kathy Wardell says
I used this in my classroom, we had “interactive notebooks” almost daily, students needed to add info on their pages. I became tired of replacing staplers I’d purchased to each table (6th grade) I found I needed something a bit stronger than wax paper, so I hoarded & begged for the backing on contact paper, and the backing on label sheets. I had eight tables of four students each, times five hours, and they needed five dots when they added to their books. I cut my backing paper with space to fold them over, and put 20 dots on each one, enough for the table! I had kids turn the backing paper in, because I could reuse them! It worked out really well!
graphicsfairy says
Wow, great thinking Kathy!
Carla says
What a great idea and saving money is always appreciated! I will try this and then pass it on to my daughter who helps her kids do school projects. Many thanks.
graphicsfairy says
Thanks Carla, I am sure she will love it 🙂
Linda says
Can this be used for edible projects?
graphicsfairy says
I don’t think so Linda, it is glue. I honestly don’t know, sorry.
Sara says
Has anyone else tried this and been sucesful?
graphicsfairy says
I have, lol 🙂
Karine says
Can you use any type eb of glue we don’t have that kind of here in Canada
graphicsfairy says
I’m not sure Karine, this was a guest post but as with any type of craft project, my advice is always, practice 🙂 Try with what you have, and if it doesn’t work there is always Amazon 🙂
Andrea H says
Hi Rhonda, I’m very new to papercrafting and learn something new everyday. You have explained how to make and use them. Thankyou.
However, Does it work just like a double sided glue dot? I’m really confused. Lol it really doesn’t take much. Hahaha ?
Rhonda Christian says
Greetings Karen. I made the diy glue dots with Tacky over and over. They have been drying for 3 days now and are still white. Very thin clear around the edges but white and very sticky. Is this normal. They are so sticky I’m afraid to cover them as the top will glue/stick on for good. Did I do something wrong? Is there another trick I need to do to get them the way you show in your tutorial? Thank you.
graphicsfairy says
Hi Rhonda,
This tutorial was done by Andrea at The Cottage Market. It sounds like you followed the tutorial perfectly. I’m not sure why it isn’t working for you, did you use the brand of Glue she recommended? Did you possibly make the dots too thick? Good luck, maybe give it another try? Fingers crossed for you 🙂
Dena says
I must repost….so great!! Thank u
graphicsfairy says
Thanks Dena, give them a try, so easy!!
Christine Murphy says
I’m sorry but I don’t understand how they can stick if they are dried. How does that work?
graphicsfairy says
Hi Christine,
They are dried as in, no longer liquid, but when you peel the dot off of the wax paper it is still sticky. They sell them in craft store and they are very pricey, so making them, and so easily is a great idea! I hope that helps 🙂
lana johnson says
I am obviously not a crafter… What are dried glue dots used for?
Karen Watson says
They are great for paper projects! It’s a nice no mess option, since the glue is not wet, so no sticky mess on your table or drips on your project!
Phyllis Muscolino says
Best thing ever for CHILDREN to use. No waiting time for anxious little ones.
graphicsfairy says
Thanks Phyllis!!
Tina Wilson says
Thank you for posting this!
Karen Watson says
You’re welcome Tina!
FERNIE says
I needed this a few months ago when I ran out of glue dots before my project was done and had to wait to get to the city to get more. This makes for a frustrated Lady. The irony is that I have the tack-it over & over glue in my sewing room and wax paper in the kitchen. Thank You.
Karen Watson says
You’re welcome! Next time you’ll be able to save gas, time and money and you can make all that you like!
Ana says
Para que se utilizan?…..puedes poner ejemplos o un enlace donde verlo?
Karen Watson says
Hola Ana,
Es un punto de pegamento pegajoso , para hacer tarjetas o álbumes de recortes , etc Es seca y lista para usar en cualquier momento. ¡Espero que eso ayude!
Yamini says
Looks so simple and easy! Definitely gonna give it a go. 😀
Karen Watson says
Yes, give it a try! 🙂
Carrie J. ADKINS says
Can you use any other glue besides tack it over and over I can’t get my hands on that glue
graphicsfairy says
I am not sure Carrie, haven’t tried any others. Perhaps check with your local craft store, they are usually very helpful 🙂
cmt says
Awesome idea – and a way to buy this elusive product. Thanks.
Karen Watson says
I’m glad you liked it!