How to Print on Tissue Paper
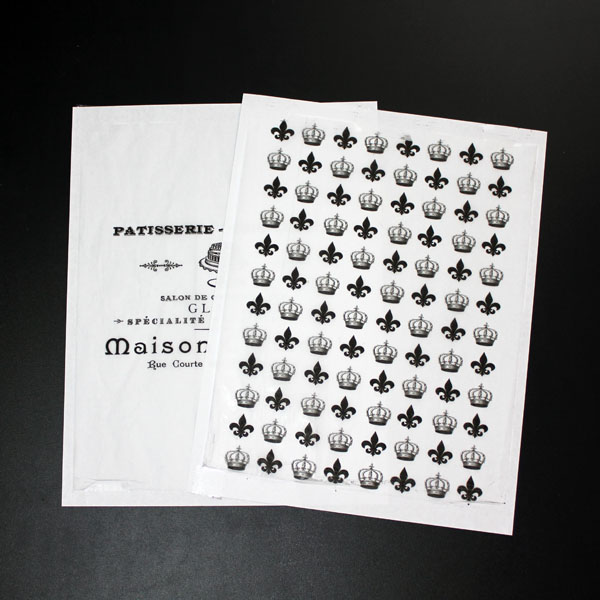
Hi everyone…how are you! It’s Andrea from The Cottage Market. It is always wonderful to see you here at The Graphics Fairy! Today we have a very simple but fun and very useful little tutorial. How to Print on Tissue Paper. There are so many things you can do with sheets of printed tissue paper…from personalizing wrapping paper for a pretty little present to decoupaging it on something special and having it be transparent and a million other things that I am sure you can think of.
We will go over how to print and then next time we meet I will have some DIYs with the printed tissue paper for you to get you started!
Supply List for Printing on Tissue Paper
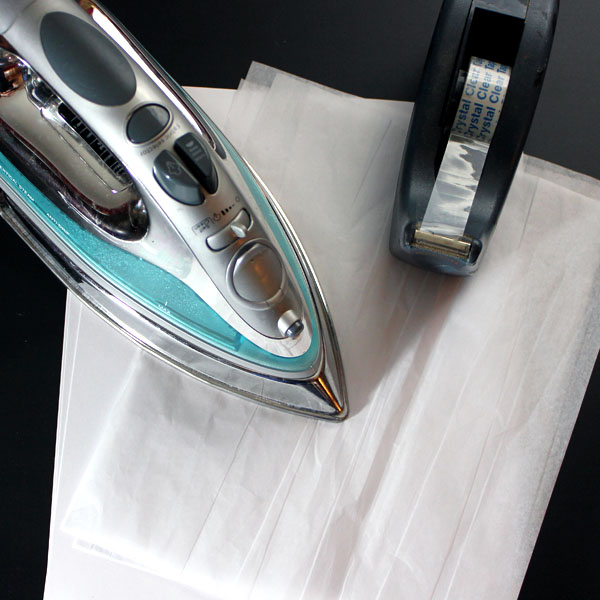
Your supply list is very short. You need tape…an iron…standard computer paper…8 1/2″ x 11″ or 8 1/2″ x 14″ and then you need tissue paper …I just used the tissue paper you get in a big pack from the dollar store and cut it to 8″ x 10″ so I could safely attach the tissue paper to the computer paper. Of course, you need a computer and printer also.
 DIY Tissue Paper Printing Tutorial
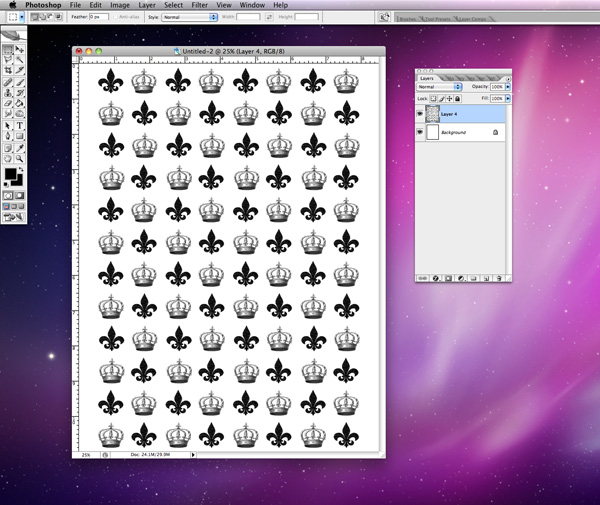
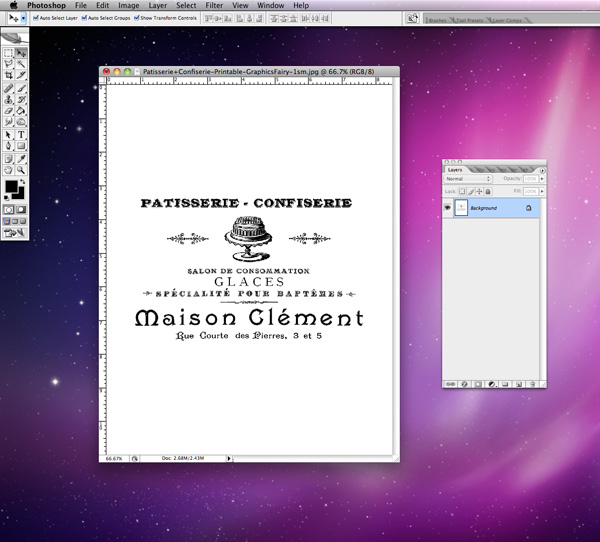
Now it is time to create your design…use your favorite computer paper and place the design you pick where you would like it on the tissue paper…you can also pic some images and make a pattern to cover the whole sheet! There are so many graphics and designs here at The Graphics Fairy you can come up with unbelievable creations!
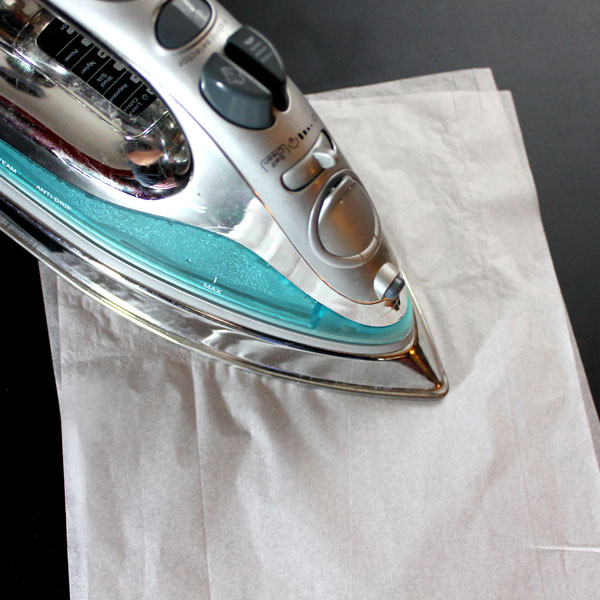
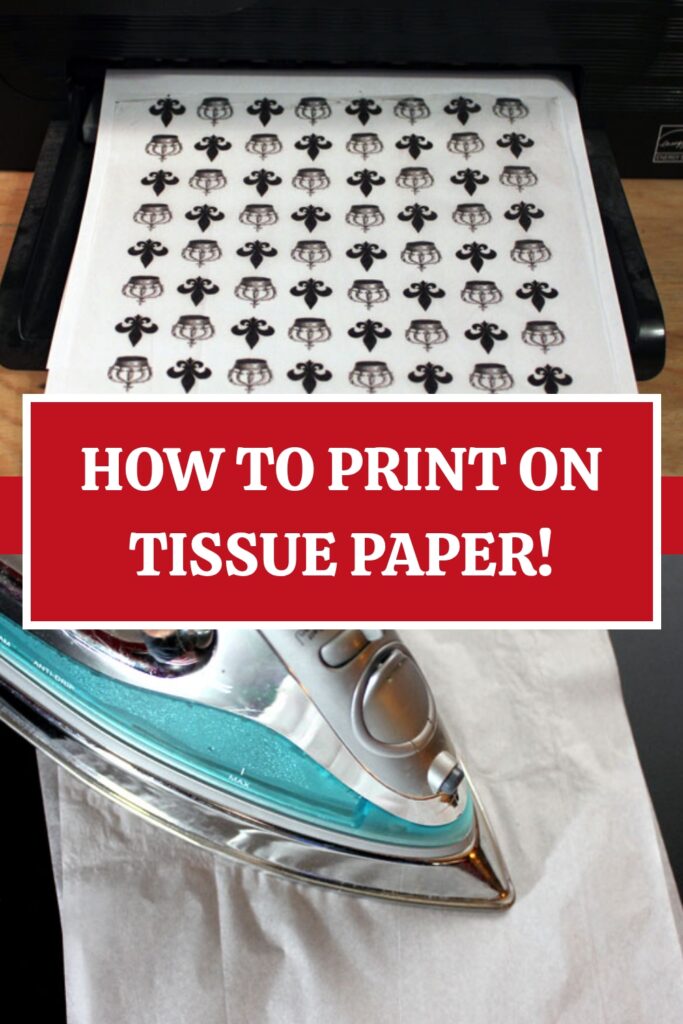
Now cut your tissue paper the size you need it to be and lightly iron it…you will never get it totally smooth…but you will want to take a few of the wrinkles out so it goes through the computer easily. Just remember to keep the iron on low so the steam does not automatically trigger! Remember…it will not be totally smooth…just a little precautionary measure.
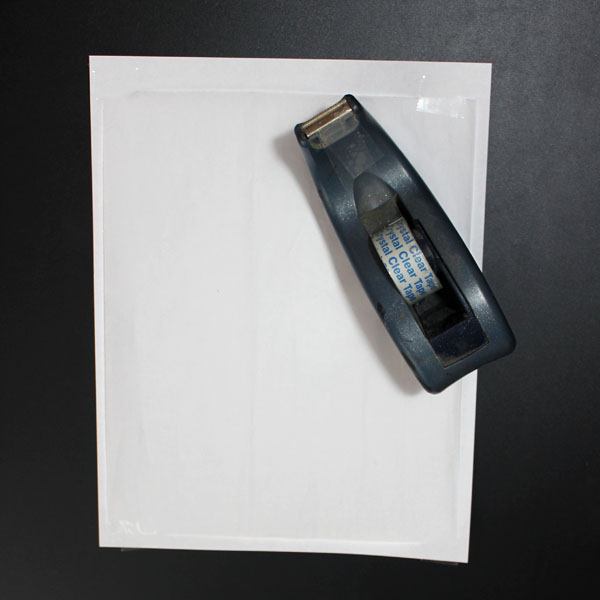
Then tape your tissue paper to the standard computer paper…make sure you smooth it out so there are not any bubbles. And tape secured on all 4 corners is a must.
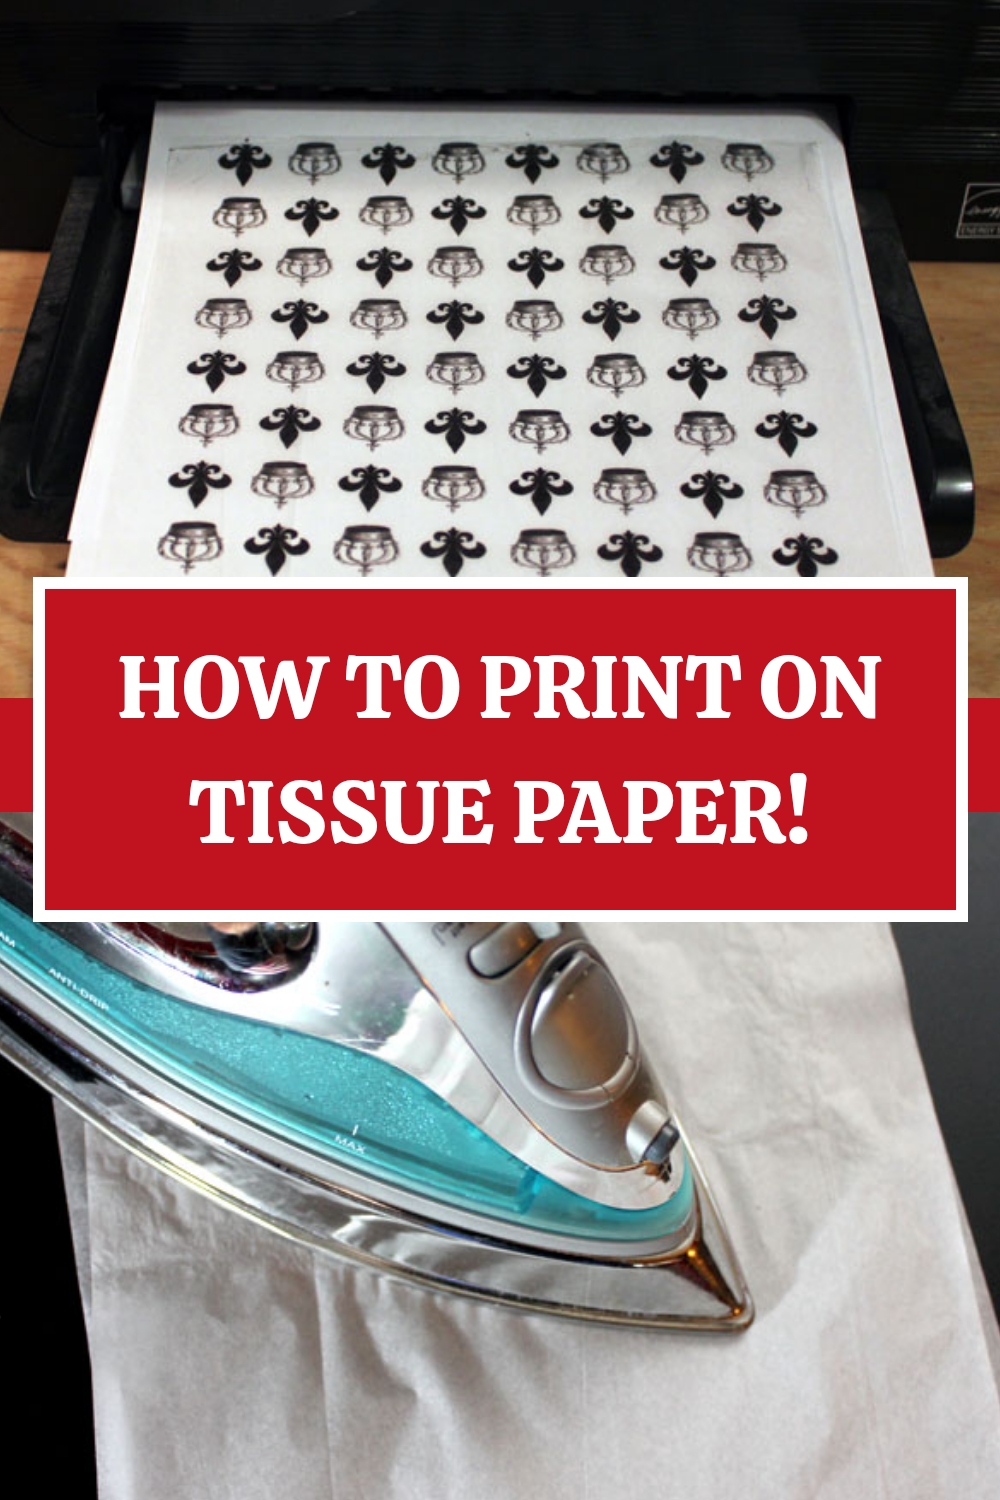
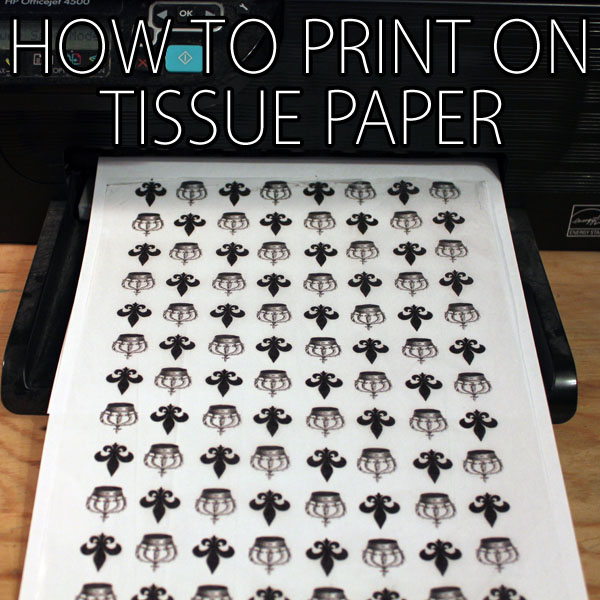
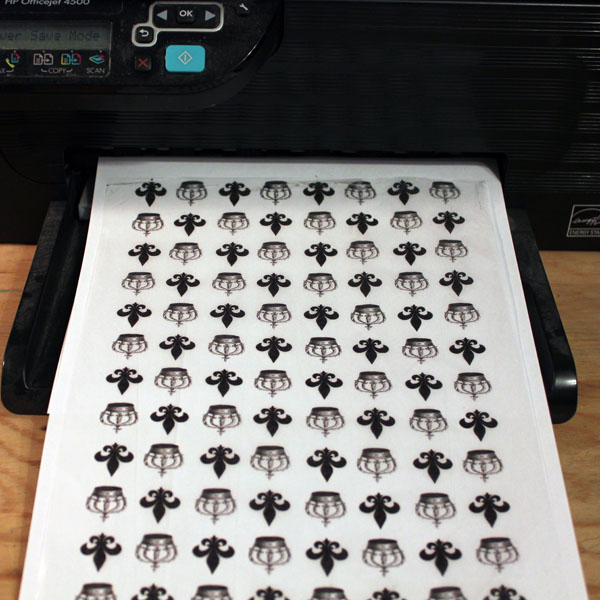
Then load your printer according to the type of printer you have and print! Make sure you remain by your printer in case you need to guide the paper out.
It’s that easy!
I sure hope you enjoy playing around with all the design possibilities and that you enjoyed learning how to print on Tissue paper! Think Napkin Decoupage that’s customized with your own designs! The beautiful Decoupages Coasters HERE are a great example.
Holiday Tissue Designs
 And don’t forget to try this technique for your Holiday Designs too! You can find the beautiful Free French Christmas Printable that you see on the photo above in our Christmas Cracker DIY HERE.
Oh, and in case you missed it…last time we went over How to Print on Brown Paper Bags! Also, be sure and check out How to Print on Fabric as well! And to learn about What Printers are the Best for Crafting click HERE, for an informative post! Is there anything you can think of that you would like to print on but you are not sure how? Let me know ok! I will see you again really soon but if you want to see me for that…come and say hi over at The Cottage Market…it’s where I hang out!
Hugs…Andrea!


Barbara Cowan says
neat ideasm thanks
graphicsfairy says
My pleasure Barbara, glad you liked it 🙂
Lynne Mohr says
I haven’t read all the comments to see if this has already been mentioned, but years ago, I used to use freezer paper. You simply put the fabric, tissue paper, etc., on the “business side” of the freezer paper and use an iron to melt the plastic-like surface to the tissue paper. Trim it to size and run it through your inkjet printer. The paper peels right off. It works perfectly.
graphicsfairy says
Wow, thanks so much Lynn, great tip!
Jarra says
my ink jet printer wets the tissue paper. any solutions?
graphicsfairy says
Oh no Jarra, I am not sure what to tell you. Perhaps contact your printer manufacturer to see if they can offer any suggestions. I have not had that problem, my printer uses a waterproof ink, maybe that is an option for yours?
Sanya says
Hi , to print on a tissue paper , which household printer to be used inkjet or laserjet ? Thanks in advance
graphicsfairy says
I use an inkjet printer with waterproof ink Sanya 🙂
sarah says
Could I please ask you what sort of ink and printer should be used if I wish to print onto tissue paper and then use as decoupage so that the ink does not run / smudge when the glue is applied ? – hope that makes sense and thank you in advance for any help.
graphicsfairy says
Hi Sarah, here is a link to my favorite printer for crafting, it uses waterproof ink 🙂 https://thegraphicsfairy.com/the-best-printers-for-crafting/
Good luck!
Sam says
Hi
Mine is smudging ? Left it 48 hours too.
Any advice?
graphicsfairy says
Sorry Sam 🙁 This was actually a guest post from Andrea over at The Cottage Market. I can’t really tell you why it isn’t working as I just don’t know. My advice is always practice, practice practice 🙂
Sandra L. says
I’m taking a mixed media class and wanted to include a poem. My cursive handwriting it not as good as it once was and afraid that it would look horrible. Found your directions and I used the repositionable spray adhesive. First print I used normal print and it was a tad blurred so I tried it again on fast economy or on some printers it’s called draft and it work just perfect. The only change I made to my font was to use bold with the quick print as it’s lighter than using normal. Thanks for the tutorial and I love your site.
graphicsfairy says
Thanks Sandra, and thank you also for the great advice!
Rosa says
Hello, I’m not sure what I’m doing wrong. My printer spits out the printer paper with the tissue paper. It won’t print on it all. Any help would be appreciated. Thanks!!
Rosa
graphicsfairy says
Hi Rosa,
I’m not sure. Did you make sure your tissue paper was smoothed out as Andrea suggested in her post? Also be sure it is taped well at all corners. Good luck!