DIY Gold Leaf Picture
Hello, Graphics Fairy Friends! Heather from Thicketworks here, and I am VERY excited to share this DIY Gold Leaf Picture technique with you! This image transfer technique occurred to me while I was pondering the utility of clear adhesive backed shelf-lining paper. Seemed to me that it would be really fun to find out if the adhesive was robust enough to firmly adhere metal leaf…The answer is, “Oh, my goodness…YES!” I had in mind the look of old fashioned Advertising Signs, that we glimpse in photographs from the late 1800’s and early 1900’s.
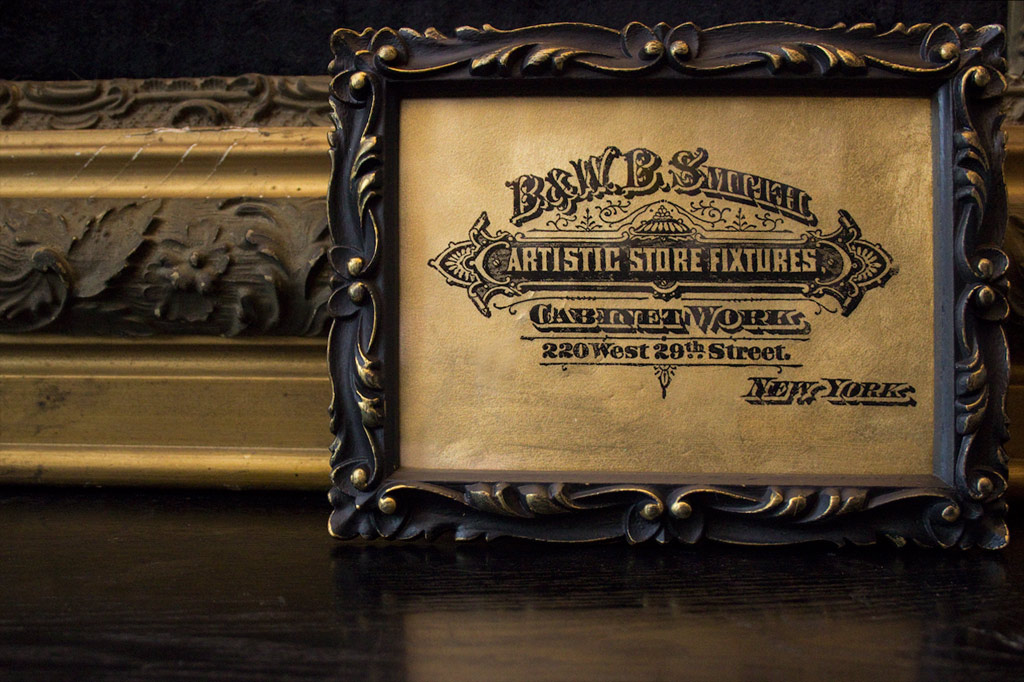
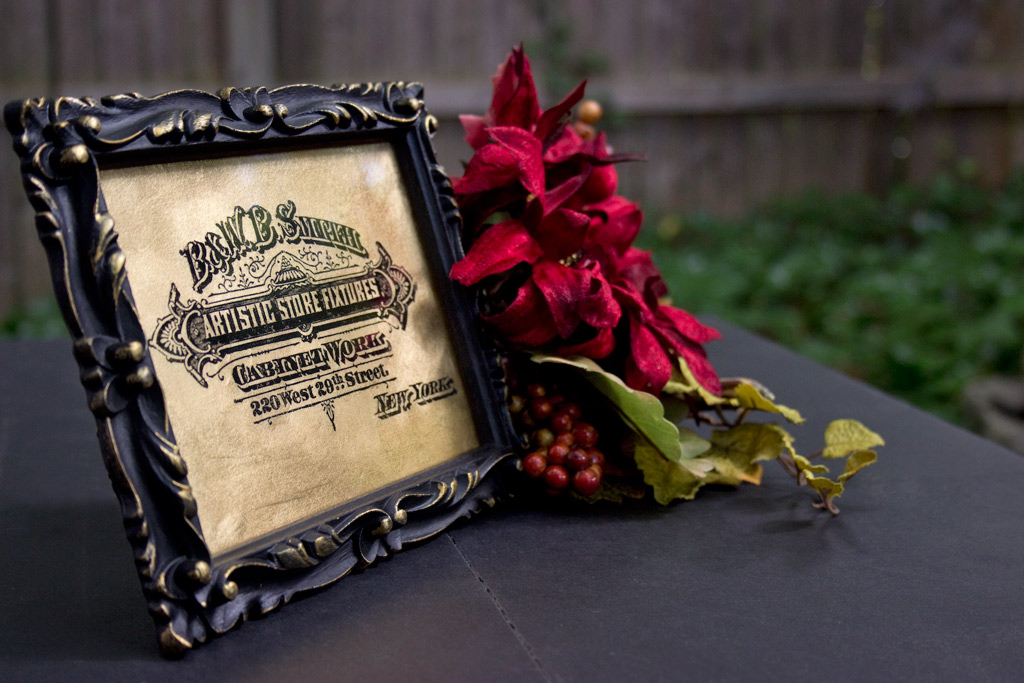
Well, the result speaks for itself.
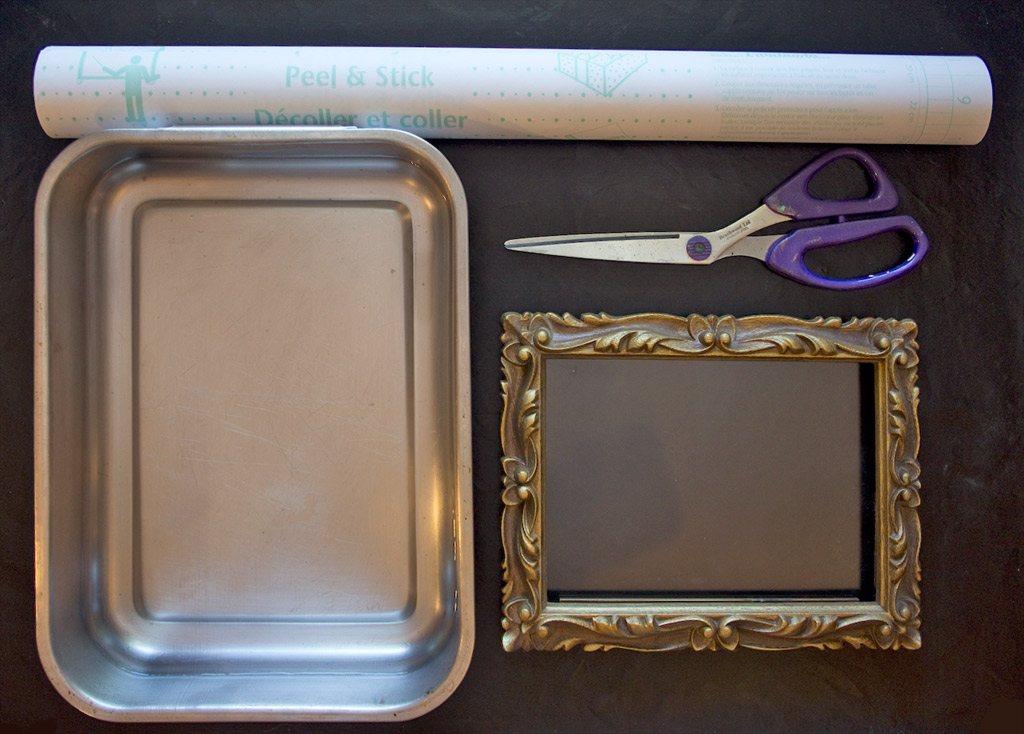
If you would like to experiment too, you’ll need a few things.
DIY Gold Leaf Picture Supplies:
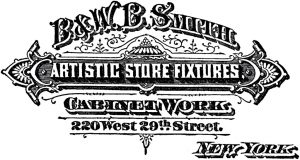
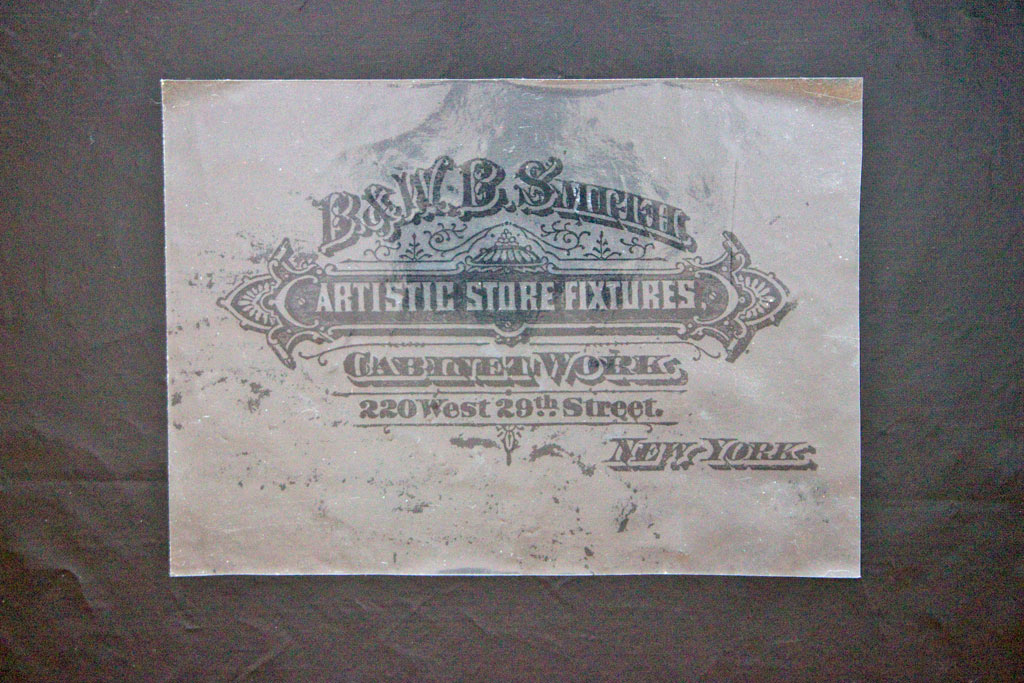
Your favorite Graphics Fairy Image, sized to fit within your frame, and printed with a Laser Printer.
Note: do NOT reverse the image.
(I selected this one because it screamed ‘I need Gold Leaf!’)
Source Image: Vintage New York Typography
- Clear Adhesive Backed Shelf Liner
- A pencil
- Scissors
- An empty picture frame, with a glass insert
- A shallow container of water
- A Bone Folder
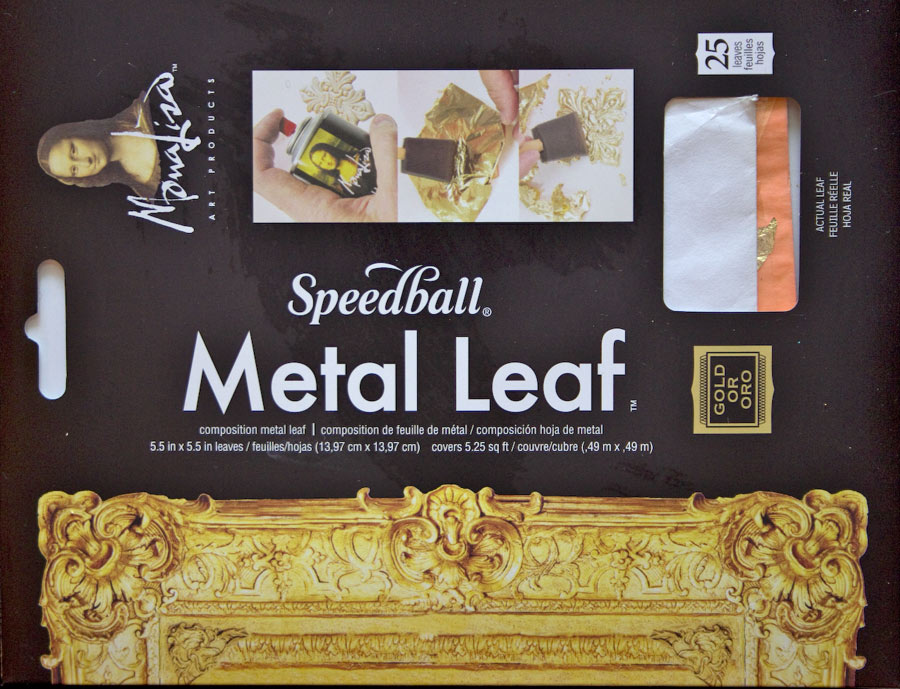
- Gold Leaf
- A soft bristle paint brush
- A soft bristle toothbrush
- An envelope (to store precious flakes of Gold Leaf)
How to add Gold Leaf to an Image Transfer:
Gather your tools onto a clean work surface.
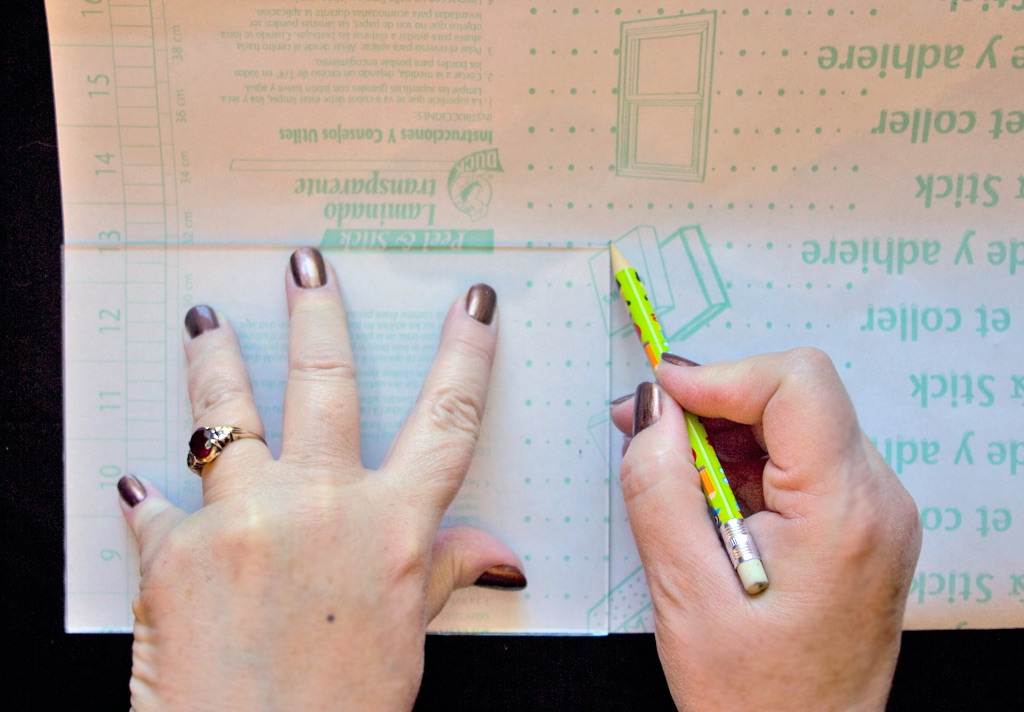
Use the glass to trace a corresponding rectangle onto the backing of the shelf liner.
Clean both sides of the glass.
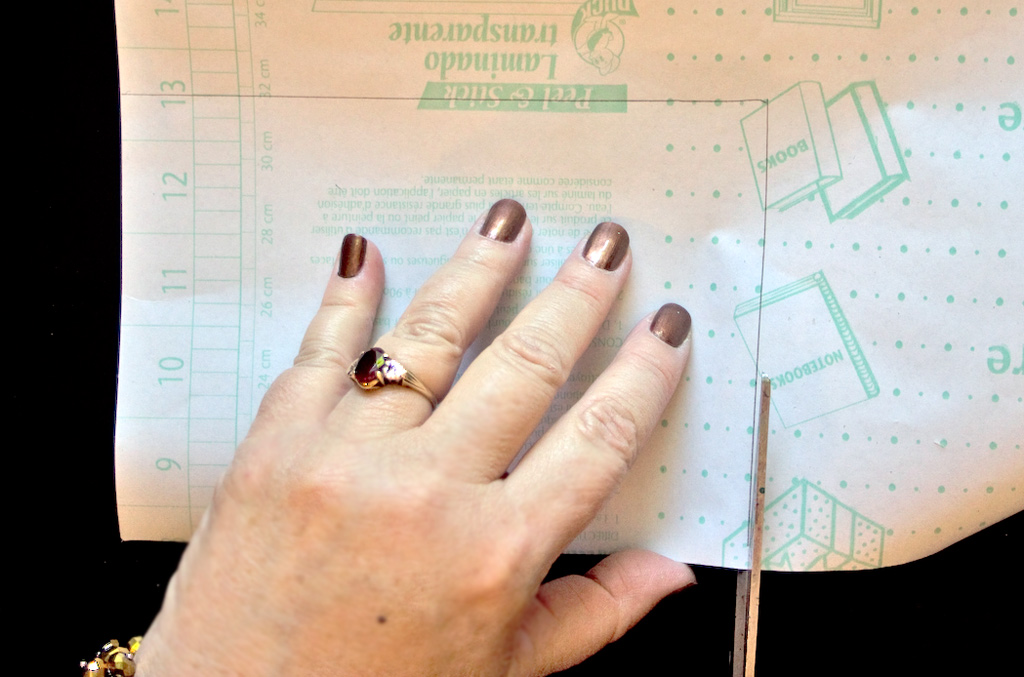
Cut the shelf liner along the pencil lines you traced.
Set the shelf liner aside.
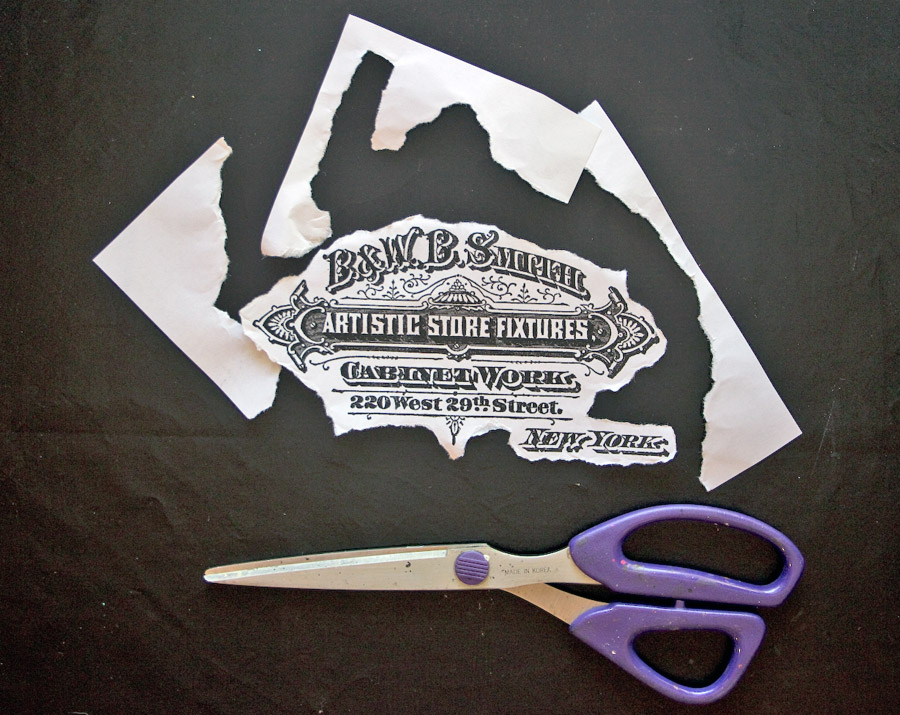
Tear around the perimeter of your chosen design, getting as close as possible to the edges.
(This will reduce the amount of paper fibers to be removed)
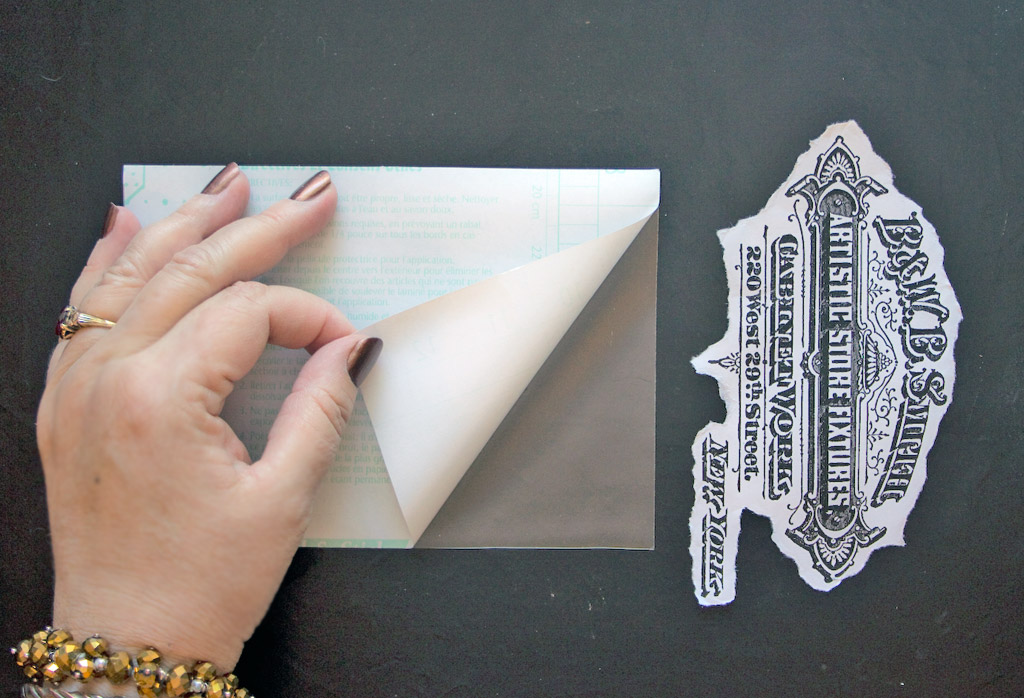
Peel the backing paper away from the shelf liner…
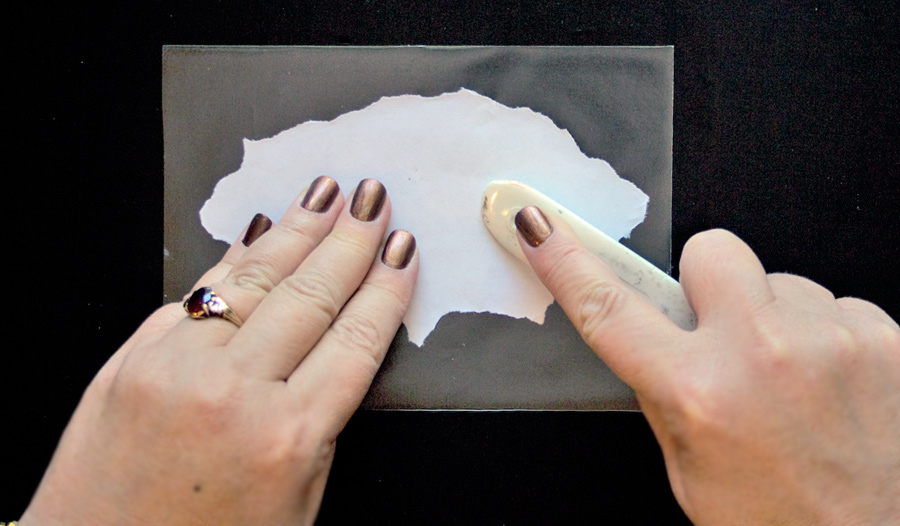
Place the printed image face down onto the adhesive side of the liner.
Burnish the surface of the paper with a bone folder.
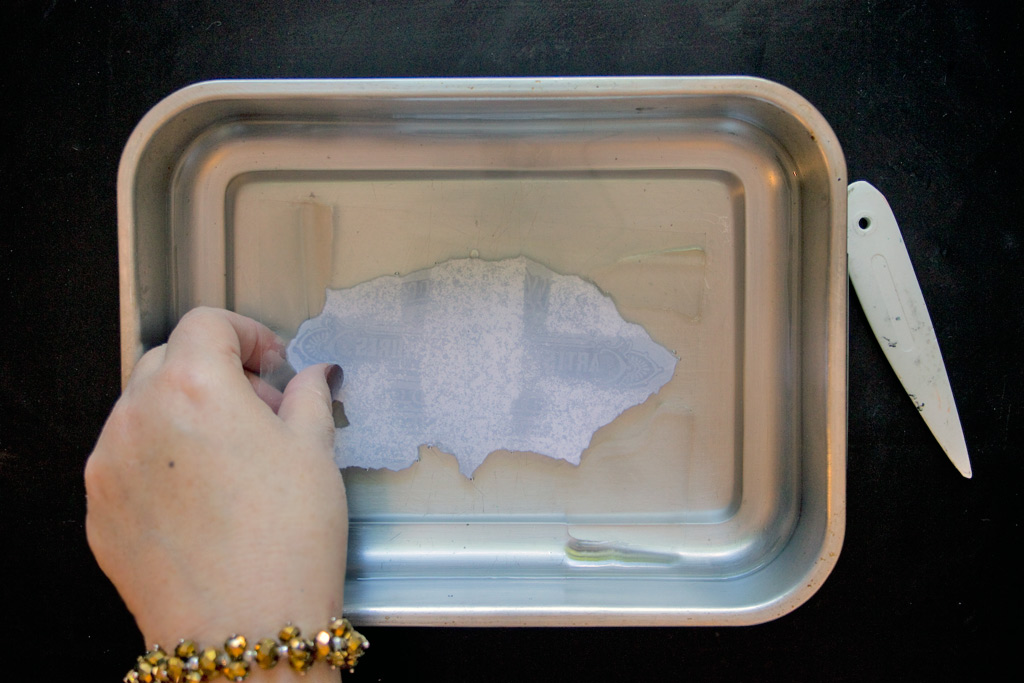
Submerge the shelf liner in a shallow pan of water.
Allow to sit undisturbed for 10 minutes.
Test the readiness of the paper by rolling back one edge.
If it reveals the toner clearly, continue to rub the fibers away.
If it doesn’t roll off easily, leave in the water for a few more minutes.
Rinse the clean shelf liner in running water, and remove as much of the paper fiber as you possibly can with a rubbing motion of your fingertips.
When the fibers are gone, allow the liner to air dry.
Note: do not attempt to dry the adhesive side with a cloth of any kind: this will embed fine lint in the adhesive and make it impossible for the leaf to properly adhere.
View the transfer against a dark background to make certain all the paper fibers have been removed:
Gently and carefully remove the ‘book’ of Gold Leaf Sheets from the packaging.
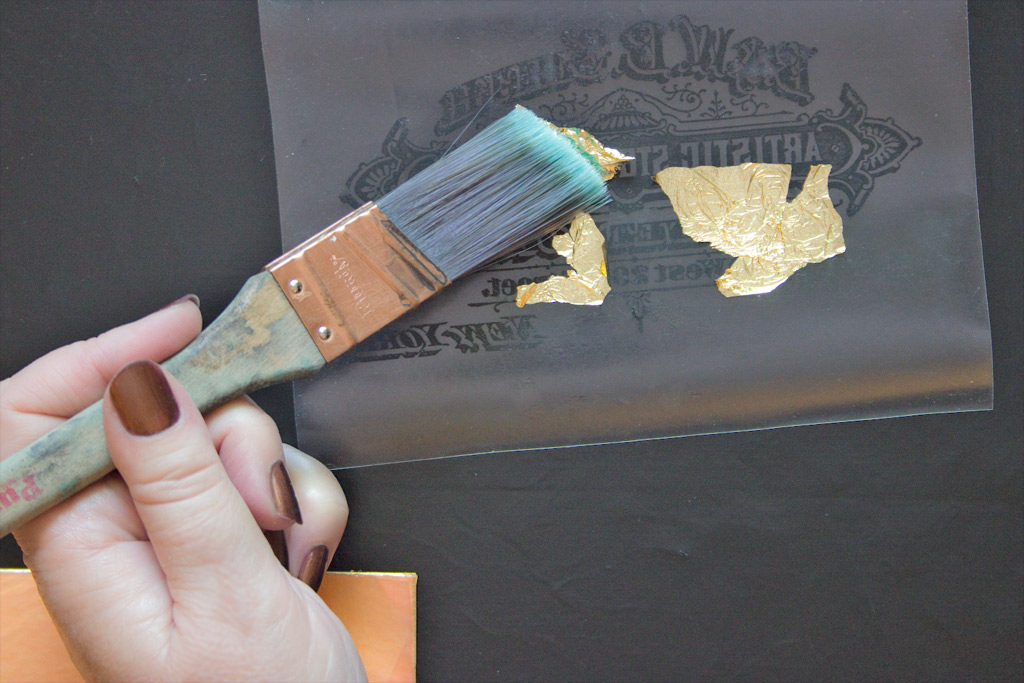
I like to use a soft, dry brush to pick up sections of Gold Leaf and gently place them on the adhesive:
Continue this process until the entire back is covered.
Note: the leaf will not stick to the printed areas, and that’s just fine.
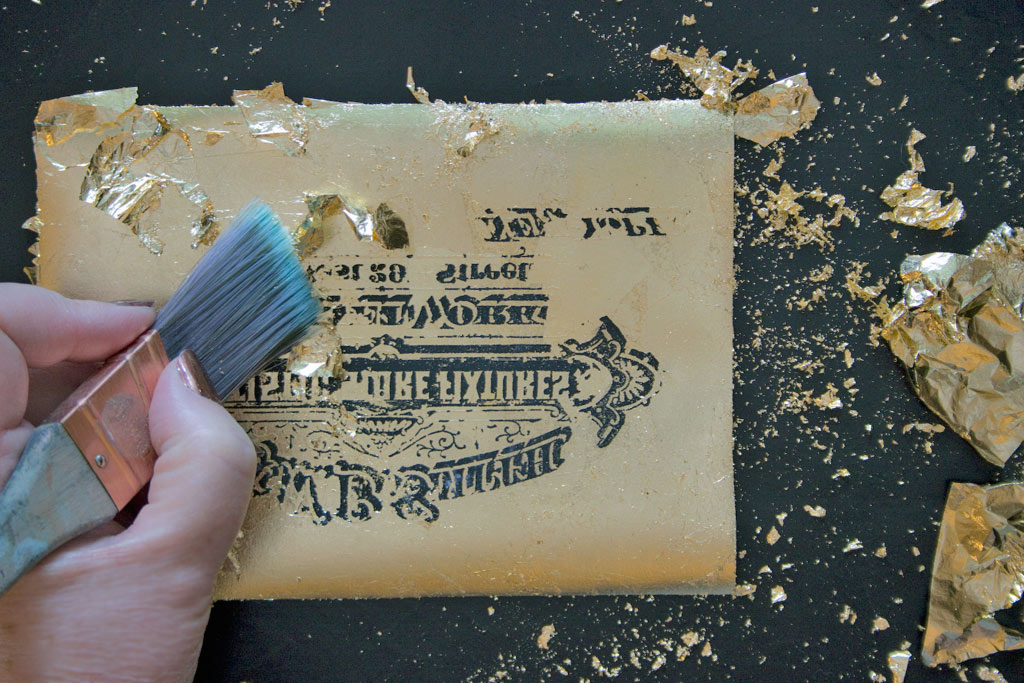
Using the soft tips of the bristles, gently ‘scrub’ the surface to remove any flakes of Gold Leaf that have not adhered.
Burnish the Gold Leaf and remove all traces of ‘loose’ leaf with the bristles of a very soft toothbrush:
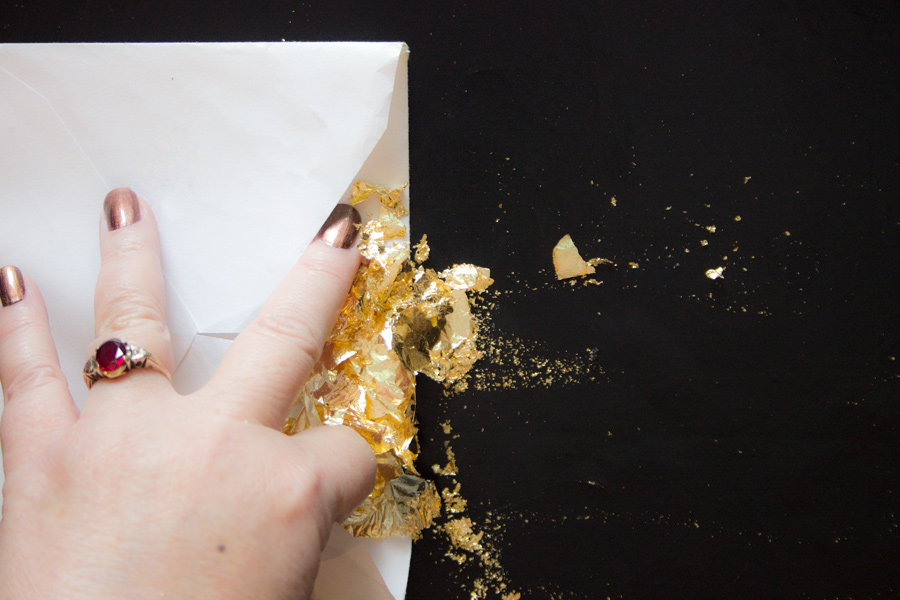
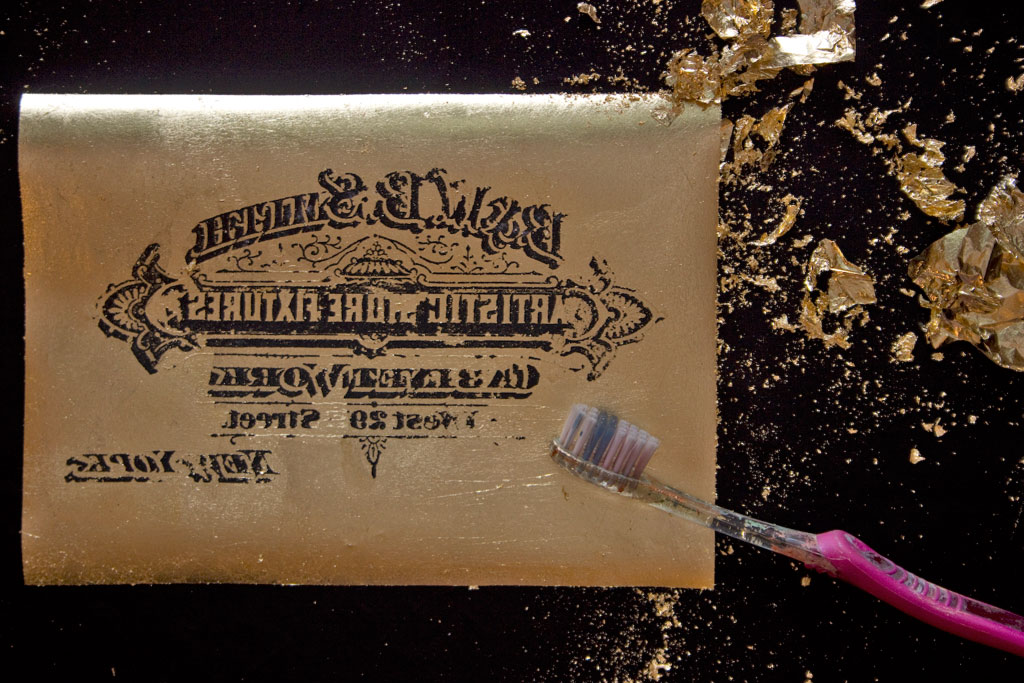 Carefully store the ‘loose’ leaf and metallic dust in an envelope – all of it can be used in future projects.
Tuck the Gold Leaf backed shelf liner into the frame, and cover with the original glass.
This will add depth to the result that will please the eye…
This project took about an hour from start to finish.
It’s a wonderful way to create a quick but richly ornamental accent piece at short notice…
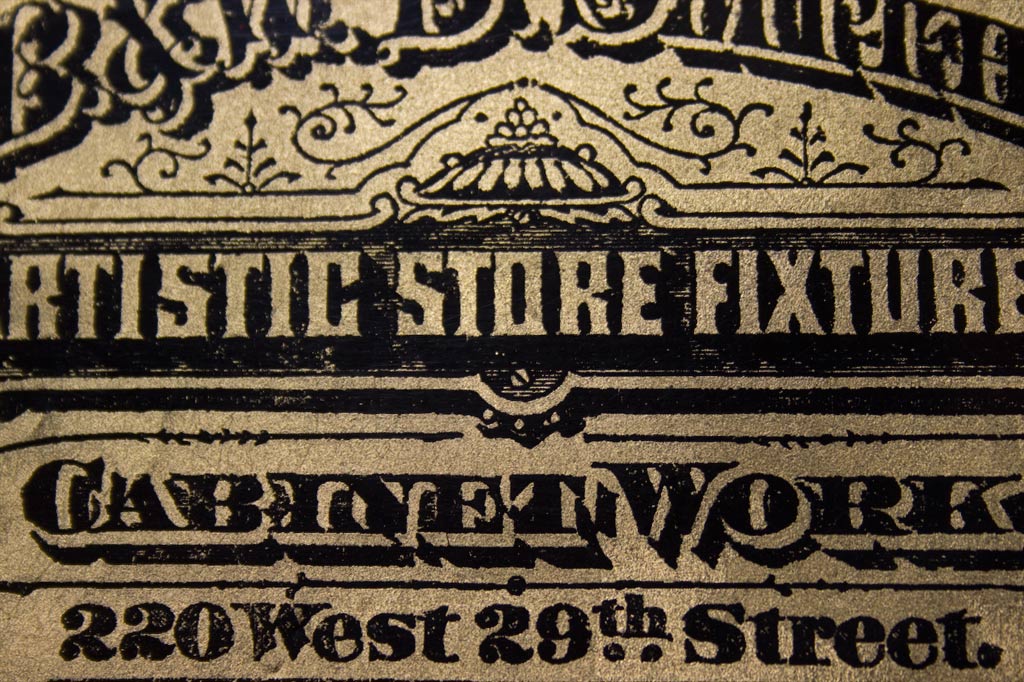
The effect is AMAZING…you get that subtle texture that only Gold Leaf can give…
The gleam of this piece just warms my heart!
I hope you enjoyed this simple method of combining Image Transfers and Gold Leaf – I certainly enjoyed discovering it!
You may also like the Acrylic Paint Image Transfer Technique HERE.
Thank you for visiting The Graphics Fairy today! It’s always a pleasure to meet you here…
To explore more interesting crafting techniques, visit Thicketworks and say Hi!
Heather
Are you interested in learning more fabulous Techniques from Heather Tracy? We have an amazing Mixed Media Video Course in the works! You can learn more about it, and sign up to receive updates, HERE.





Cathy says
Oh, what a cool technique! I LOVE the look of it and my mind is busy with ideas for applications for it. Do you think this would hold up on a small table top with a glass cut to fit the top? Since the glass isn’t secured as in a frame, would it wear too much on the gold leaf to have the glass shift occasionally? I have an ornate round end table with a glass cut to fit and I’d love to use this technique on it. Thanks so much for sharing your fabulous ideas!
Heather Tracy says
Hi Cathy! I love your idea – and I think it would be plenty secure under a glass table top. That would be SO stunning! Thanks for your kind words, and I hope you do give it a try…
Kathleen Kemler says
Your so darn smart!
Heather Tracy says
Oh, Kathleen! Nah…I’m just curious and experimental! But thank you for being so sweet 🙂
Rupa says
Heather, I always loved the translucence of the clear shelf liner but didn’t know what to do with it exactly. Thank goodness you do! Love the project and its simplicity. Admiring this while sitting in Paris airport. What other site but yours would come to mind when I get some time and Internet access?
Heather Tracy says
That translucence has always fascinated me as well, Rupa…I’ll be exploring more possibilities with this material in the future! While I don’t envy you the jet-lag, it’s lovely to know that this helped pass the time in the Paris airport! xox
Linda says
Clear adhesive back shelf liner!! What a gem of an idea, just love this. Am so doing this!! Thanks for the great pictures and how to’s.
graphicsfairy says
Good for you Linda! You are so welcome 🙂
Katie Drake says
That is really fabulous! I can think of so many great applications for this idea. Can’t wait to try this! And, thanks for reminding us that you can get laser printed copies at Staples and so on…I hadn’t thought of that, and keep running across things requiring a laser copy. Great concept!
graphicsfairy says
Thanks Katie! Please hare some of your creations with us when you give it a try 🙂
Candi Harris says
Clear adhesive back shelf liner…gold leafing…sure, I can see how you’d naturally put those together – NOT! This is gorgeous & your brain never ceases to amaze! Love that shimmer!
Heather Tracy says
Hi Candi! What can I say? The oddest things occur to me. Most of them are potentially disastrous…but this one? PURE GOLD! hee hee! xox
Mardell says
Stunning! I wish my printer was a laser. Is there any method that will work with inkjet?
Heather Tracy says
Hi Mardell…unfortunately, this particular method is really suitable only for toner based copies…there certainly may BE a way to combine Ink Jet prints with Gold Leaf, but I’ve not discovered it (yet). Staples or Office Max can create toner copies for you, for a very reasonable fee – I’ll certainly create a post if I ever DO find a way to use Ink Jet prints + Gold Leaf!
KATHY says
Wonderful idea and so explicit in your instructions. Thank you. I just started receiving your newsletter and am thoroughly enjoying it.
Heather Tracy says
Hi Kathy! Glad to know that this is clear and useful…it’s wonderful that you’ve subscribed to The Graphics Fairy – thank you!
Randi Miller says
What an interesting technique. You’re very clever to have discovered this way to use the gold leaf and to remove the paper. Will definitely keep this instruction for future reference. Thanks for sharing.
Heather Tracy says
Hi Randi…it’s my pleasure to share these little quirky methods! Thank you for your kindness.
Trudy says
How unbelievably ingenious! Does your brain never sleep?! I have such a difficult time thinking outside the box. Your talent is so inspiring to me. Thanks for sharing it with us.
Heather Tracy says
Hey Trudy! Sleeping is challenging…funny little discoveries are just fueled by curiosity…I’m thrilled that you like this idea, and I hope it will be of use to you.
Paula says
Heather…you never cease to amaze me! What a cool technique. My mind always races after I read your posts thinking of ways to adapt your techniques to other projects. I have started a “Thicketworks” note book to keep your projects at hand so I can refer back to them easily. Thank you for sharing!!!
Heather Tracy says
Hi Paula! It’s lovely to hear from you, my friend. And your kindness is very touching. Thank you for your generous words.
Kathy Groah says
Can’t wait to give this a try. One question. Do you leave the image submerged in the water while rubbing the paper away?
Heather Tracy says
Hi Kathy…I usually do, just to make it easier to float the paper fibers away during the process, but you don’t have to. As long as you keep your fingers wet during the ‘rubbing away’ business, it will work just fine. Have fun!
Eileen says
Wow, I’m so impressed…and I have all these materials. Thanks so much.
Heather Tracy says
I don’t know why it never occurred to me before, Eileen…one of those quick intuitive flashes. Go try it, you’ll LOVE the results!
Monica Downing says
This is awesome with EXTRA sauce GF… I love it
Heather Tracy says
Yay! Thanks for stopping by, Monica. So happy you like it! xox
tina says
Absolutely amazing.
Thank you, thank you.
tina
Heather Tracy says
So glad you found it helpful, Tina! Have a great day…