DIY Junk Journal Embellishments
Hello Graphics Fairy friends! I’m Diana from Dreams Factory and I’m happy to be here again to share another DIY Project with you! Today we will experiment as we create these beautiful DIY Junk Journal Embellishments using scrap pieces of gauze and buttons from our stash. I went with a vintage French design for my tabs. I will show you how to make the tabs from scratch, but I encourage you to use my tutorial as a starting point that will allow you to further experiment to create something that you truly love! And if you’re not sure what a Junk Journal is …click HERE to find out all about them.
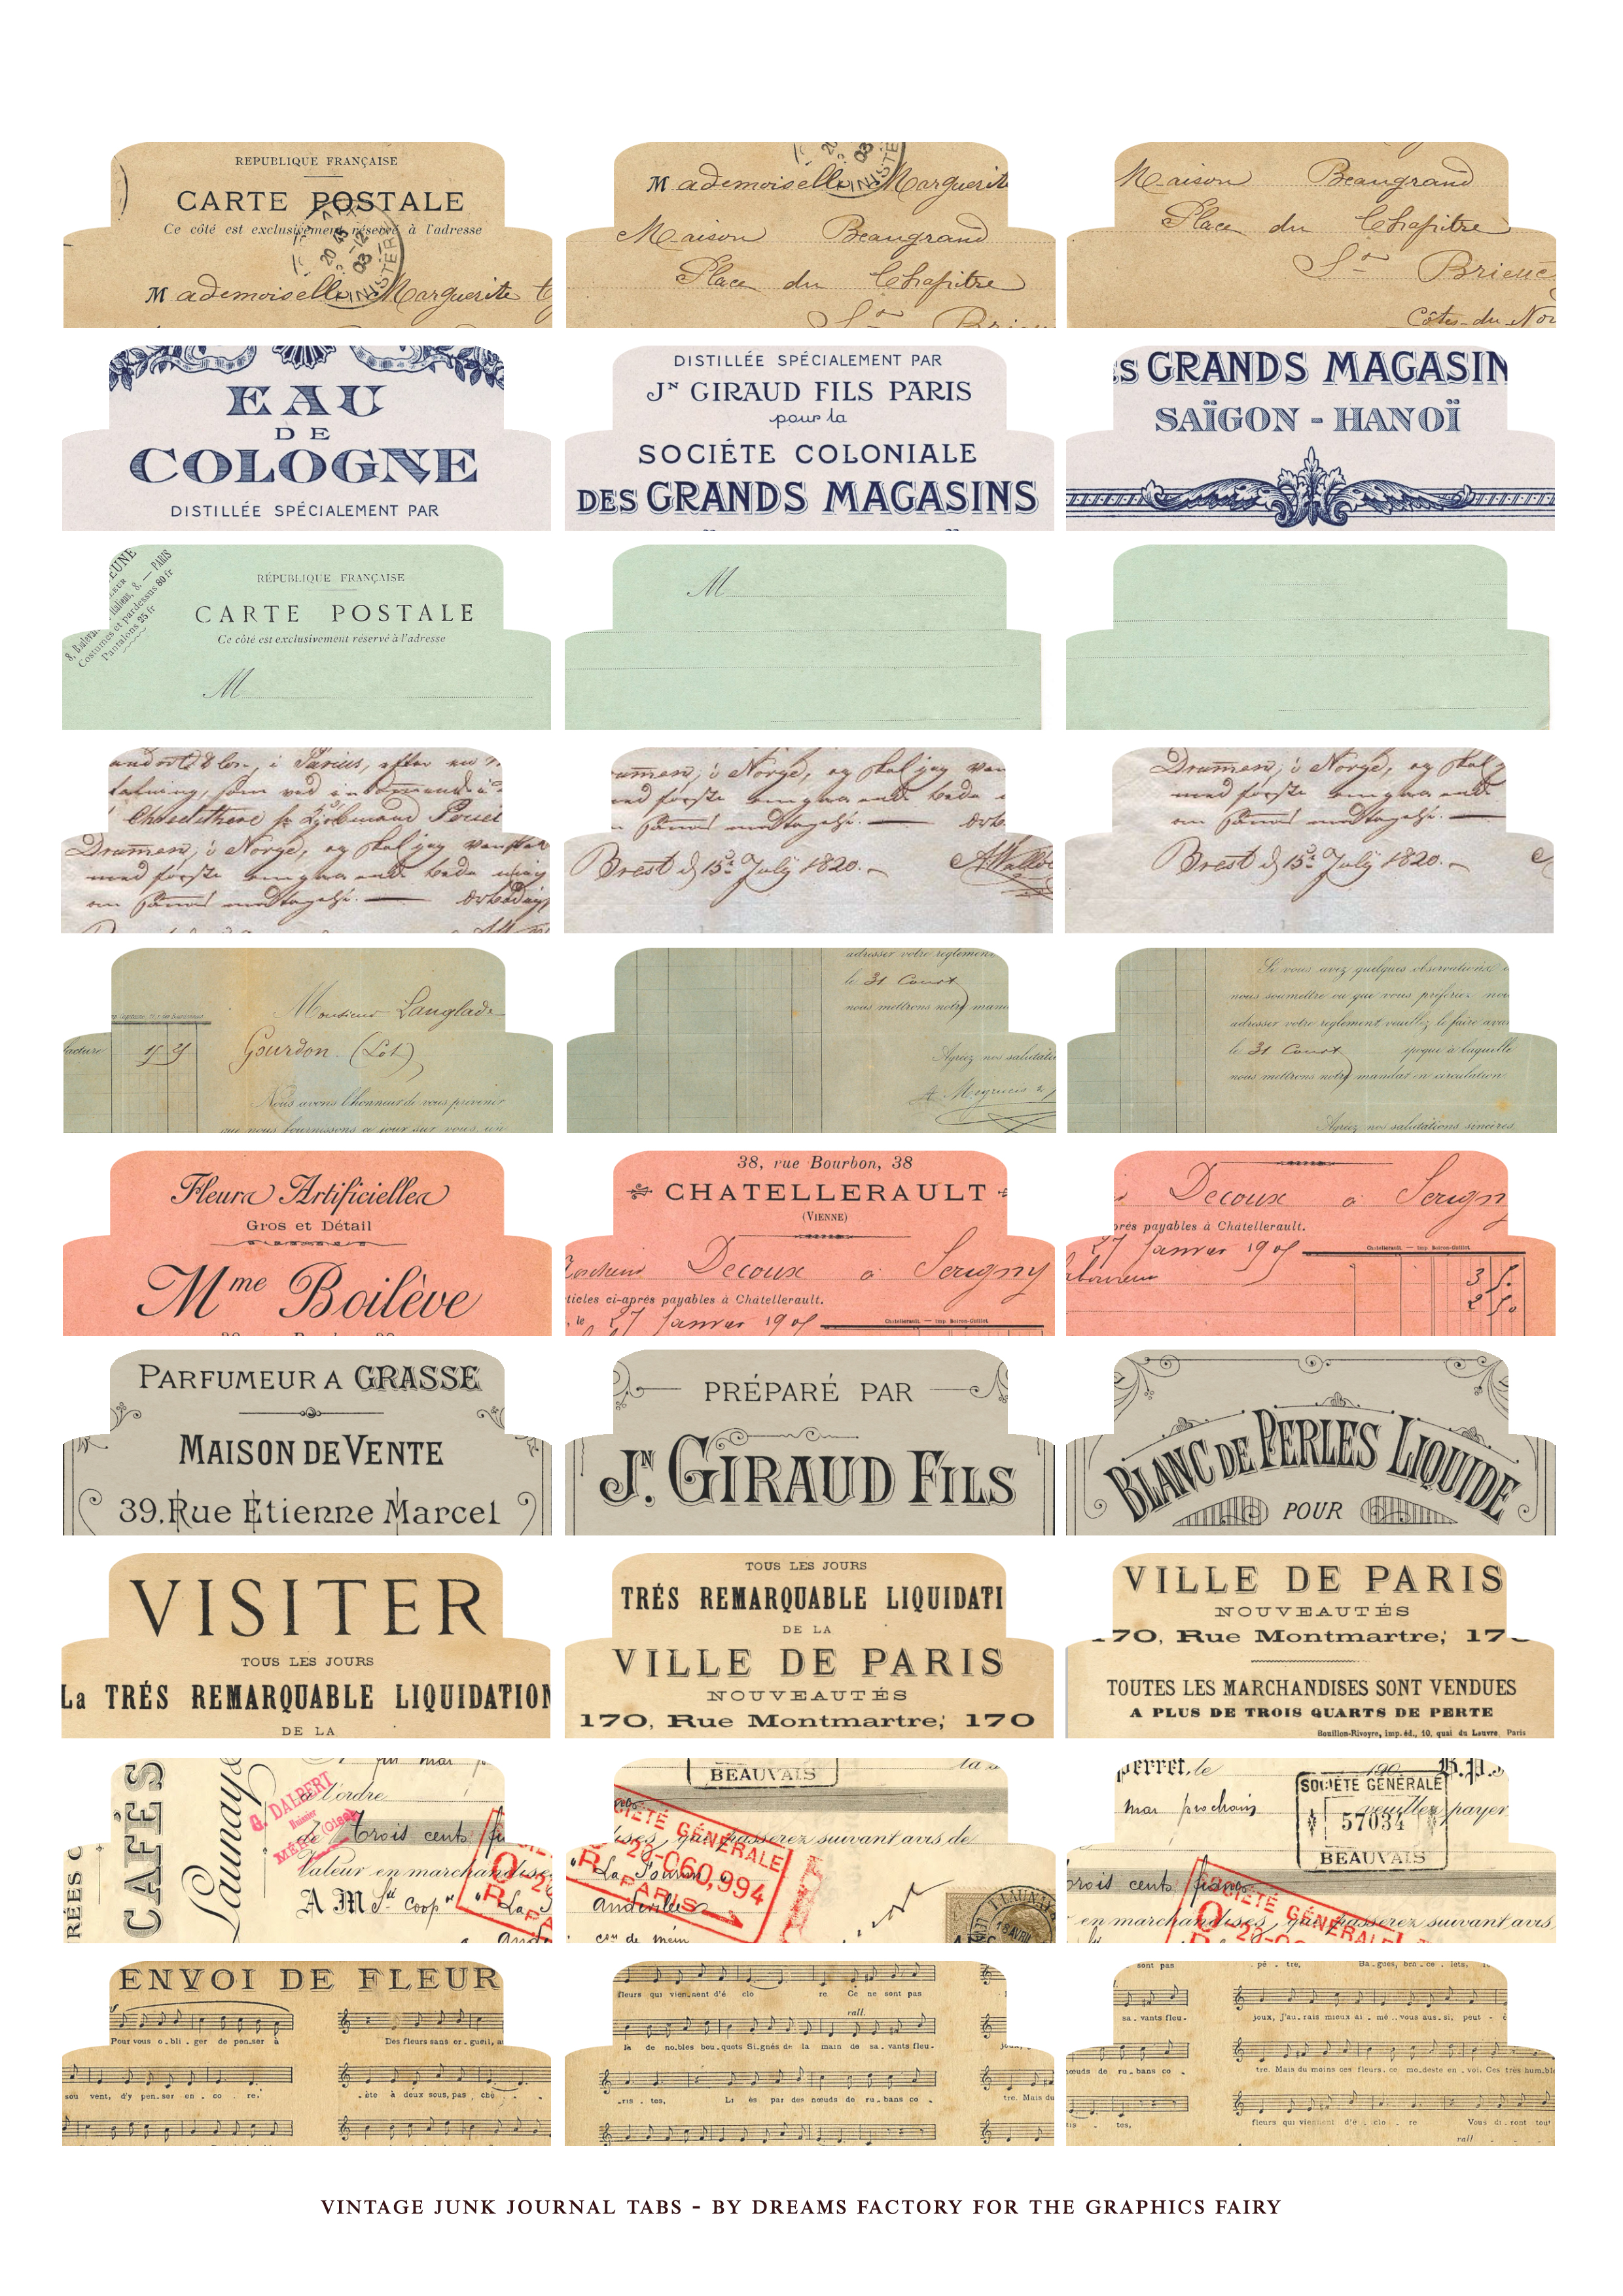
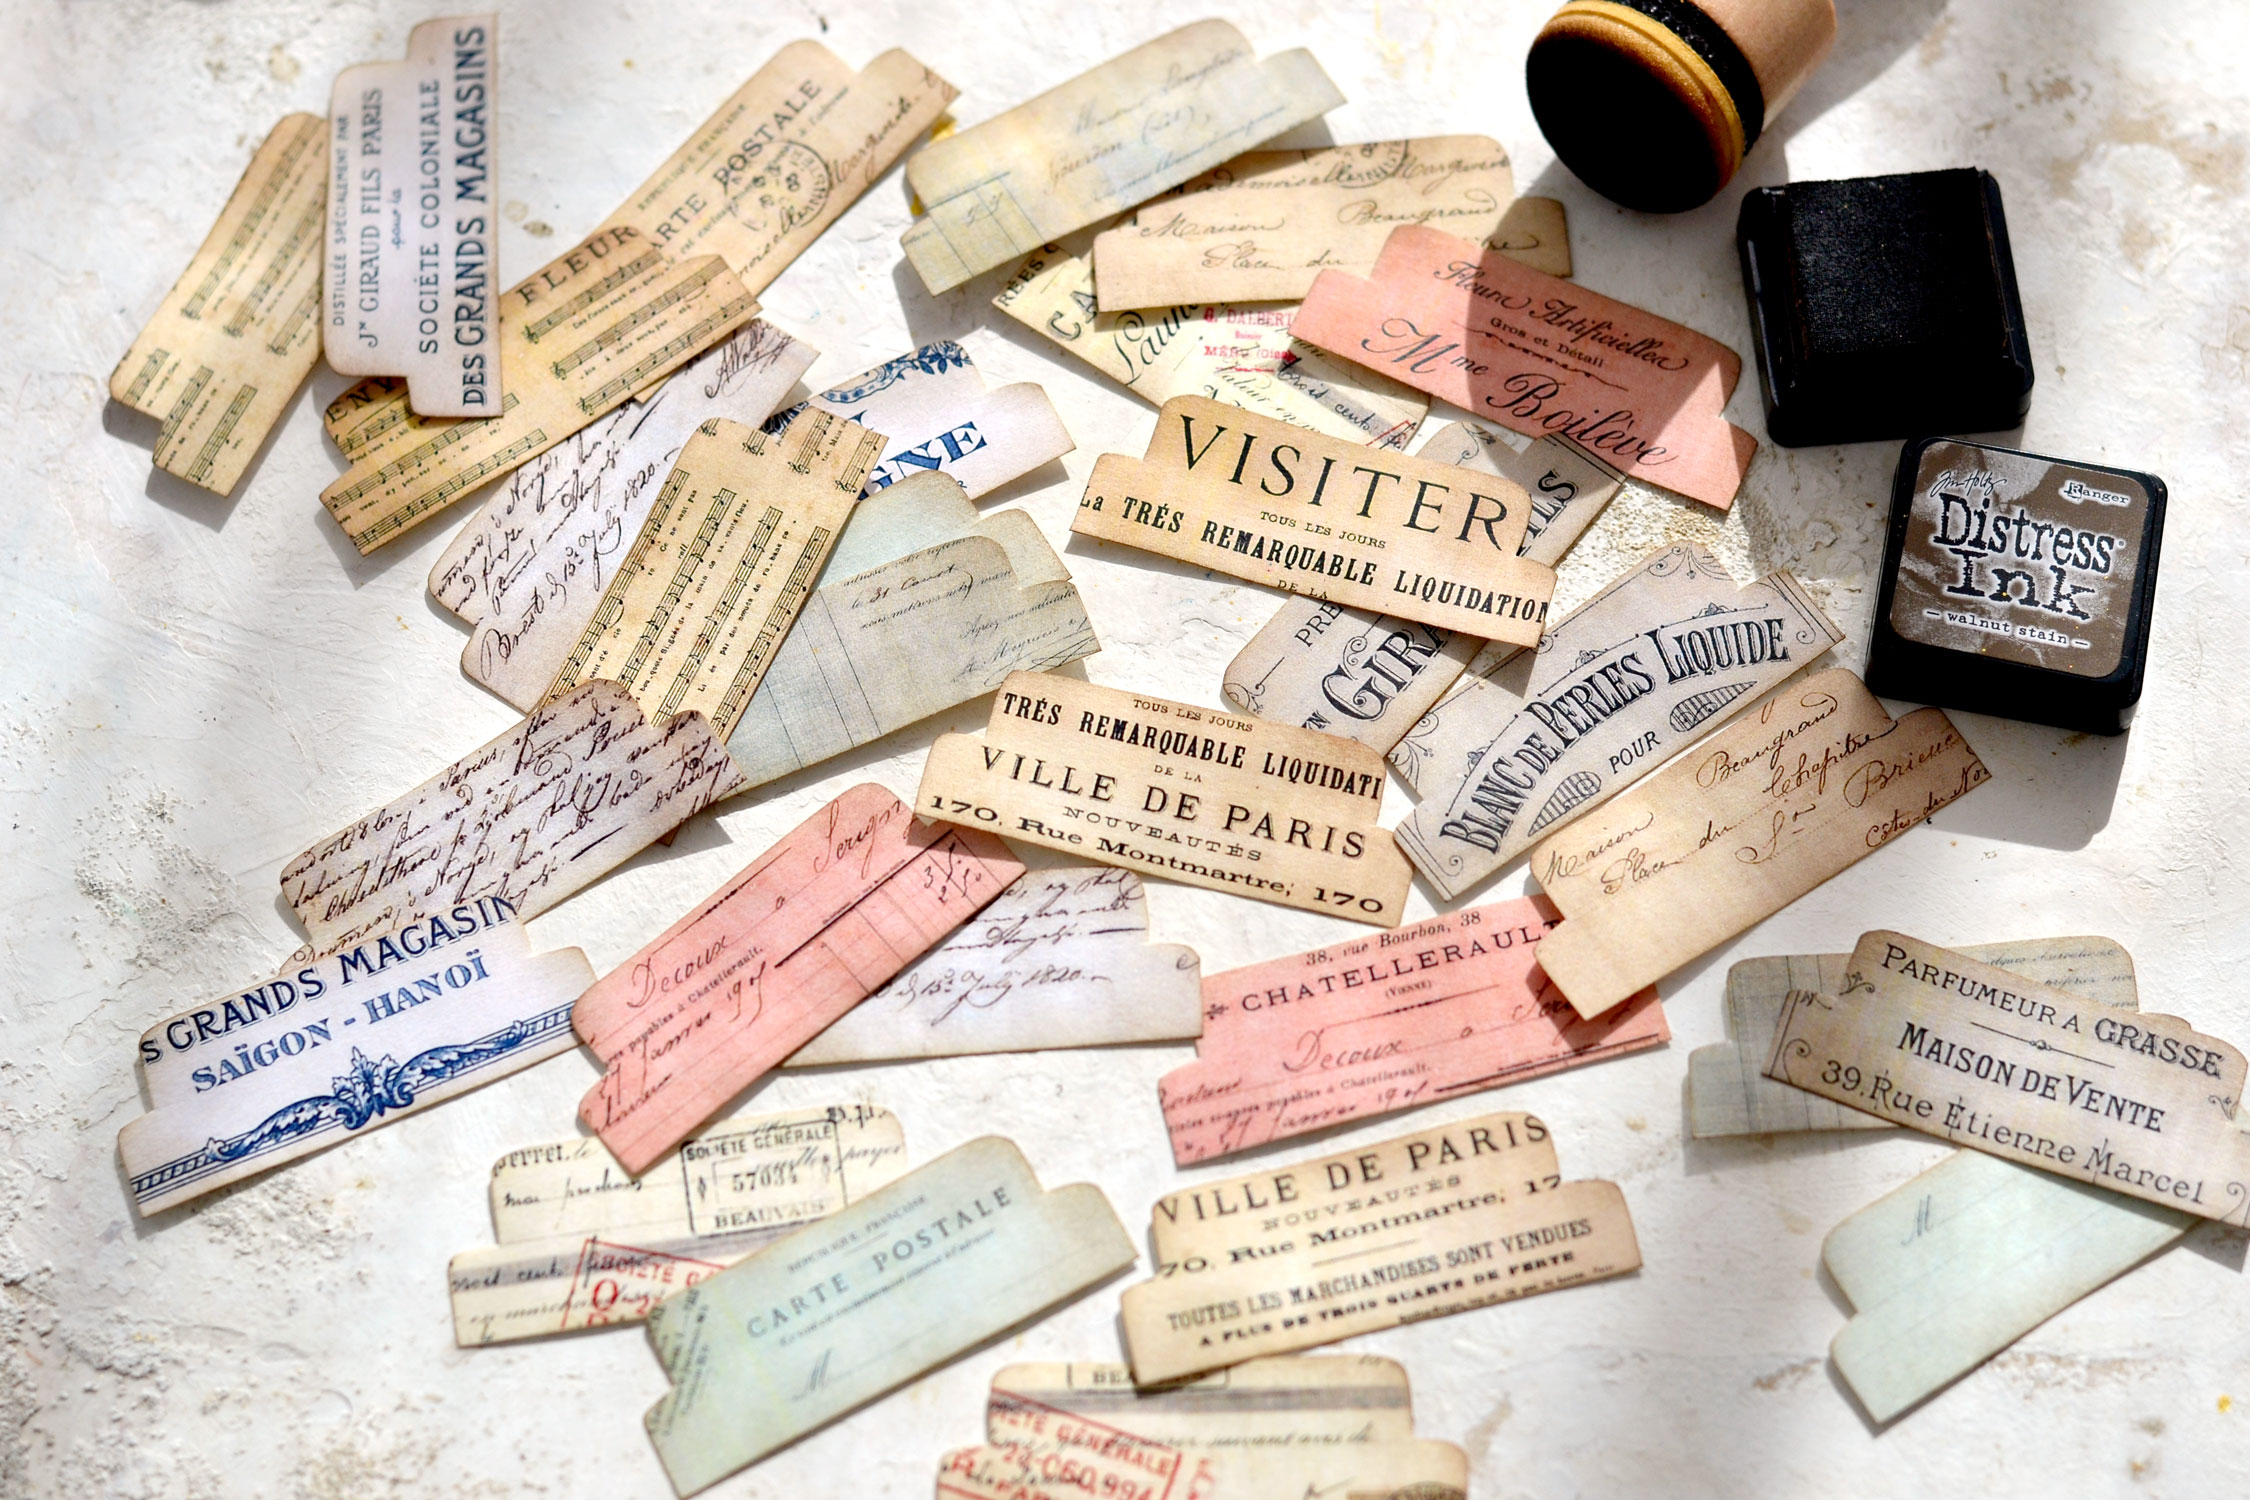
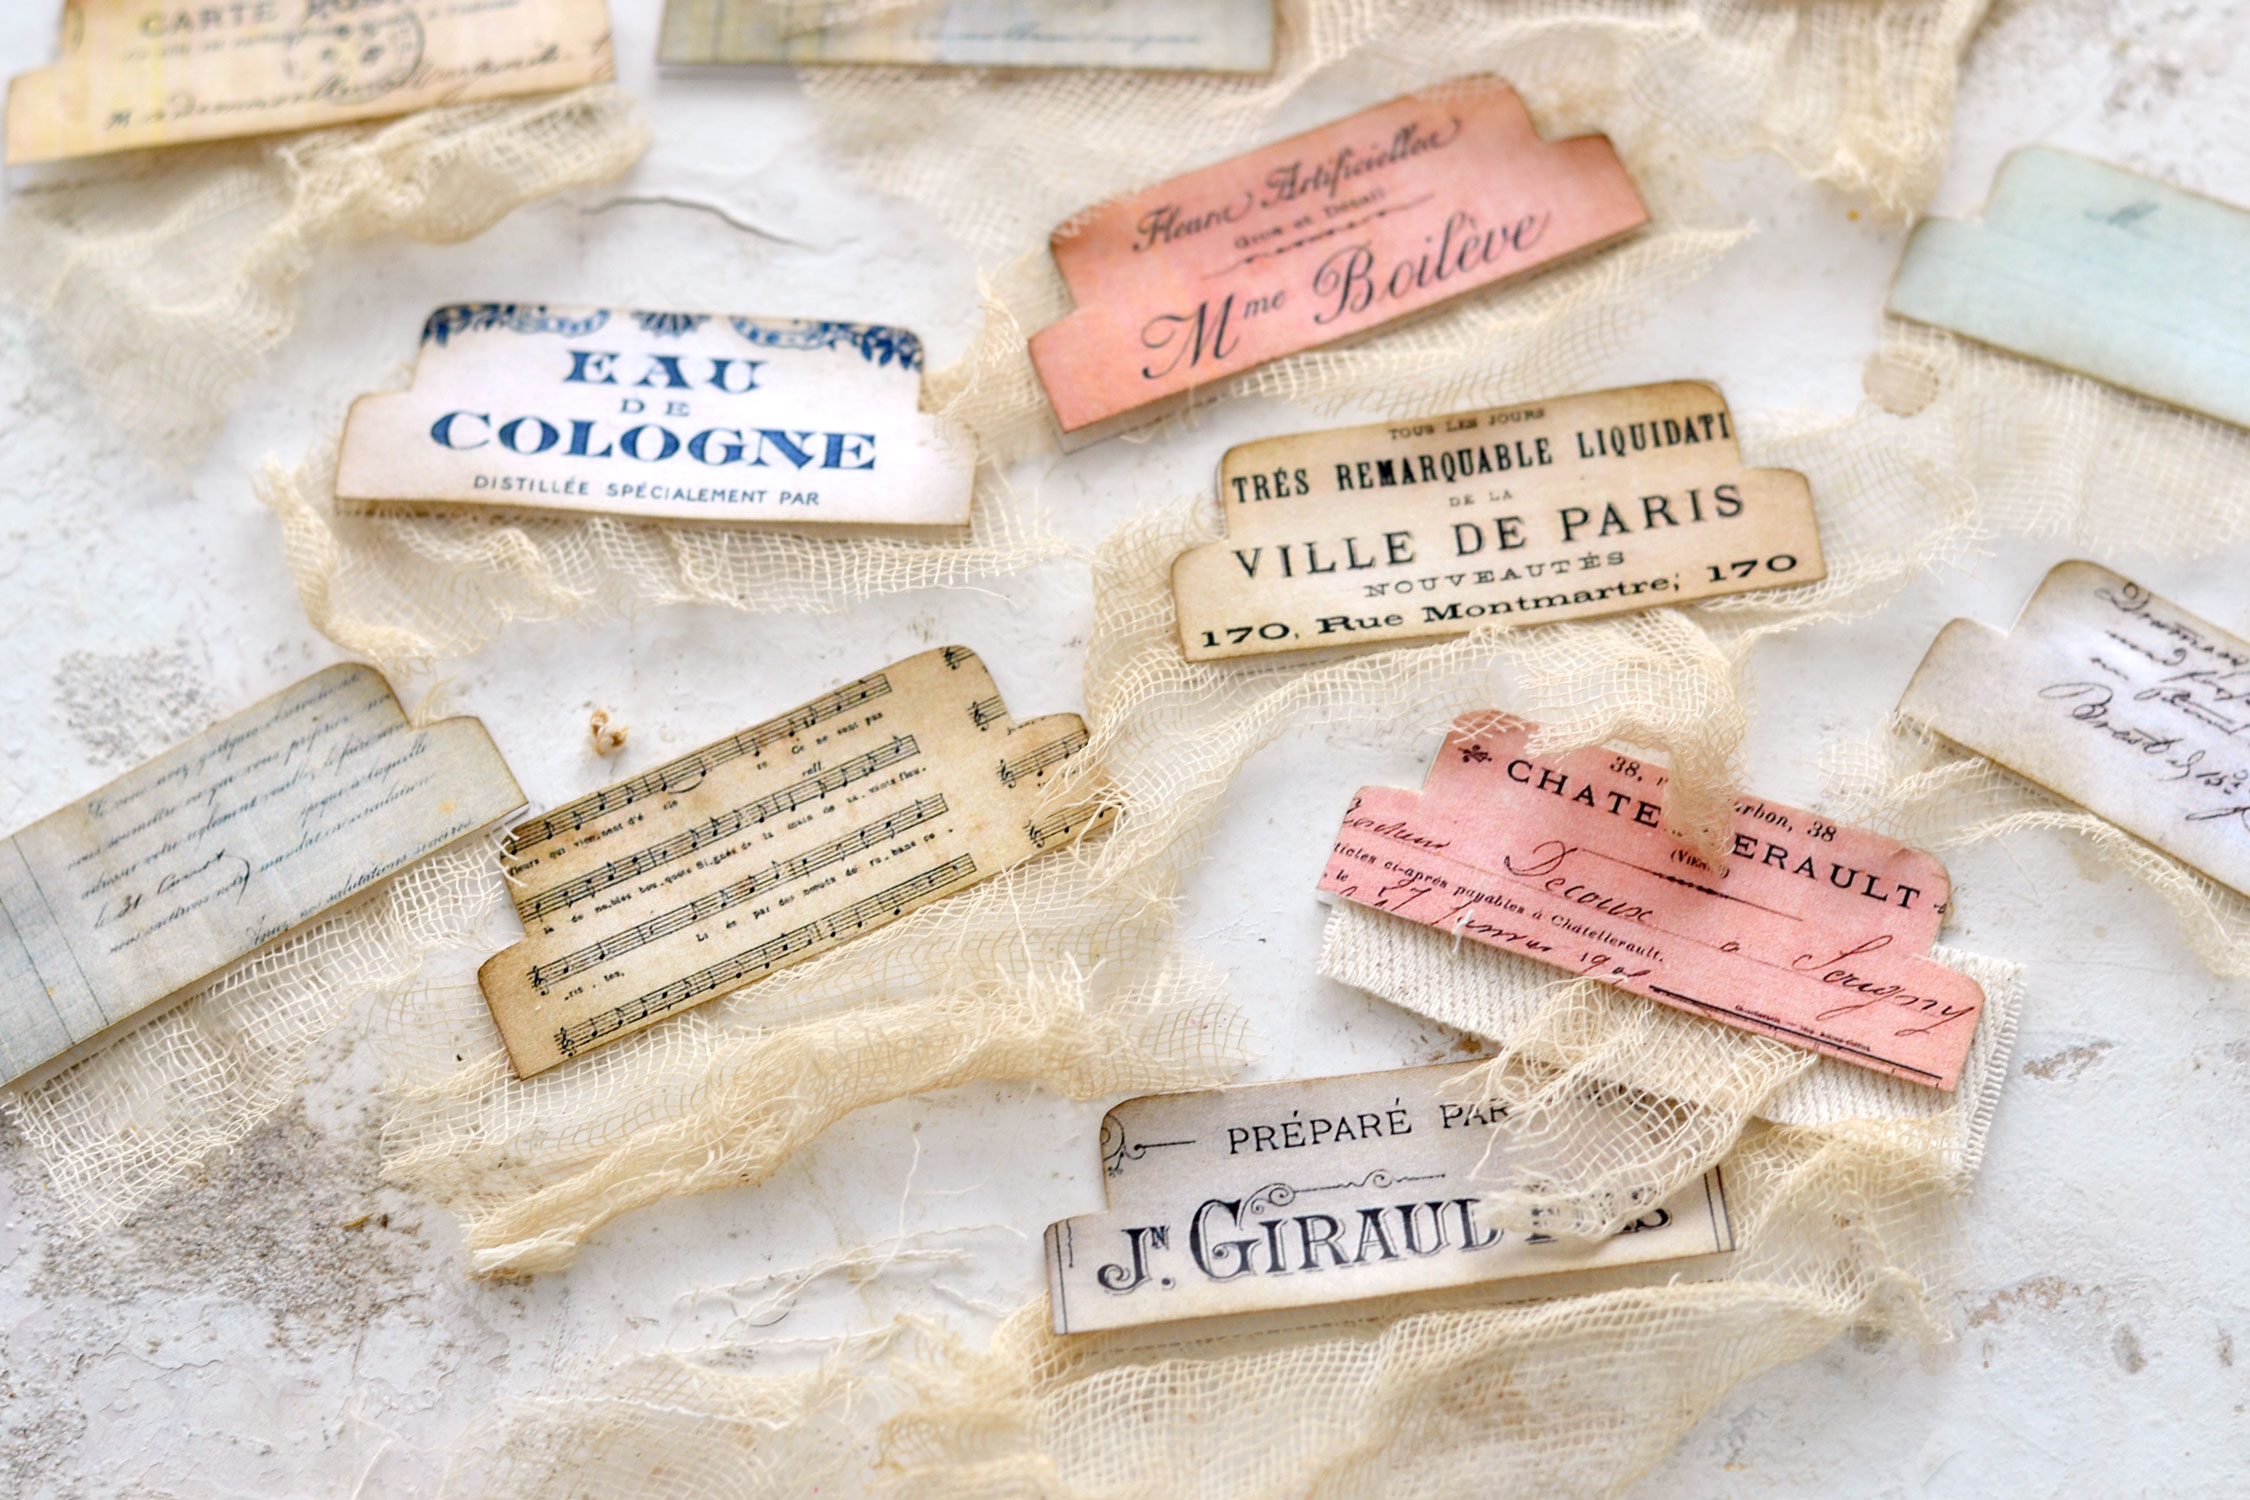
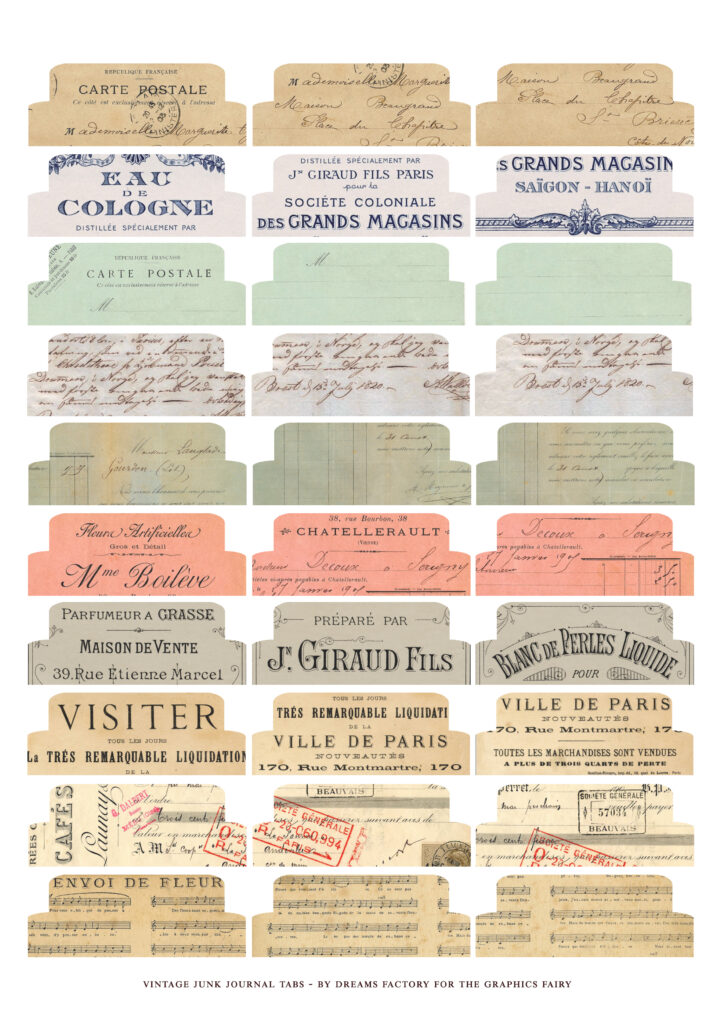
The free printable that I’m sharing for this project includes a little bit of everything – you will find different colored French ephemera images, French postcards, ledgers and invoices, perfume ads, French scripts and music sheets – so you’ll have plenty to choose from. You can decide to use matching colors or you can mix things up just for the sake of experimenting.
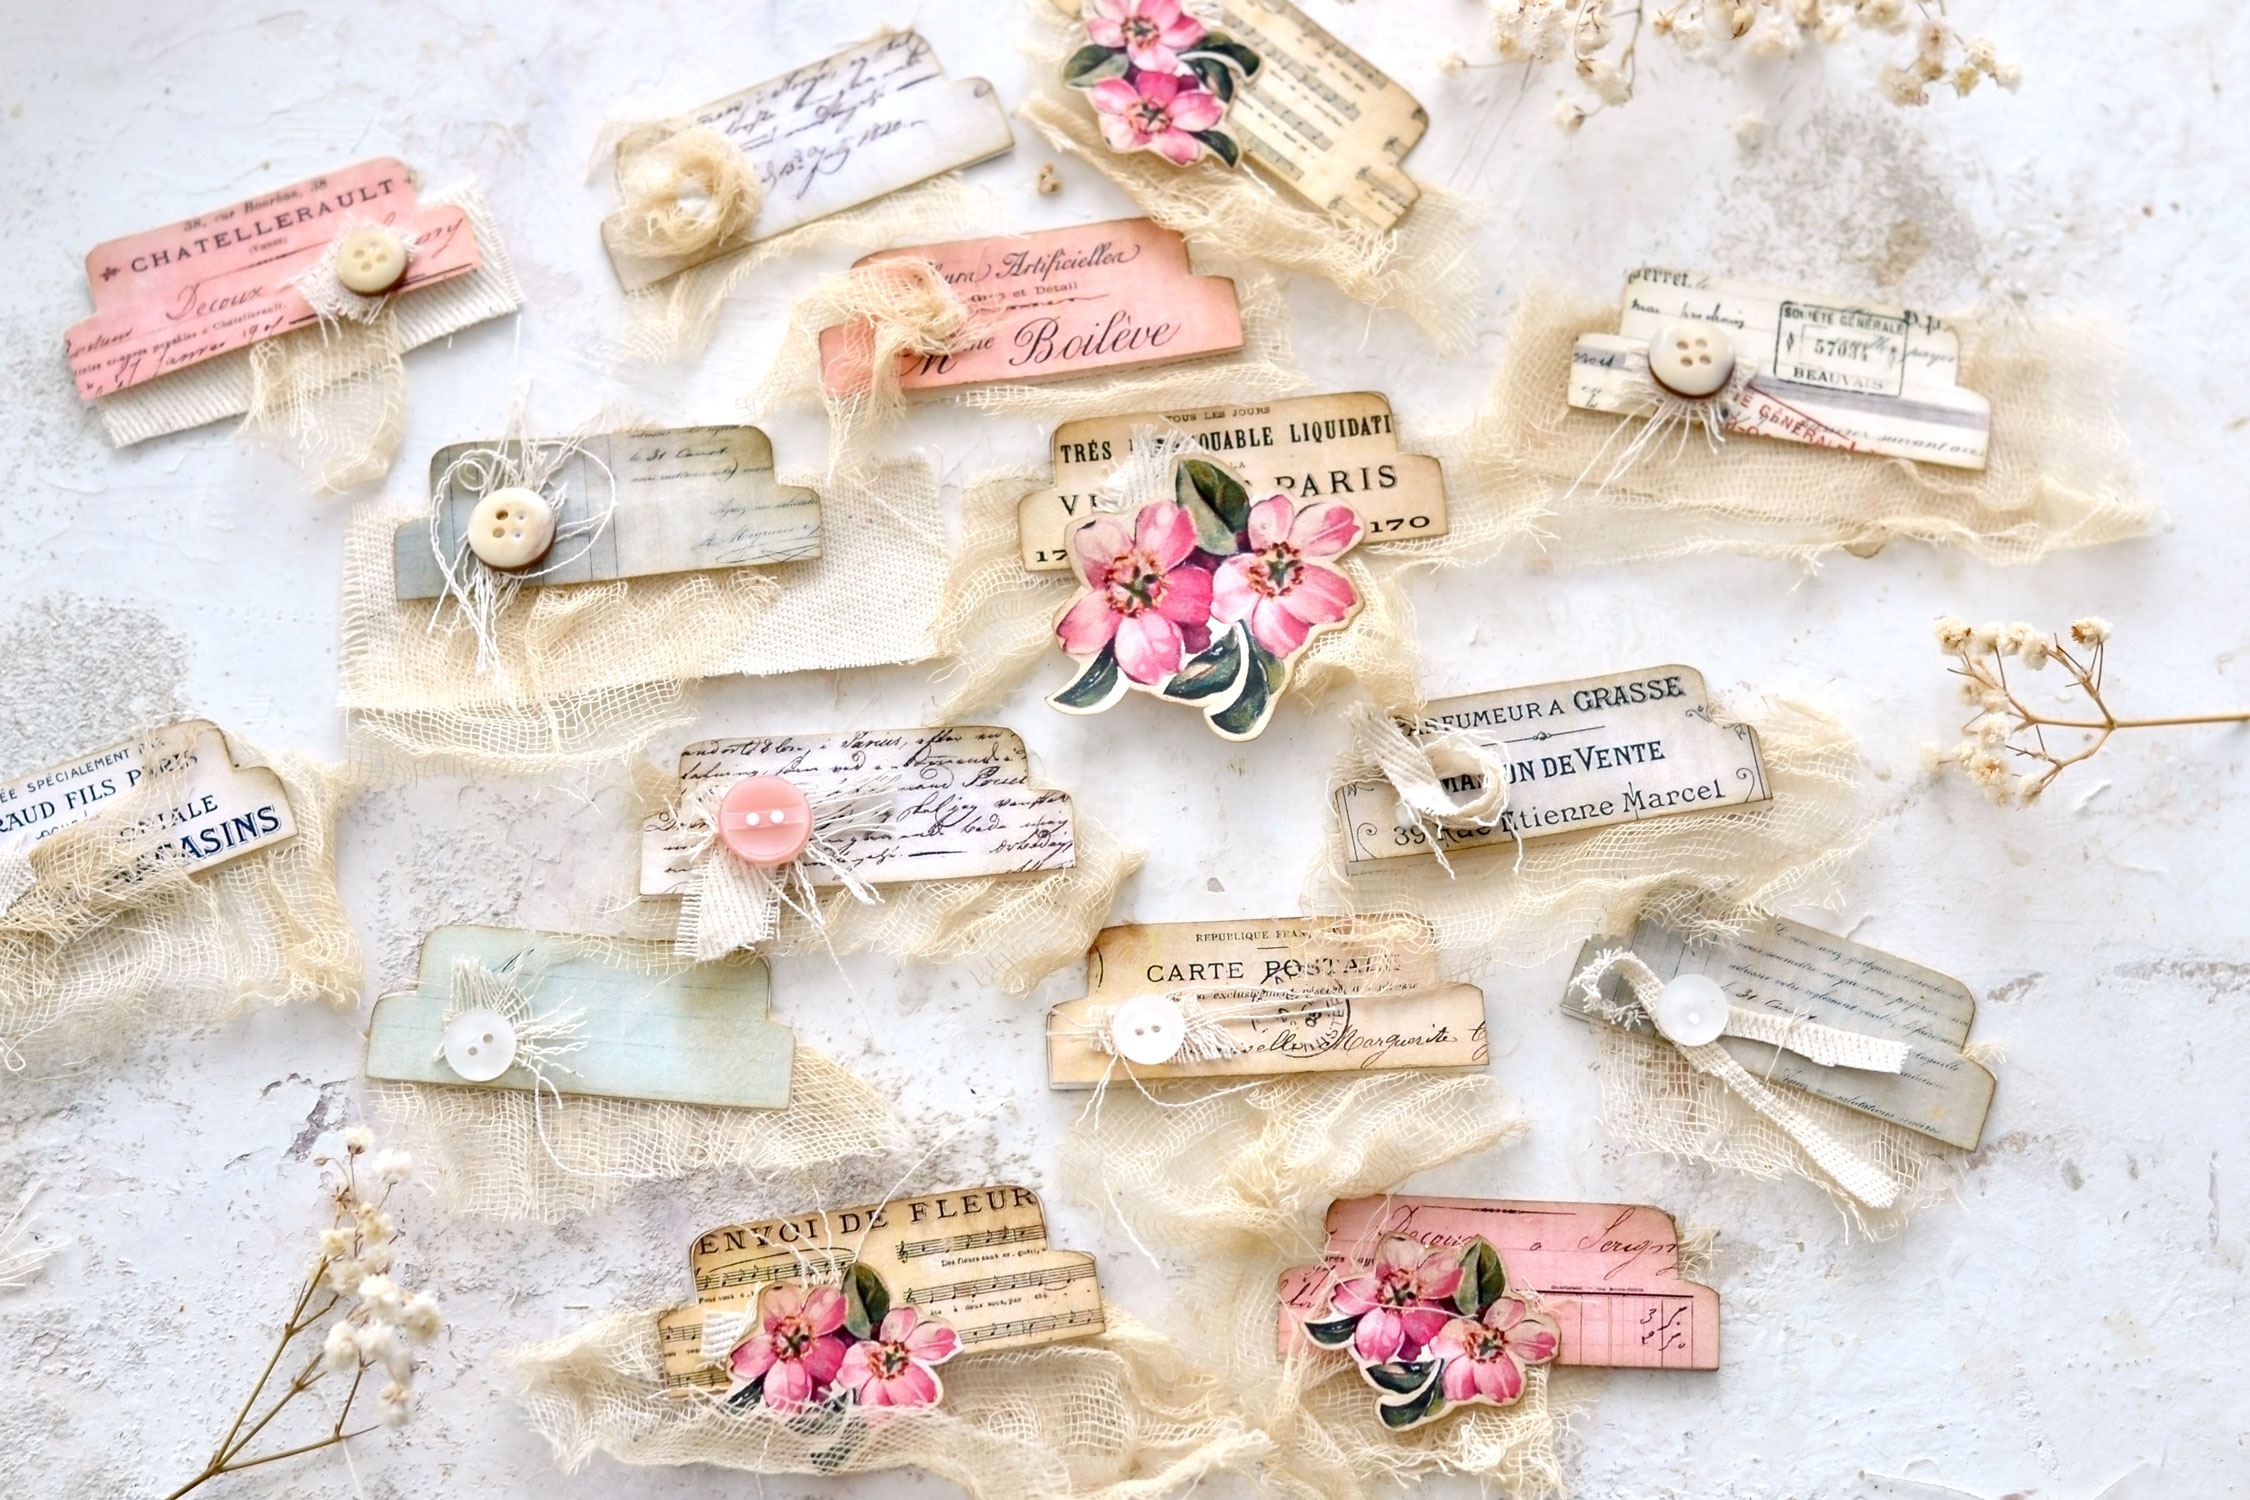
As you can see, the printable includes 30 vintage tabs, if you make them double-sided like I did, you will get a total of 15 tabs. So you have so many gorgeous options to choose from, right?
DIY Junk Journal Embellishments Free Printables
—-> Click HERE to Download the Full Size Printable PDF – the tabs <—-
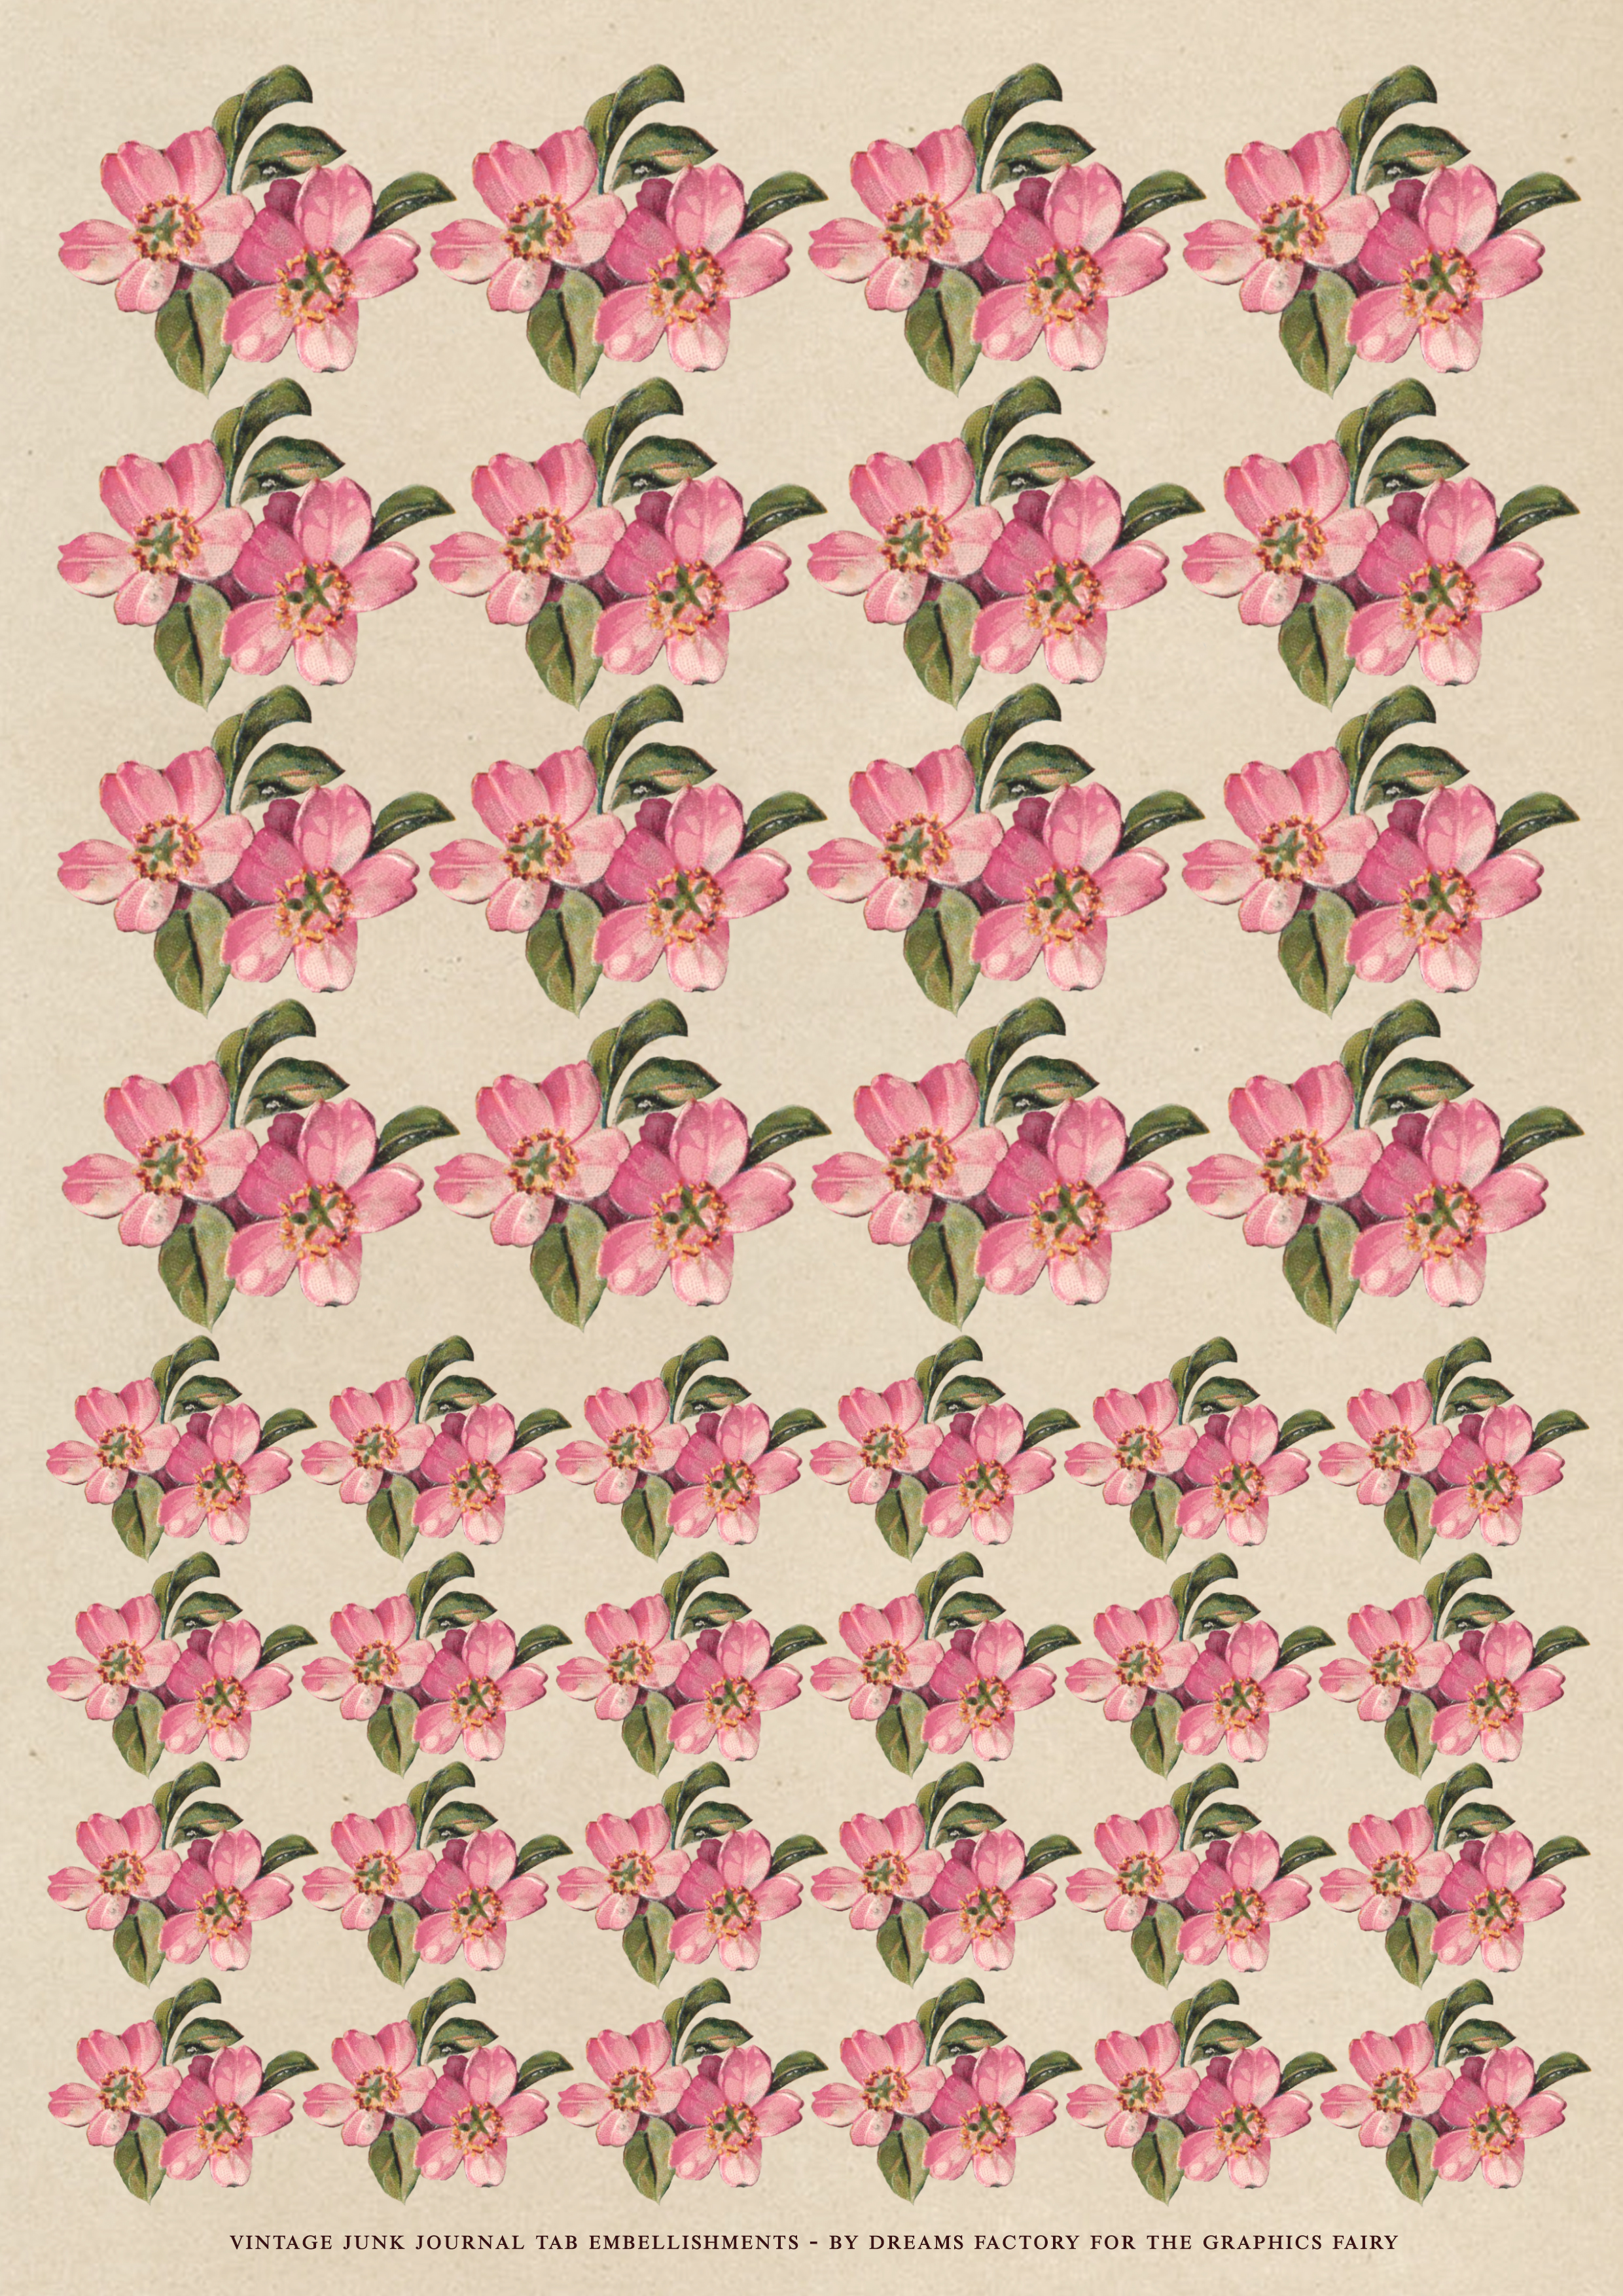
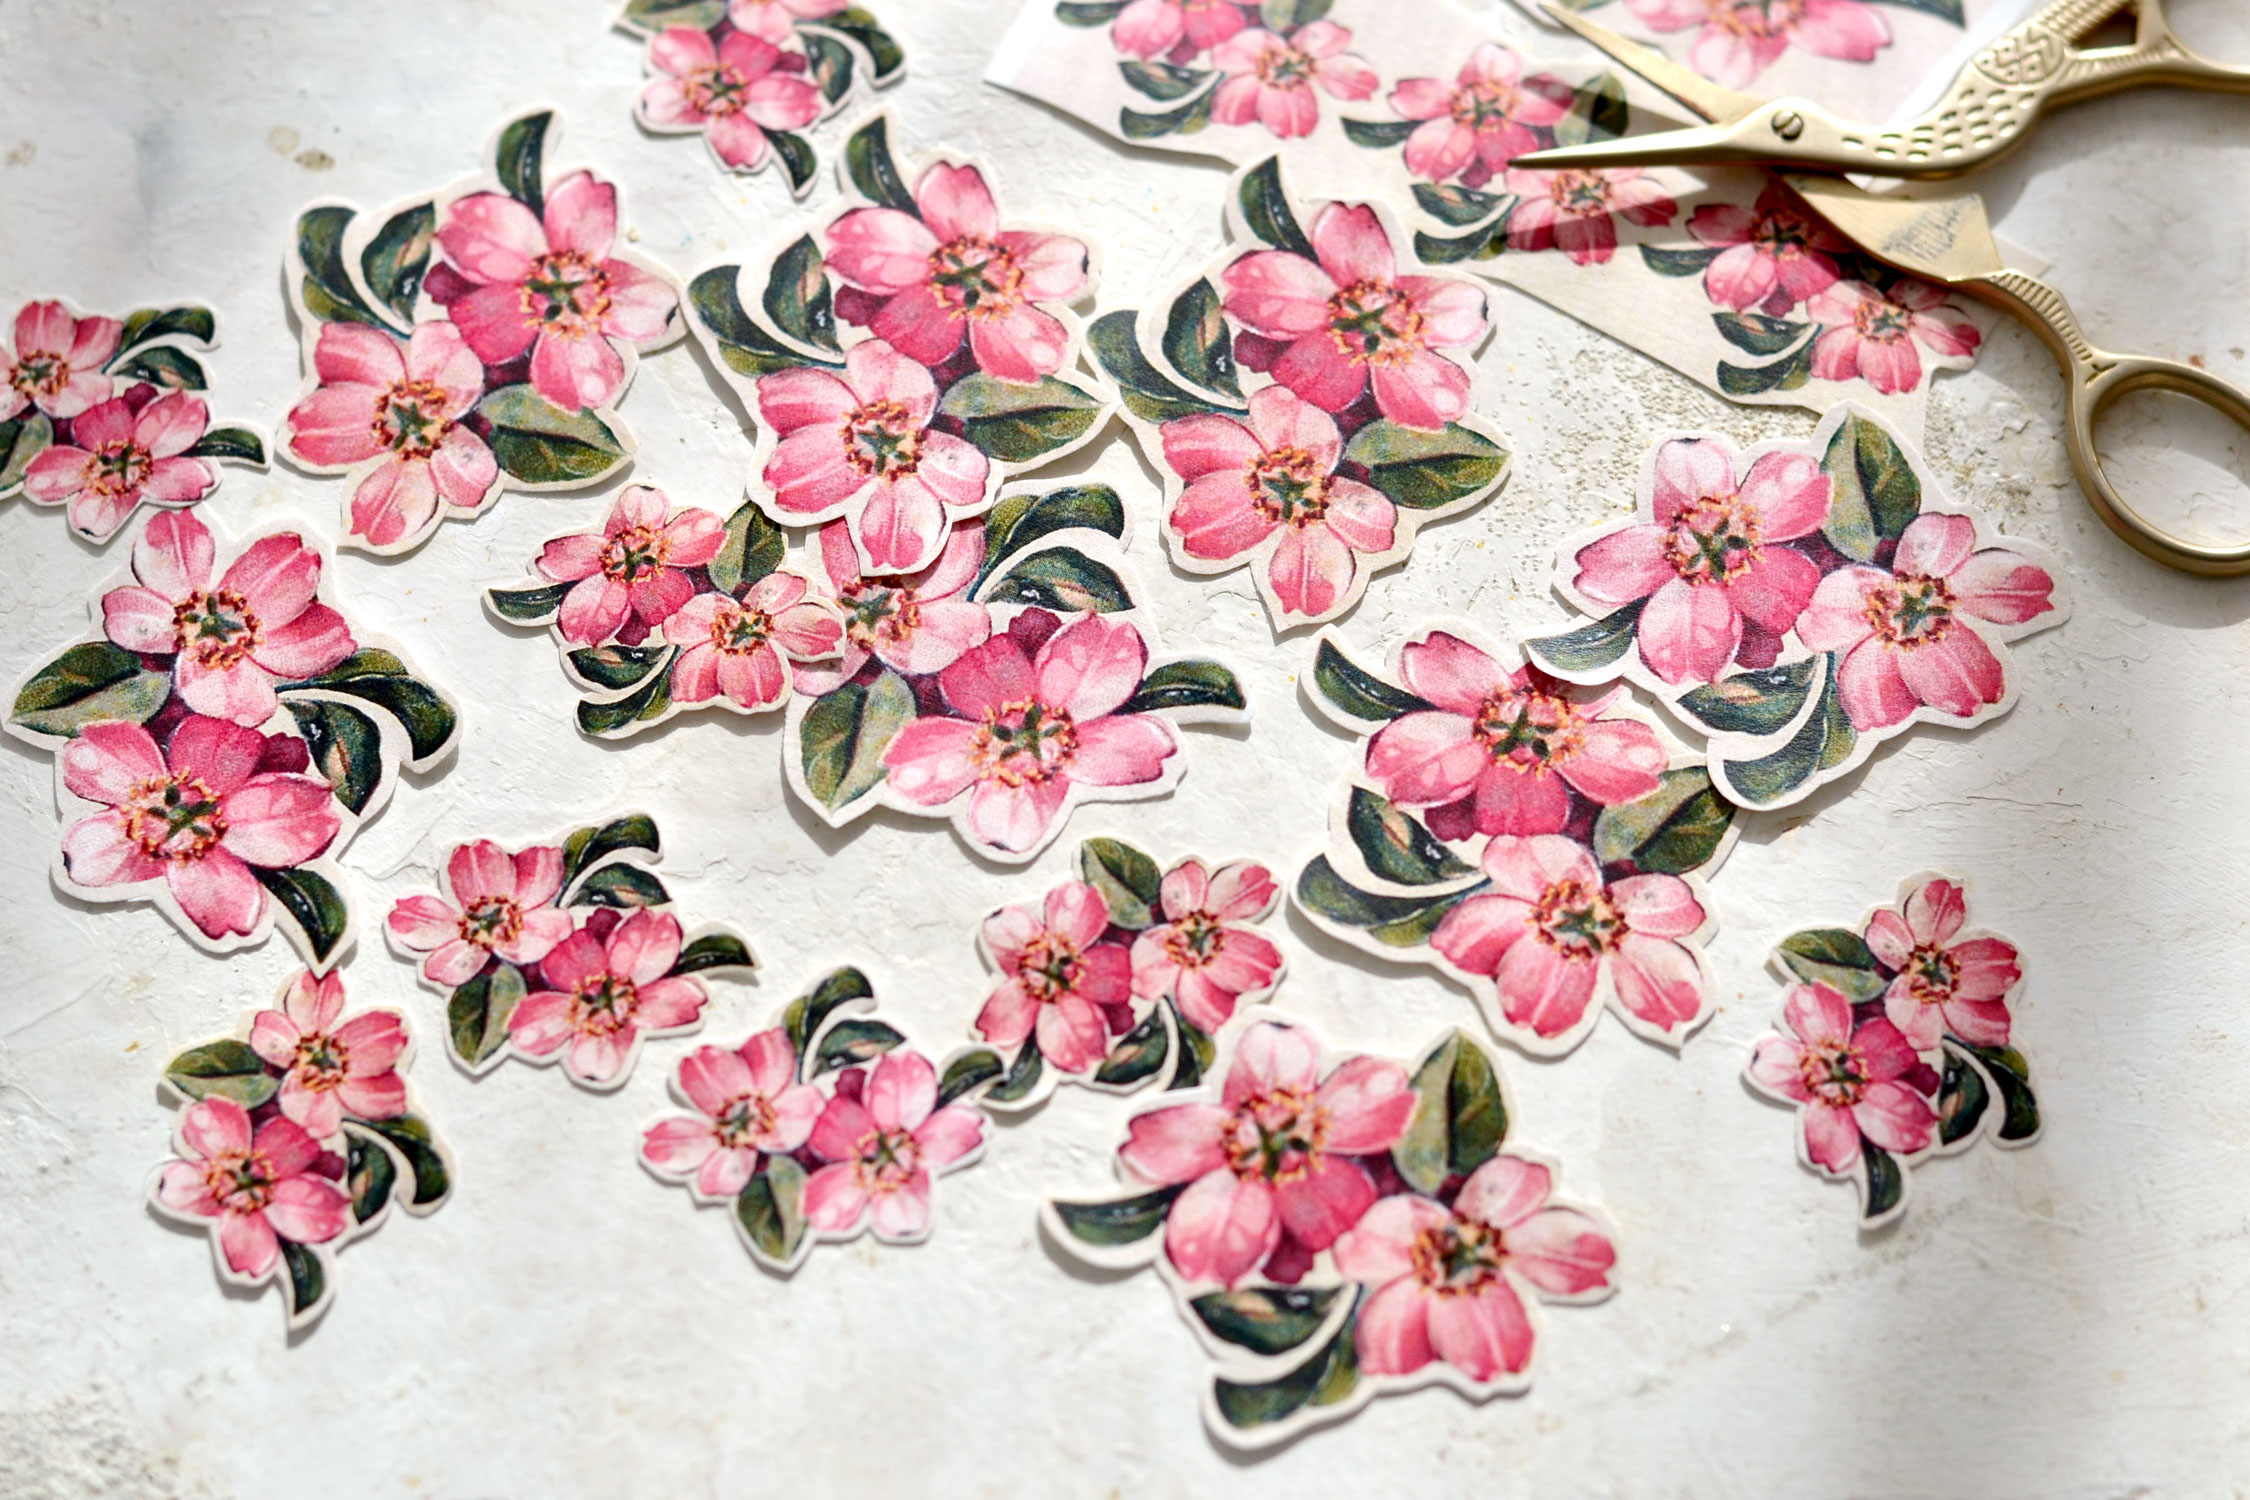
As a bonus, I’m also sharing these beautiful pink cherry blossom flowers as a separate printable, it’s up to you if you want to use them with the tabs to give them more of a delicate and romantic feel or include them in other projects. I intentionally added a vintage brown background to this printable because I wanted to fussy cut the flowers leaving a small vintage border all around them.
—-> Click HERE to Download the Full Size Printable PDF – the flower embellishments <—-
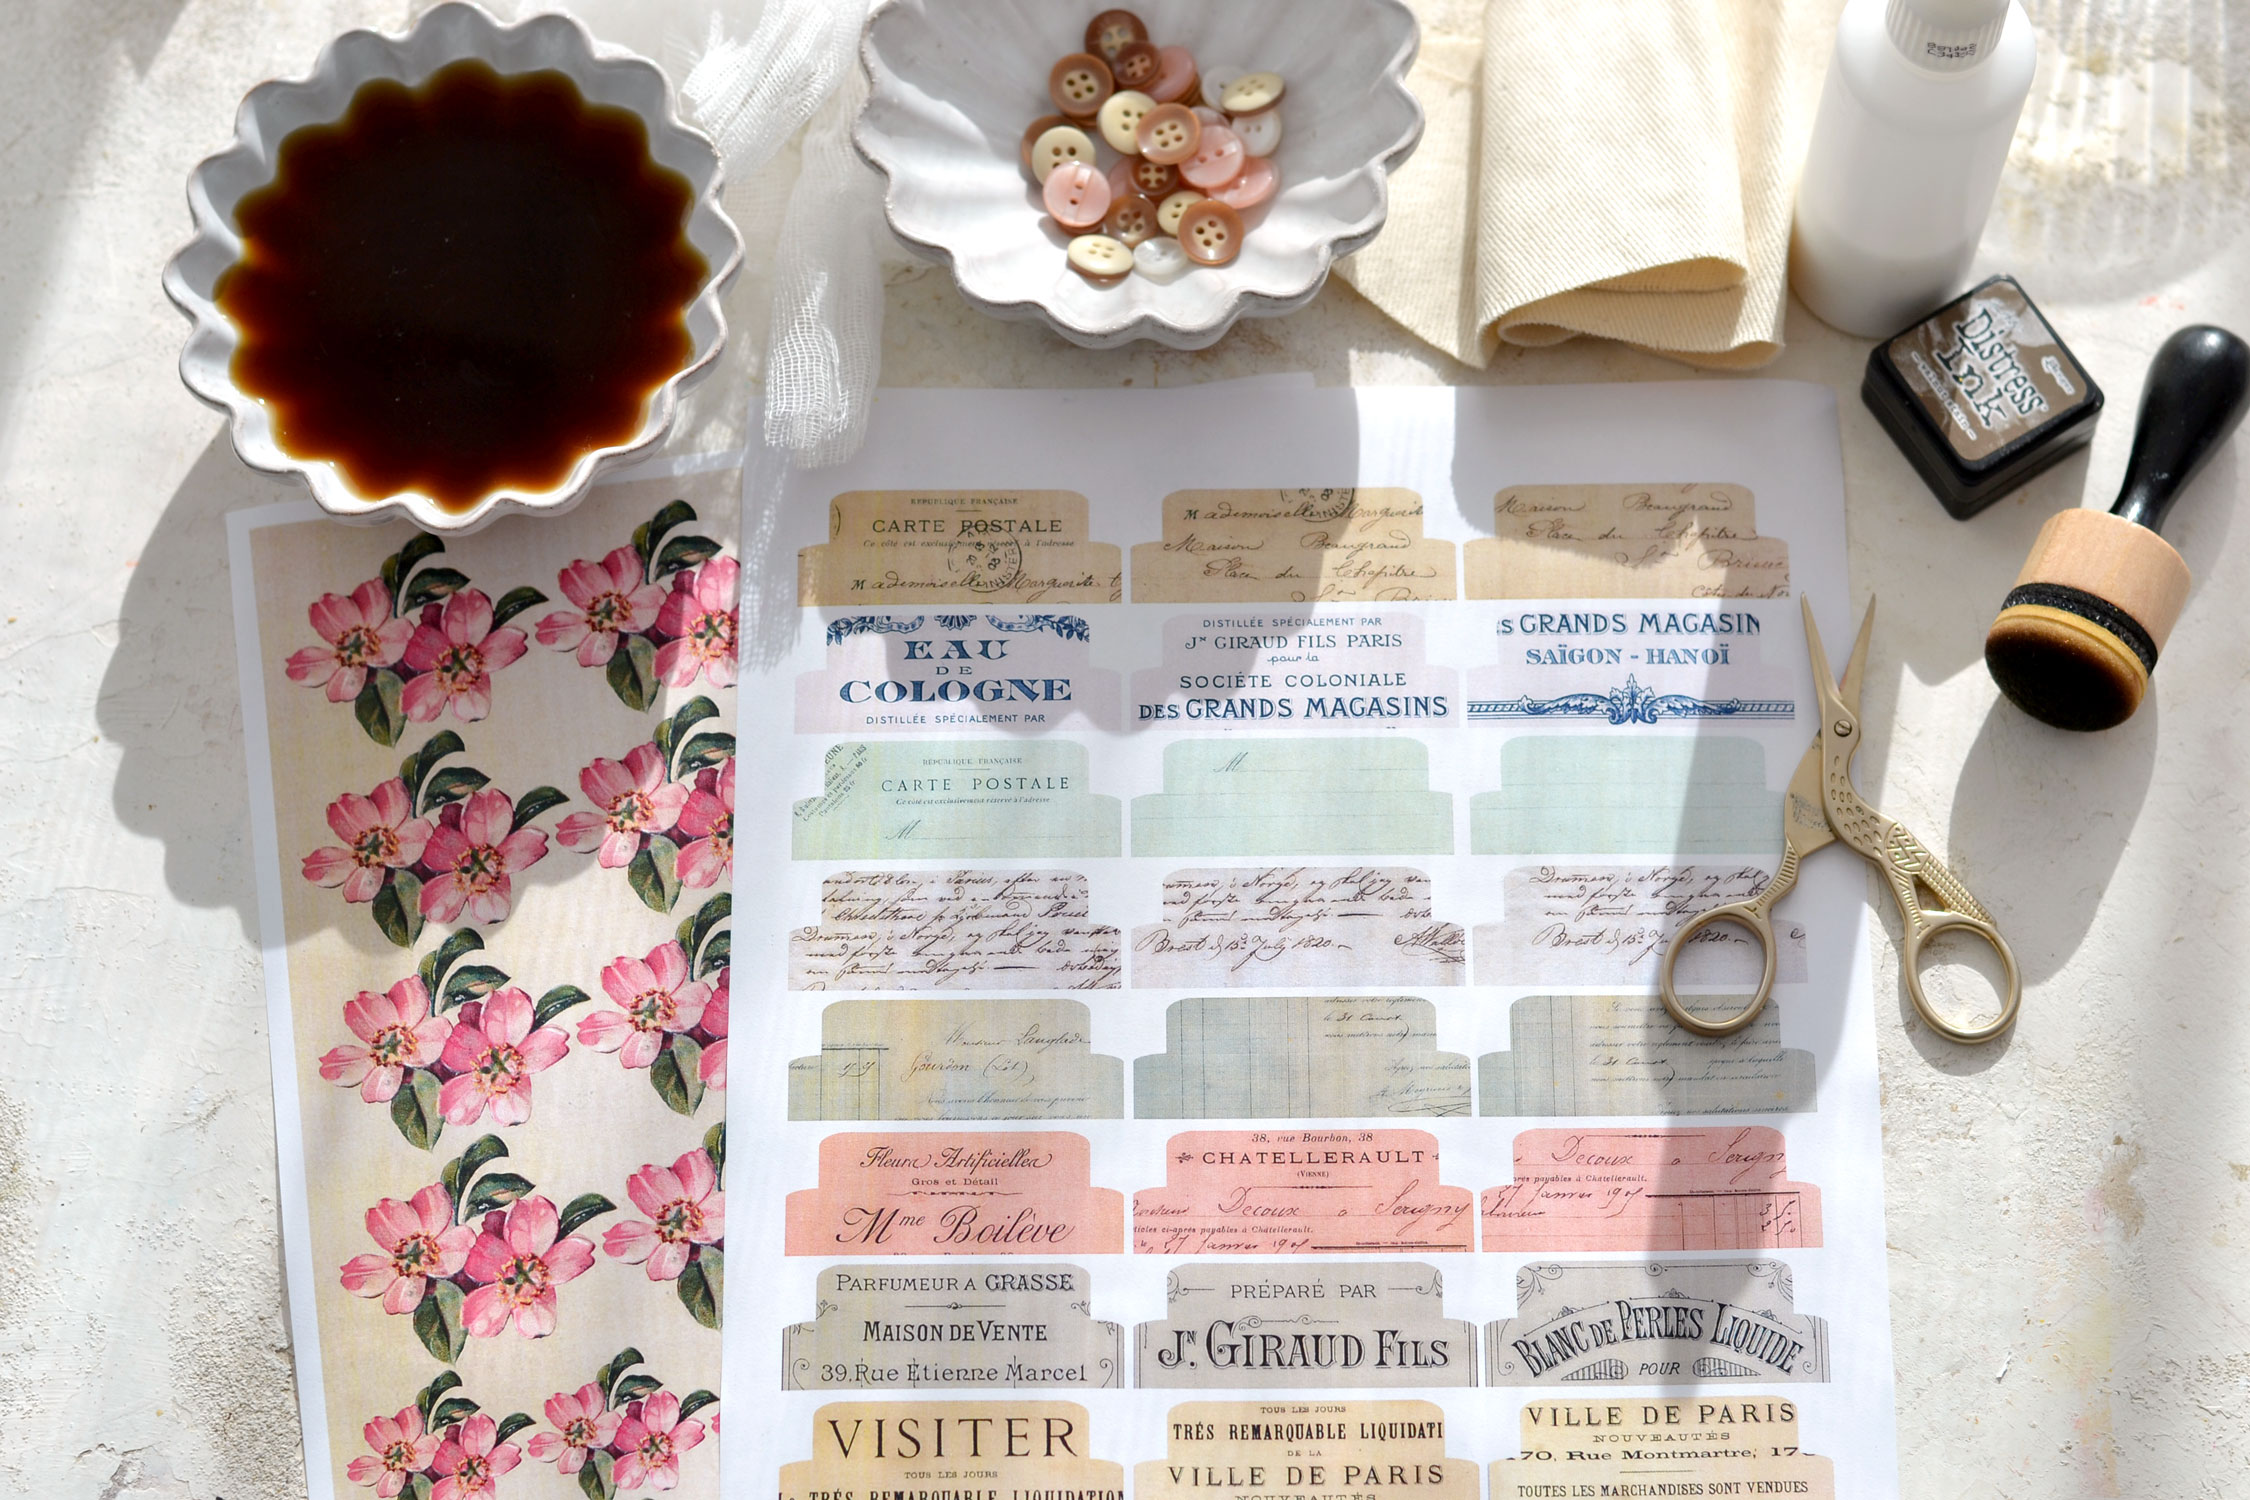
Junk Journal Tabs Supplies:
- card stock paper
- home printer
- scissors
- mini distress inks
- blending tool with foams
- Mod Podge or any other craft or paper glue
- coffee
- scrap pieces of cheesecloth or gauze – I used gauze
- scrap pieces of fabric – I used cotton duck
- buttons
Tutorial:
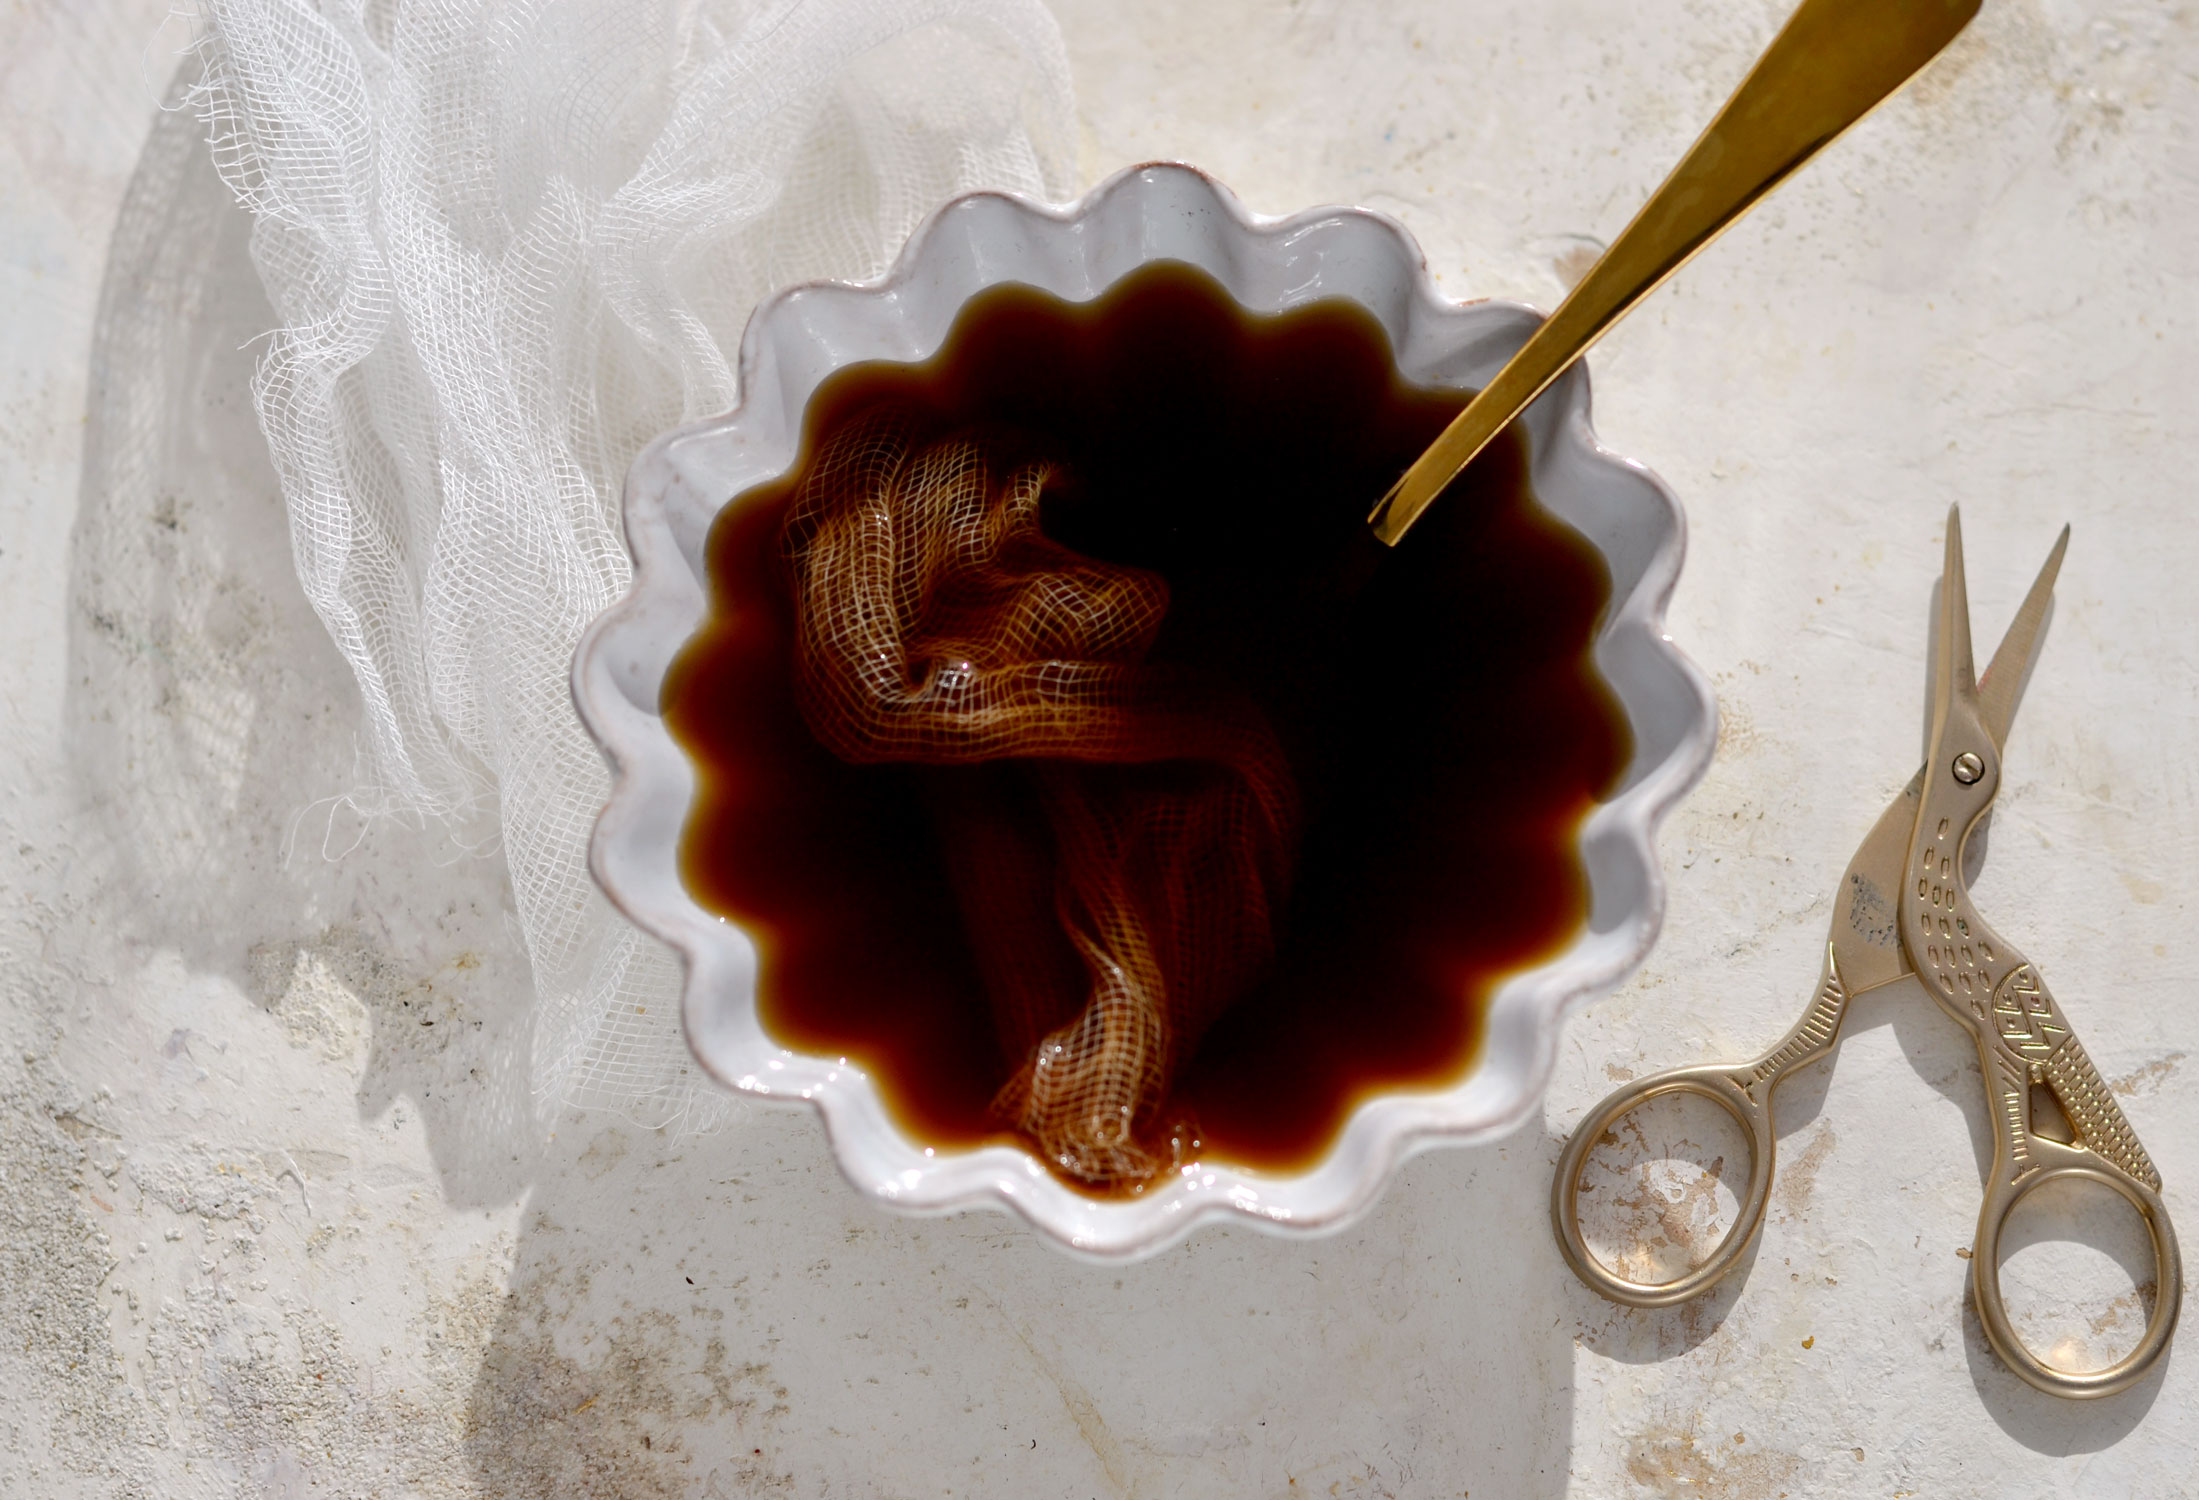
Start by printing your printables on cardstock paper and gather all the other supplies. If you have coffee-stained cheesecloth or gauze you can simply move on to the next steps, if not, it’s really easy to make some. Just make some coffee and pour it into a bowl, a glass or a jar. Add your gauze and use a spoon to press it into the coffee so it is completely covered. Let it soak as much as you want, your final color will depend on how strong your coffee is and how much you let it to soak in. I let mine soak for about 10 minutes, then I placed some paper towels on a large plate and lay the gauze on top to dry. I like using a plate and paper towels to dry the gauze, I found this to be the less messy way of drying it.
You can also dye this way other scrap pieces of fabric, even lace! I prefer using white or cream fabrics to keep things relatively neutral, but you can use what you like the most.
Use your scissors to cut the tabs, then use your favorite distress ink (I like using Walnut Stain) to distress the edges. If you are making these to use in a more colorful journal, you can also use colored distress inks.
You can choose to fussy cut the cherry blossom flowers and leave a small border all around them or you can cut them following the shape of the image and completely remove the vintage background. The choice is all yours.
When you are done, you can move to the next step – assembling the tabs.
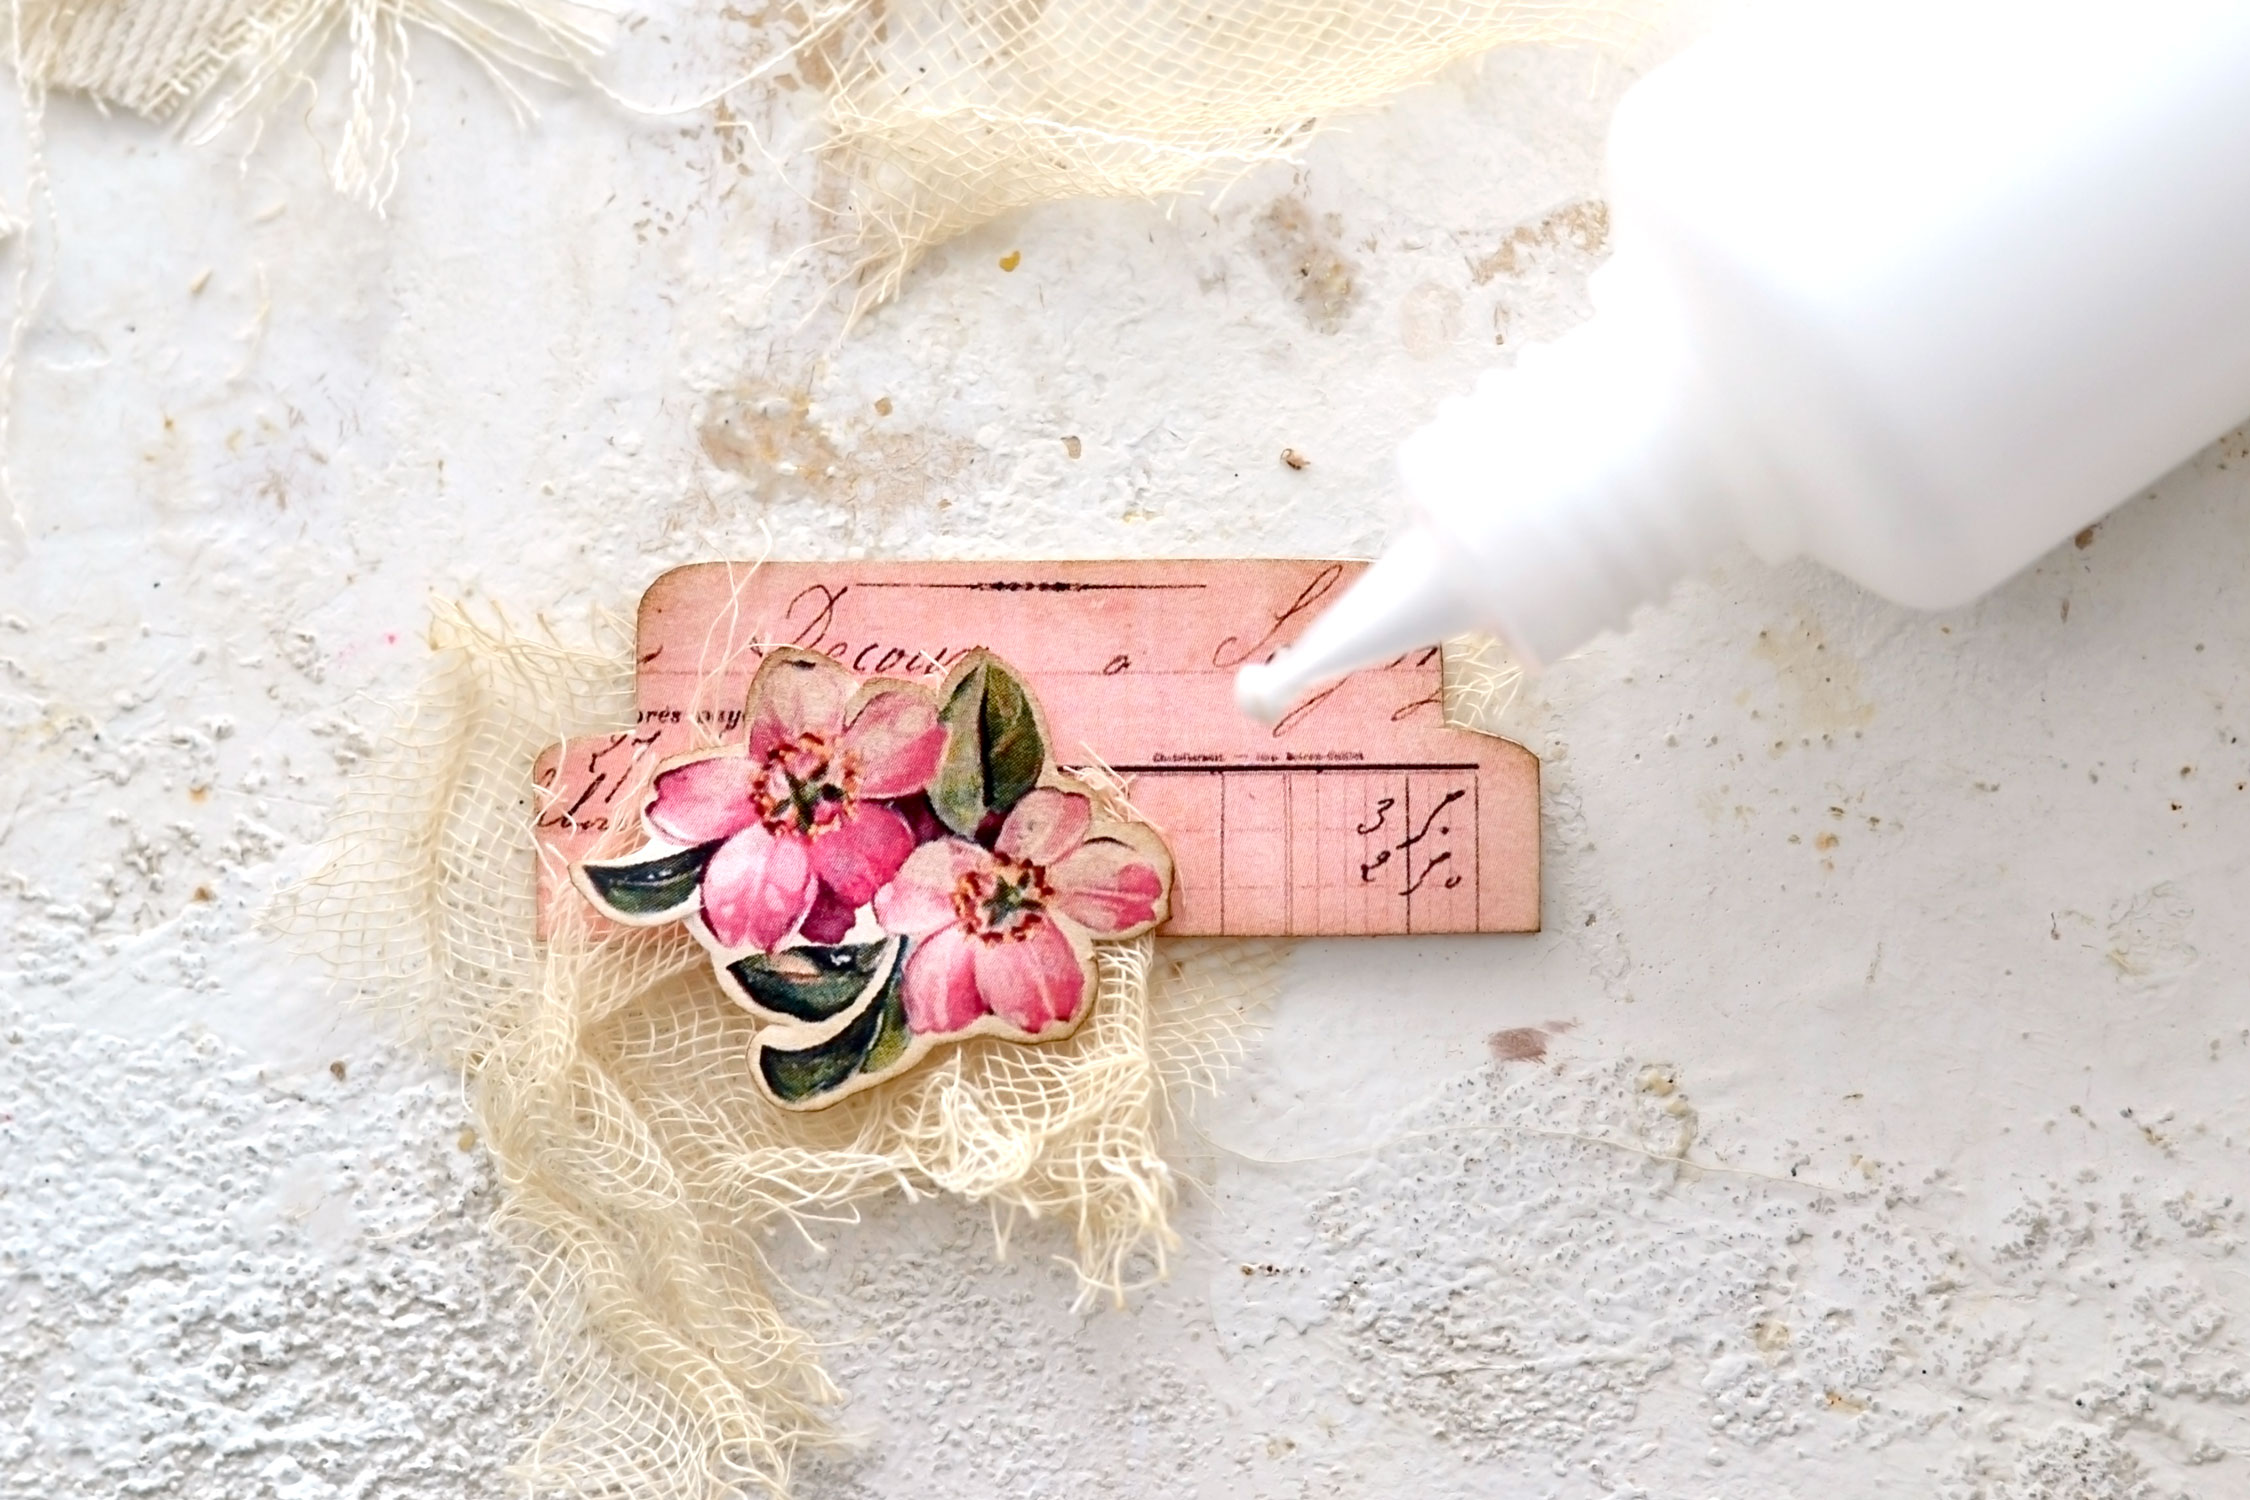
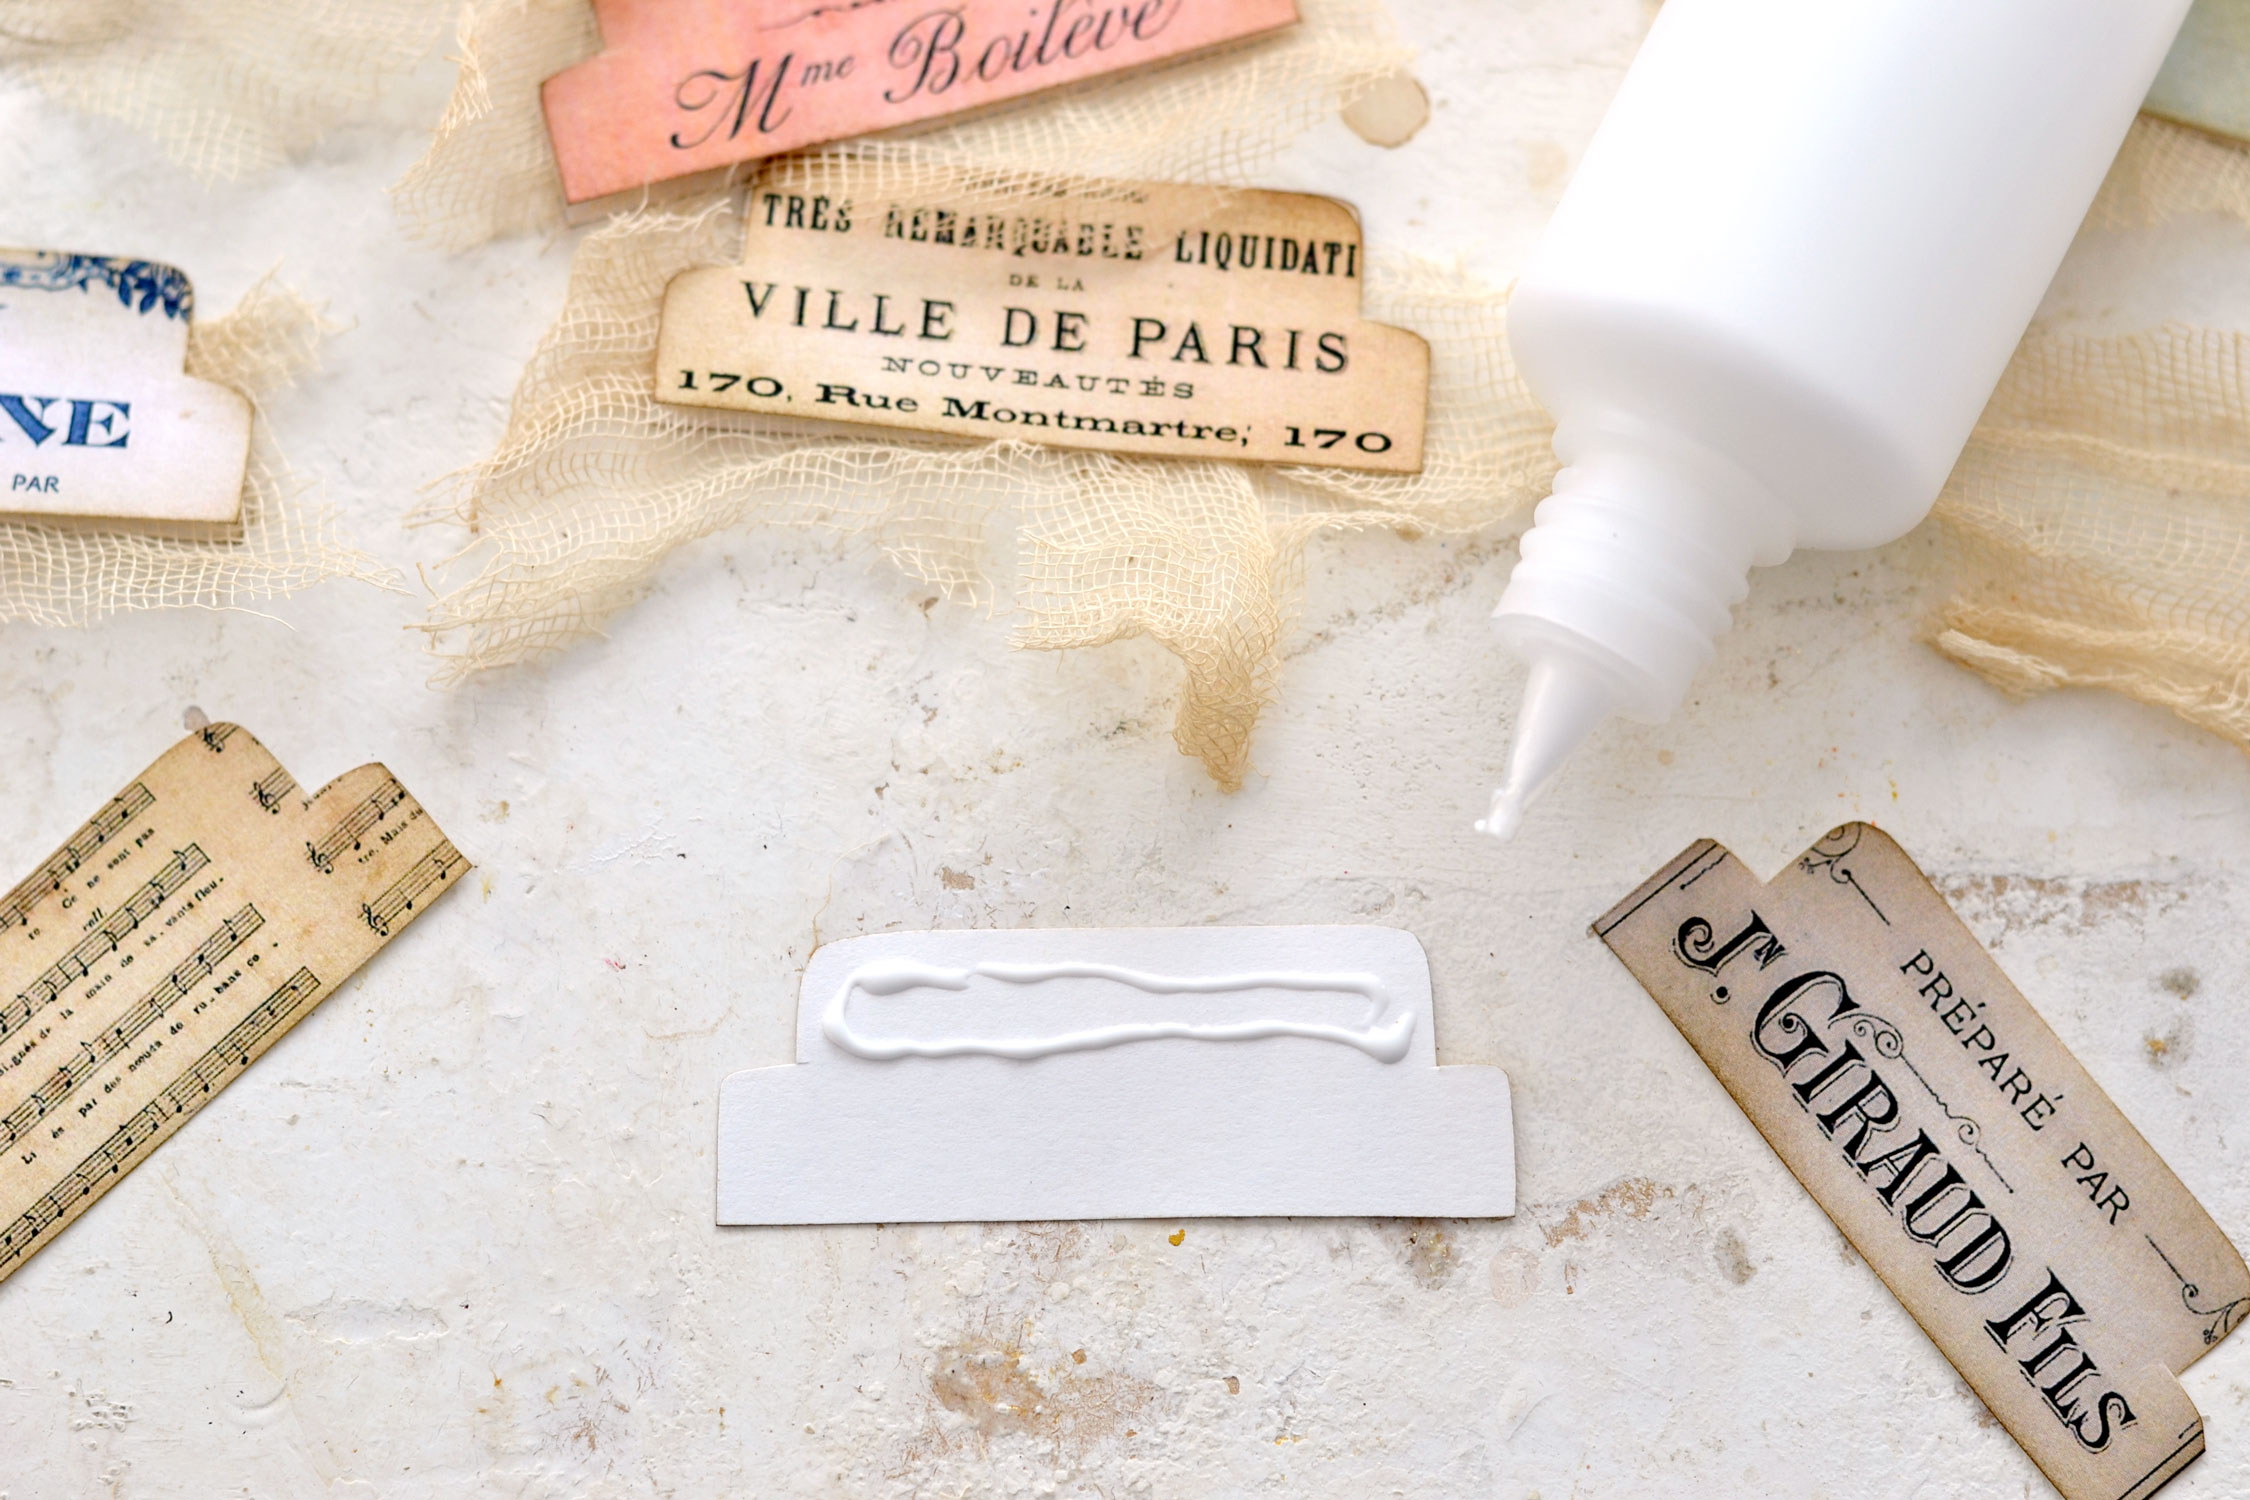
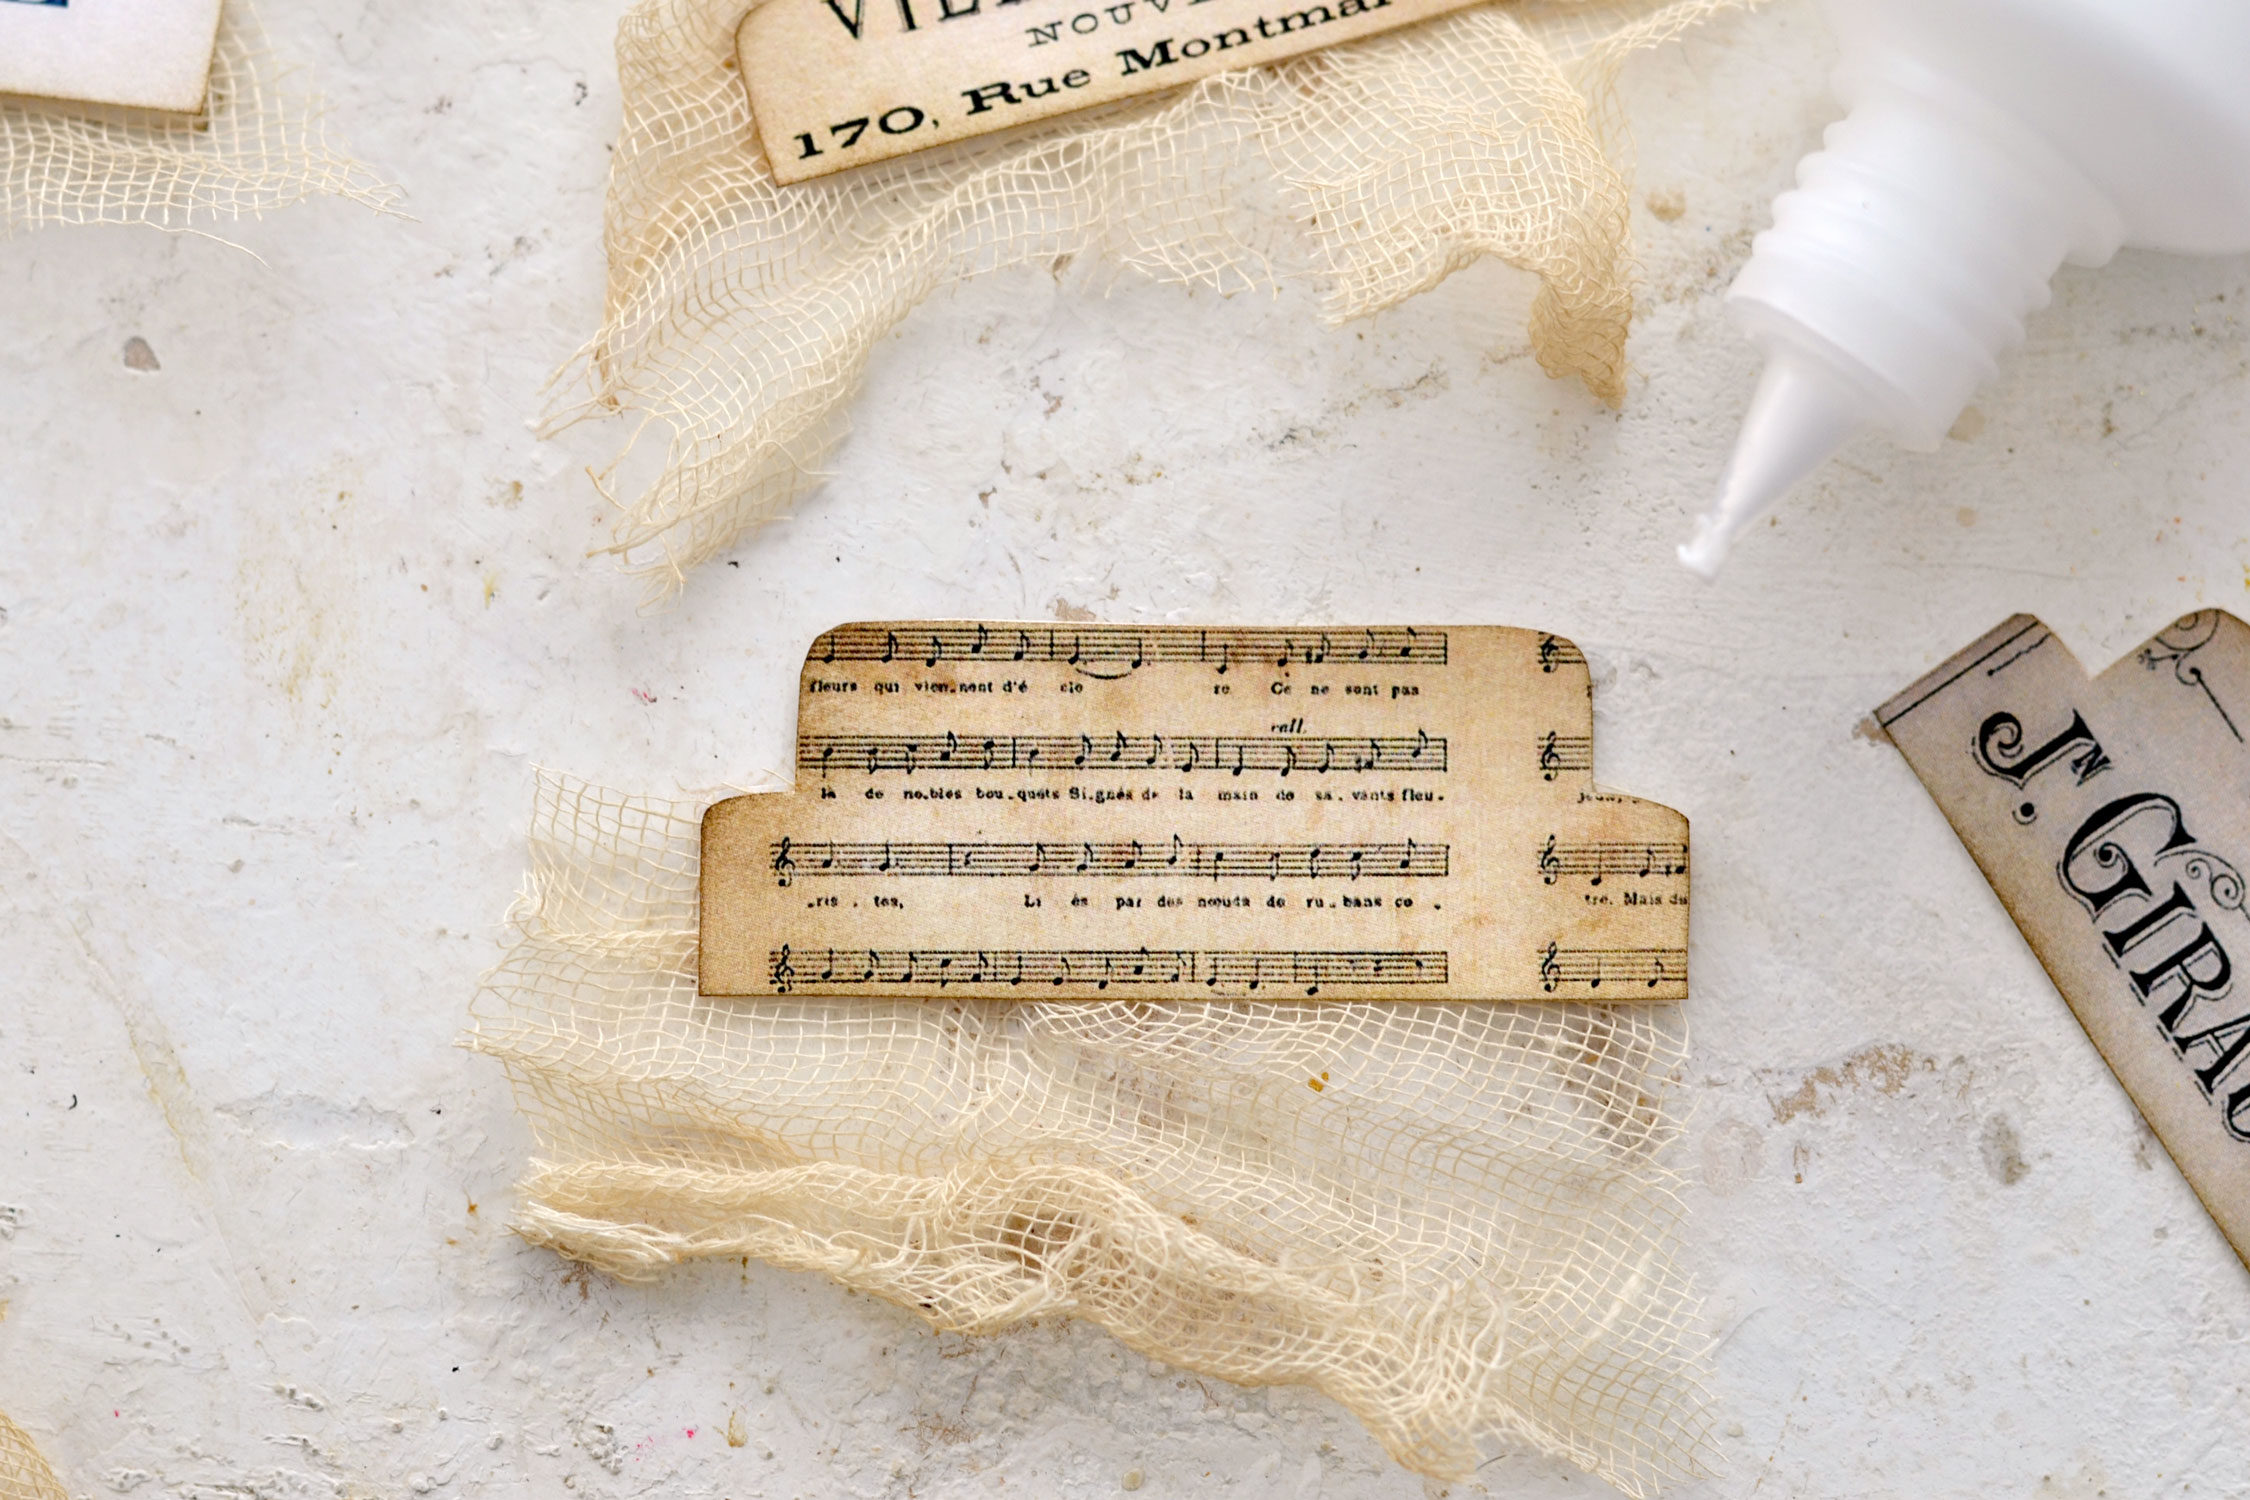
I wanted to make double-sided tabs so I just placed one of the tabs down, with the design facing the table. Using a fine-tip applicator to apply the glue proved to be really helpful – I just started to add glue on the top part of the tab following its shape – let’s just call the top part of the tab the smaller rectangular.
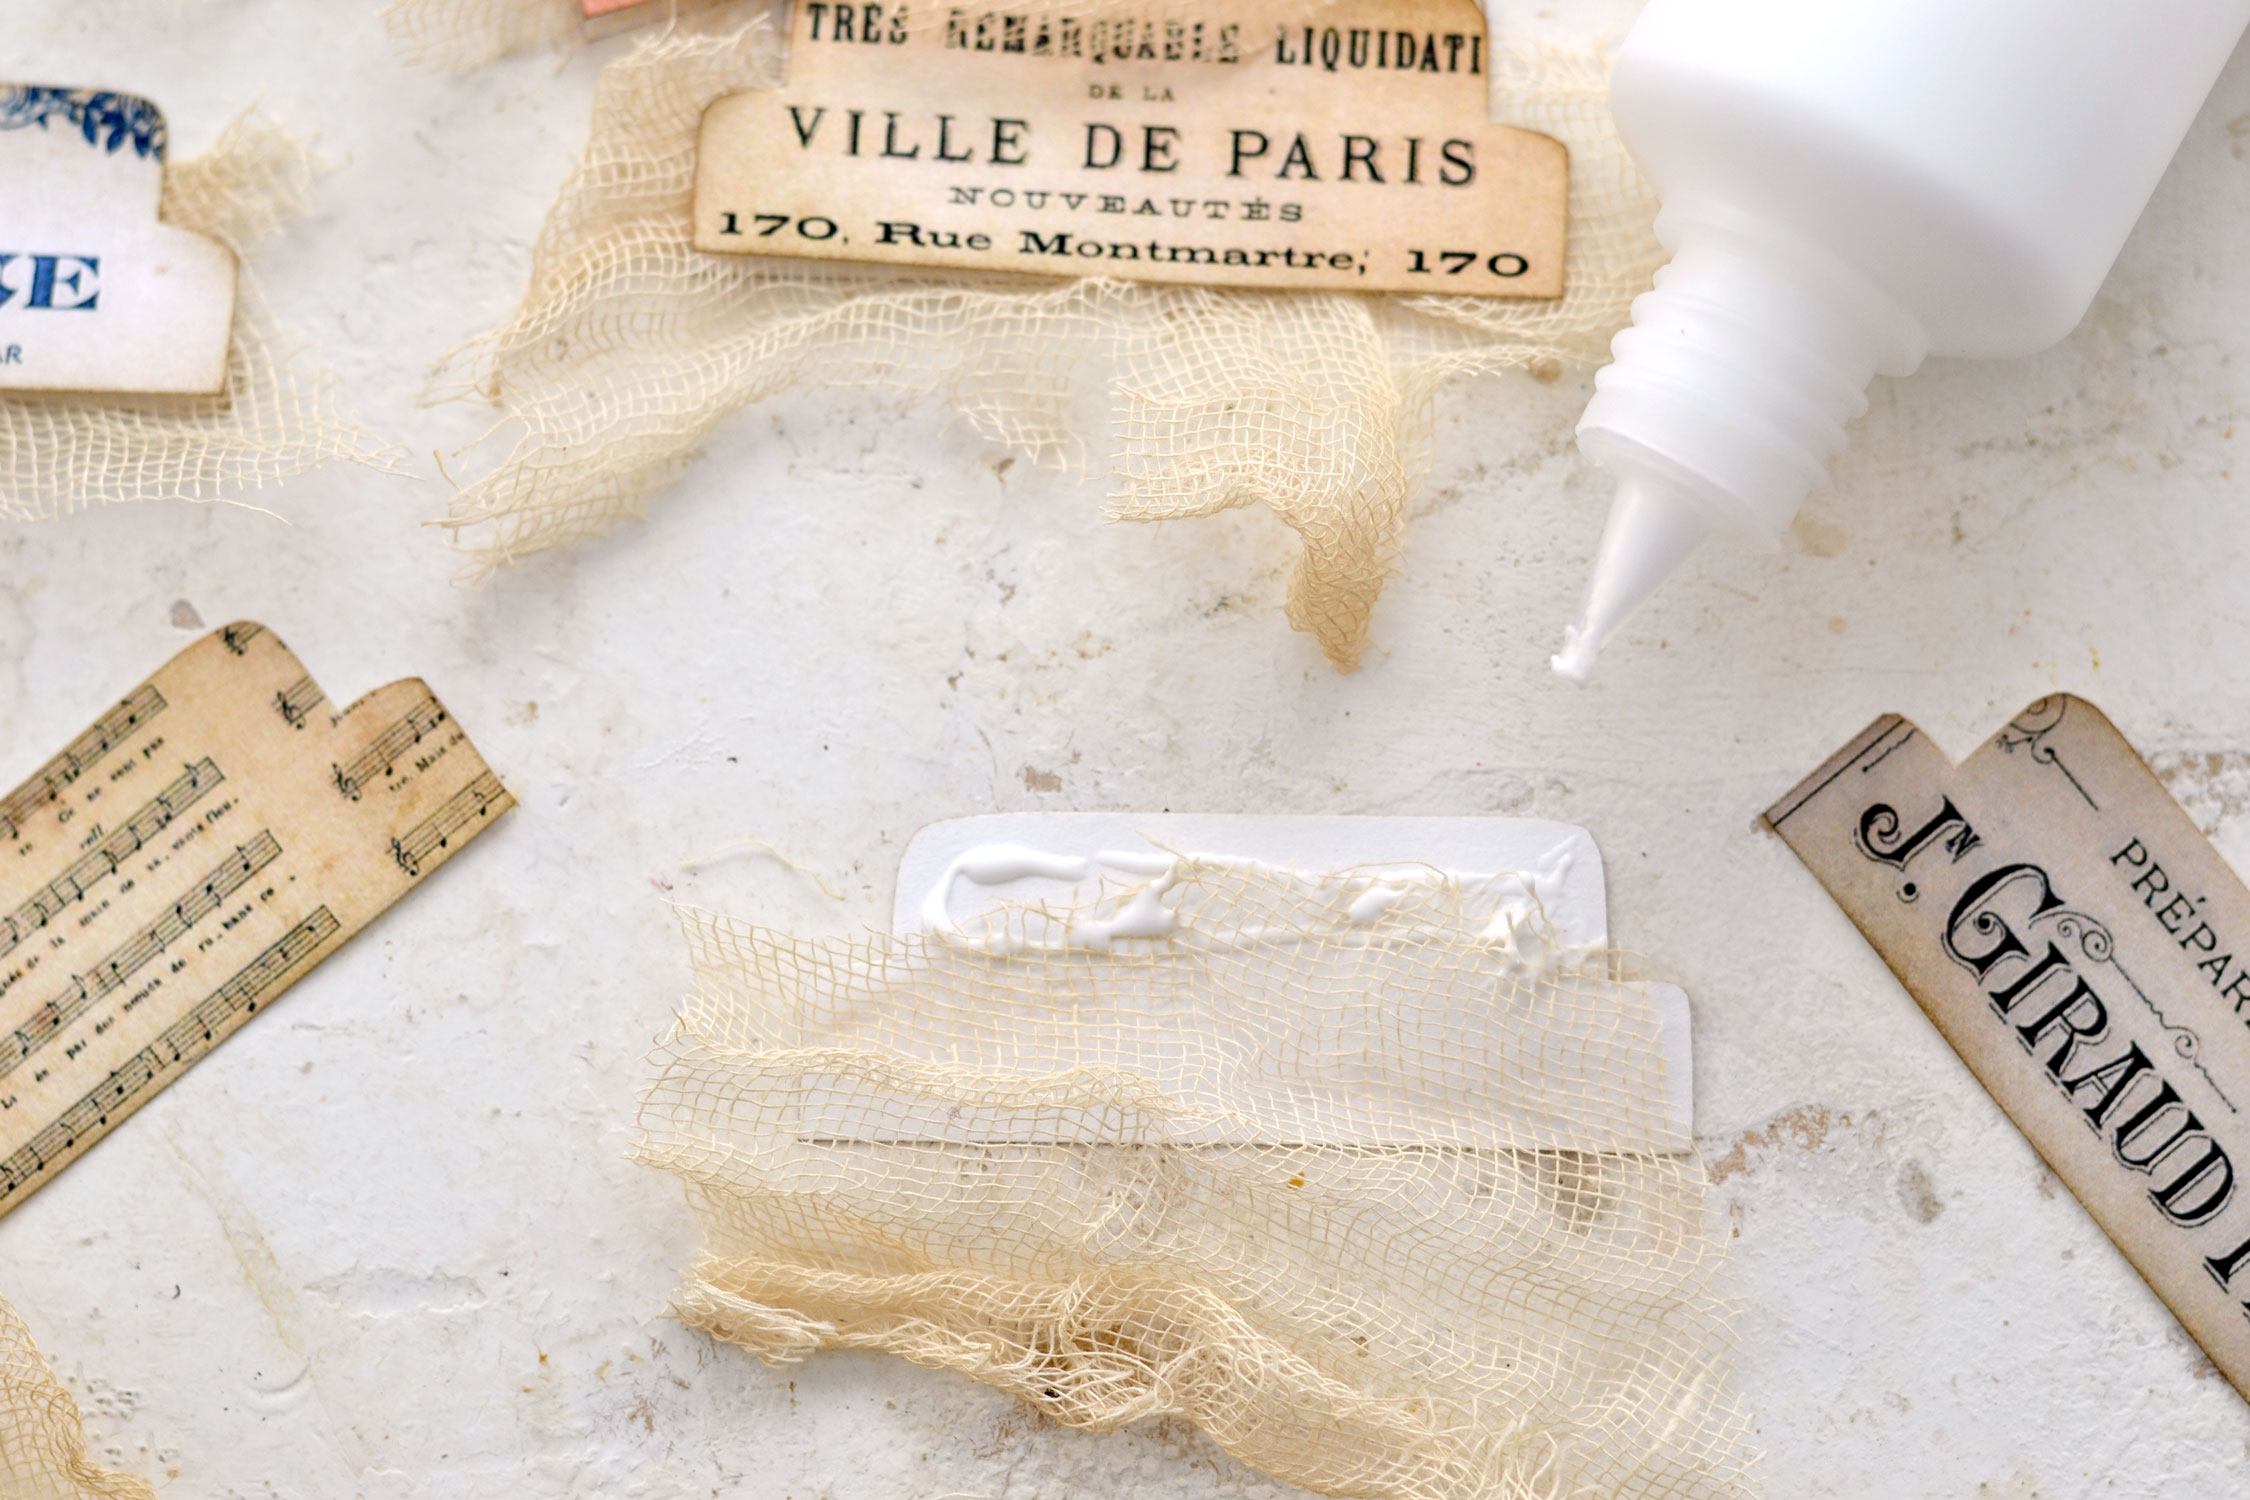
I added the gauze starting from the glue down while leaving the top part of the tab ungauzed (new word, I know). I added a little bit more glue on top of the gauze but again, only on the small rectangular part of our tab.
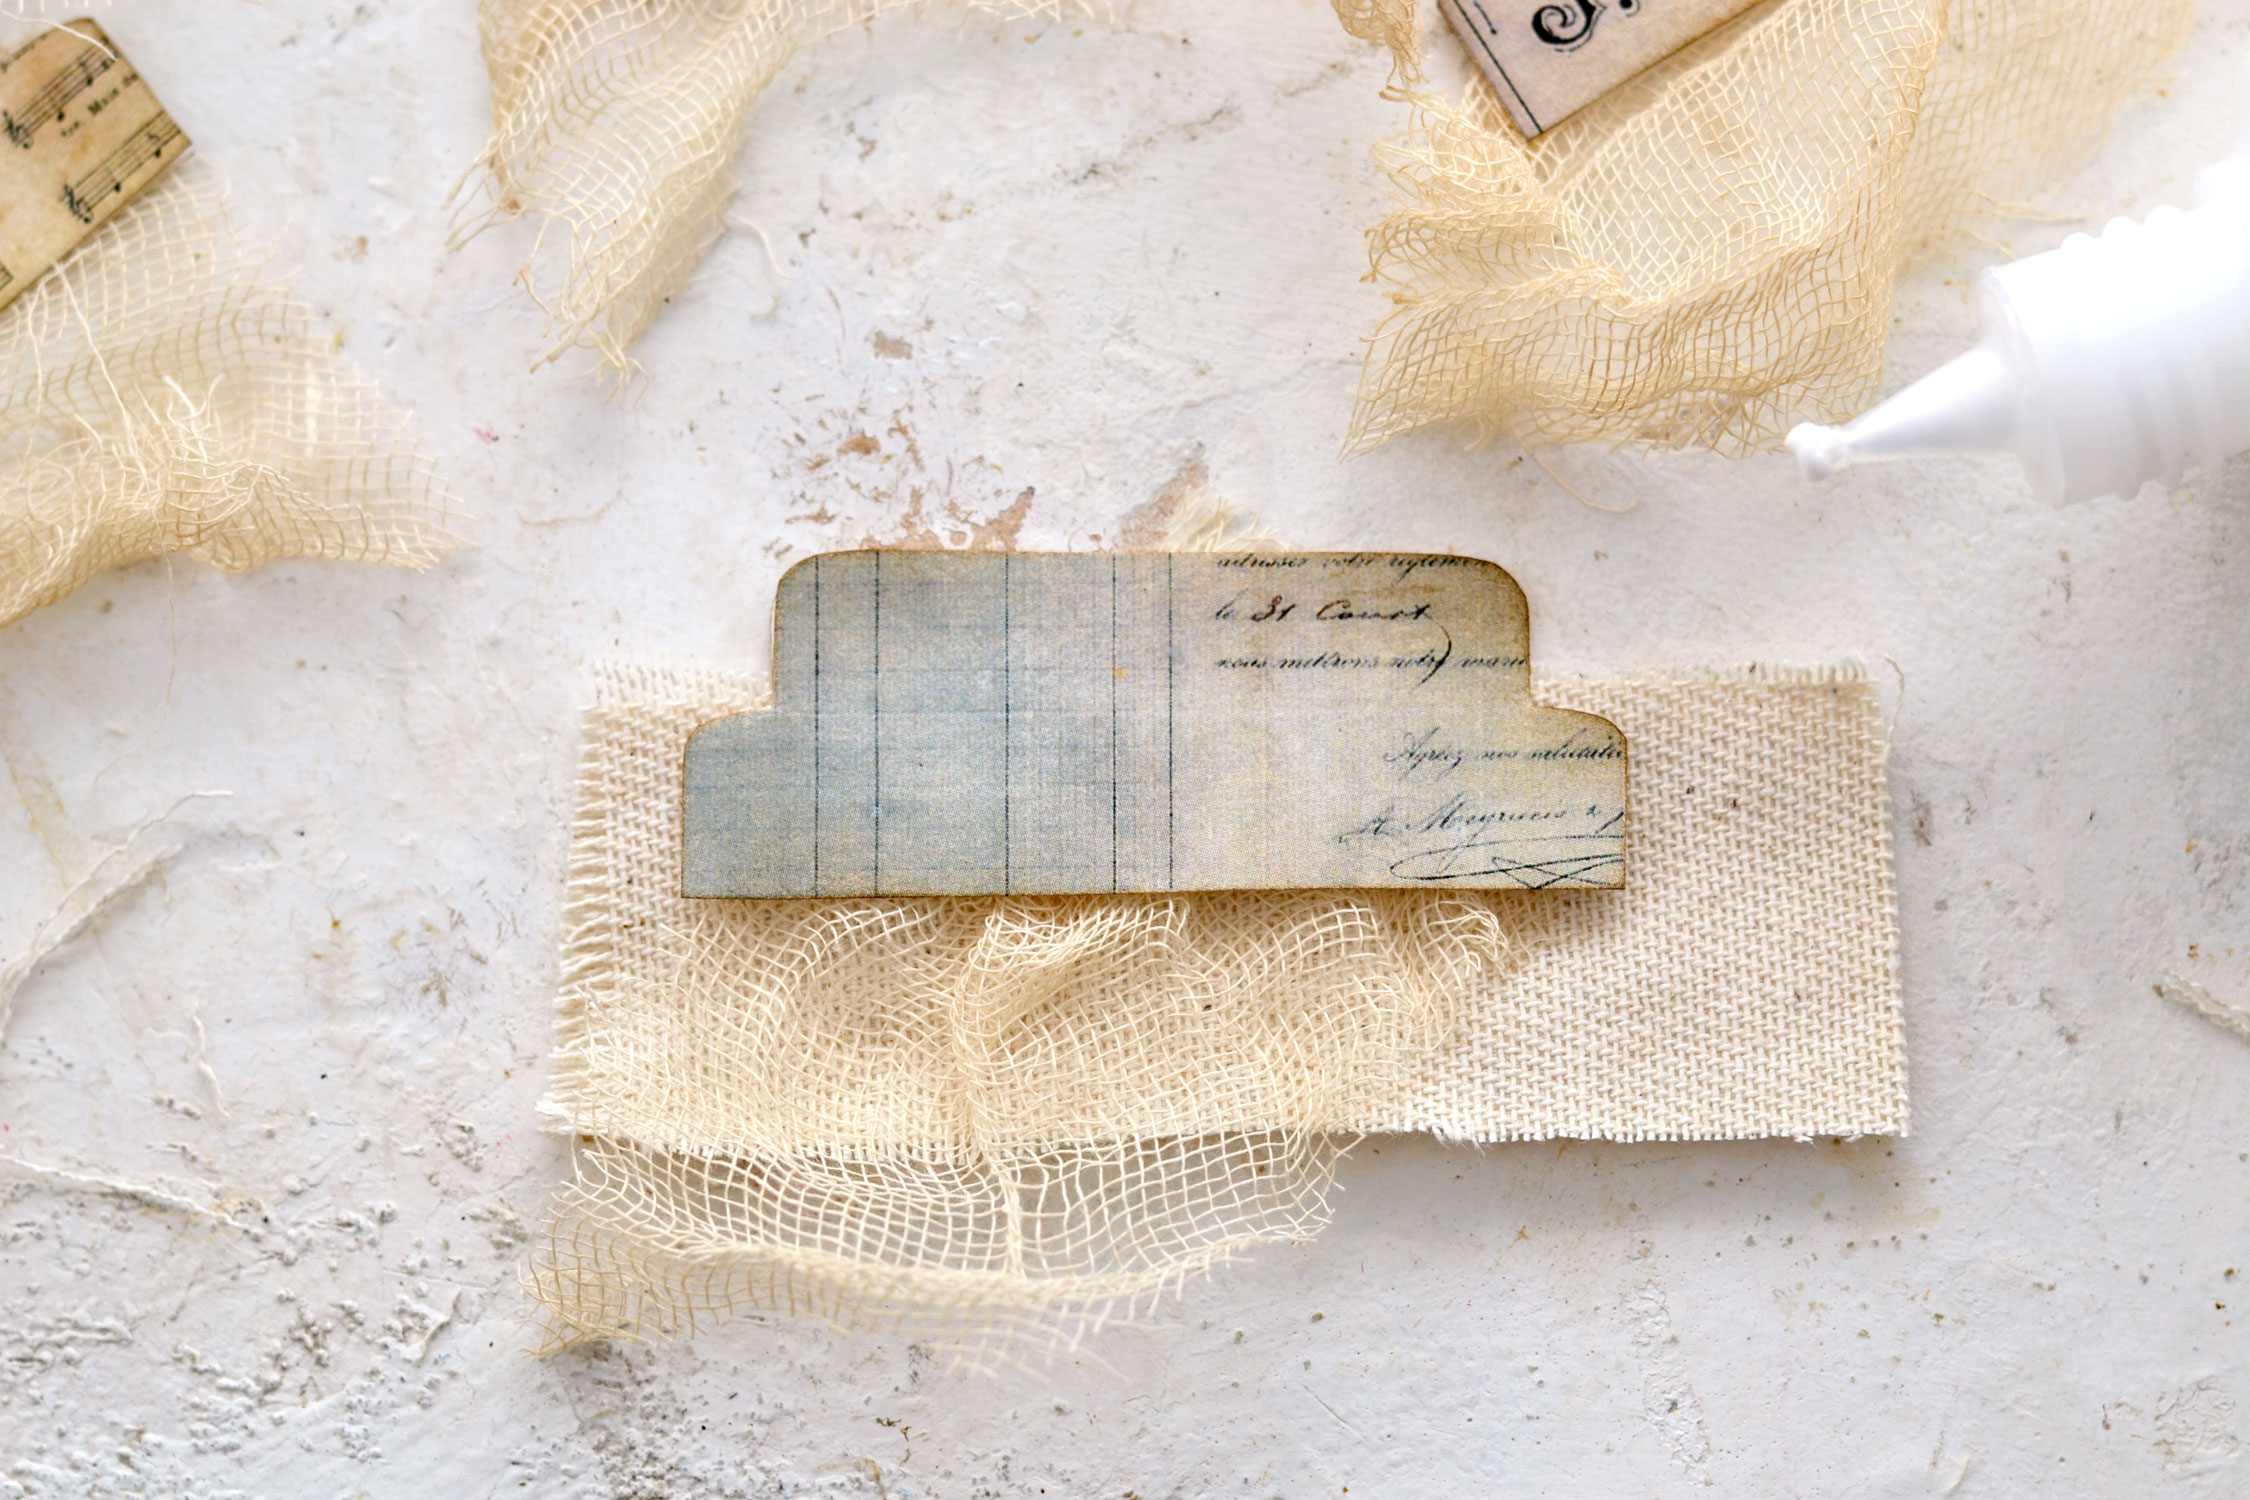
Then I just placed another tab on top. Press with your fingers the top rectangular parts so that the paper and the gauze stick together, but make sure you are not pushing the glue toward the lower larger rectangular, we need to keep that part glue free.
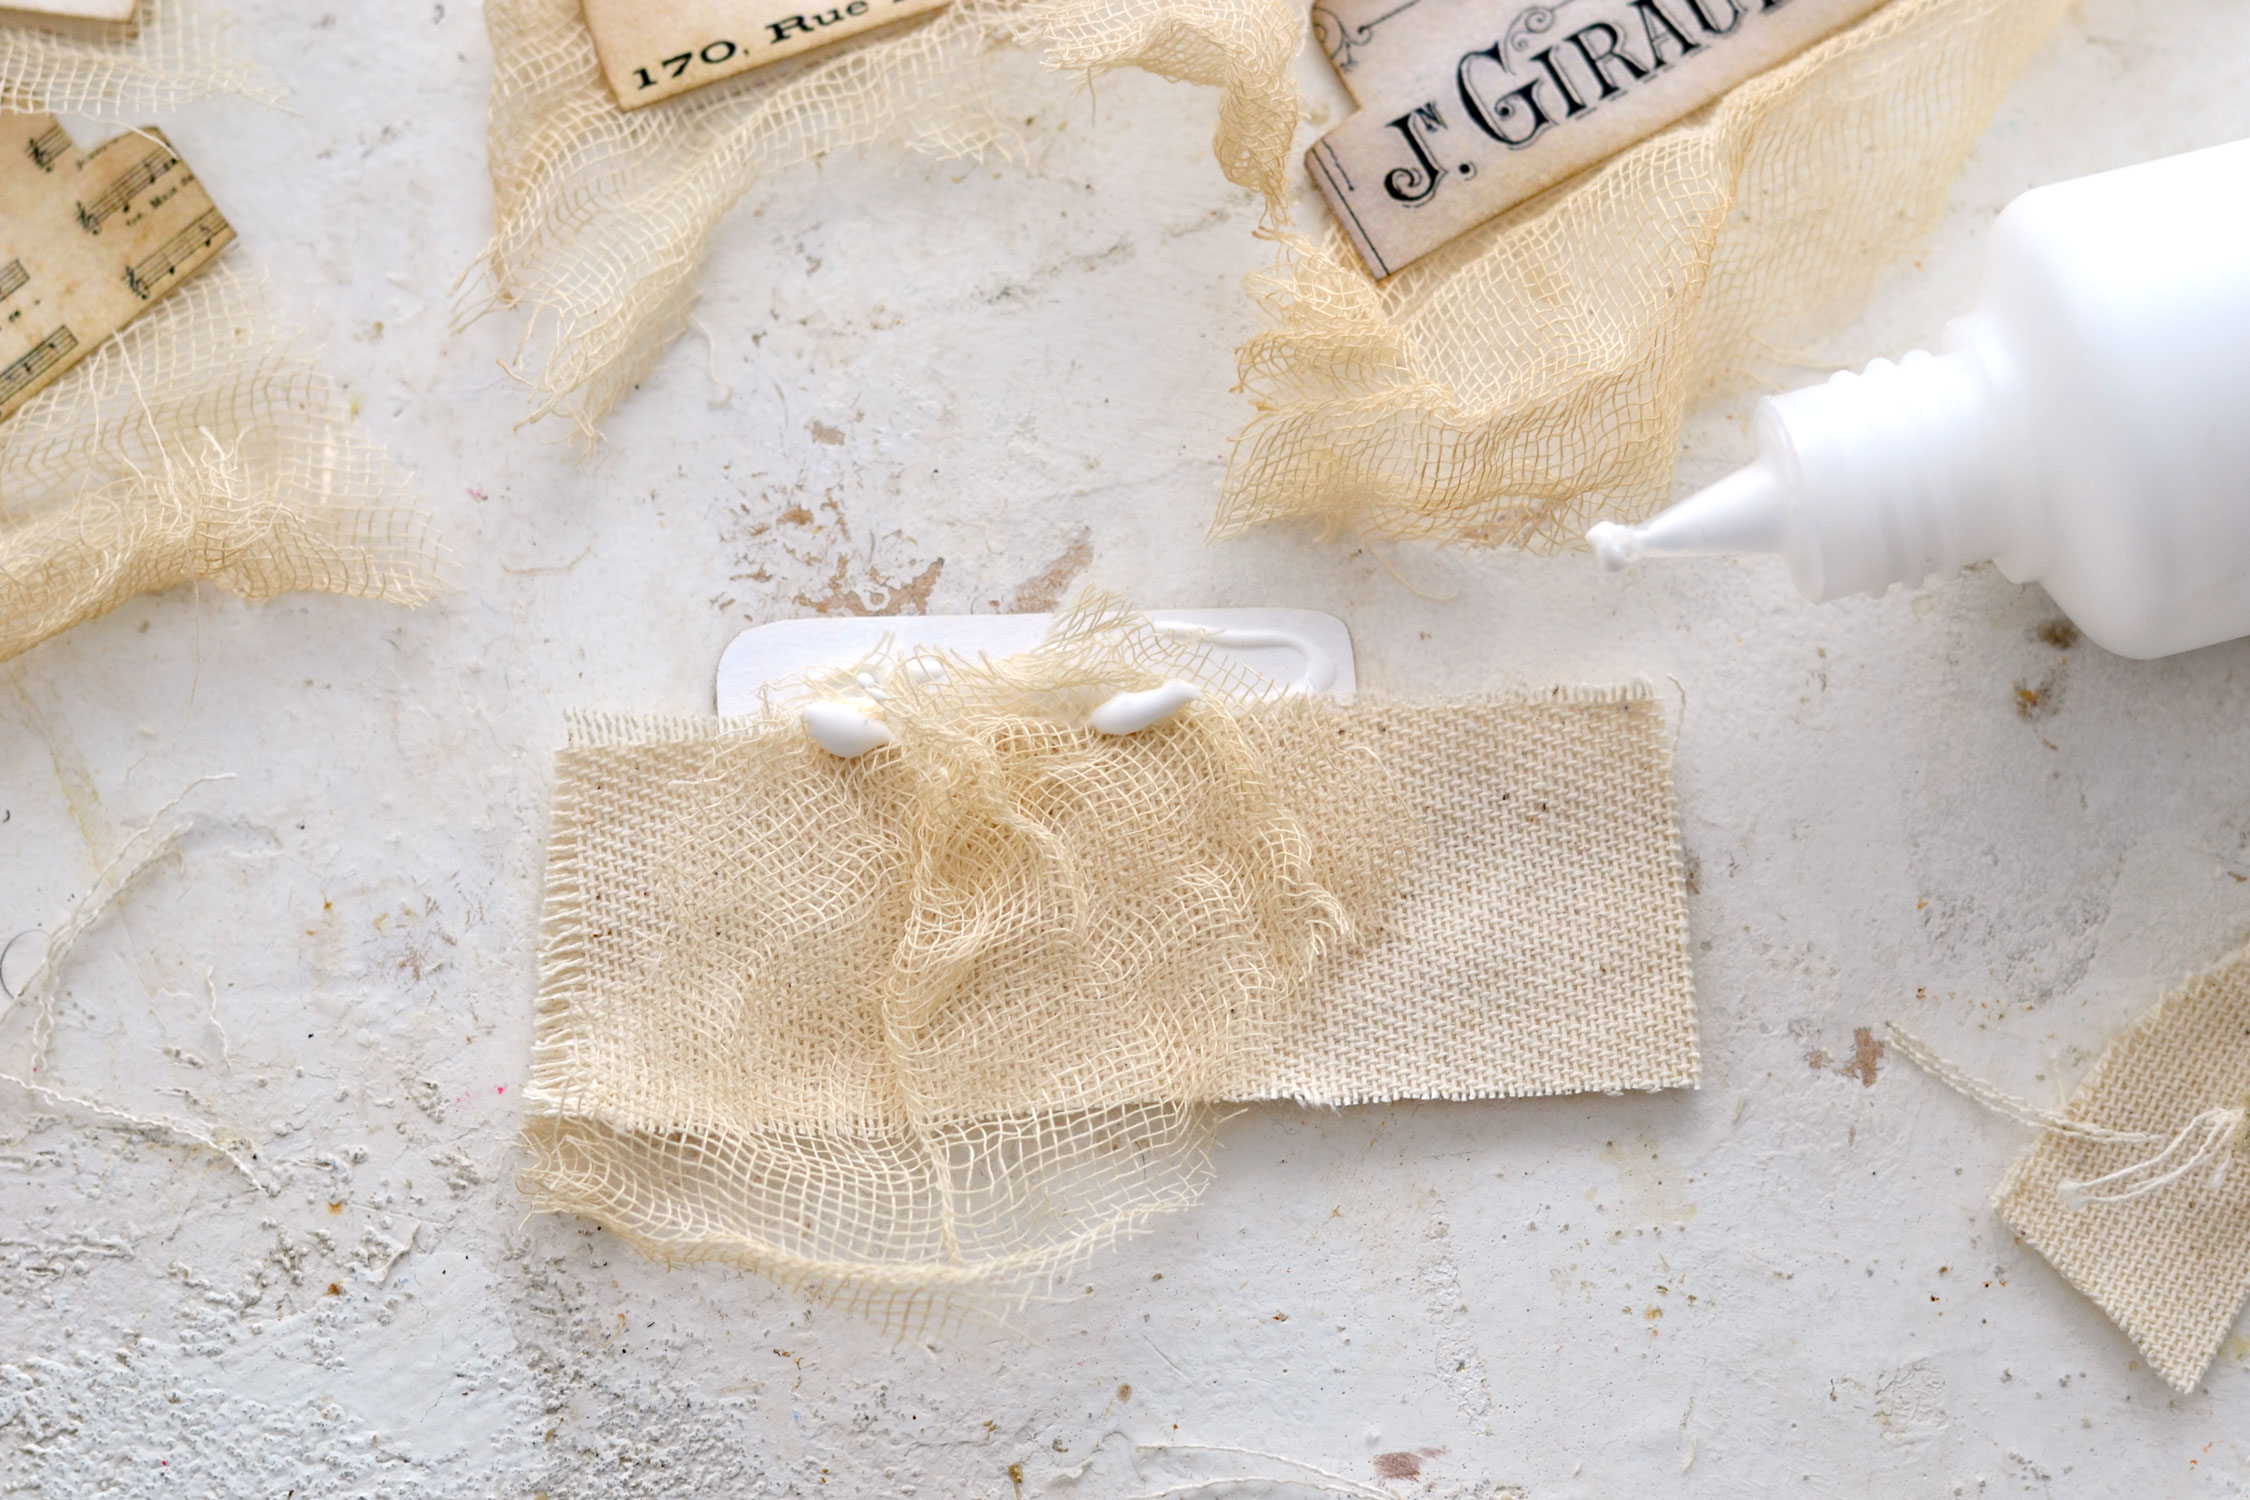
You can also do this with fabric instead of gauze, just follow the same technique to apply glue only on the top rectangular part of our tab. If you want, you can even add some gauze on top of the fabric to add more interest.
Then again, just place another vintage tab on top and press the upper part with your fingers so that everything sticks together.
Just remember to always leave the lower part of our tabs without any glue, so we can open them and attach them to our journal pages.
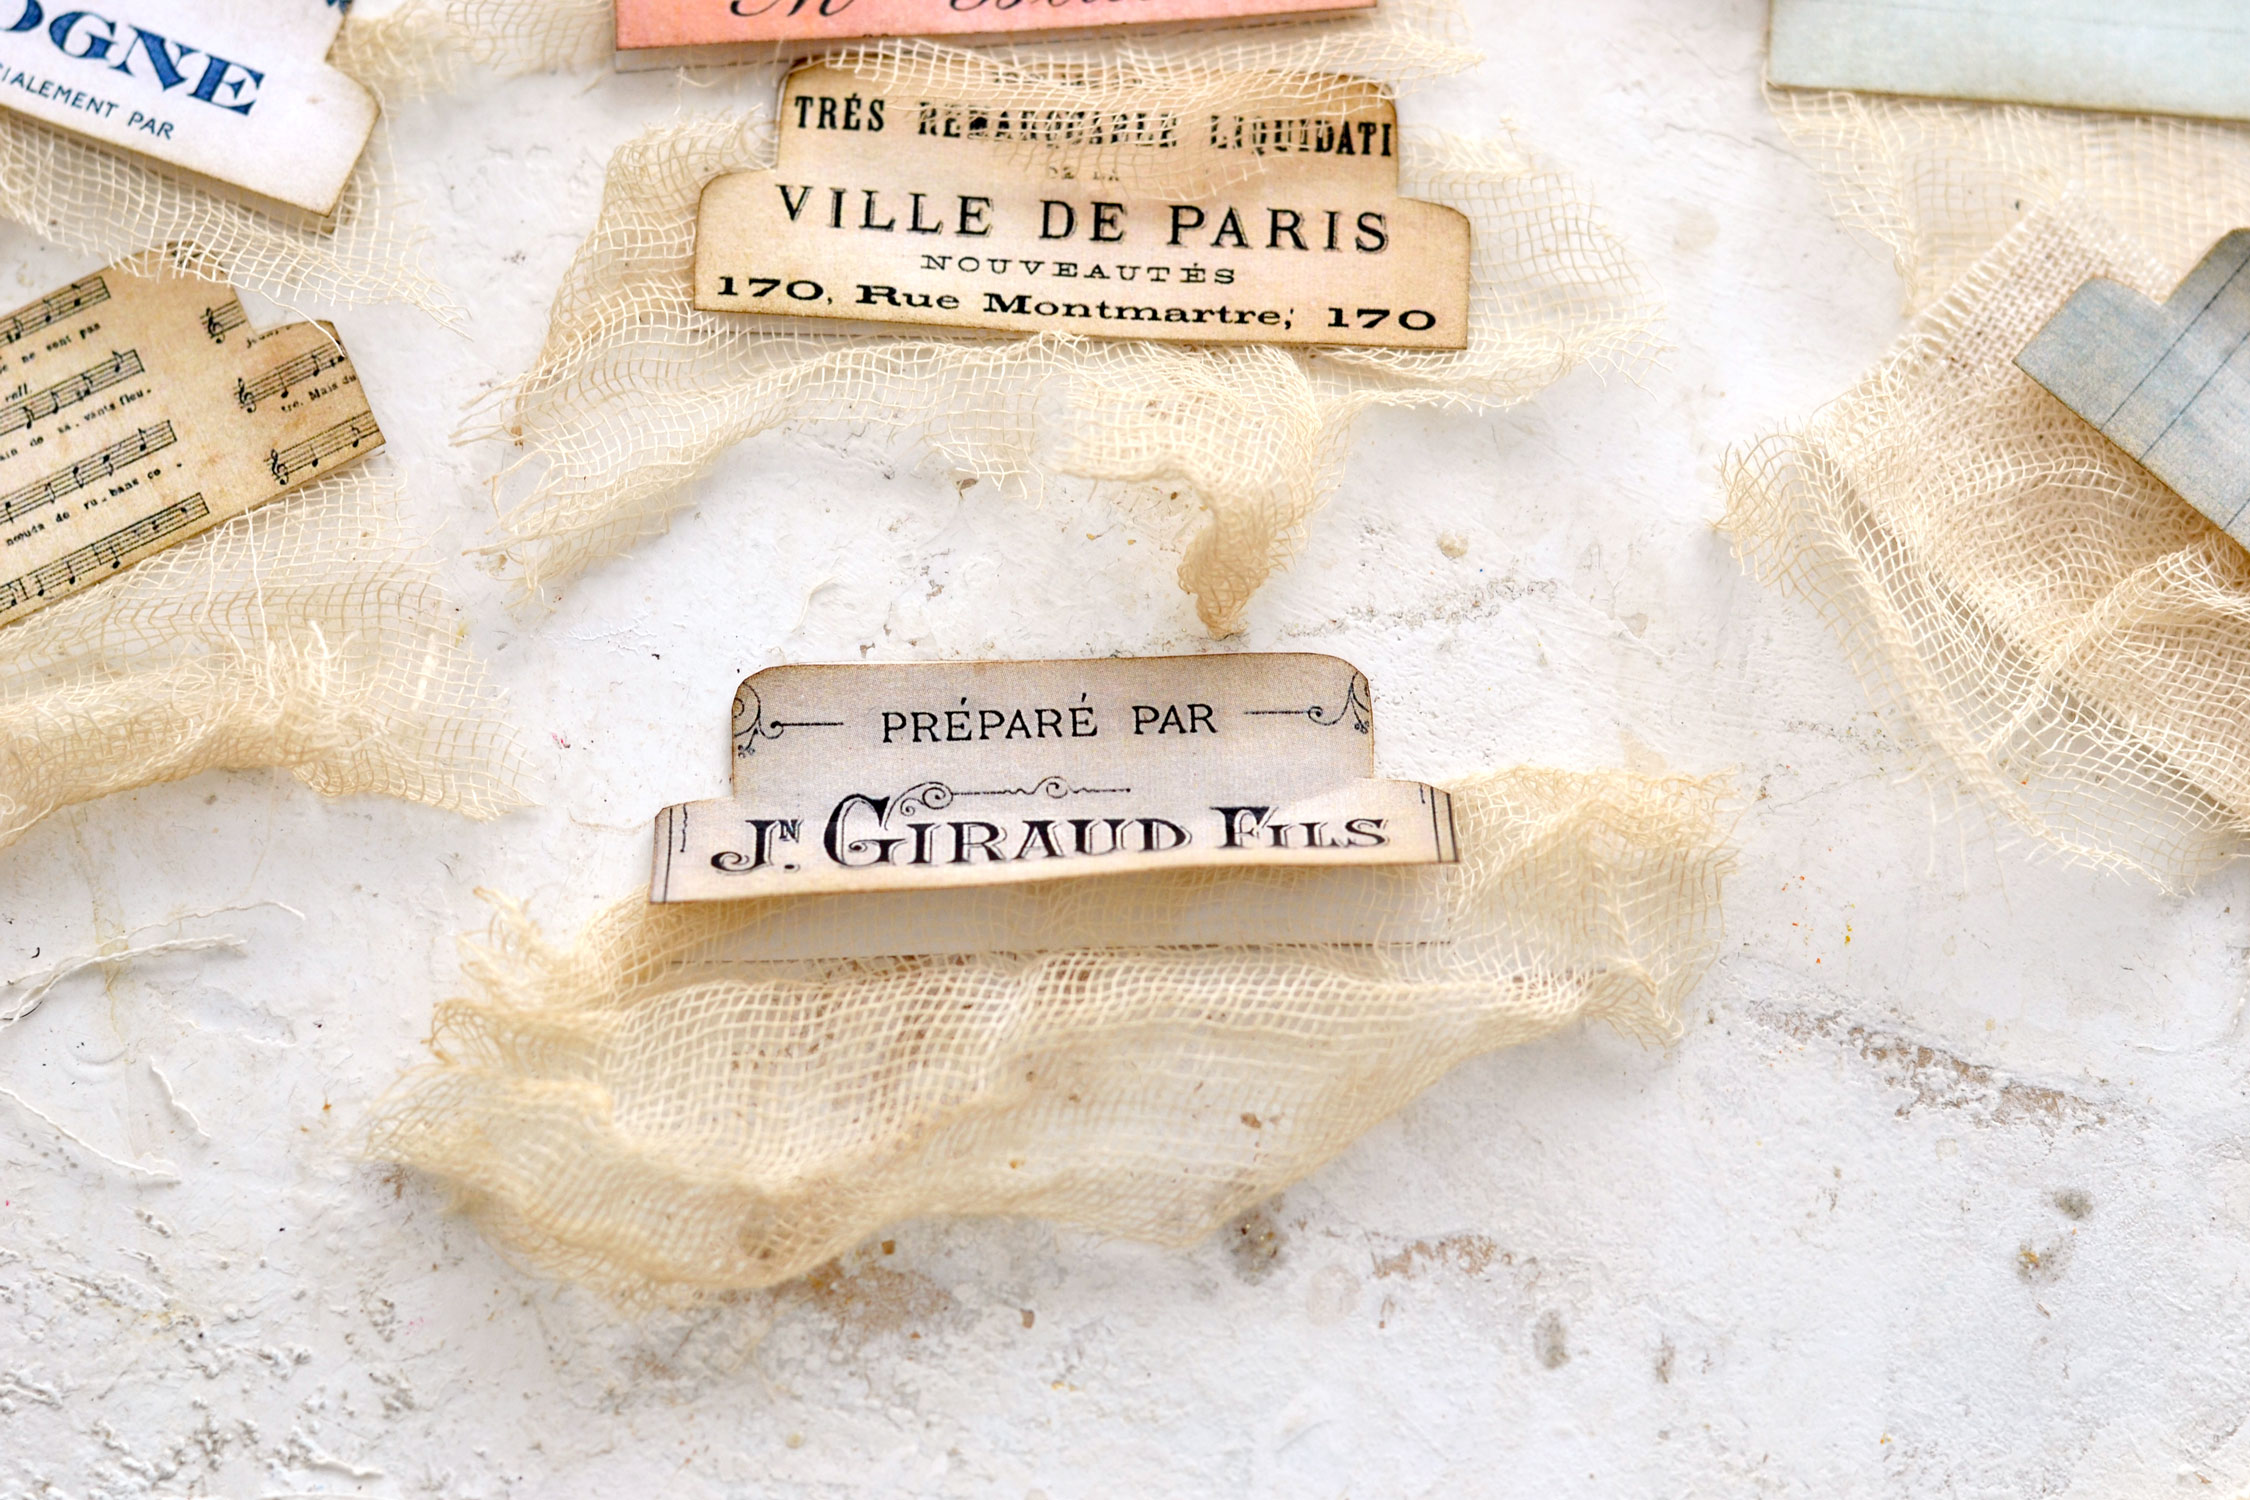
Cut the pieces of gauze as unevenly as you want before gluing them to your tabs, this way each junk journal tab will be truly unique!
You can stop at this point if you want to keep the vintage tabs simple. This way you can further decorate them when actually using them in your journal.
Or you can move on and add more embellishments now, it’s all up to you!
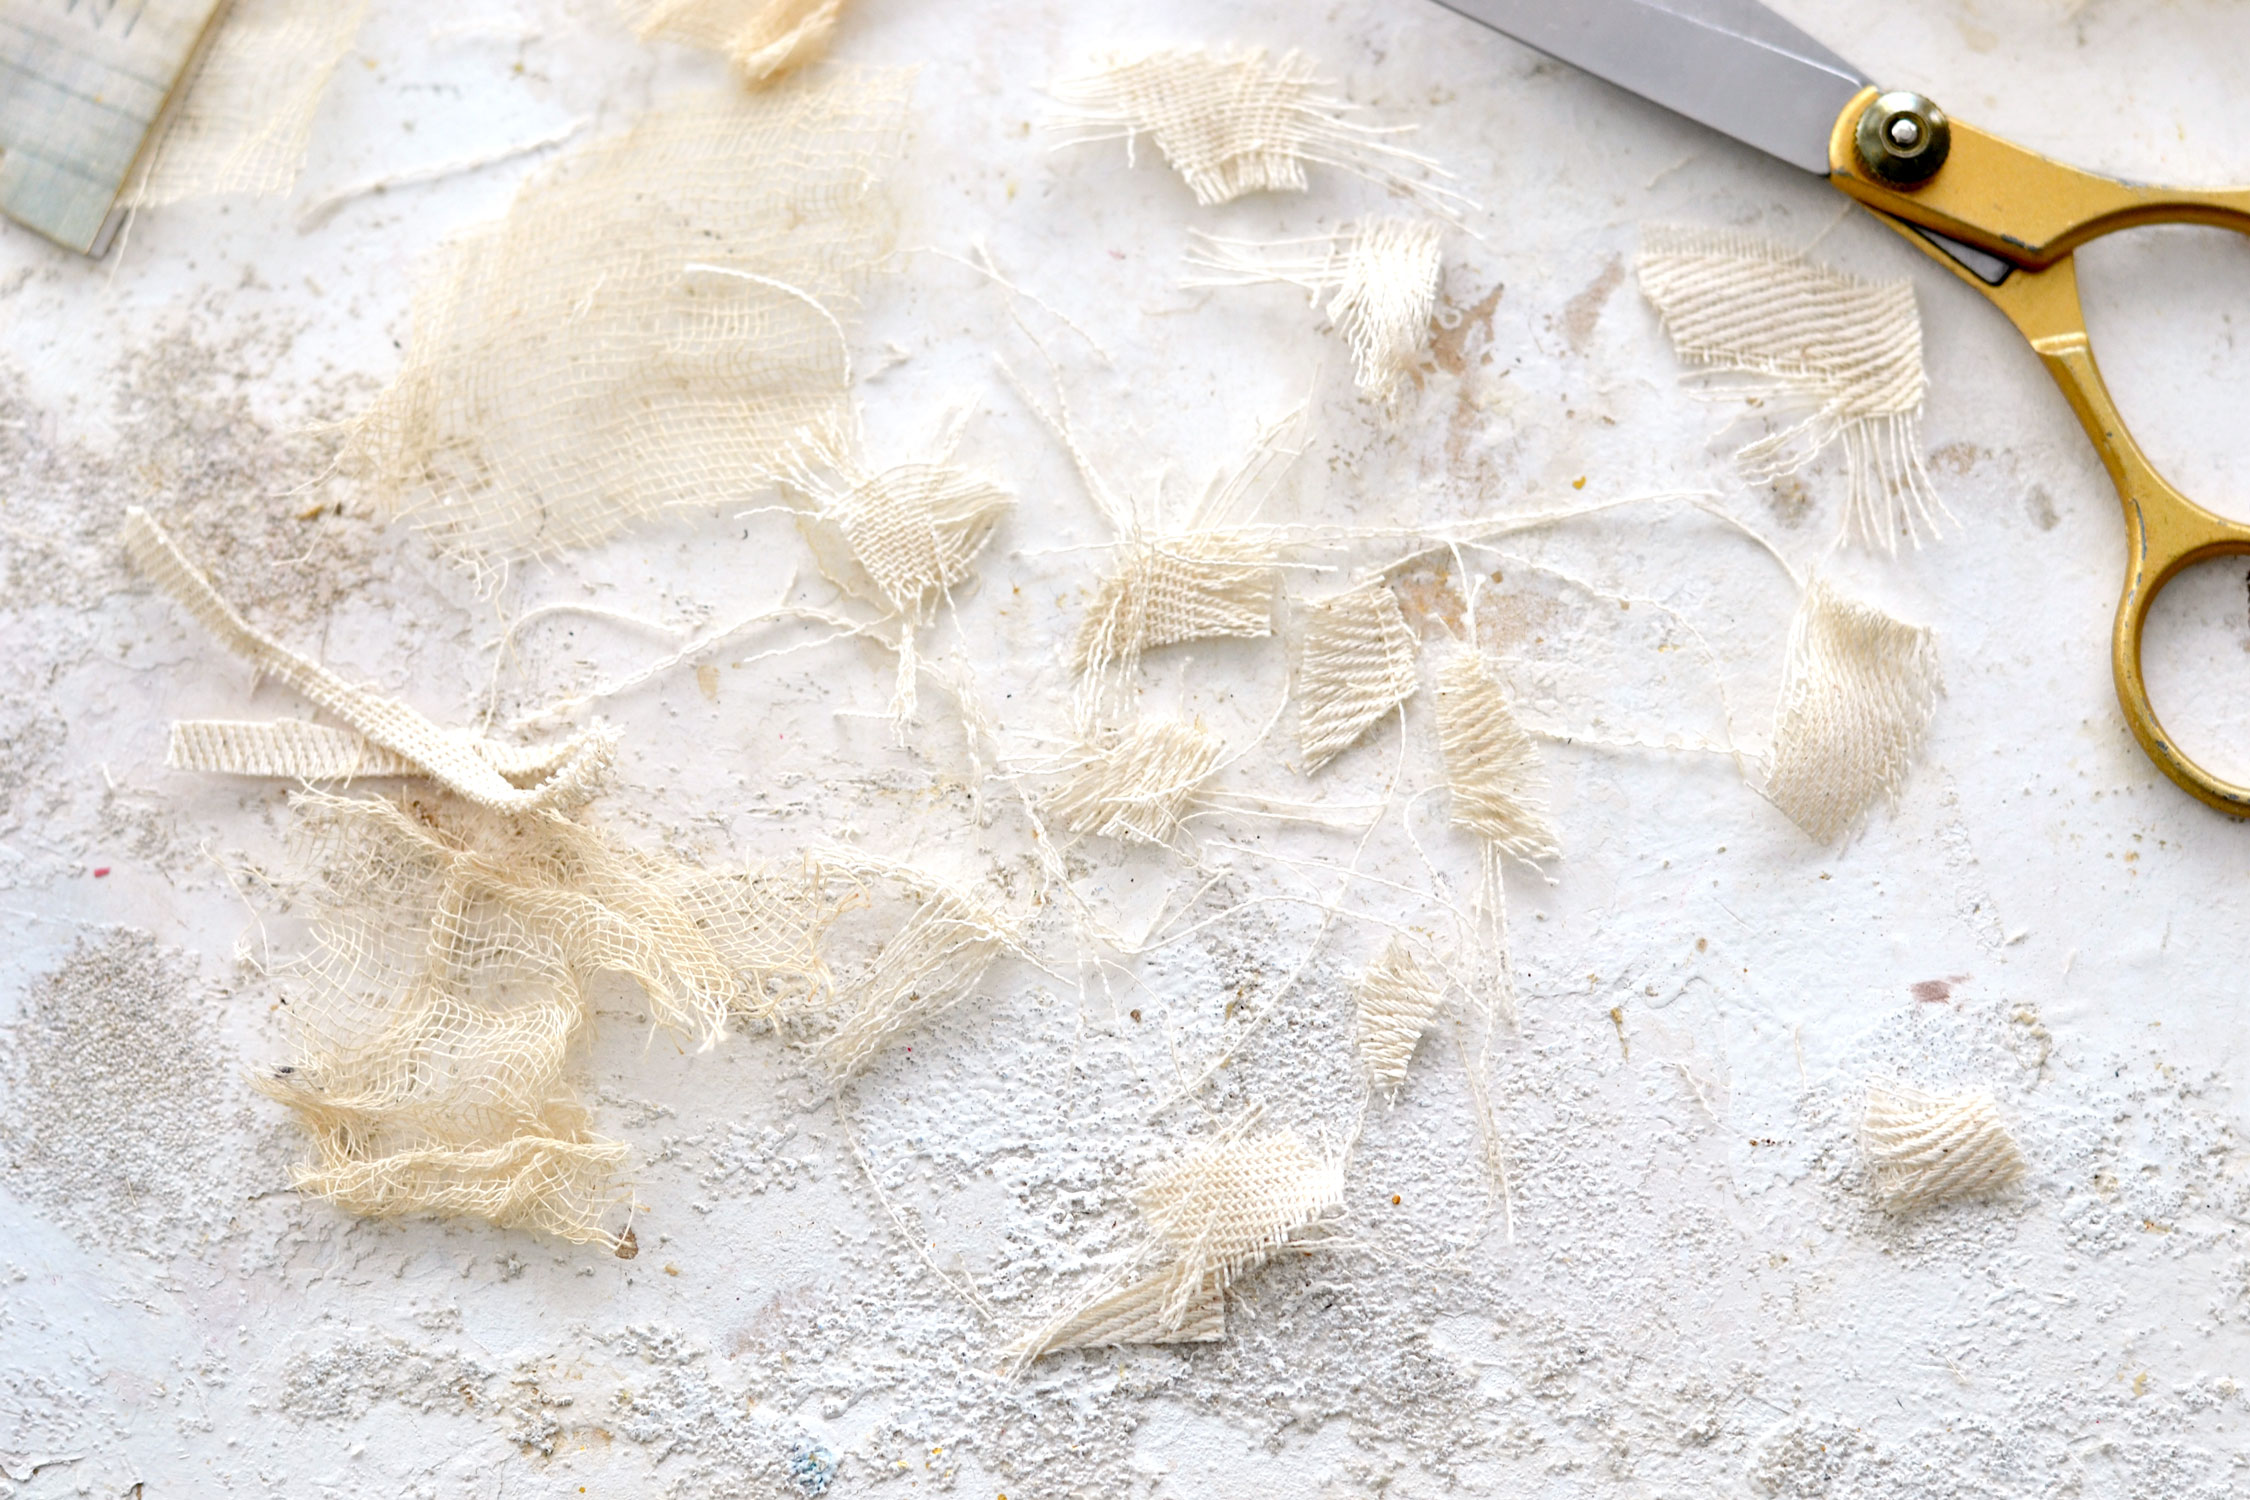
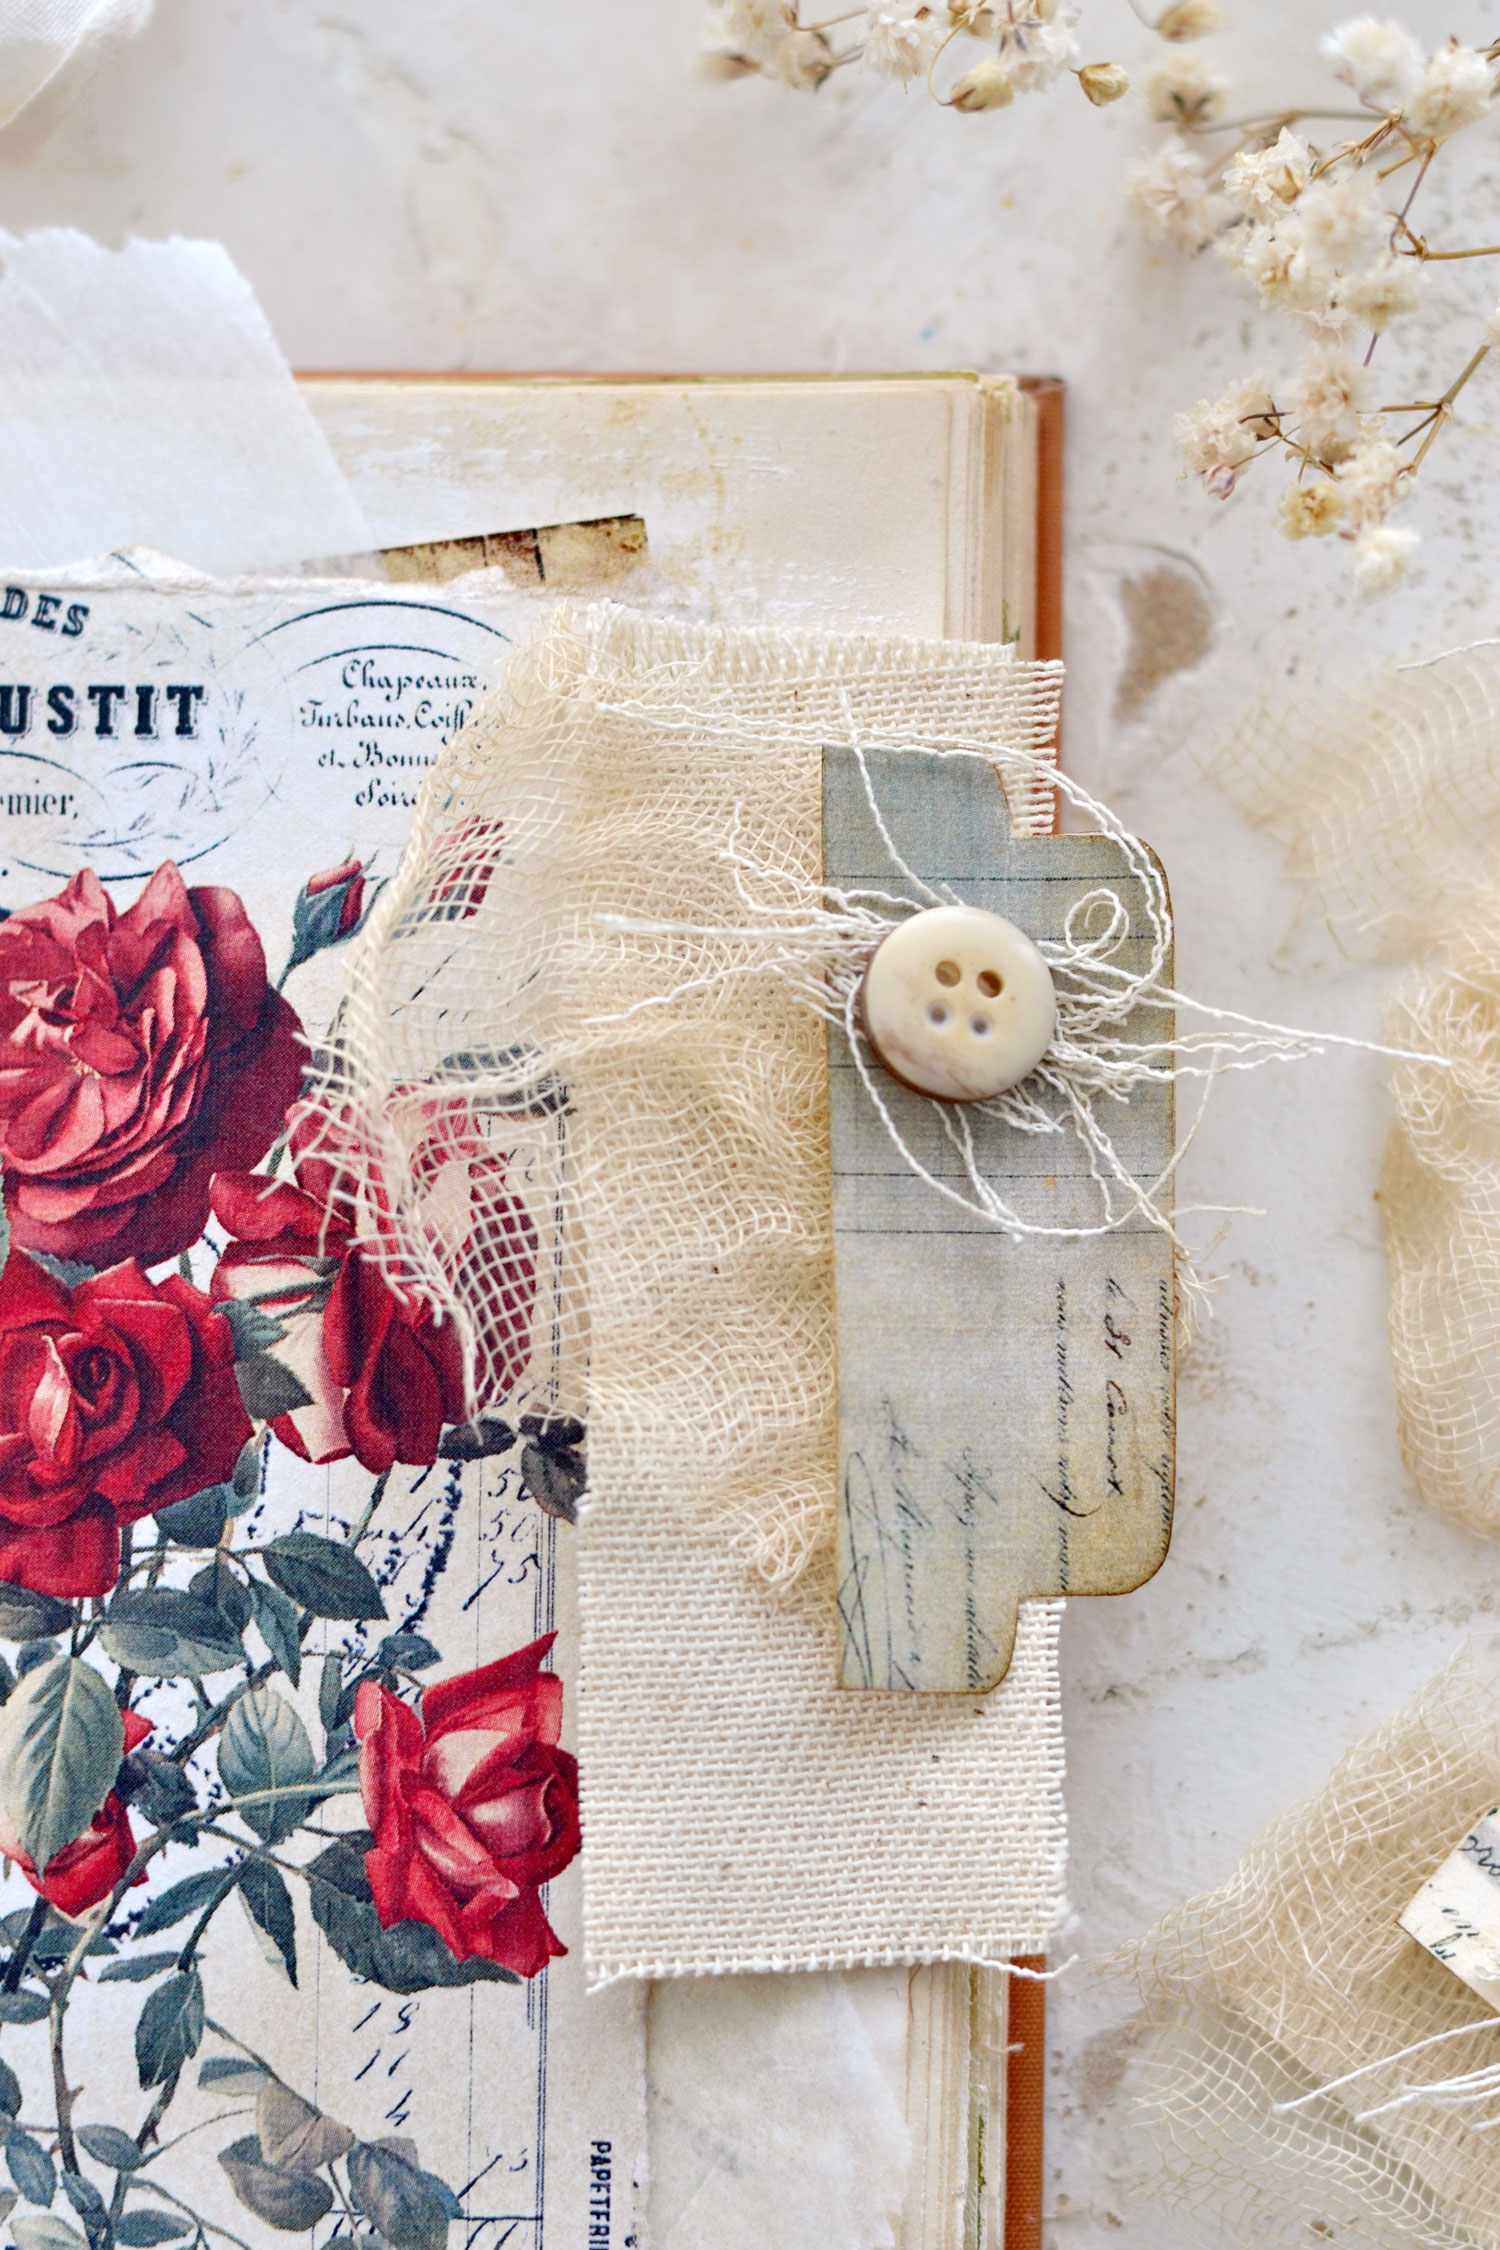
For example, I cut some tiny scrap pieces of duck fabric and just pull them apart with my fingers to make them uneven and quite frayed.
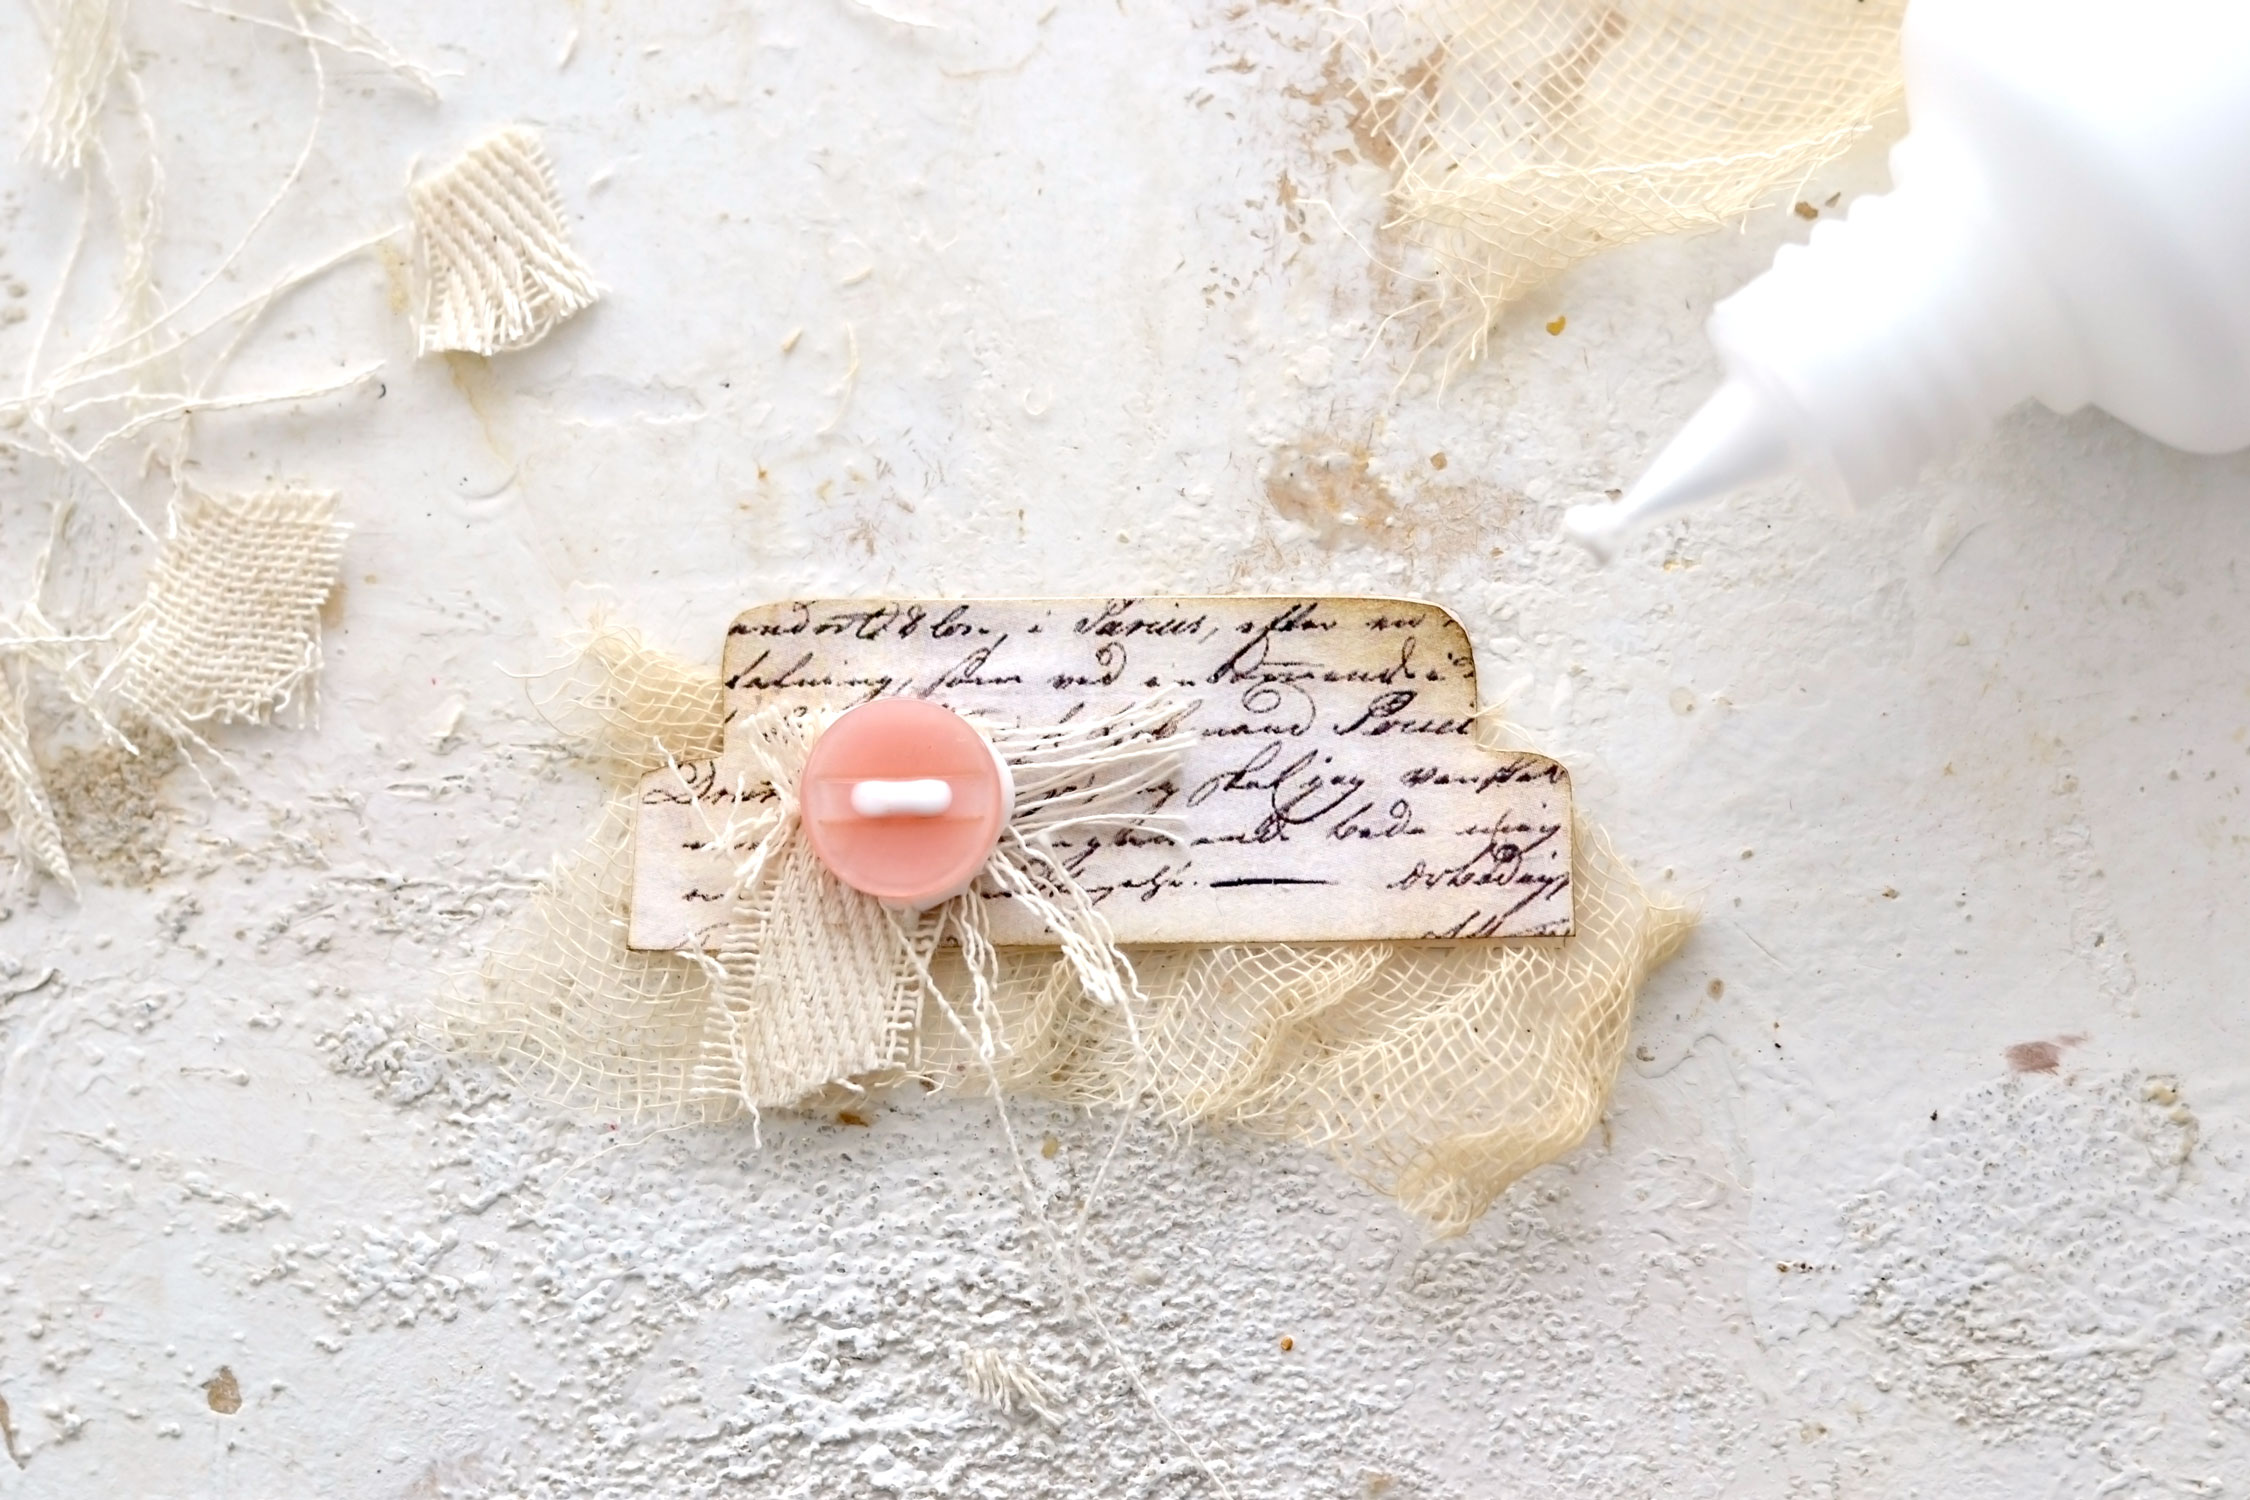
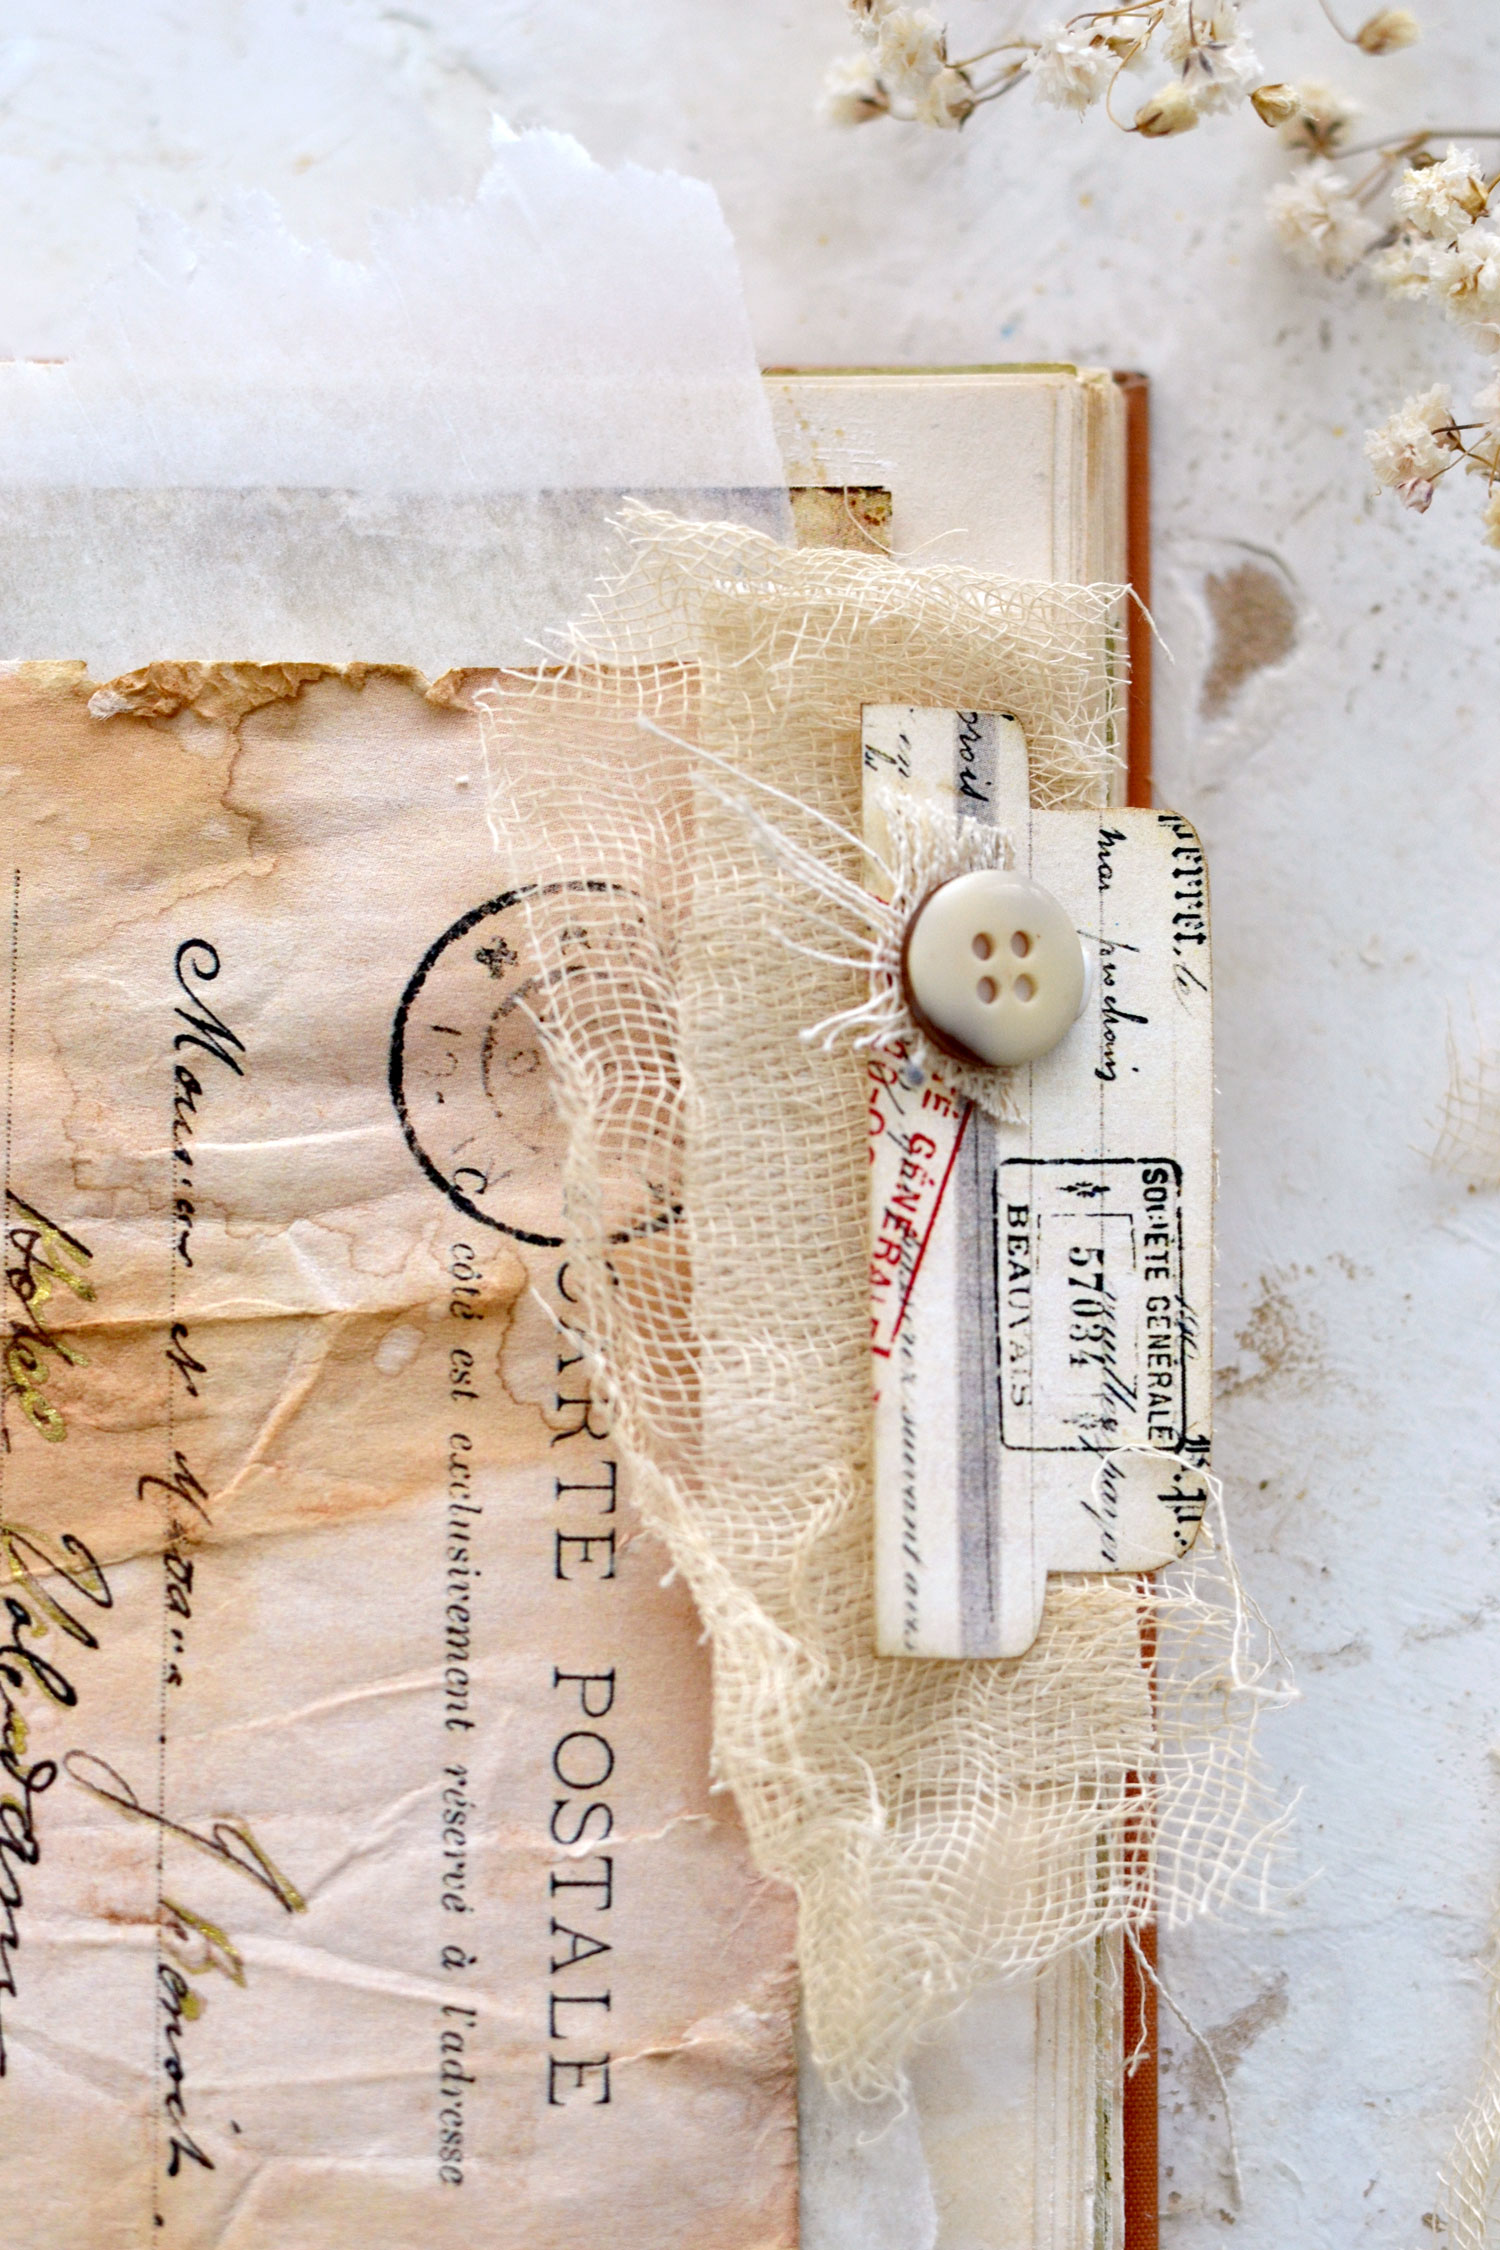
Then I just used them on top of the already glued double-sided tabs to add more dimension. You can also use buttons (ideally ones that have a vintage vibe), just make sure you add a large blob of glue before placing them on your tab. The craft glue is white at this point but it will dry clear – the large blob of glue will help us to almost embed the button on our tabs, making sure it doesn’t go anywhere. Just keep in mind that this will also create a raised effect that will add bulk to your journal. But that’s not always a bad thing, right? (wink, wink)
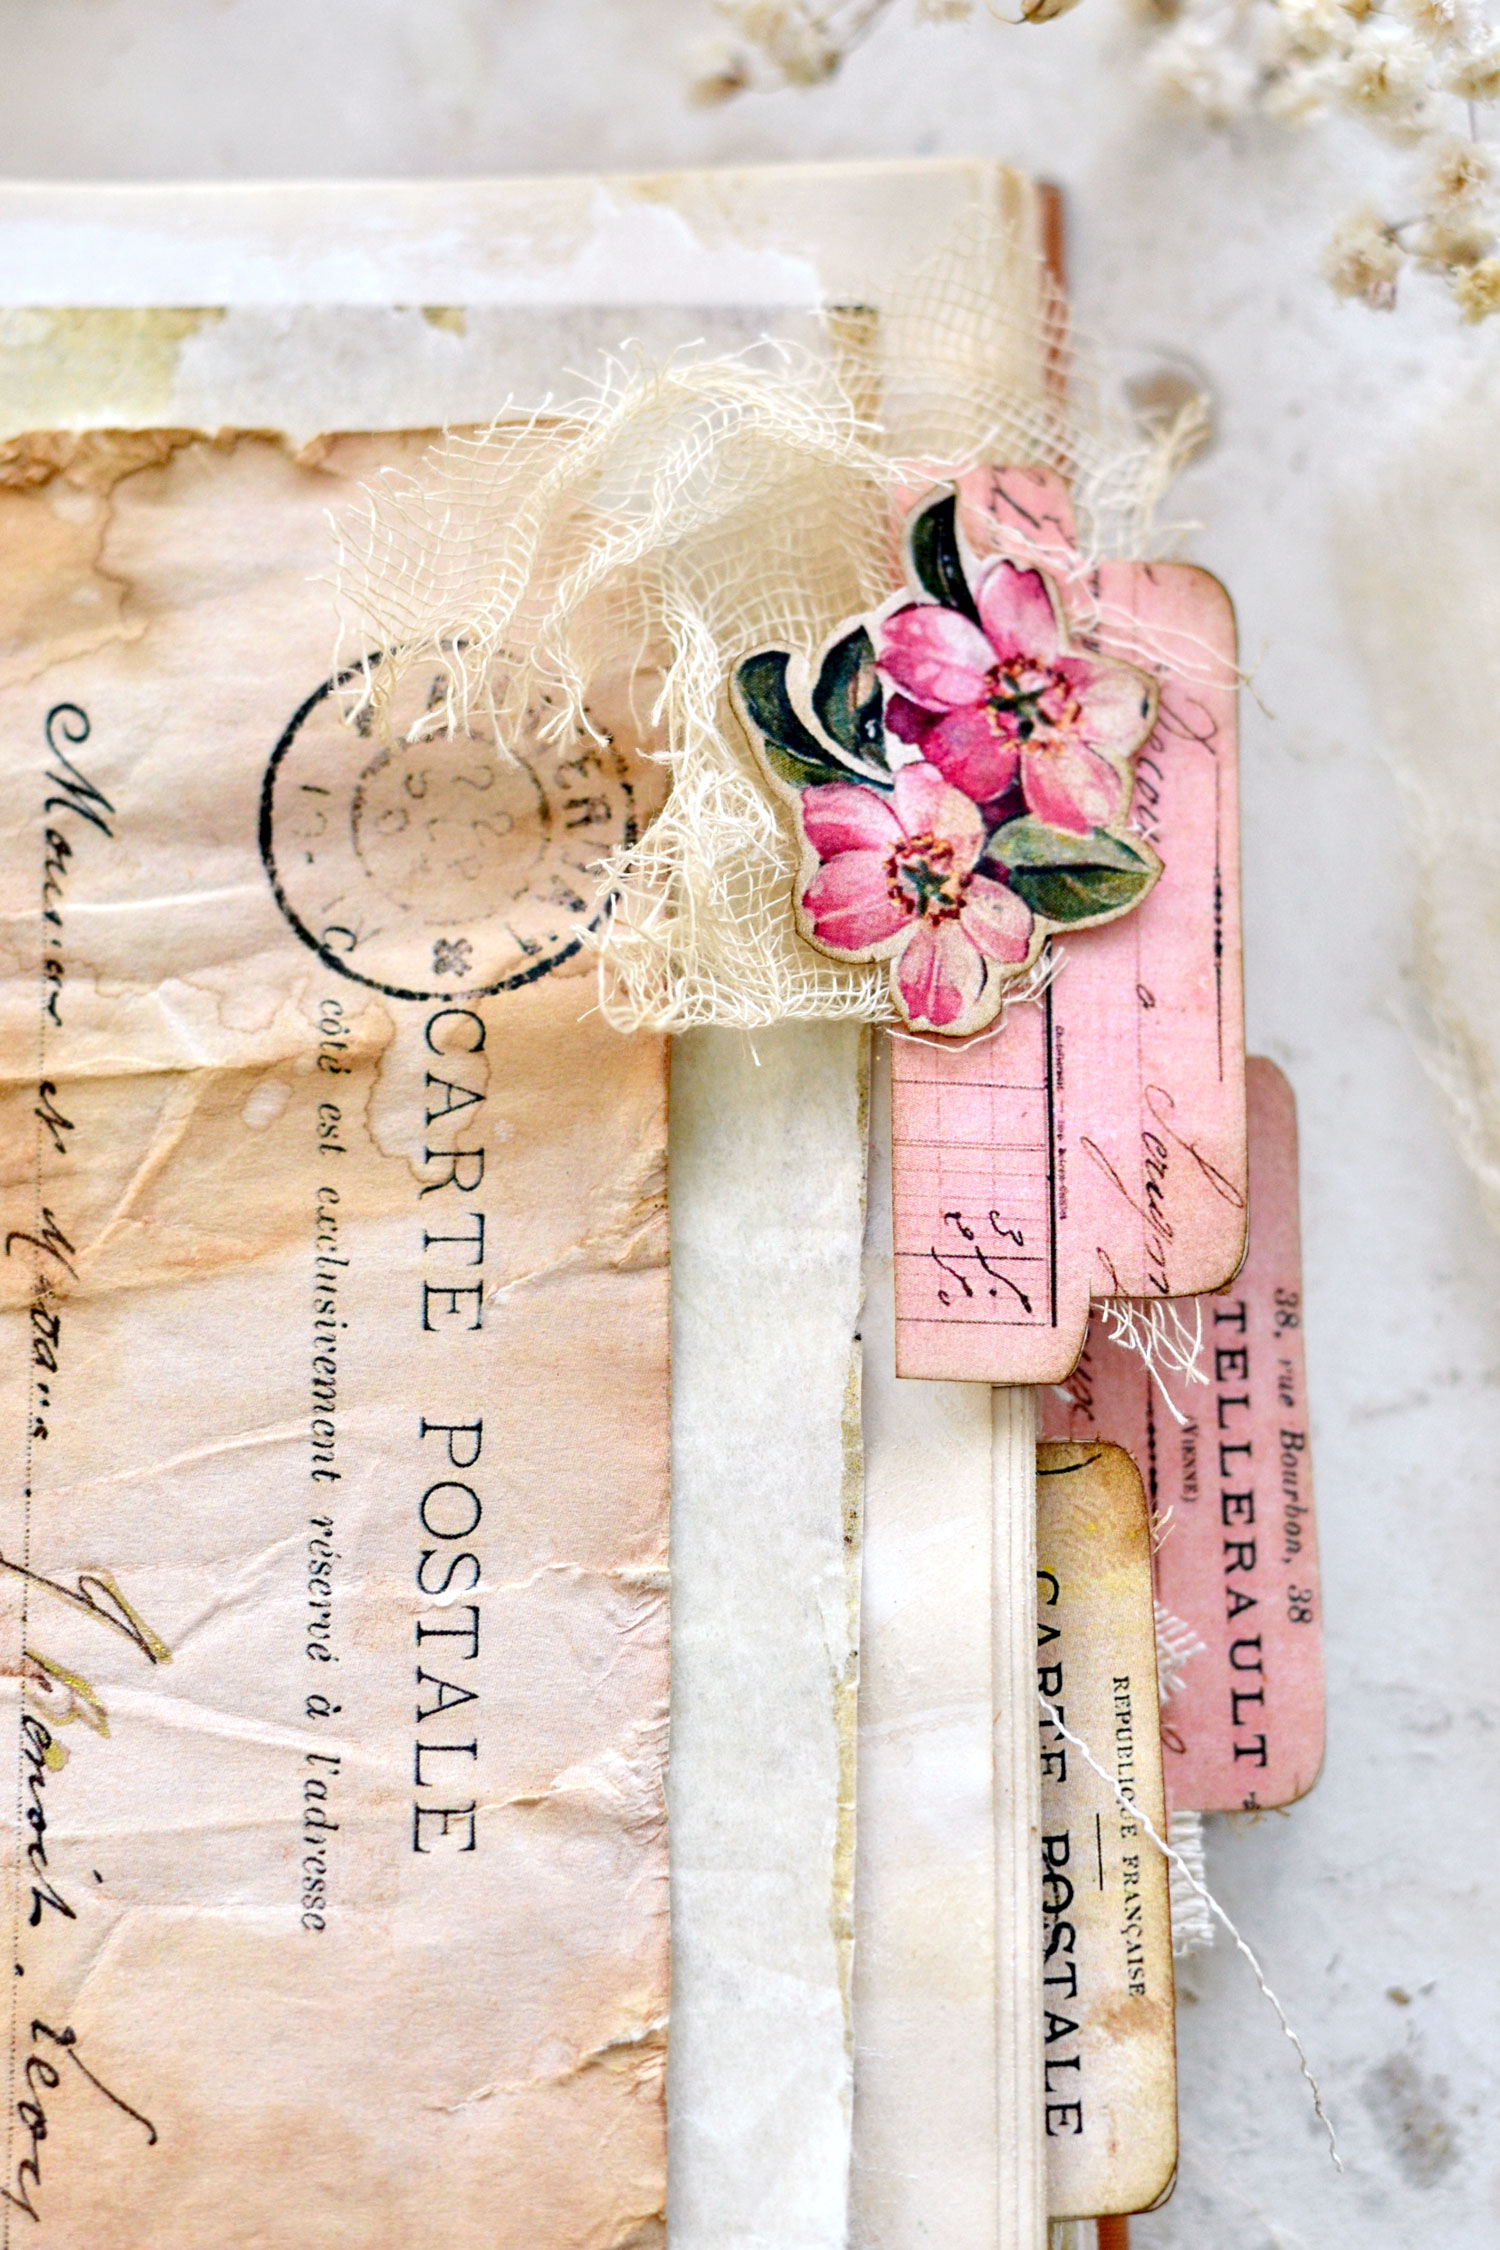
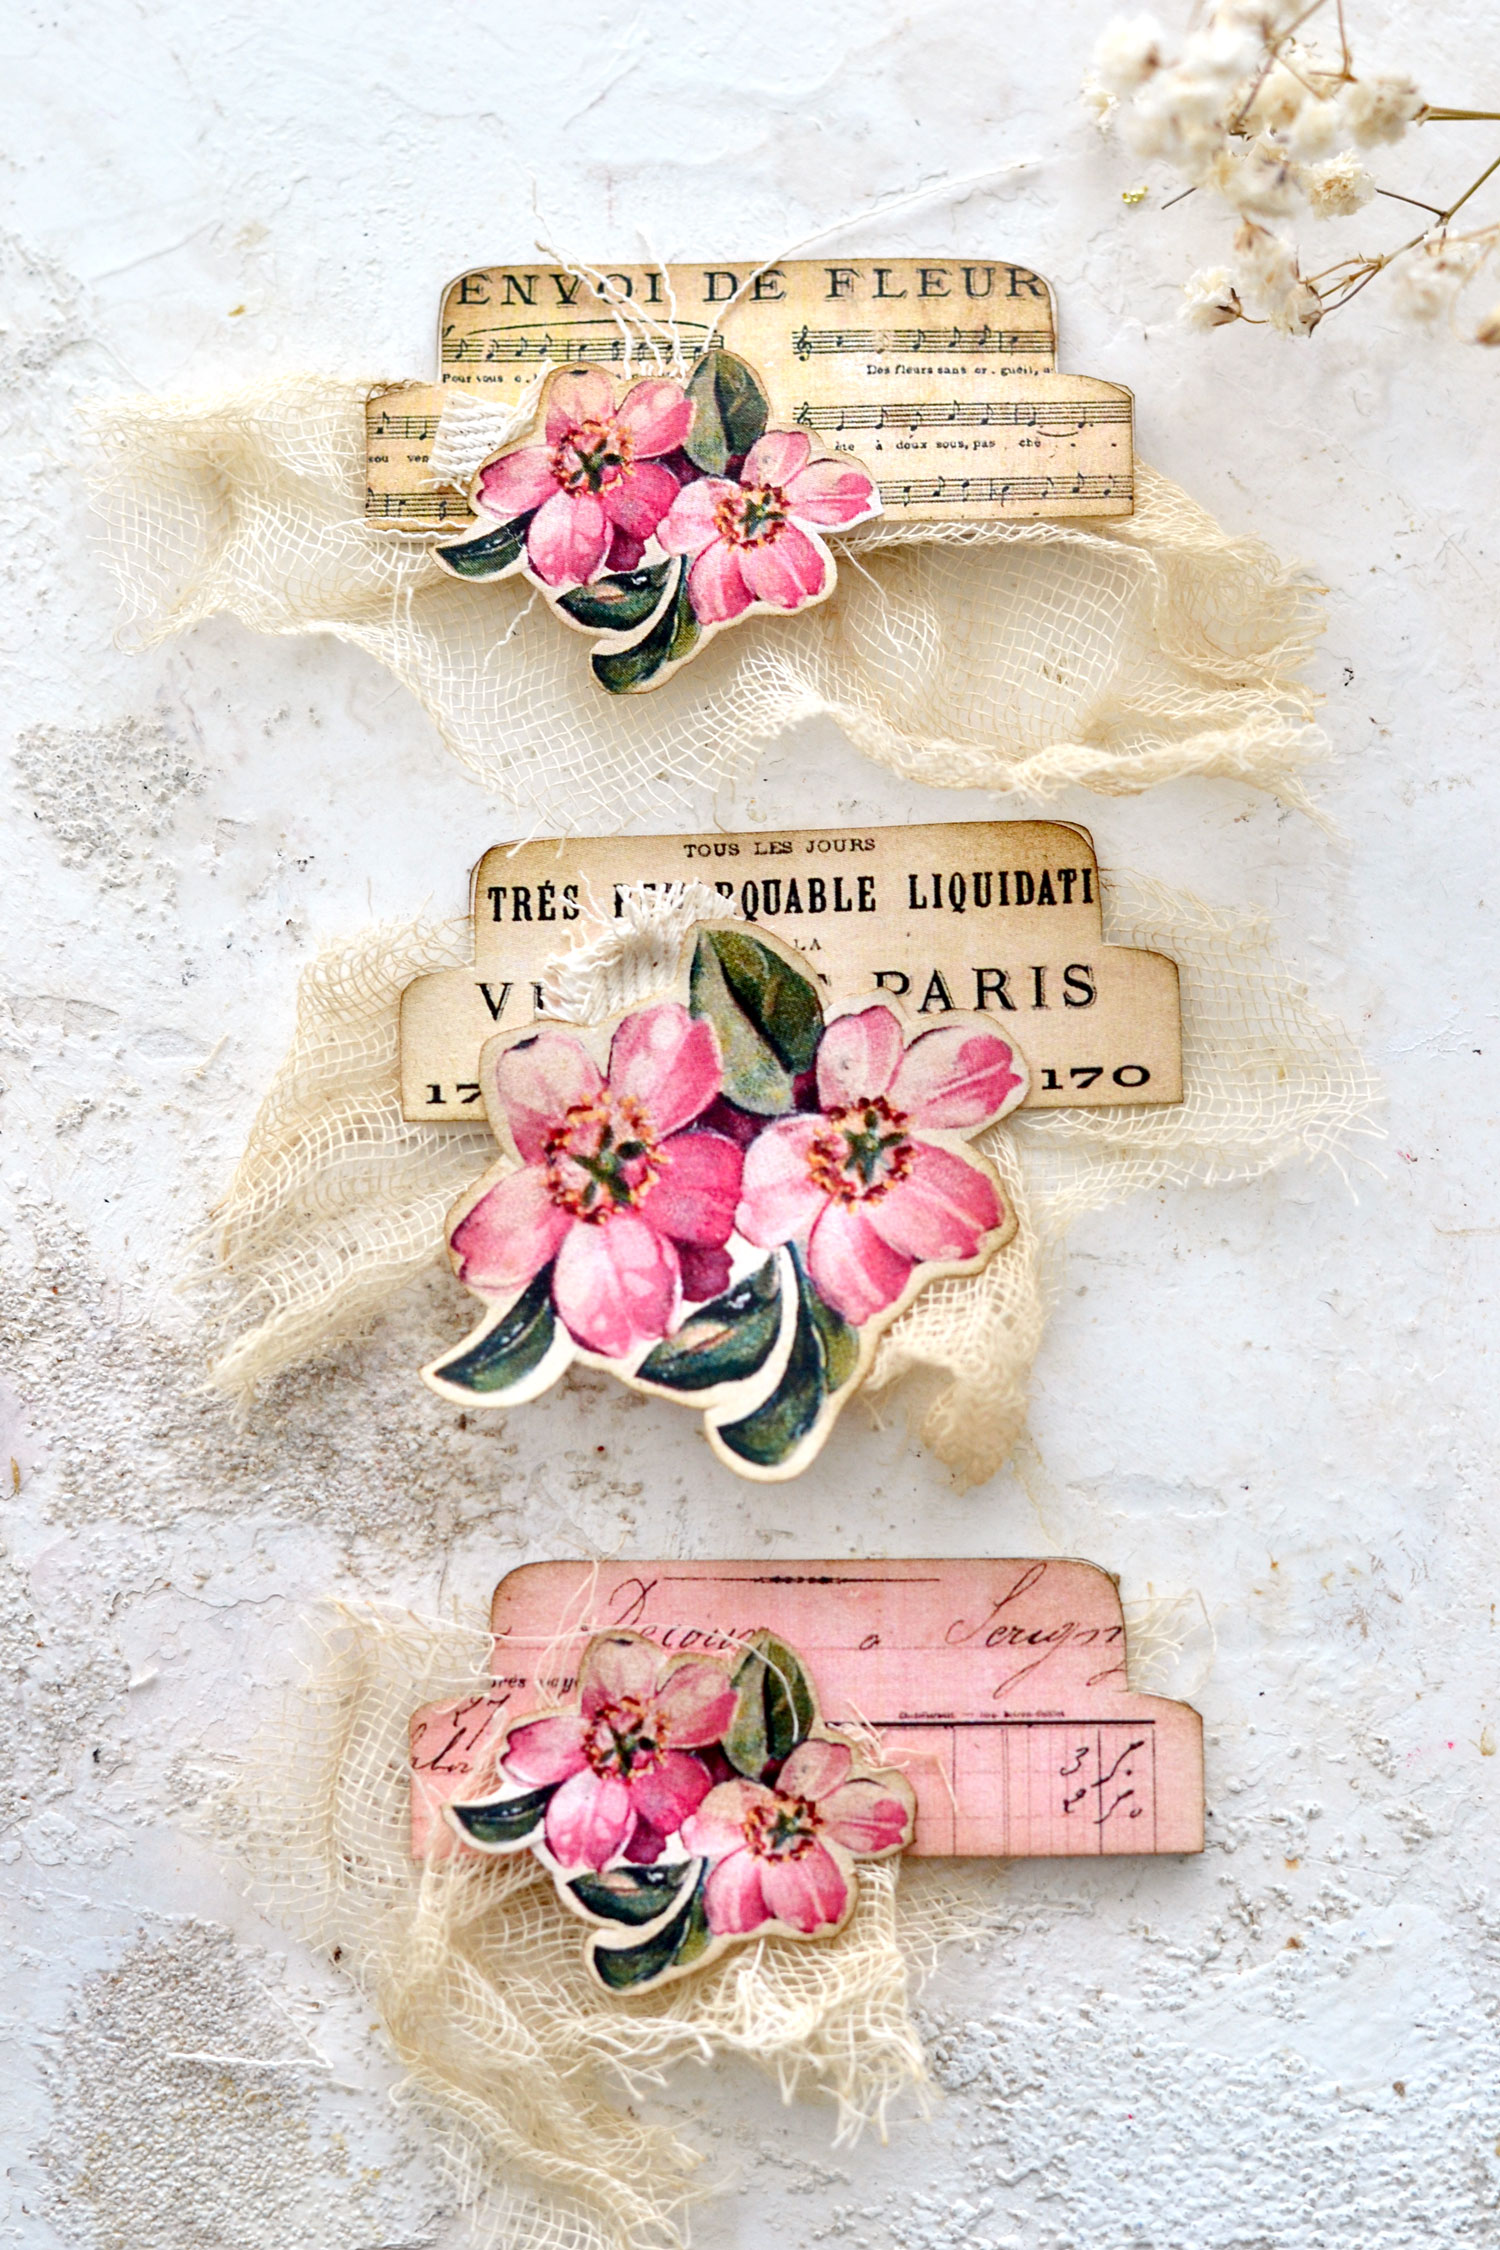
You can also add the pink flowers on top with or without a piece of additional gauze or scrap fabric.
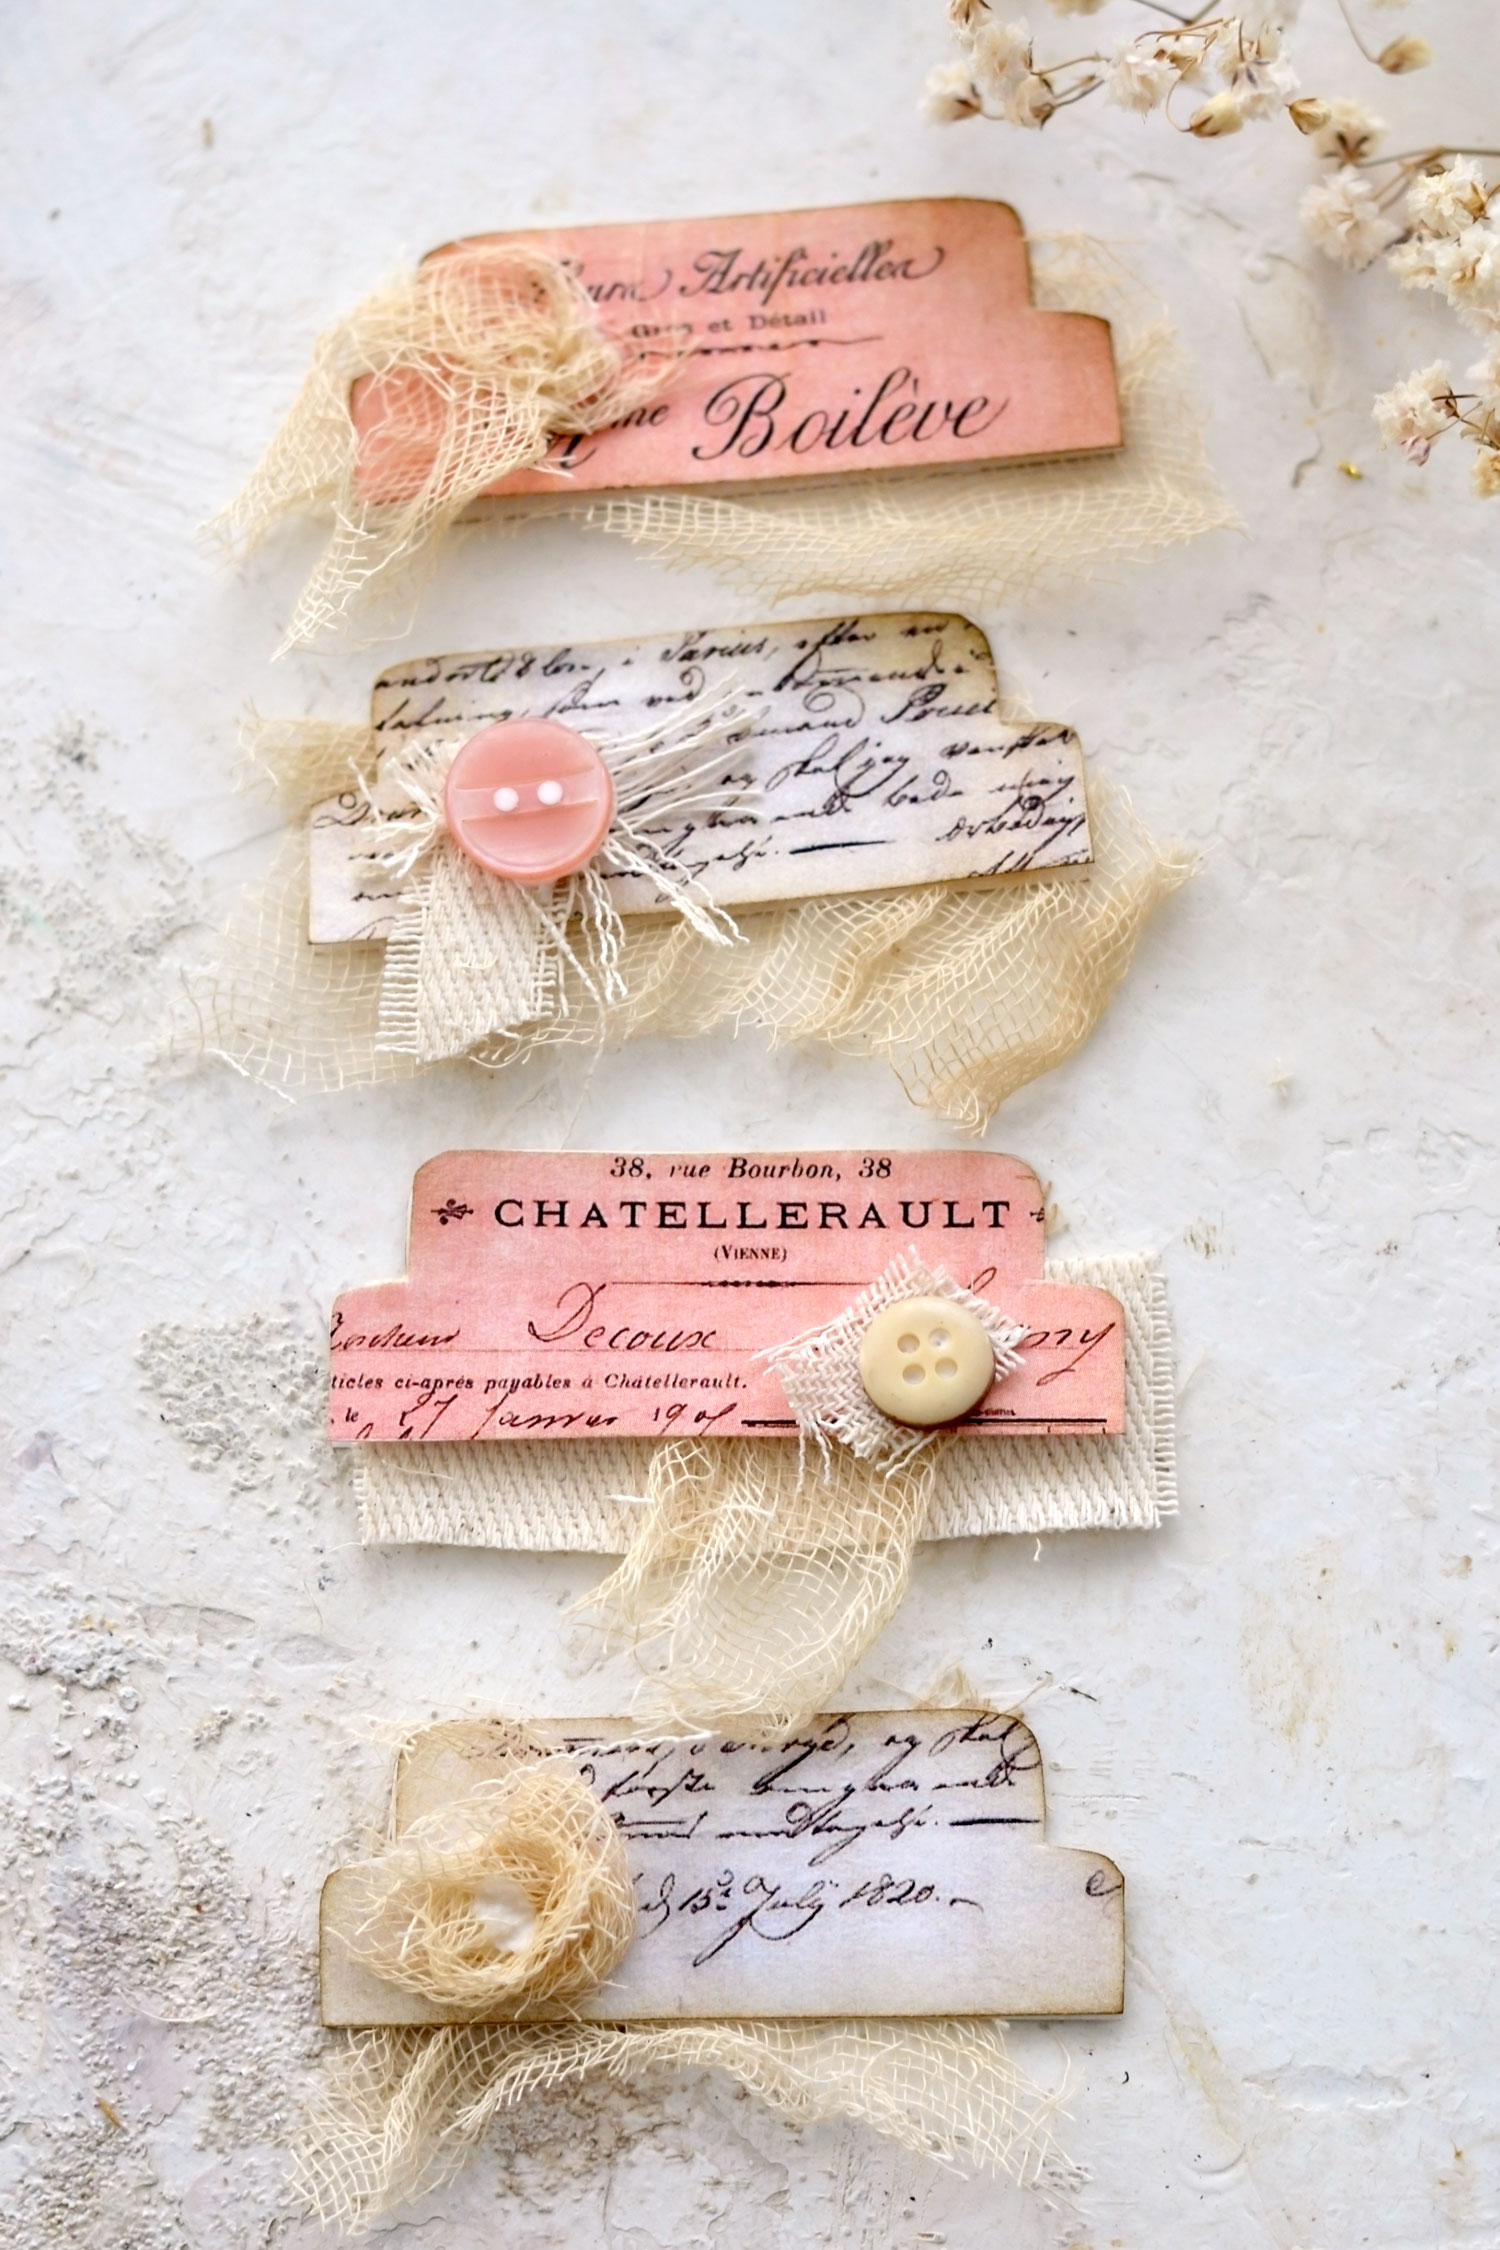
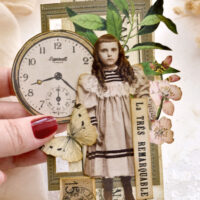
Have fun while assembling all the tabs, here we have the romantic pink ones with the cherry blossoms – they are really delicate and romantic.
In this group, we still have shades of pink and cream but without any flowers, so I would say they are quite delicate also but have a more universal feel.
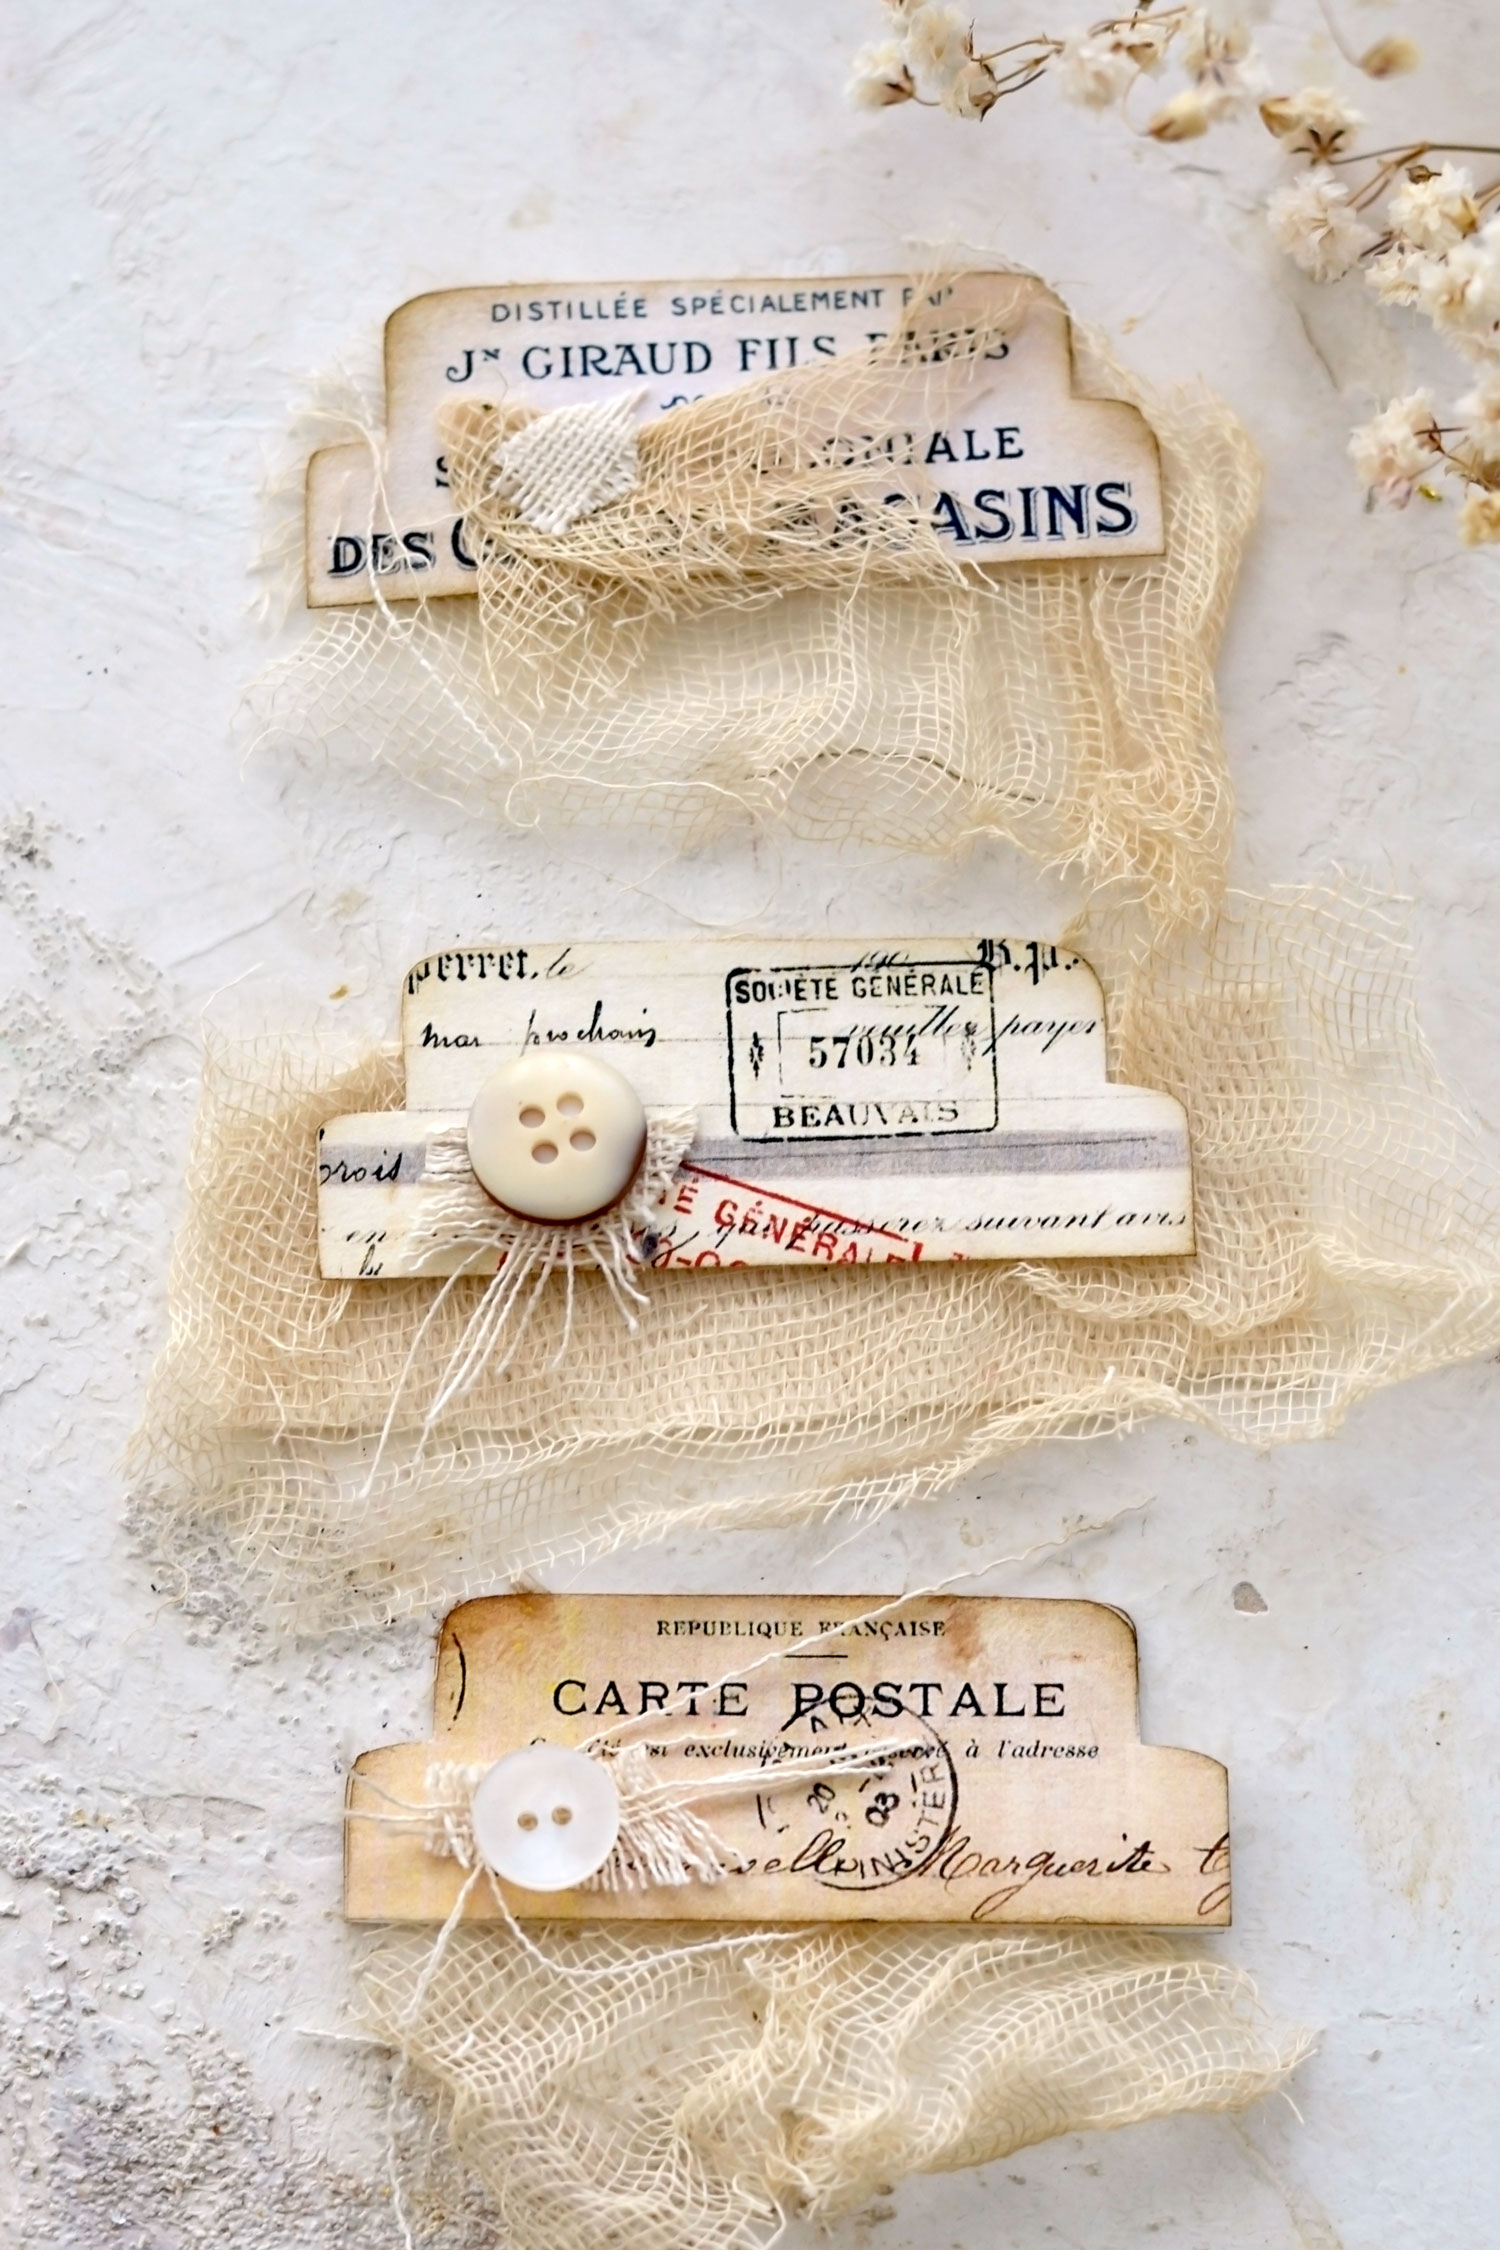
Next, we have the cream group which has a more neutral vibe – these can be included and adapted to soft pastel colors and really any other vintage colors.
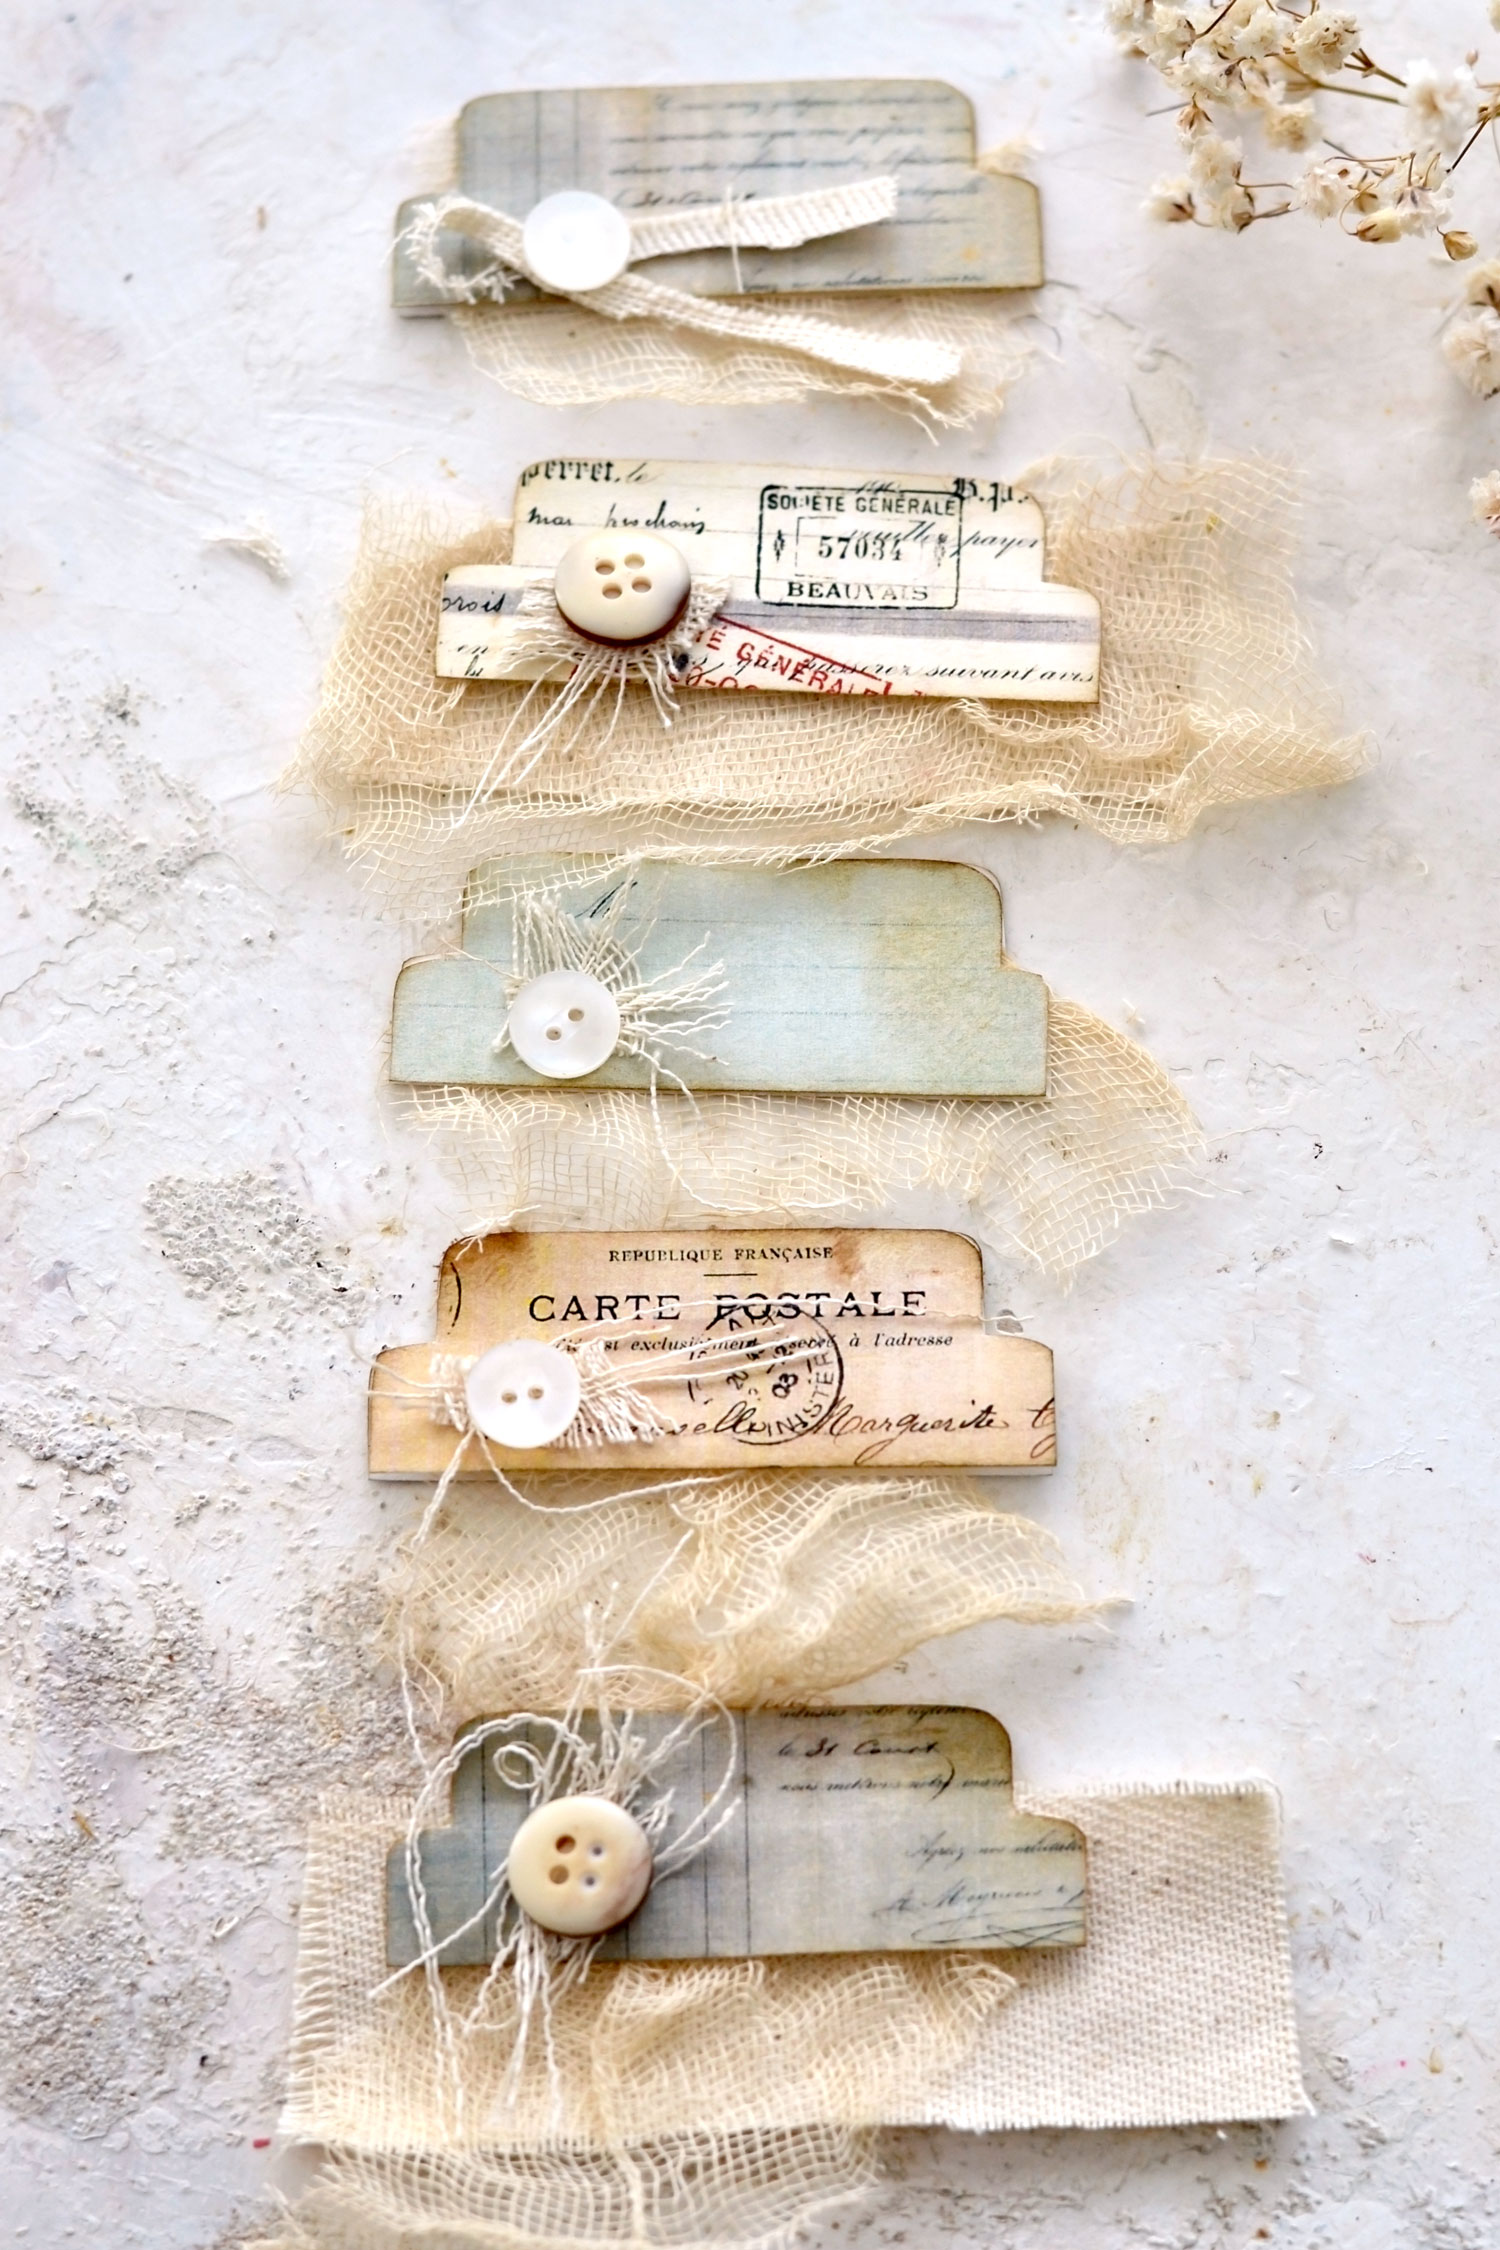
And finally, we have the green and cream group which I feel is the most “serious” one but also the most universal one. It has gorgeous muted colors and can be easily adapted to any need. And preferences.
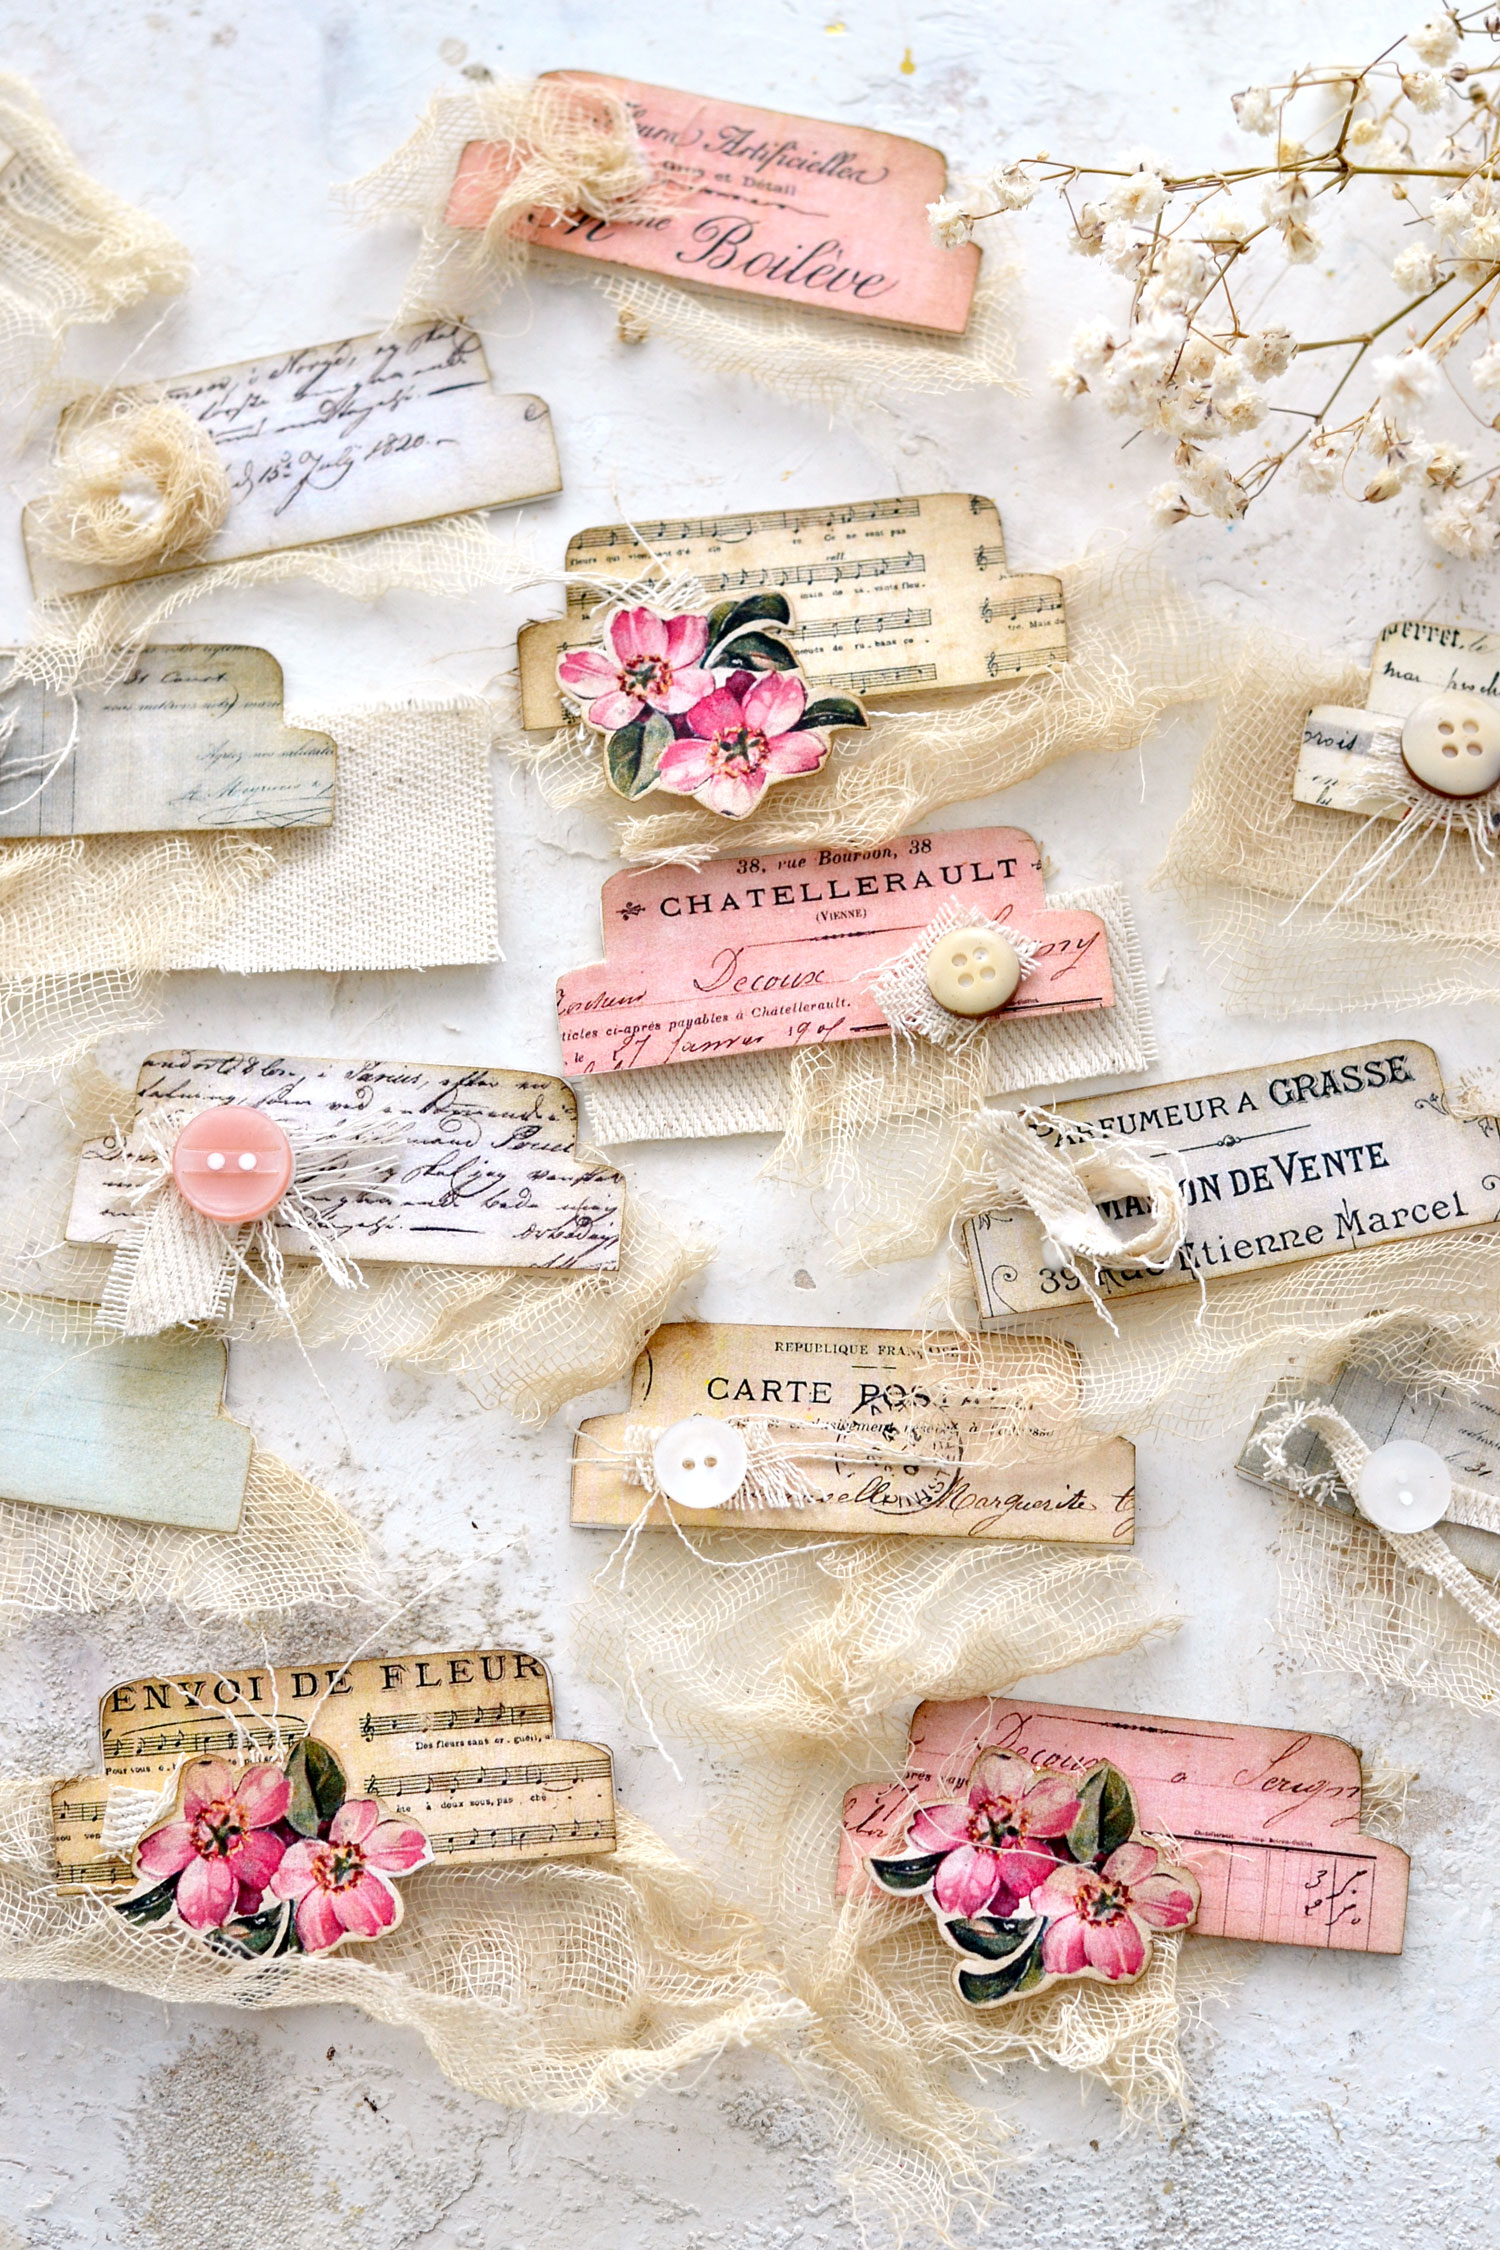
I used white pearl, cream and vintage pink buttons to embellish some of the tabs, depending on the inspiration at that moment. You don’t have to necessarily add buttons to all the tabs, you can leave some with only scrap pieces of fabric and some with only scrap pieces of gauze. You can add flowers to others or you can keep the flowers to use directly in your journal.
There are endless possibilities here, just make these beauties as you want. You will be the one using them in your journal, so the choice is all yours!
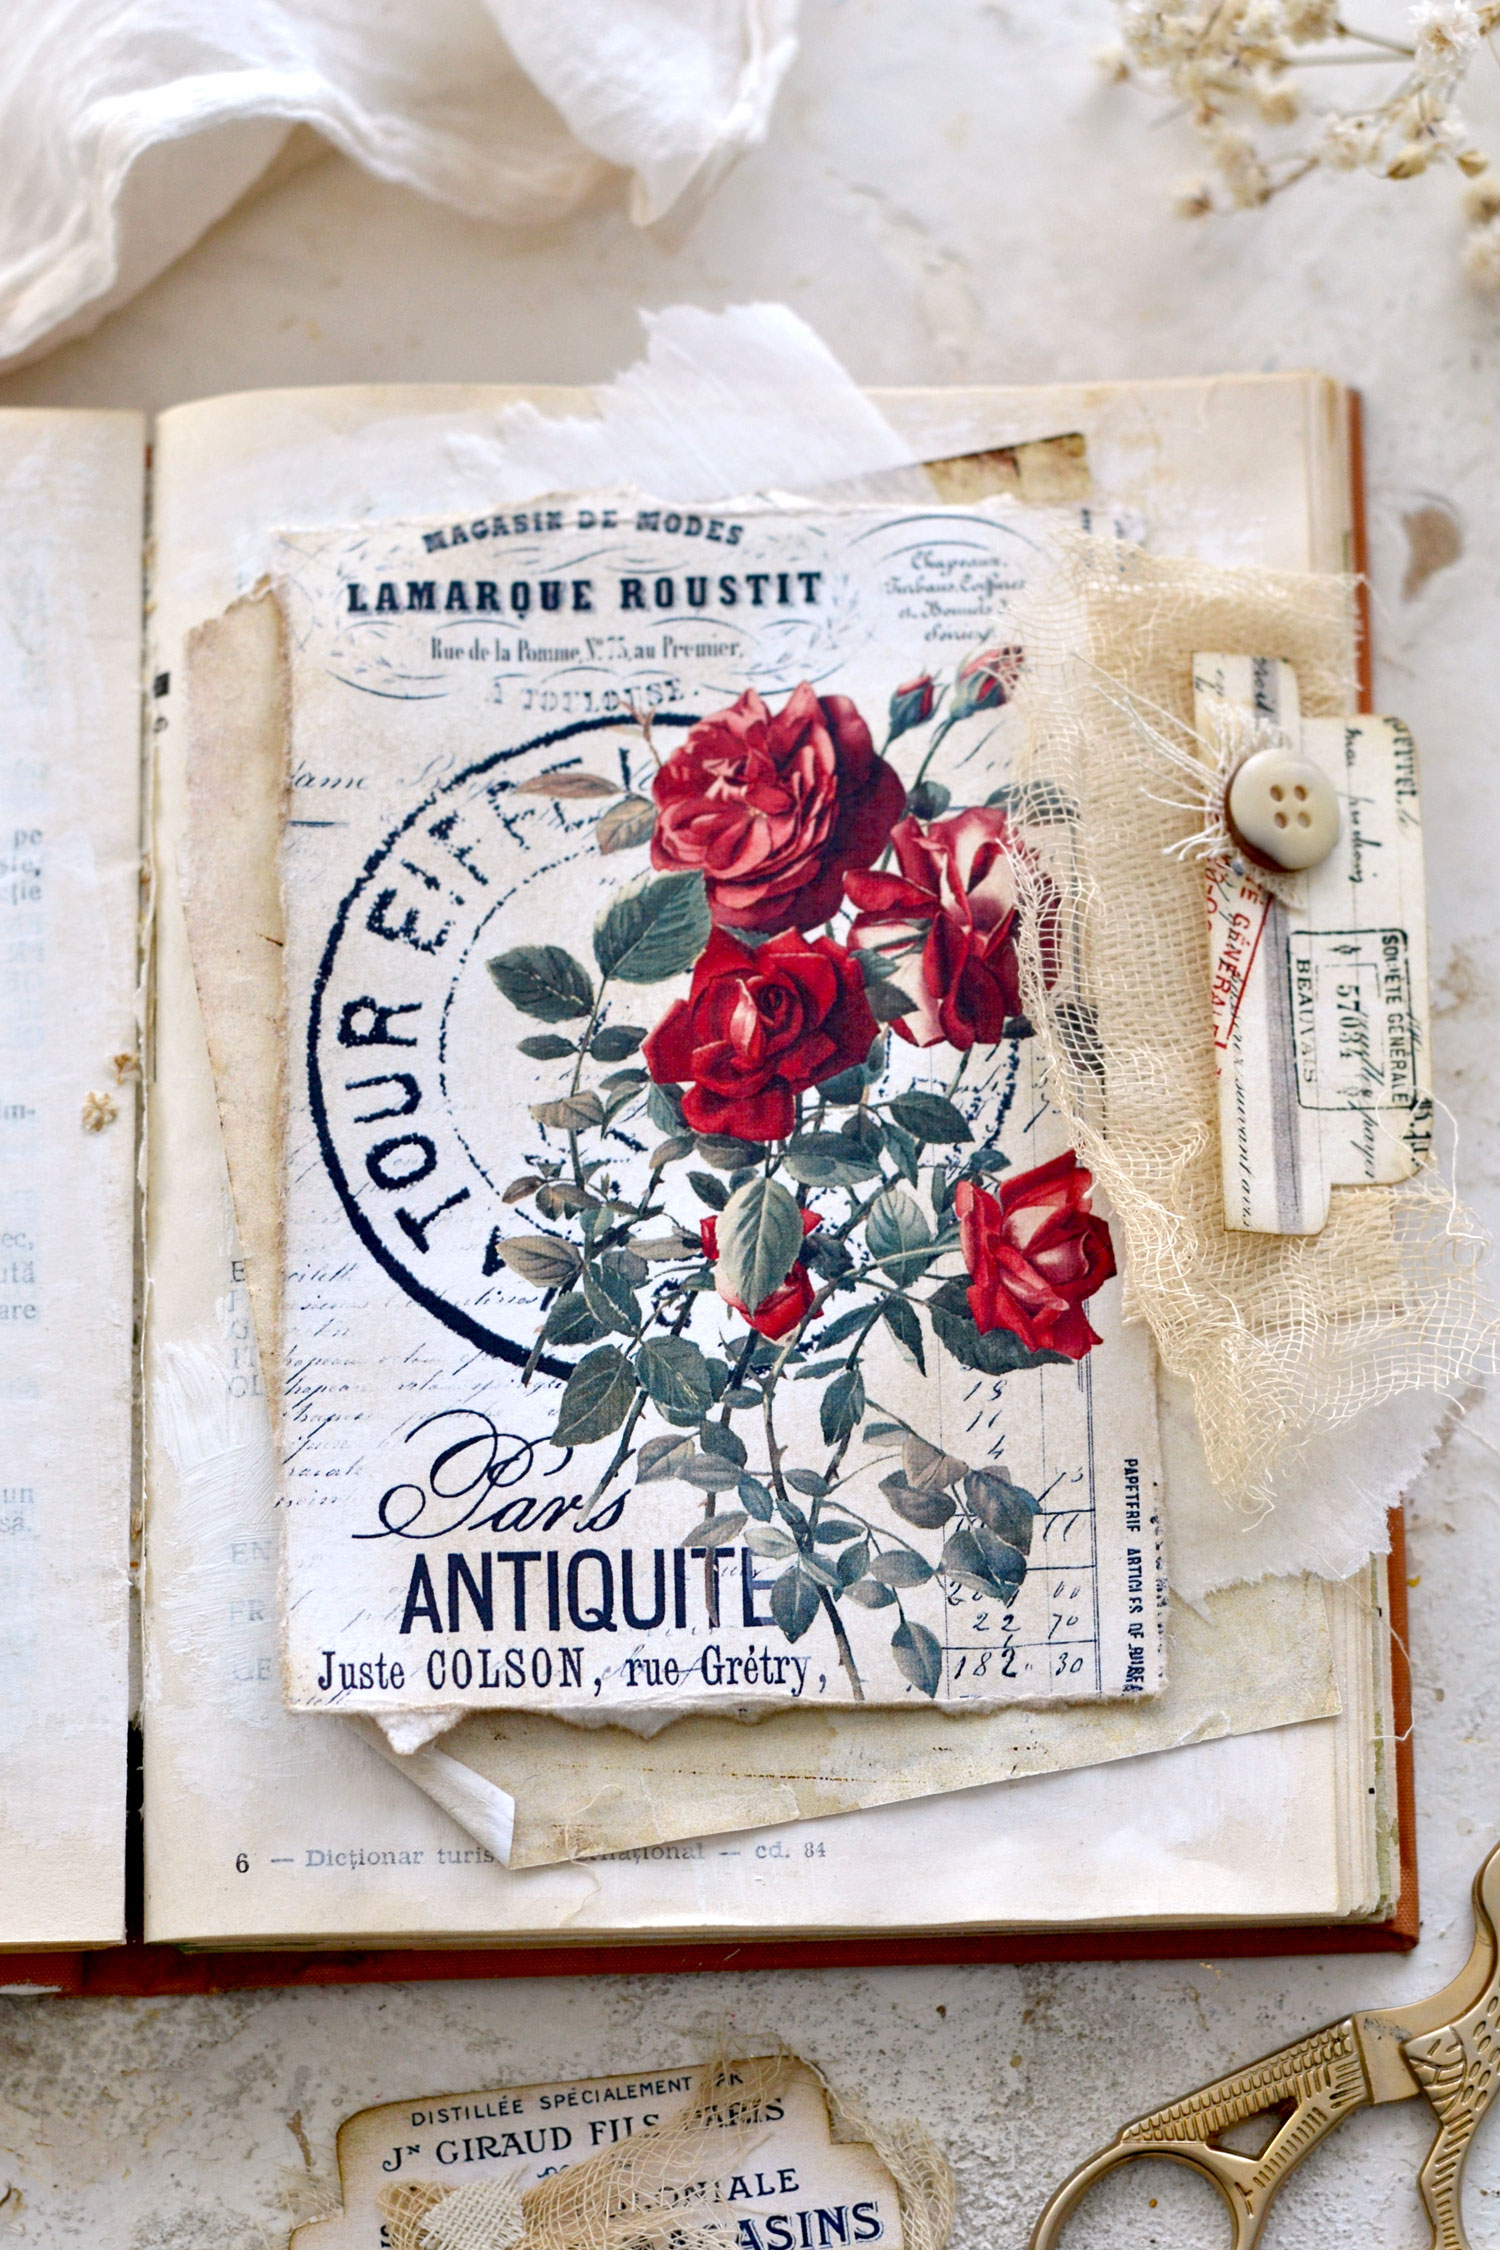
When you are ready to use them, just open them up and attach them to your pages using a little bit of glue. You can use cream tabs to decorate cream junk journal pages.
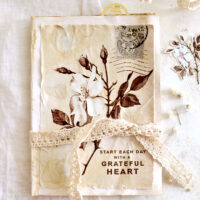
But you can also use a cream tab to decorate a colorful page.
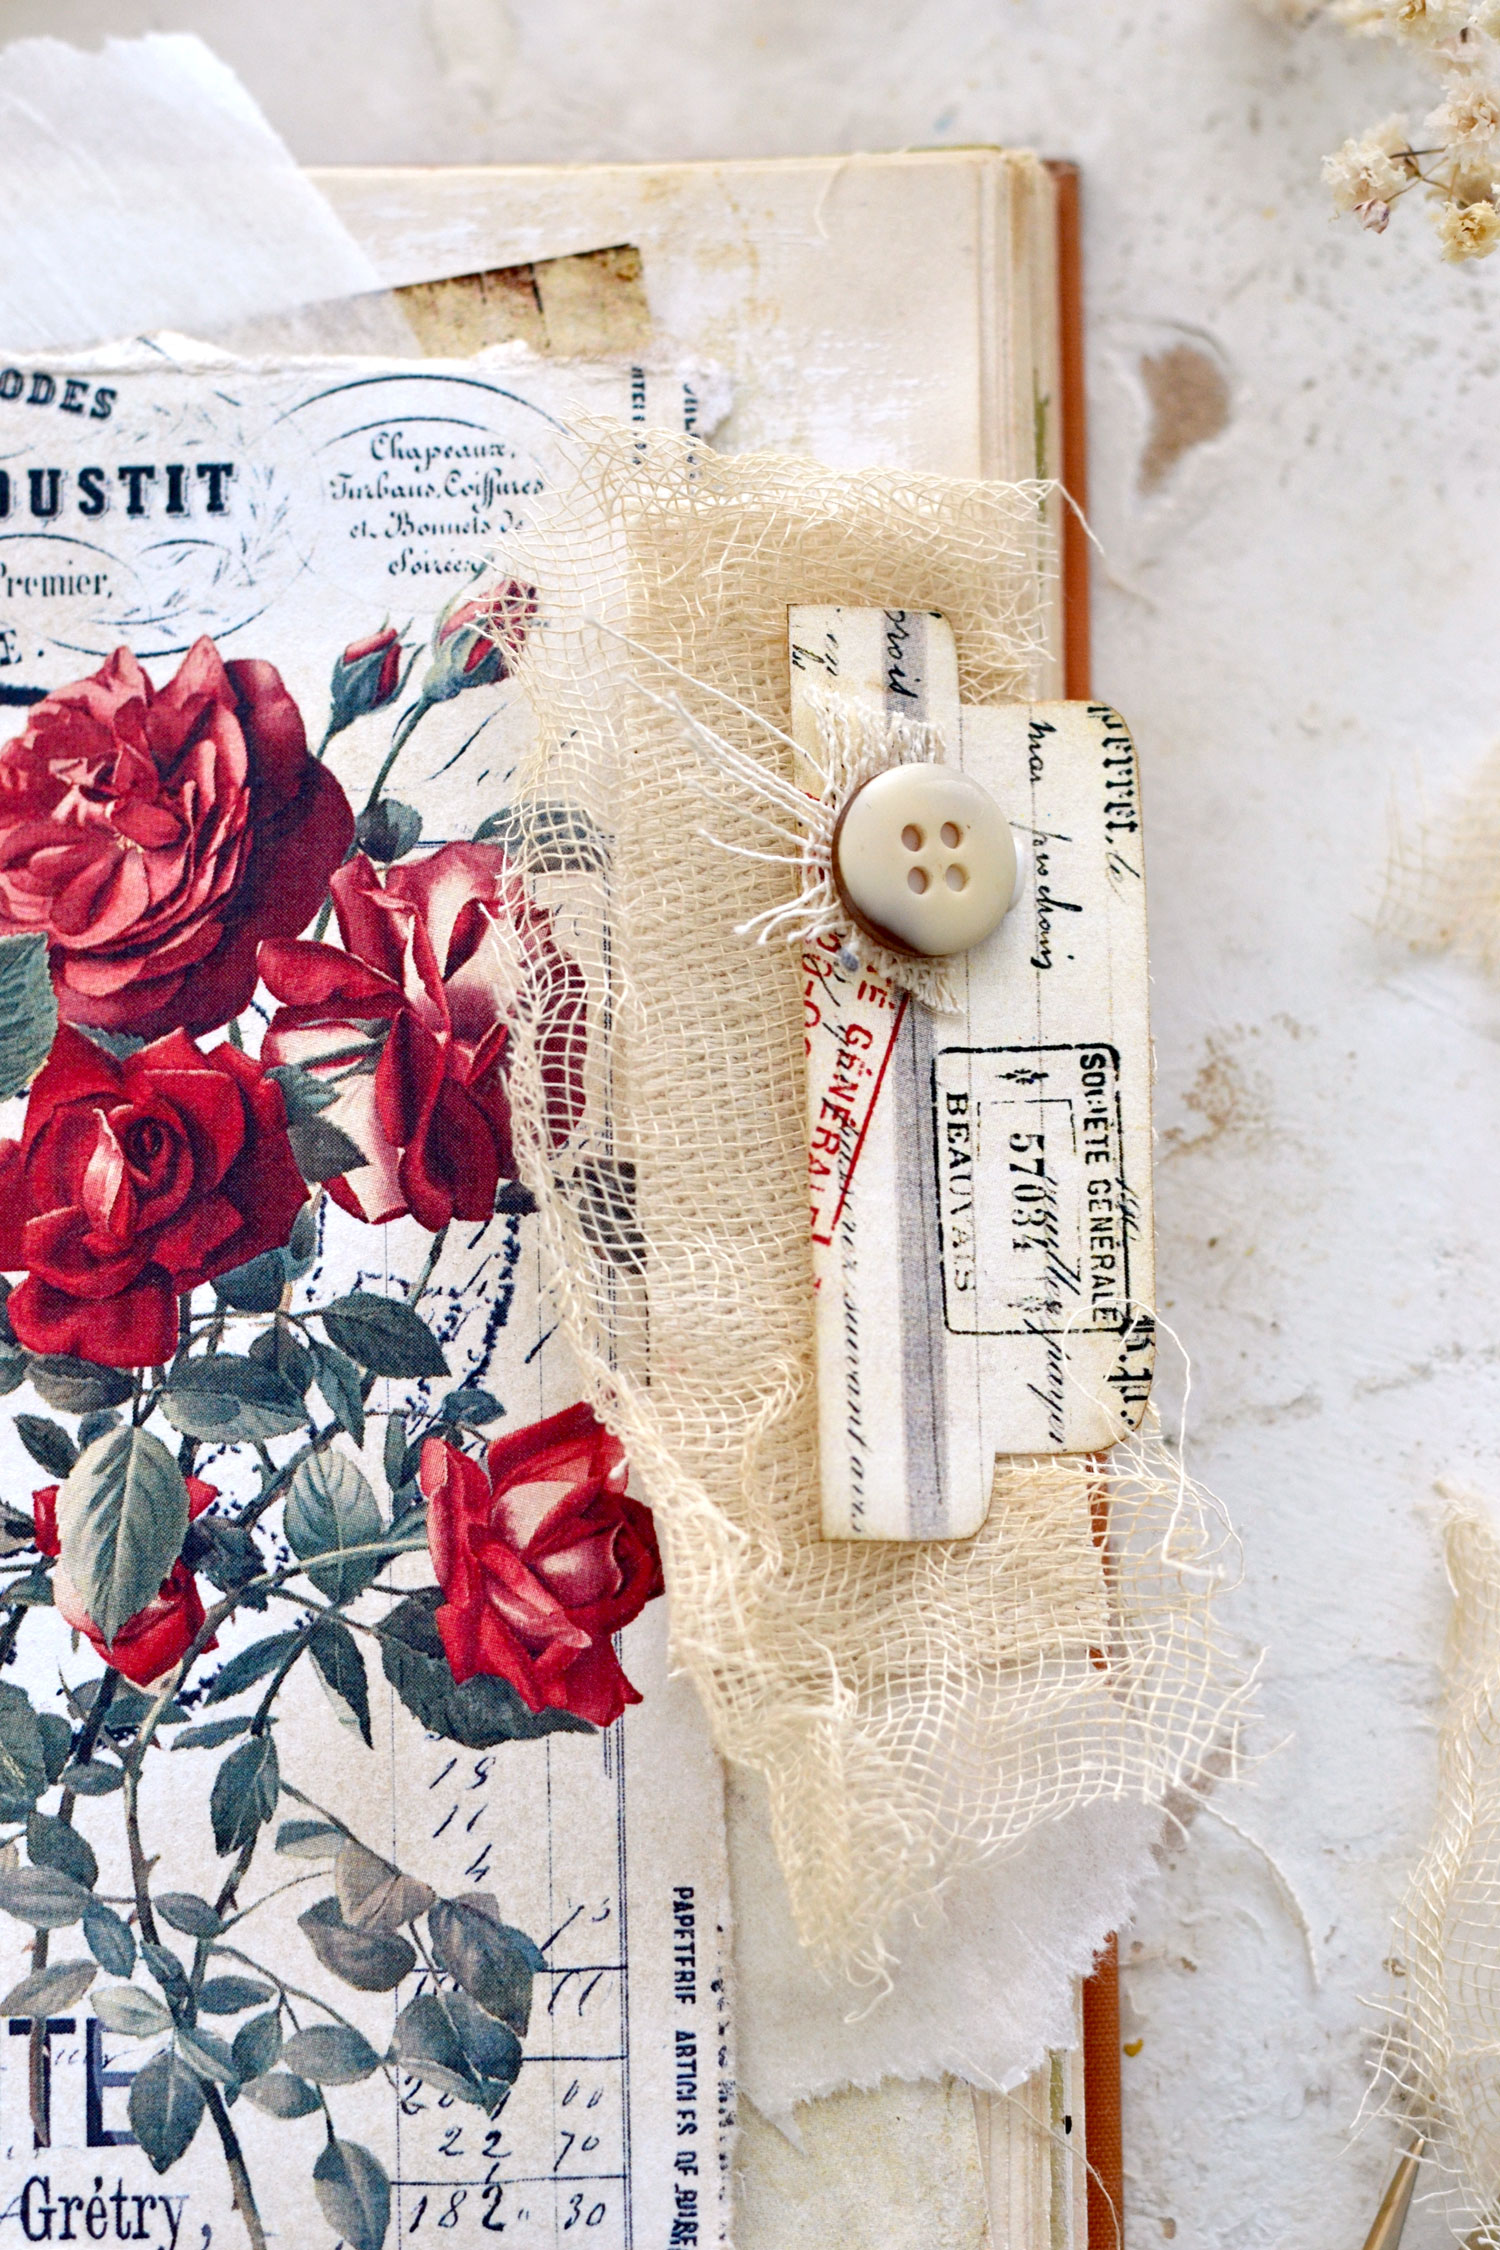
Don’t you just LOVE this red rose French collage? I designed this printable as part of a Photoshop Elements tutorial on the Premium Membership site, you can download it if you are a member. Did you know that you can also find me there, sharing my secrets for creating gorgeous digital collages? This one is part of a larger collage and is definitely one of my all-time favorites!
And here is the same red rose collage, but this time with a green junk journal tab. A match made in heaven, don’t you think?
You can mix and match things as you prefer and even use as many vintage tabs as you want – it’s your junk journal after all! To experiment even more, you can also add your own text using rectangular strips of paper on top of the tabs. And of course, you can add other embellishments too, this way you’ll be able to further personalize everything to your own liking. 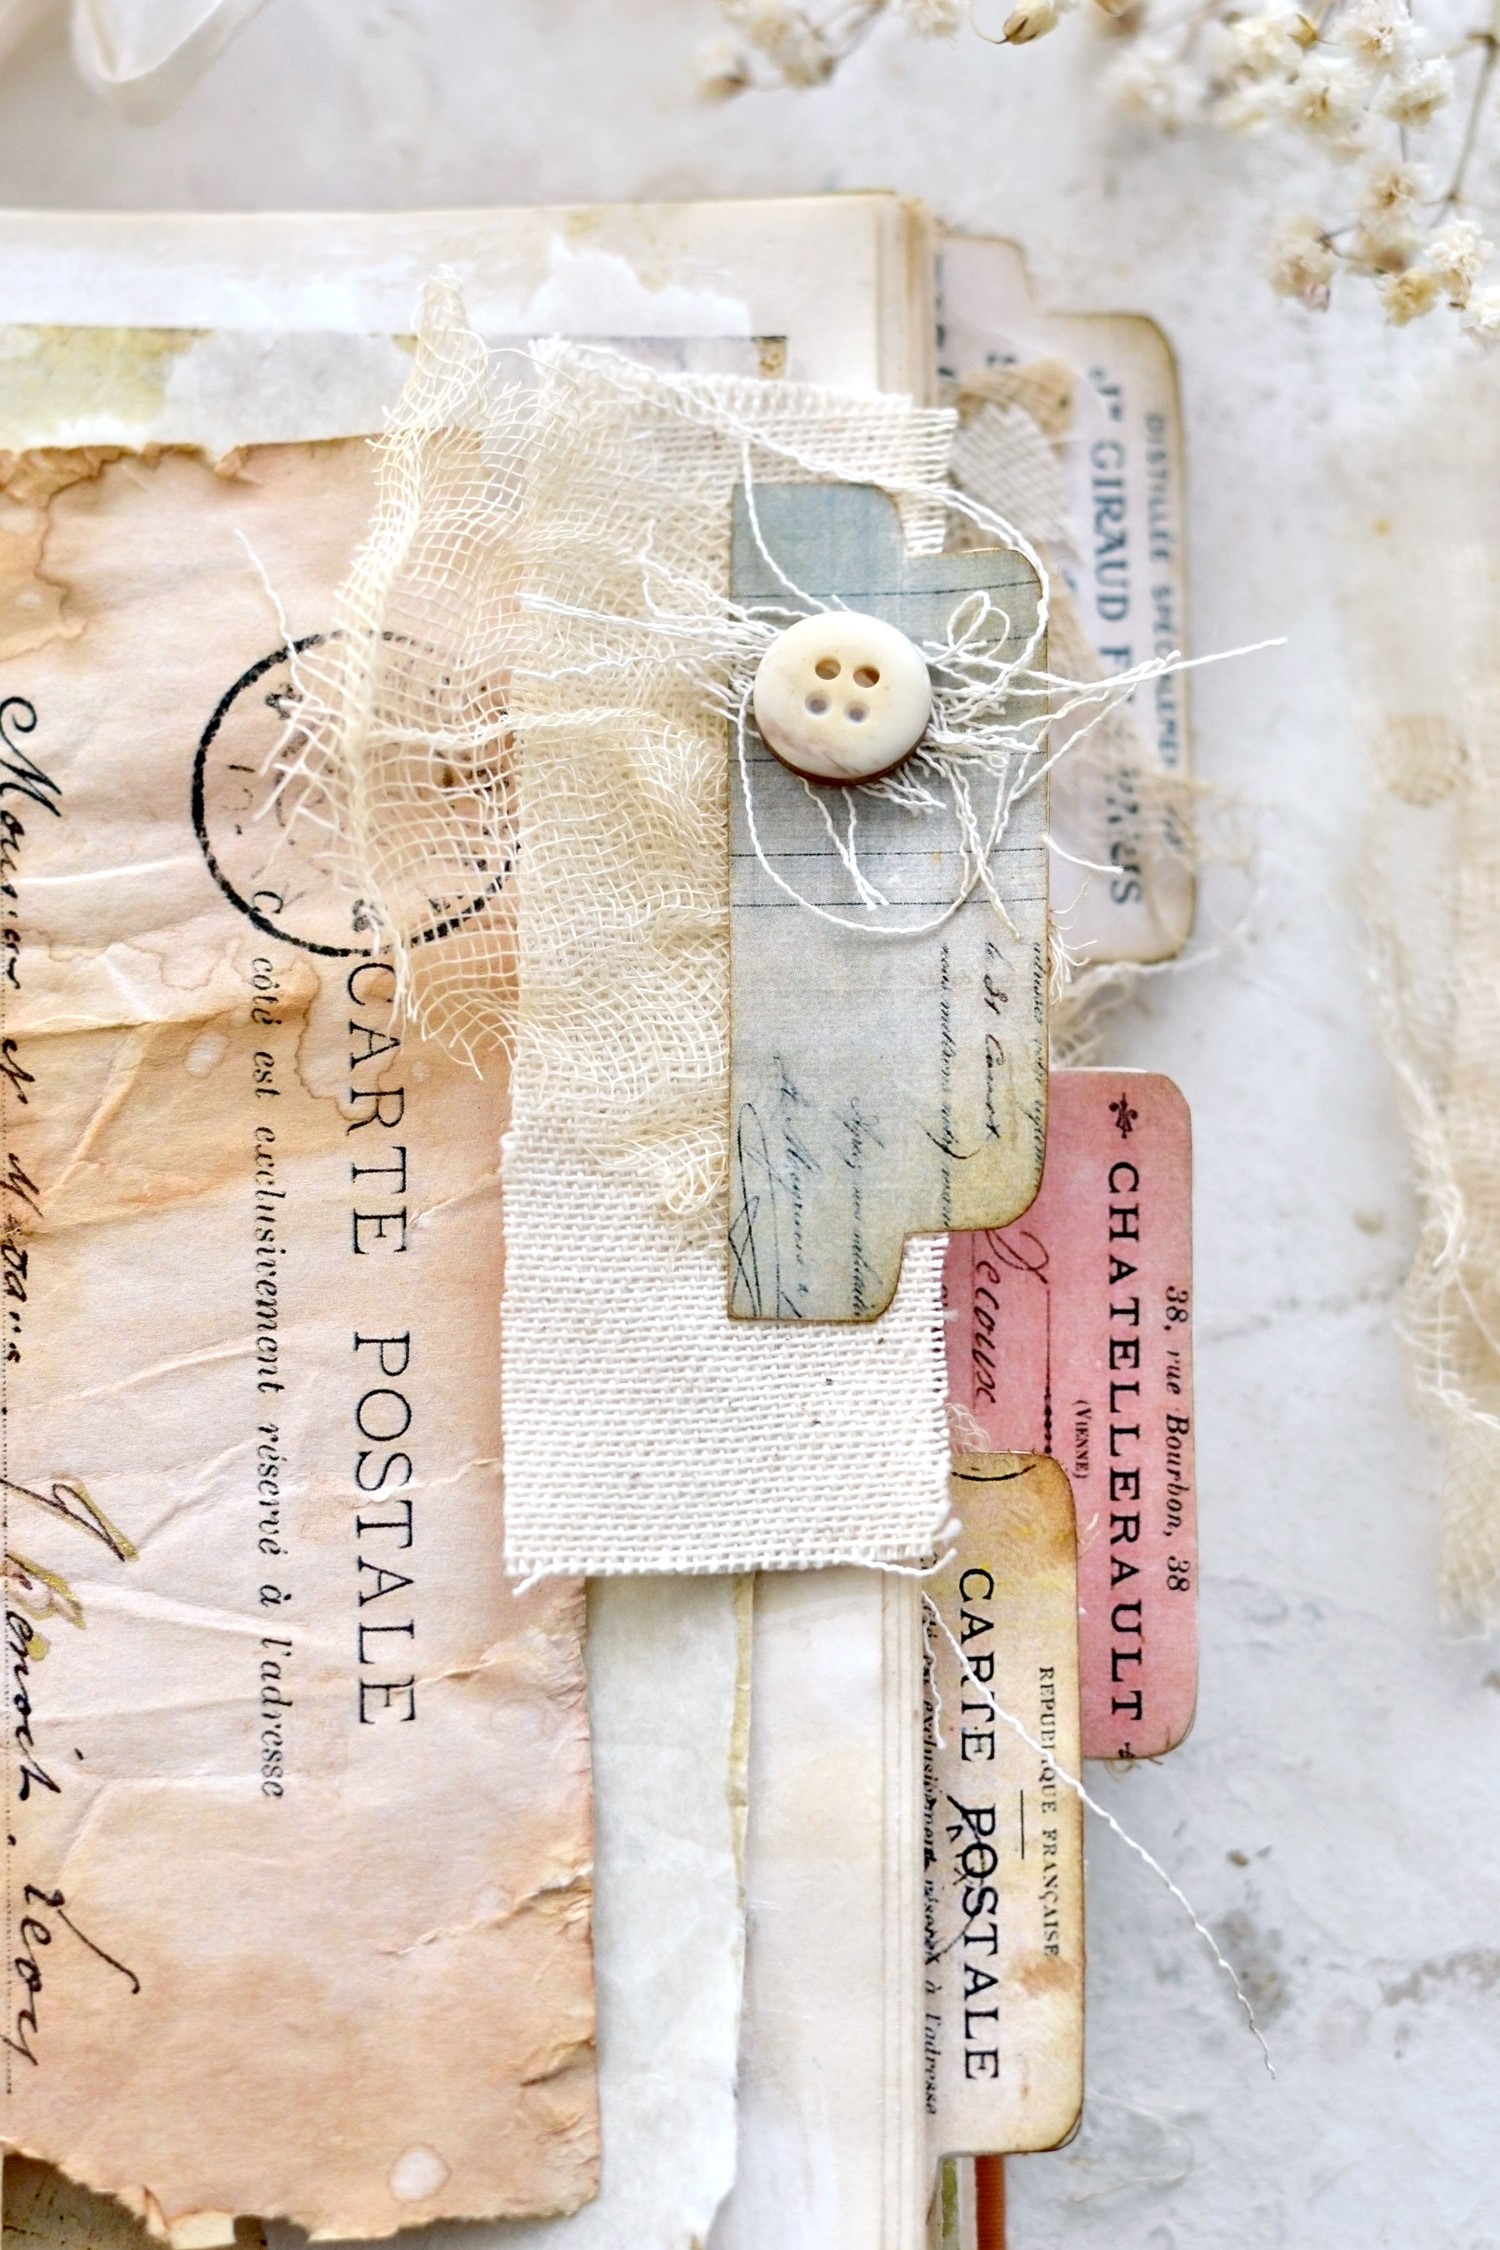
I’m over the moon in love with these beauties so I hope you will love them equally and decide to give this project a try! Making your own junk journal tab embellishments has never been easier!
 Video:
You might also like the video below by Lisa.
You can also find our Free Online Junk Journal Course HERE.
Happy crafting,
Diana | by Dreams Factory


Stephanie Adams says
These are gorgeous! Thank you so much for providing the printables and sharing the tutorial! Stef x
Karen Watson says
Have making these pretty pieces Stef!
Jessica Evans says
These are fabulous! I love the idea of placing the fabric in-between the tabs. Who would have thought it could make such an impact?!? Thank you so much for sharing. 💕
Karen Watson says
Have fun making Diana’s lovely tabs Jessica!
Belinda L Fitzgerald says
I love your freebies
Karen Watson says
We’re so glad you are enjoying the free printables Belinda!
Lavonda says
These are just beautiful! Who would have thought the lowly little tab could have such perfect, delicate impact?! I can’t wait to make some. Thanks so much!🙂👏❤️
Karen Watson says
Have fun making these pretty tabs Lavonda! 🌷
Jeri Aronowitz says
Thanks so much for the freebies. I just love the Paris Tabs. In the process of creating a craft room as soon as it is completed I am going to join the Premium membership. I can’t wait!
Karen Watson says
Thank you Jeri, I’m so glad you enjoyed this project! We look forward to having you join us as a member. 😊