DIY Shrinky Dink Charms
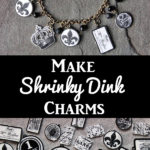
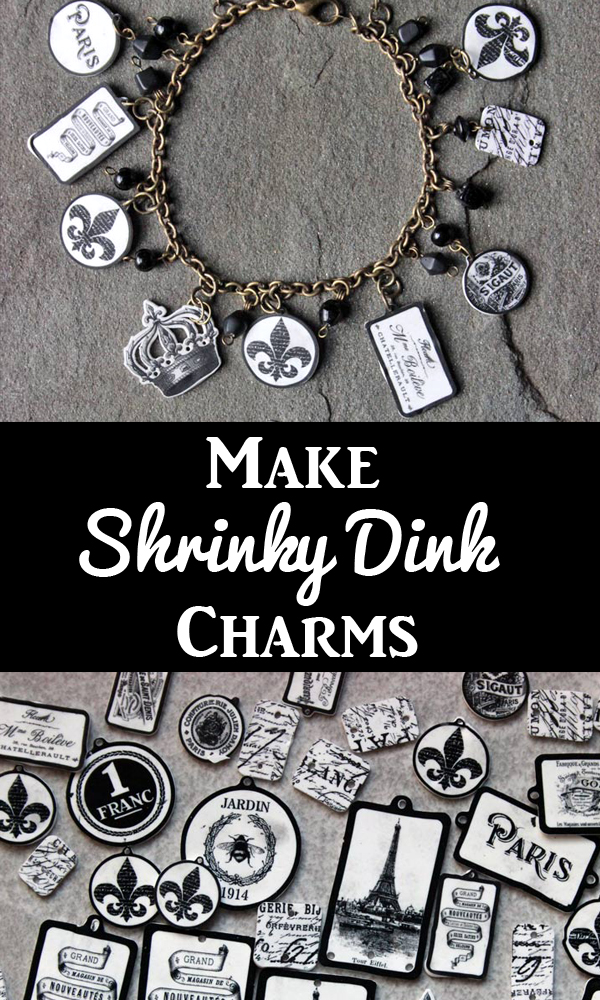
Hello there, my Graphics Fairy Friends – Heather from Thicketworks here with a charming project- DIY Shrinky Dink Charms – Paris Bracelet!
Like many of you, I dream of someday visiting Paris, rambling through Provence and collecting precious souvenirs along the way. Until that day arrives, why not celebrate my love of all things French with some simple and easy-to-make jewelry pieces?
For this project I selected some of my very favorite Graphics Fairy images:
French Transfer Printable – Ribbon Banner
Printable French Grain Sack – Wheat
Image Transfer Printable – French Franc
French Transfer Printable – Paris Typography
Transfer Printable – Fleur de Lis Crown
Free Clip Art – Vintage Eiffel Tower
French Typography – Flower Seller
French Transfer Printable – Fabrique Paris
If you would like to make some of these darling charms, follow along!
Free Printables DIY Shrinky Dink Charms
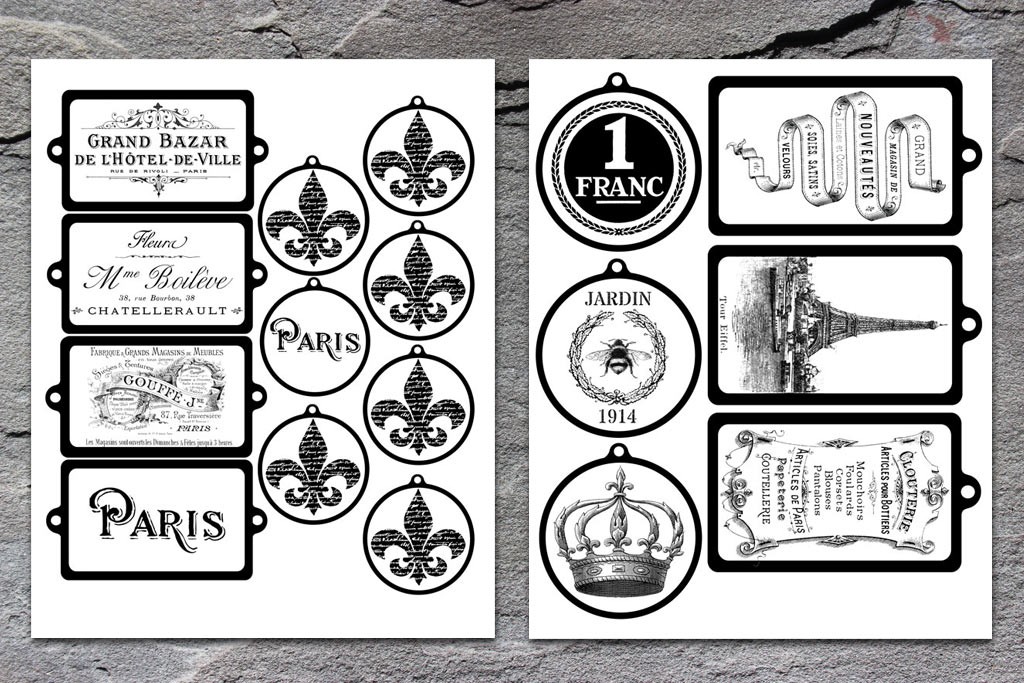
In order to simplify things for you, I’ve prepared PDF files of the images I used in this project. Feel free to download them by clicking on the image below:
Note: the files are sized to print correctly on 8” x 10” Shrinky Dinks, but they will work on 8.5” x 11” shrink plastic as well – just resize them slightly in Adobe Acrobat prior to printing.
DIY Shrinky Dink Charms Supplies:
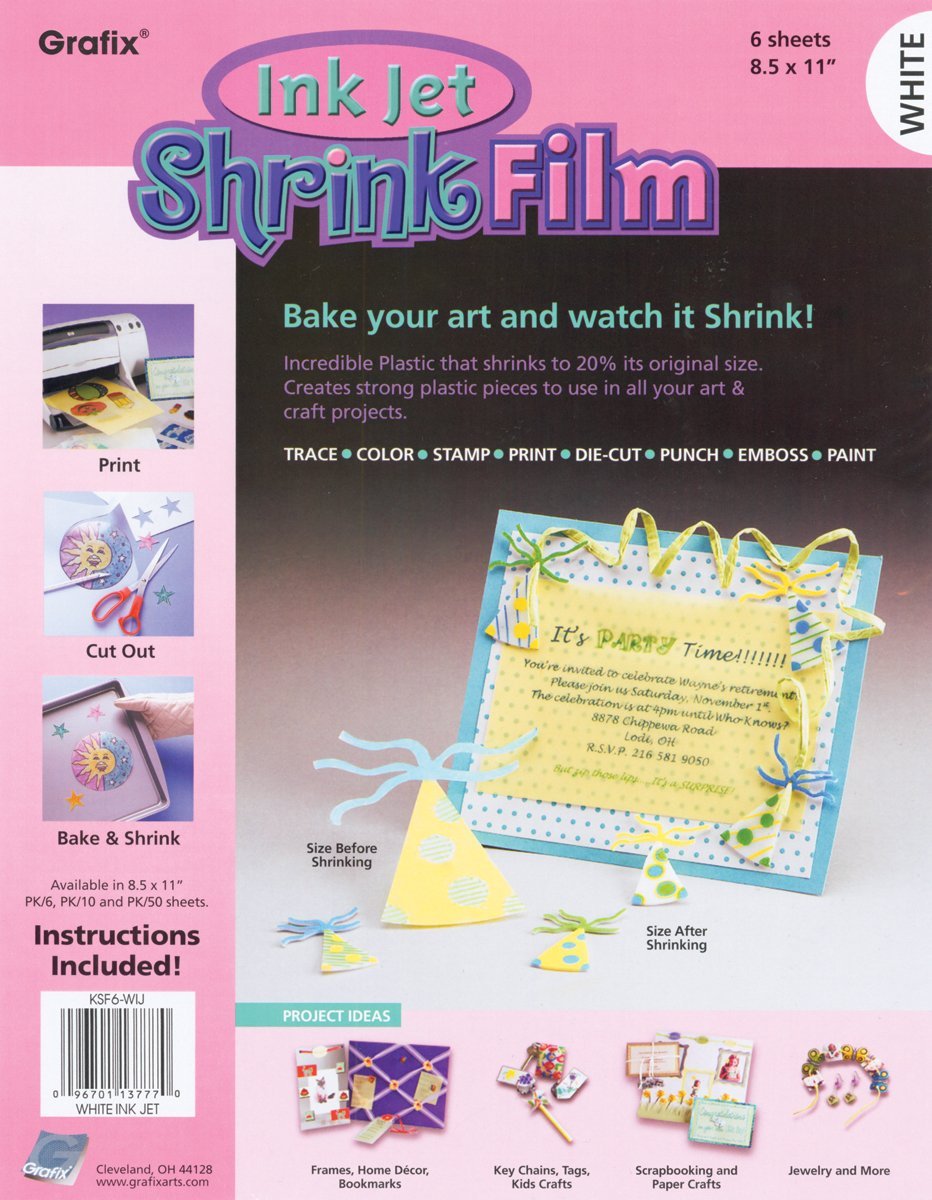
- Ink Jet compatible Shrink Plastic sheets (I used Shrinky Dinks 8″ x 10″ Printable Bright White)
- An ink jet printer
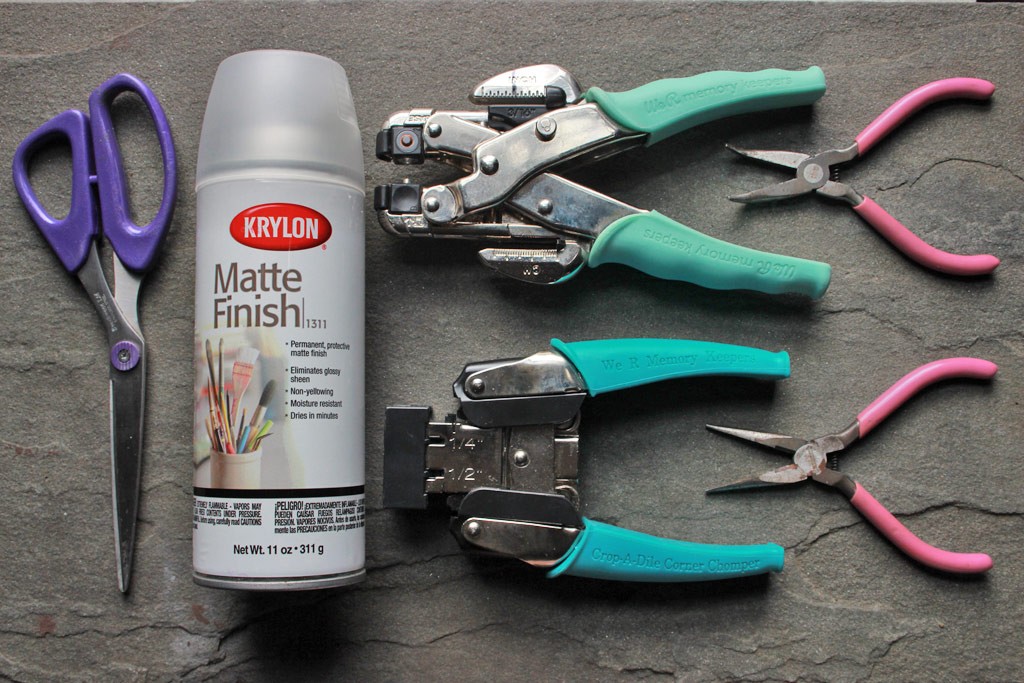
- Scissors (I used both full sized and cuticle scissors)
- A Hole Punch (I used a Crop-A-Dile)
- A corner-rounding tool helps (I used a Crop-A-Dial Corner Chomper)
- Krylon Matte Finish Spray
- A heat tool, or oven
- A work-surface that can stand up to high heat (I use a ceramic tile)
- Tweezers are helpful
- An acrylic block helps to flatten the charms once they have shrunk
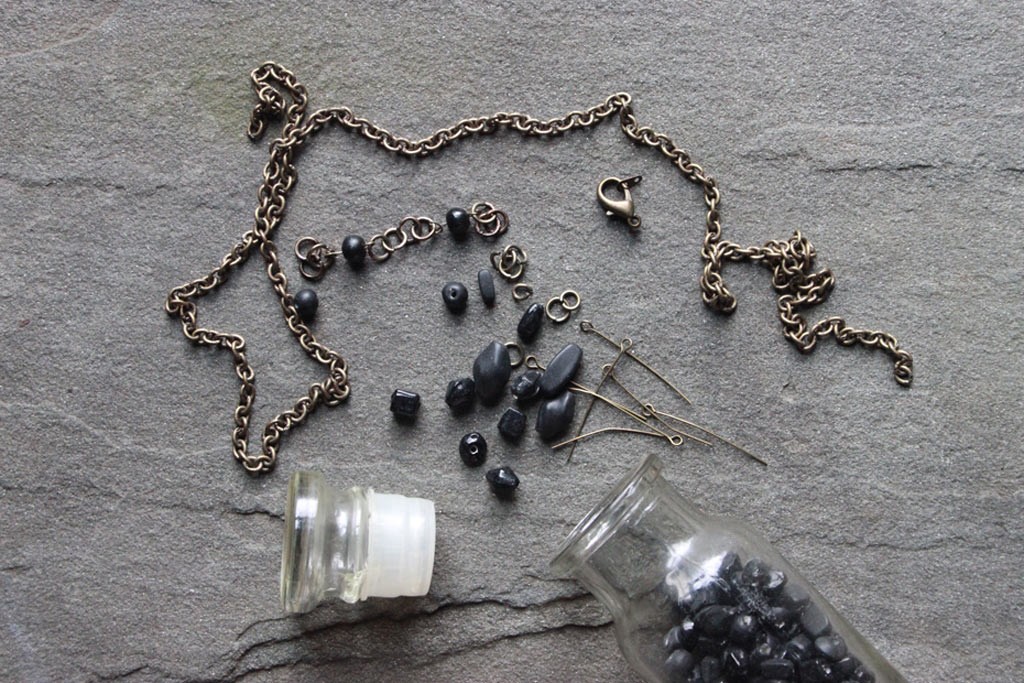
- Assorted jewelry findings: jump rings, chain, eye-pins, beads, clasps
- Needle-Nosed pliers
Optional:
- A suitable rubber stamp (I used the Stampers Anonymous “Papillon” stamp by Tim Holtz)
- Ranger Archival Ink pad in “Jet Black”
How-to do:
1. Print your chosen images onto the shrink plastic according to the instructions on the package: each brand is slightly different.
Note: I printed 6 sheets for this entire project – make fewer or more, depending on your needs. I’m greedy and love to make hundreds of things at once. I’m sure you’re much more reasonable in your crafting habits!
2. Allow the prints to dry thoroughly. Mine were ready in just a few minutes.
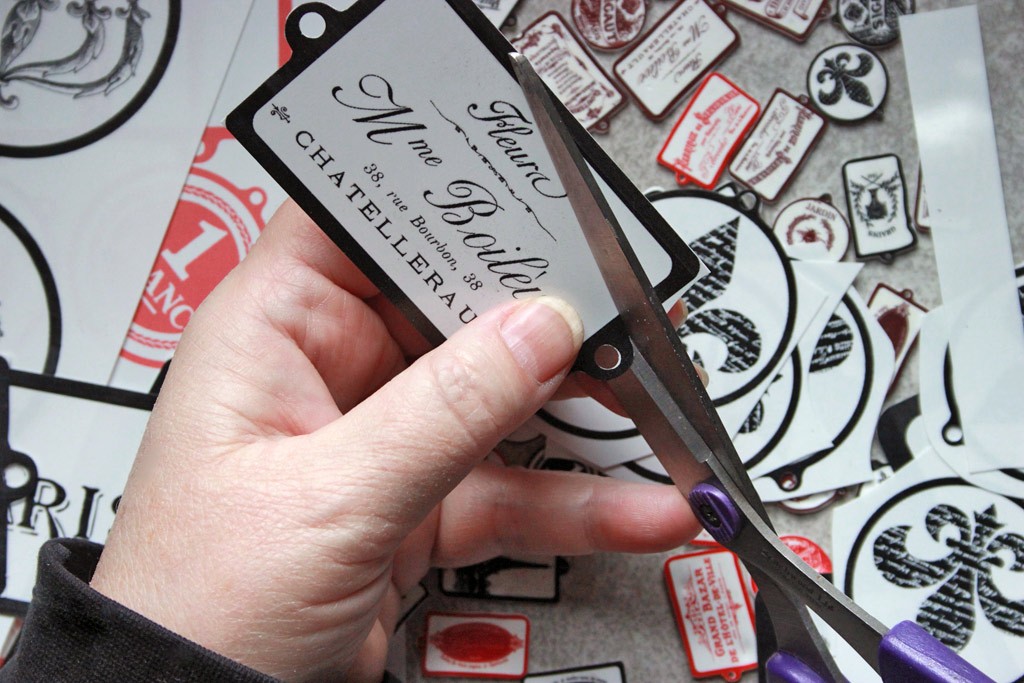
3. Settle in for a fussy-cutting session! I love to put on music and dream away whilst cutting…
4. Make certain to punch holes to dangle the charms from!
5. Round the corners of each charm – the sharpness will be exacerbated by the shrinking process.
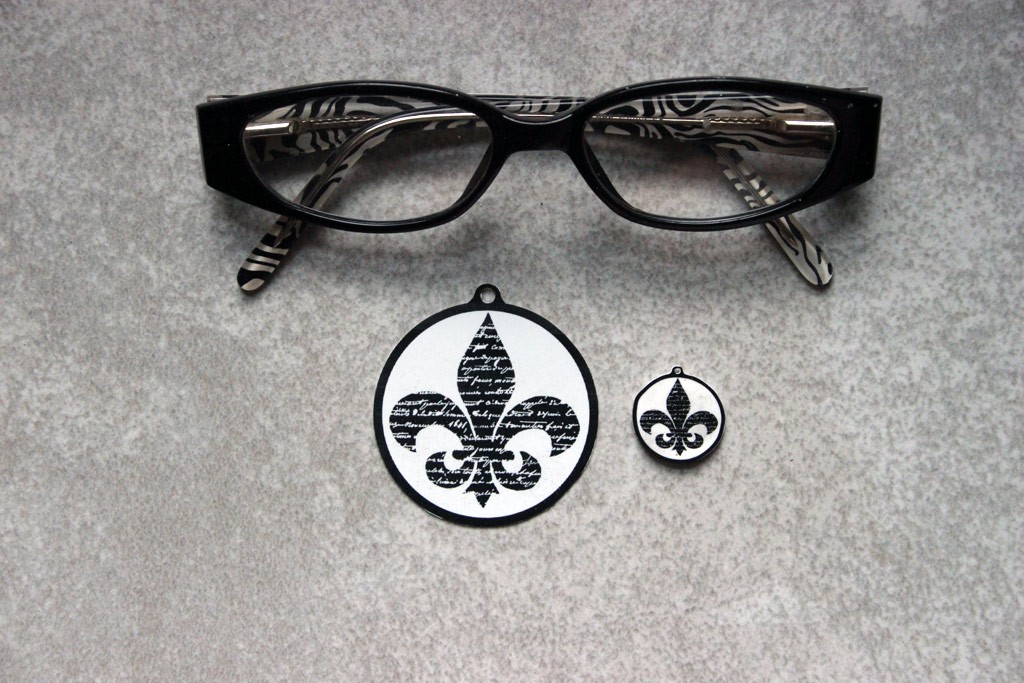
I like to create one charm that is more elaborate than the rest – cuticle scissors help:
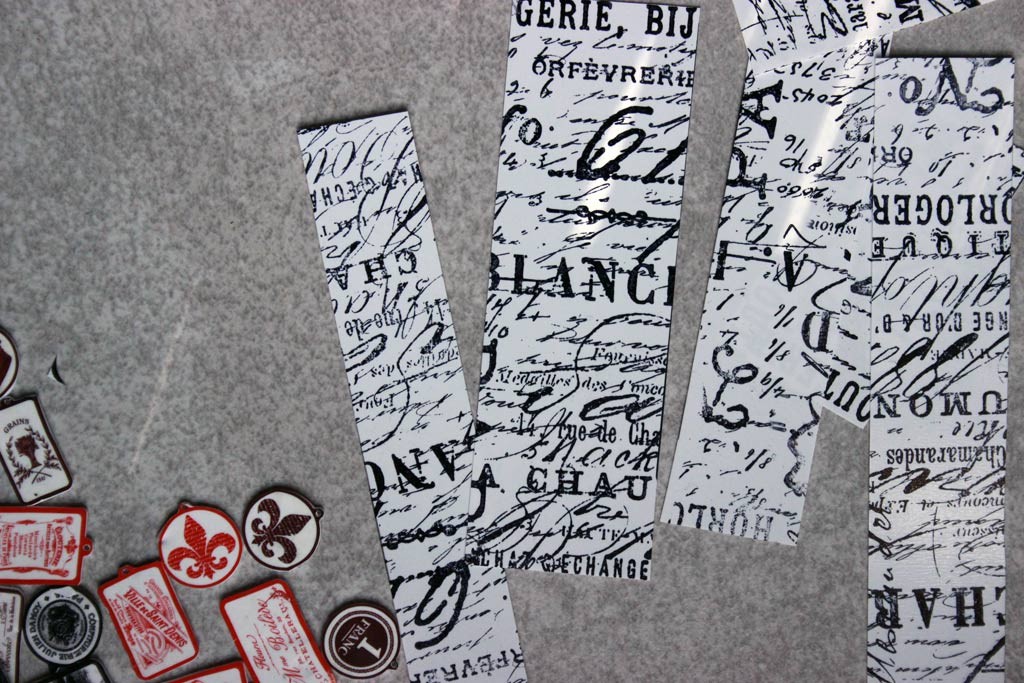
6. Cut the left over scraps of shrink plastic into regular shapes and stamp them with your favorite rubber stamp.
7. When the ink has dried, cut the scraps into squares and rectangles, then hole-punch them and round all the corners.
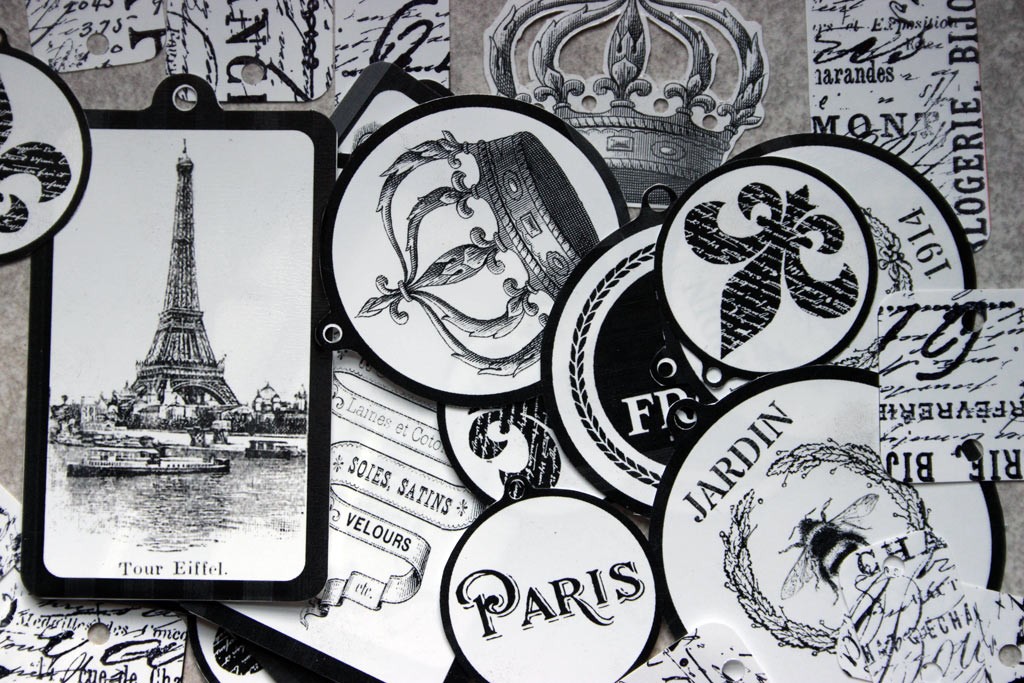
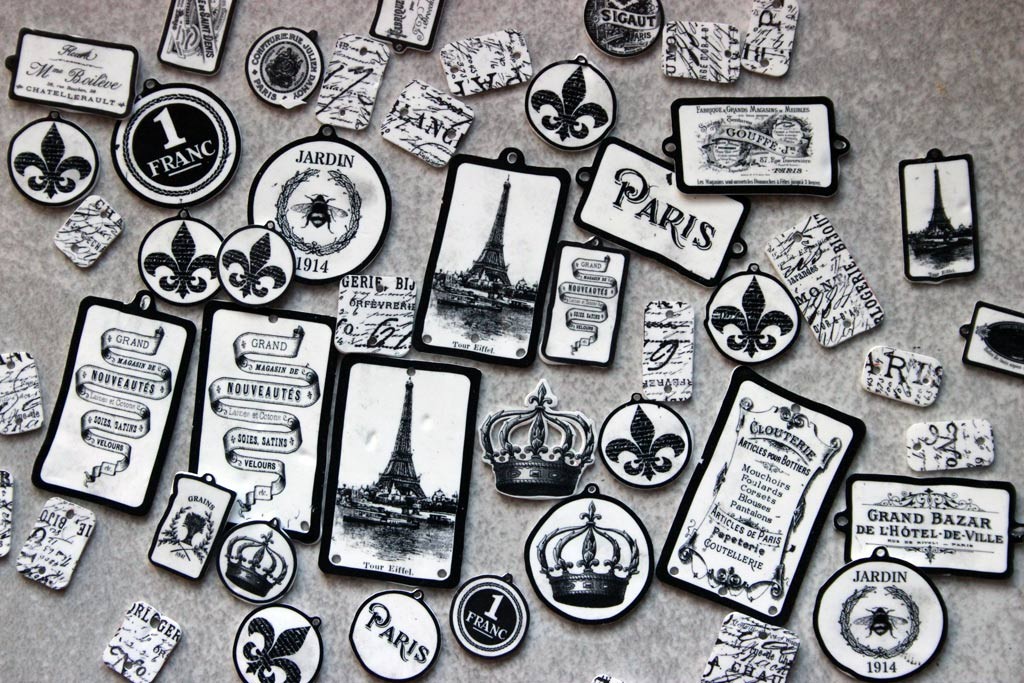
Once you’ve cut the material into your charm shapes, you’ll have a lovely mess:
Now it’s time to shrink our charms!
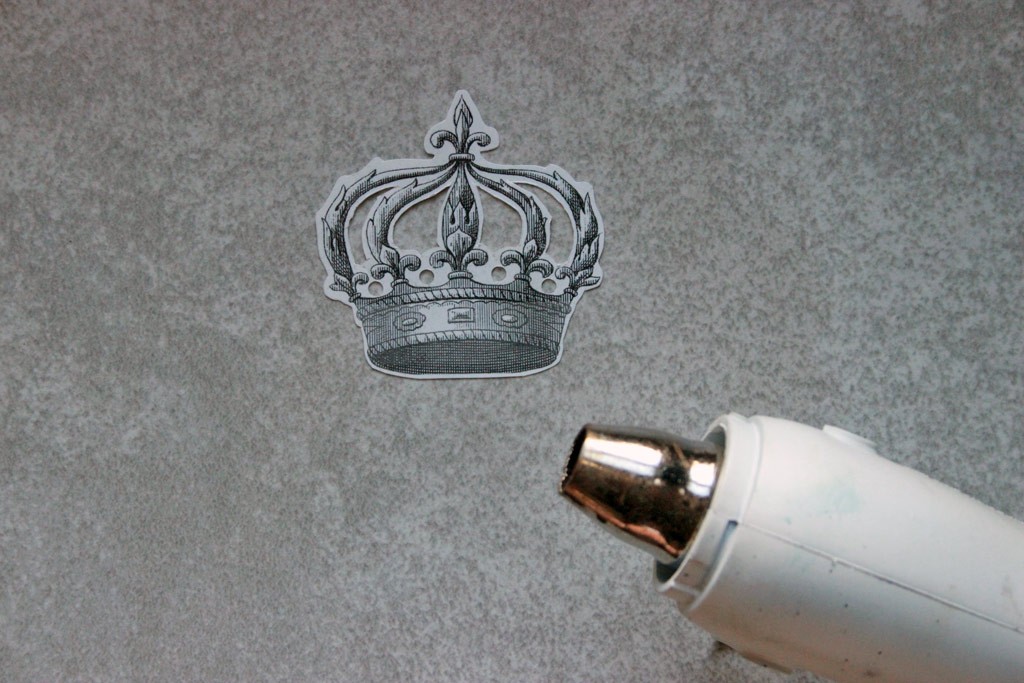
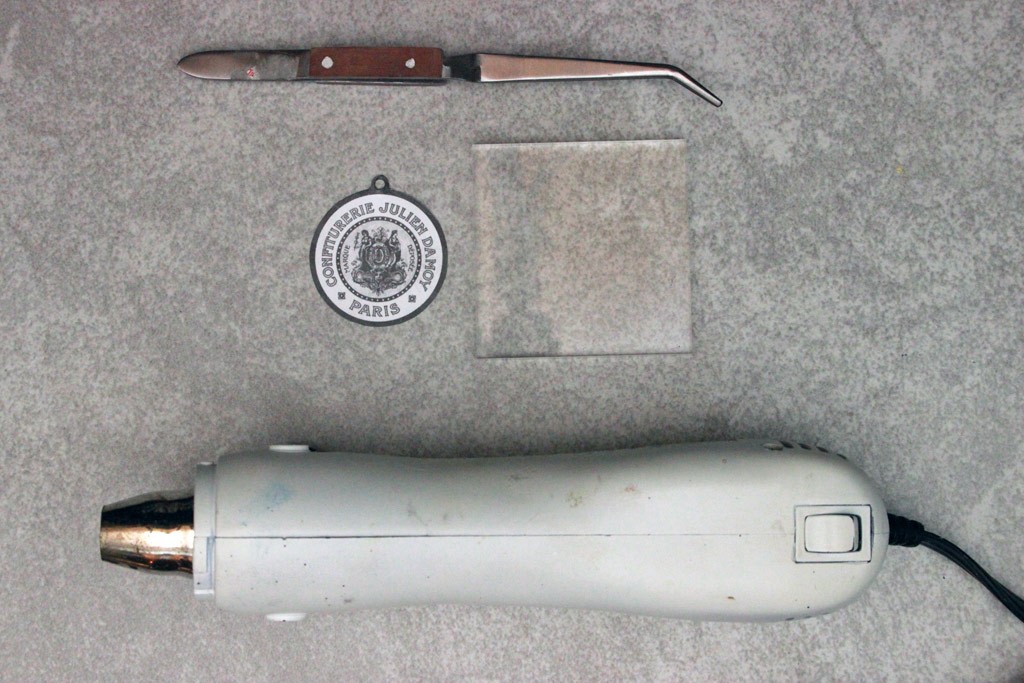
I use my heat tool for this process. If you prefer the oven method, follow the directions on your shrink plastic package.
I like to have a pair of wooden handled tweezers and an acrylic block at hand.
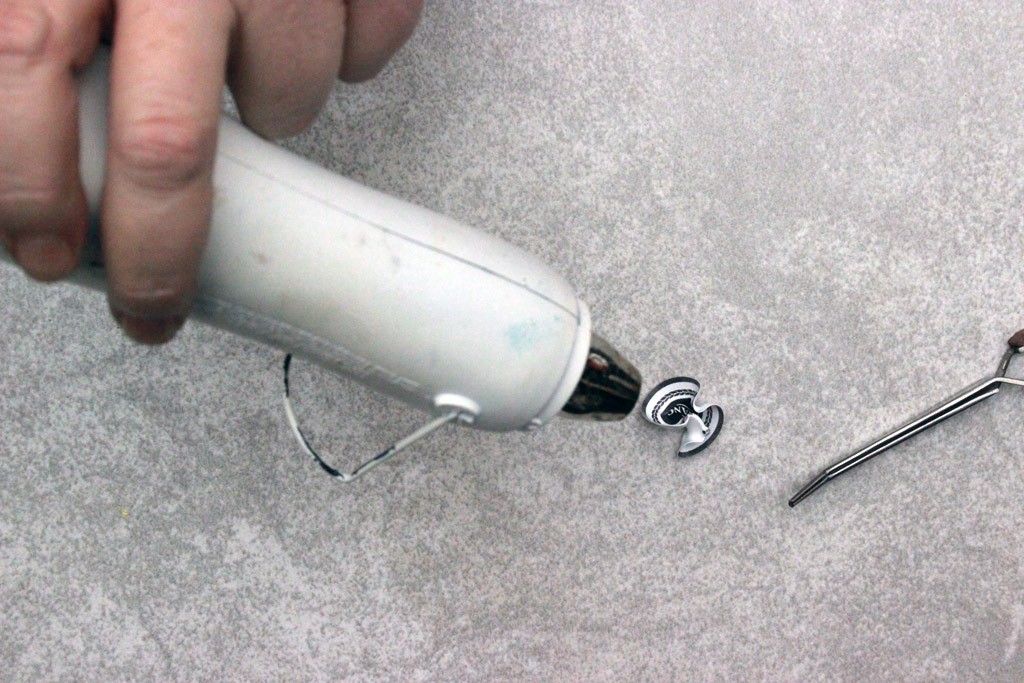
8. Train the heat tool on the charm, and watch it wiggle and shrink!
This process is fun and exciting – I’m always worried the item won’t flatten out!
Be prepared for a few mishaps – there’s always one item that folds over on itself and sticks, no matter how careful you are.
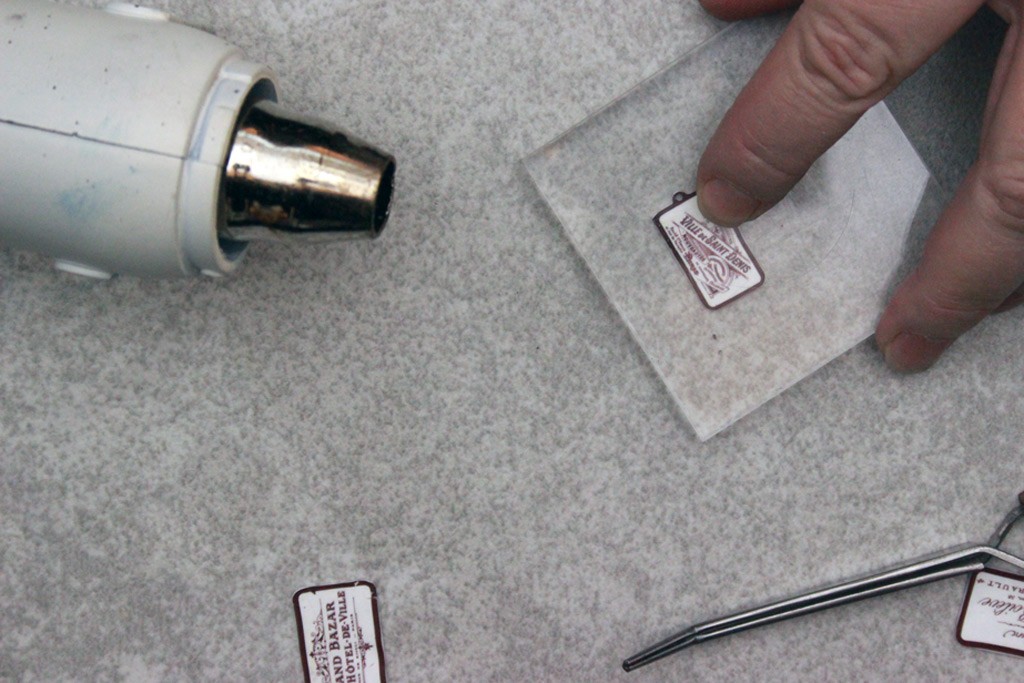
9. Once the charm has shrunk, and is reasonably flat, turn off the heat tool and quickly place your acrylic block over the top to flatten it completely. It won’t take long to cool – just a few seconds.
No matter how often I do this, I delight in the ‘miniaturization’ process:
10. Continue shrinking your charms until you have a horde that makes you happy!
11. I like to protect the finished charms with a coat of Krylon Matte Finish at this stage. I just load the charms onto a sheet of cardboard and head outside to spray them safely. Allow the finish to dry thoroughly before proceeding.
Note: these charms came out completely waterproof after coating with Krylon. Depending on your printers ink, this may vary.
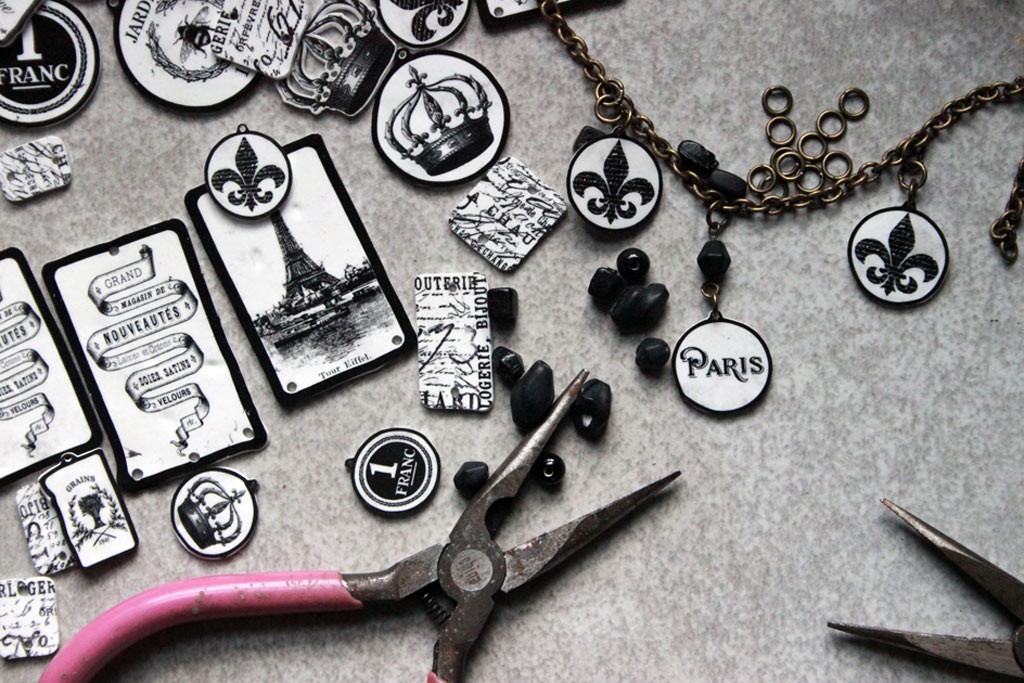
12. Gather your jewelry findings and begin creating wonderful jewelry with your DIY Parisian Charms:
13. Combine the charms in whatever manner pleases you:
Before you know it, you’ll have one of a kind Parisian Charm jewelry that and that you’ll love to wear!
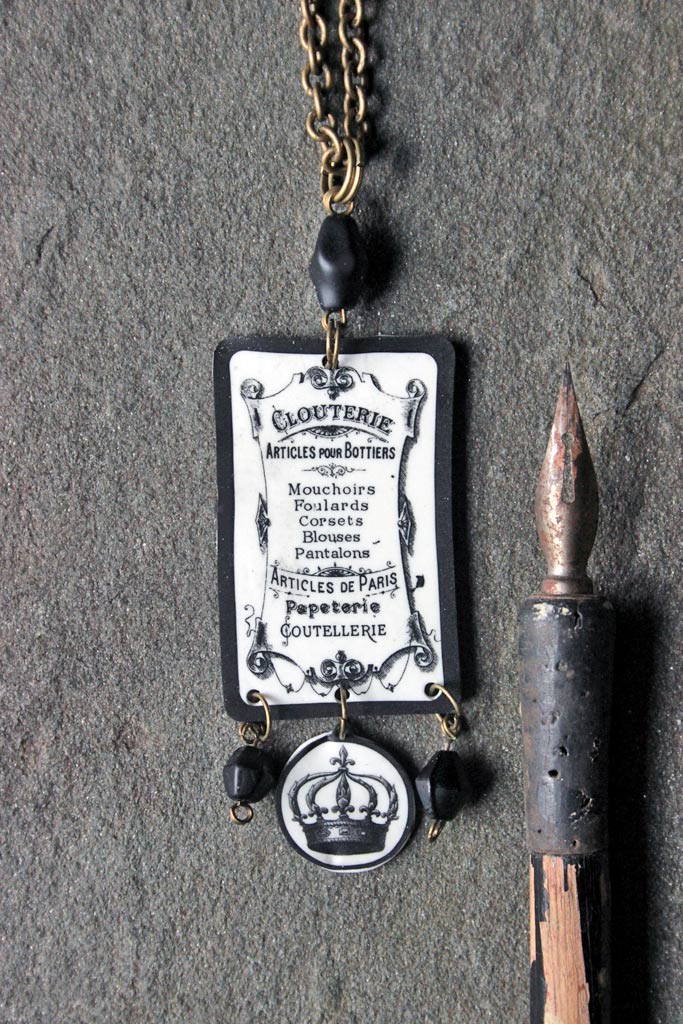
Simple pendant example:
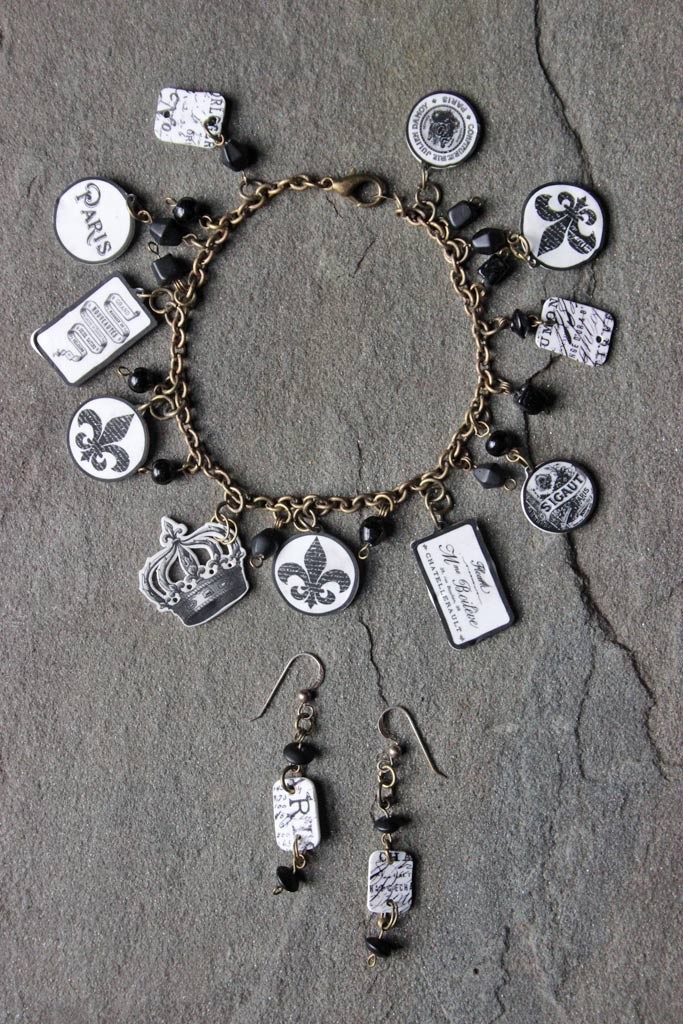
Charm bracelet and earrings:
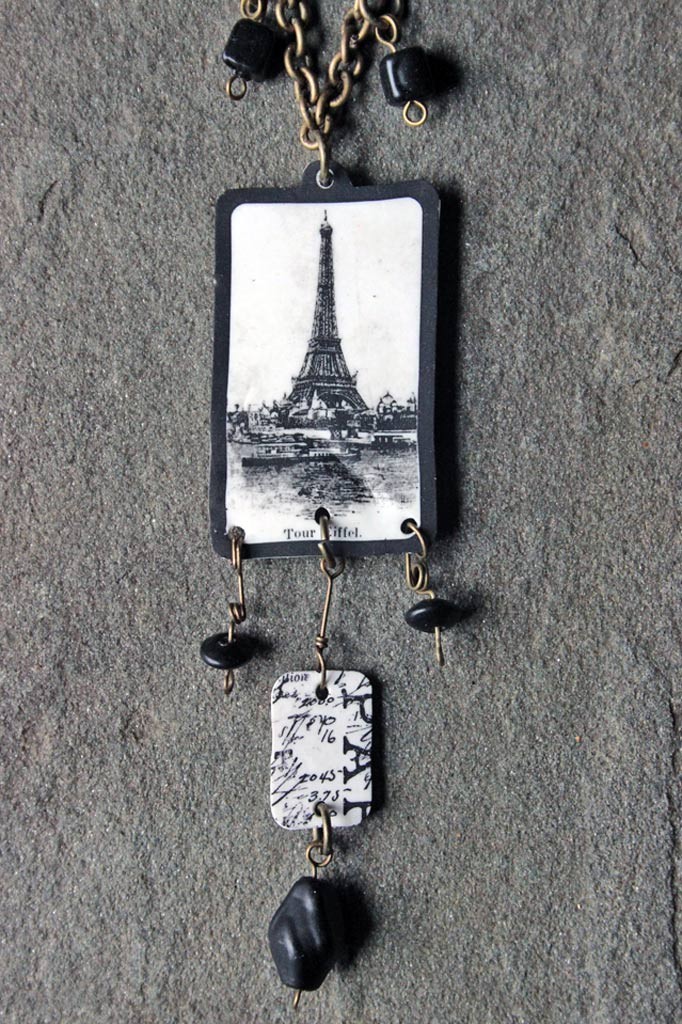
Alternate pendant:
And there you have it: a wonderful way to utilize your favorite Graphics Fairy images!
Thank you so much for joining me today, and I hope you have fun making your own Shrinky Dink Charms! You might also want to check out this Shrinky Dink Button Project Here.
Stop by Thicketworks anytime for inspiration and techniques to enrich your creative arsenal!
Take care,
Heather


Rosalie Dieteman says
Is there another image transfer method that could be used with the plastic? (I don’t have an inkjet printer, sadly)
Heather Tracy says
Hi Rosalie…because you print directly on the shrink plastic, unfortunately, no. You can, however find shrink plastic that you can stamp on, color with markers, etc. Lot’s of fun ways to approach making charms! xox
Bernice Patterson says
Wonderful tutorial, I have been in need of an inspiration and this is it. Thank you so much.
Heather Tracy says
Hi Bernice! How wonderful! Thank you for allowing this fun little technique to inspire you – and thank you for taking the time to say so! xox
Diana says
Love it. Can’t wait to try this. So glad I don’t need to use the oven. These will be perfect to add to my hat pins and dangles for my dominos. Thank so much for the demo.
Karen Watson says
Have fun creating with Shrinky Dinks Diana!!
Cath says
I’ve read about Shrinky Dinks so many times and bought some when I ran across them at thrift shops, etc., but hadn’t done anything with them till last week. I had to make some identifying tags (extremely boring, numbers only) and thought, why not use this plastic stuff I have. I must say, i was captivated by the process. It almost seems magical. Now you’ve taken it to another level. The bracelet is adorable. Gotta get crackin and make something fun besides numbers. Glad to know there is an inkjet version because I must admit my permanent marker numbers were a bit sloppy.
Heather says
Dear Cath, I’m late to respond, but I had to take a moment to let you know how much your comments are appreciated. I think the inkjet feature of this product makes it a real game changer!
Melanie@Toots + Dill says
Oh this is awesome!! I love shrinky dink! =) The final bracelet is adorable!
Heather says
Hi Melanie – my apologies for not acknowledging your lovely comment sooner! Thank you, and it’s so nice to hear from someone else who loves shrink plastic too!
Robin Patrick says
I just love these. I always thought the shrink sheets were just for kid’s project but now I see how wrong I was!
Heather says
Hi Robin – I know, I steered away from shrink plastic for exactly the same reason. I love that we can bend them to any use that suits us!
Marie says
Thank you very much for sharing! Absolutely great tutorial!
Heather says
Awww…thanks, Marie! It was a such fun to do, and it’s a joy to share with such an awesome group of readers!
Maureen says
Thanks. I have this one pinned!
Heather says
Yay! Thanks Maureen. Have fun with this one, it’s so easy, and yet The Graphics Fairy images give this humble material such chic!
Rupa says
Oh my Lord!! I love, love, love this project. I am obsessed with all things French and I recently made a necklace using some pretty images and the glass dome. That was my first ever jewelry piece and here I see another one inspiring me to make more jewelry 🙂 Thanks for the wonderful images and very clear set of instructions!! GF and her lovely contributors are THE BEST!
Heather says
Congratulations, Rupa, on taking the plunge into jewelry making! It’s so rewarding to make a piece you can give to a friend or wear yourself. YOU’RE the best – thank you so much for taking the time to leave such a lovely comment!
Diana / Dreams Factory says
Beautiful as always, Heather!
I can’t find the shrink plastic in my country, but I would use these beauties as tags and labels on … everything! 🙂
Thank you for the lovely French dose of inspiration.
Diana
Heather says
Diana, you always have something lovely to say! Thanks so much for your kind words, coming from the Queen of French Inspiration, that means a lot. 🙂