It’s easy to create Paint by Numbers Art for Vintage Images!
Hello, my wonderful Graphics Fairy Friends! Heather from Thicketworks here with a fun technique to turn Graphics Fairy Images into Paint by Numbers Files you can print on fabric!
By uploading your favorite images to PBNify.com, you can transform them into patterns you can use in many different ways…
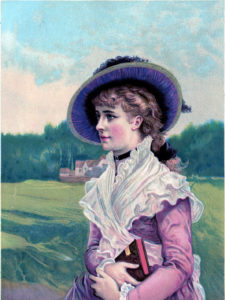
While it is possible to transform complex paintings, like this beautiful image, I suggest you start your journey with something a bit less complicated!
Graphics Fairy Source Image: Fashionable Woman in Garden Image
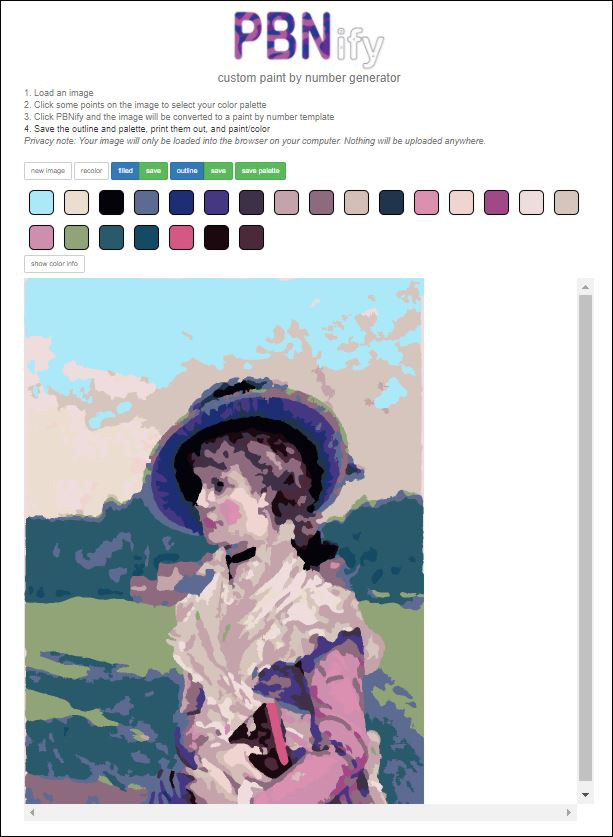
This Graphics Fairy image has been rendered via the PBN site – the result is a lovely impressionistic pattern, complete with a palette of 23 separate colors!
{this post contains affiliate links}
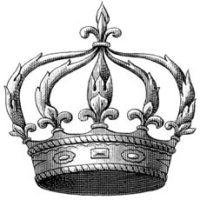
Today, though, let’s work with a simple graphic, like this Crown:
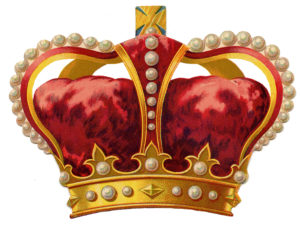 Graphics Fairy Source Image: Crown Graphic
If you would like to follow along, you’ll need a few items:
Supplies:
- Muslin Fabric – 1/4 yard
- Household Iron
- Freezer Paper
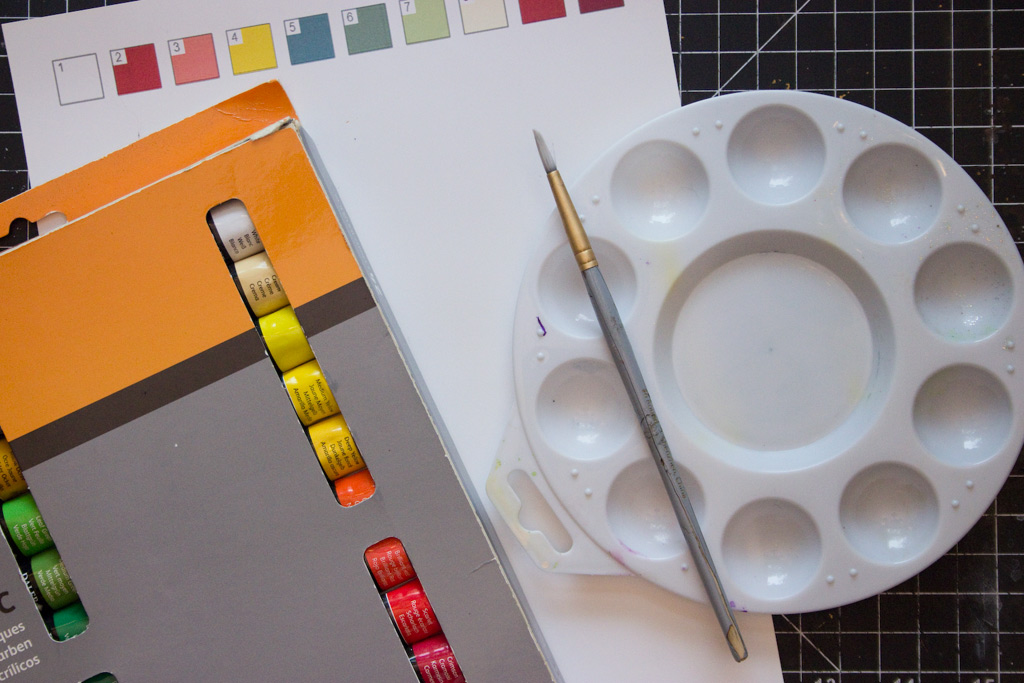
- Acrylic Artist Paint Set
- Fine and Medium Tipped Artist Brushes
- Water
- Paint Palette Tray
- Scissors
Optional:
- Embroidery Hoop
- Assorted Sizes White Pearl Beads
- Needle and Thread
- Fine tipped Metallic Ink pen
- Wire Brush
How to Paint by Numbers on Fabric:
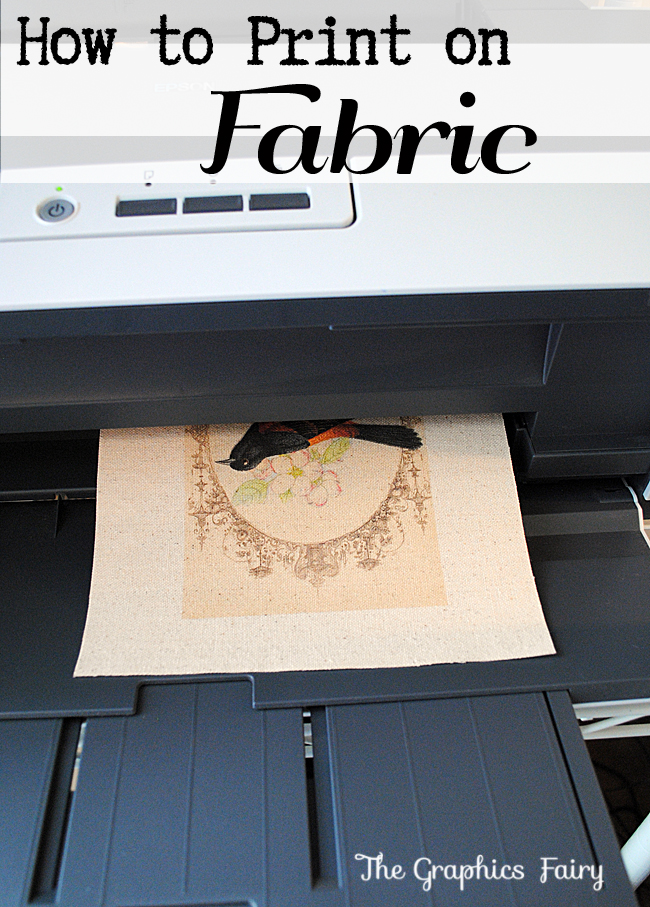
Begin by preparing an 8 1/2 x 11″ piece of Muslin for Inkjet printing.
If you haven’t done this before, you can follow the instructions in this post:
Click HERE for the Fabric Printing Tutorial
Don’t print anything just yet!
We’ll start the process by downloading the image of your choice from The Graphics Fairy.
Make sure to save it where you can locate it again!
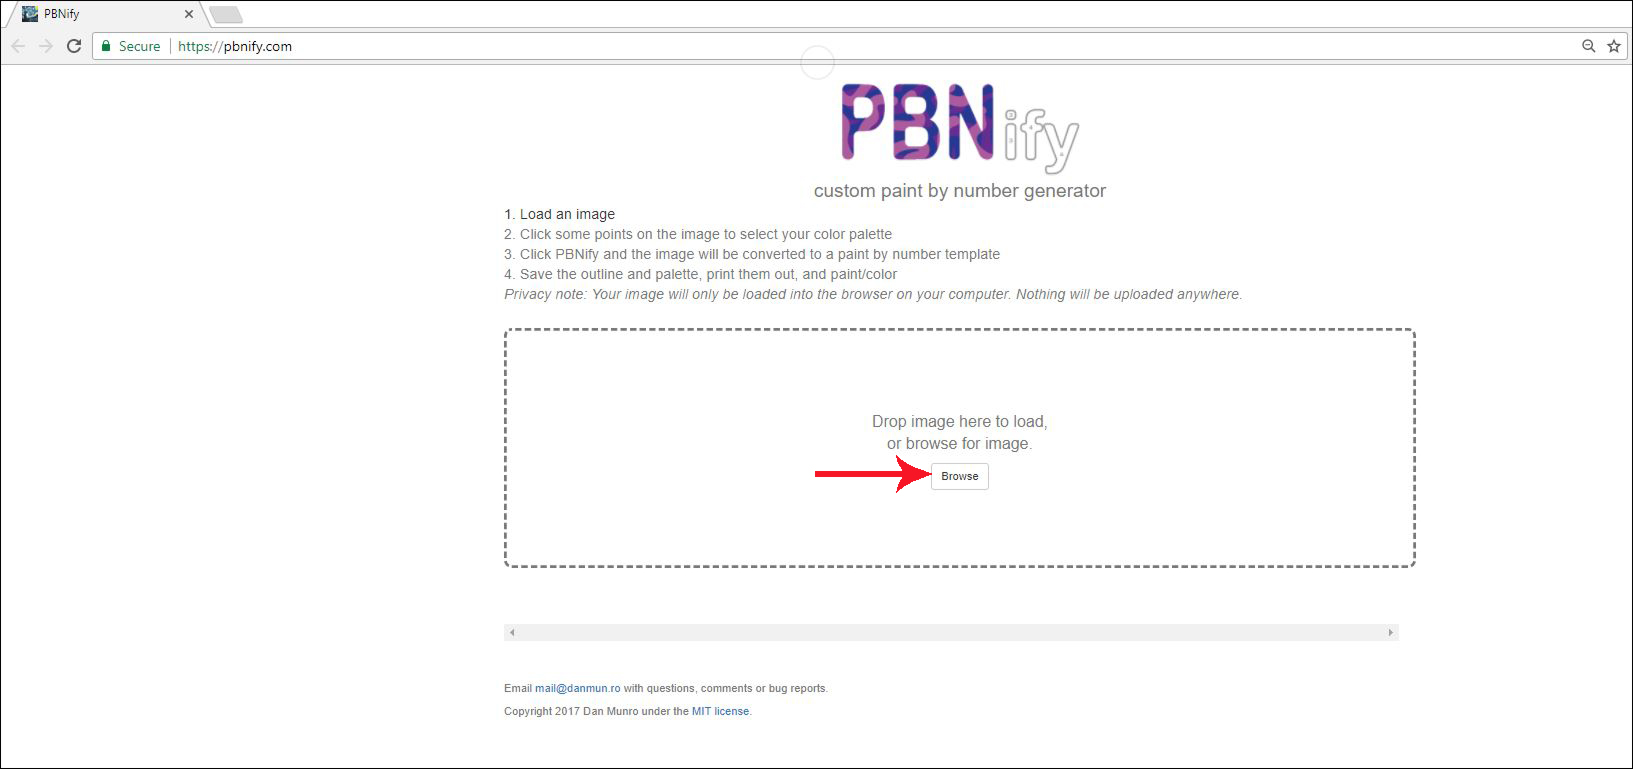
Then, navigate to the PBNify Website.
You can visit by CLICKING HERE!
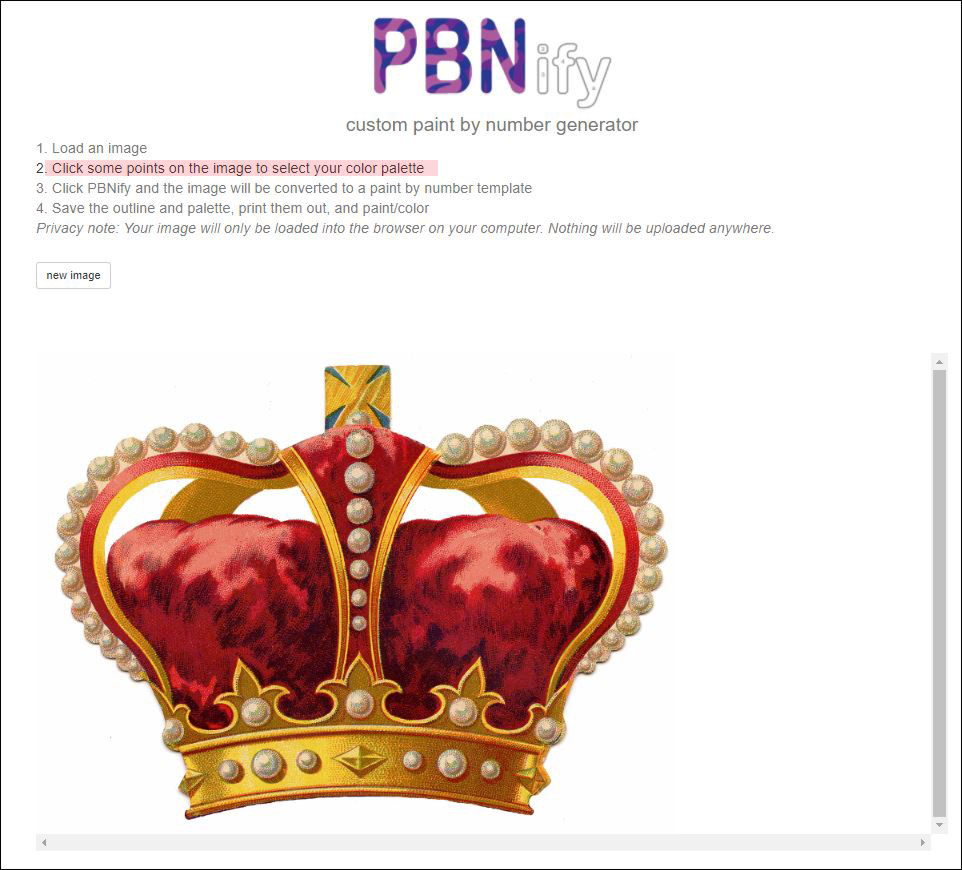
The initial screen will look like the image below.
Click the BROWSE button to upload your chosen image.
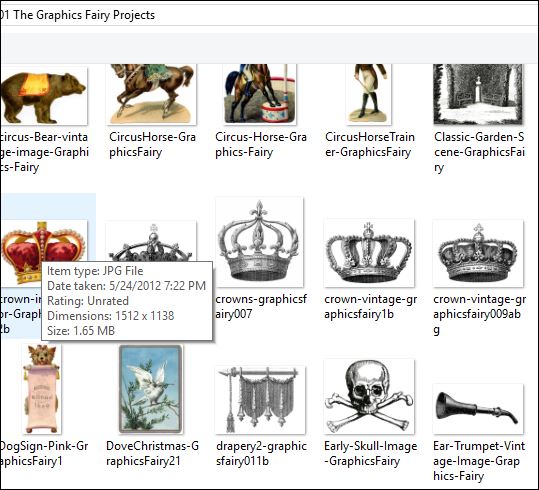
Navigate to where you saved your file, the click on the image you want to transform:
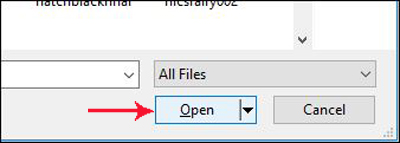
Click the Open button:
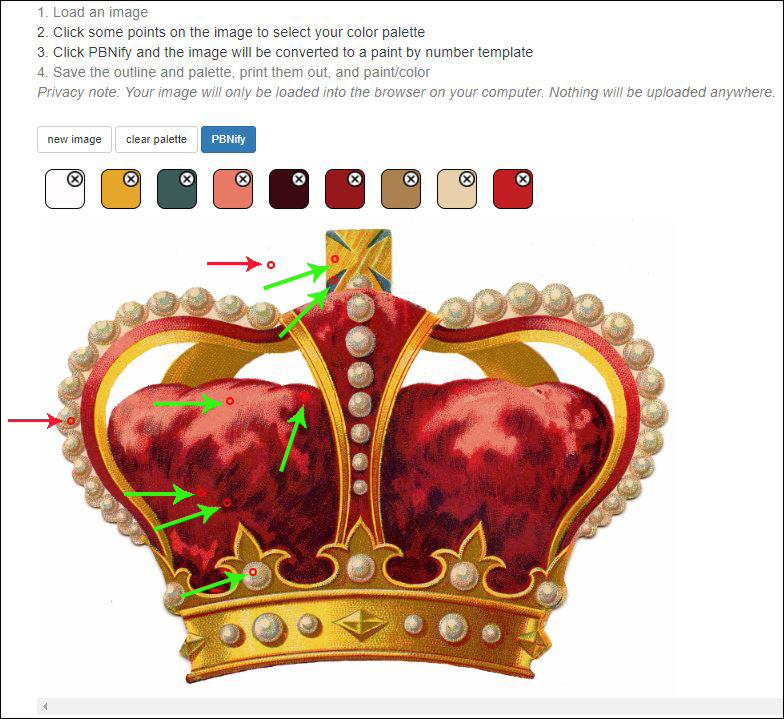
Follow the instructions, by clicking on several points within the image to create the color palette:
As you click on different colors, new swatches are added to the palette.
The image below shows the ‘sample points’ used to create this Paint by Numbers palette:
Click the PBNify button!
It may take a few minutes for the rendering to complete...be patient!
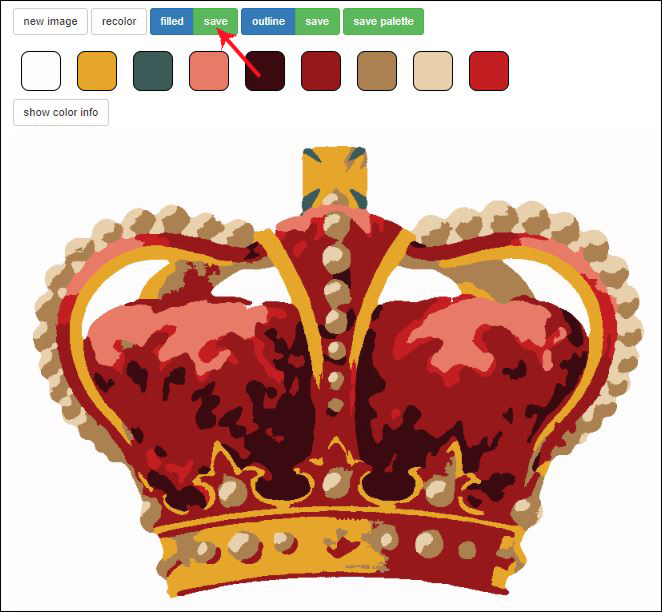
When it has finished, you’ll be presented with a screen that looks like this:
Click the Filled/Save button.
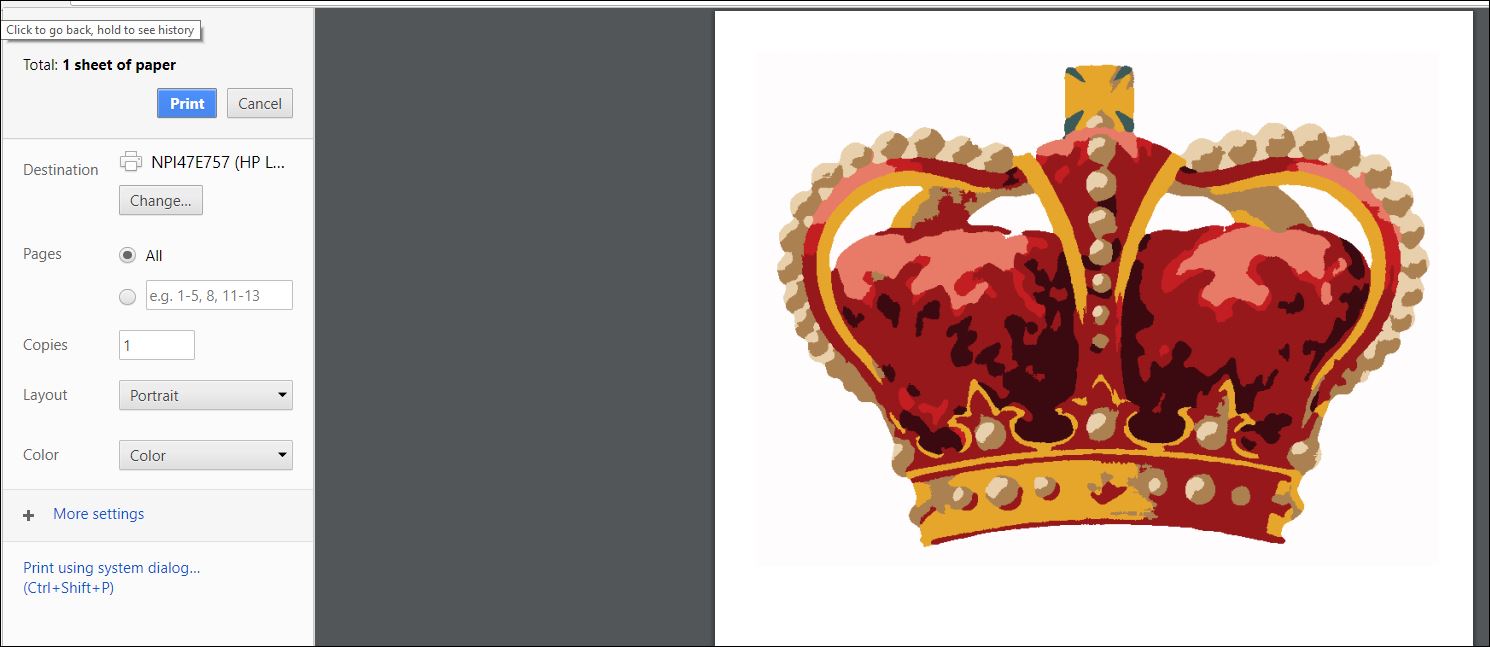
Print the Filled Image on regular printer paper, full size, full color. This will be your reference image while you paint.
Next, click the Outline/Save button:
This will display your printer dialog box.
The Outline Image will have numbers in each area, corresponding to the numbers assigned to each color in the palette!
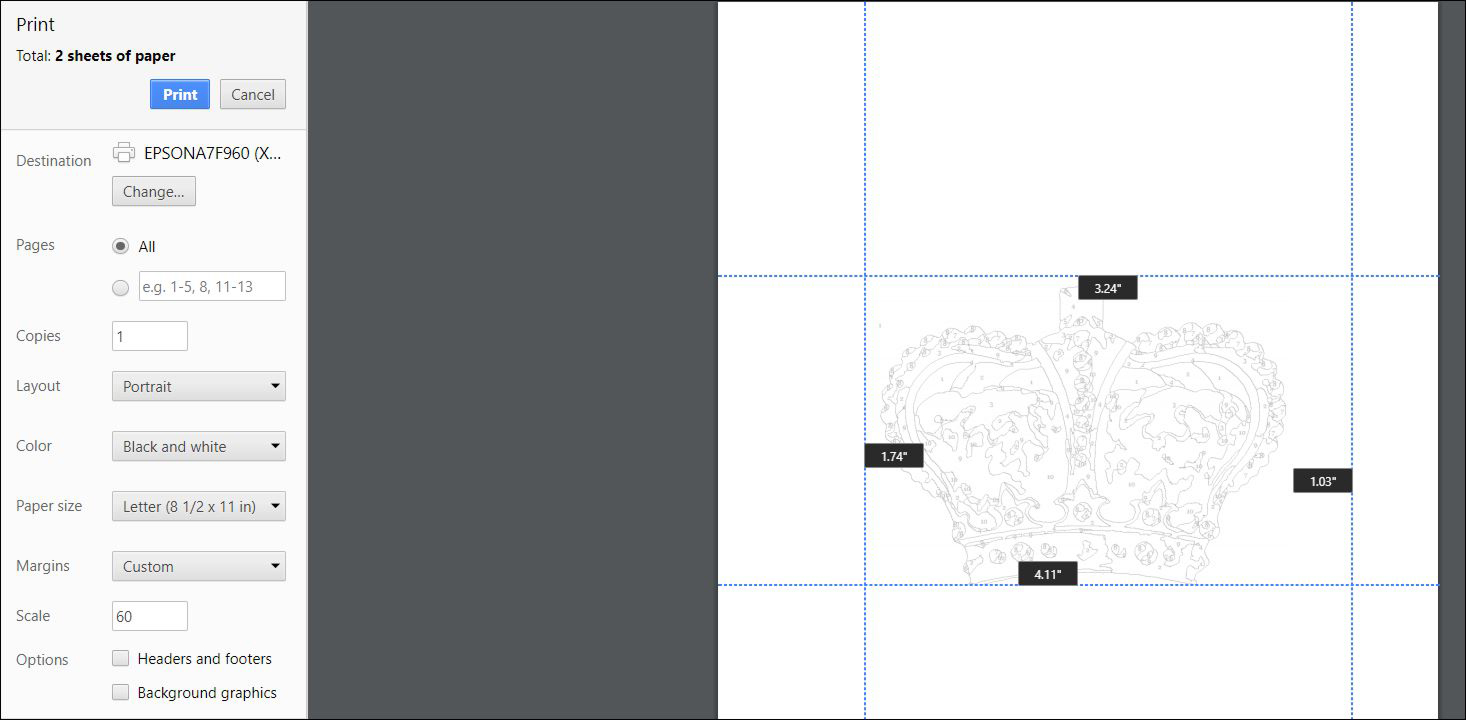
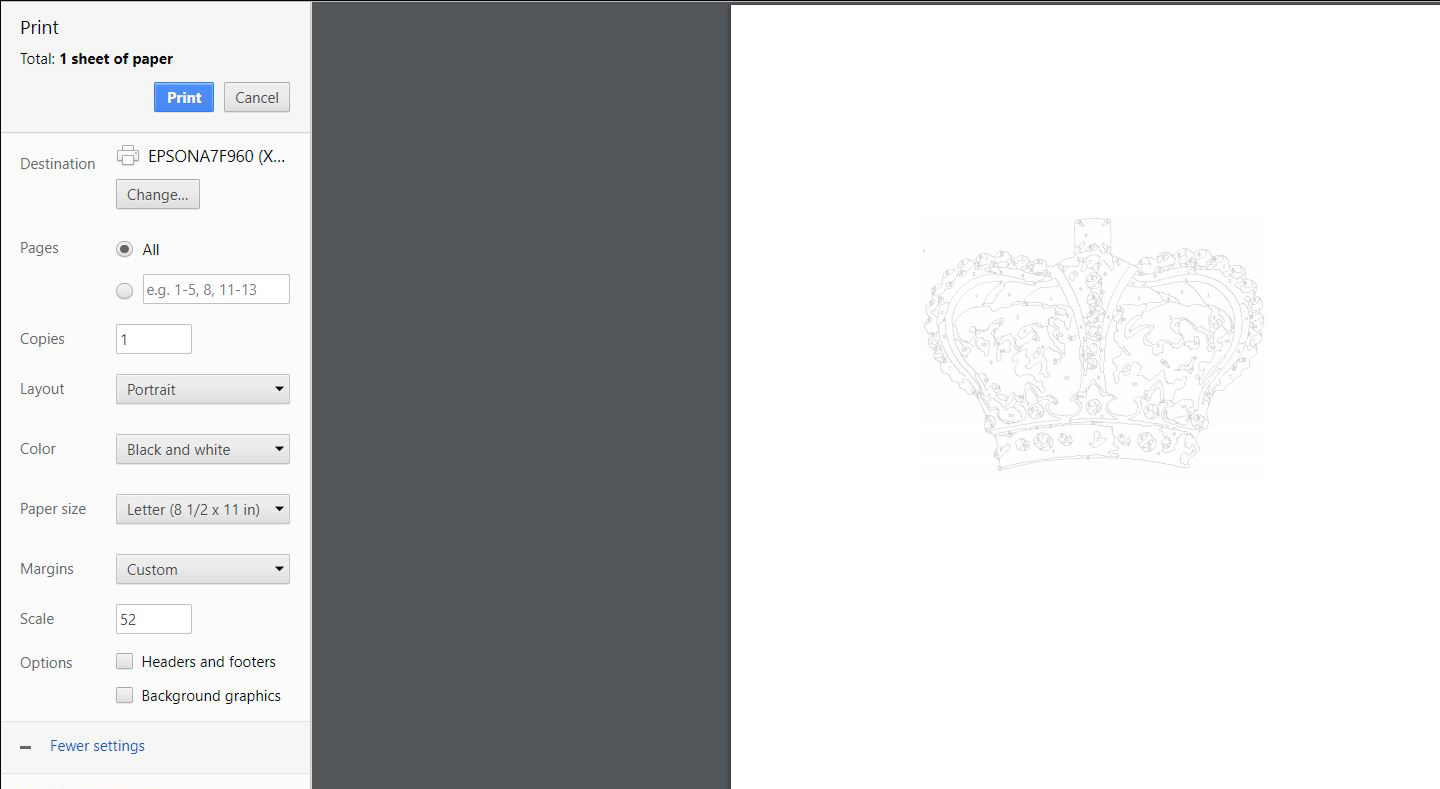
Here, you may wish to resize the image, and center it on the page, using the Scale and Margins tools.
It’s time to print on the fabric!
Insert your prepared Muslin into your Inkjet Printer, and print the Outline onto the Fabric:
Next, click the Save Palette button:
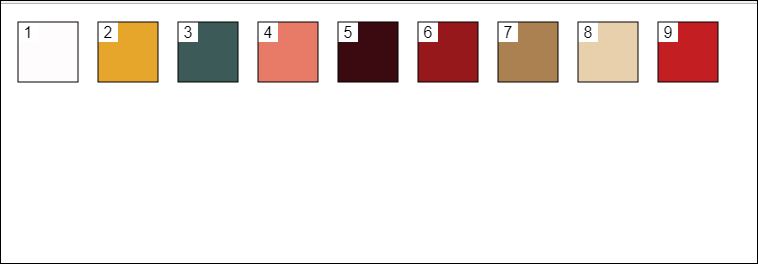
The custom colors used in your image will be displayed with numbers assigned to each one.
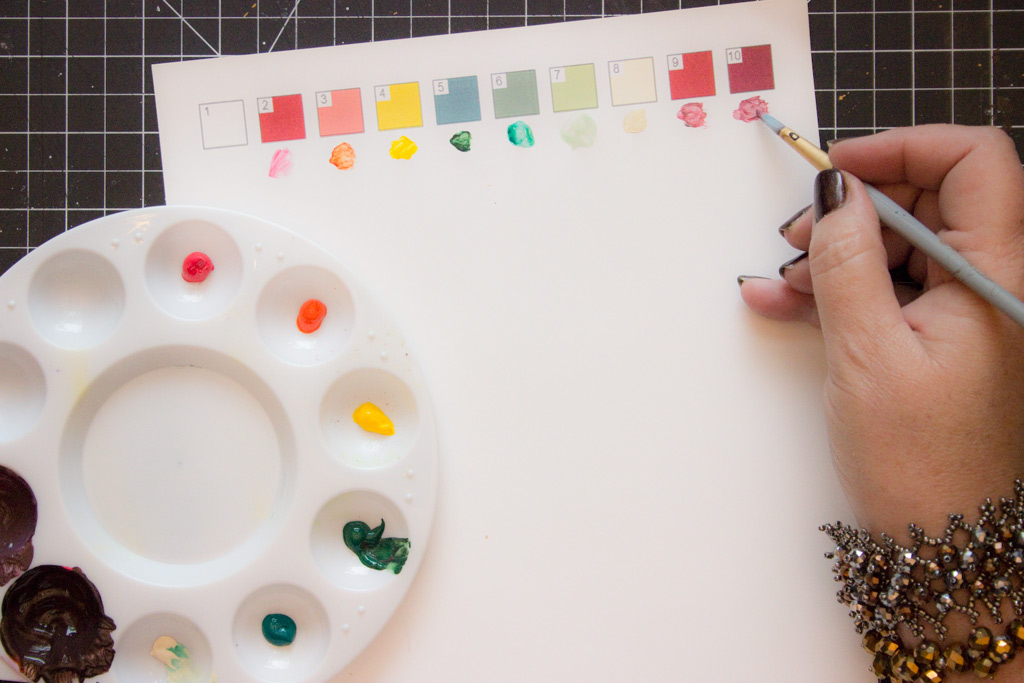
Print this on a sheet of regular printer paper:
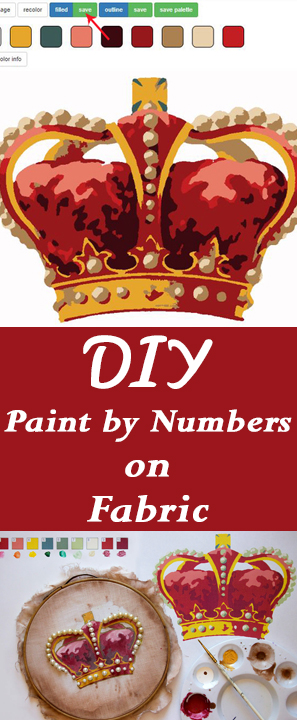
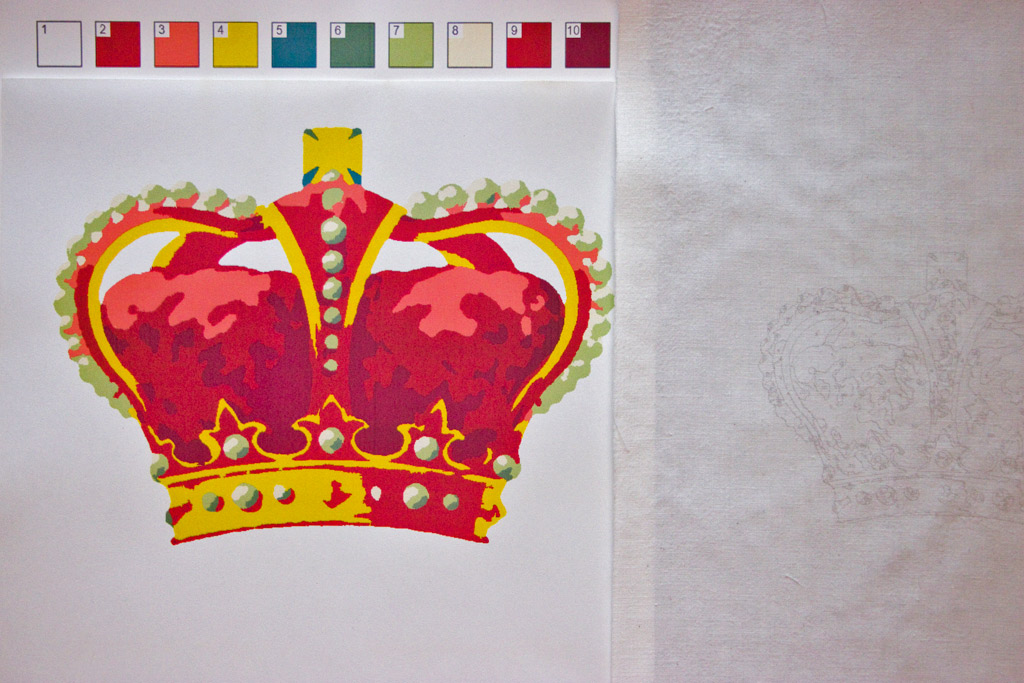
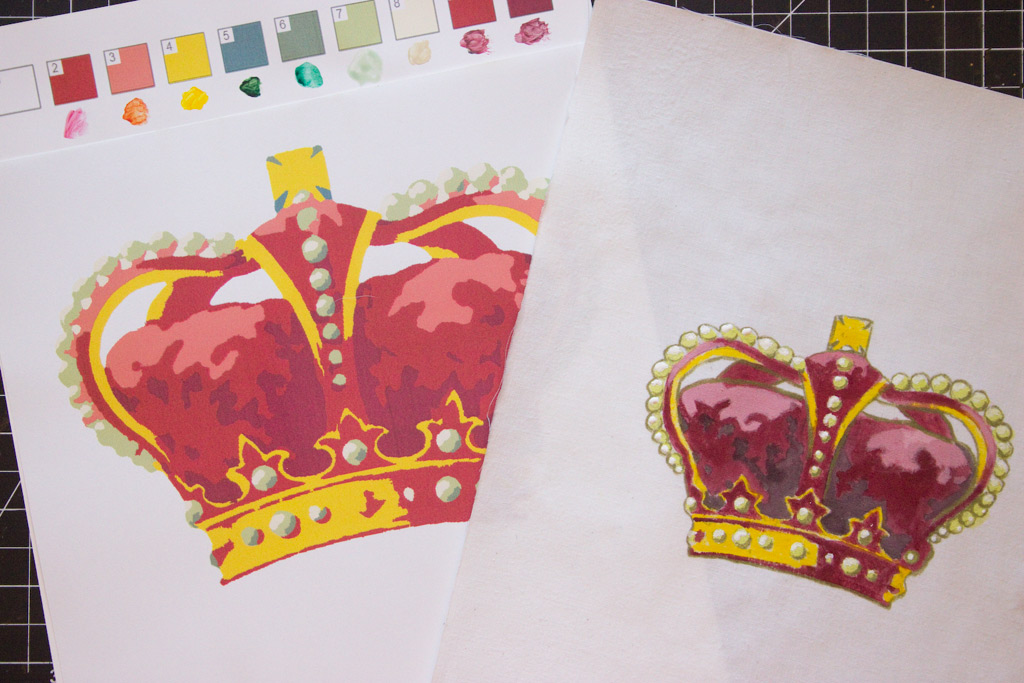
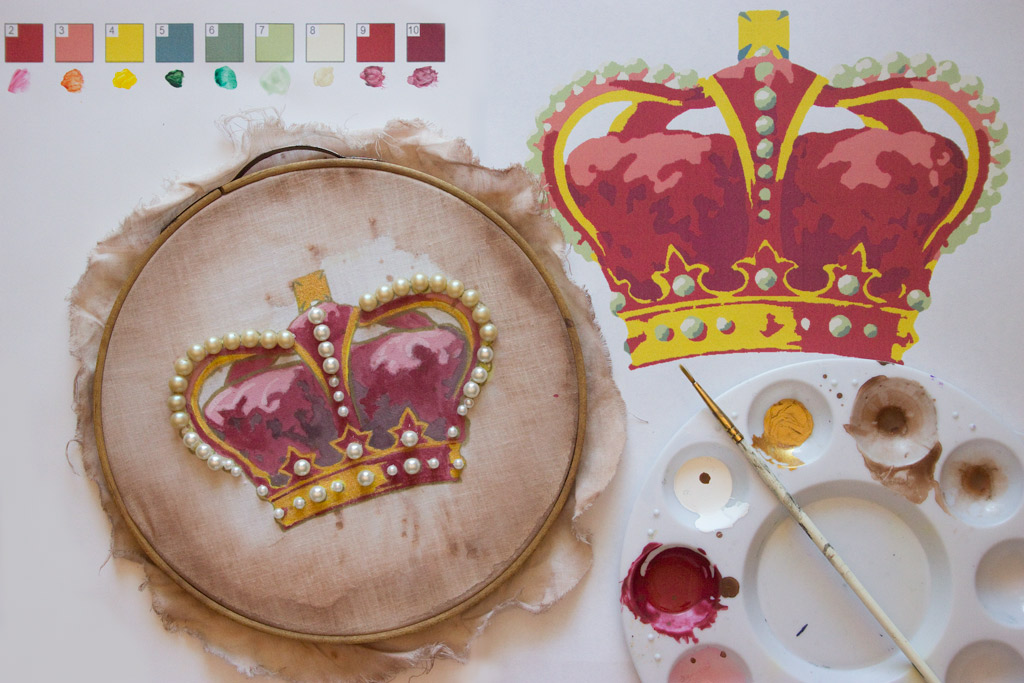
Now, you should have a Palette and a Full Color Image printed on paper, and the Outline printed on Muslin:
Gather your painting supplies!
Do your best to match the colors on the printed Palette page:
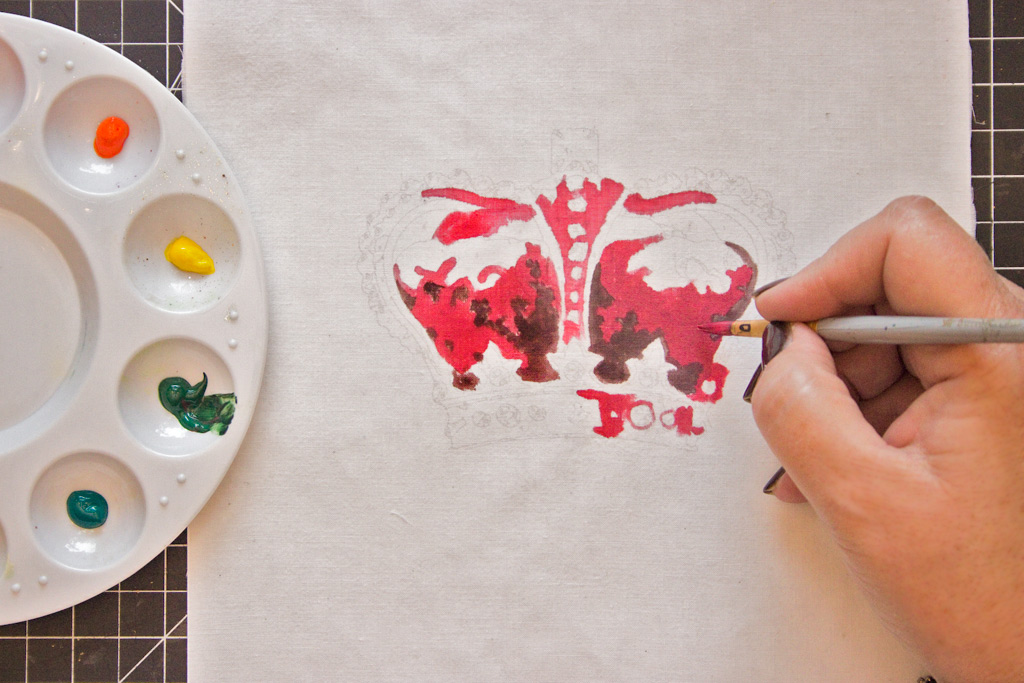
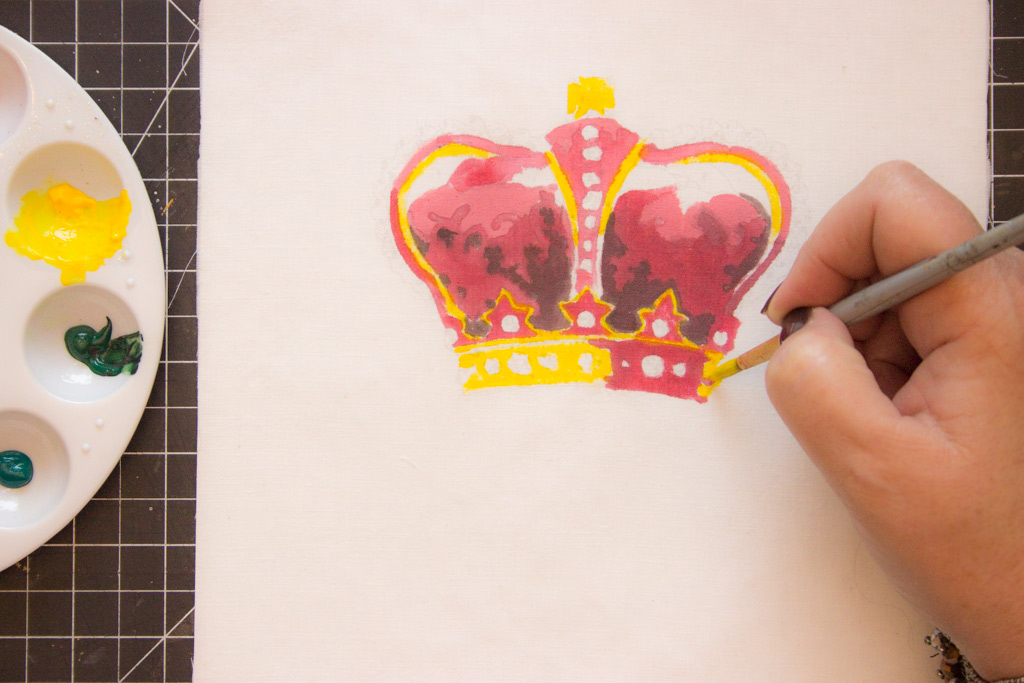
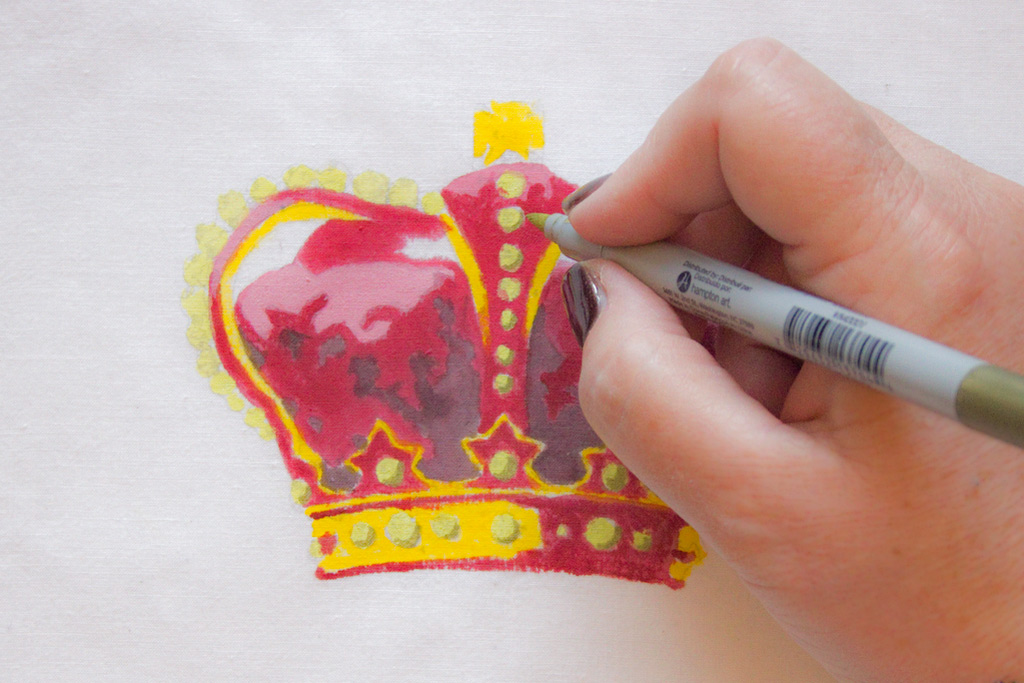
Using the large Full Color Image as a reference, begin painting in the areas on the fabric, based on the assigned numbers!
Clean your brush often, and don’t worry if you make a few ‘mistakes’….
Once the design is complete, you may choose to add detail with a metallic pen:
Here, you can see that although the colors aren’t perfect, they are close enough for a decent representation of the original image:
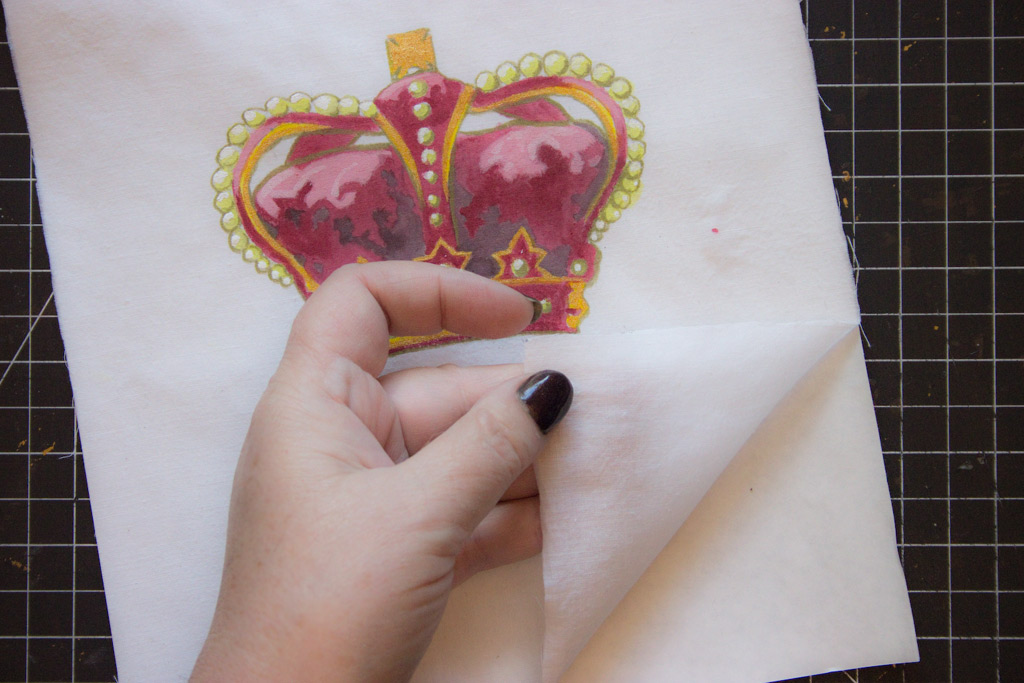
Once the paint is dry, peel the Muslin off of the Freezer Paper backing:
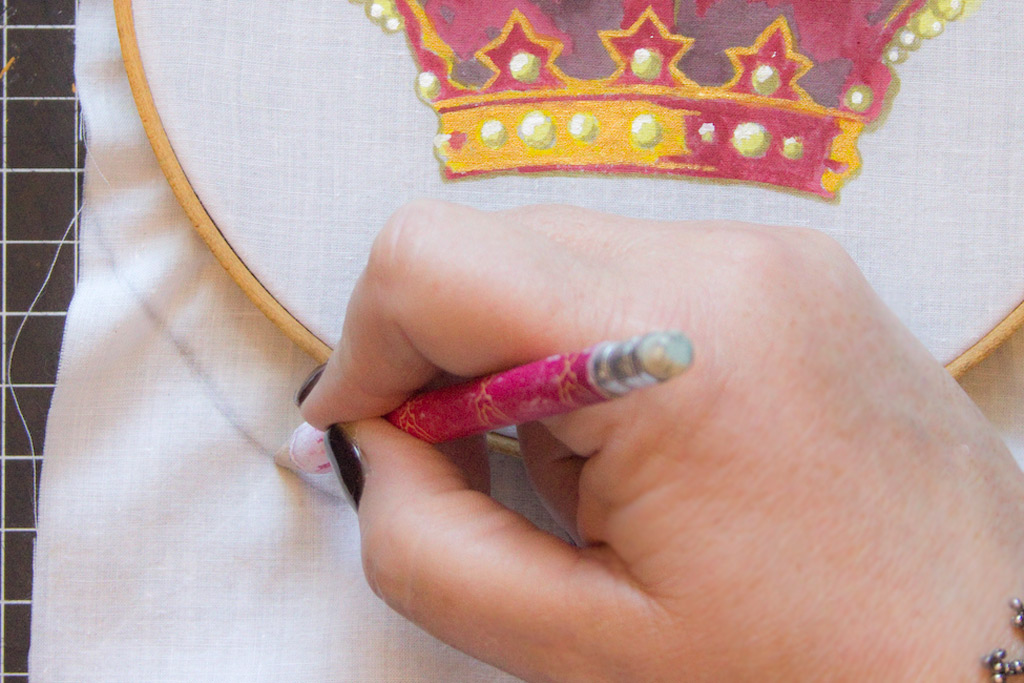
Mount the fabric in an embroidery hoop.
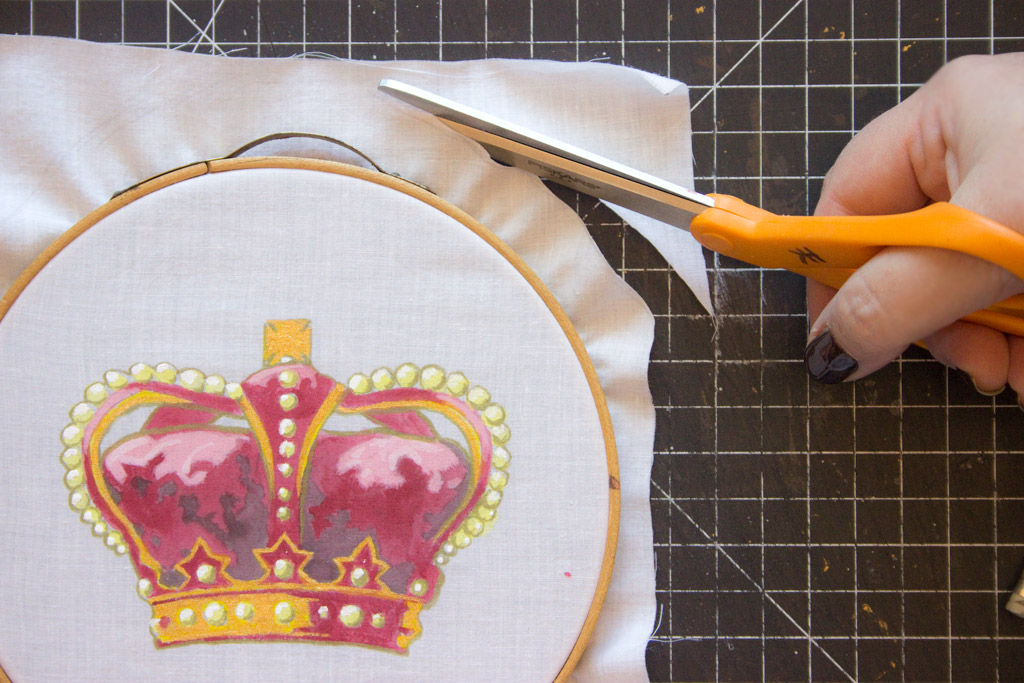
Sketch a cut-line around the outer edge, about 3/4 of an inch from the hoop:
Trim away the excess fabric:
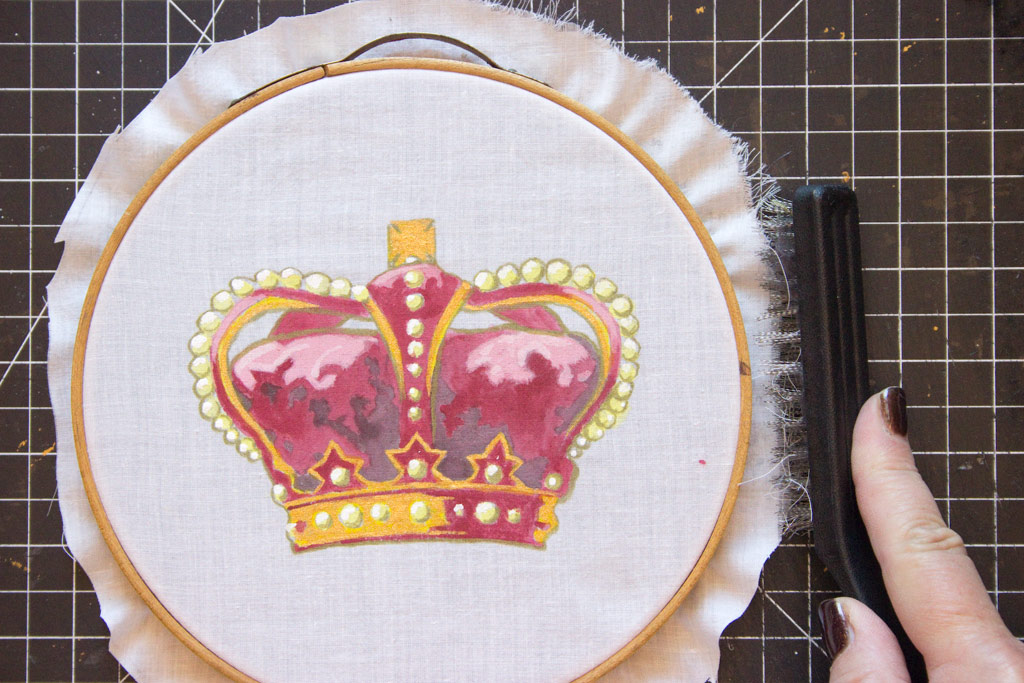
If you want to fray the edges, a wire brush works beautifully!
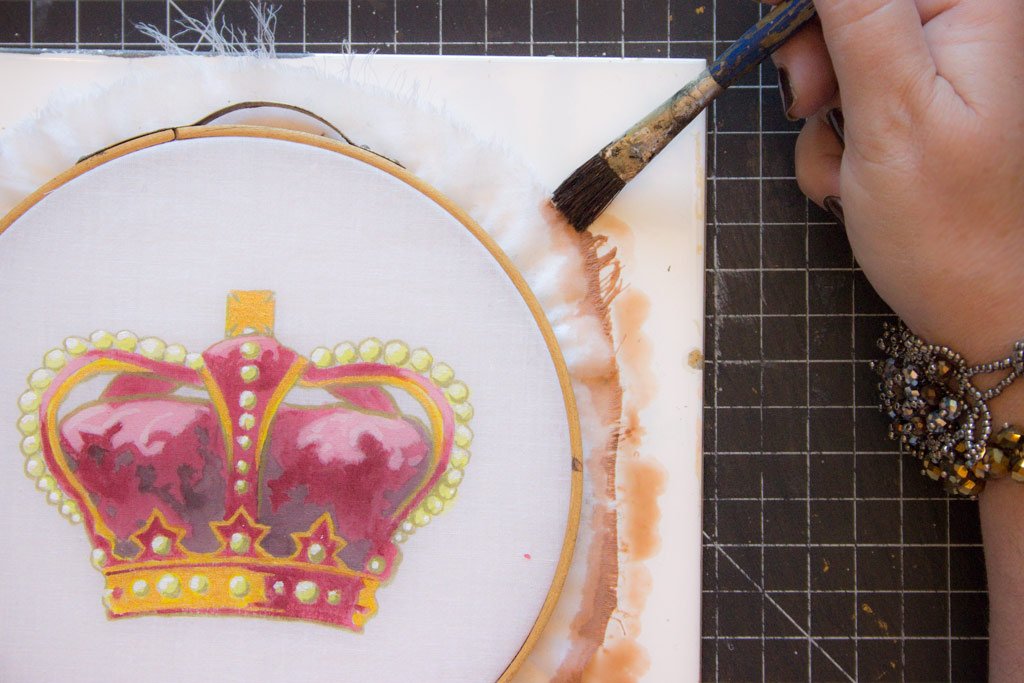
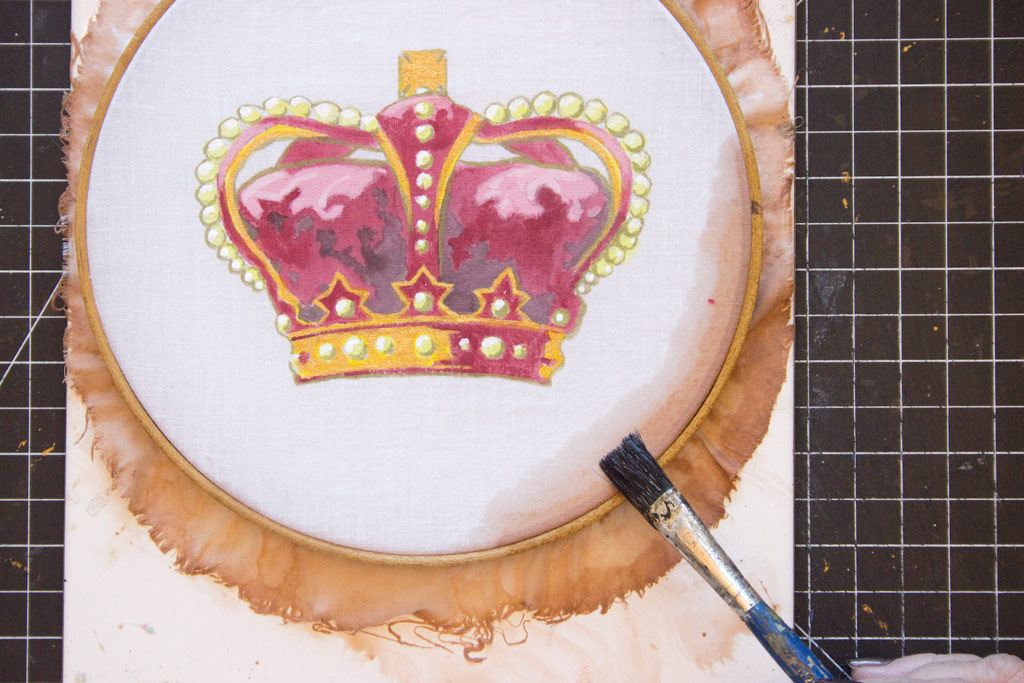
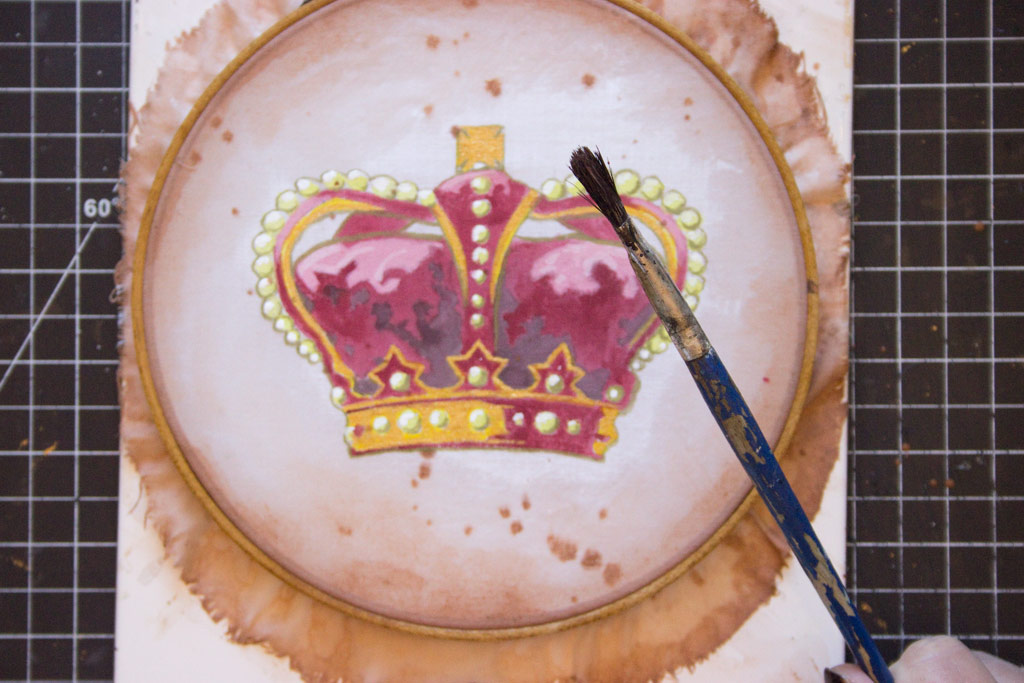
If you wish to age the fabric, a thin wash of brown acrylic paint works well:
You can use the acrylic wash to create very faint stains along the rim of the hoop:
Splattering a few drops of brown will add even more age:
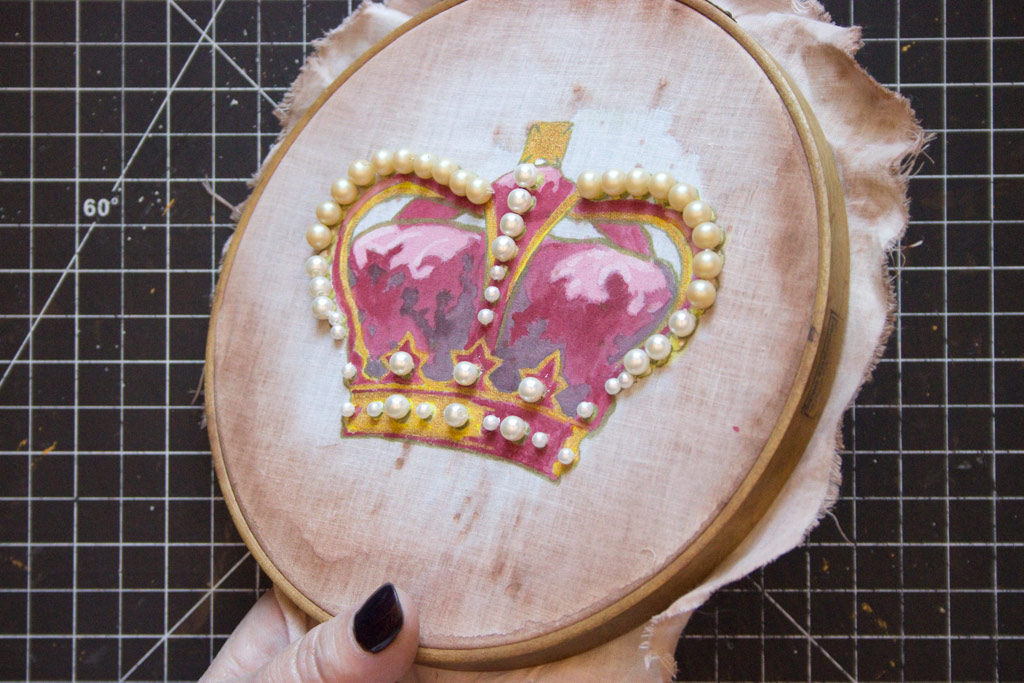
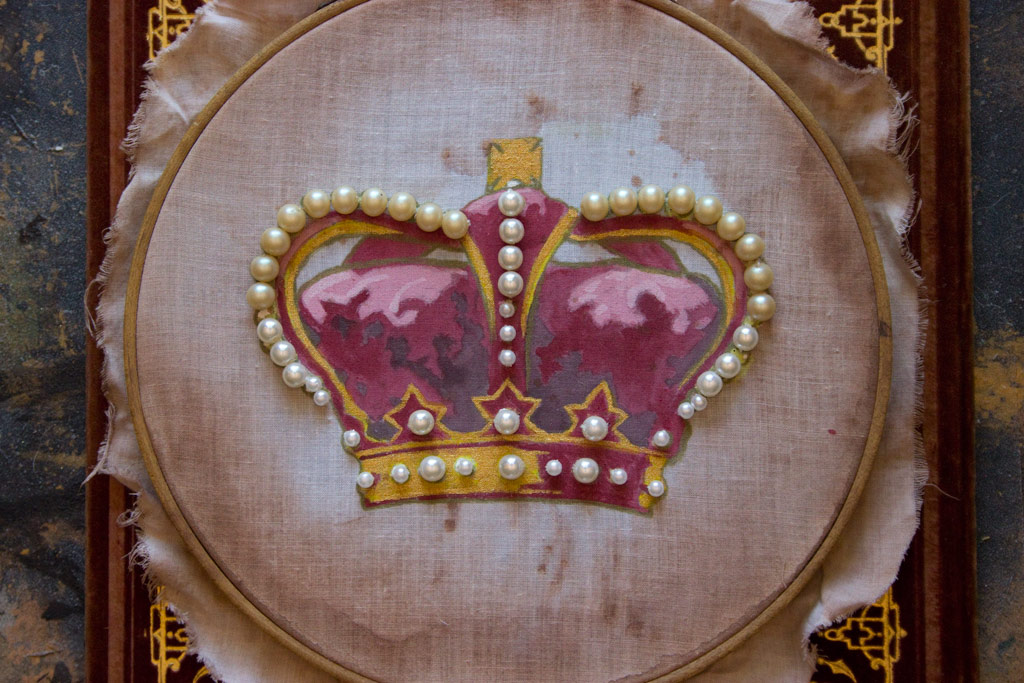
I chose to sew pearls onto the surface to enhance the design…but you certainly don’t have to!
And that is all there is to it!
You can hang your painted fabric on the wall for a fun accent piece!
From printing to completion, this project took about 2 hours.
Of course, you can also simply create a Paint by Numbers file to print onto paper – it’s completely up to you!
Thank you for joining me at The Graphics Fairy today – it’s always fun to share with you.
Anytime you feel like a walk on the Odd Side of Crafting, visit me at Thicketworks!
I hope you try this fun process – it’s a great way to enjoy your Graphics Fairy treasures in a whole new way!
Until next time,
Heather ♥
Our students have SO much fun in the Mixed Media for Beginners online course…




Rupa says
What a cool idea and project! I always love finding sites like these that can create artistic effects etc. I remember one where any photo you upload can be converted into a water color effect pic. Thanks for the fab idea/project.
Heather Tracy says
Hi Rupa! I love that type of thing, too. It was fun to experiment with the PBN site. Thank you for stopping by, my friend. xox
Linda Knox says
wow, had no idea this was available. You did a bang-up job with the crown. Thanks again! Have a great day.
Heather Tracy says
Hi Linda! Isn’t it a great service? Lot’s of fun could be had…thanks for taking the time to visit today! xox