Selective Embossing Technique for Papercrafts
This marvelous Papercraft Technique tutorial was originally written by Heather Tracy. It’s been stuck back in the archives for way too long, as we first published it about 6 years ago! Although I have to say it seems like just yesterday … where in the heck does the time go? Anyway, we have updated it a bit and are sharing it again for those of you that haven’t seen it before. It is still a fantastic tutorial that holds up today and should be a welcome addition to your crafting skills, if you are not familiar with it. Now I will let Heather teach you all about Embossing Techniques in her own words. I hope you enjoy it.
Hello there! It’s Heather from Thicketworks, and today I’m sharing a simple but effective Selective Embossing Technique, that’s perfect for Papercrafts, and it’s very versatile as you can use it to enhance any graphic image that you like! I think you will find that you can create beautiful designs that really pop with this method. I have the full step by step tutorial, including instructions and supply list below. There are lots of photos to walk you through the steps and several different examples to spark your creative juices. I think you will find this method to be quite addictive actually and it’s a wonderful way to add an extra elegant touch to a special card, gift tag, or whatever you like.
Selective Embossing Technique Supplies
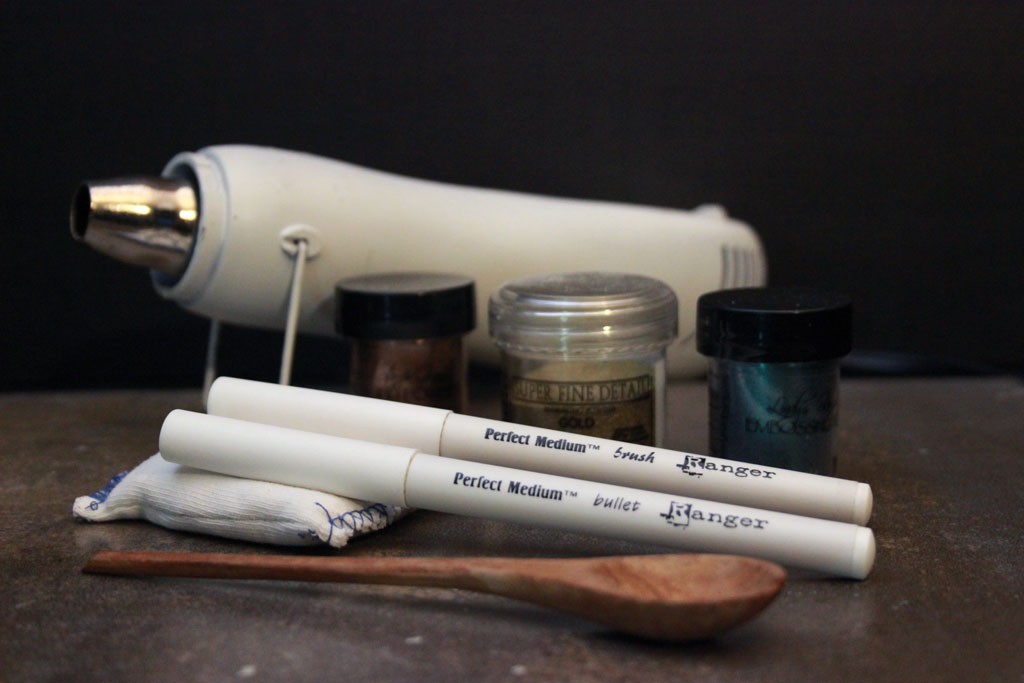
To get these effects, you’ll need a few supplies:
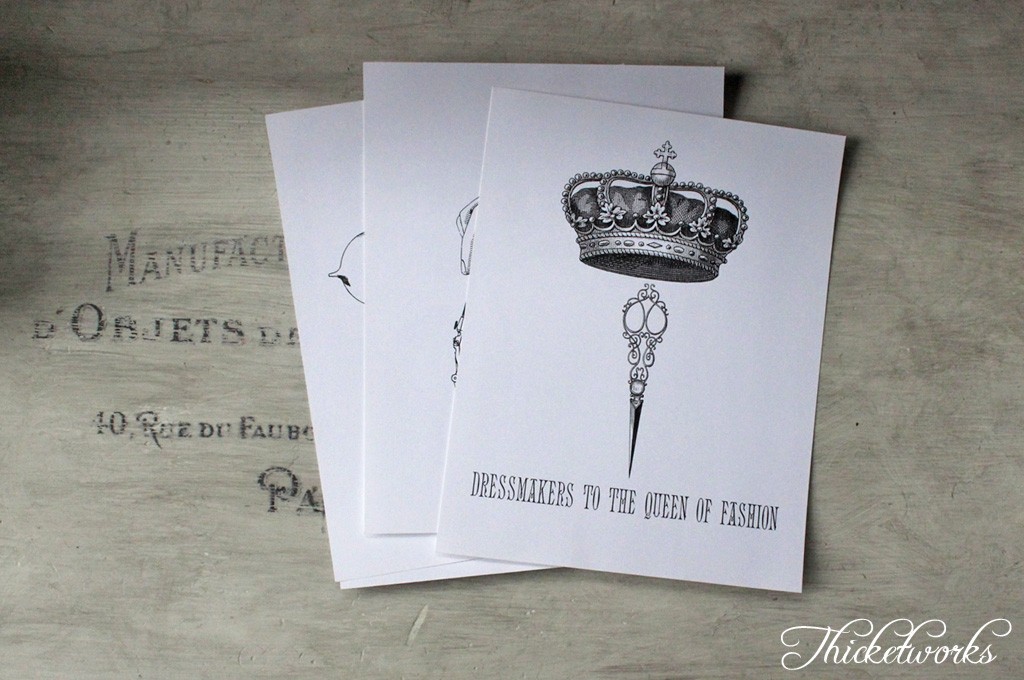
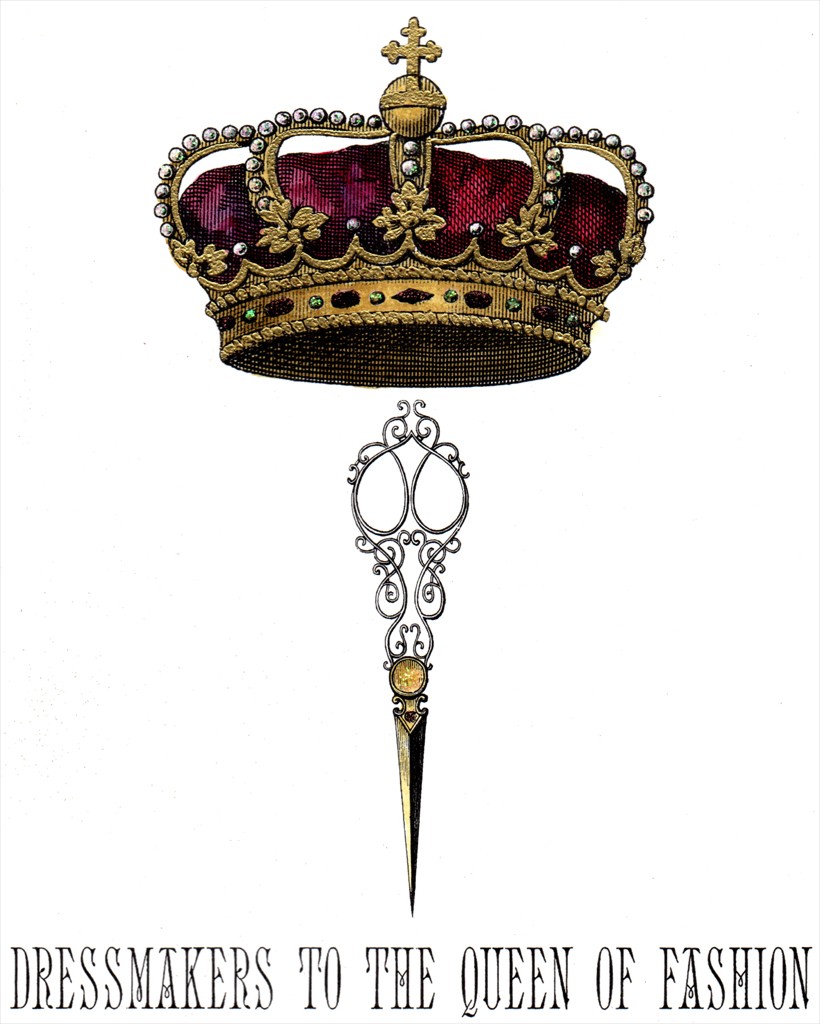
- Your favorite clip-art images printed in fairly large scale on basic cardstock (I recommend laser prints to ensure that wet media doesn’t ruin your print)
- Here are the fantastic Graphics Fairy Images used in this post:
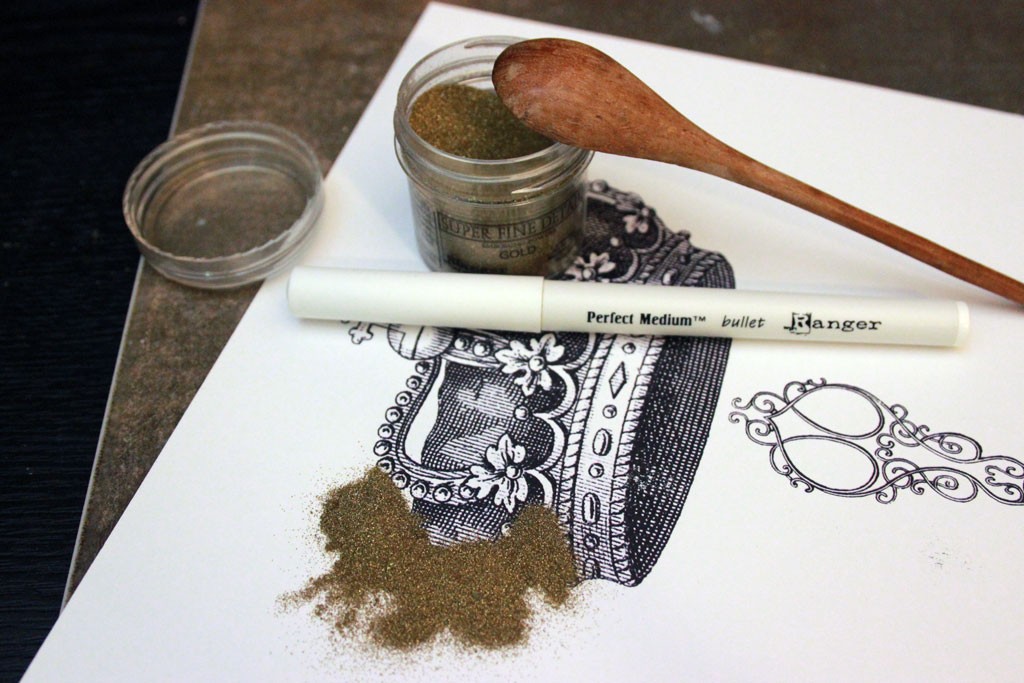
- Ranger Perfect Medium Pens
- Here are the Embossing Powders used in this post:
- A heat tool
- An anti-static embossing pouch
- A small scoop or spoon
- Fine tip paint brushes
- Your favorite inks – I like Bombay Inks, Distress Inks, and DIY Spray Inks
- Your favorite glitter glues
Instructions for Metallic Embossing
Step 1) Gather up your favorite printed clip art designs
Step 2) Swipe the surface of the cardstock with an anti-static pouch (this prevents tiny particles of embossing powder from adhering where you’d rather they didn’t). If you don’t have an anti-static pouch, try using it a used dryer sheet instead. Make sure it’s used, and not new, or it will have the opposite effect!
Step 3) Select the area of the design you want to emboss, and use your Perfect Medium Pen to fill that section with Perfect Medium. This is the ‘glue’ that your embossing powder will stick to. The Perfect Medium is colorless, so it can be a little tricky to work with.
Note: If you will be embossing large areas of the design, work in sections: complete your embossing process on one area, then move on to the next. This will prevent your Perfect Medium from curing before you have a chance to cover it with embossing powder.
Step 4) Spoon a generous amount of embossing powder over the Perfect Medium before it dries:
Step 5) Return the excess powder to the jar, so that you can reuse it in other projects. If you are happy with the placement of the powder, then melt the powder with your heat tool. If not, use the tip of your fingernail to wipe away the powder you don’t want, then melt away.
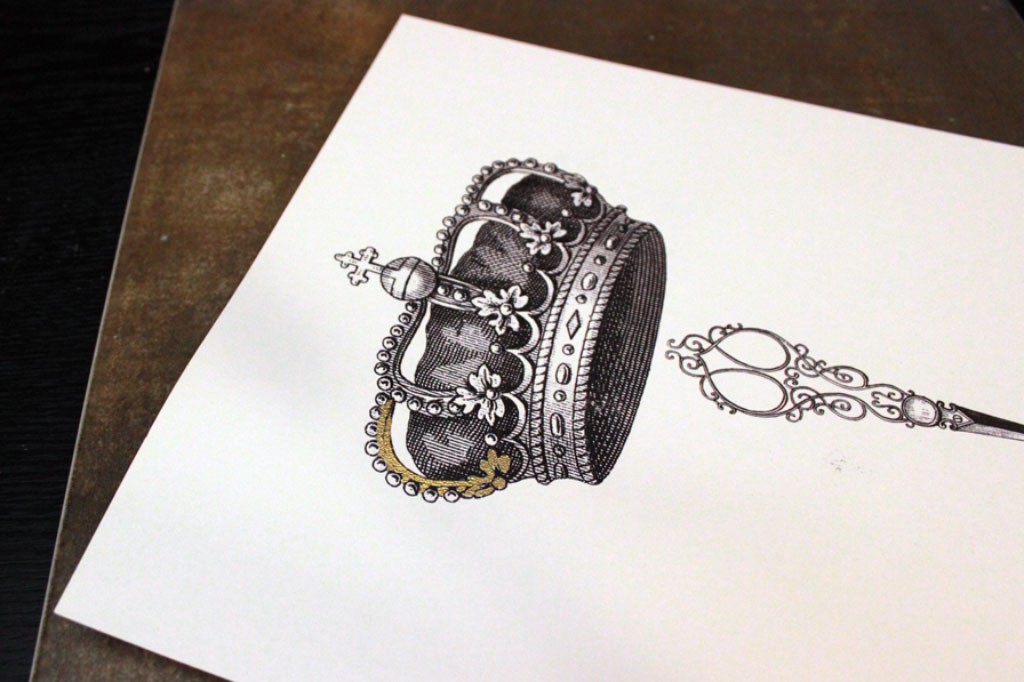
Embossing a design in small sections:
Step 6) Continue applying Perfect Medium and embossing powder, then melting each area until you have completed the design. Such a beautiful effect right?!
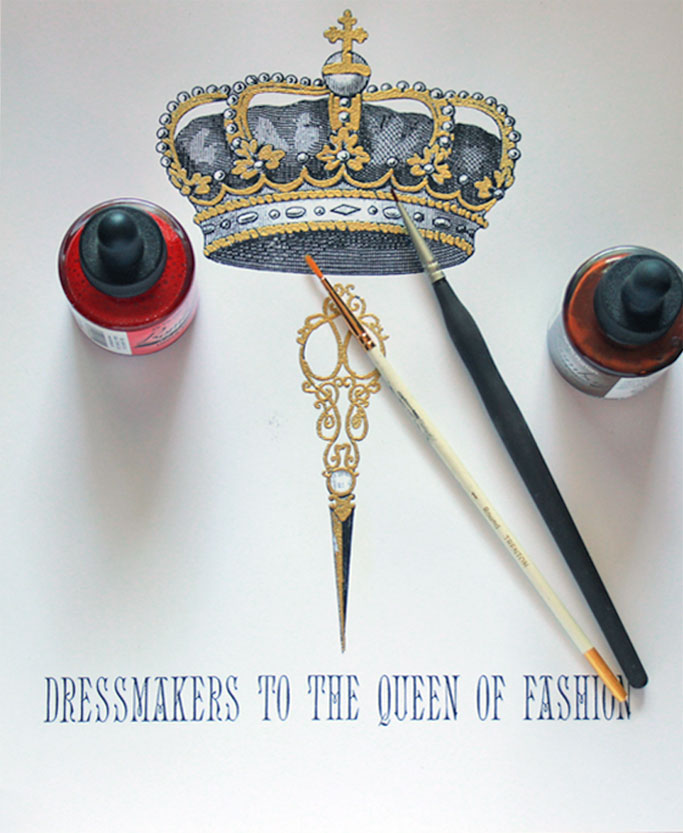
Step 7) At this stage, you want to carefully brush your inks onto the areas that you wish to color.
Step 8) The next step is to add dots of glitter glue wherever you want a touch of bling.
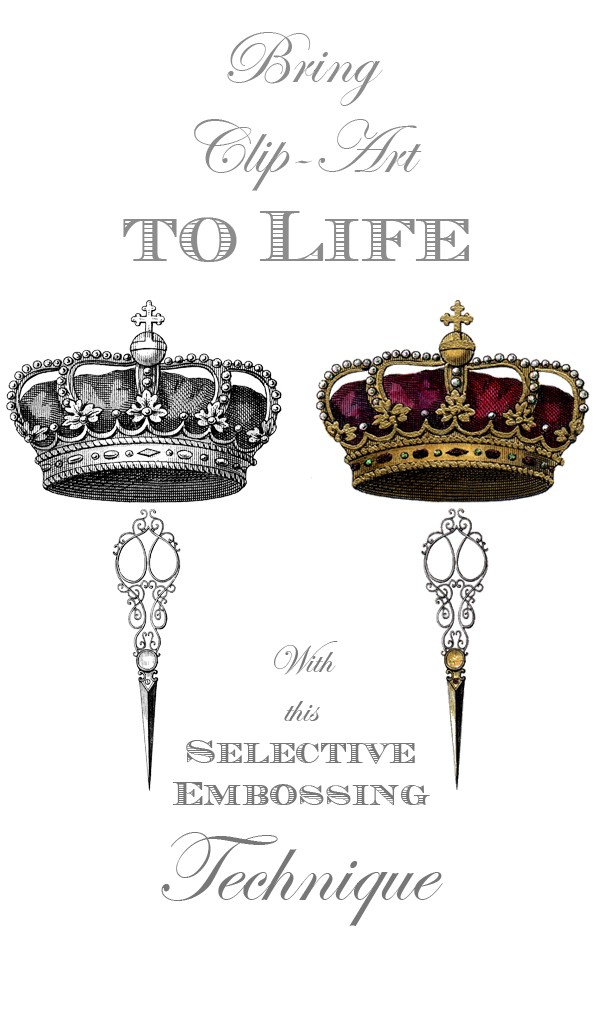
And that is it! It really takes very little time, and the results can be quite striking as you can see below:
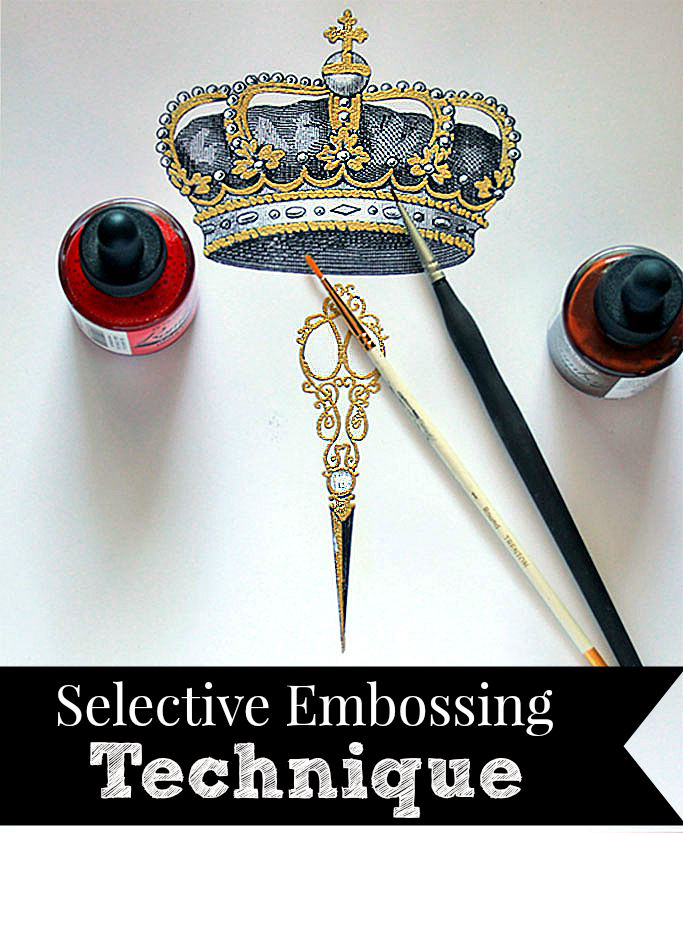
How gorgeous right? That Crown image looks to be fit for a Queen now, with all that metallic goodness!
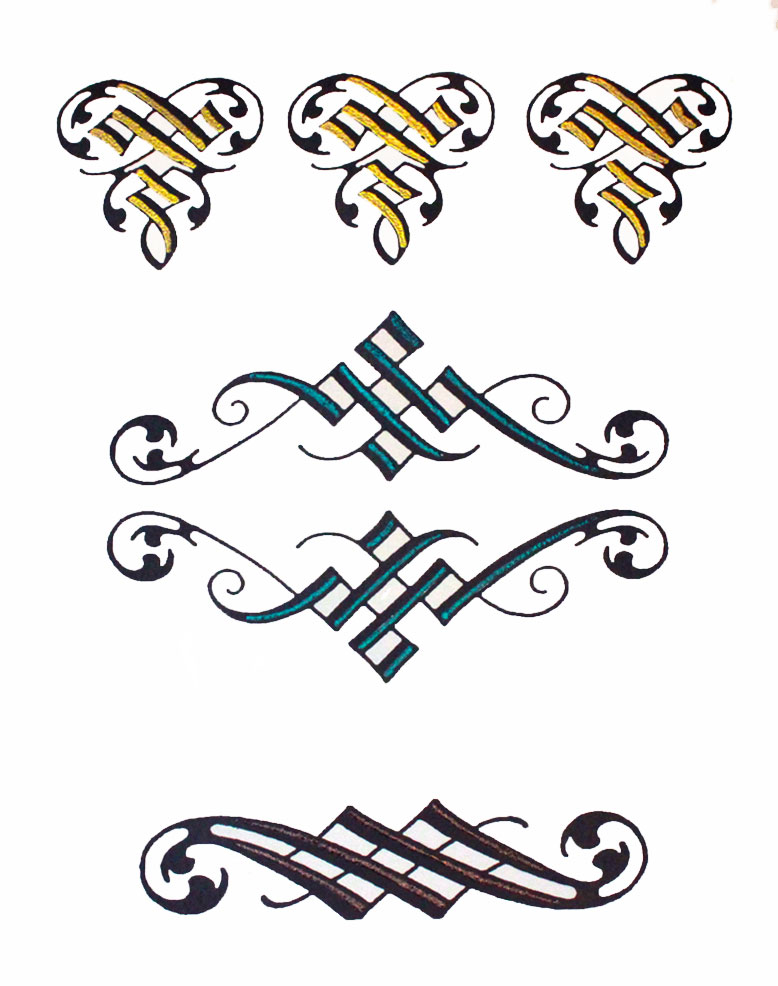
Simple designs can also be quite effective, see the example below:
Create a collage, and go all crazy with this technique if you like!
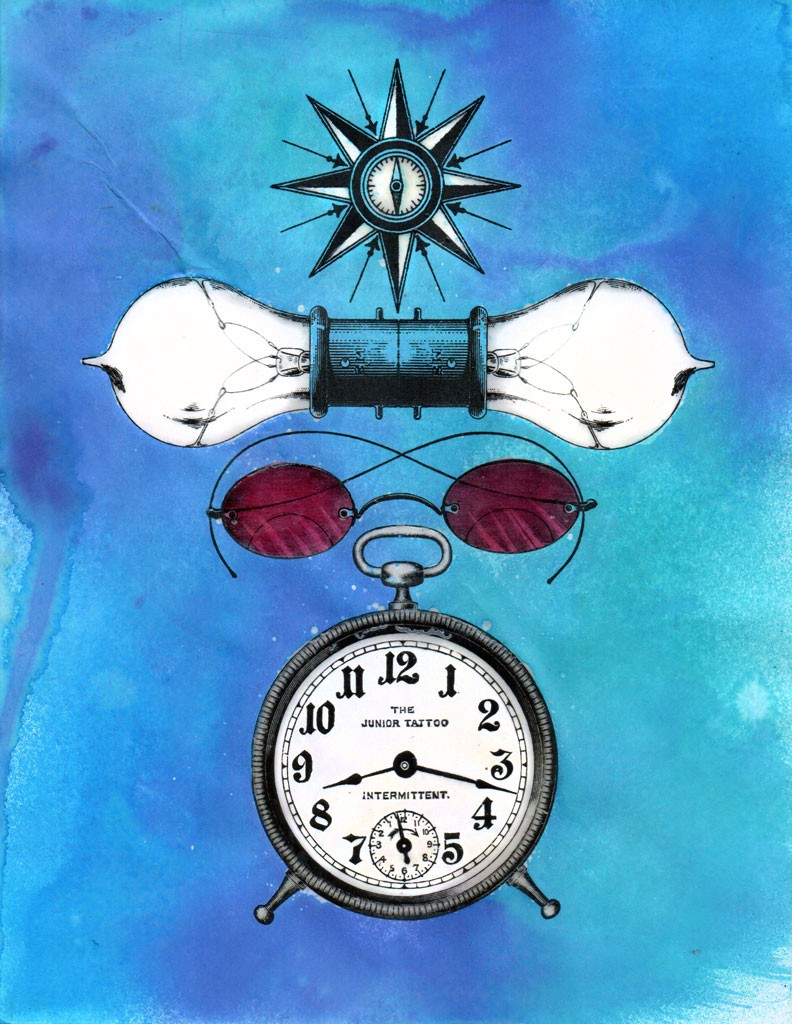
This design was enhanced in several different stages:
First, the lenses of the spectacles were colored with inks. Next they were followed by adding 2 layers of Ultra Thick Embossing Enamel to protect the color.
After that, the areas that are white were coated with 2 layers of Ultra Thick Embossing Enamel, to create a resist. And then Finally, some DIY Spray Inks were splattered everywhere! I’m quite pleased with the final result and just goes to show how far a little experimentation can take your projects. Don’t be afraid to try things!
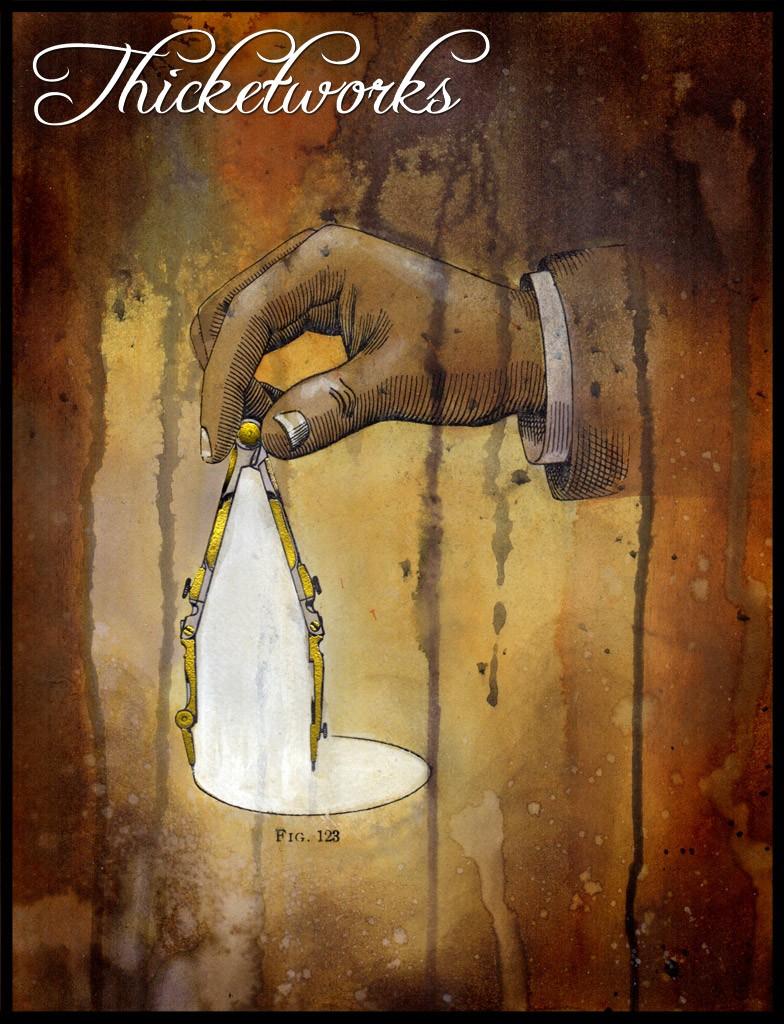
This final design was embossed only on the compass prior to coloring it with some DIY Spray Inks, watercolors and some Distress Inks:
I love using Selective Embossing to enhance printed graphics! Add it to your Artistic Arsenal, and create distinctive and eye-catching images in no time! If you like these types of Papercraft projects, then please check out my post on 7 Distress Ink Techniques Click HERE, as these additional methods pair up well with the ones in this post.
Thanks for joining me for this fun technique demo. If you enjoy quirky creative techniques, stop by Thicketworks and join the mayhem!
Take Care,
Heather
Hello! Are you new to The Graphics Fairy? Welcome, we’re so glad you’re here! Browse around to find thousands of Stock Images that you can use in your projects or designs! We post new Vintage images every day, as well as projects and DIY’s too! Need more info about this site? Try my FAQ page.


Rupa says
Going down the memory lane here…to remind myself of some amazing projects you have shared. Now, the proud owner of that compass hand piece 🙂 Can’t say enough thanks !
graphicsfairy says
Thanks Rupa, so happy for you!
Heather Tracy says
Oh, I’m just now seeing this, dear friend! I have such fond memories of all the times you’ve offered support and encouragement – thank you. xox
Dora says
Well they say your never to old to learn. Thanks for the new lesson.
Heather Tracy says
Thanks so much for stopping by, Dora! Hope you have fun with this technique!
Mary Boling says
You are amazing my friend!
Heather Tracy says
Dear Mary, what a joy to see your comment! Thank you for your kind words, they mean the world to me!
rkramadh says
You always have the most amazing techniques. Your tuts are the best; easy to follow and try it ourselves.
Heather says
Dear rk – thank you for your kindness! I love to share techniques, because I love inspiring folks to explore their own creativity! So glad the step-by-step was clear – I’m always grateful for feedback!
Christine Eaton Jones says
This is wonderful tutorial. Thank you.
Heather Tracy says
Hi Christine, thanks so much for your kind words. It’s so much fun to share favorite techniques!
J K Weigle says
Can I use a hair dryer for my heat source?
Heather Tracy says
Hi JK, a hairdryer blows a high volume of air, which makes it unsuitable for embossing projects- the powder will blow away before it can melt. A heat tool generates several hundred degrees of heat and a very minimal volume of air flow, making it a perfect tool for this technique.
Cris H. says
Looks like a lot of fun, your projects is fab!
Heather Tracy says
Hey Cris, you’ll like it if you try it…thanks for the kind words!
Linda K says
Great technique and instructions. Thanks.
Heather Tracy says
Thanks Linda! It’s fun – give it a try!