DIY Shrinky Dink Buttons
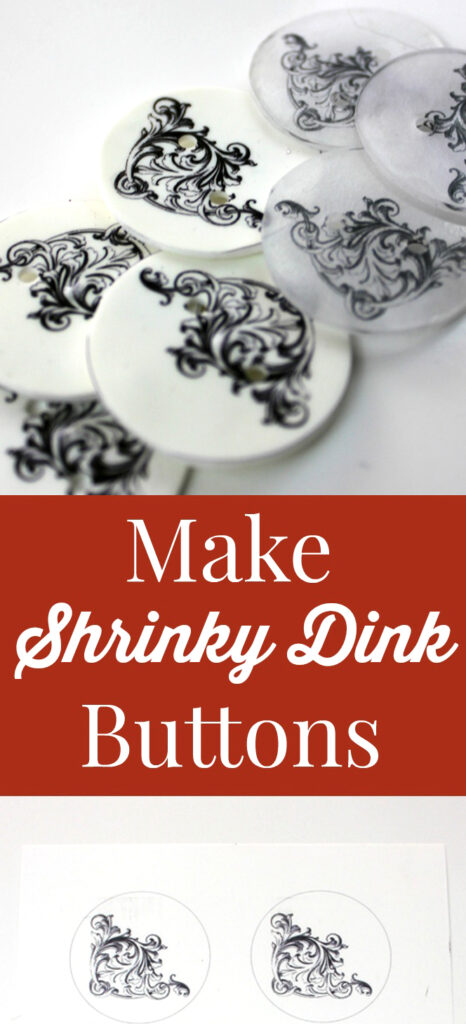
Hi everyone, it’s Andrea from The Cottage Market. Hope everyone is doing wonderfully! Today I have a Super EASY and Super QUICK DIY Shrinky Dink Project for you. You are going to feel like you are 7 years old kid again…really! Today we are playing with Printable Shrinky Dink Film and we are making Shrinky Dink buttons!
By the way…just think of the possibilities for your Shrinky Dink Designs …you could make buttons for anything in any style, and any color, with the endless amount of images that await you here at The Graphics Fairy. I chose a very classic scroll image from HERE …for our sample today but you can go wild and I have a feeling you will! Now it is time for you to see how EASY this DIY crafts idea is!
Did you use this stuff when you were a kid? Remember how much fun it was? I remember feeling like it was a magic substance. Haha! It’s even better now that we all have printers at home and can print our own designs on it. It really takes it to a whole new level.
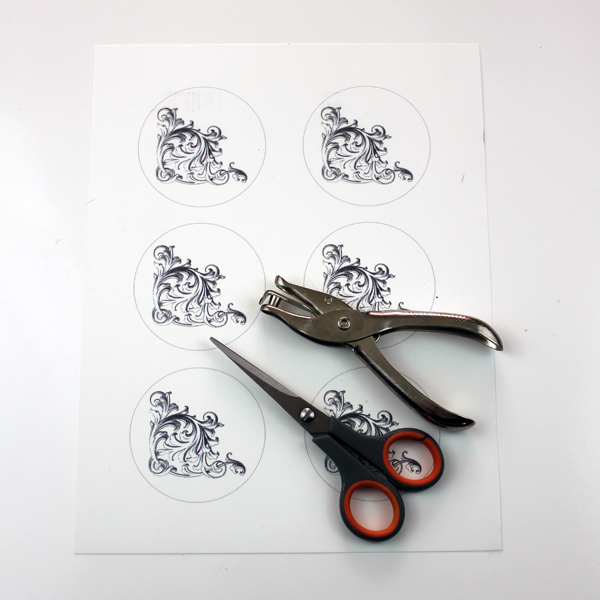
SUPPLIES:
- Scissors
- Hole Punch
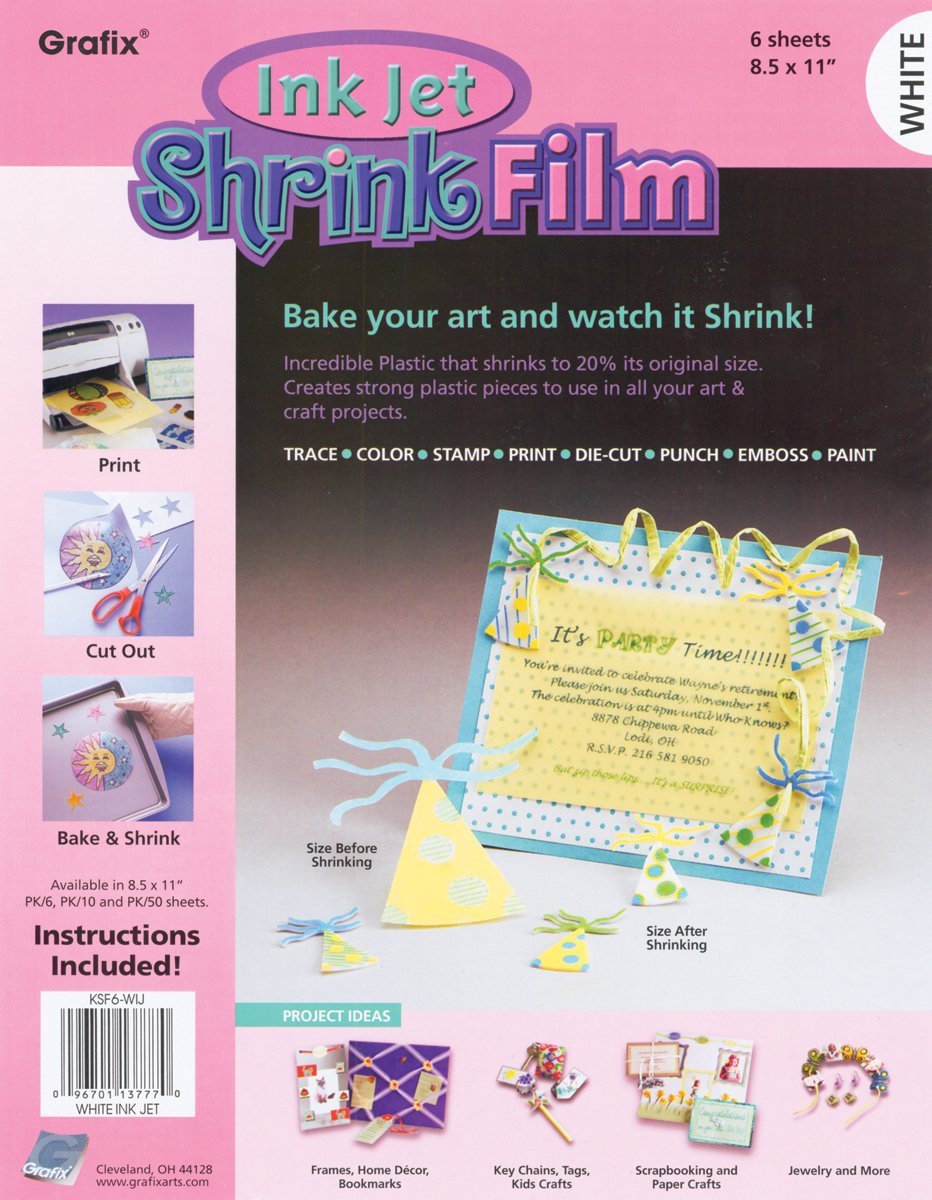
- Inkjet Printable Shrinky Dinks Film (I used white and frosted) (Michaels carries it too usually)
- Inkjet printer
- Toaster oven
Instructions for DIY Shrinky Dink Buttons:
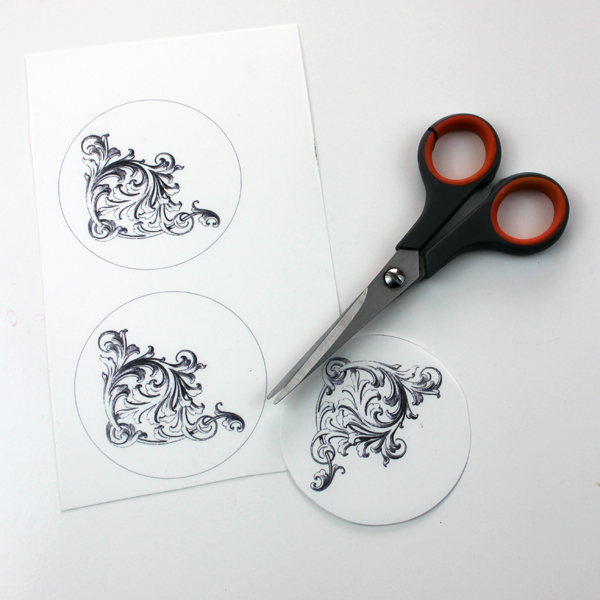
When you print these on the Shrinky Dink Film you will have to make them the size stated on the Shrinky Dink Instructions …your original image has to be almost 2 1/2 times the size of your final product…hence…”shrinky”! Once you size your items and print them…of course it is time to cut them! (heads up…let them DRY!)
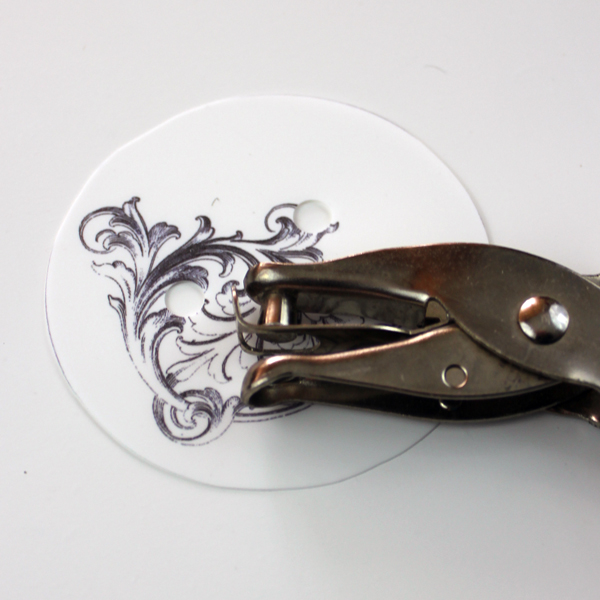
Now all you have to do is punch the holes with the hole puncher, where you want them on your button! I did a two hole buttons…you can do 4 if you like. Remember, the size of the punch is fine…it will SHRINK to the right size!
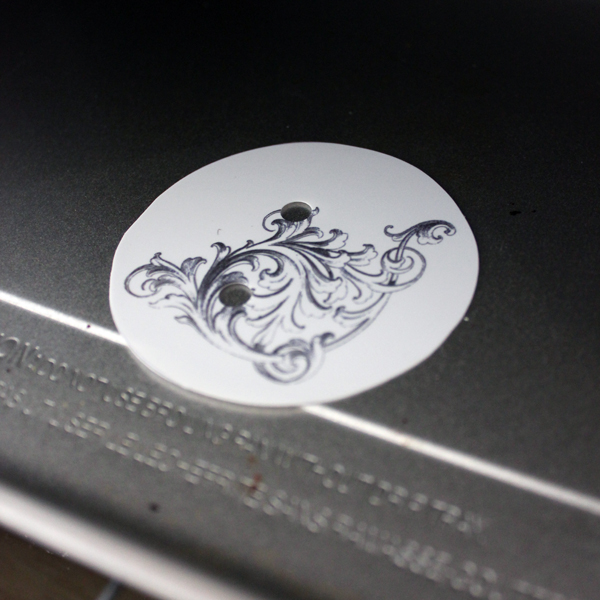
Now it is time to move your pieces over to the Toaster Oven where you will follow the manufacturers directions. I have a few things to tell you though…it takes much less time to bake than they say. Mine shrank and flipped in about 60 seconds. I did mine individually so I could take it out immediately and make sure it was flat…it is worth doing that so you have a quality product in the end. Just keep repeating until you have the amount you would like! Oh yes and make sure that toaster oven baking tray is clean and that you have good ventilation!
It is really that easy my friends! You can use this premise to make jewelry, and other plastic pieces, in all different shapes and sizes…there are so many possibilities and so many images to work with! But if you need original and unique buttons…this is surely a great way of making them!
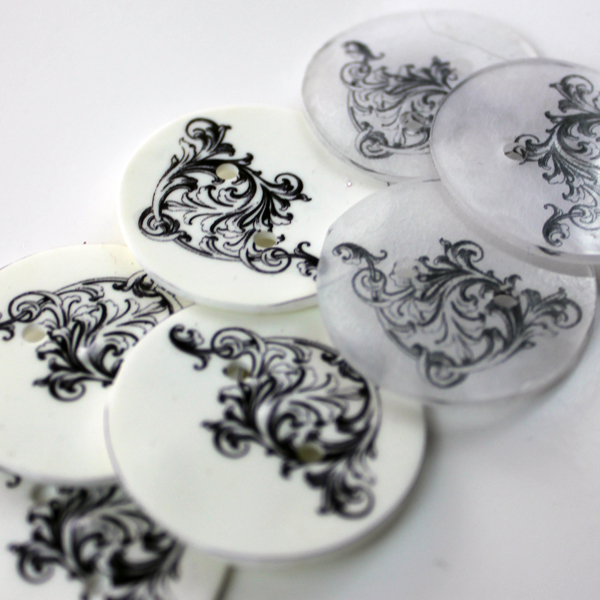
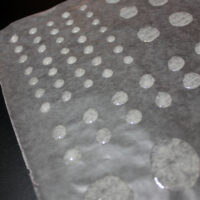
Notice the difference in the photo above, between the two kinds of plastic. You can see the white Opaque style on the left and the clear ones on the right. Keep that in mind when you are buying this product, if you have a personal preference.
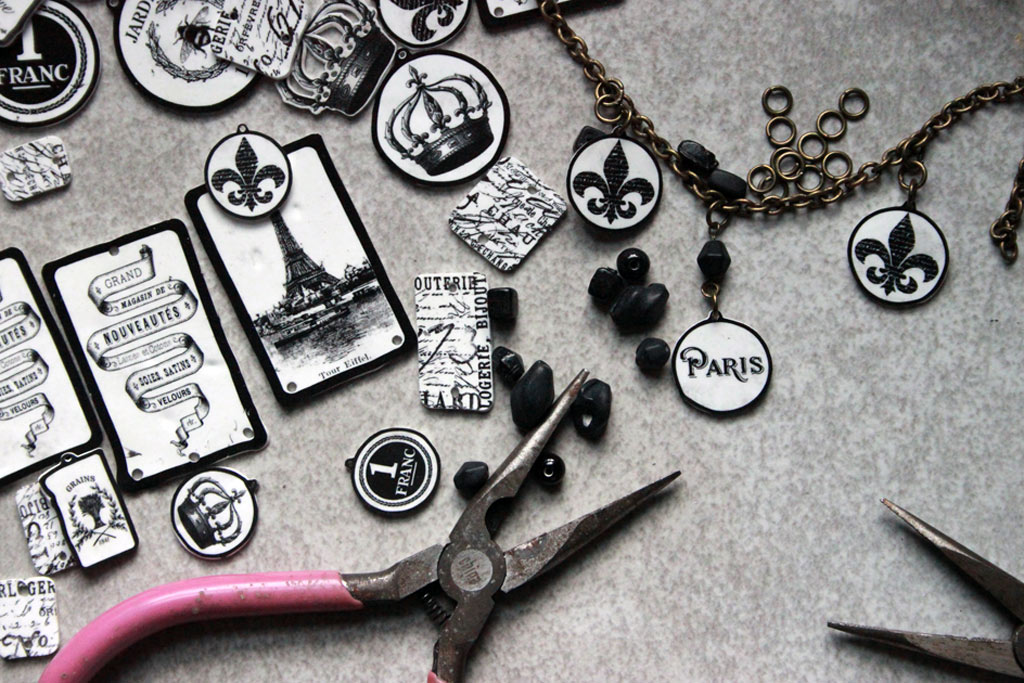
If you’re interested in learning how to make Shrinky Dink Jewelry, you might also like a beautiful Shrinky Dink Paris Charm Bracelet Project HERE. This is a more complex project that will really show you how much you can do with this product!
Sure hope you enjoy this little DIY and that you make Shrinky Dink Buttons at your house! I think these would make such a cute handmade gift. See you again soon and in case you would like to visit me…
I hang out at The Cottage Market…would love to see you there!
Hugs…Andrea!



Judith says
Perfect timing! Was going to buy buttons but waaay too much. Had already decided to do shrinkiy dinks and your post just confirmed it for me. Cool-thanks 🙂
graphicsfairy says
Oh yea! So glad the timing was perfect, have fun Judith 🙂
Anna J Violette says
I actually have a shrinky dink machine! lol.
Karen Watson says
Oh wow! That sounds so cool Anna, I didn’t know there was a machine like that!
s a park says
I have looked for the frosted version of this shrinky flim, but can only find white, clear and matte. would your frosted be the matte?
thanks for the project, looking forward to trying it.
Karen Watson says
Did you try checking on Amazon for the Frosted? They have a couple of different brands, try searching for shrink plastic or shrink film. I hope that helps!
Sue K says
Will the finished buttons be washable?
Karen Watson says
Hi Sue, I just found this article http://www.luckysquirrel.com/info_sealers.html It looks like you will need to seal them, depending on your printer. This article has a list of sealers that will work with cold or warm water on the gentle cycle, to keep your design intact. I hope that helps!
Tony Stubblefield says
When I used the Shrinky Dink brand white printable shrink plastic for an earring project I found that they did not shrink proportionately, so that my circles turned into ovals. Have you found this to be the case with the Grafix brand?
Karen Watson says
Hi Tony, I’m not sure which brand Andrea used on these. I couldn’t find Shrinky Dink Printable plastic on Amazon, so I linked to this brand instead, since some readers may not know about this type of product or how to find it. The reviews are quite good on this brand, you may want to read through them and see if you can find the answer there.
Nana April says
Cool I never thought about making buttons… Guess what is on my to do list? HA ha ha
Thanks for sharing Karen Love this idea!!
XO Nana
Karen Watson says
You’re welcome Nana!! Have fun making these!!
Lucy~Caitlyn says
What’s a toaster oven? I’m in England :~)
Karen Watson says
Hmm. I guess you guys call it something different! It’s a little mini oven that you keep on the counter top of your kitchen. You put toast in the top of it, or you can open the oven door on the side and cook something smallish in it, like an open faced grilled cheese sandwich. It’s great for shrinky dinks, because you can take it out to your garage while they cook and then you won’t get the smell in your kitchen.
Larry says
Simply do a search for “toaster oven” and be enlightened.
Rupa says
Oh what a cool project!! Thanks for sharing this, your buttons are really classy looking. That image gives it that antique look. I bet you can indeed antique it with some alcohol ink or some such thing….tfs!
Karen Watson says
We’re so glad that you liked it Rupa!!