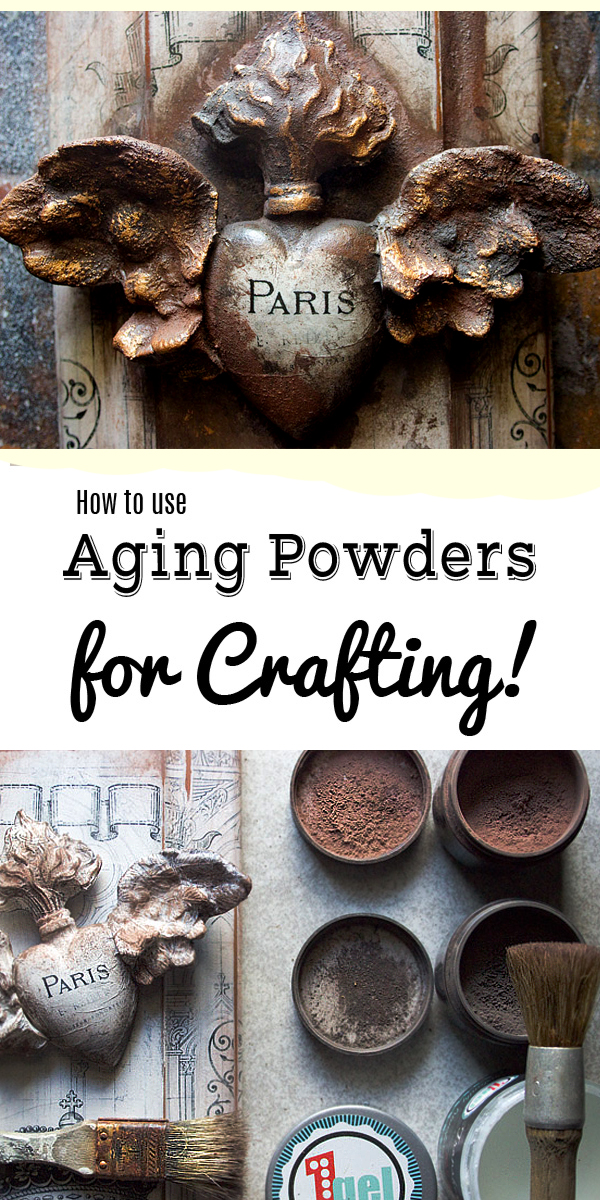
Aging Powders are a wonderful way to add a Shabby, Farmhouse or Faux Rust finish to your crafting projects!
– This post contains affiliate links –
Sandra Evertson supplied the Relics & Artifacts ® for this piece – Thank you!
Heirloom Traditions supplied the Aging Powders and 1Gel for this project – Thank you!
Hey there! It’s Heather from Thicketworks…today we’ll be exploring how Aging Powders can enhance your crafting projects.
If you’d like to follow along, here’s what you’ll need…
Supplies:
- A wooden plaque, or similar (I used a salvaged drawer front)
- DIY Chalky Paint or White Gesso
- Printed Tissue Paper
- Sandpaper or a heavy duty Emery Board
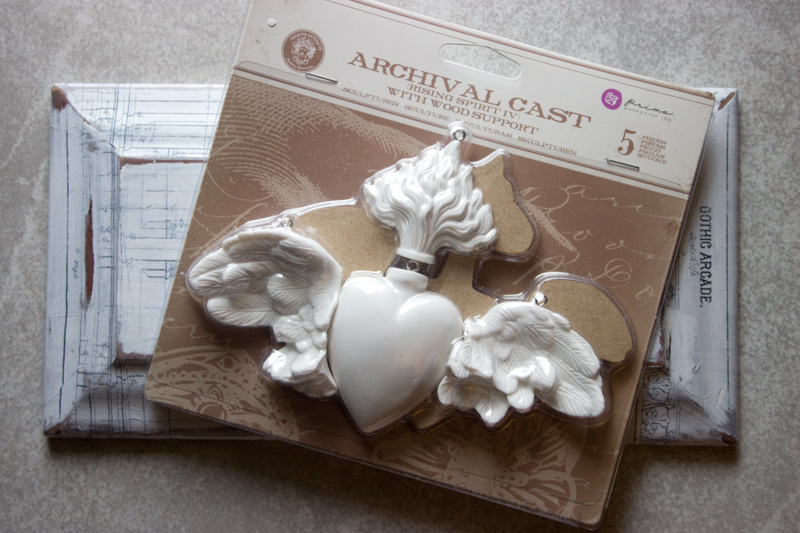
- Relics & Artifacts® Rising Spirit IV with Wood Support
- Heavy Duty Adhesive (I use FabriTac, and it’s my favorite!)
- Heirloom Traditions 1Gel Transfer and Decoupage Medium
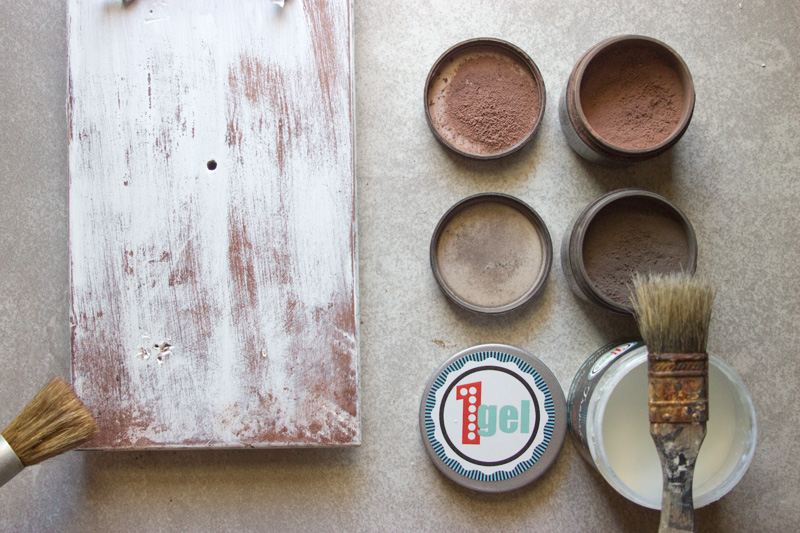
- Heirloom Traditions Aging Powders – Rust Dust and Ancient Agings
- Black Craft paint, thinned with water
- A pair of pliers
- Scissors
- A smoothing tool ( I love these )
- Assorted paint brushes
- Metallic craft paint ( I used Finnabair Art Alchemy Metallique: Steampunk Copper )
- Spray Sealer – I recommend Rustoleum 2x Ultra Cover Matte
Begin by preparing your base.
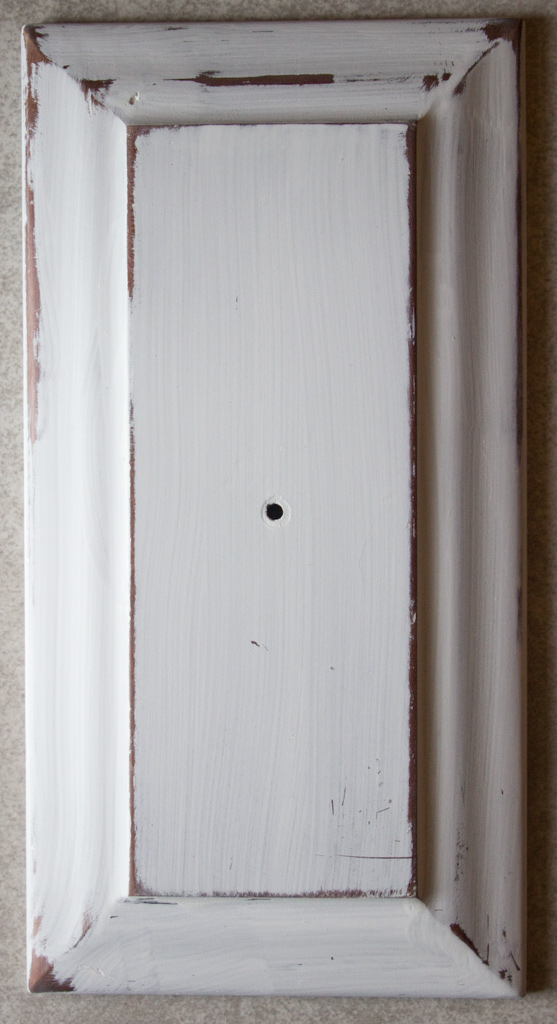
Apply one coat of DIY Chalky Paint, or Gesso, allow to dry.
Distress the edges with a scrap of sandpaper or an emery board.
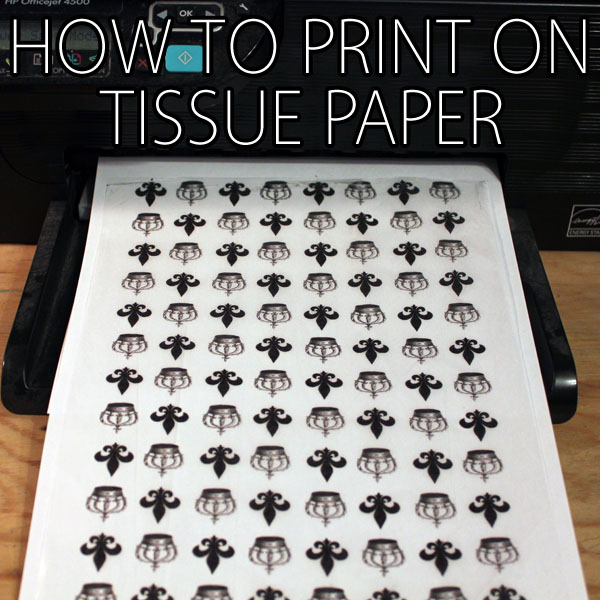
Prepare your printed tissue paper…
To learn how to create printed tissue paper, click HERE to read this wonderful post
by Andrea of The Cottage Market:
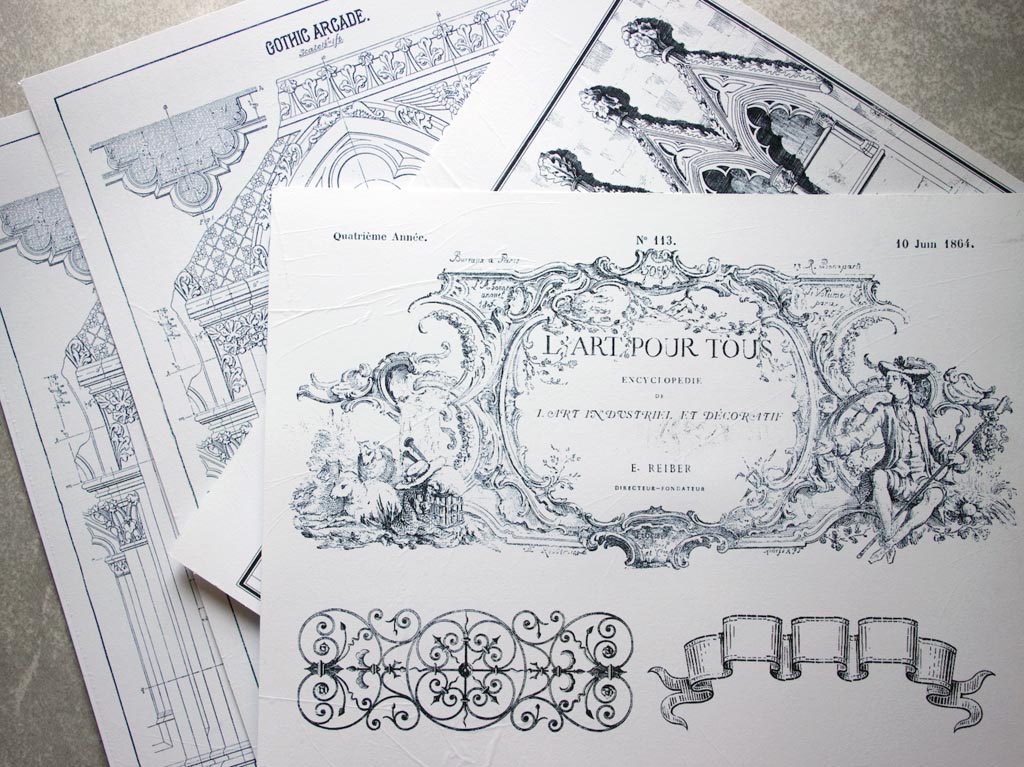
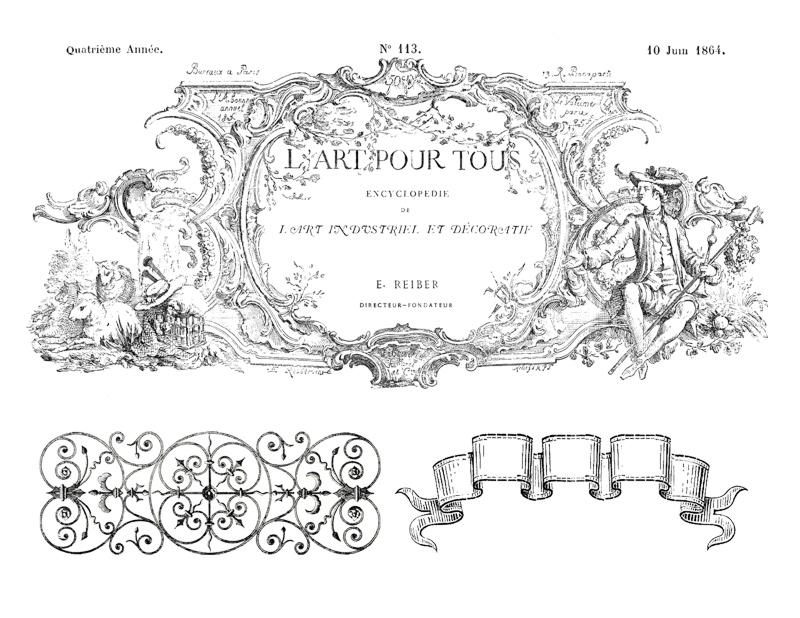
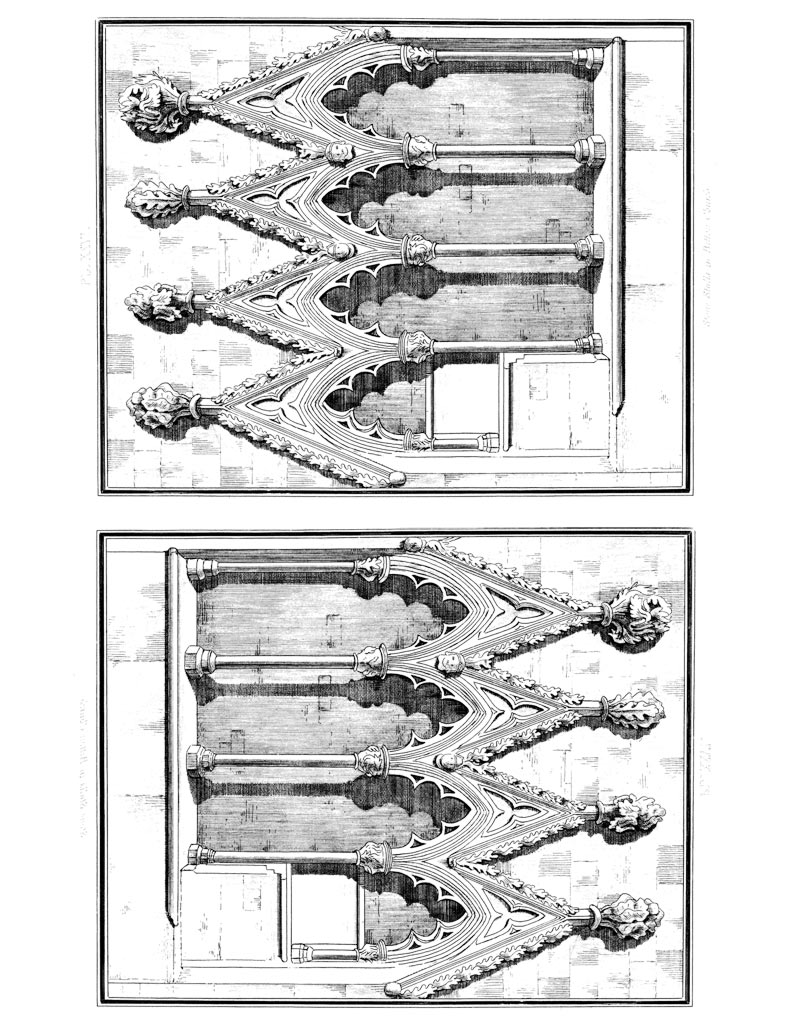
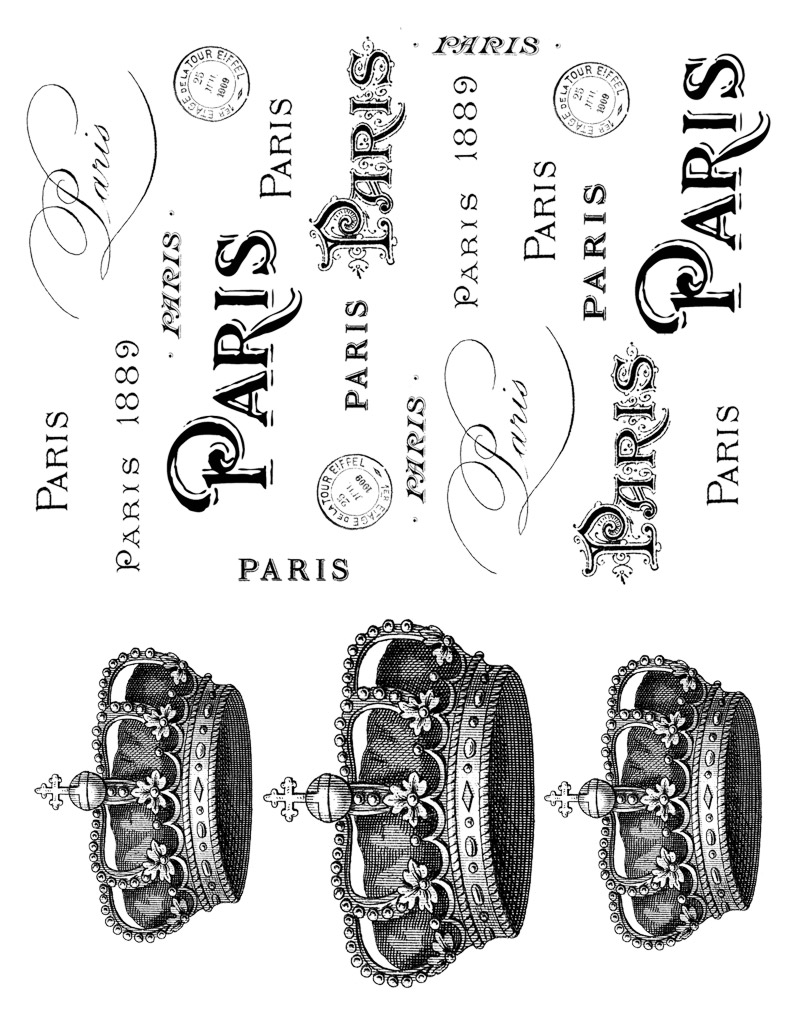
I used a variety of imagery from The Graphics Fairy, all printed out on 8.5 x 11 inch sheets of tissue paper:
Source Images:
Gorgeous French Frame Engraving
If you would like to use the same graphics, I’ve prepared 3 simple collages for you.
Click on the images below to grab your copies:
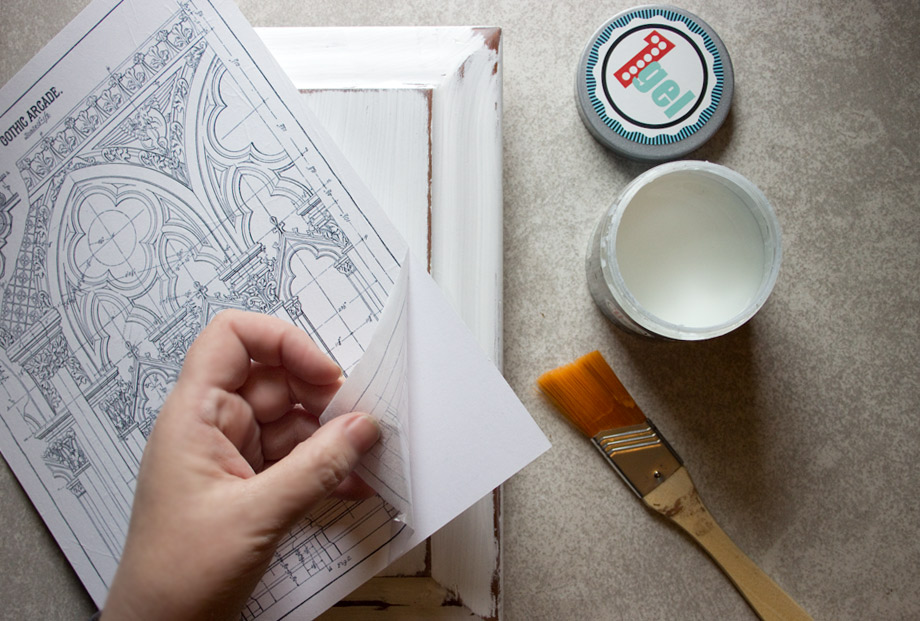
Remove the fragile tissue paper from your backing paper (I used white cardstock as the backing for these printed sheets)
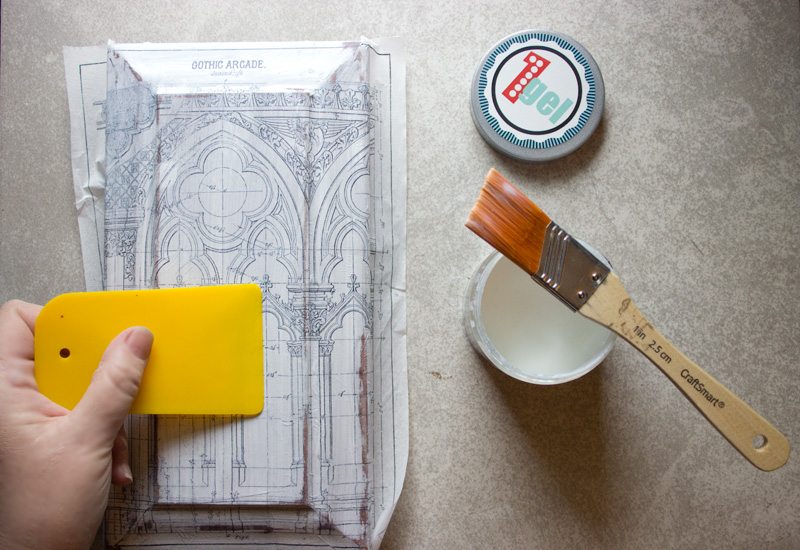
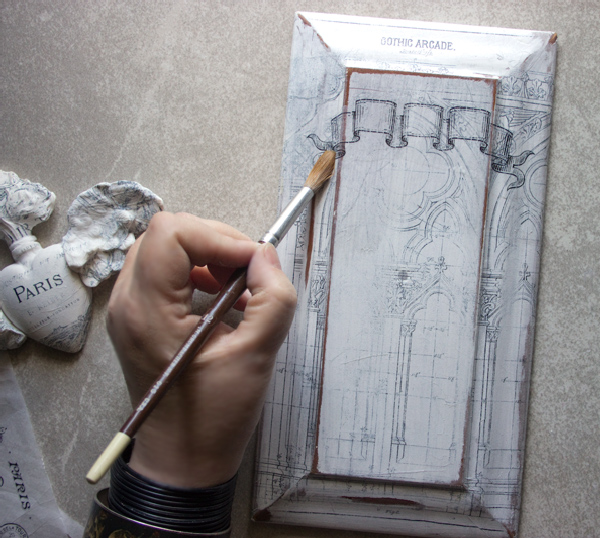
Coat the surface of the wood with a generous layer of 1Gel, and gently smooth the tissue onto it. I use a Spreader tool for smoothing.
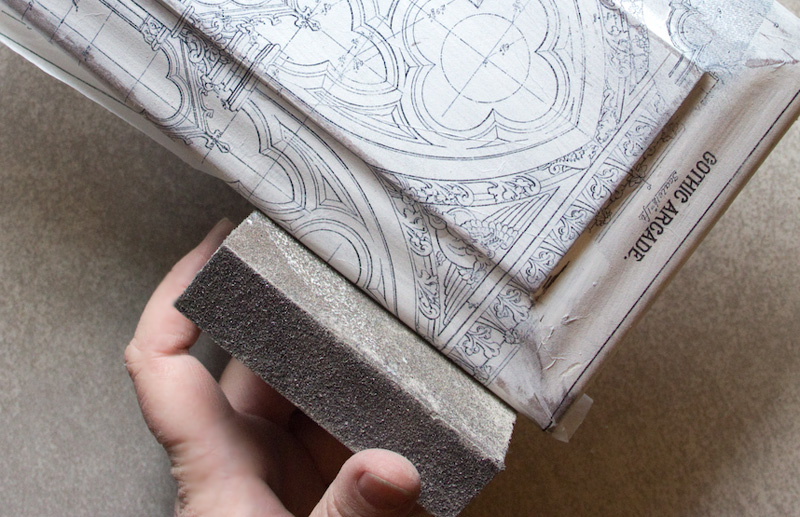
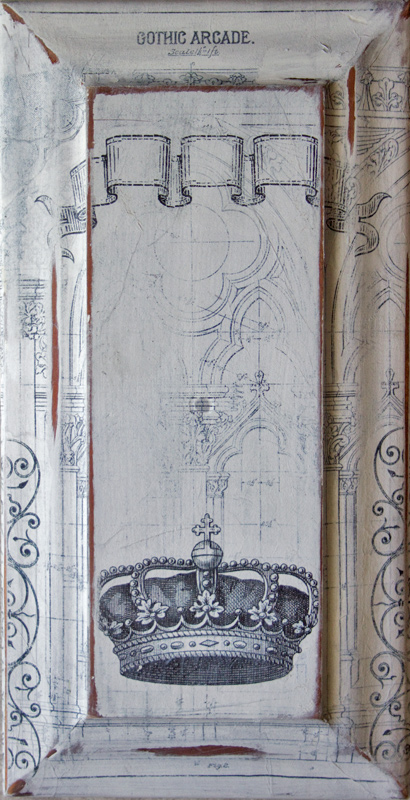
Once the 1Gel has cured (it won’t take long) – use sandpaper, a sanding block or emery board to smooth away the excess paper:
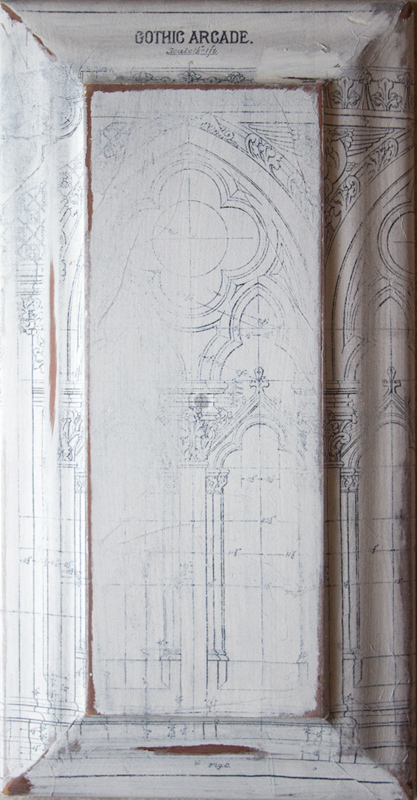
Then distress the same areas as before – This gives a feeling of antiquity to the piece…
Now we can have some fun!
Working with Relics & Artifacts ® is such a pleasure. These high-quality castings are perfect for so many different looks – they lend themselves to endless crafting possibilities!
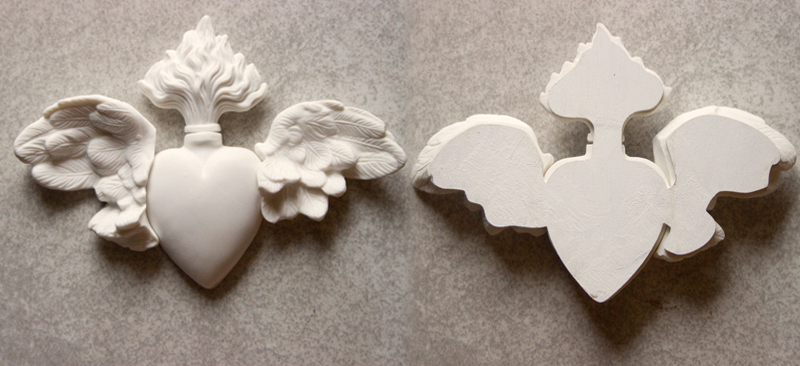
I chose Rising Spirit IV, because the wooden backing makes it incredibly easy to join the parts into a cohesive whole…
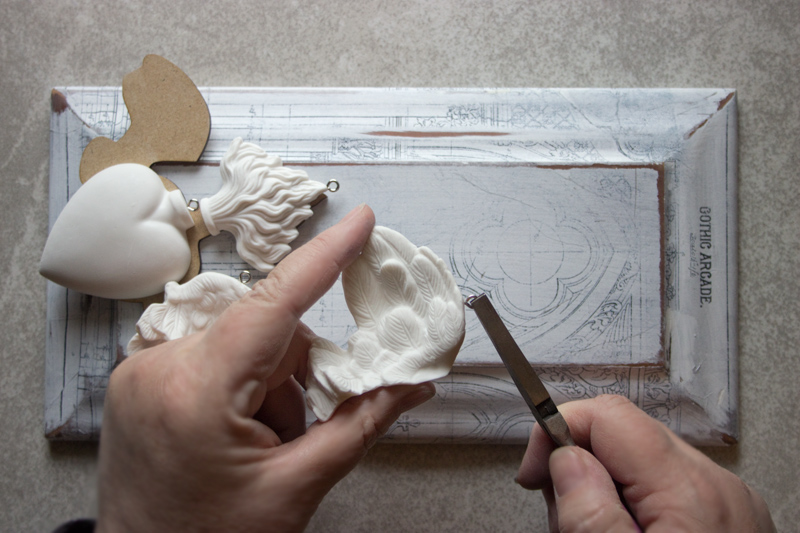
Just gently remove the screw-eyes.
Give the wooden backing a coat of Chalky Paint or Gesso, allow to dry.
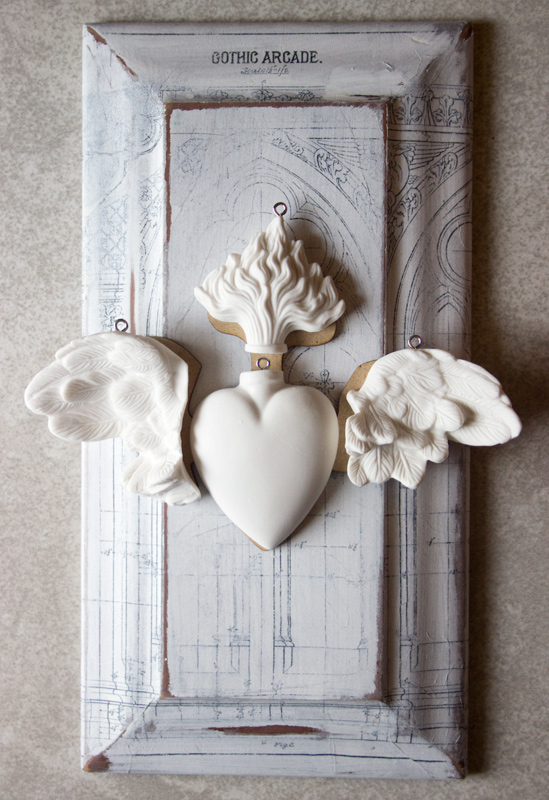
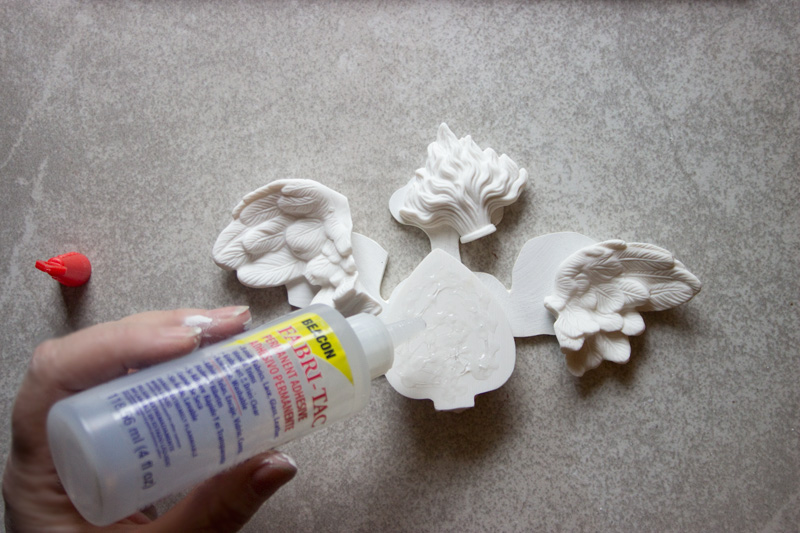
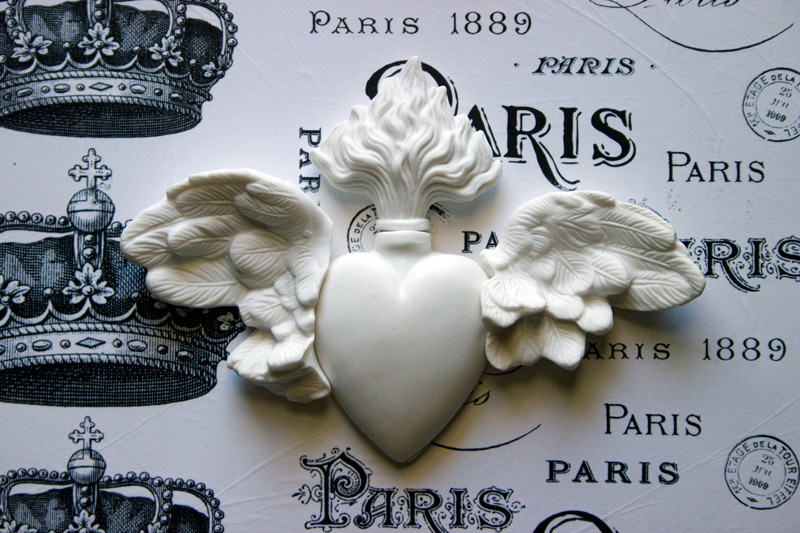
Attach the wings, flame and heart to the backing with heavy duty adhesive and allow to cure.
FabriTac creates a strong bond within 10 minutes.
You can see how beautifully the backing fits the motifs…
Now, put on your designer shoes, ’cause you have some creative decisions to make!
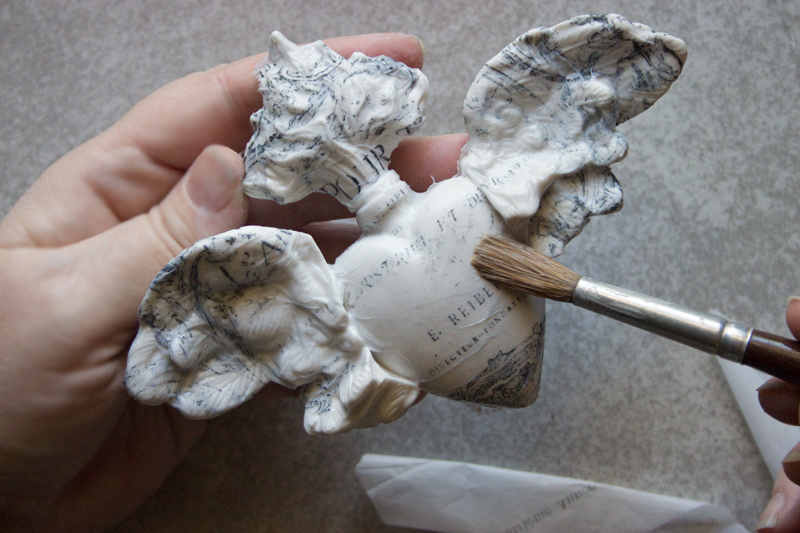
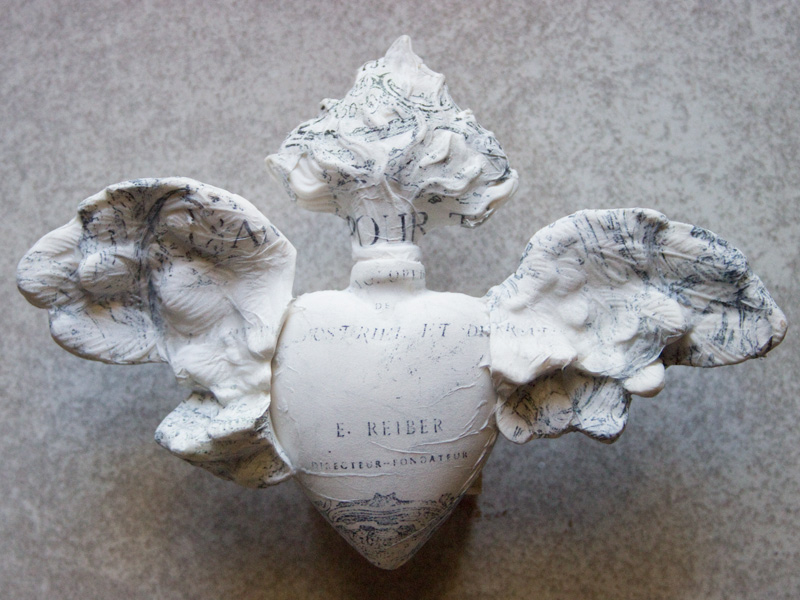
I chose to cover the entire piece with the French Engraving – I wanted a delicate and sketchy feel…
A coat of 1Gel on the piece, then a gentle encouragement with a damp brush is all it takes to bond the paper to the intricate surfaces:
Love this. You could stop right here, for a delicate Toile look. I plan to do just that on a future project.
So pretty!
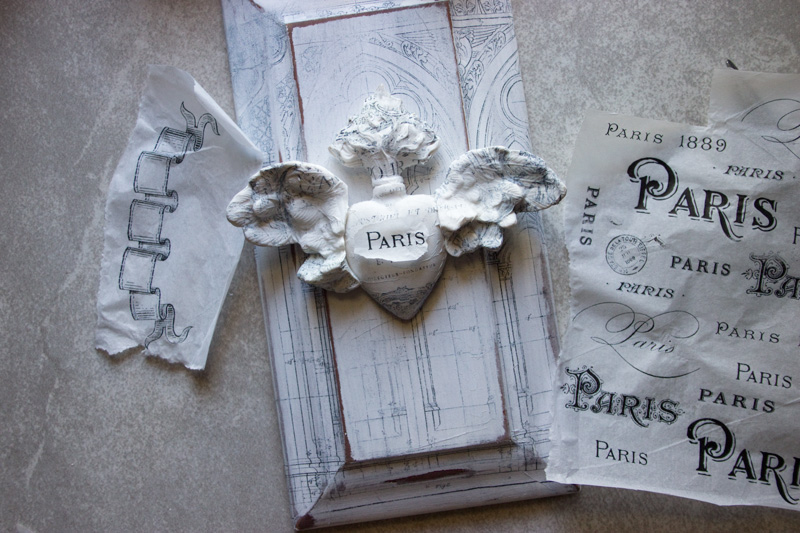
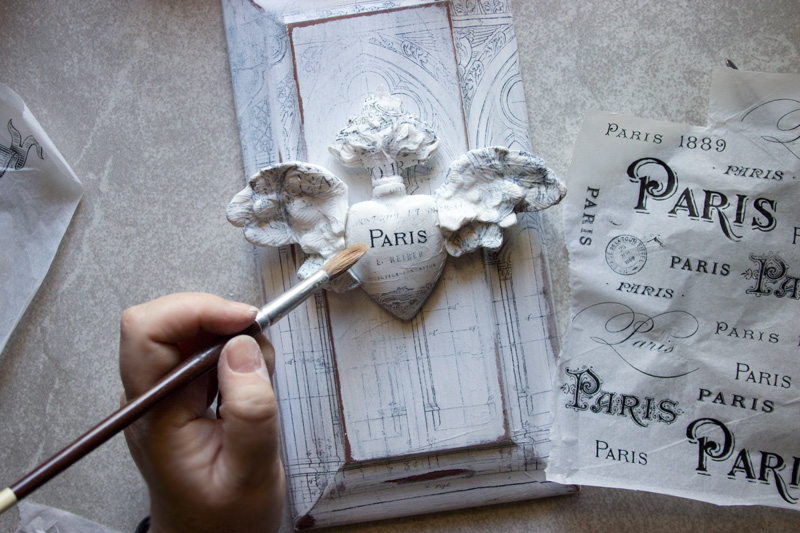
Continue adding Typography and graphic motifs, using 1Gel and a brush…
The tissue is so thin that one layer just melts into the next, allowing you the opportunity to create wonderful arrangements of text and graphics however you choose…
This banner just thrills me. I use it ALL the time…layer it right over other imagery for a lovely effect:
Once the 1Gel has cured, distress the surface once more with sandpaper, to reveal the wooden under-layer:
Now, it’s time to add a bit of character!
Have two brushes handy for this part:
- 1 to apply the 1Gel
- 1 to apply the Aging Powders
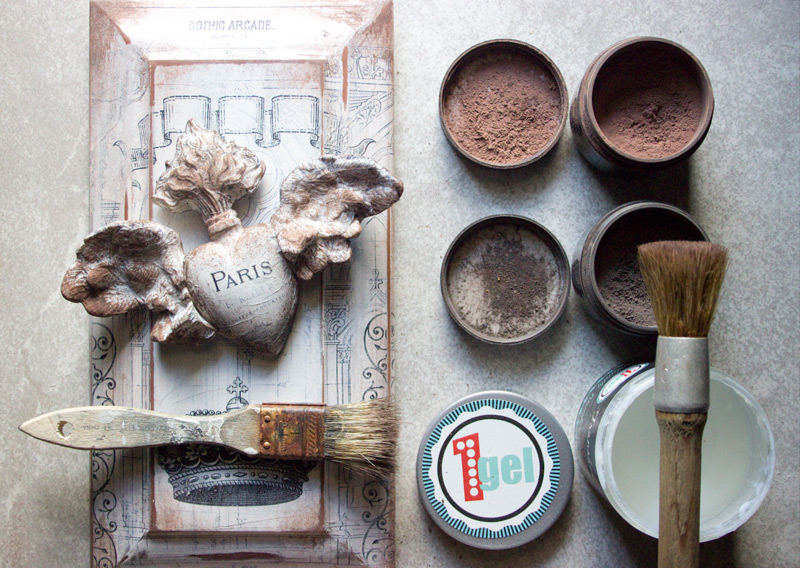
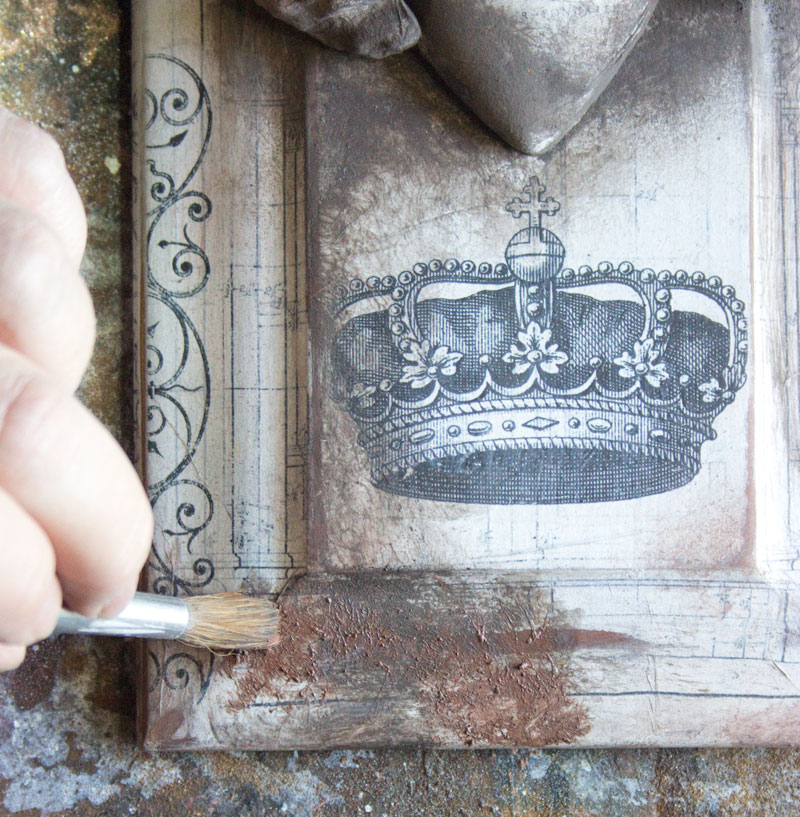
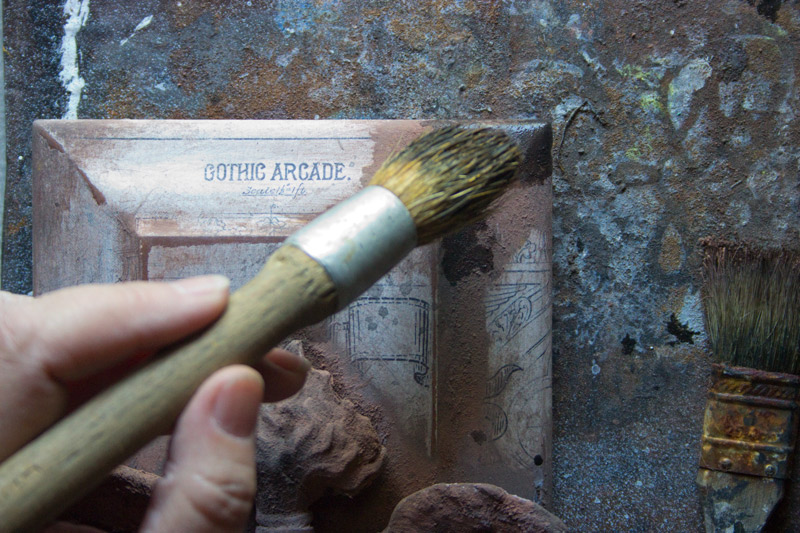
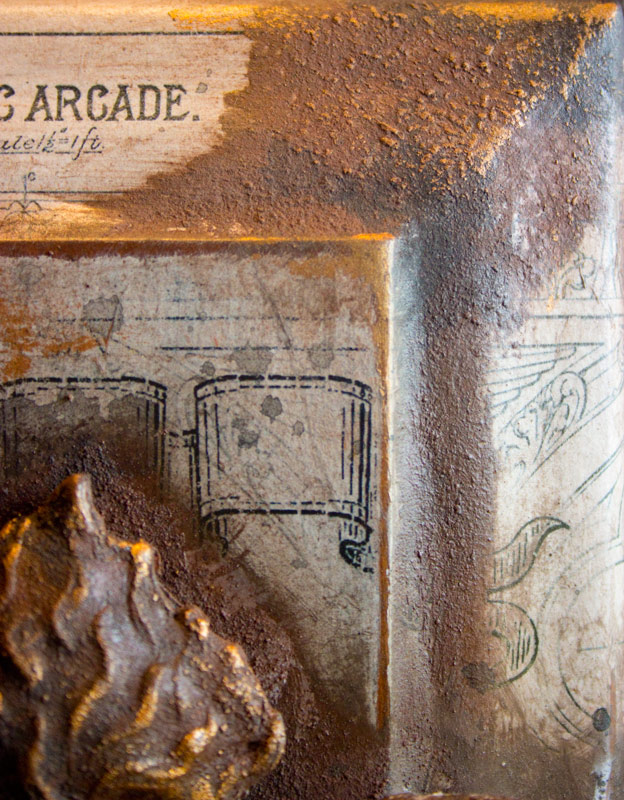
Dab Heirloom Traditions 1Gel wherever you want to see a bit of rusty goodness, then tap a generous amount of Rust Dust onto the damp surface:
Alternate the Aging Powders for a more authentic look.
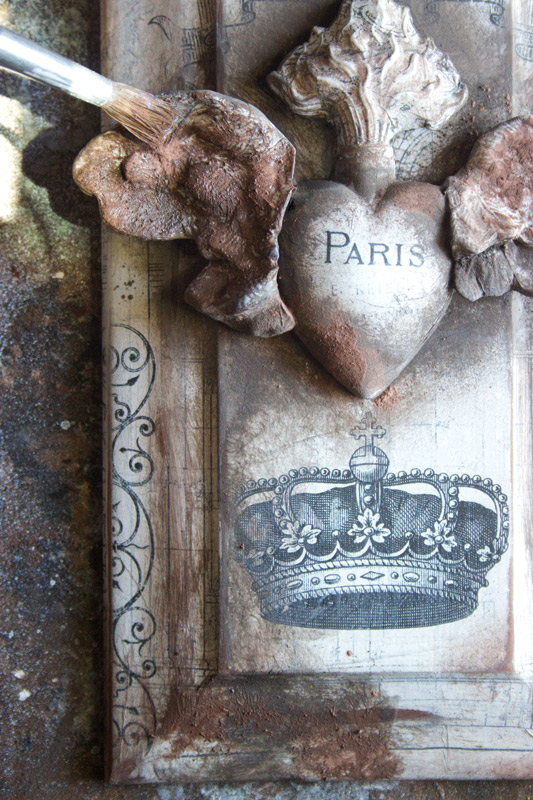
Make sure to dust your Rising Spirit emblem as well:
Attach the Rising Spirit emblem to the plaque with heavy duty adhesive. Allow to cure.
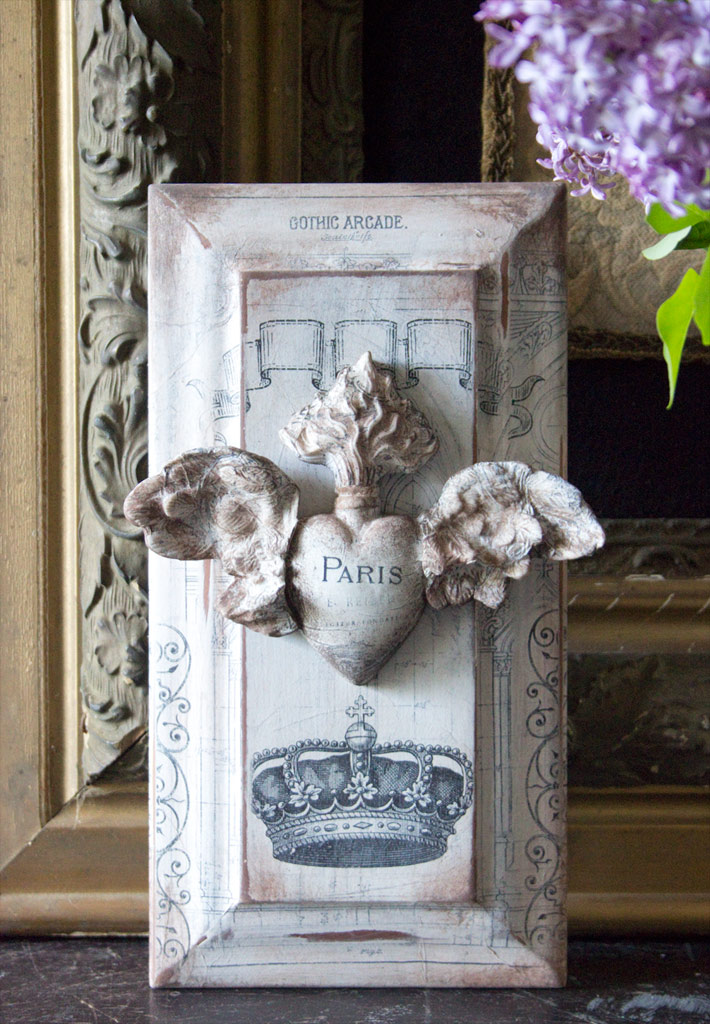
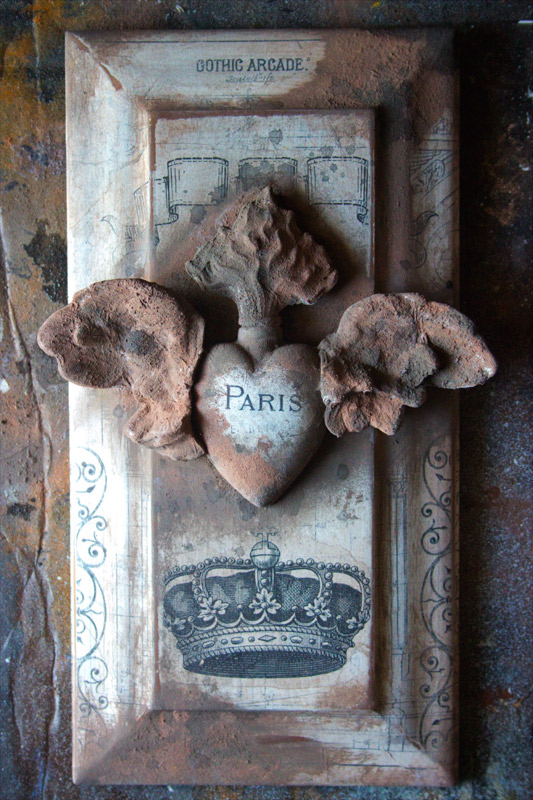
This creates a soft, Shabby Chic finish that is at home with French Farmhouse decor, of any interior with a light and airy vibe:
Just a touch of Aging Powders creates a subtle and sweet atmosphere to the piece:
Love the way the printed tissue peeks through…
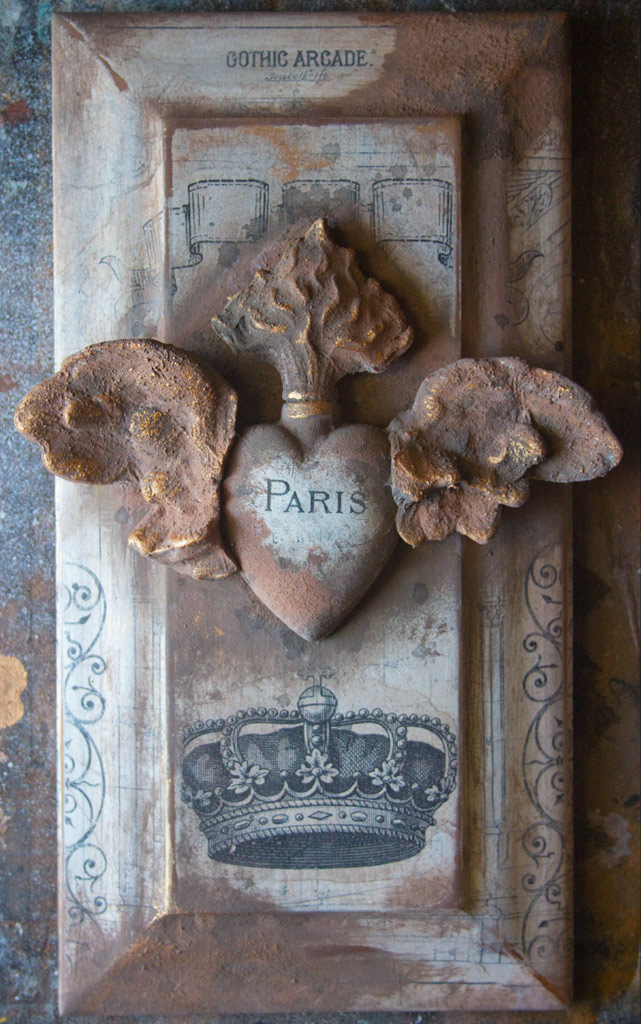
However, I really wanted to push the limits with this piece. Rust is one of my all time favorite finishes, and I needed MORE.
If you like a heavier application, this next section is for YOU!
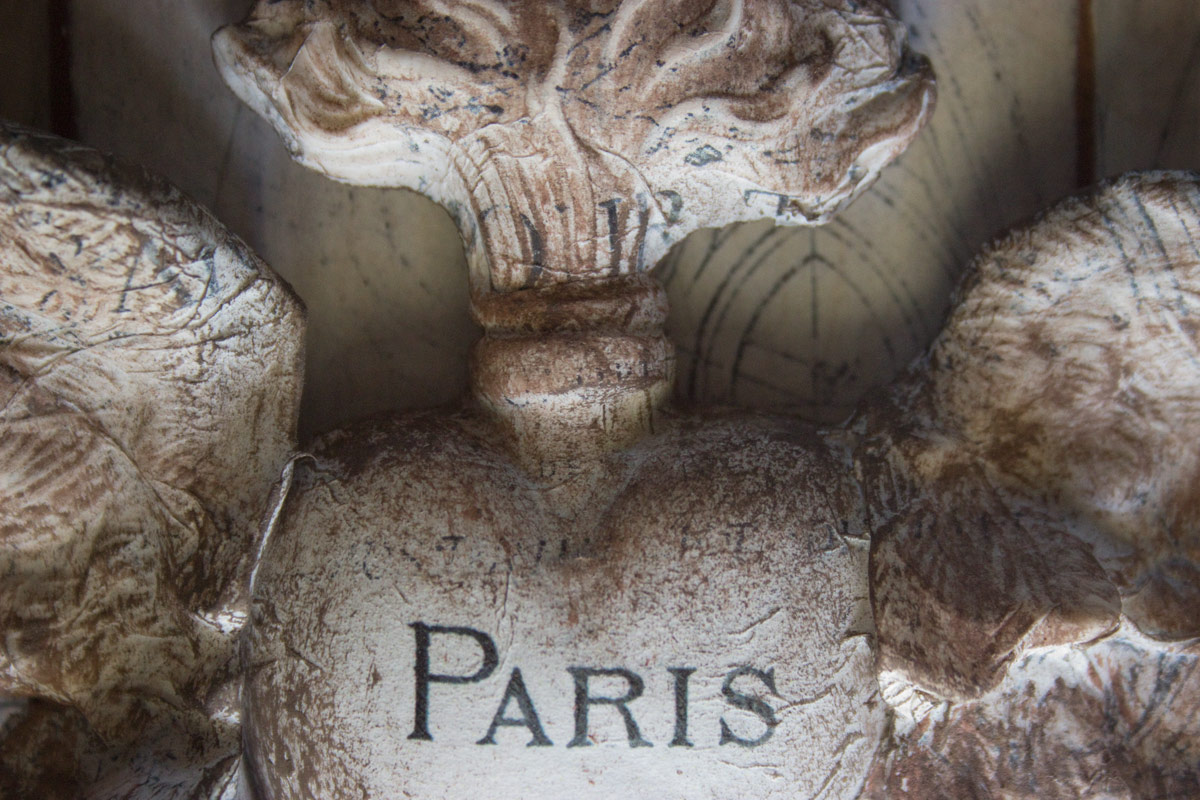
Continue to build layers of 1Gel and Aging Powders, one atop the other until you’ve created a look that pleases you:
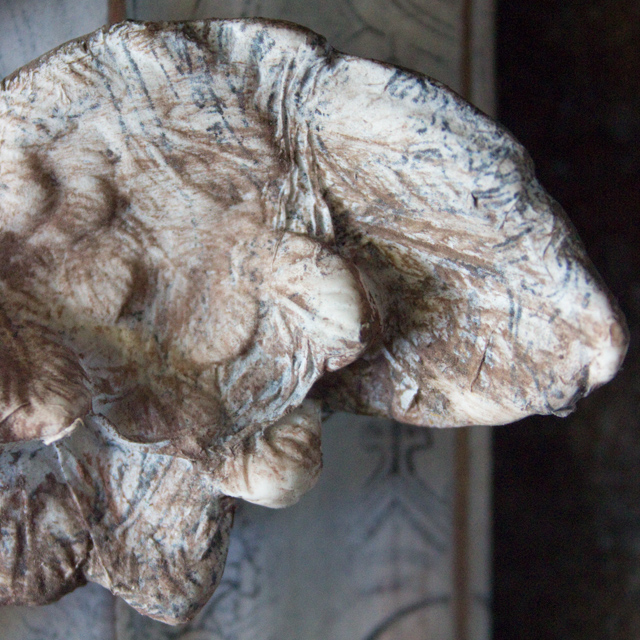
Although I love the look of the decoupaged graphics on the wings, they had to get RUSTY!
Adding a few dabs and splatters of thinned black craft paint increases the drama of the piece, and imparts that blend of colors that real rust always has…
Now, we’re getting some grunge!
Apply just a few very light touches of metallic paint on the high points with the tip of a finger:
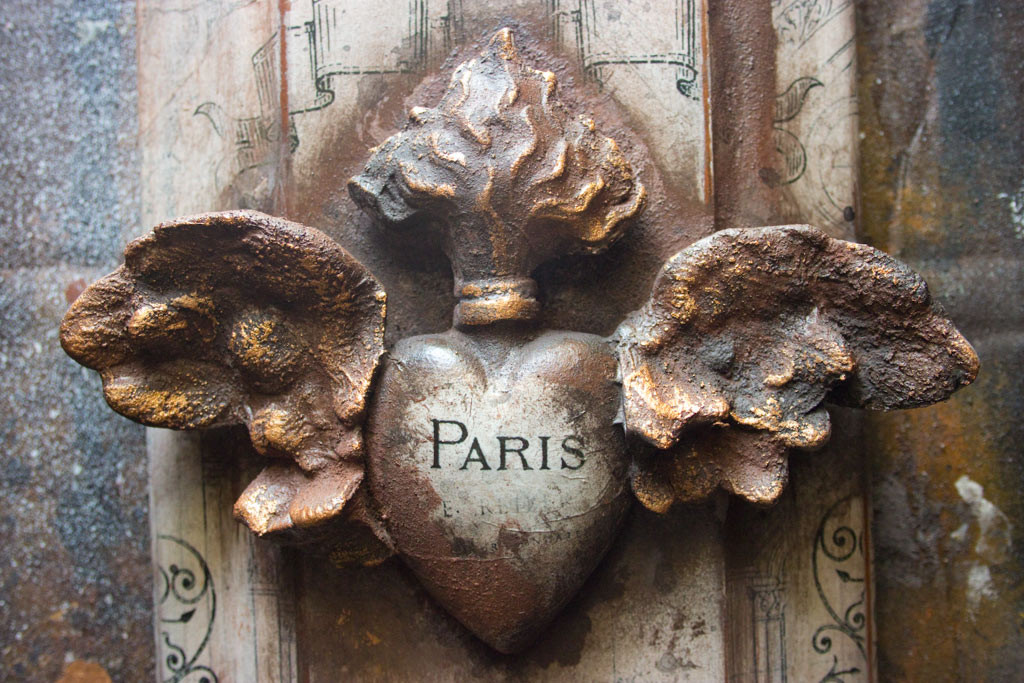
The soft gleam of the metallic adds interest to the yummy texture created by the Aging Powders:
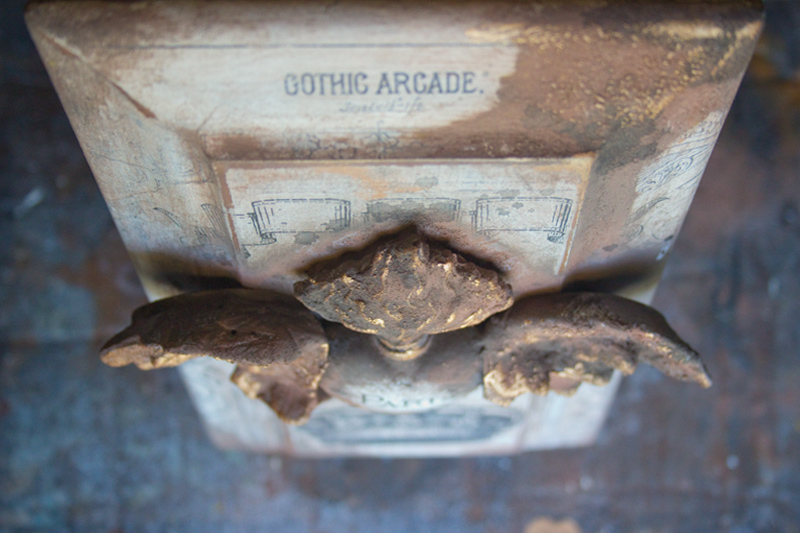
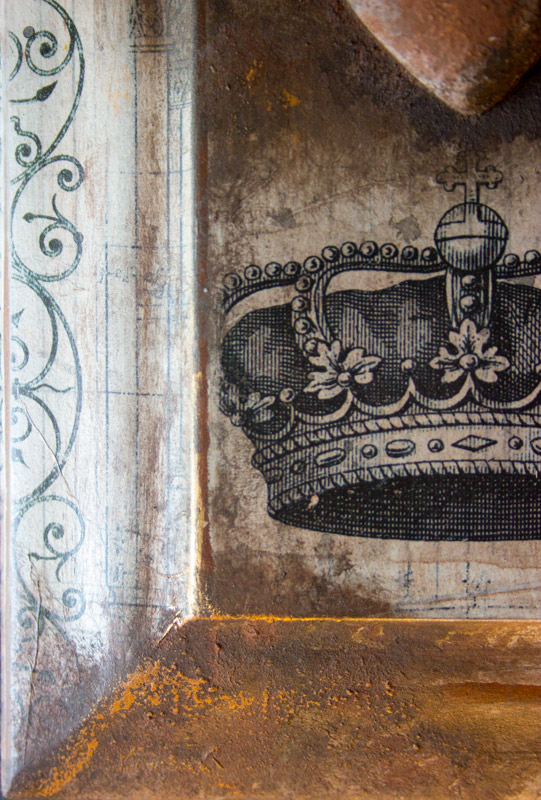
Tiny amounts of Copper on the gritty high points:
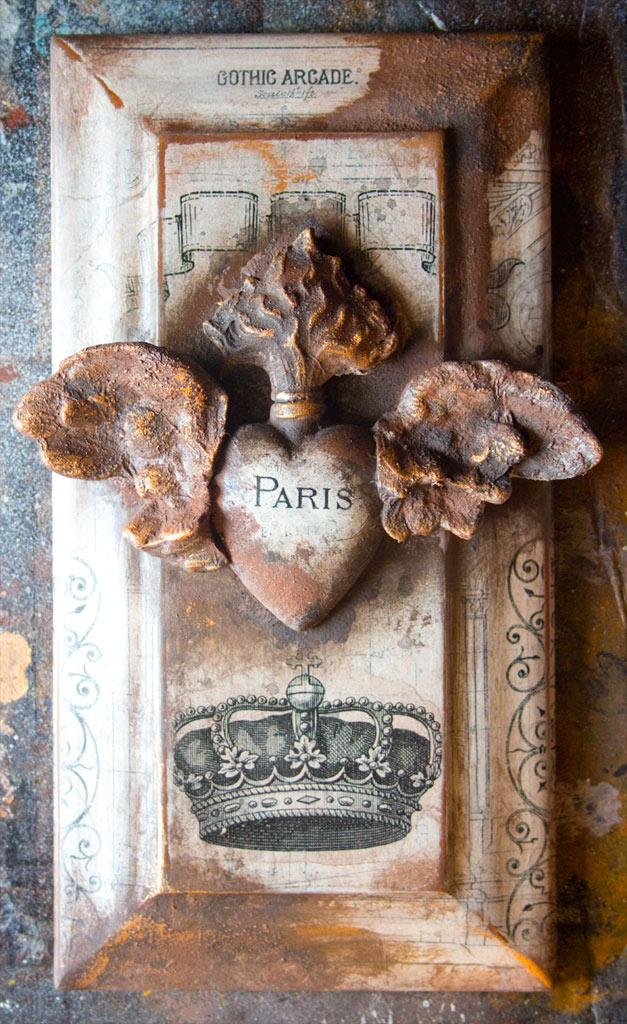
I LOVE how ancient this finish appears!
Spray seal to protect, and viola!
You’ve just created a treasure, straight from an abandoned Chateau…
So there you have it: light and airy, or rusty and grungified.
Either look is possible with Aging Powders!
It was a joy to create this piece, and even more fun to share it with you today…I hope this inspires you to experiment with Aging Powders – you’ll love them!
Thank you for visiting The Graphics Fairy today, and I’ll see you next time!
If you’re in the mood for more funky finish techniques, stop by Thicketworks and say ‘Hi’
– the door is always open (usually because of the paint fumes!)
Take Care,
Heather
You might enjoy this recent post:


Donna May says
Well, I was able to download the printable into I photo and then print them, but I noticed that the print for the background or drawer front is not among the printables. Is that because we have to buy a subscription to access that printable? Or can we get access to the Gothic Arcade print as well? This project is so lovely and I would LOVE to use the ONE print that isn’t among the ones available. But that is usually the way it is with me. Thanks for letting us know how we can access the background print as well. ;))
Heather Tracy says
So glad you discovered that the Gothic Arcade IS included, my friend. Thank you for visiting, Donna May! xox
Donna May says
This looks so lovely. I was able to download the beautiful papers, but unfortunately… Nothing I do, will allow my computer to print them. They seem to download as a jpg. But, they just won’t print. I can’t figure out why. Would love to try this project. does anyone know why these papers will not print? Thanks.
Donna May says
So sorry, I figured out how to print them and I also found the additional background print, Gothic Archade in the available printable. Thank you so much for providing everything we need to make this lovely project. You guys are awesome!!!!!!
Heather Tracy says
Hi Donna May! So glad you found the Gothic Arcade printable – isn’t it glorious? I hope you have as much fun with this process as I did! xox
ALMA says
Fantástico resultada. Me he enamorado de este trabajo.
Heather Tracy says
Hola , Alma ! Gracias – Me alegro de que te guste!
JaneEllen says
Wow this is an incredible undertaking to end with what you made, phew. How did you know to do all that?
Am more than impressed. Where did you get the wood part to put on door? am just blown away at your talent.
Happy weekend
Heather Tracy says
Hi JaneEllen! Oh, you’re so sweet. The wood base is actually a drawer front from a discarded kitchen cabinet! My poor husband can’t understand why I won’t let him just throw things like that away…As to the creative process; it starts with a vague idea, and once I start to work, things just suggest themselves!
Martha Richardson says
Your directions are perfect! I just have to focus because I want to do it all…I’m kind of like a crow…see something sparkly and have to go…see another sparkly thing & I’m off over there 😉
Heather Tracy says
I love crows, Martha! They are cheeky, intelligent, and they know when to work as a team, or as an independent entity. Corvids are amazing, and so are YOU! I think most creatives are a bit scatter-brained, because we’re so darn curious about everything. A fine quality in my book! I’m so glad the directions are helpful – that is always my goal. Thank you so much for stopping by The Graphics Fairy!
Rupa says
Heather, you had me right at the point where the gorgeous tissue paper is adhered to the board. It’s a show piece in itself that could hang as is 🙂 The rest of it is a bonus imho. You sure do use those Relics & Artifacts in the most unusual ways that even the creators of it probably didn’t imagine! The rust is very realistic, even with close up pics. I love tissue paper projects, there is something ethereal about the transparency of it. Love the colors you used as it makes it look like old blue prints. Your tissue paper seems to have no wrinkles at all….I thought cutting tissue paper larger than letter size and taping them on the back of the CS would be better so I know where my design would print on it. That’s not quite how the tutorial shows it….any special tips/lessons learned please? TFS and inspiring each and every day!
Heather Tracy says
Dear Rupa – thank you for your wonderful thoughts here…Yes, the rust effects are really convincing. I love the way the texture feels, and the mottled tones you get from combining the powders with just a touch of black paint, then metallic. Printed tissue paper – how did we EVER live without it? So ethereal, just as you said. I just spray my cardstock with a bit of Aleene’s Spray Adhesive, lay the tissue down flat, and then plonk the card stock down onto it. Trim with scissors. Gently peel off once printed. Love it, and am filled with so many ideas for using it that I don’t know if I’ll sleep tonight. Thanks, as always, my friend.
Rupa says
Thank you for your unmatched generosity in sharing your wealth of knowledge so selflessly! It’s a rare quality indeed especially in this day and age.
Heather Tracy says
Oh, sweet Rupa! I don’t know…I find that the world is FULL of generous folks. After all, look at YOU! xoxo
Sandra Evertson says
Your talents are Endless… just like your possibilities…. xo
Heather Tracy says
Oh, Sandra. It’s true for all of us, and that just makes my heart sing.
Monique says
Fantastic!
Heather Tracy says
Thanks, Monique! So fun.
Milagros C Rivera says
A fabulous creation Heather!!!!
Heather Tracy says
Thank you so much, Milagros! Such a joy to work with these amazing products – you can’t go wrong…