Watercolor Pencils – A Comprehensive Guide!
Hey y’all – it’s Rebecca back with another Comprehensive Guide. We will be exploring Watercolor Pencils for Mixed Media, Altered Art, Junk Journaling, and more. WOW…there are so many ways to add color to an image. Paints, pens, markers, crayons, and a myriad of pencils. As an artist/educator, I especially enjoy learning about the features and benefits of our “tools of the trade.”
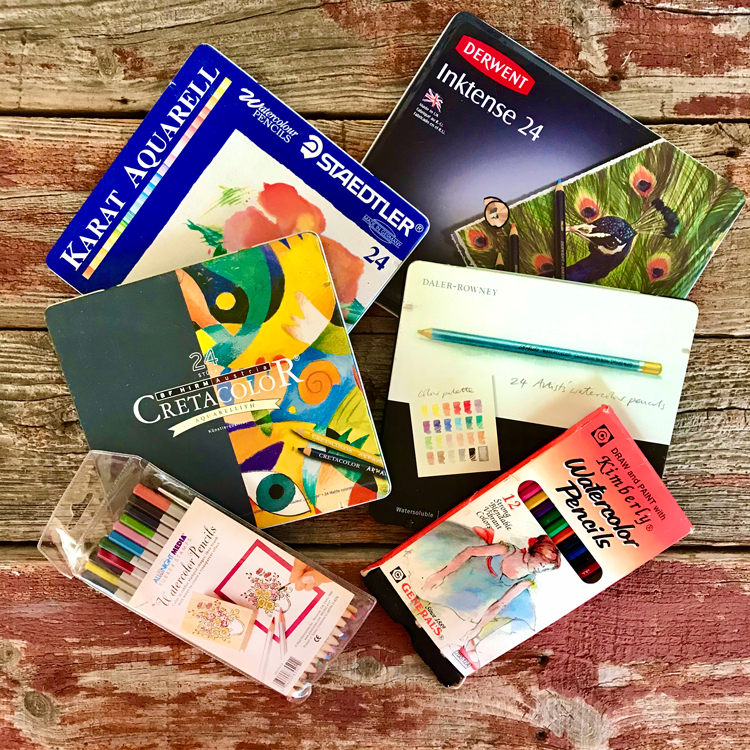
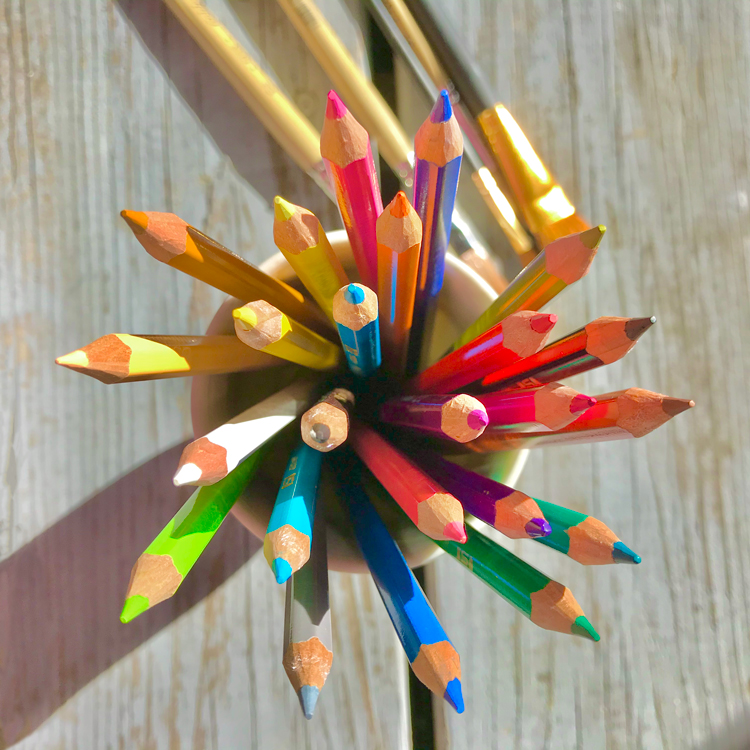
I adore Watercolor Pencils. A Comprehensive Guide to them is complete with three techniques. As you can see below, I have a few sets. WINK!
Watercolor Pencils Versus Regular Colored Pencils
Watercolor pencils contain a water soluble binder, whereas standard colored pencils have a wax or oil based binder. With a regular colored pencil, you would completely fill in your sketch. With watercolor pencils you should leave some “white space,” which allows for light shading with the water. Once a regular pencil mark is made, it is permanent and stays set on the surface. On the other hand, watercolor pencil marks can be activated with water for blending and movement. You gain the look and feel of a watercolor painting without all the mess and all of the practice.
How to Use Watercolor Pencils
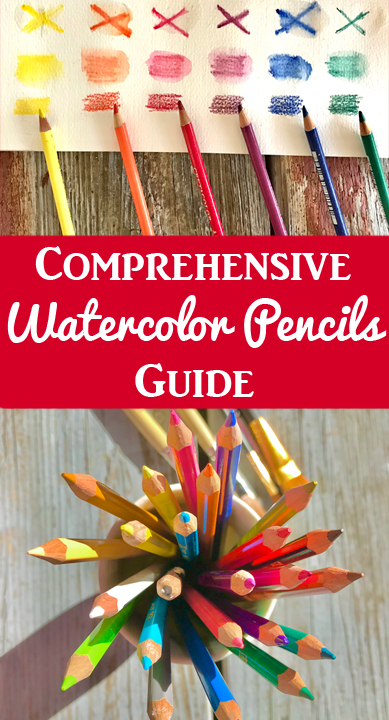
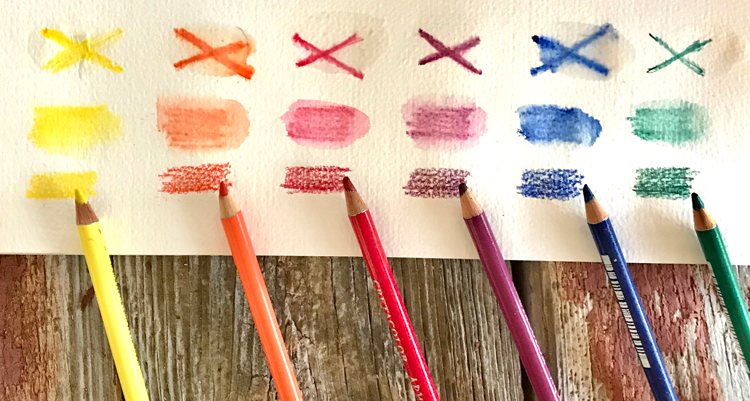
Watercolor pencils are interesting in that they enable an artist to create a finished piece of artwork that very few other mediums can provide. These pencils essentially combine drawing and painting into one beautiful finish. The paramount advantage to using watercolor pencils versus painting with watercolor paint and a brush is that the pencils can be sharpened and used to draw fine and delicate details that are difficult to achieve with a brush. I suggest that you create swatches with each set to get used to the way they work. The swatches are as follows Top Row: Paper wet with X. Middle Row: Color then wet with brush. Bottom Row: Plain color on watercolor paper.
Water is applied to your watercolor pencil drawing by either brush, spray, or even a sponge. This is known as activation since the pencil drawing transforms into a watercolor! Pencil colors can be layered and water added to enhance the watercolor effect. Watercolor paper, other thick, porous papers, or gessoed heavy boards work best for watercolors. These are less likely to tear with the application of water. Illustration boards are a good choice if a smoother surface is preferred. You can learn more about papers in my Paper for Mixed Media and Altered Art – Ultimate Guide HERE!
I love that you can pick up a watercolor pencil and start creating art without special skills. On the other hand, using watercolor pencils to the max requires a bit of practice learning specific steps to become proficient. However, it really isn’t that complicated, and even children can learn to use them with just a little play time.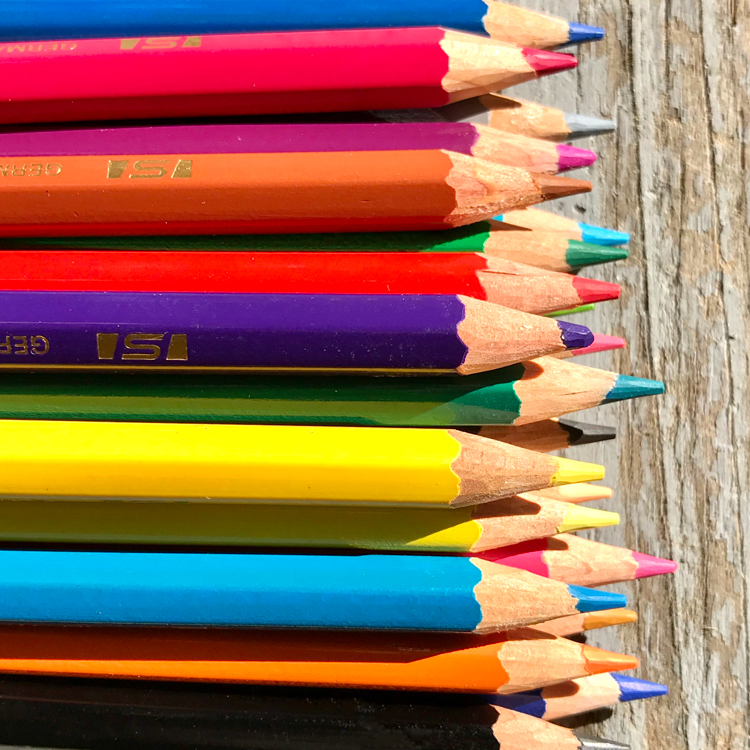
Watercolor Pencils I Use
Cretacolor Aqua Monolith Woodless Colored Pencils
Staedtler Karat Aquarell
Derwent Inktense
72 Value Watercolor Pencils
3 Basic Watercolor Pencil Techniques
No Comprehensive Guide to Watercolor Pencils would be complete without some technique tutorials. Let’s look at three basic ways of creating beautiful art with watercolor pencils. Take your time and experiment with each. Notice how the pigments react with the water and the surface. Experiment to find your favorite approach. Select the appropriate brush according to the size of the area you are coloring. A pointed brush gets into tight areas. A larger brush can be used in big areas. Thicker brushes tend to produce more abstract results.
Coloring and Blending with a Brush
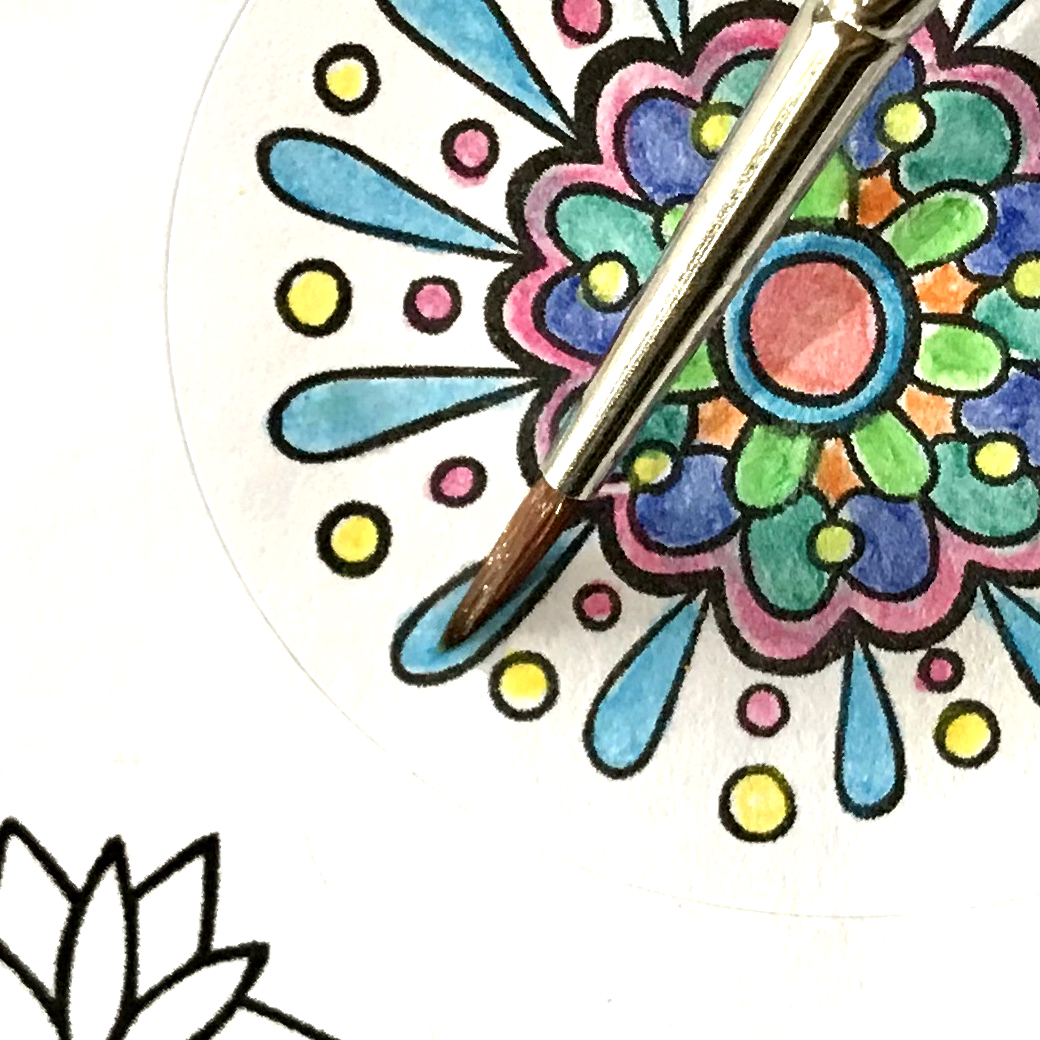
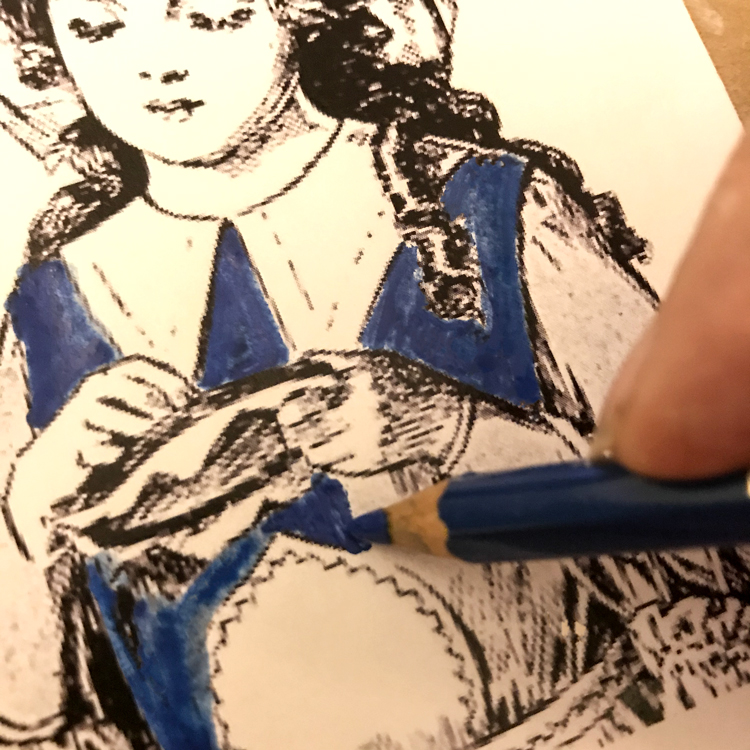
Similar to watercolor painting, you use a brush dipped into water instead of paint. Blending color with a wet brush is the most common method used by artists. With a watercolor pencil, fill in an area with your base color(s) of choice. Leave some areas of the paper showing through. Dip your appropriately-sized brush into into a small bowl of clean water and wipe it on the bowl’s rim. With smooth strokes, lightly brush water on your pencil marks to spread the pigment from your watercolor pencils. They activate immediately. TIP: Too much water can make the pigments run. Keep a paper towel handy to catch any runs.
You can re-dip the brush when it starts to feel dry on the paper. If you decide to enhance the watercolor effect with a second layer of water, make sure that the first layer is completely dry first. TIP: If seeking precise and highly detailed results, a thin, pointed brush should be used. A thicker brush will produce more abstract results with much less control over where the paint goes.
Layering Colors
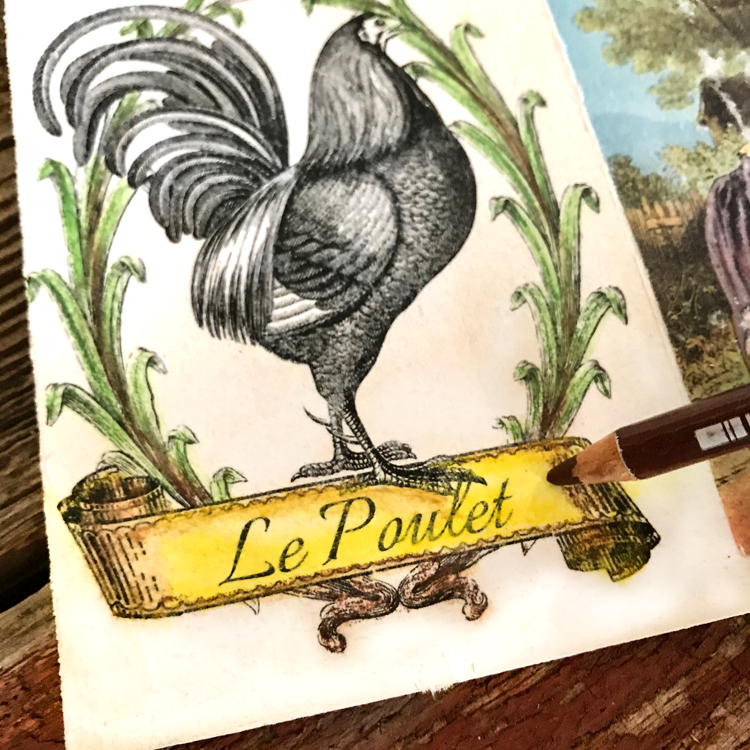
Layering is one of my favorite things to do with the pencils. By adding another layer of pencil over your first layer, you can deepen the colors and add detail and depth to your art. Just make sure that the paper is completely dry before adding another layer. If the paper is wet, the pencil marks react to the dampness and the results will be different. The same color can be applied or you can add a different shade to create new colors. Then apply a second layer of water with the appropriate brush. Shown below is sienna color layered over a yellow base color. The left side of the label has already been activated with water. See the beautiful blending. The right side is being layered with the pencil.
Wet Pencil Tip
With this method, wet the tip of your watercolor pencil by dipping it in a little water and then drawing or filling in an area of a drawing. It is perfect for placing lush color and drawing detail. This method produces a richer, brighter pigment and much more color. I think of wet watercolor pencils as magic wands. You can see below that the color flows so richly with this method. You do not need to activate the marks with water, but you can if you want to get smoother results.
I hope you had fun exploring our Watercolor Pencils – A Comprehensive Guide with me!! I want you to enjoy creating your own unique and beautiful art with watercolor pencils! My goal for you is that you know more about which ink to use when now. I also create Photoshop Elements tutorials and craft project videos over on The Graphics Fairy Premium Membership site. You can find even more of my books, art, and whimsical shenanigans on The Bookery



ML says
I feel like I can still see my pencil marks, especially when using the wet pencil tip method. Yours look much better. I guess I will practice more or maybe try a different brand.
graphicsfairy says
Everything gets better with practice 🙂 Have fun with it!
Ardith says
Thank you so much, Rebecca, for this timely and very helpful post. I’ve got a set of watercolor pencils I haven’t used in years. Yesterday I was contemplating trying them out again, since I’m running very low on acrylic paints at the moment. May I ask if you have any guidelines for purchasing these pencils, aka what to look for amongst the brands, etc.? I do have to replace some items in my set, so all recommendations are greatly appreciated. Cheers, Ardith
Rebecca E. Parsons says
Ardith:
I am so glad you like the post. My faves are pictured in the post. I love Cretacolor Aquarellith, Staedtler Karat Aquarell, Derwent Inktense,Daler-Rownwy Watercolor Pencils. I should have linked these in the post. OOPS!! I will add links right now. Thanks for the reminder!!
Ardith says
Absolutely, Rebecca, and thank you also for this additional information. Cheers, Ardith