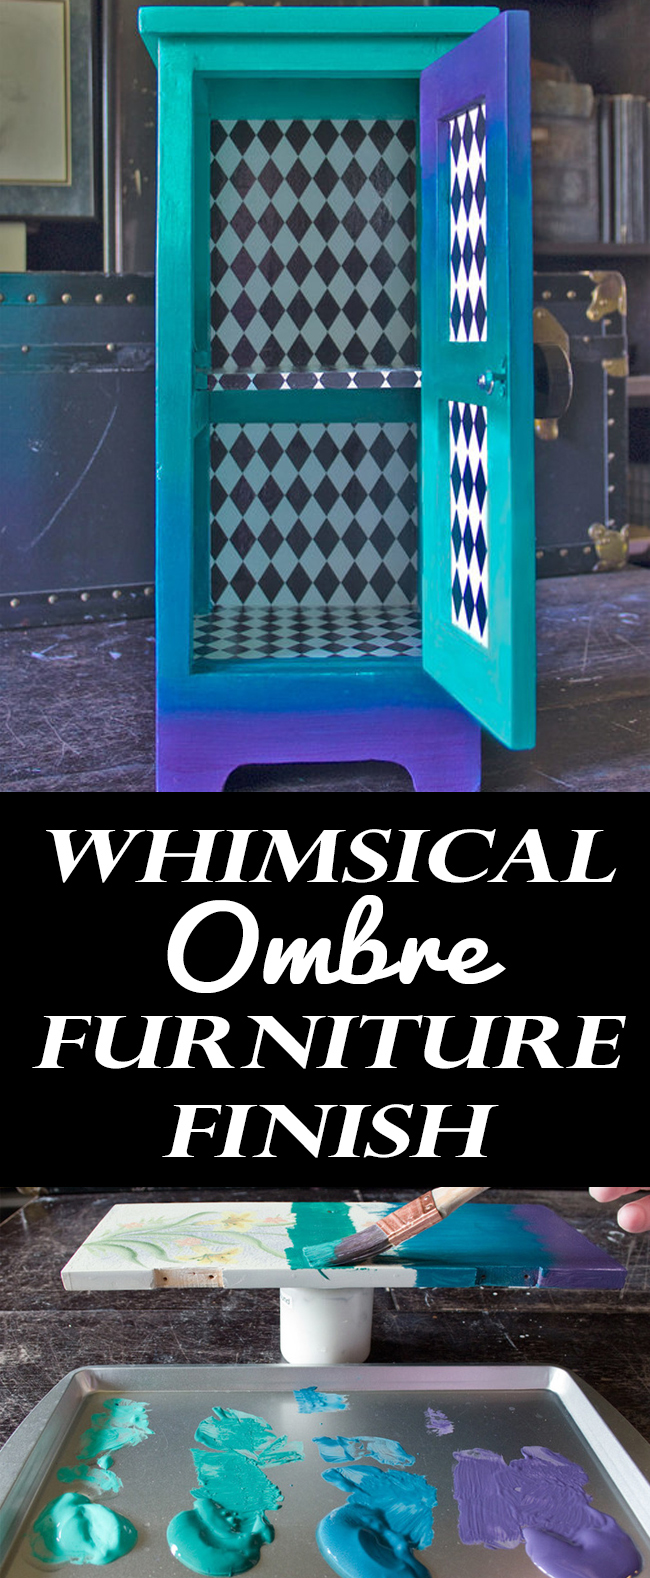
This Whimsical Ombré Furniture Finish is something that I’ve been dying to try…now that I have, I’m thrilled to share what I’ve learned with you!
This post was sponsored by Heirloom Traditions Paint.
Hello, furniture finish enthusiasts! It’s Heather from Thicketworks.
Today, we’ll roll up our sleeves and knock out this fun Ombré Furniture Finish!
The process is simple and enjoyable, so grab your painting clothes, and let’s get to it!
Supplies:
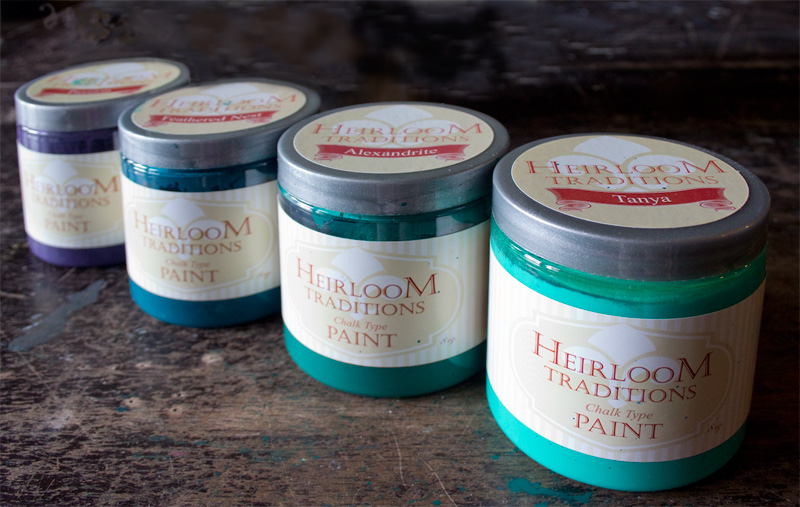
- Heirloom Traditions Chalk Type Paint: Passion
- Heirloom Traditions Chalk Type Paint: Feathered Nest
- Heirloom Traditions Chalk Type Paint: Alexandrite
- Heirloom Traditions Chalk Type Paint: Tanya
- Heirloom Traditions Spray Wax: Clear
- Heirloom Traditions Spray Wax: Eggplant
- Heirloom Traditions Spray Wax: Peacock
- Assorted paint brushes (one for each color is best)
- A container of water
- A damp cloth
- A scrub-able surface to use as a palette (I grabbed a cheap sheet pan)
Optional:
- Heirloom Traditions Ultra Guard Primer
- Heirloom Traditions IGel
- Decorative paper
- Scissors
- Smoothing tool
For this project, I chose to work with a ‘cool’ palette of colors. You might want something entirely different – and that’s awesome!
Go for a selection of reds, oranges and yellows or blues, greens and yellows, even black, gray and white!
Whatever pleases your eye + heart!
The important thing to keep in mind is that it’s easiest to obtain great results with ‘analogous’ colors (those that appear next to each other on the color wheel) rather than ‘complimentary’ colors.
You can make it work with ANY colors, but you’ll have to work a lot harder and risk ‘muddy’ results if you stray too far from the same color ‘family’. Okay, enough color theory… Let’s paint!
How to create an Ombré Furniture Finish
To begin, remove any hardware, and set aside.
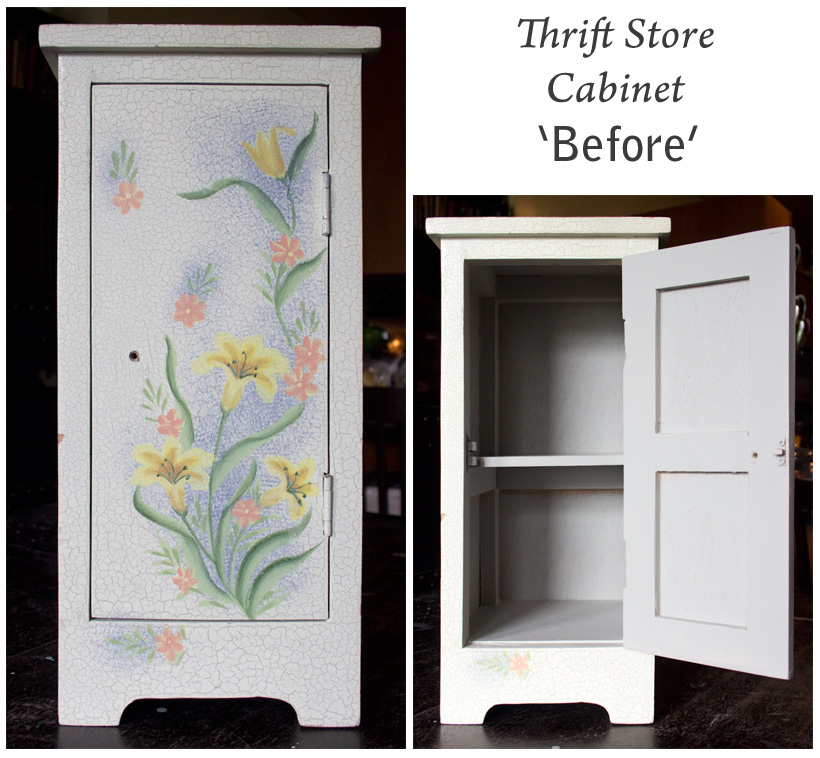
Because Heirloom Traditions Chalk-Type Paints are so gloriously pigmented, there is no need to prime – even over this already busy surface.
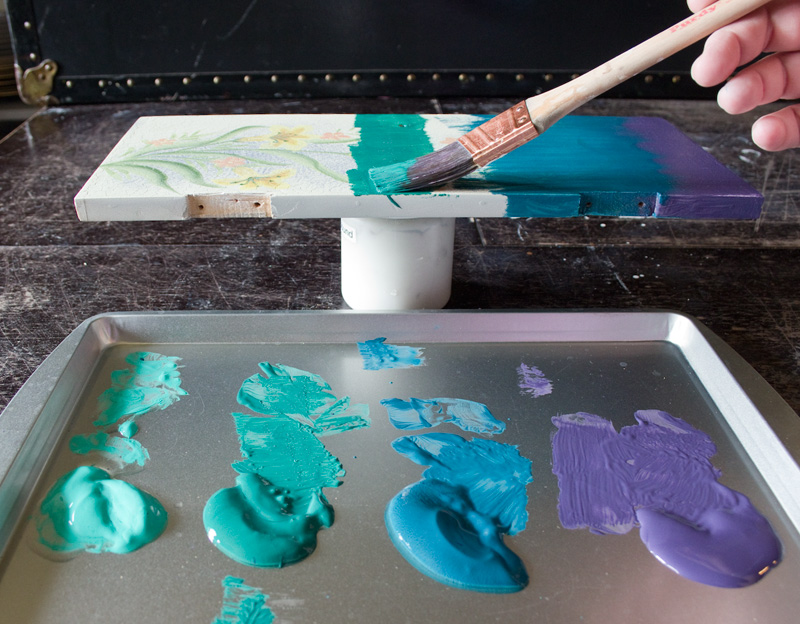
It’s a bit easier to work from dark to light, so begin by painting a broad, sloppy band of your darkest color along the base.
Continue this process, painting loose ‘stripes’ of color as you work your way from the bottom to the top.
Don’t be overly concerned with blending at this point, just cover the surface completely.
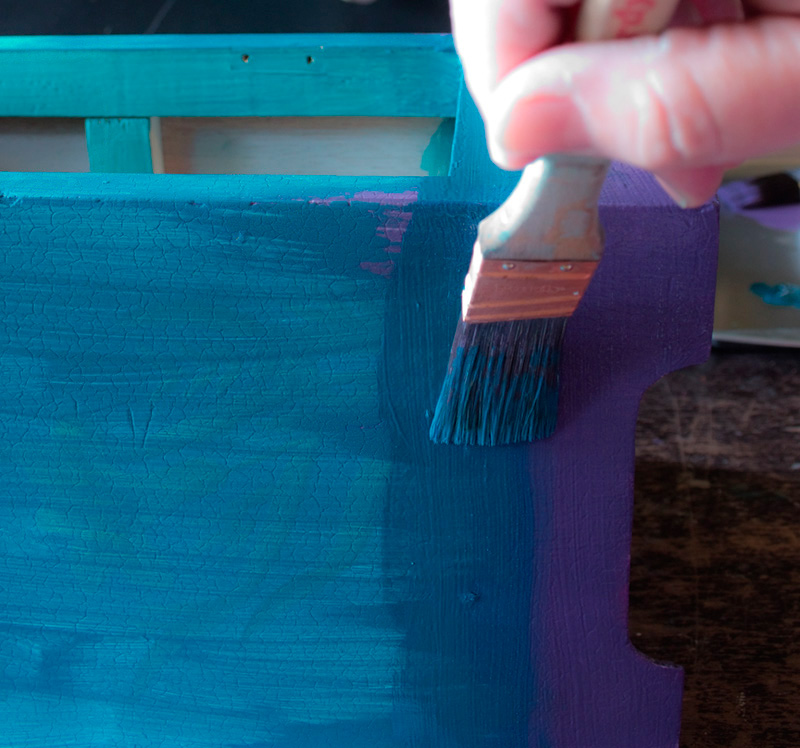
Once the surface is covered with bands of color, begin the blending process with a clean brush.
Dip the brush in water, wipe the excess off, then pick up the second color in your line-up (in this case: Feathered Nest) with the dampened bristles.
Gently smooth the slightly watered paint over the line of demarcation between the dark violet of Passion and the rich teal of Feathered Nest.
Repeat the brush strokes, easing the strokes slightly into the band of Passion, until you are satisfied:
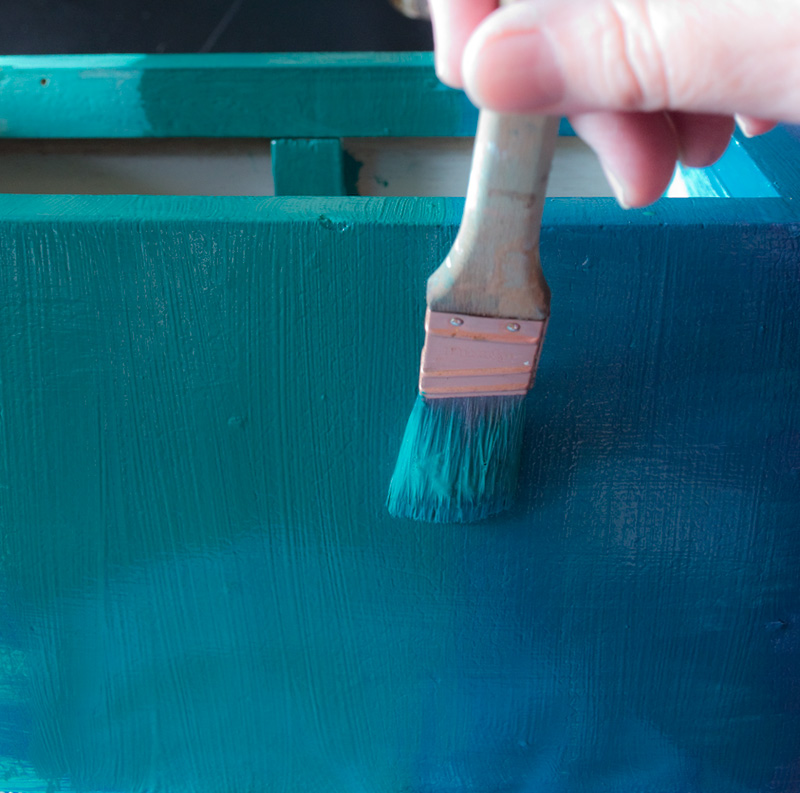
With a clean and dampened brush, repeat this procedure for the transition from Feathered Nest into the dark green of Alexandrite:
Repeat this process between each band of color, adding thinned pigment a little at a time to achieve the blend you crave!
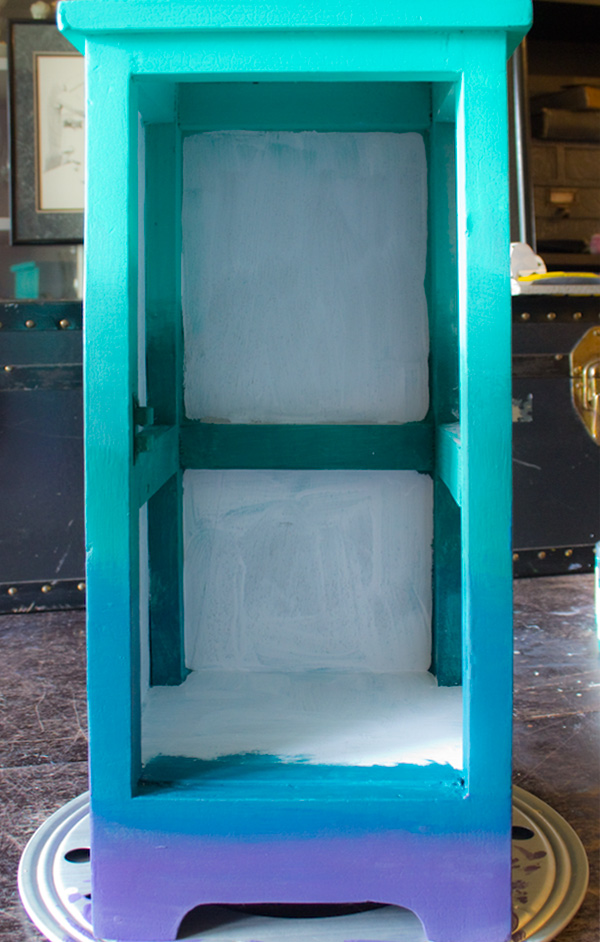
Extend the Ombré effect to the interior, if you wish.
If you will be decoupaging with a light colored paper, it’s a good idea to prime those areas with Ultra Guard, to prevent any pigment showing through the paper:
Our blended Ombré finish is almost complete…
Once the paint has cured (overnight is best) seal the paint with a coat of Clear Spray Wax. Allow to dry – an hour should be long enough.
If you want to intensify the colors, follow up with softly brushed on layers of Spray Wax in Eggplant (over the purple) and Peacock (over all the greens and blues). Blend the colored waxes with a damp cloth for a seamless result.
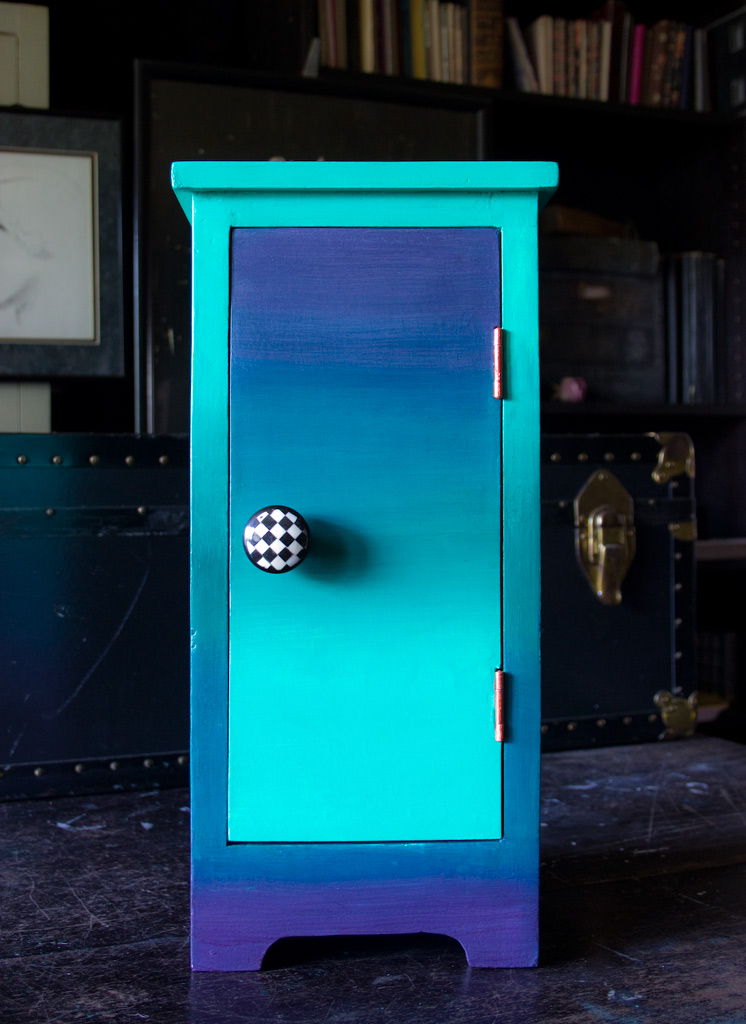
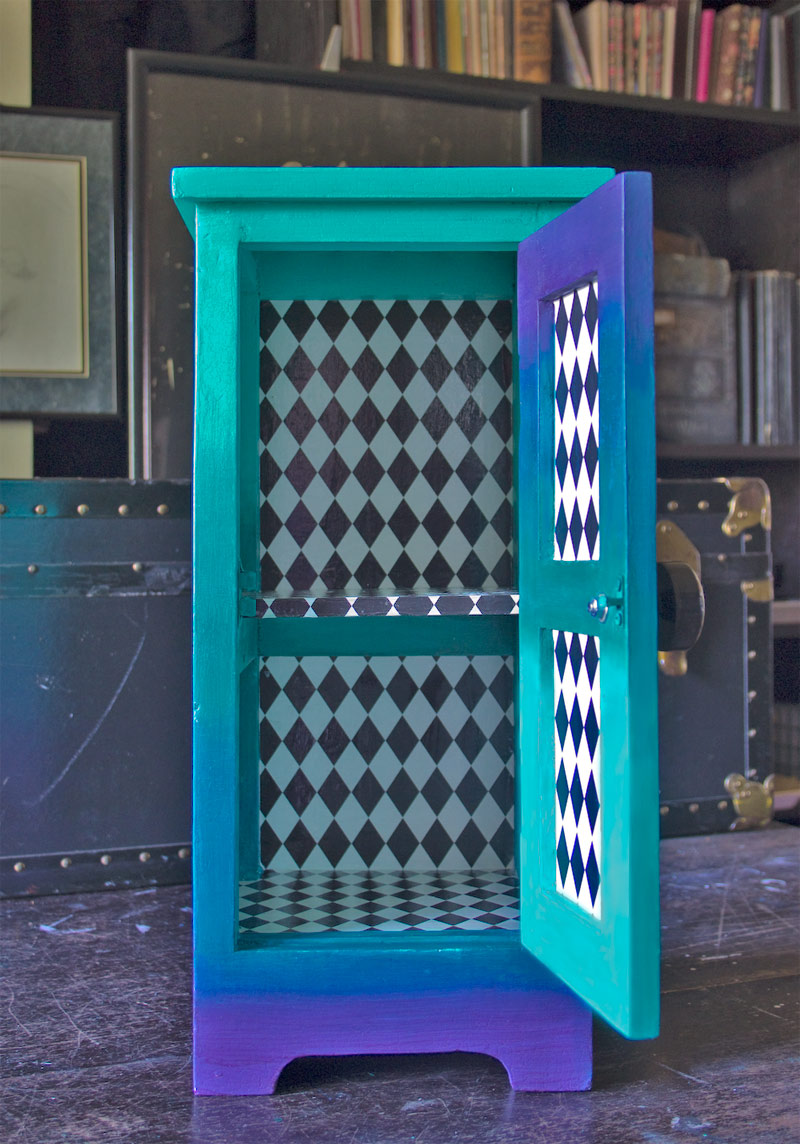
To add a bit of visual interest, try reversing the Ombré process on the door, drawer fronts, etc:
The result after Spray Wax applications:
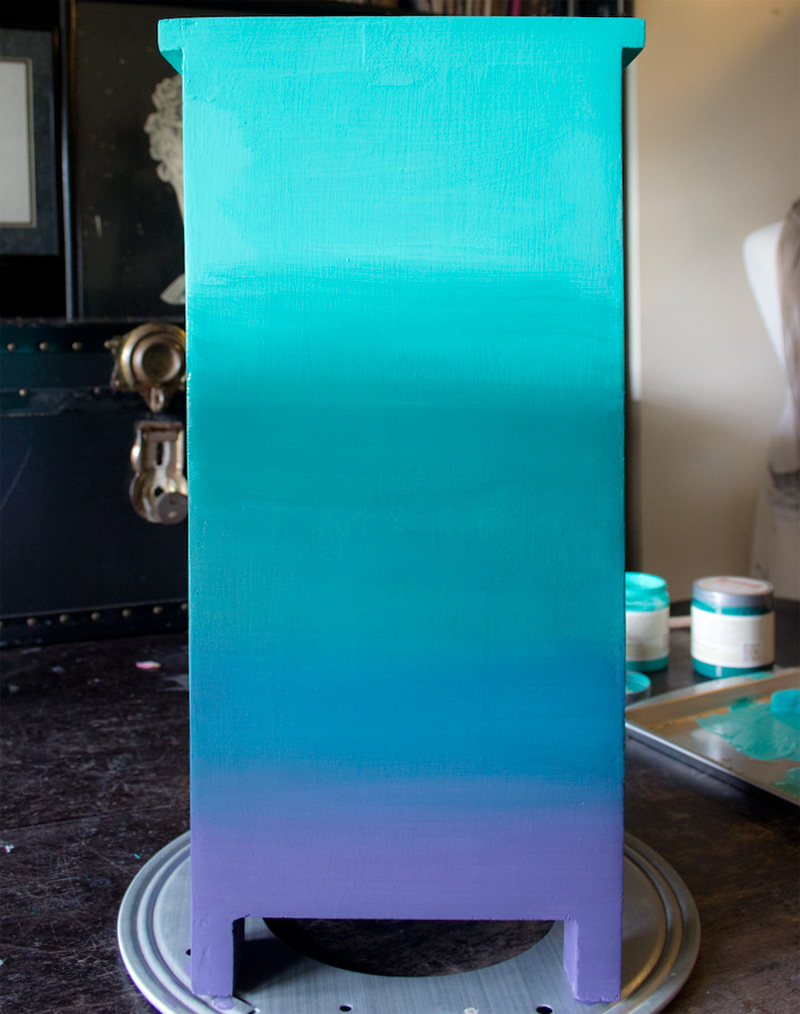
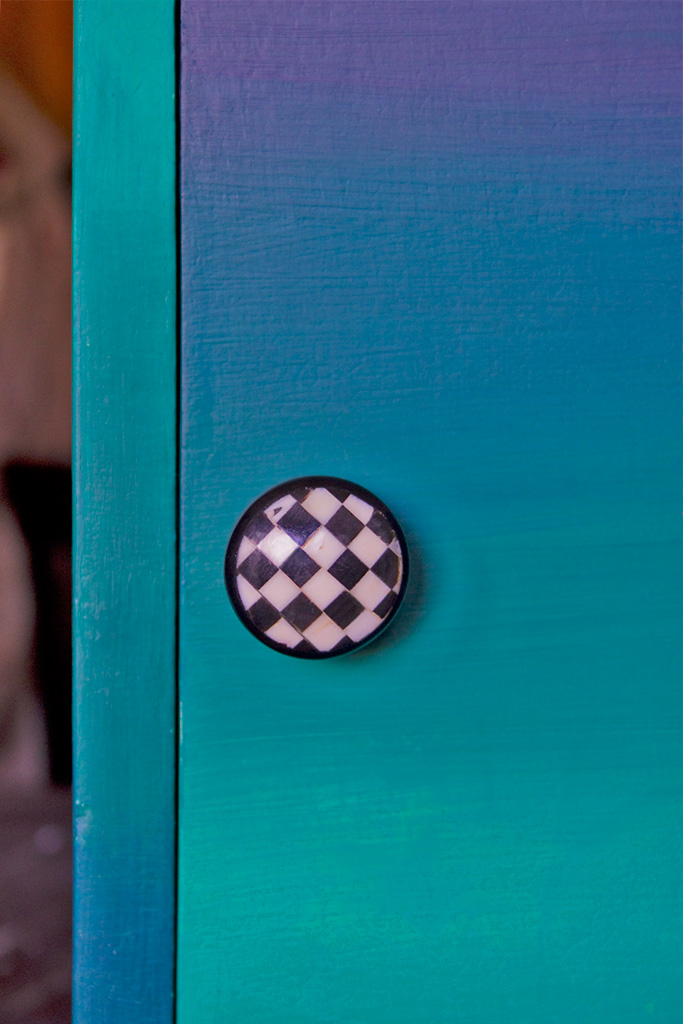
Close up of the Two Ombrés in their final configuration:
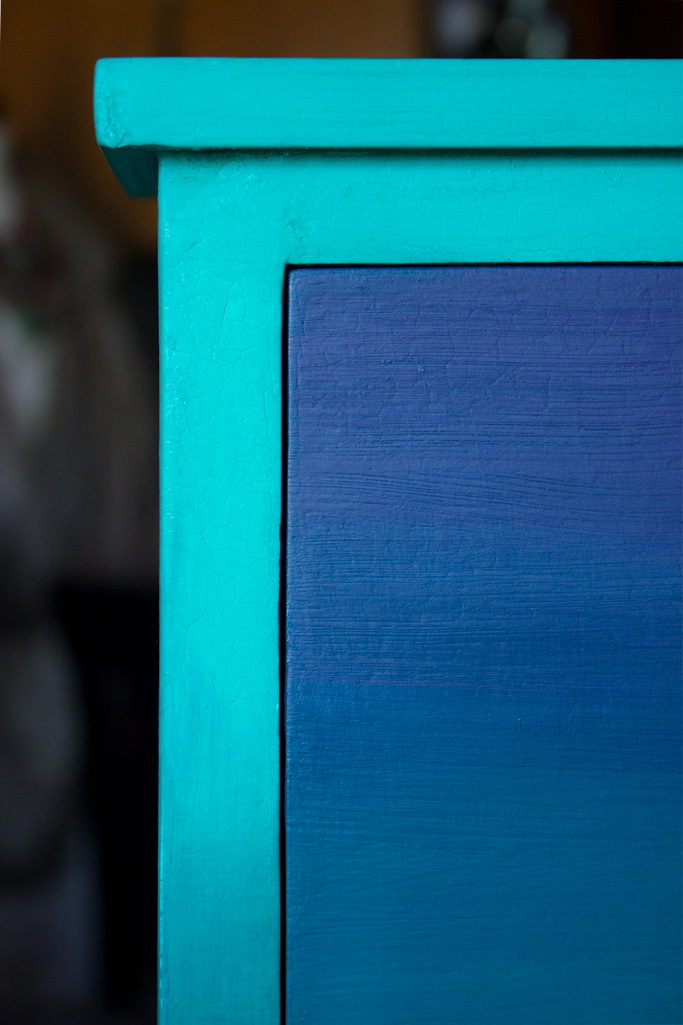
Detail of the intermingling of the blended colors at midpoint:
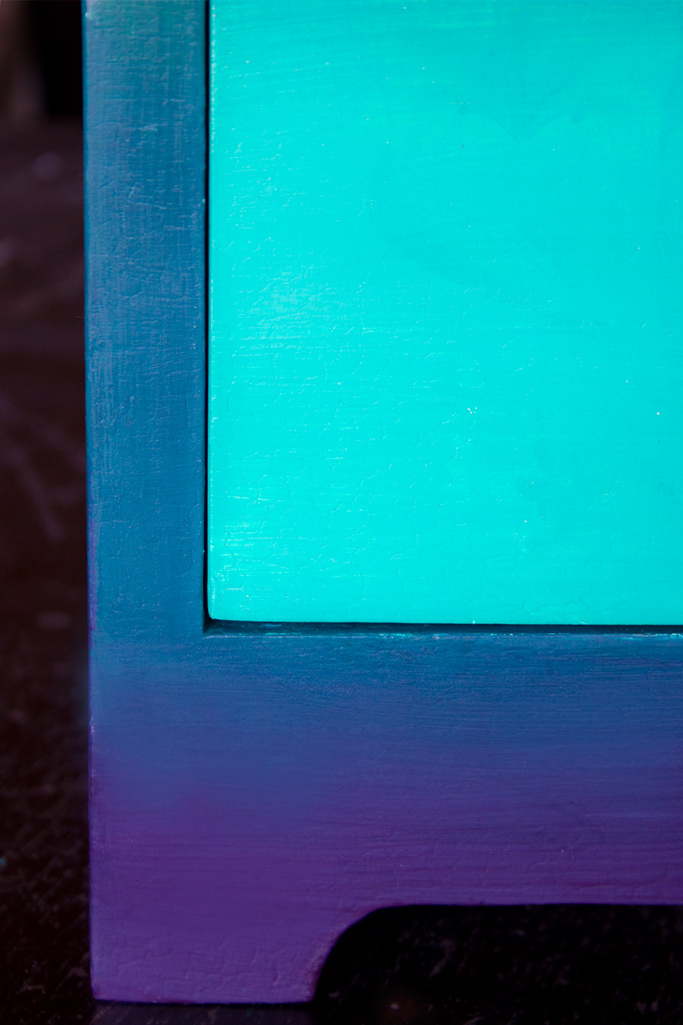
Dramatic transition at the base:
Interior, decoupaged with 1Gel and patterned paper:
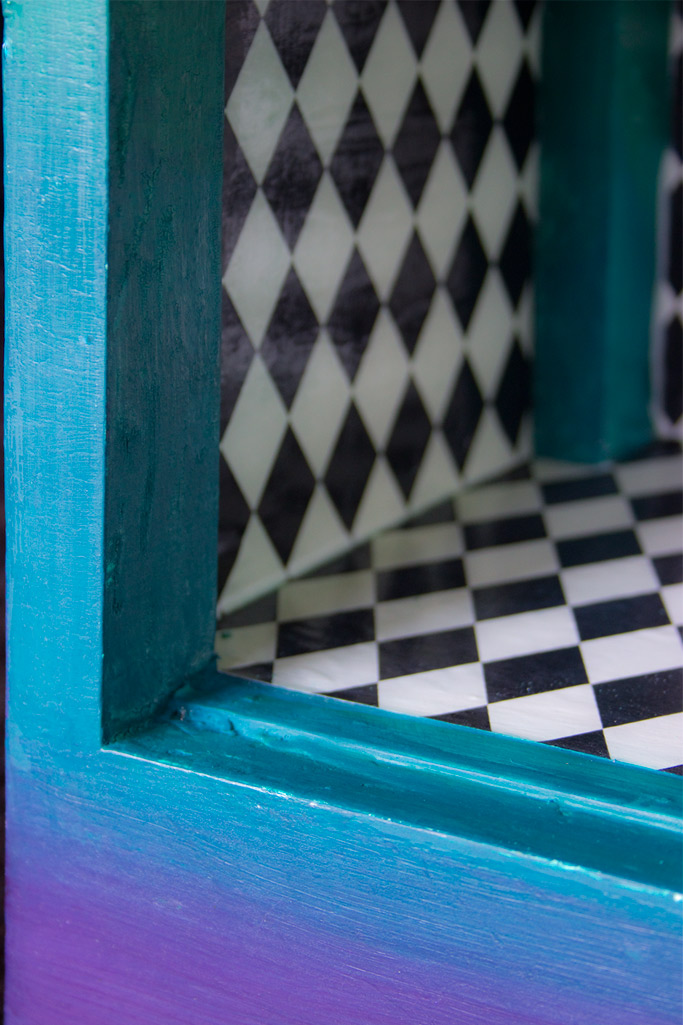
Interior detail:





Rupa says
I was out of town for a week and missed some yummies here it looks like. I like the ombre effect! Even if one doesn’t like the exact colors, the idea and techniques are wonderful to learn from I feel. No need to express dislike in a harsh way….just sayin’ 🙂 For the record, I like the colors and everything else you have done with it!
Heather Tracy says
Hi Rupa! Awww…so sweet, my friend. It’s all good! It was a fun technique to demo, and hopefully it will be of use to those who are so inclined. Hope you had a good week ‘away’!
Martha Richardson says
So Im finally getting caughtt up with my reading and I saved the best for last. This is just TDF Heather and I can’t wait to try it…so me, my colors…just love everything about this project. You’re a genius xo
Heather Tracy says
Hi Martha! I’m so glad that this has helped to inspire you to try it, too! It’s a fun project, and I know you’ll enjoy the process. 🙂
Wendy says
love what you do, it is so encouraging for me to try something!
thks so much
Heather Tracy says
Hi Wendy! I’m so happy that you feel encouraged…that is wonderful!
Jayne says
Too BRIGHT and GAUDY!!. The “before” is actually better than the after.1 The “after” is the one that I would Re-do if I picked up that at a thrift store. UGH!!!
Heather Tracy says
Hi Jayne! That’s what’s so wonderful about paint, my friend! It will express whatever your heart desires, or cover up what doesn’t please you.
Jess says
This is amazing… You were able to totally blend it so well to create the ombré effect! Love it and great tutorial!
Heather Tracy says
Hi Jess! Blending just takes a bit of patience – you can do it too! Thank you for your kind words, and I’m so happy to hear you like the effect.
Denise says
Just yummy. I love the way these colors play together. Thank you for sharing. This is beautiful. AS USUAL!!
graphicsfairy says
Thanks so much Denise!
Tracey says
Love the reverse ombré on the door front! Beautiful work as always Heather! You are so much fun to follow!
Heather Tracy says
Hi Tracey! Oh, thank you so much – it’s such fun to share techniques! Have a wonderful day, my friend. 🙂