Card Decorating Ideas
Hello Graphics Fairy friends! I’m Diana from Dreams Factory and today I’ve got some lovely card decorating Ideas for you! We are making some chic greeting cards using a gorgeous DIY Hydrangea Flower Card Kit that I’ve created especially for you! The kit includes white, pink and blue hydrangeas and a few other coordinating elements that will allow you to get creative on your own terms.
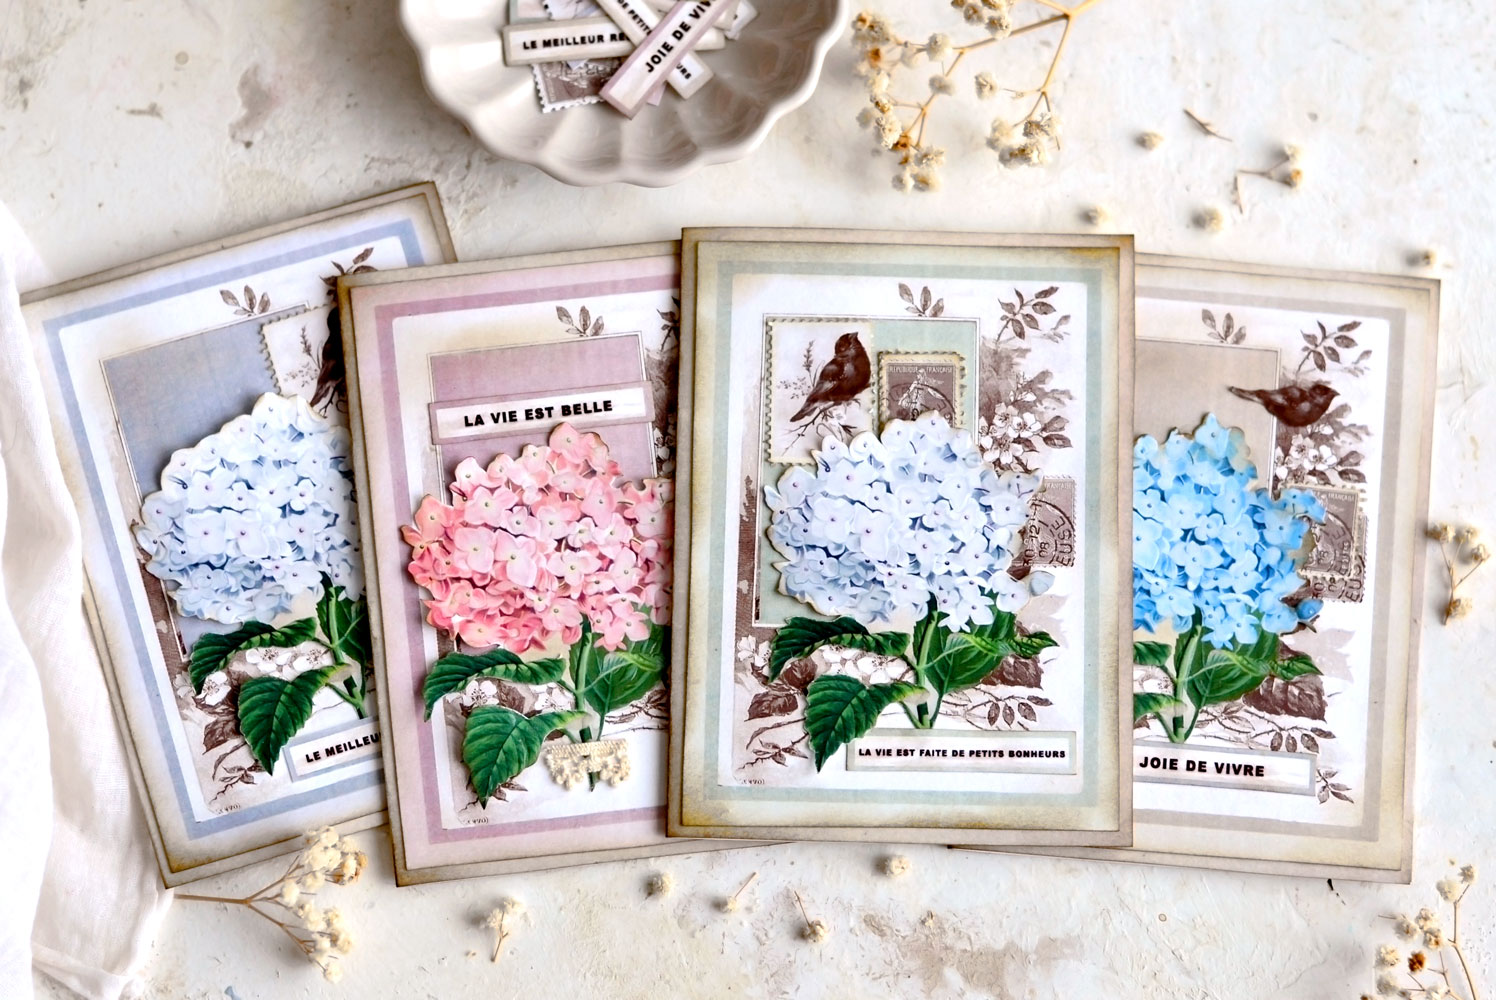 You will be able to mix and match the colors as you want while further embellishing the cards as you please. I envisioned the design to bring enough visual depth on its own, so you’ll be able to just cut and glue the pieces together to keep things simple. But if you want to create some more volume and add more interest to your cards, I will also show you a few layering ideas and a cool white glue trick I’m sometimes using. Just let your inspiration guide you throughout the whole process, the final results will be absolutely amazing!
Card Kit Elements
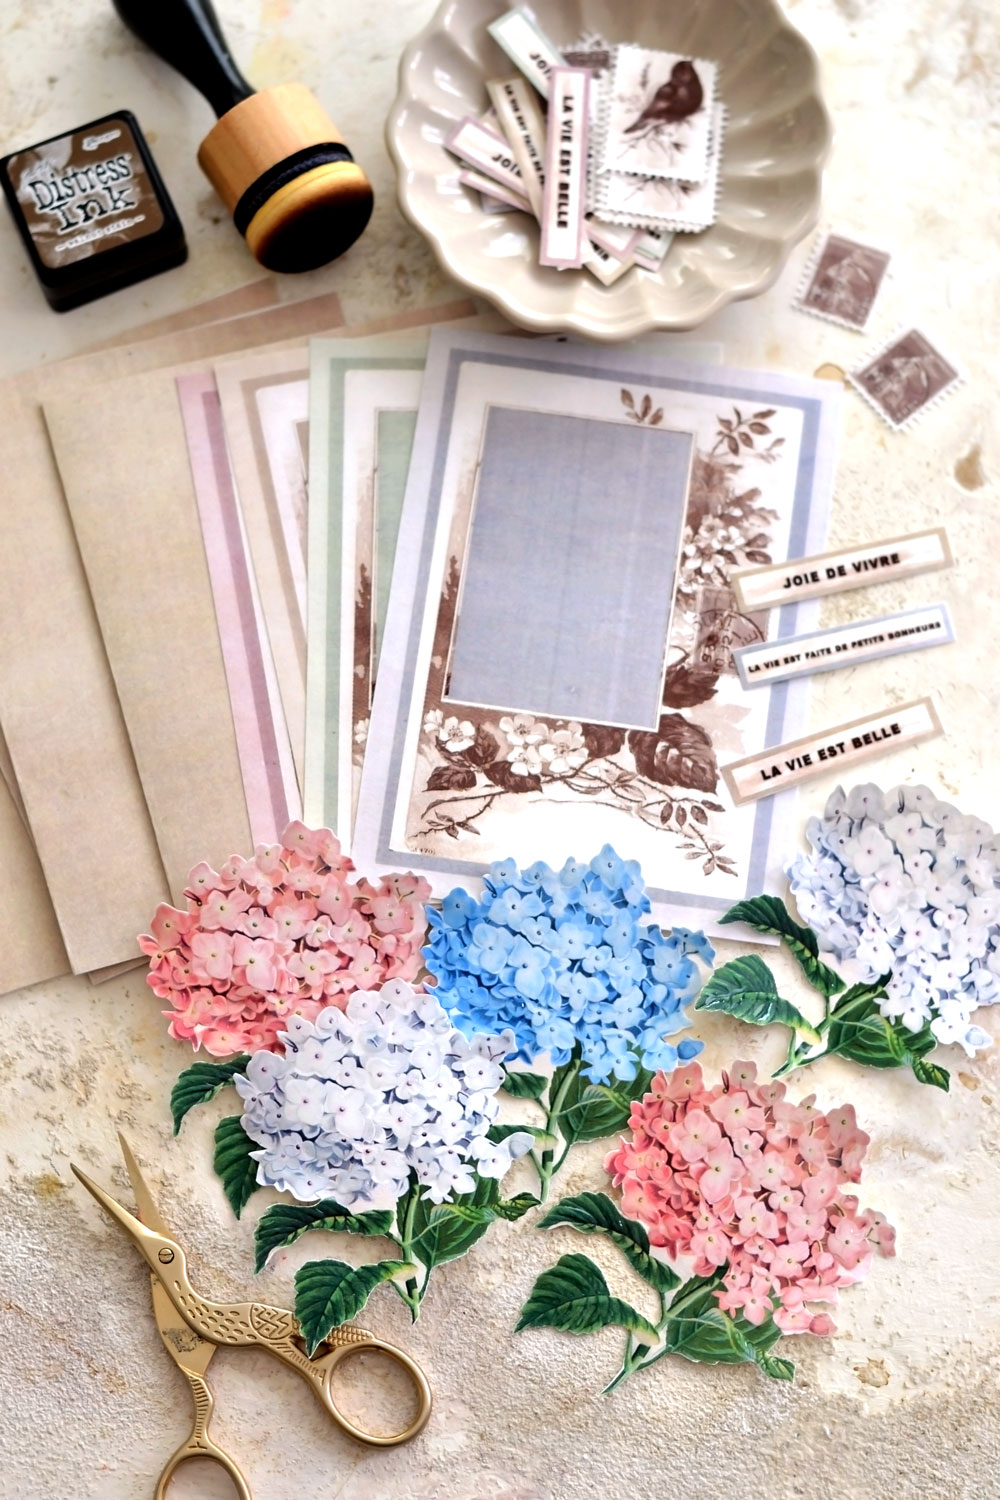
This card kit will help you create your own cards that will include the following elements:
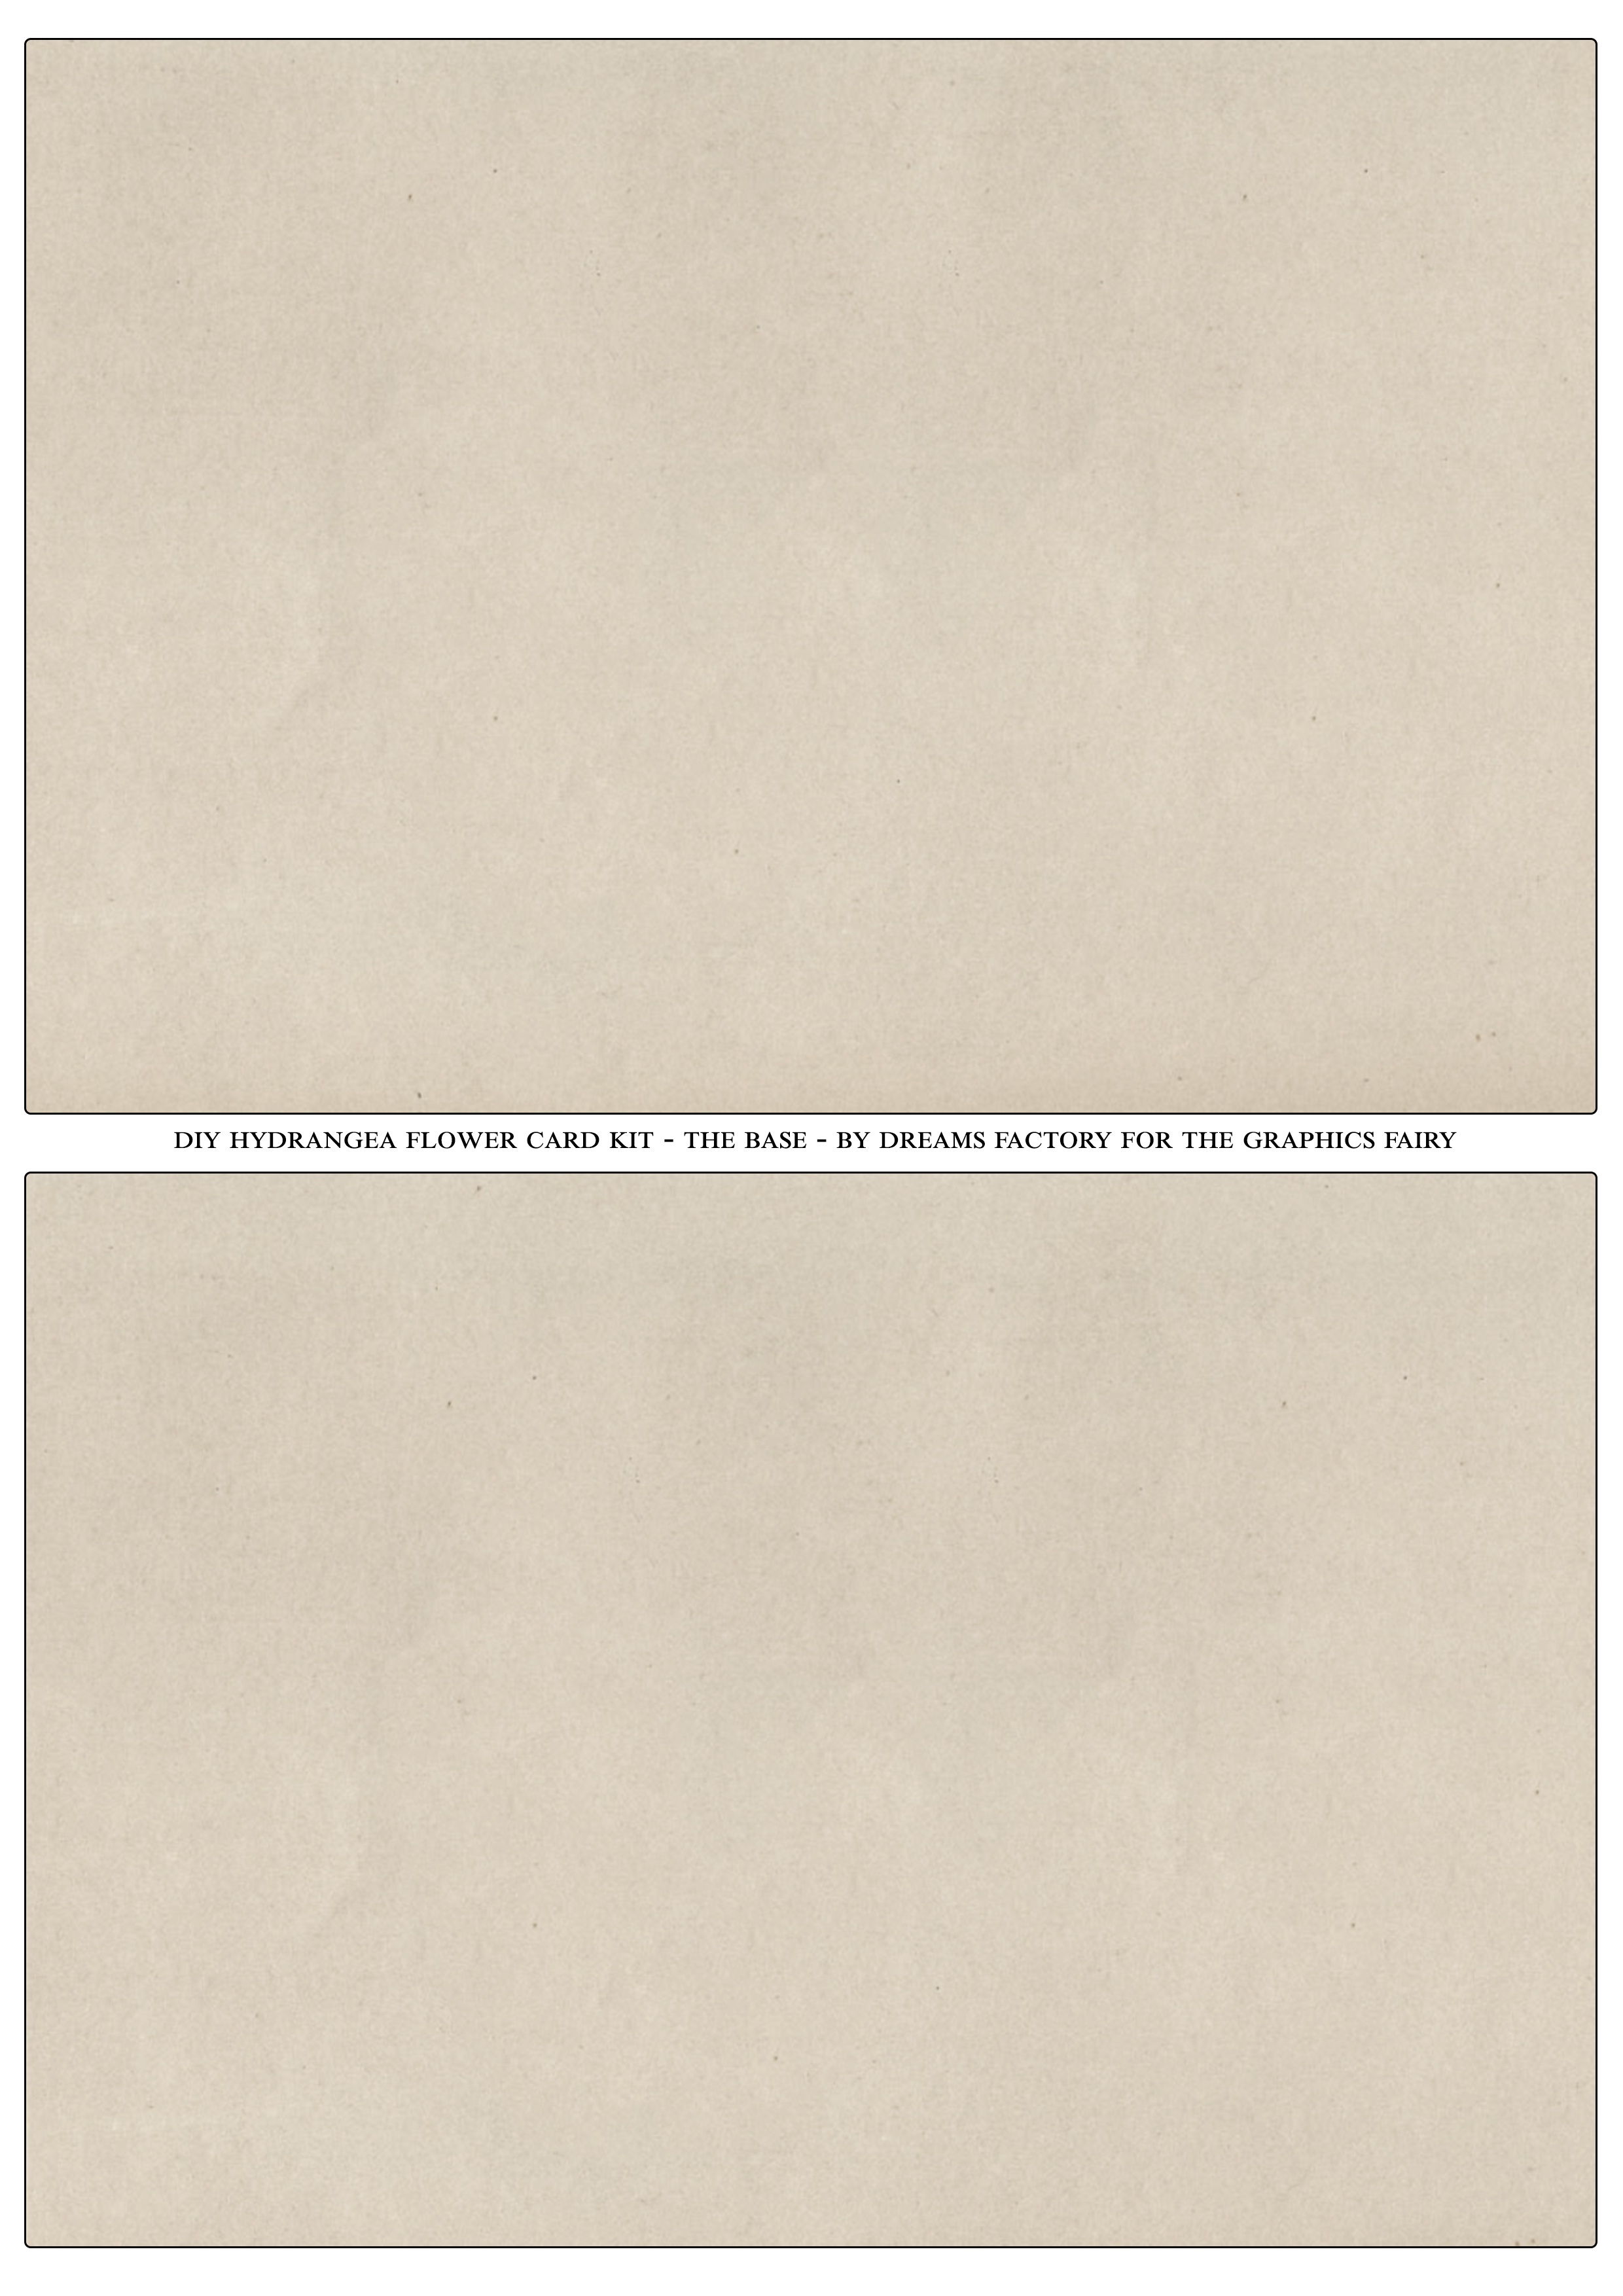
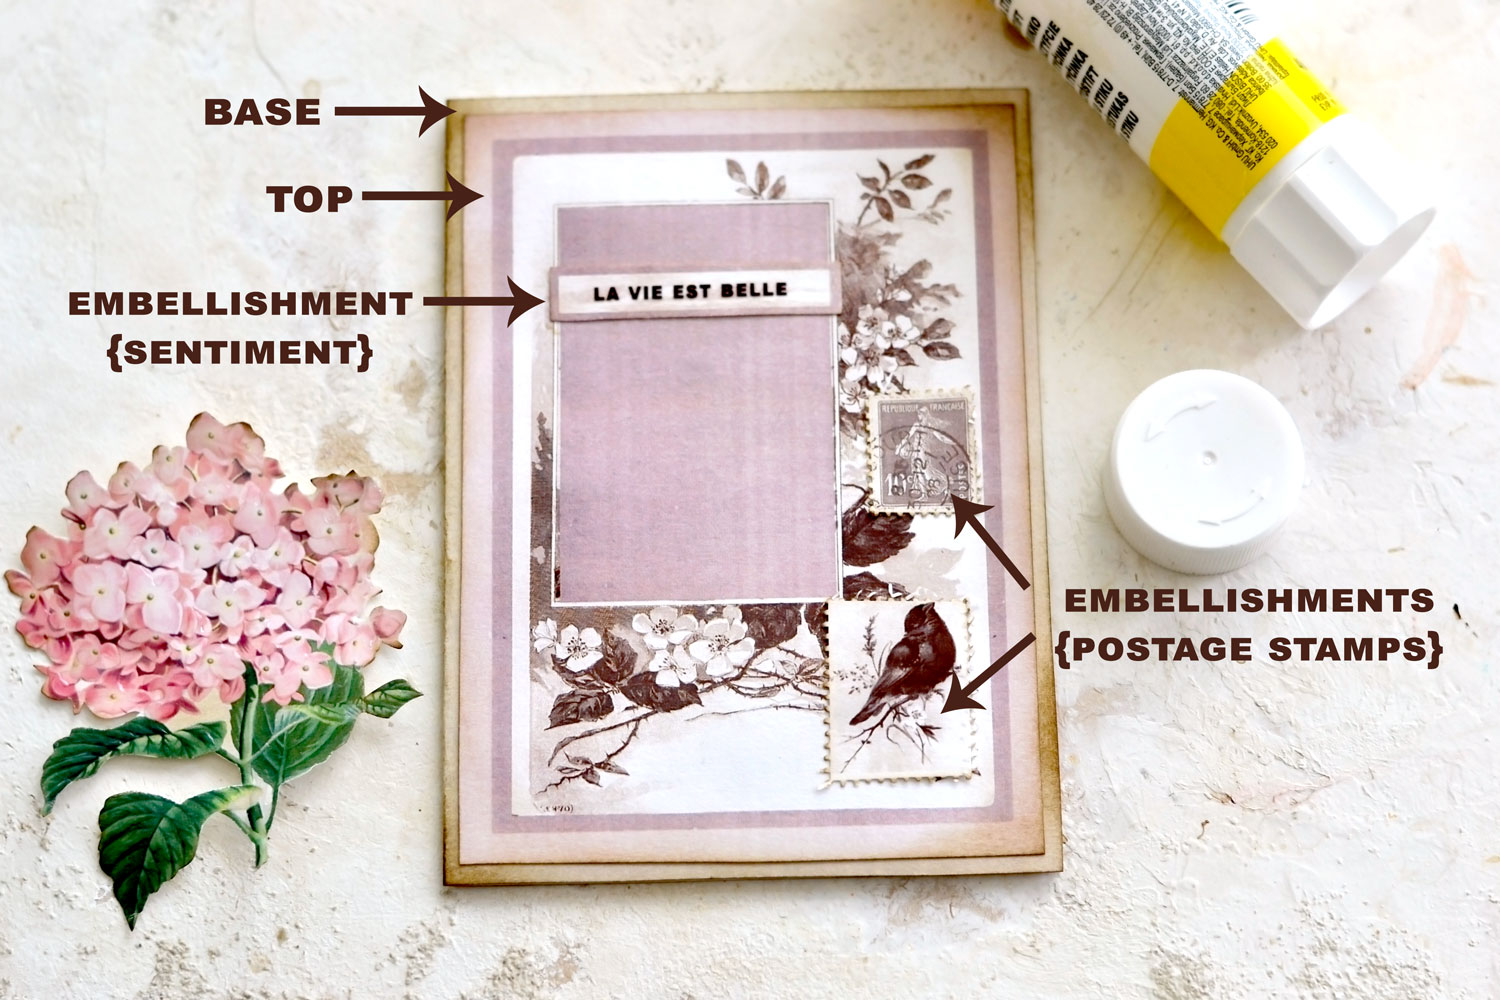
– a vintage background – this simple paper will be our base
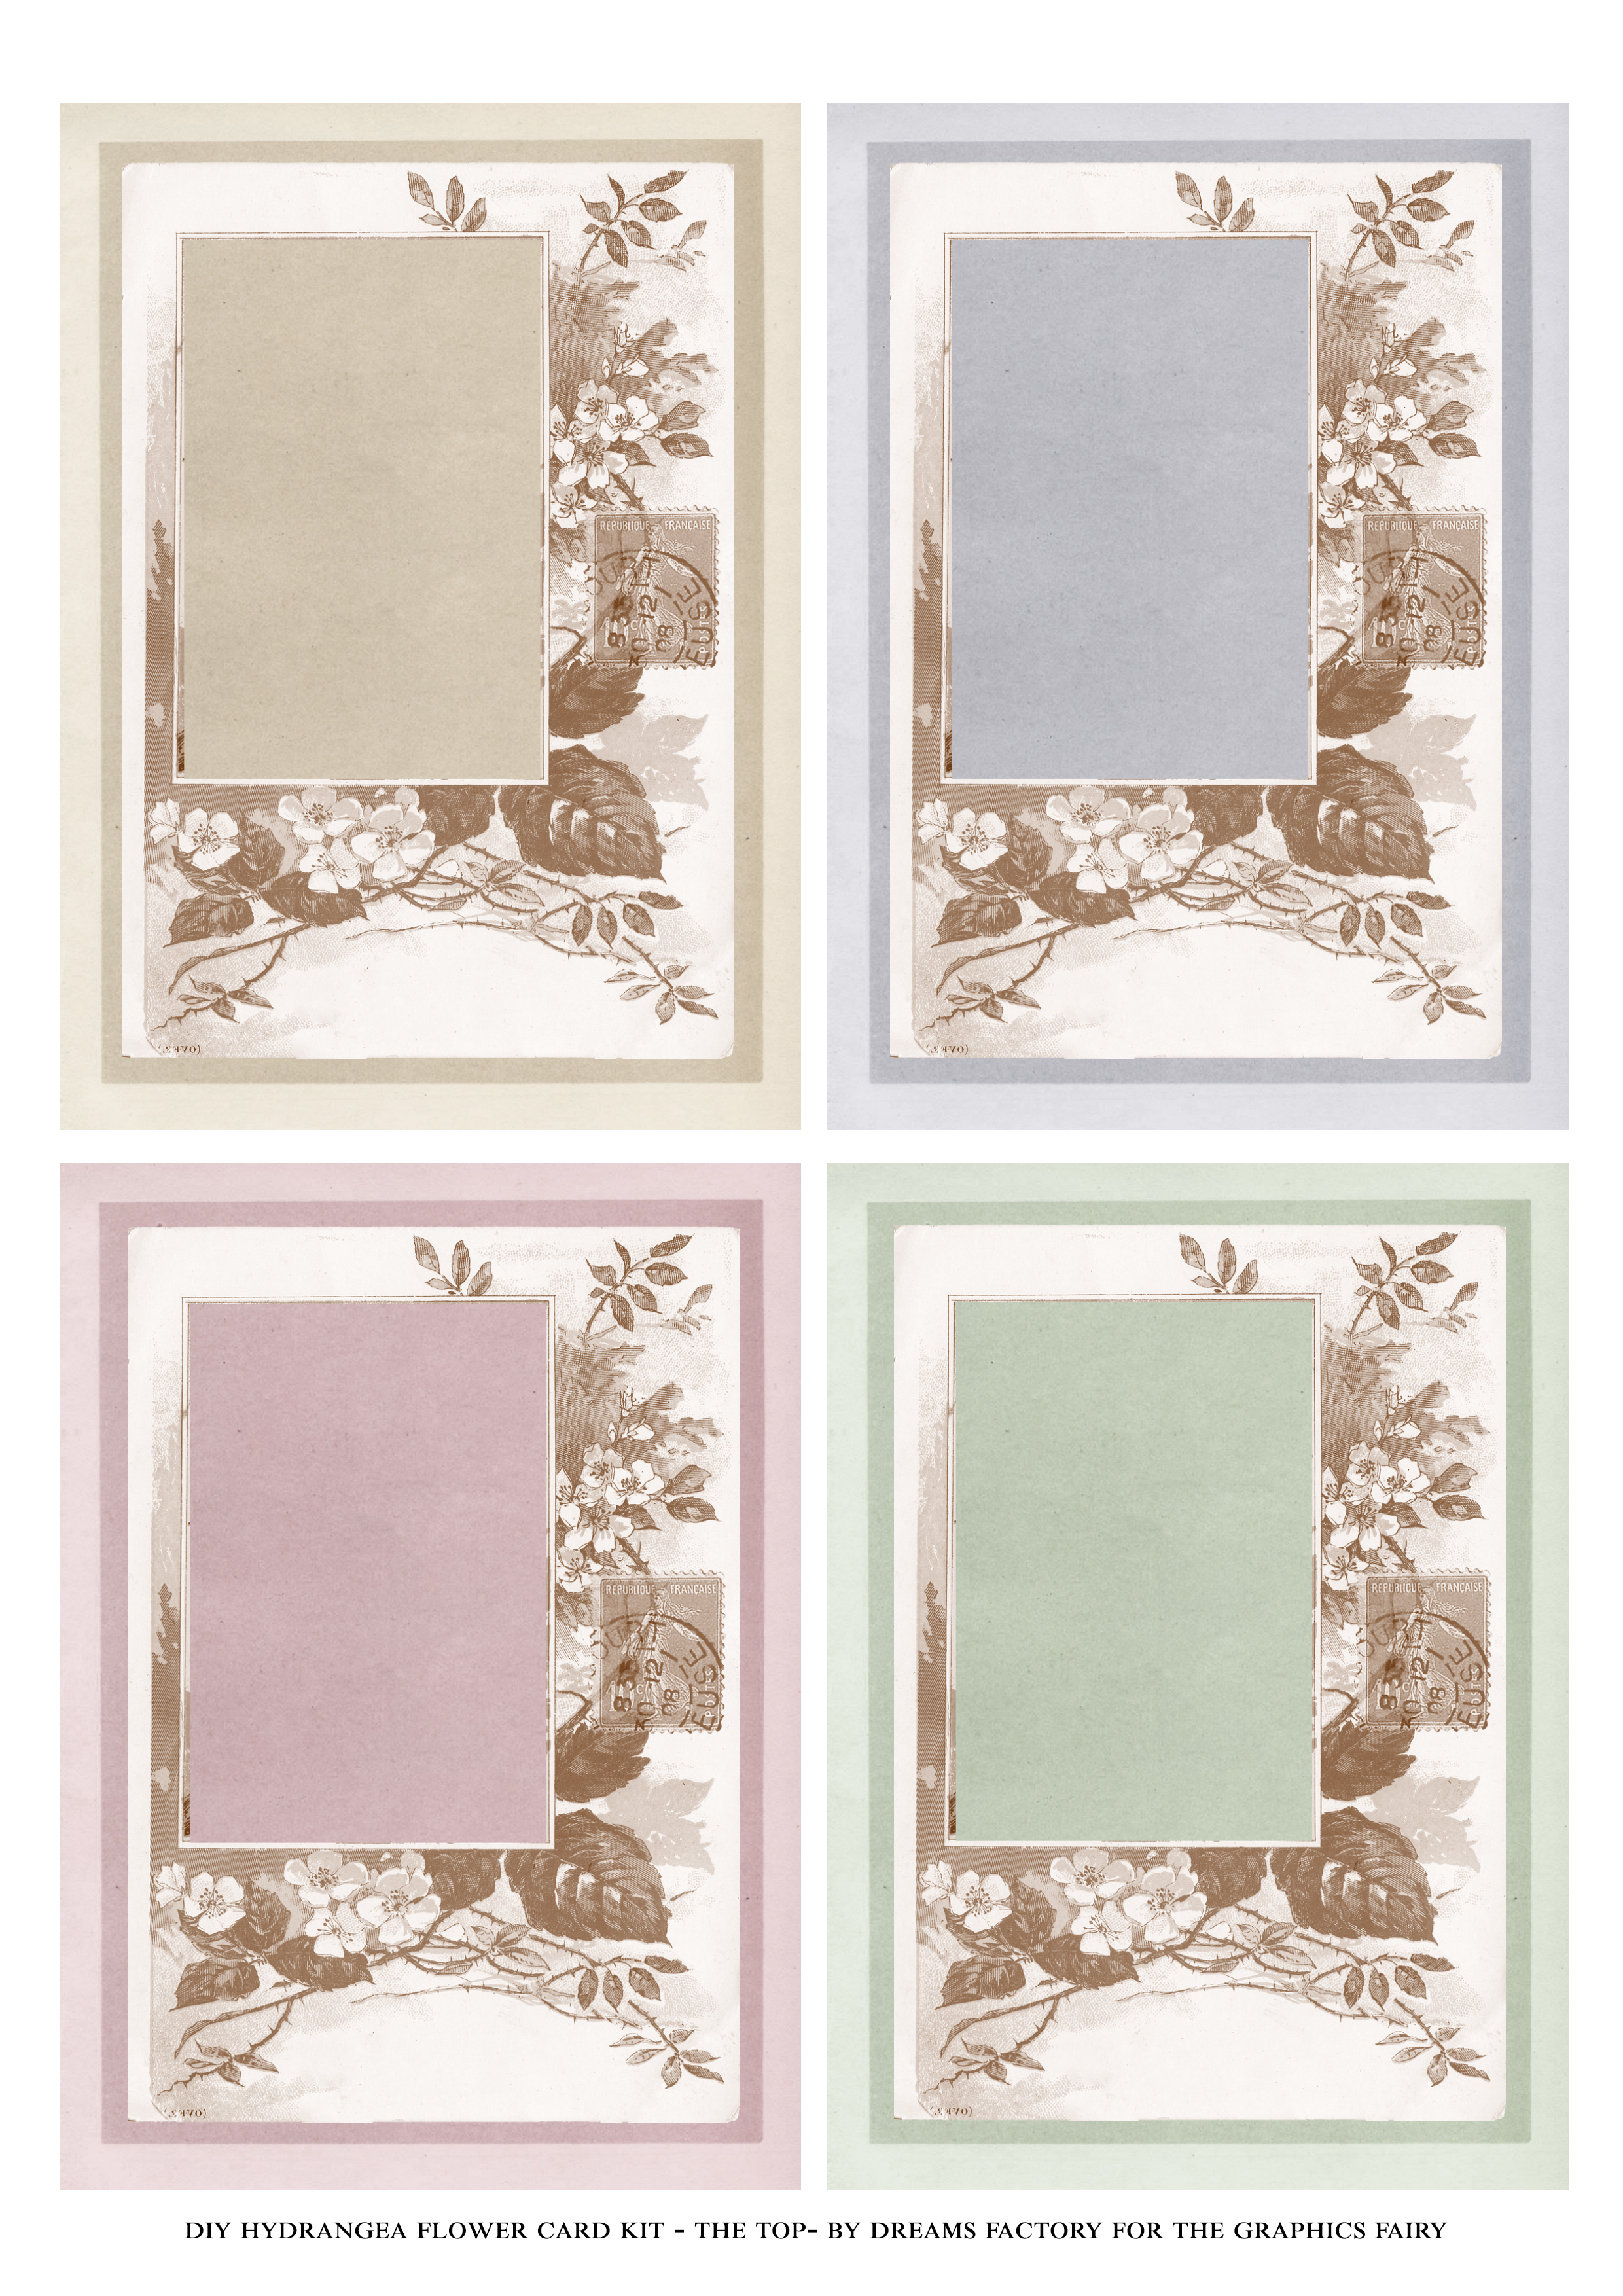
– a beautiful sepia floral design with a colored background that comes in 4 different colors (vintage brown, vintage blue, vintage pink and vintage green) – which will be our top
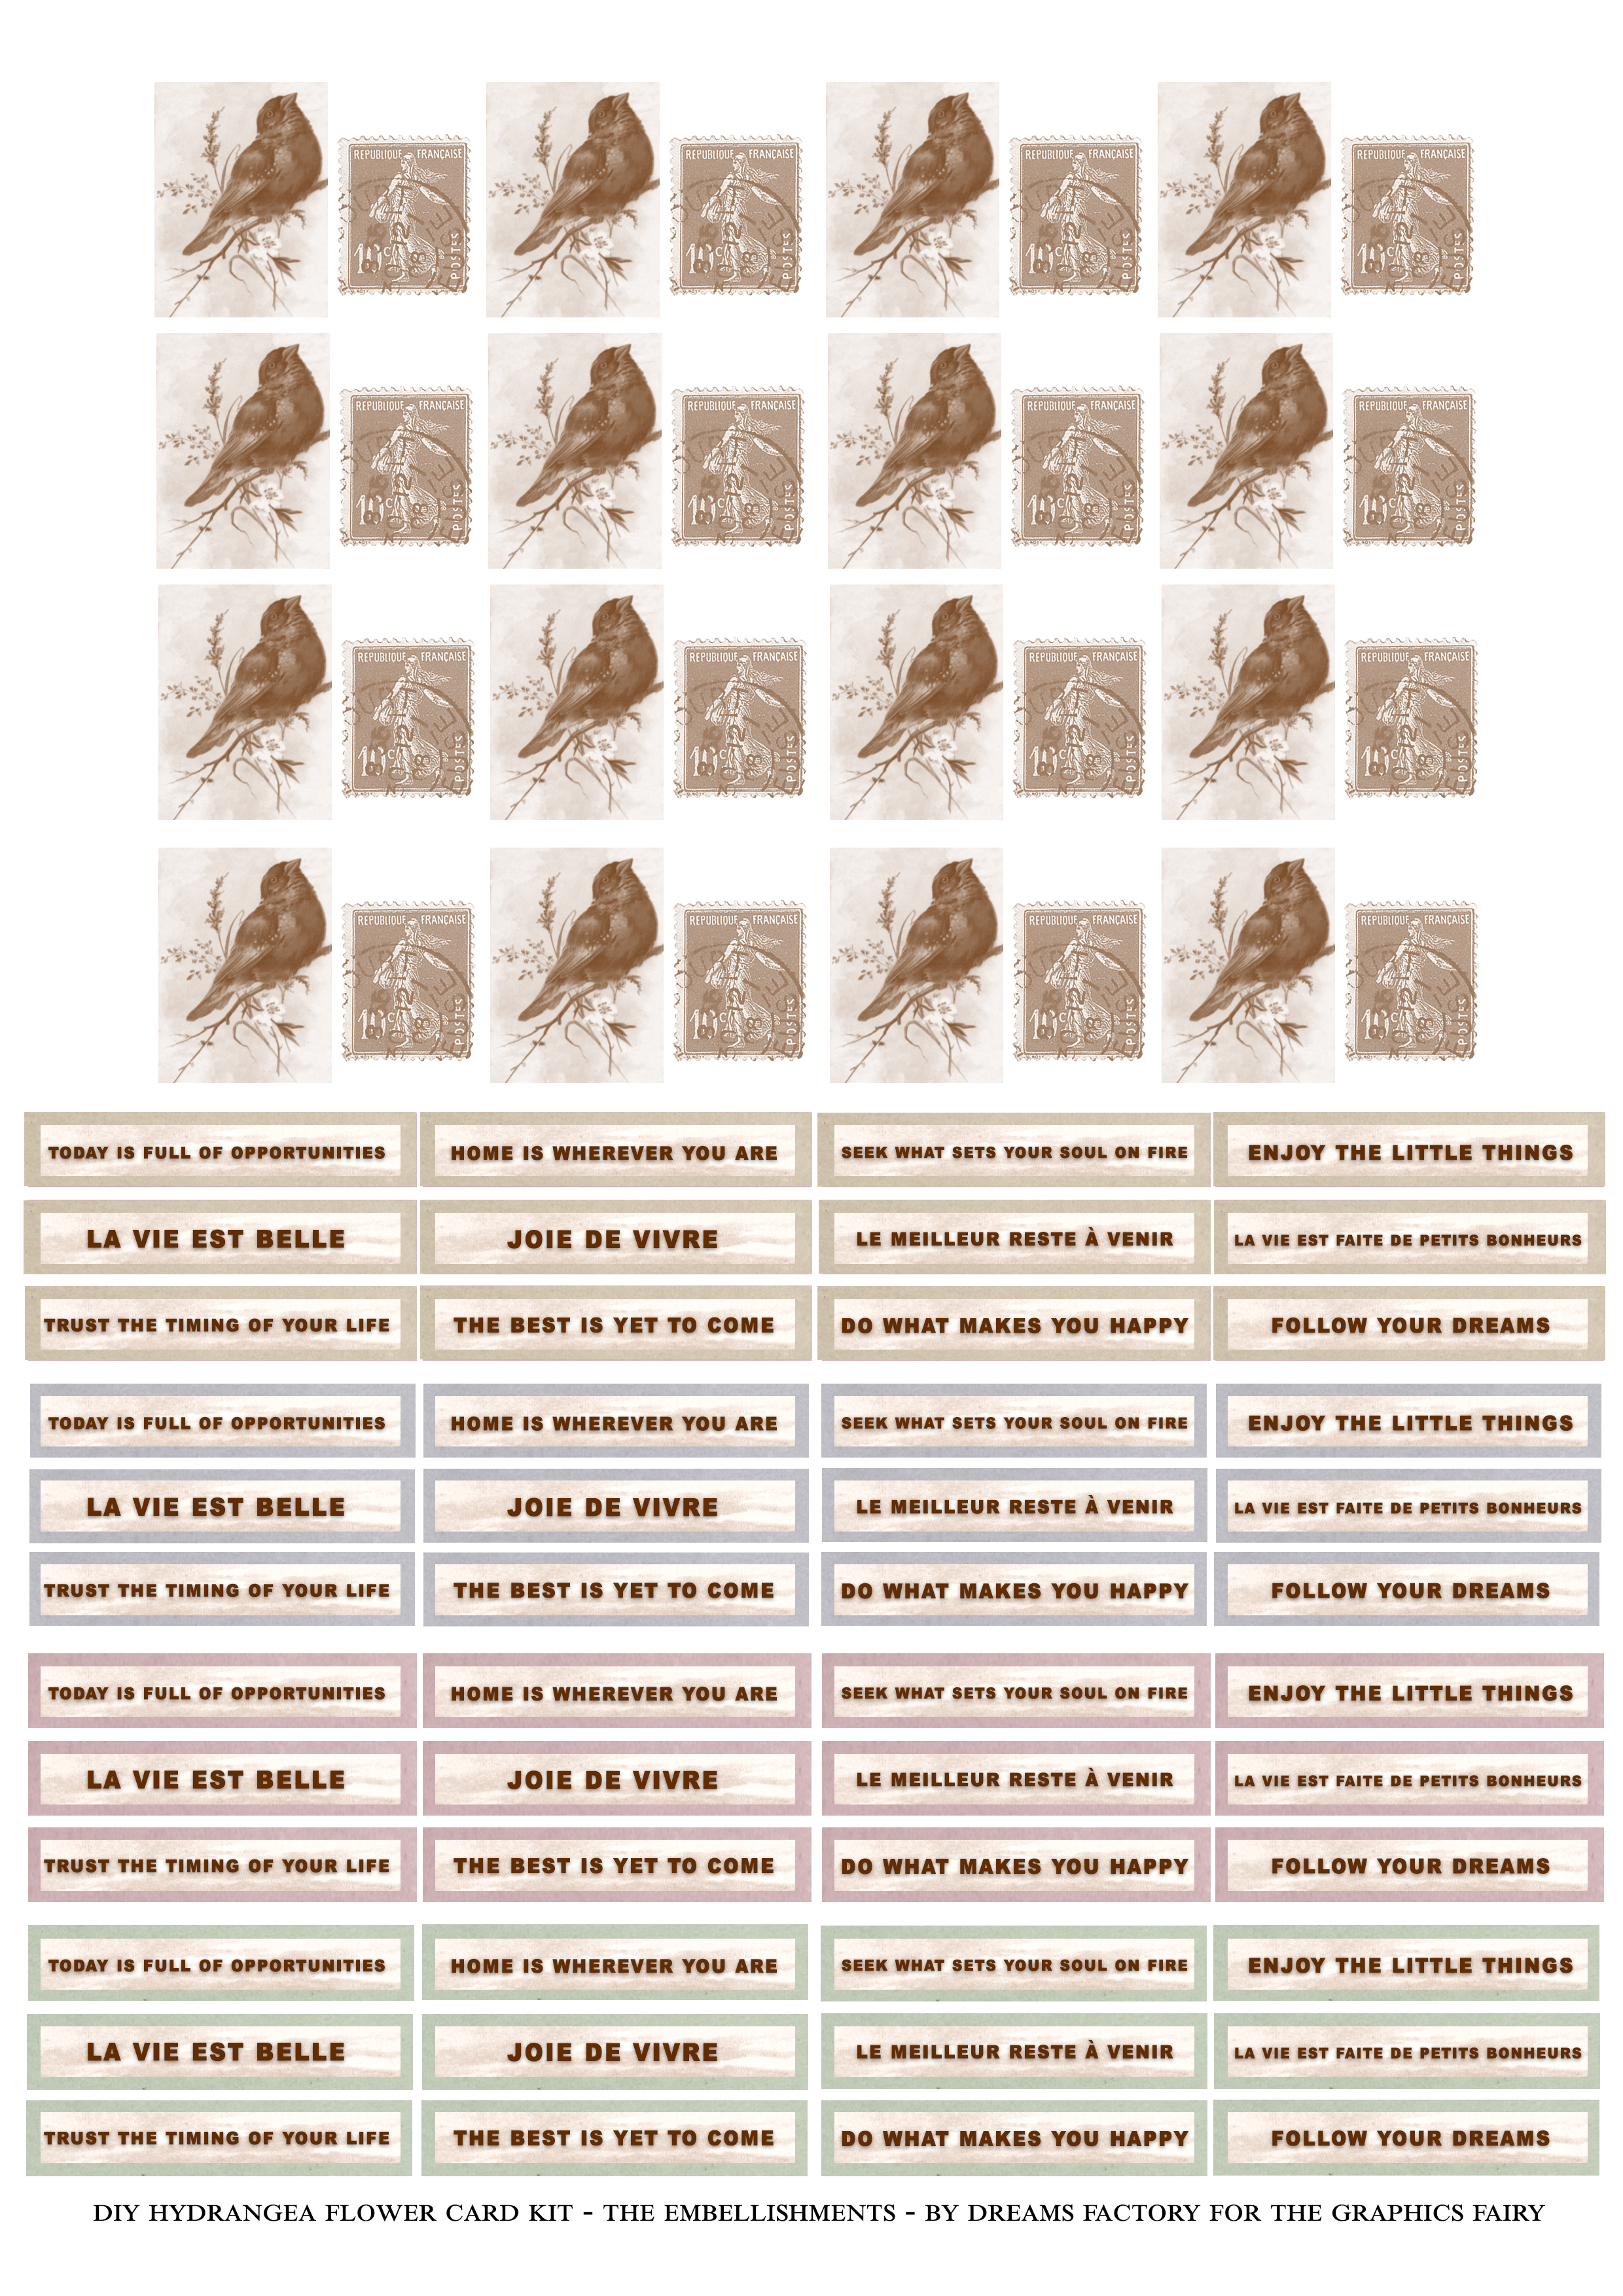
– a few sepia postage stamps and a few colored sentiments – which will be our embellishments
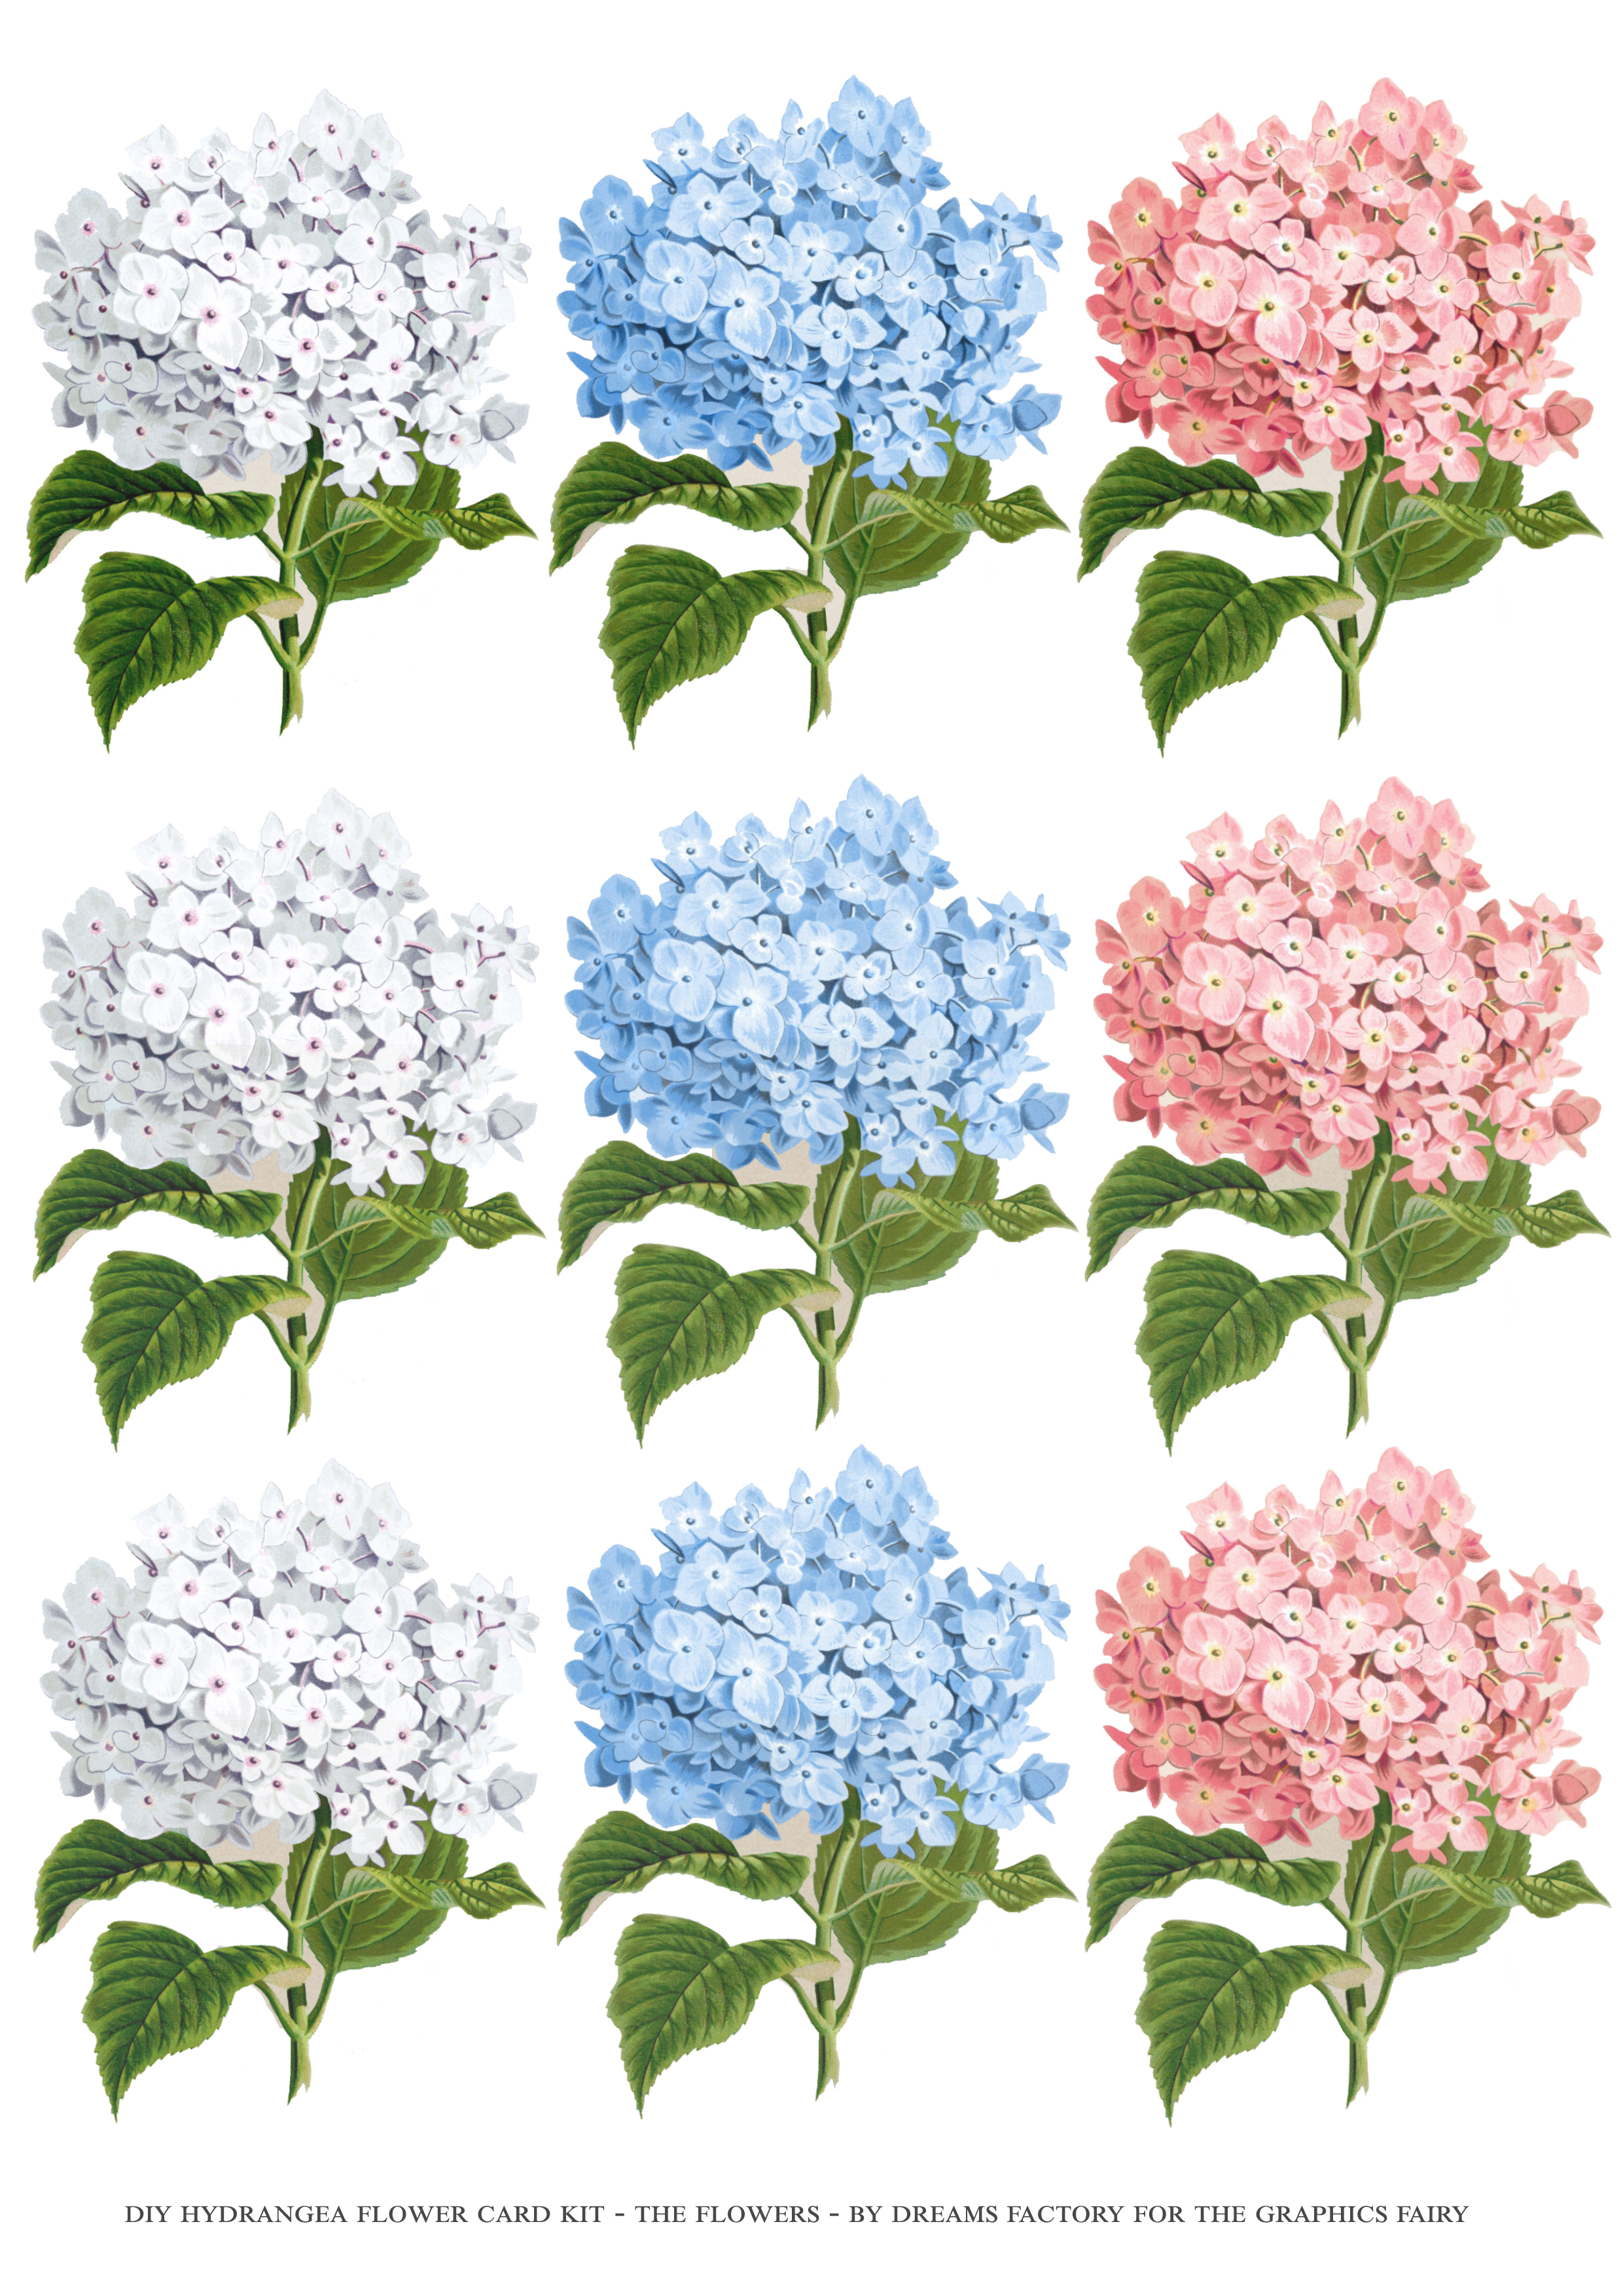
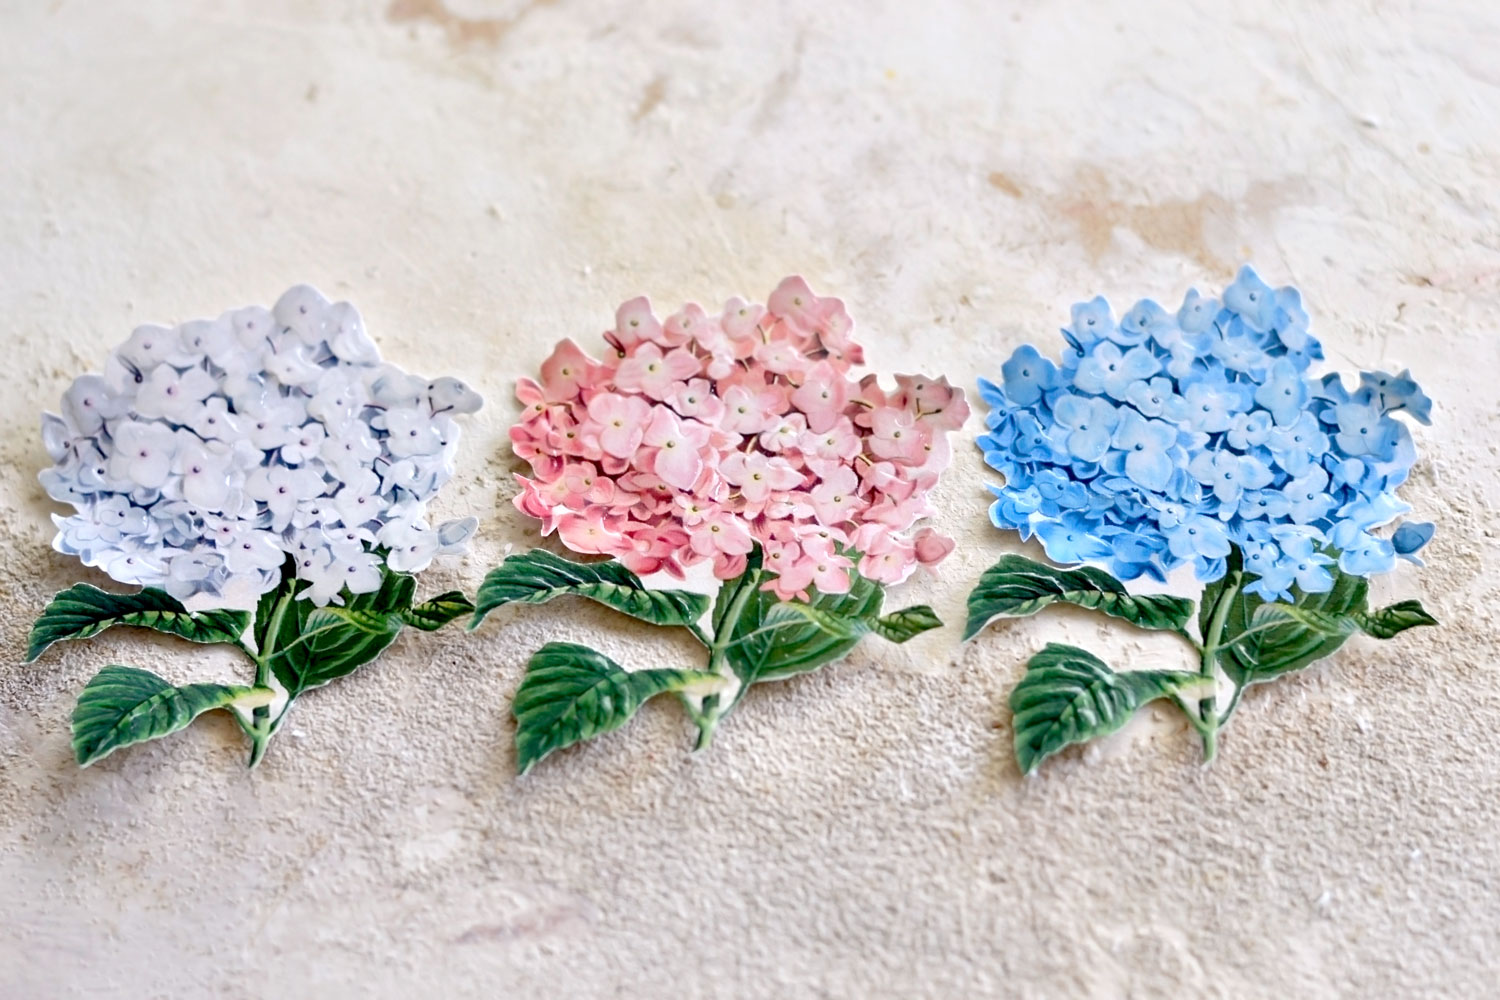
– a few gorgeous hydrangea flowers that also come in 3 different colors (white, pink and blue) – which will be our focal point element
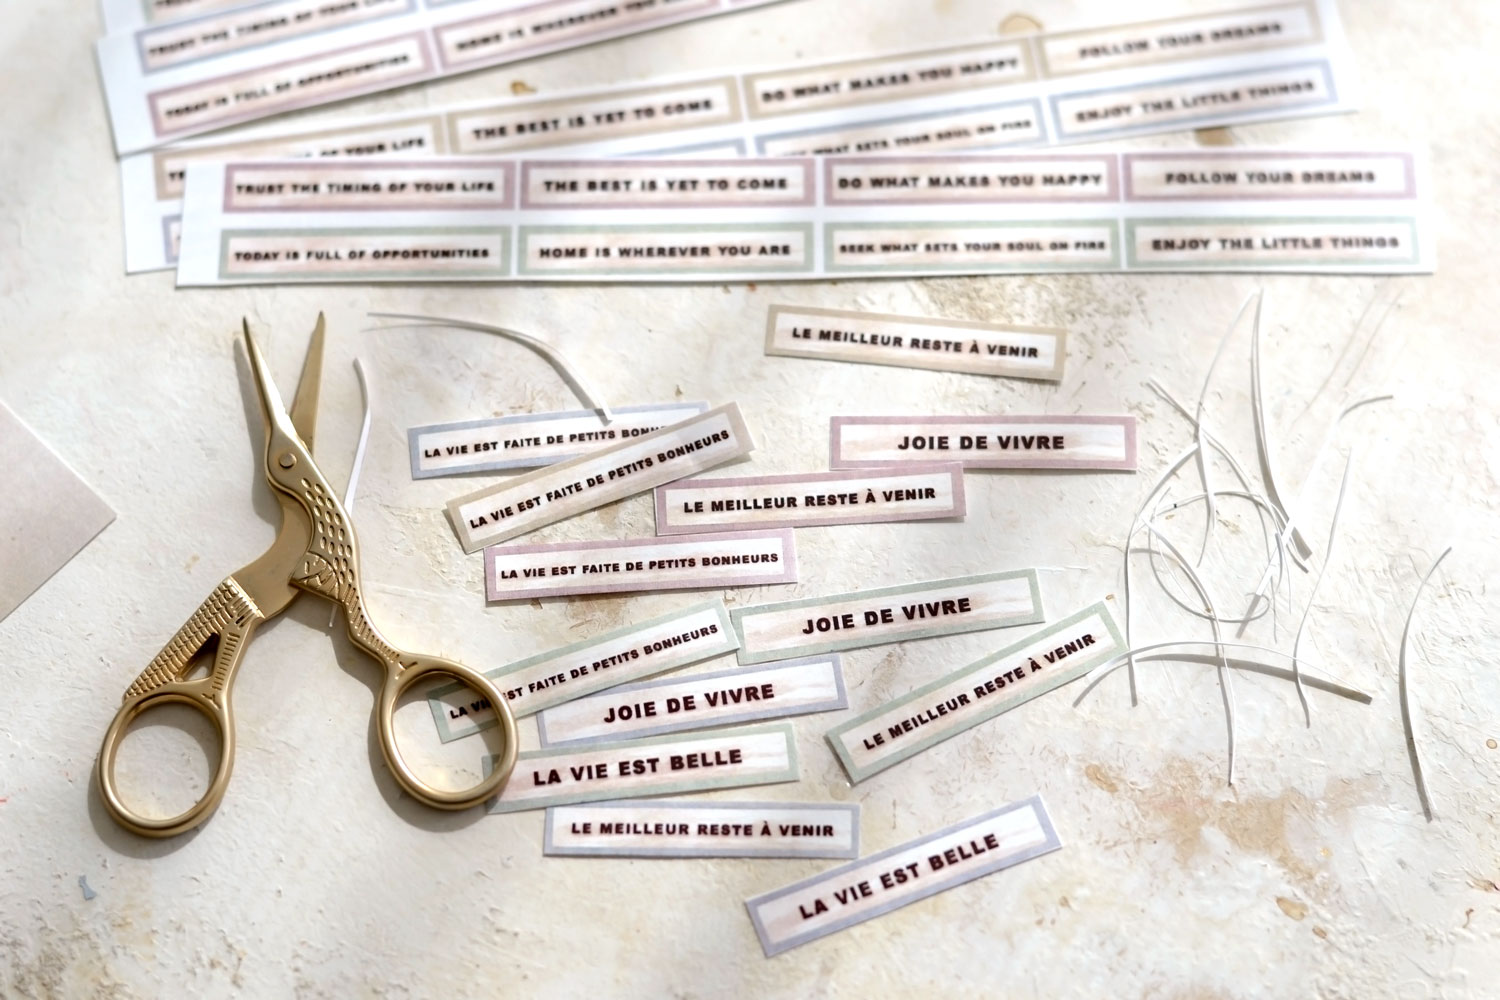
The best part of this DIY Card Kit is that you can use and combine the decorations and elements as you want! For example, you can go for one color and choose matching pink elements to create a vintage card with a pink vibe. I think that would always be my first option! But you can also mix things as you feel inspired – you can go for a pink floral top, a white hydrangea and why not a green sentiment. Speaking of sentiments, you will find a mixture of both English and French, I went all French today, but you can choose the ones that speak to you the most.
Card Decorating Ideas Printables
—-> Click HERE to Download the Full Size Printable PDF – the base <—-
—-> Click HERE to Download the Full Size Printable PDF – the top <—-
—-> Click HERE to Download the Full Size Printable PDF – the embellishments <—-
—-> Click HERE to Download the Full Size Printable PDF – the flowers <—-
You can further embellish this little project from the kit if you want. You can use distress inks or watercolors, even coffee if you want to give the paper a more distressed look. You can even add lace, ribbons or other small decorative elements, the sky is the limit. But if you would prefer to keep things simple, just use your scissors to cut the elements and assemble all the ‘layers’ as you want.
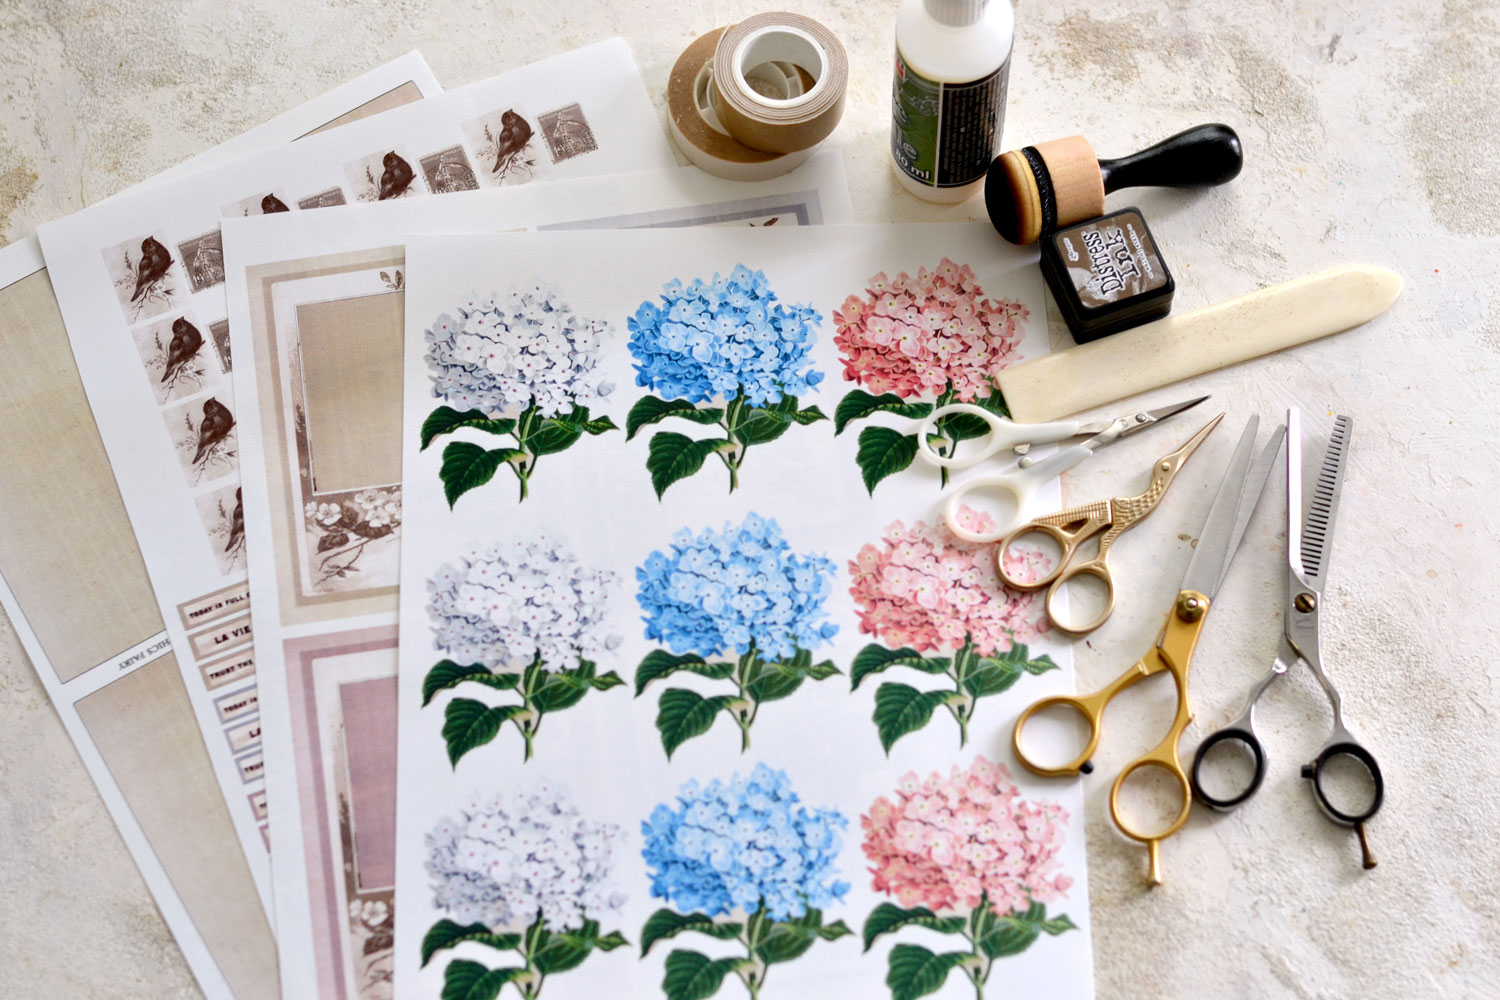
SUPPLIES:
- the lovely printables
- cardstock paper
- home printer
- regular scissors – for cutting the larger elements and for roughly cutting the smaller elements
- small scissors or manicure scissors – for cutting around the hydrangea flowers
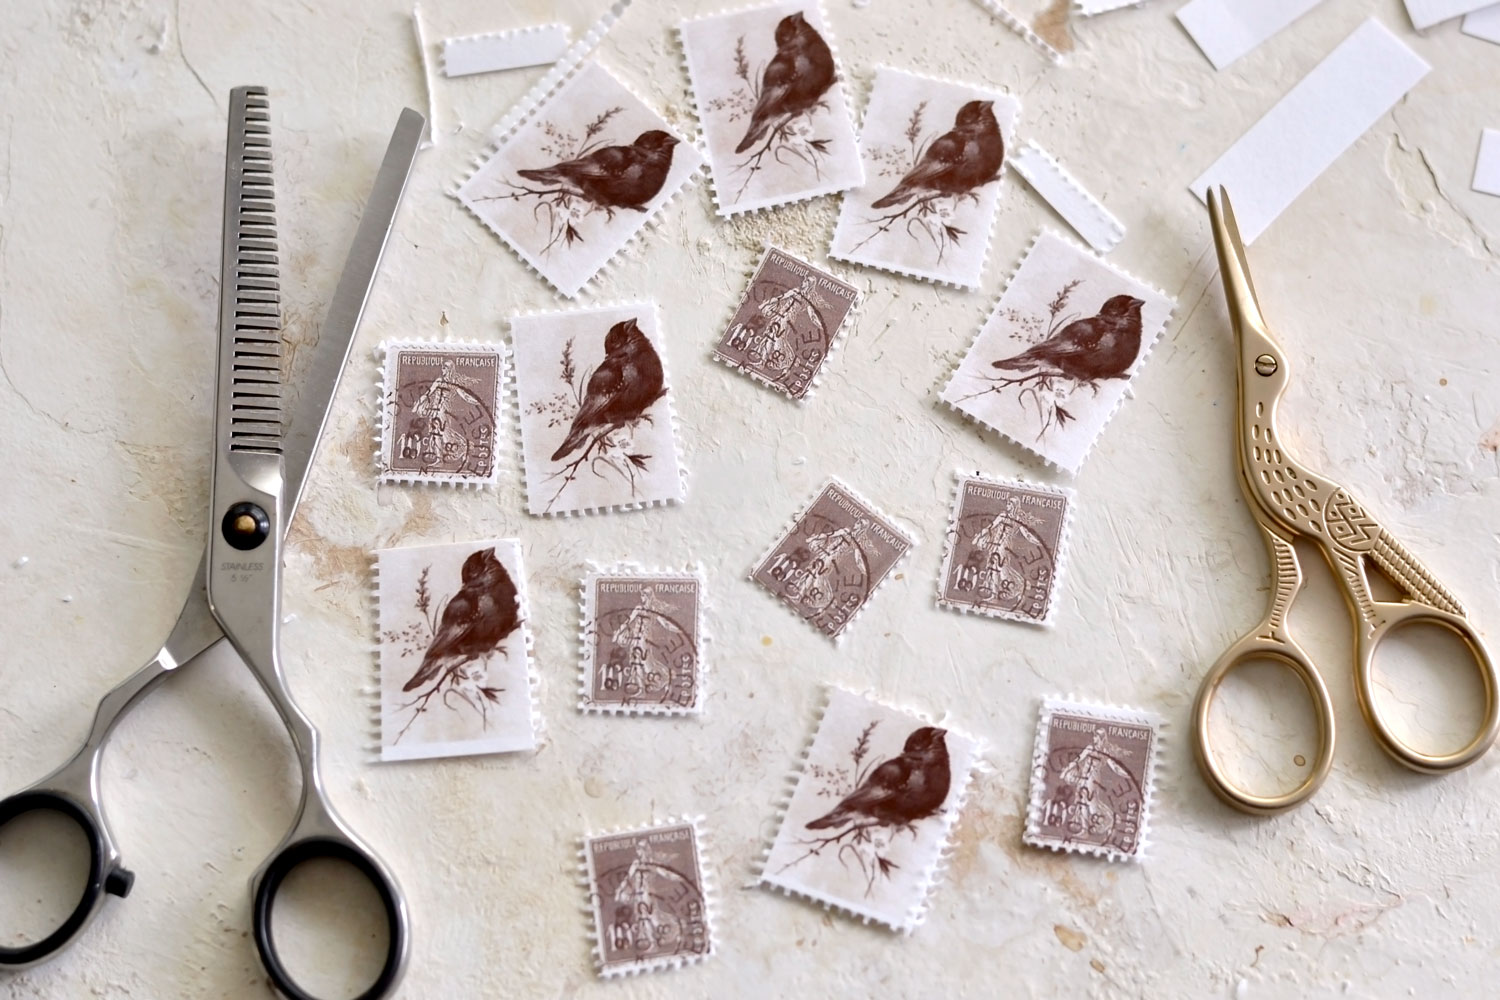
- thinning shears – for cutting the postage stamp elements
- bone folder
- paper glue
- mini distress inks and a blending tool with foam
- double-sided foam tape – for creating volume (optional)
Card Decorating Ideas Tutorial
1. You can start with cutting any of the elements from the kit, it doesn’t really matter the order.
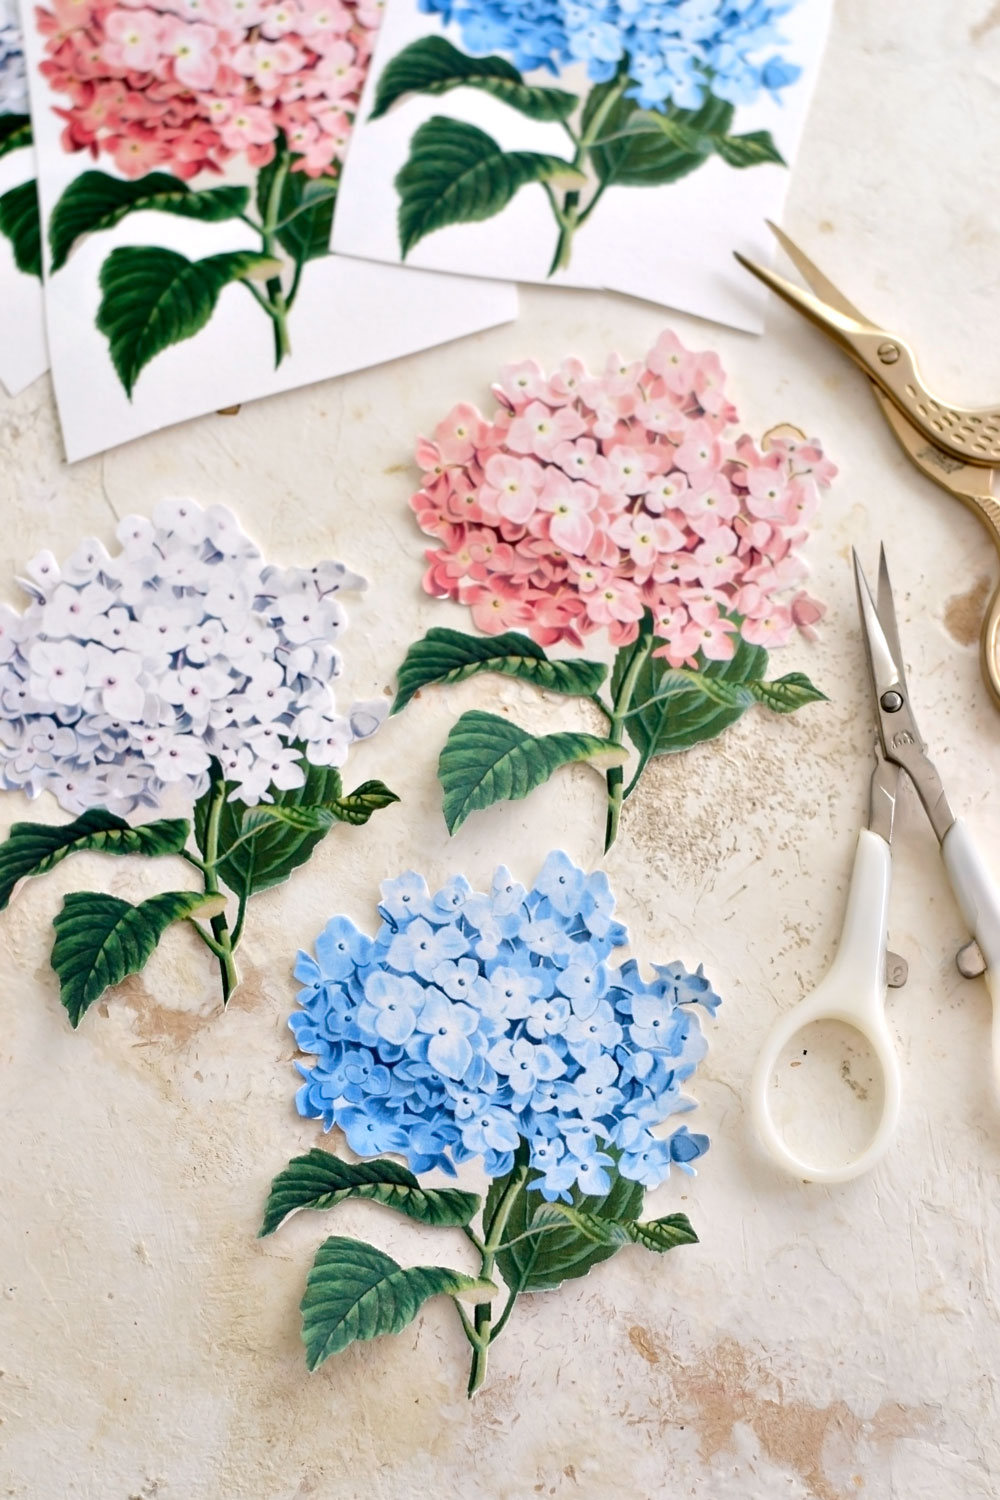
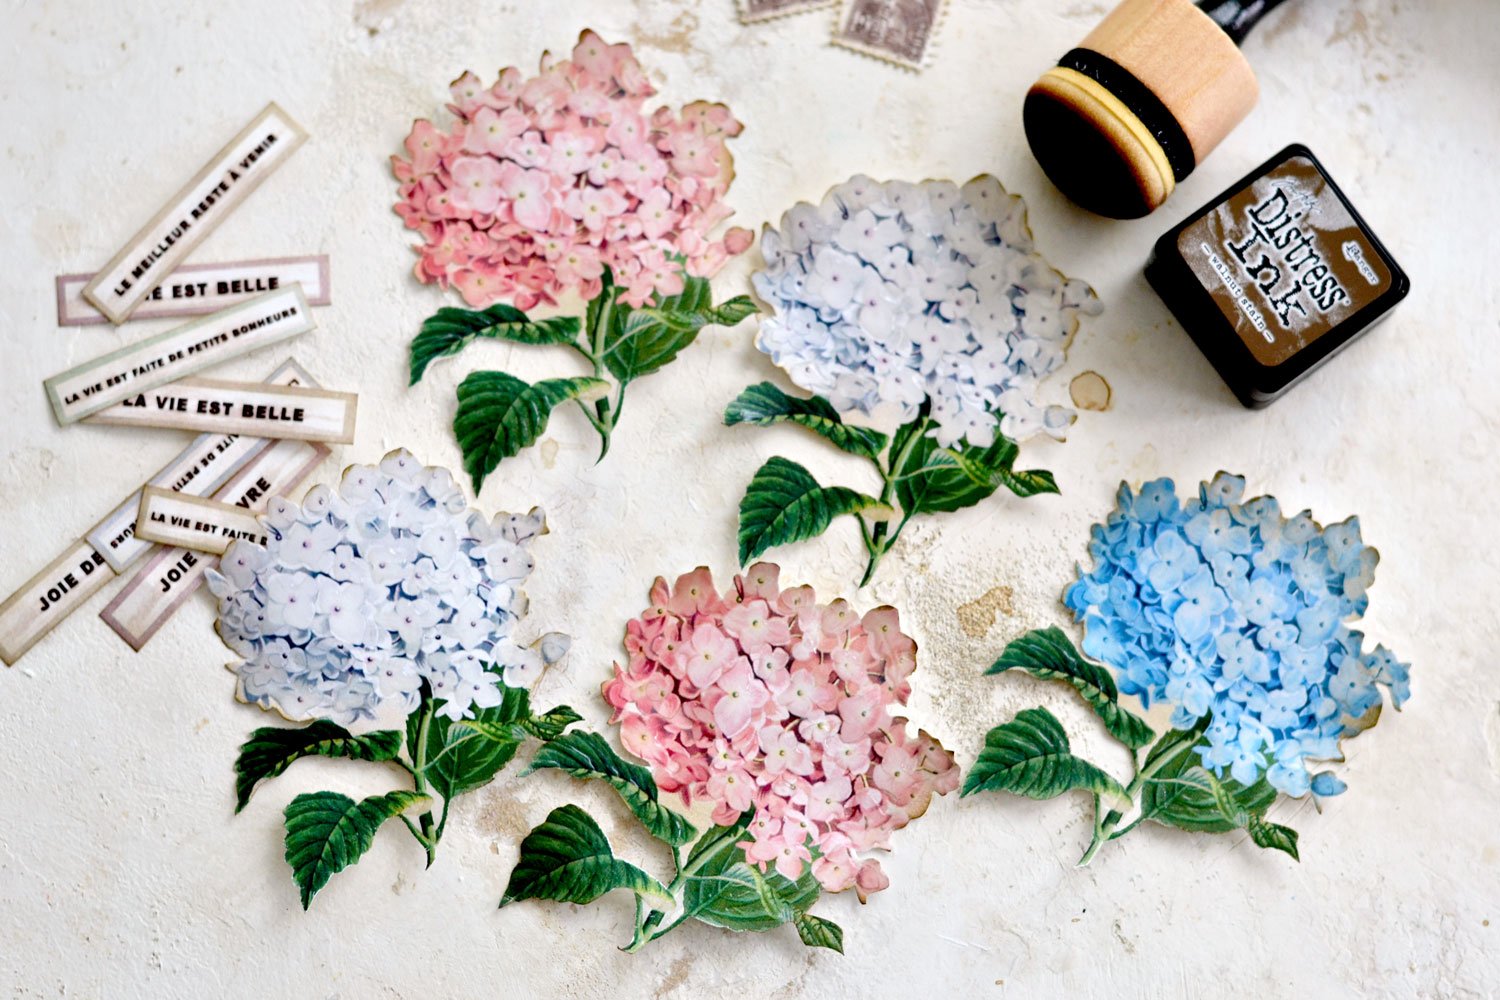
I’ve decided to start with the hydrangea flowers because these are the elements that will benefit from our cool white glue trick. Use regular scissors to roughly cut the flowers, then use some small scissors to cut around the flowers. I love using manicure scissors because they have really thin blades, but feel free to use what you have around. The idea is to completely remove the white paper outside the flowers while keeping their lovely shape. Try avoiding blunt cuts and go for more rounded cuts to give an organic feel to our flowers. I like to keep my scissors rather straight and rotate the paper in my hand as I go. Create a jagged effect on the leaves if you want, just move the paper left-right as you cut. Don’t worry, they don’t have to be perfect!
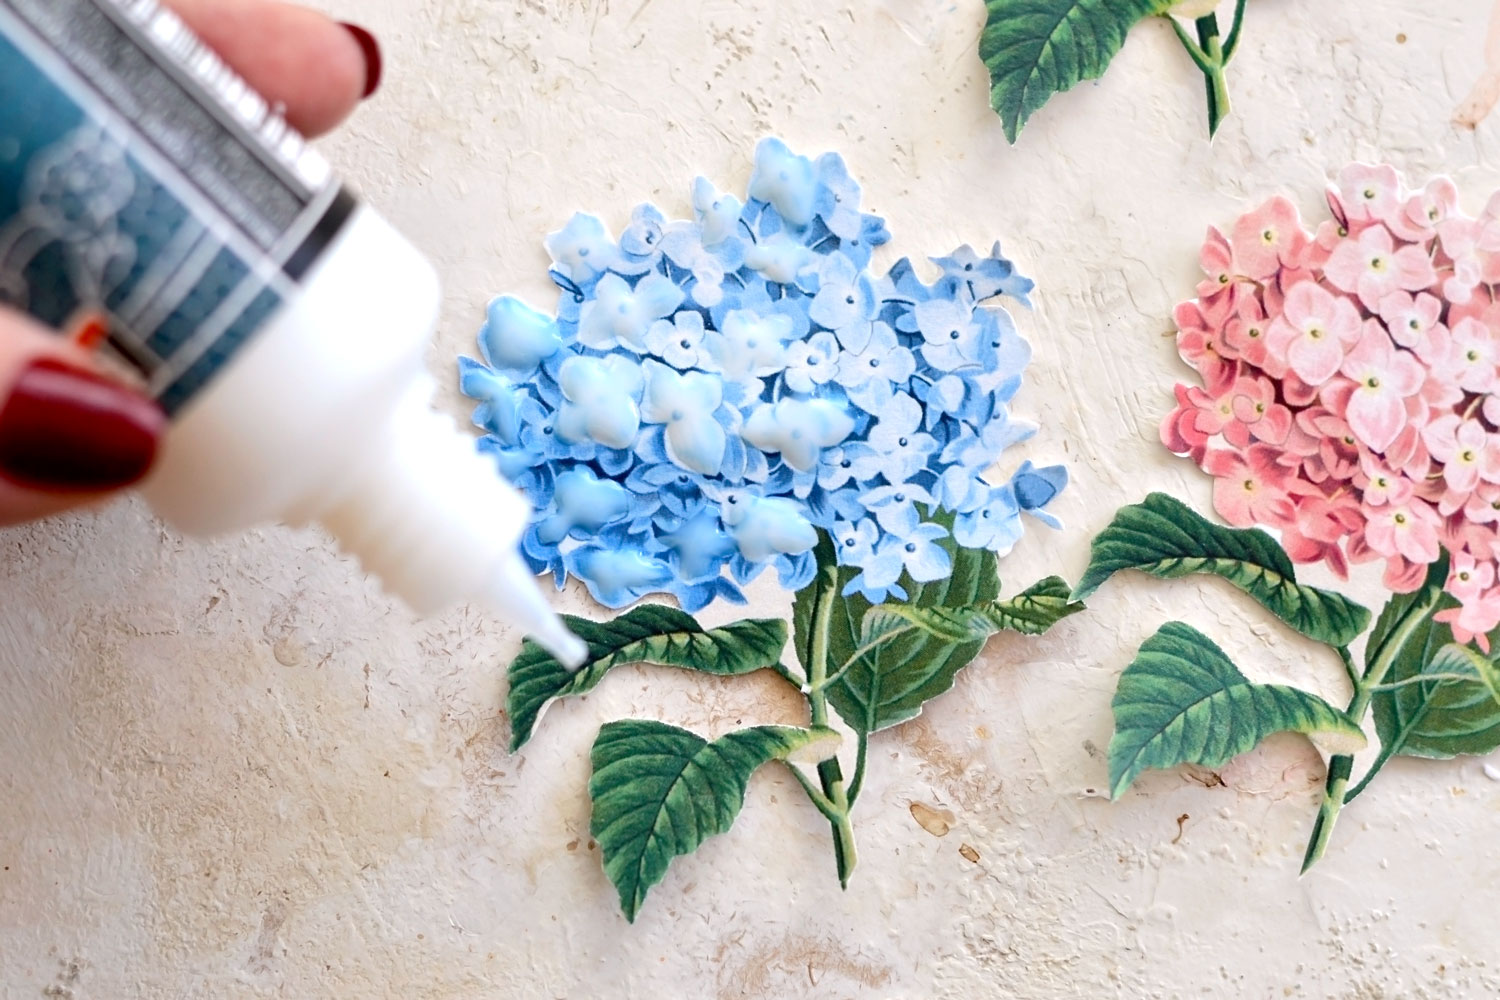
To create that cool white glue trick that would add more volume to your flowers, you will need to use a tip glue applicator. You can pour some glue into a needle tip plastic bottle, you might already have something similar in your craft supply stash. If not, these small bottles can be purchased online or in craft stores, they are quite inexpensive. Also, really important, make sure you use craft white glue that dries clear!
2. Apply the glue following the design of the petals. You don’t have to add glue to all the petals, just keep a small distance between them. Start from one side and gradually work your way through the other side. Try to keep the shape of each glue petal, this way they will be more defined once dry.
Apply some glue to the leaves as well, but this time only squeeze small strokes over the veins.
This effect will not be highly visible once the glue dries, but it will create a beautiful raised effect that is just like a nice surprise! Especially when you hold the flowers closer to you or you move your fingers over them. Depending on the lighting, this transparent raised effect will sometimes look like droplets of water, which can be a nice addition to our flowers, because it will give them an intriguing ‘fresh look’.
As it turns out, it was quite difficult to photograph this transparent effect in all its glory! But if you look really close at the image below, you can see it clearly on the petals of our white hydrangea and on the leaves of the blue one.
3. While the glue dries on your hydrangeas, you can proceed to cut the other elements too. I used small scissors to cut the French sentiments, just choose the French or the English ones that you love the most.
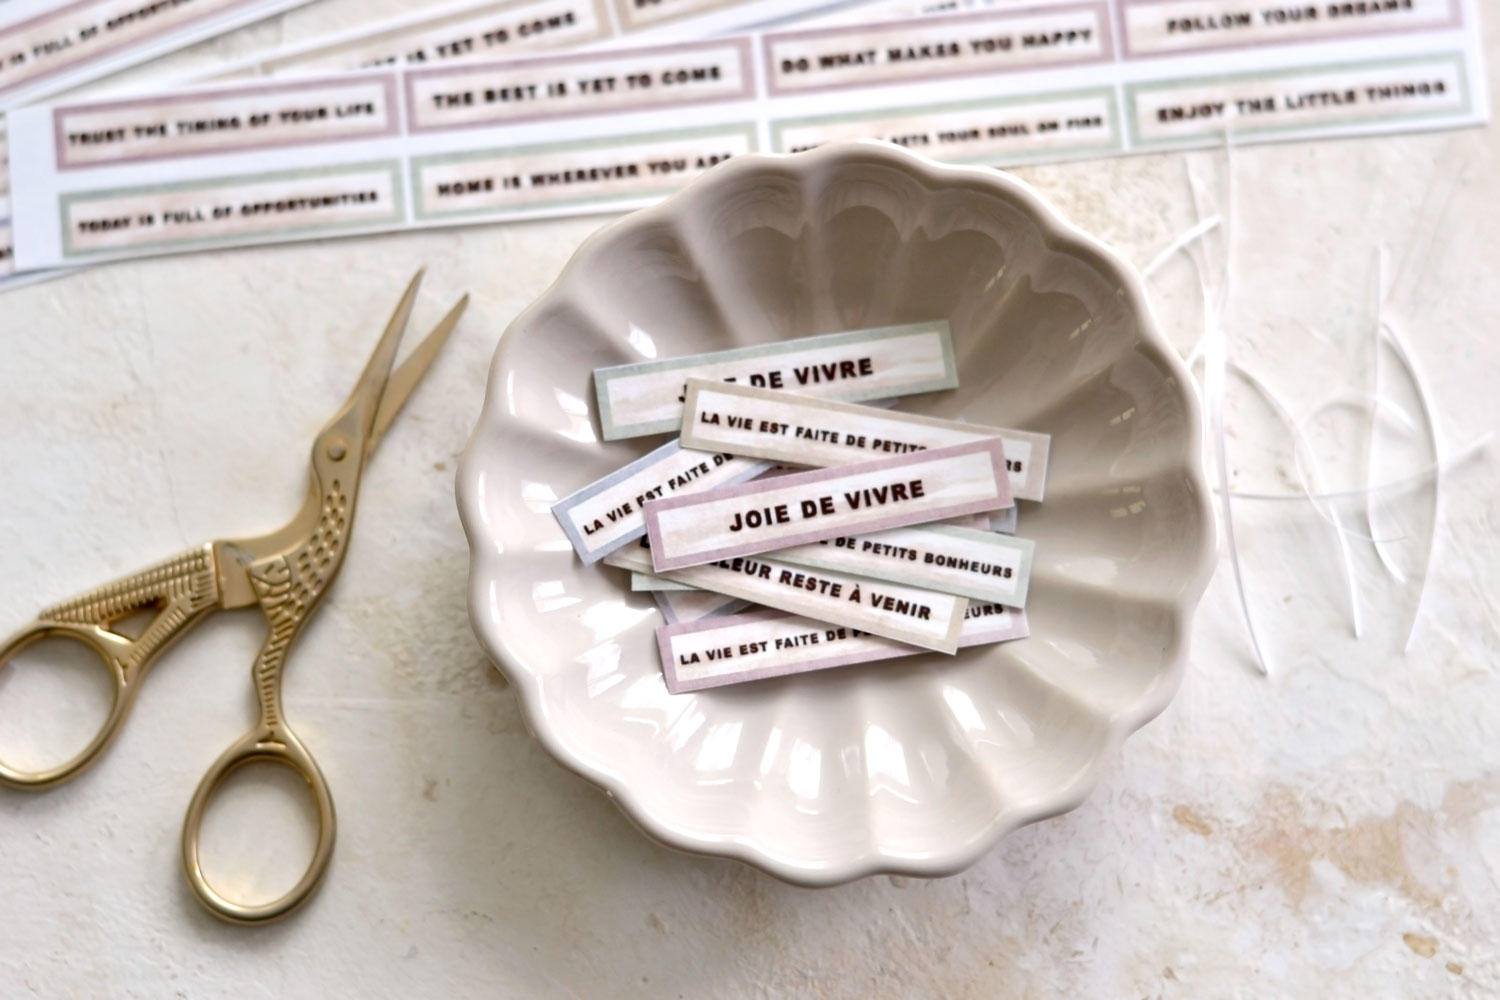
You can place the small embellishments into a small bowl until you are done, these small pieces have the tendency to ‘disappear’ when you least expect it!
4. When it comes to the postage stamp embellishments, you can use regular scissors to cut them, but if you want to create that specific postage stamp border, you will need to use thinning shears. I’m sure you are already familiar with this technique of cutting your own postage stamps from my tutorial, but if you are not, you can check it here -> DIY Faux Vintage Postage Stamps. This is such an amazing technique that basically allows you to turn any image into a postage stamp!
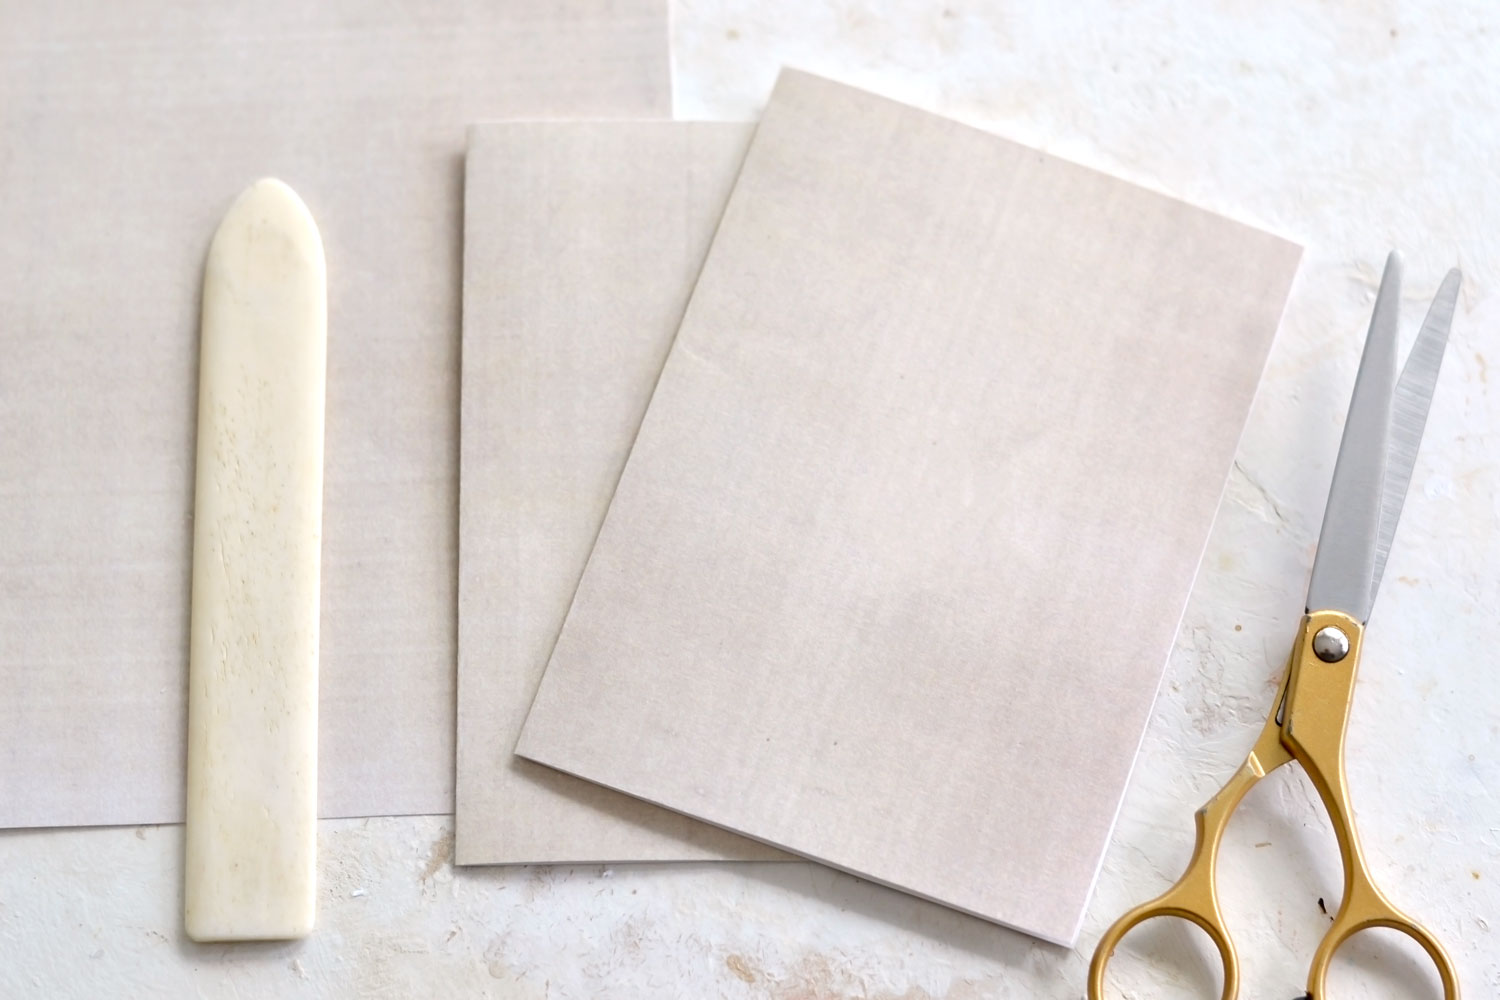
5. You can proceed to the other elements from our kit. You can use regular scissors to cut the bases, then fold them in half and use a bone folder to score the paper in the middle.
6. And finally, cut the sepia floral design with the colored backgrounds.
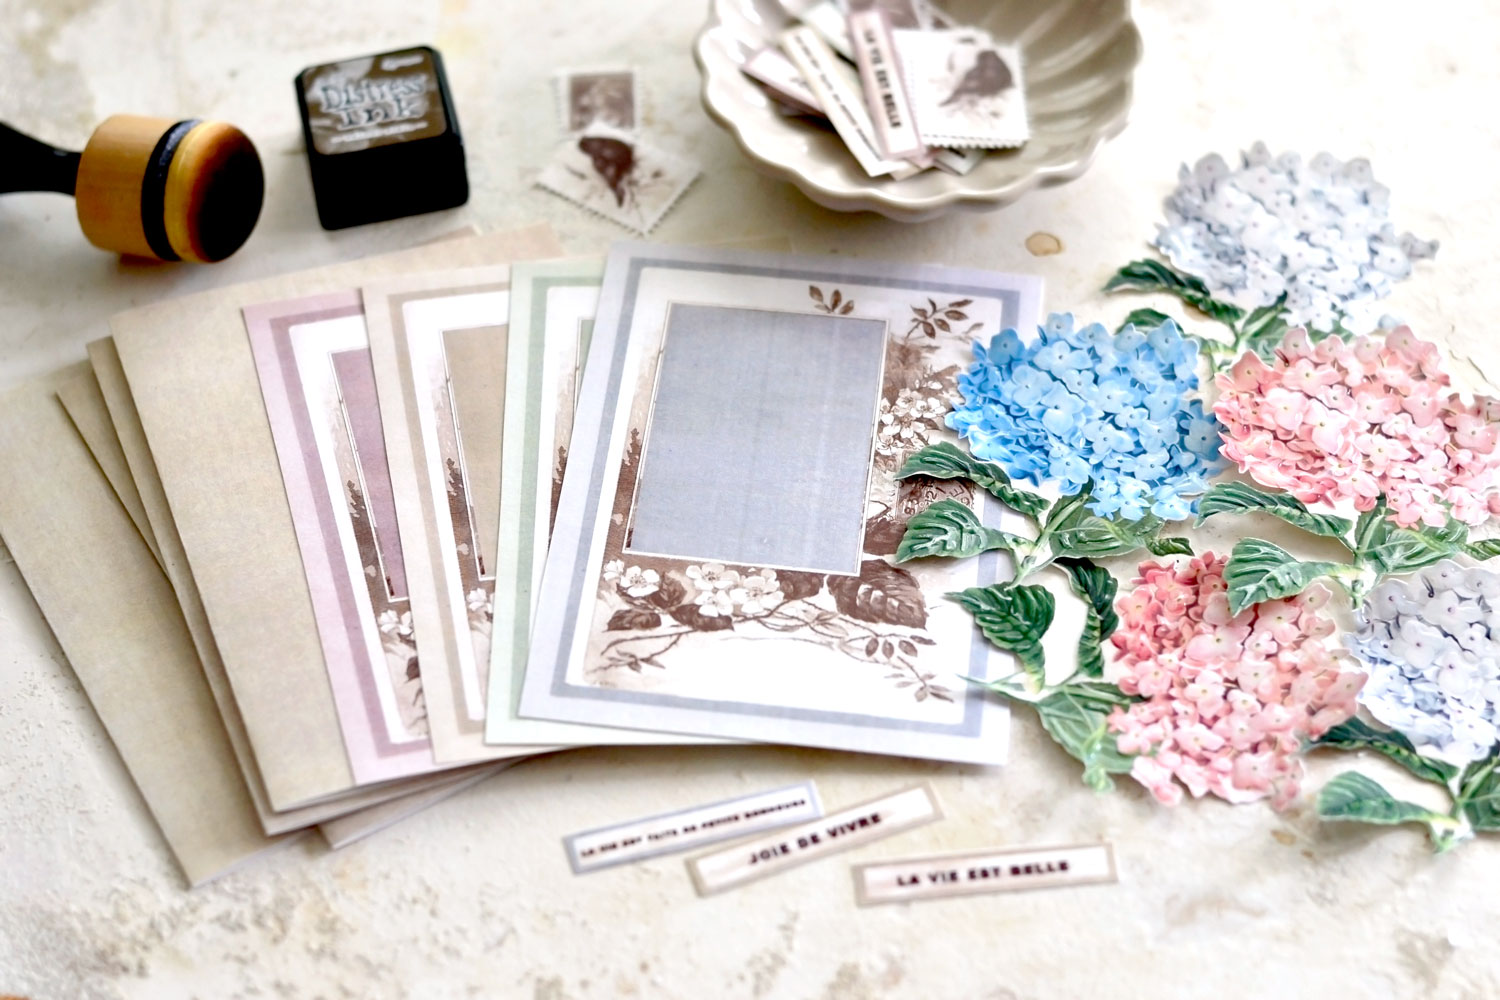
All your elements are now cut and are impatiently waiting to be used for your homemade card!
7. If you want to distress the paper, now would be the perfect time to do it! I distressed all the elements on the edges using the Walnut Stain distress ink. You can choose your favorite method.
Now comes the fun ‘get creative on your own terms’ part, because you will be able to envision your own cards and create them as you want! You can get creative while deciding how to combine the colored elements, but also where to place the embellishments and the flowers.
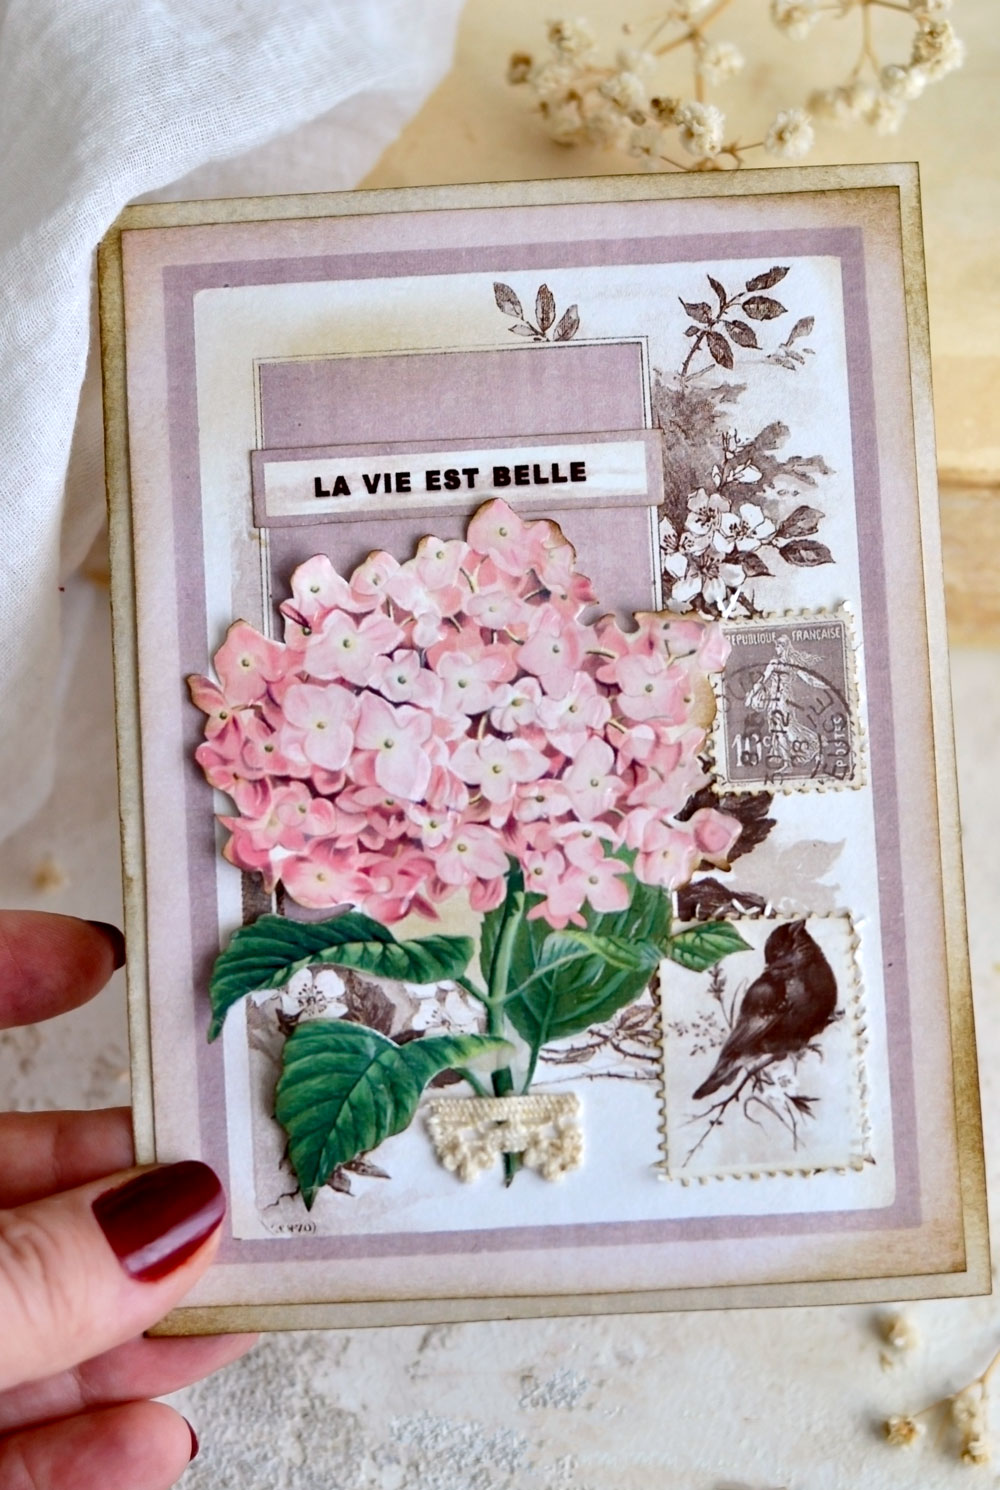
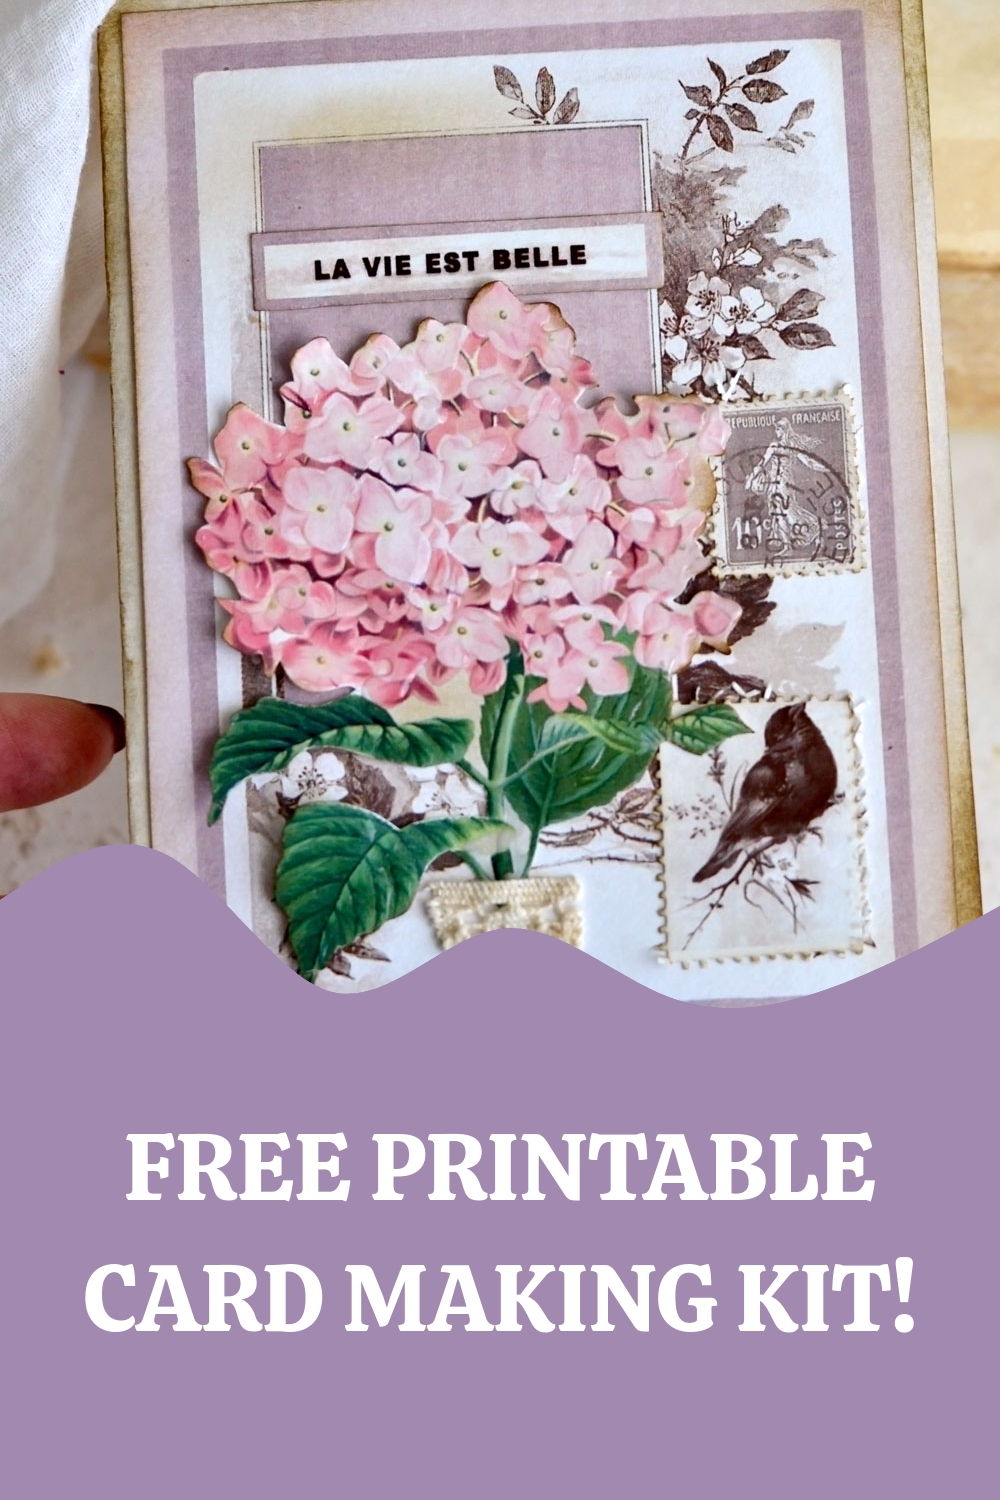
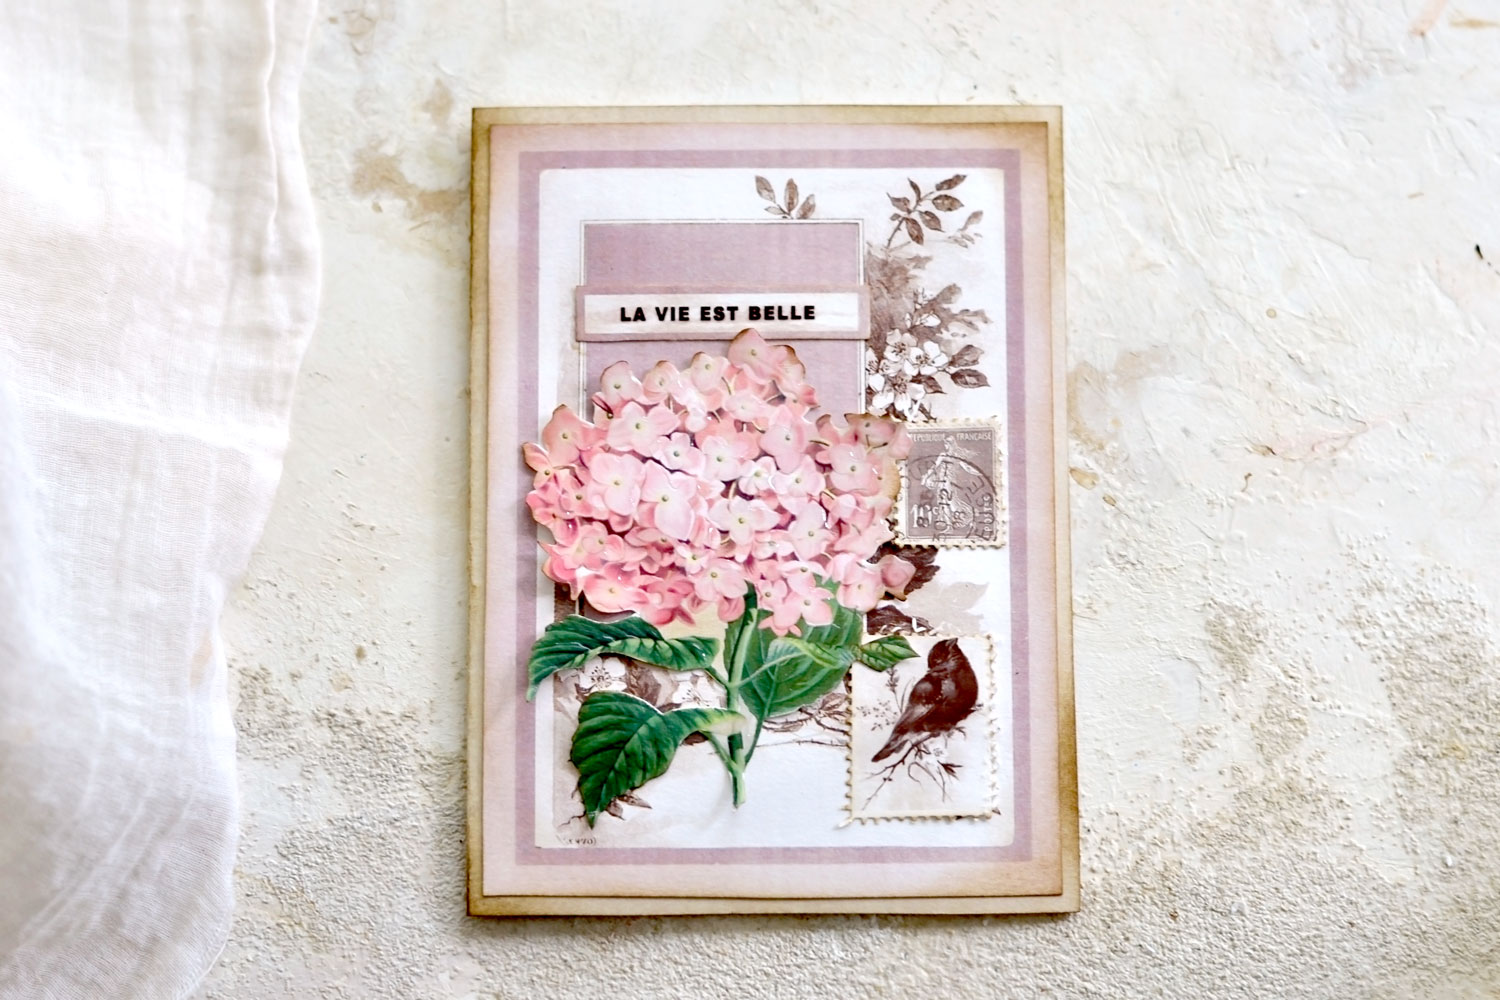
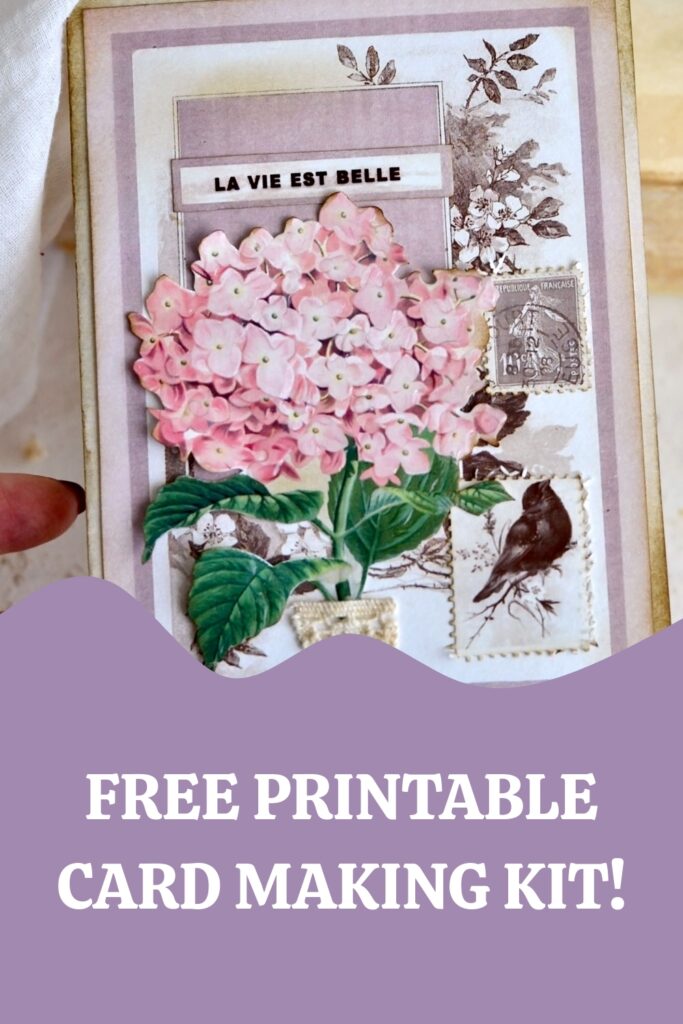
8. Just to give you a small example, here I went with an all-pink card. I placed the vintage background on the table (the base), then I glued the sepia floral design with a pink background on top (the top). I glued the ‘La vie est belle’ sentiment (embellishment) in the upper part of the pink rectangle and the 2 postage stamps on the lower right part (embellishments).
Then I glued the hydrangea flower on the left side trying to gently overlap all the embellishments and the pink sentiment. I love overlapping things in my paper creations, this usually creates a lovely layering effect that brings more visual interest to any project.
I’m not sure if you can see it, but the clear glue raised effect added more body to our flower. The edges curled a little bit while the glue was drying but that was actually a good thing! So I’ve decided not to apply glue to the edges, so I can fully harness this curled edge effect and bring even more depth to our card.
I left unglued all the curled edges on all the other flowers while creating the other cards.
You can arrange the elements on the other cards in the same way or you can come up with other unique ways.
I will walk you through the other final pieces, I tried to mix things as much as I could just to give you a few ideas.
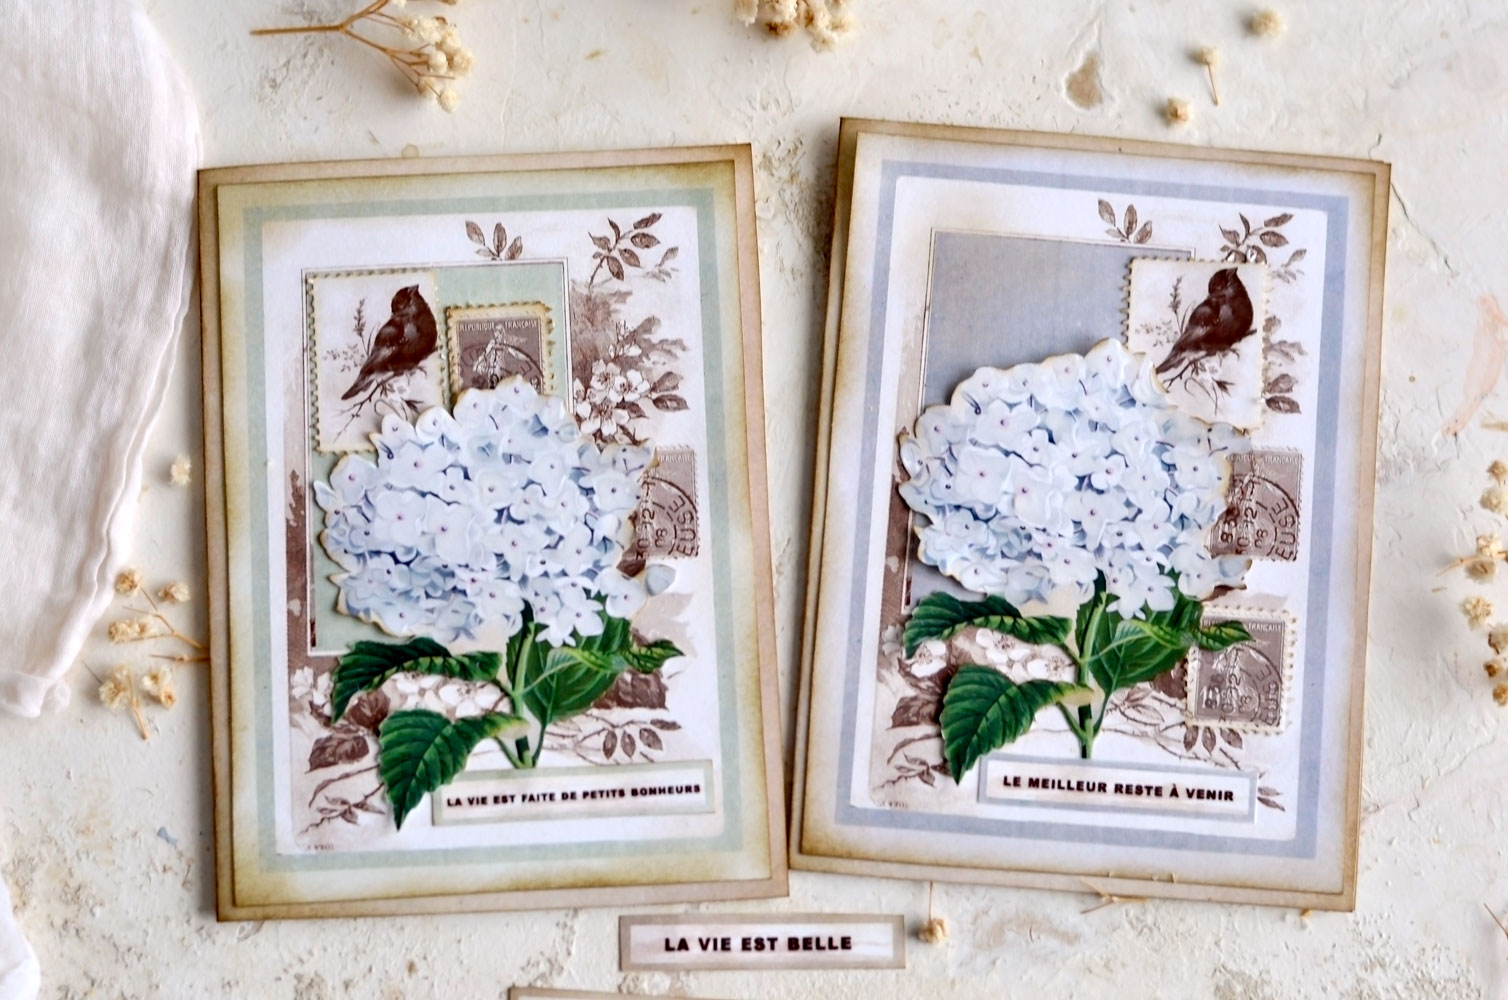
For example, below you can see how amazing a green background with a green sentiment and a white hydrangea can look.
I glued the 2 postage stamps inside the green rectangle on the left, then I slightly overlapped them with the petals of the flower to create more of that visual layering effect. I only glued the top part of the flower and not the leaves because I wanted to slide the green sentiment under one of the leaves. 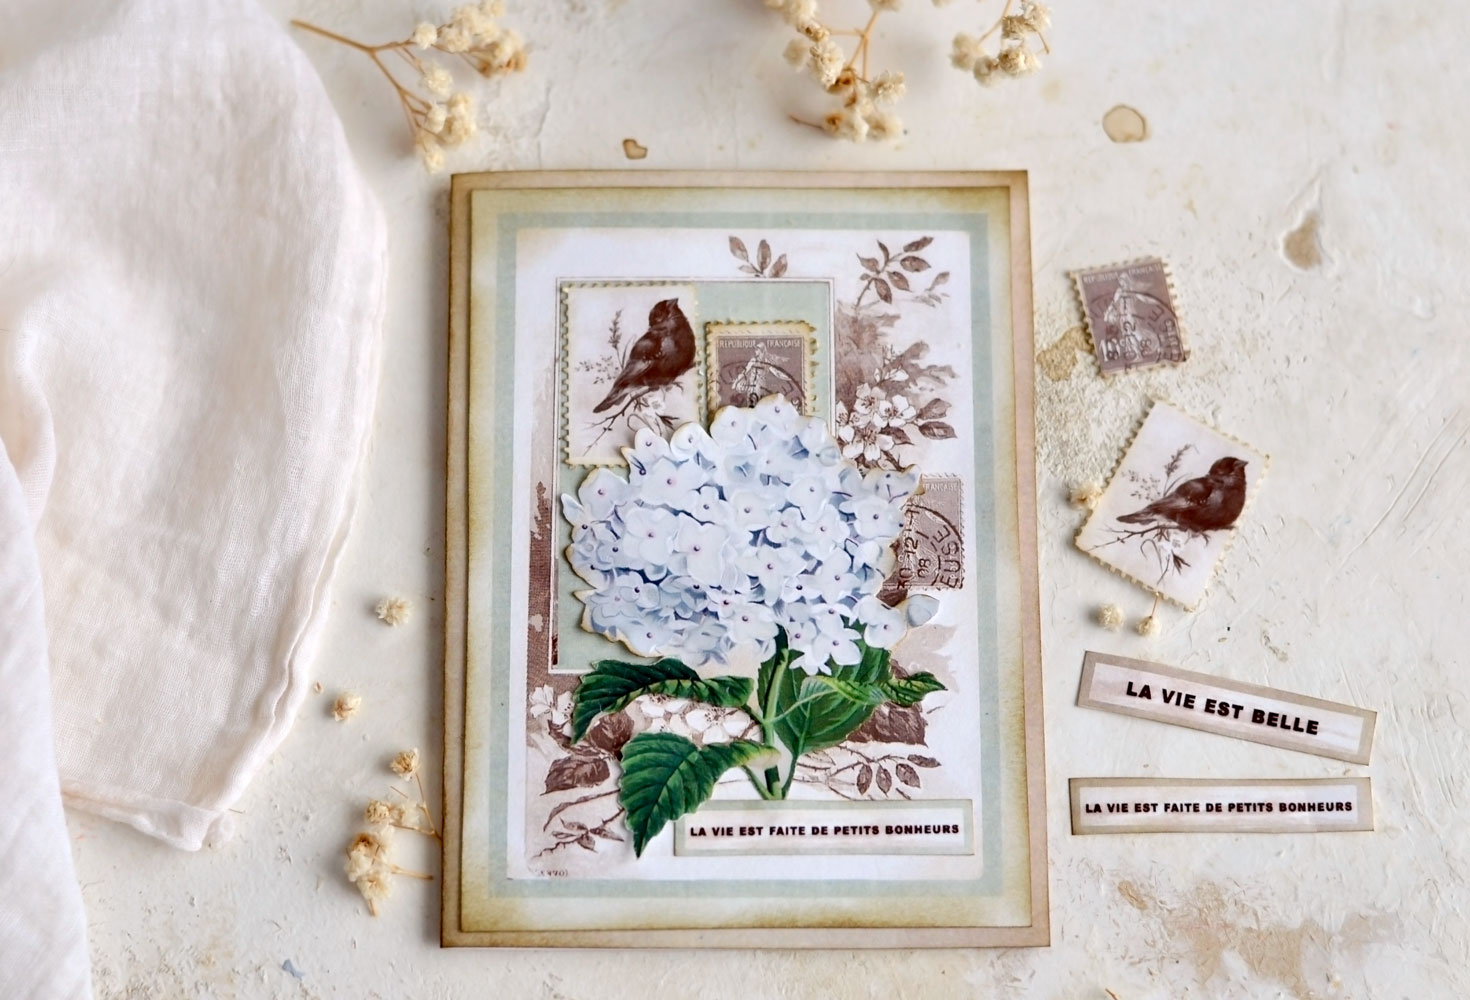
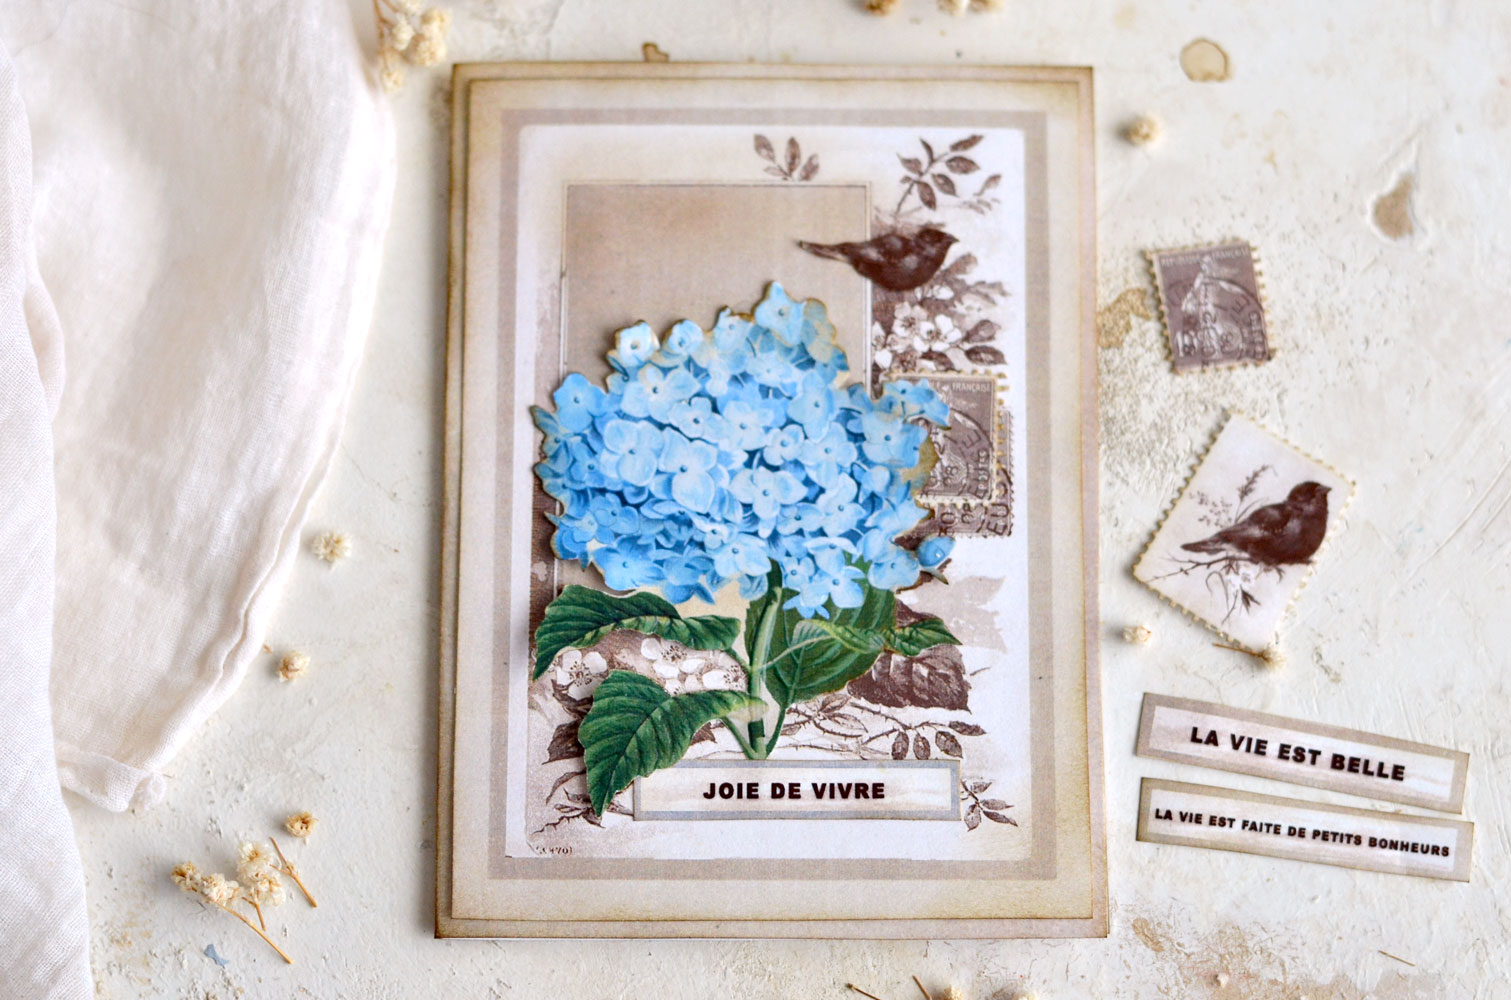
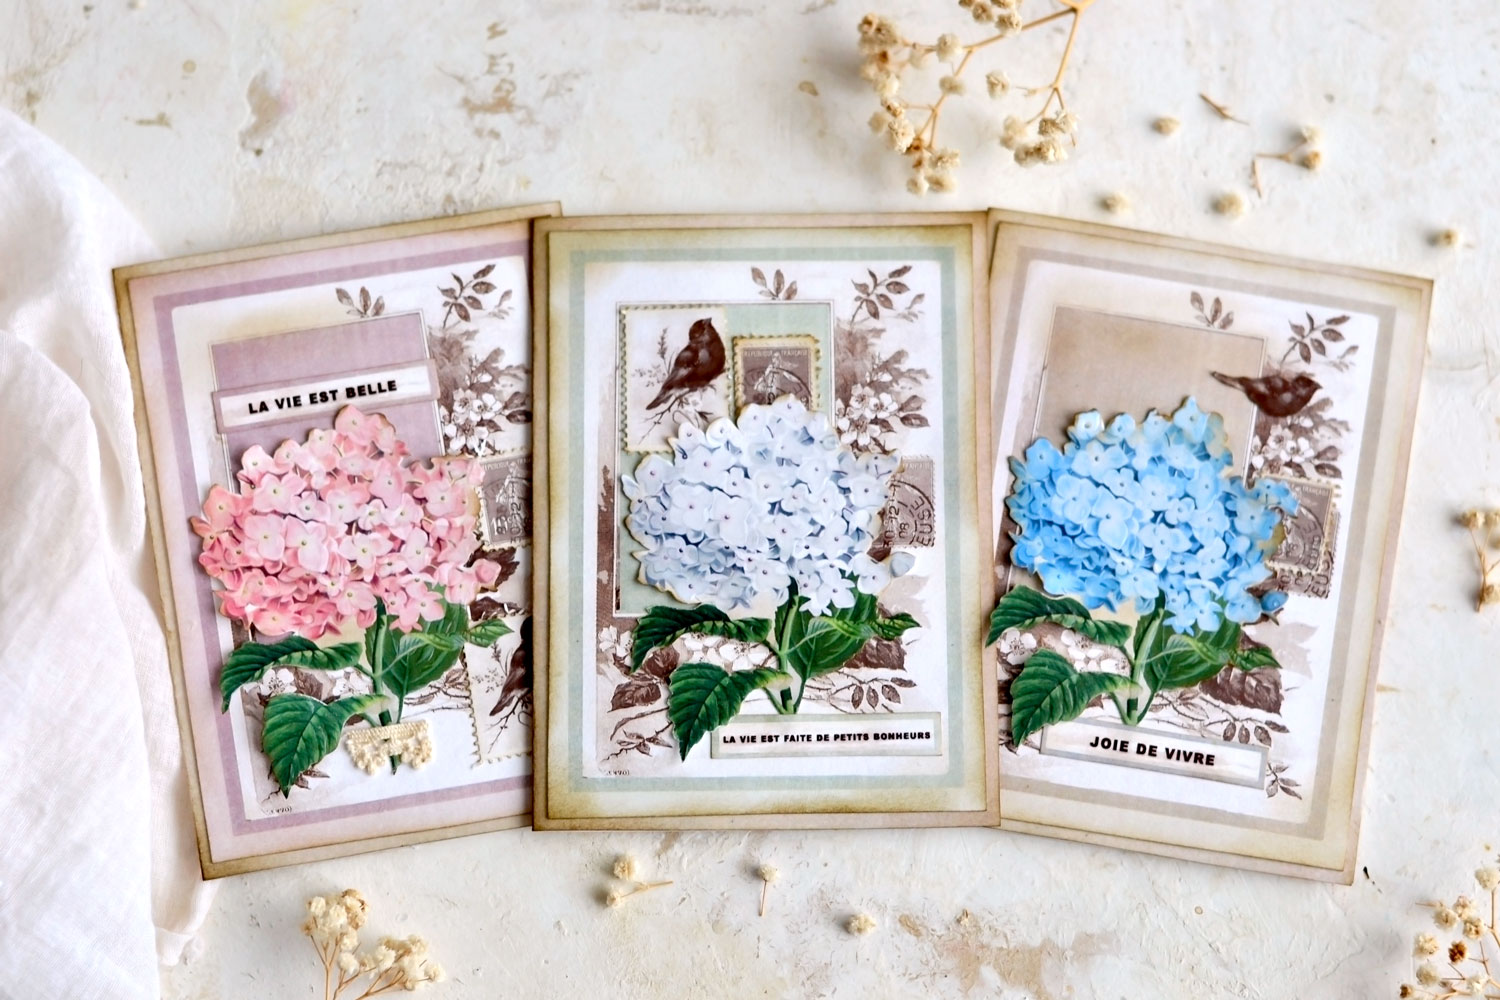
For the next card I used a brown background and I paired it with a blue sentiment and a blue hydrangea. I placed the postage stamp element so that it would slightly overlap the postage stamp on the right, the one that is already included in the design. As for the bird postage stamp, this time I only used the bird! I cut the bird out and placed it on the right upper part. It looks absolutely perfect with our floral design, don’t you think? As you can see, I placed half of the bird inside the brown rectangle on the left to create that lovely layering effect. And finally, I glued the ‘Joie de vivre’ sentiment over the flower’s stem and slightly under the left leaf to get more of that beautiful layering effect. I actually love the negative space (the empty space) that was left inside our brown rectangle, I feel it brings more interest to our blue card.
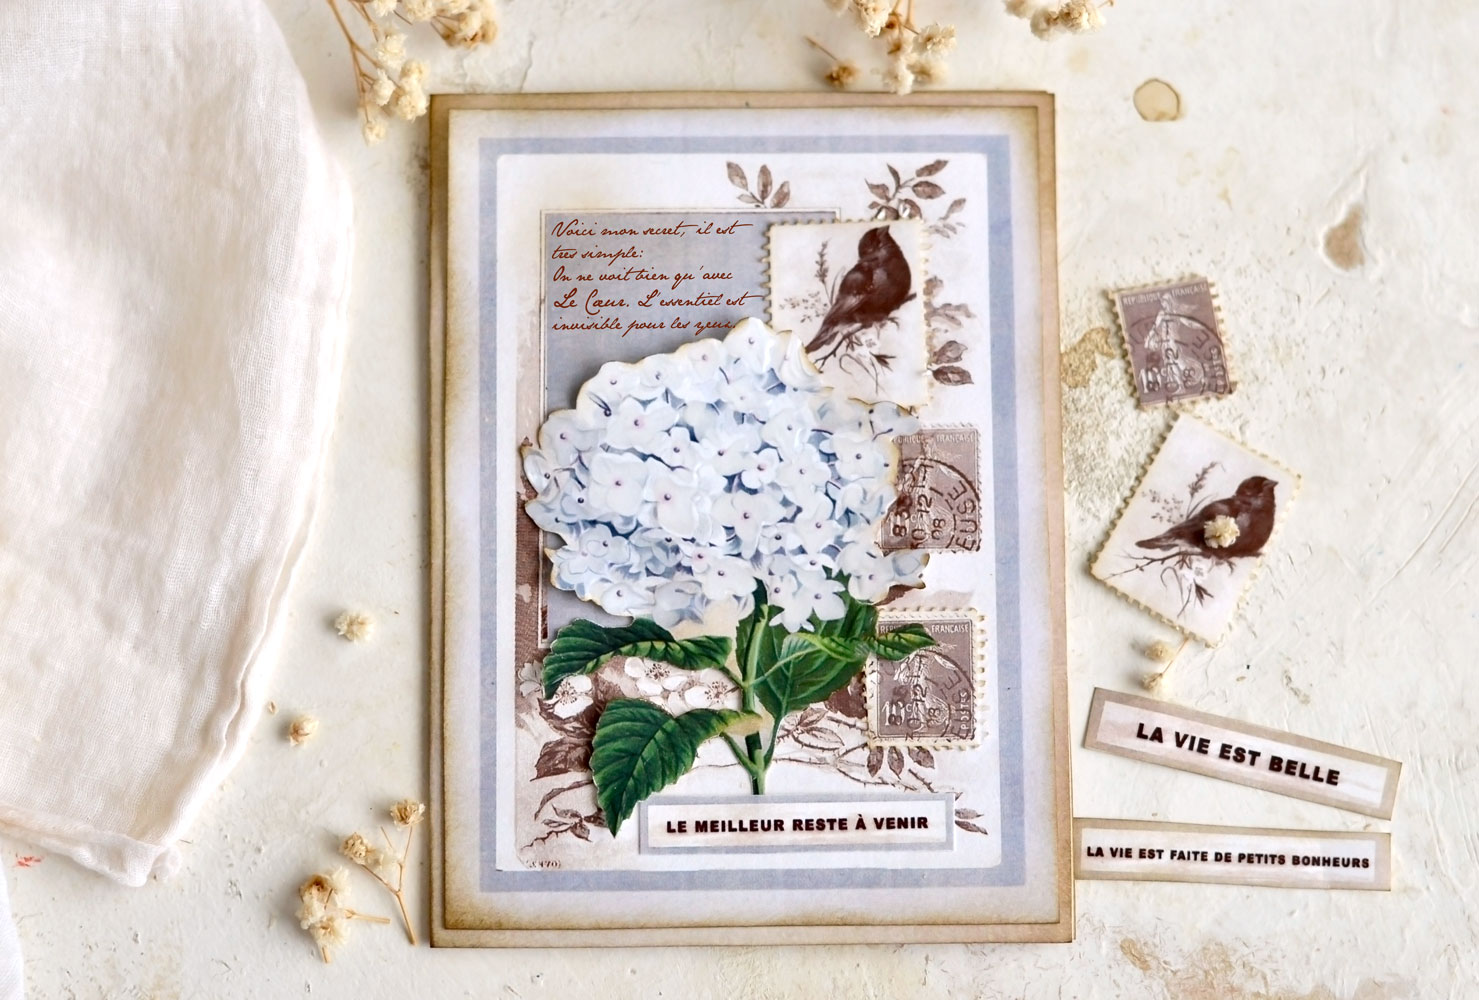
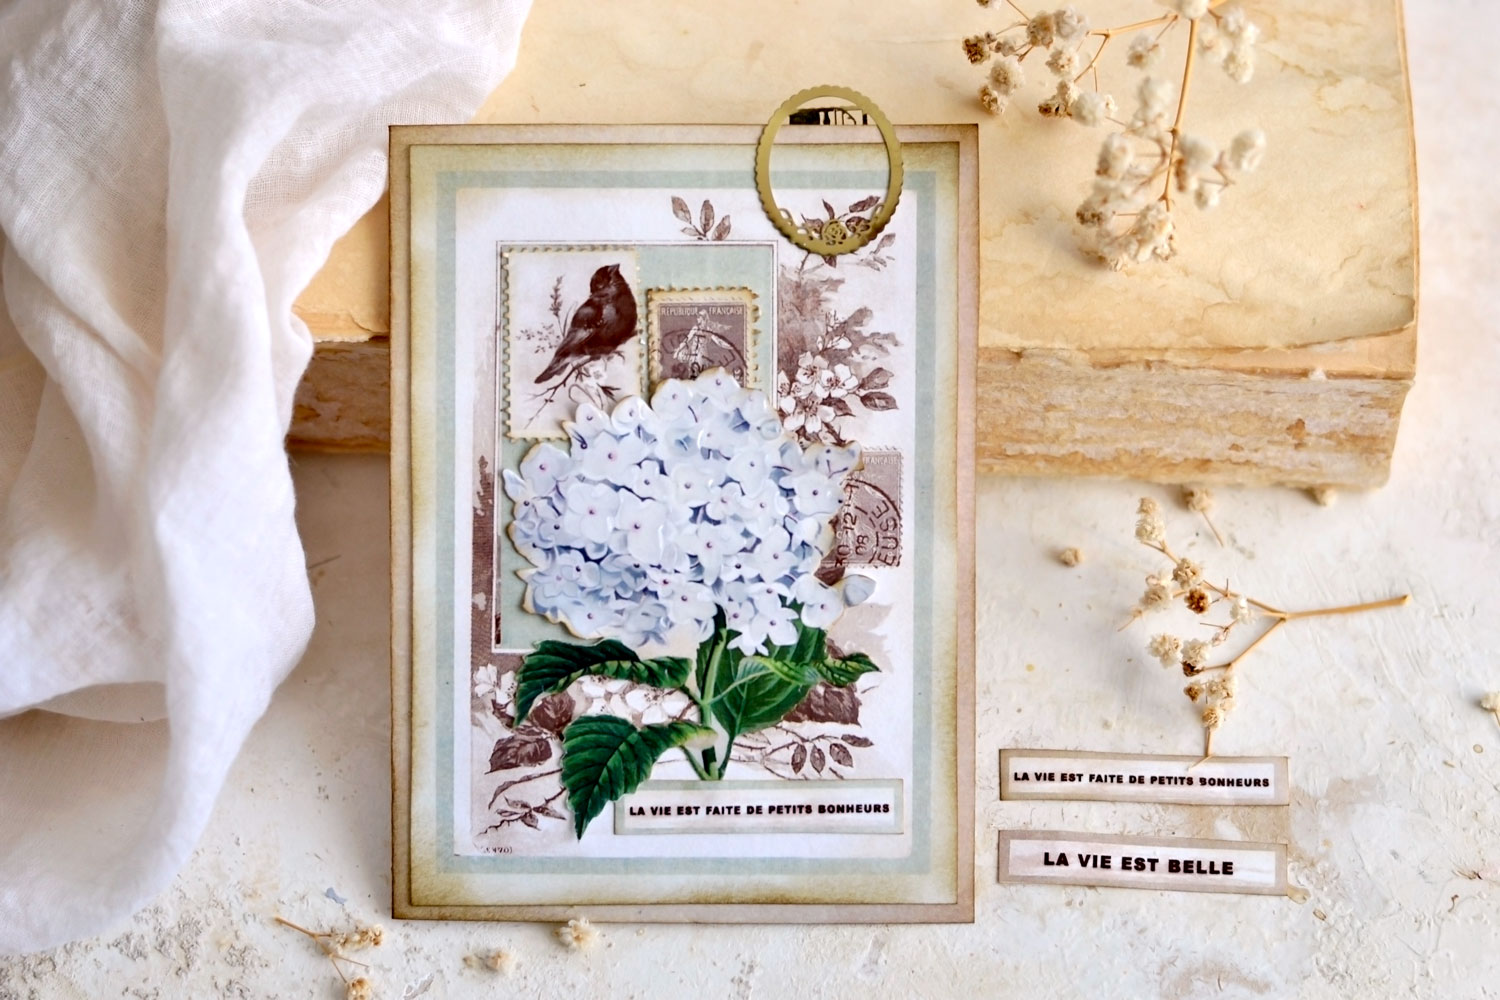
For my last card I went with a blue background, a blue sentiment and a white hydrangea. I placed the postage stamps a little bit differently, but I kept that extra negative space in our rectangle. You can actually use your own writing to write a quote or a thoughtful message in that space. I used a font that I love (it’s called Jane Austen) and one of my favorite quotes from Le Petit Prince, just to give you an idea.
You can try other color combos or other ideas on how to place the embellishment elements and the flowers for your card design. I love how unique each card can be, even if using the same white flowers! You could also try using washi tape or adding other embellishments like glitter, buttons, sequins, twine, or whatever else you have in your craft room! And you could decorate the inside of the card as well.
But also this more colorful group, don’t they all look absolutely stunning?
You can add other small embellishments like this golden bookmark – it’s like a small piece of gorgeous jewelry that would perfectly accompany your gorgeous card! You can even include this gold bookmark as part of your gift, everyone would love receiving a chic piece like this!
Of course, diy birthday cards, or greeting cards, are usually meant to be gifted to the people you love, but these absolutely perfect beauties will look amazing when included in your other craft creations! They will make the most amazing covers for your junk journals and you can even use them as inserts for your journal. Turn them into mini ‘paintings’ for your home, the sentiments that I’ve included have an inspirational vibe to them, so they can double as small reminders to enjoy the beautiful moments in our life.
 I hope you enjoyed these Card Decorating Ideas! Give this project a try, I’m curious which one of these card ideas you love the most. for more card making ideas be sure and check out my Mother’s Day Card Idea HERE or my DIY Happy Birthday Cards ideas for Moms HERE.
Happy crafting,
Diana / Dreams Factory


Lori R. says
I would like to know what kind of scissors you used to cut out the postage stamps. I LOvE hydrangeas, but we don’t have great soil to grow them in. I’ll just have to make them cards, frame them and hang them in my craft room. Oh and I am definitely going to try the glue technique. Thank you for sharing your talents with us!
Karen Watson says
Hi Lori, Diana goes over all of that in her DIY Postage Stamp post here https://thegraphicsfairy.com/diy-faux-vintage-postage-stamps/ I hope that helps! Have fun making these pretty cards!
Lynne Schuman says
Can’t wait to make one of these cards tomorrow for an upcoming birthday. Thank you for this tutorial! Can you recommend a source for the round gold bookmark? I tried searching but haven’t been able to come up with anything. It’s a nice touch!
Karen Watson says
Hi Lynne, sorry for the late response. We just moved to a new home and it’s taking me a bit to get settled! I believe Diana found those bookmarks on Amazon, hopefully they still have them. Have fun making her pretty cards!
Ronda Leah Liebert says
Thank you so much for the beautiful card kit. I think they are the perfect thing to bring to a crop to work on. 🙂
Karen Watson says
That sounds great Ronda! Have fun making these pretty cards!
Judy says
I have printed out, cut and used walnut stain to “vintage” these lovely pages. I notice though that the page with the stamps and word embellishments, the words are quite blurry. I tried printing in a different scale, but they are still very blurry. What would you recommend?
Karen Watson says
Hi Judy, I’m so sorry you’re having trouble! Are you downloading them using the link in the post? You don’t want to save the picture of the image as that one is low resolution, the link underneath the picture will take you to the high resolution printable PDF. Here is a direct link in case you missed it https://thegraphicsfairy.com/wp-content/uploads/2022/09/DIY-hydrangea-flower-card-kit-the-embellishments-by-dreams-factory-for-the-graphics-fairy.pdf I hope that helps!
De long says
Thank you so much. Beautiful cards. I will have to try the glue trick. I love graphics fairy.
Karen Watson says
Have fun making these lovely cards! 🌸