DIY Notepads
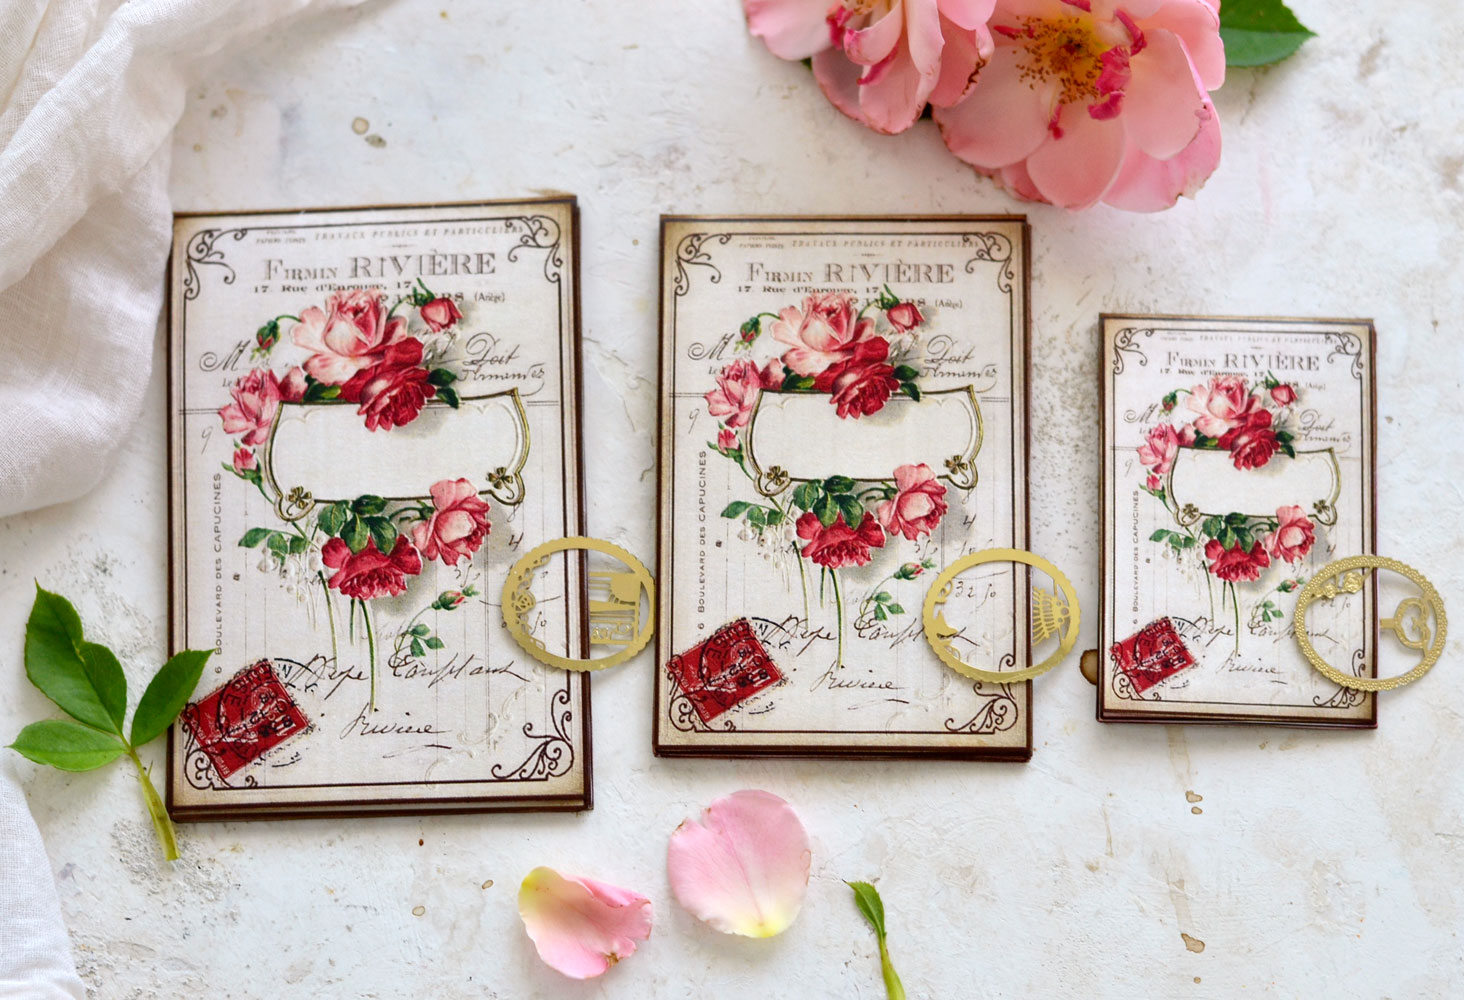
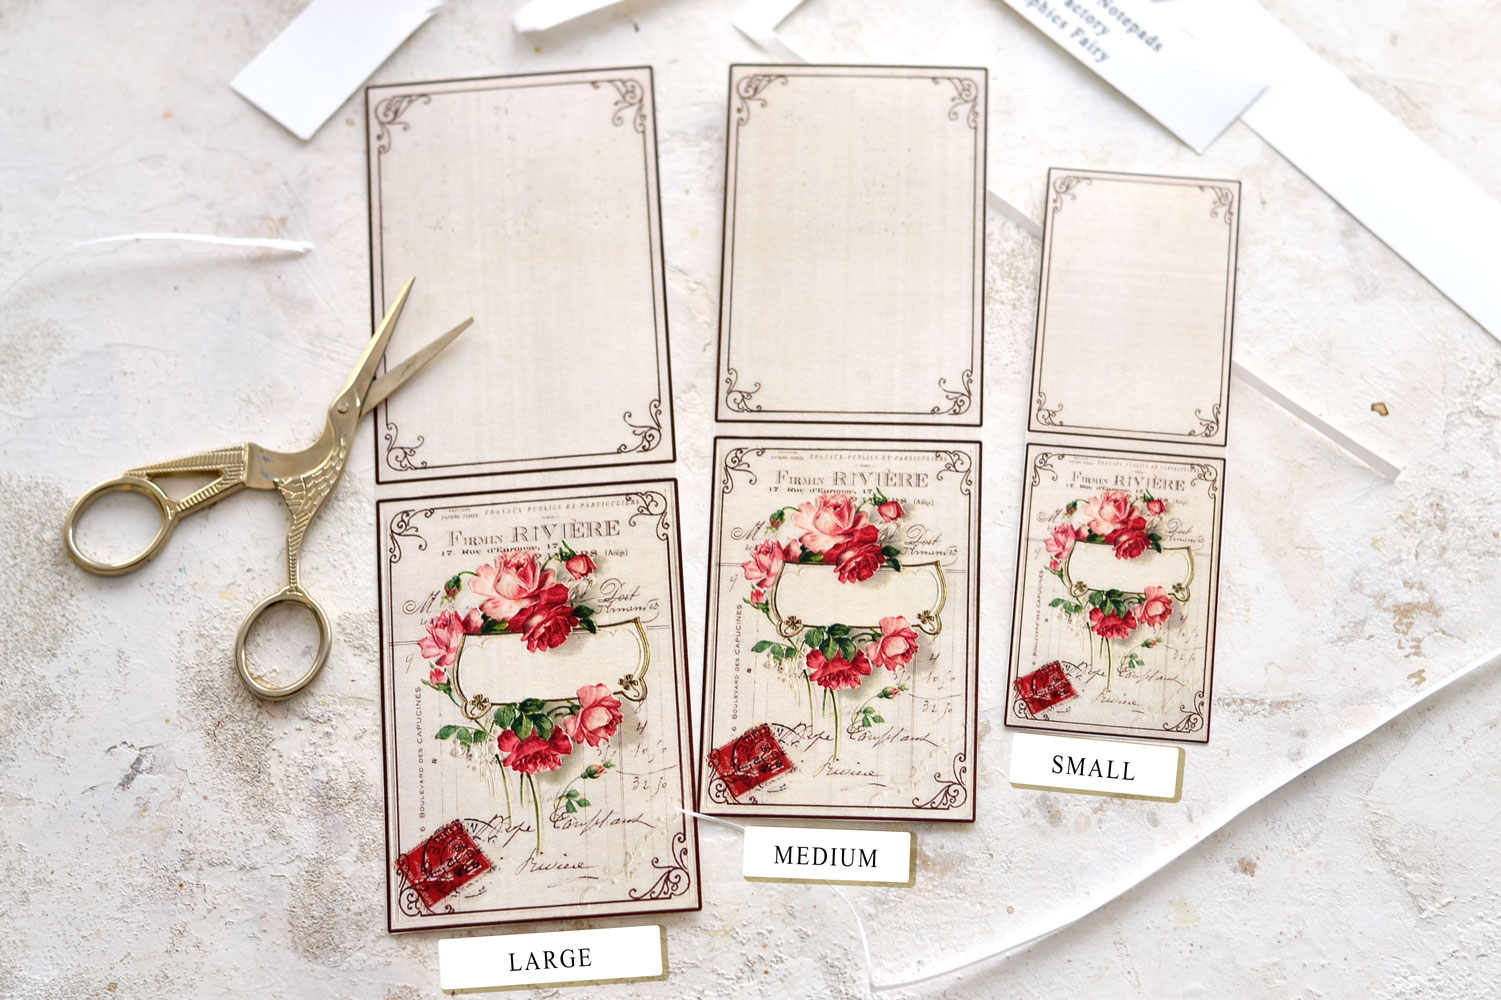
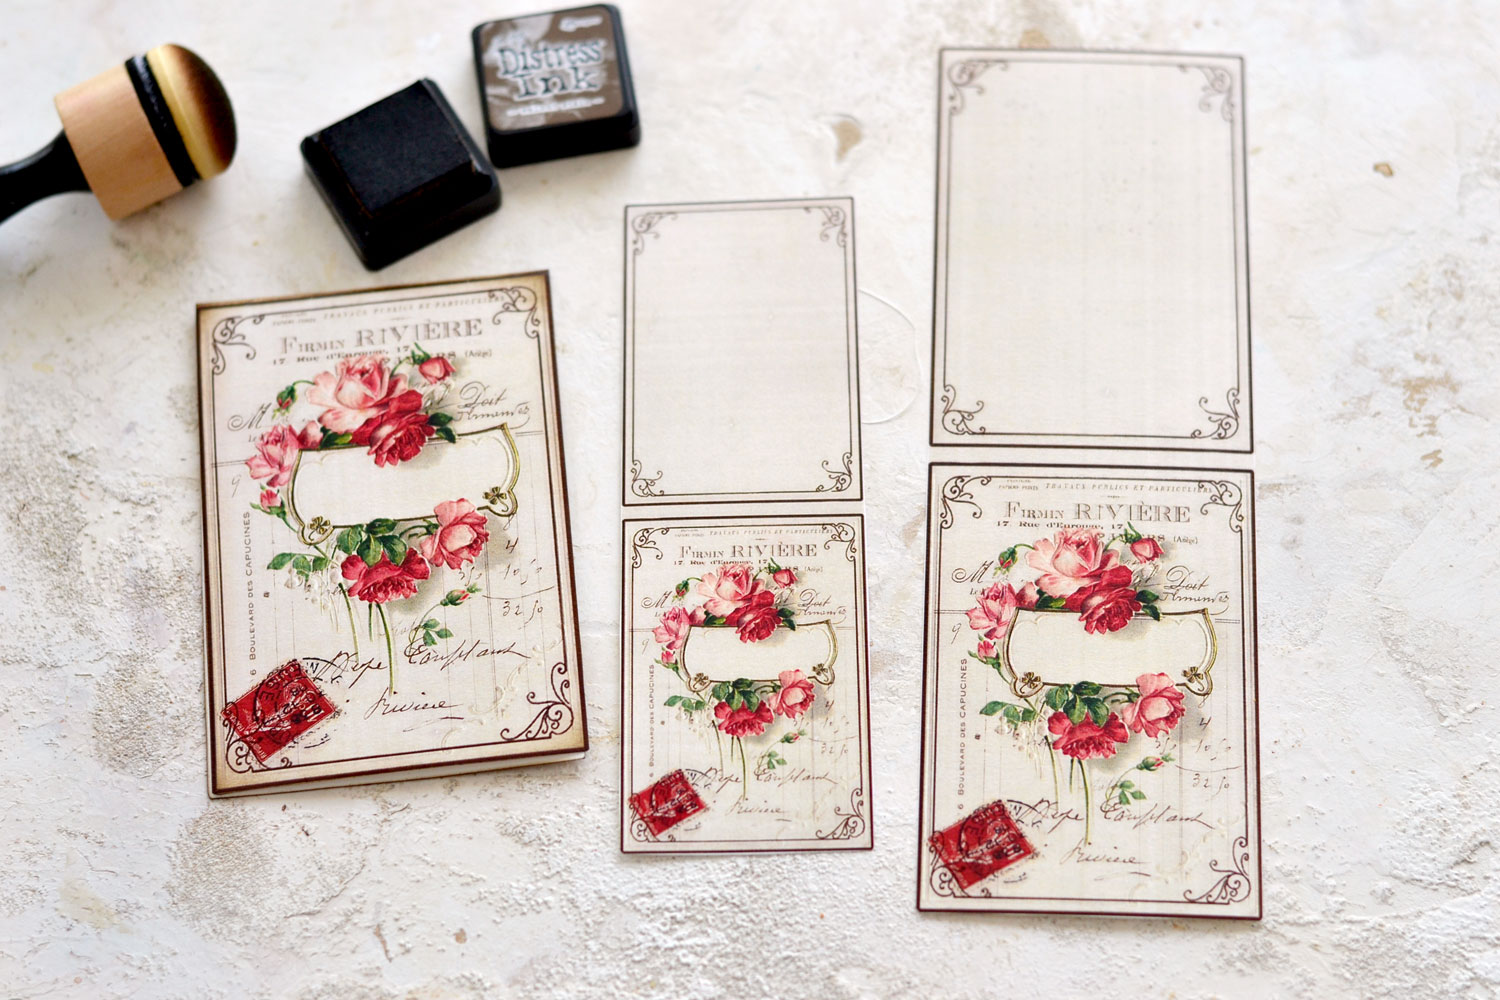
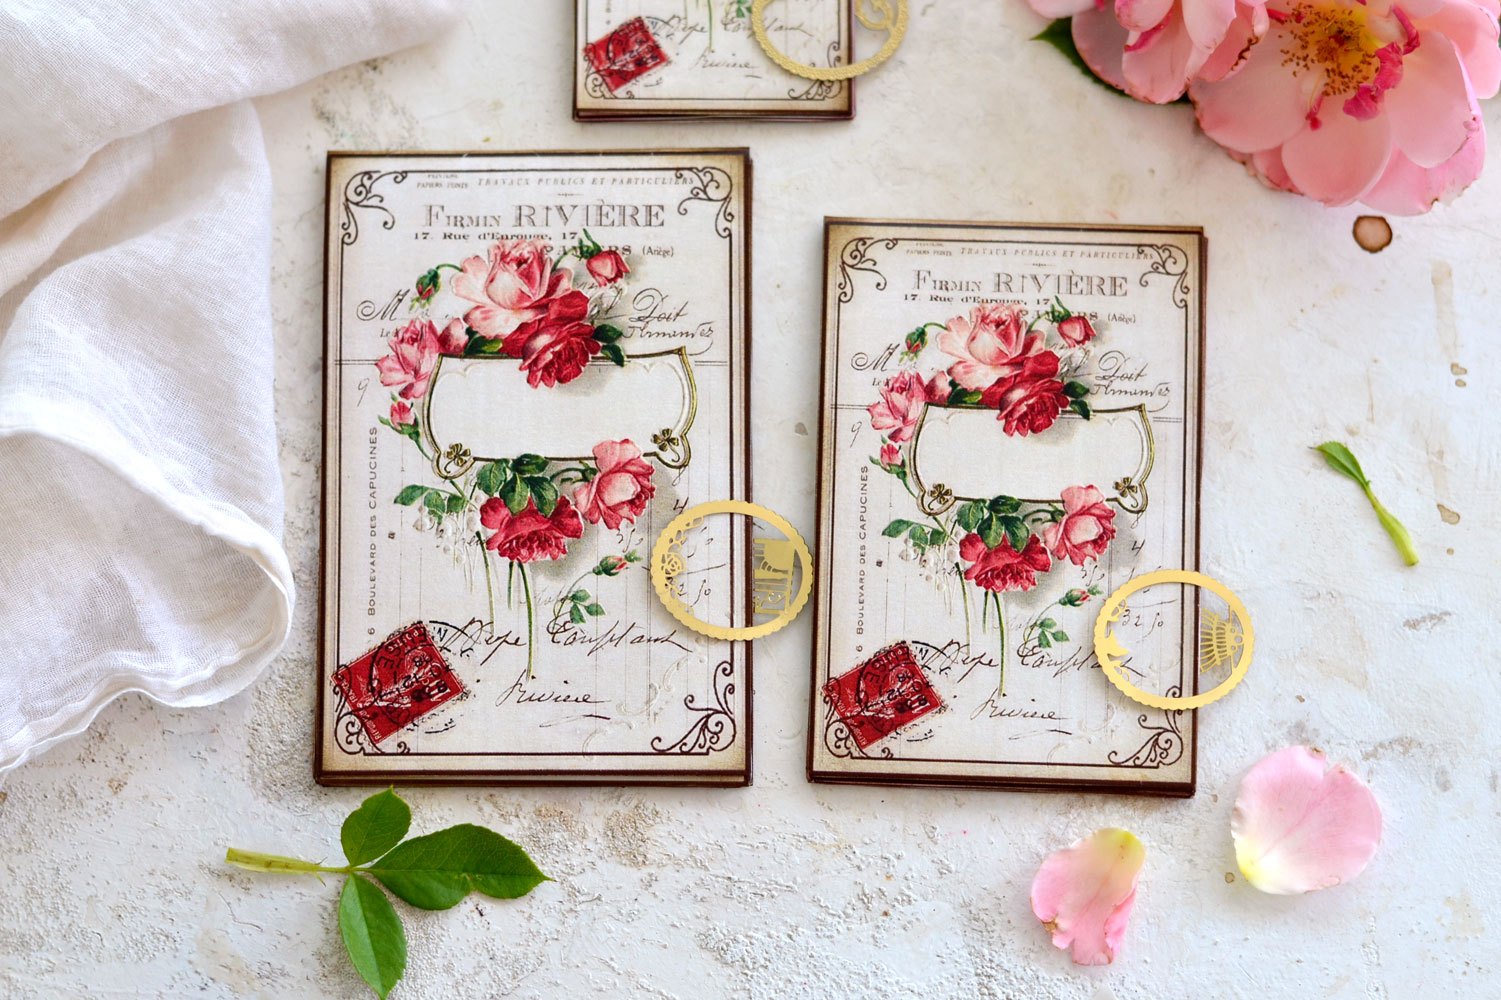
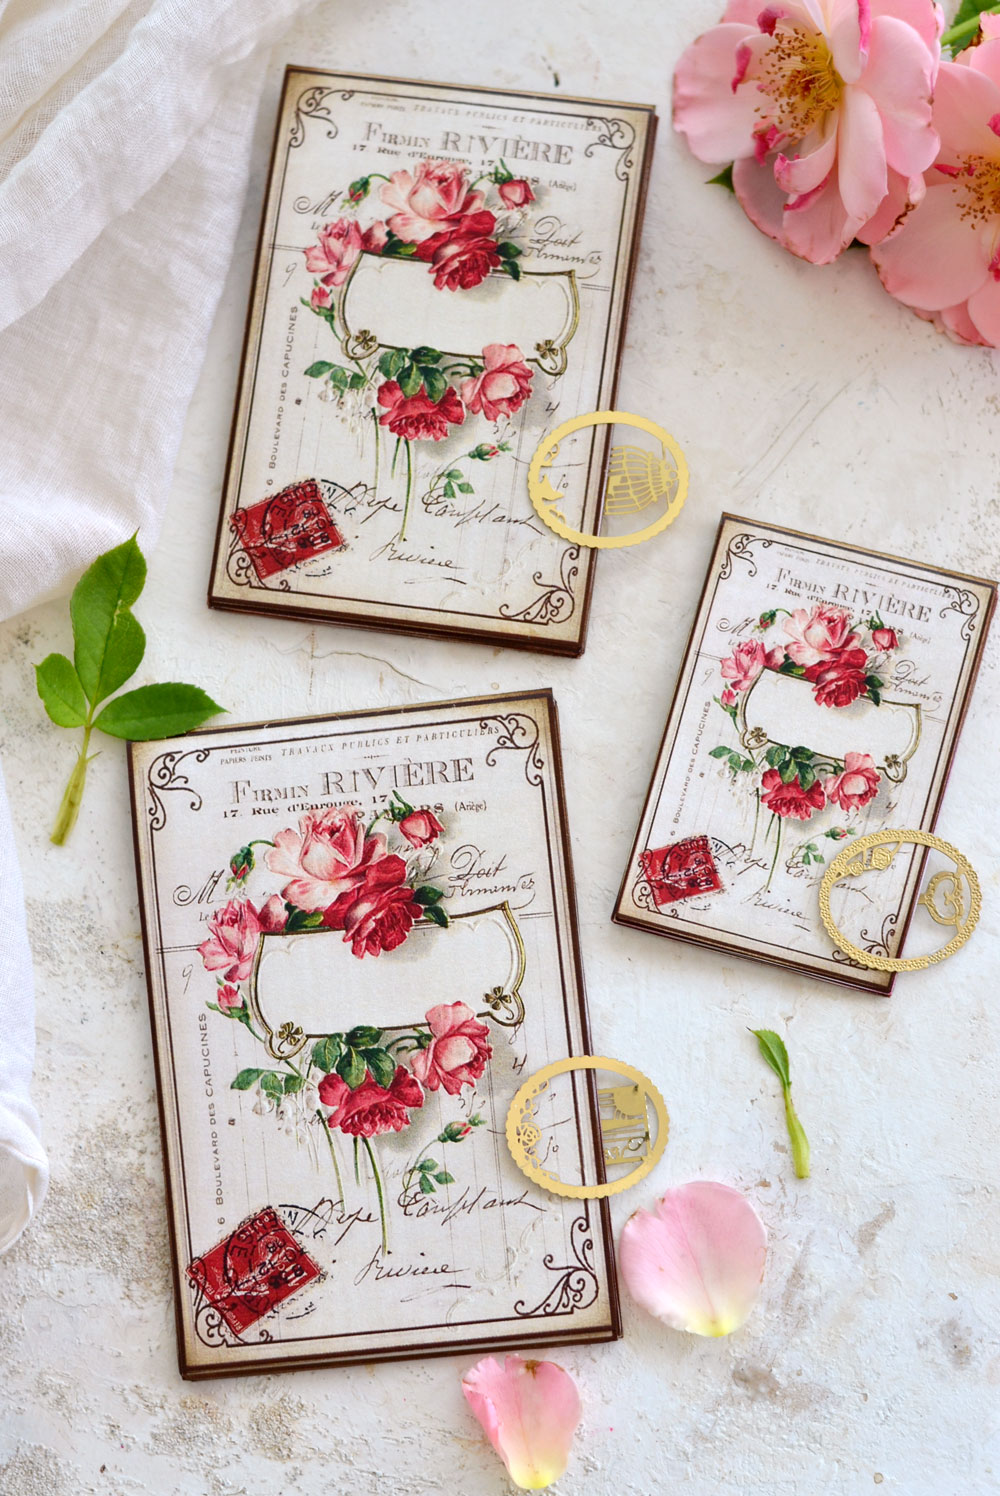
Hello Graphics Fairy friends! I’m Diana from Dreams Factory and I’m happy to be here once again for our creative DIY tutorials, today we will make DIY Notepads! I will be showing you how to make these gorgeous DIY Vintage French Notepads with red roses that have a chic Frenchified vibe, a charming Shabby feel and a vintage style! You will be able to download the printable that I’ve created for you and make these beauties in three different sizes, depending on your needs.
I’m also sharing the templates to create some matching paper inserts using this amazing vintage frame, we can definitely say that we are paying close attention to all the small details to make these truly unique!
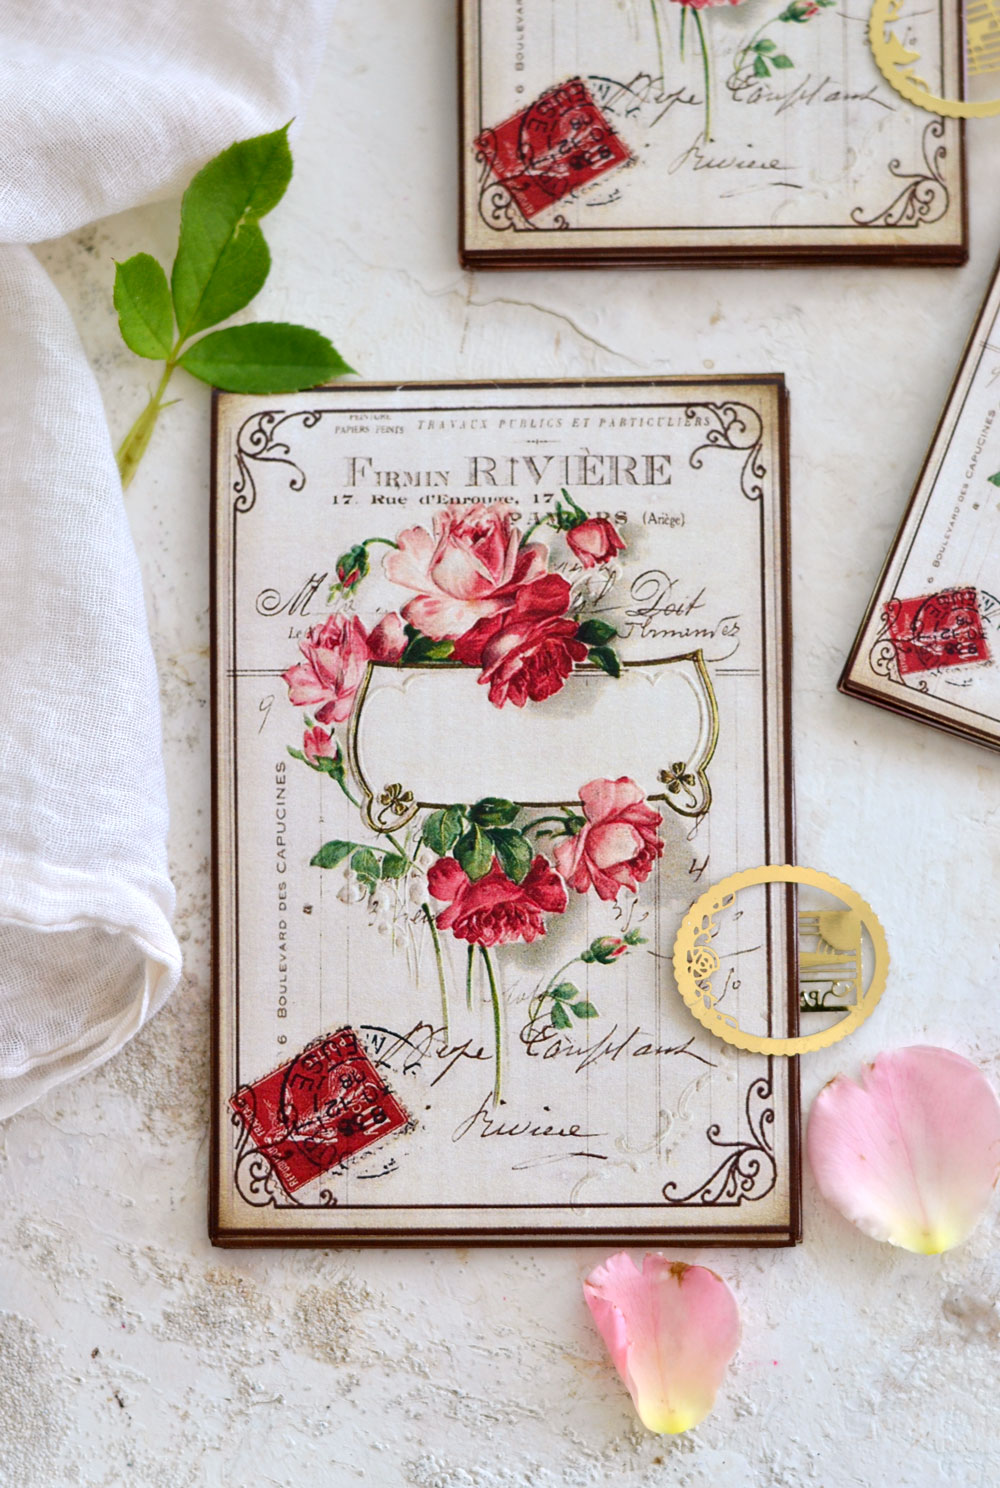
The covers of these DIY Vintage French Notepads have the potential to quickly become one of my top 5 all time favorites, the red roses image is quite mesmerizing, don’t you think? These flowers work so great with the French ephemera image, the vintage frame and the red postage stamp, I’m really happy with how the overall design turned out! Also, I love how the front label perfectly matches our project today in terms of aesthetics, but it will also give you the chance to write on it if you choose so. As for the inserts, I’ve created the printables using the same vintage frame, but kept the pages white because I wanted to give you the chance to further embellish them as you want.
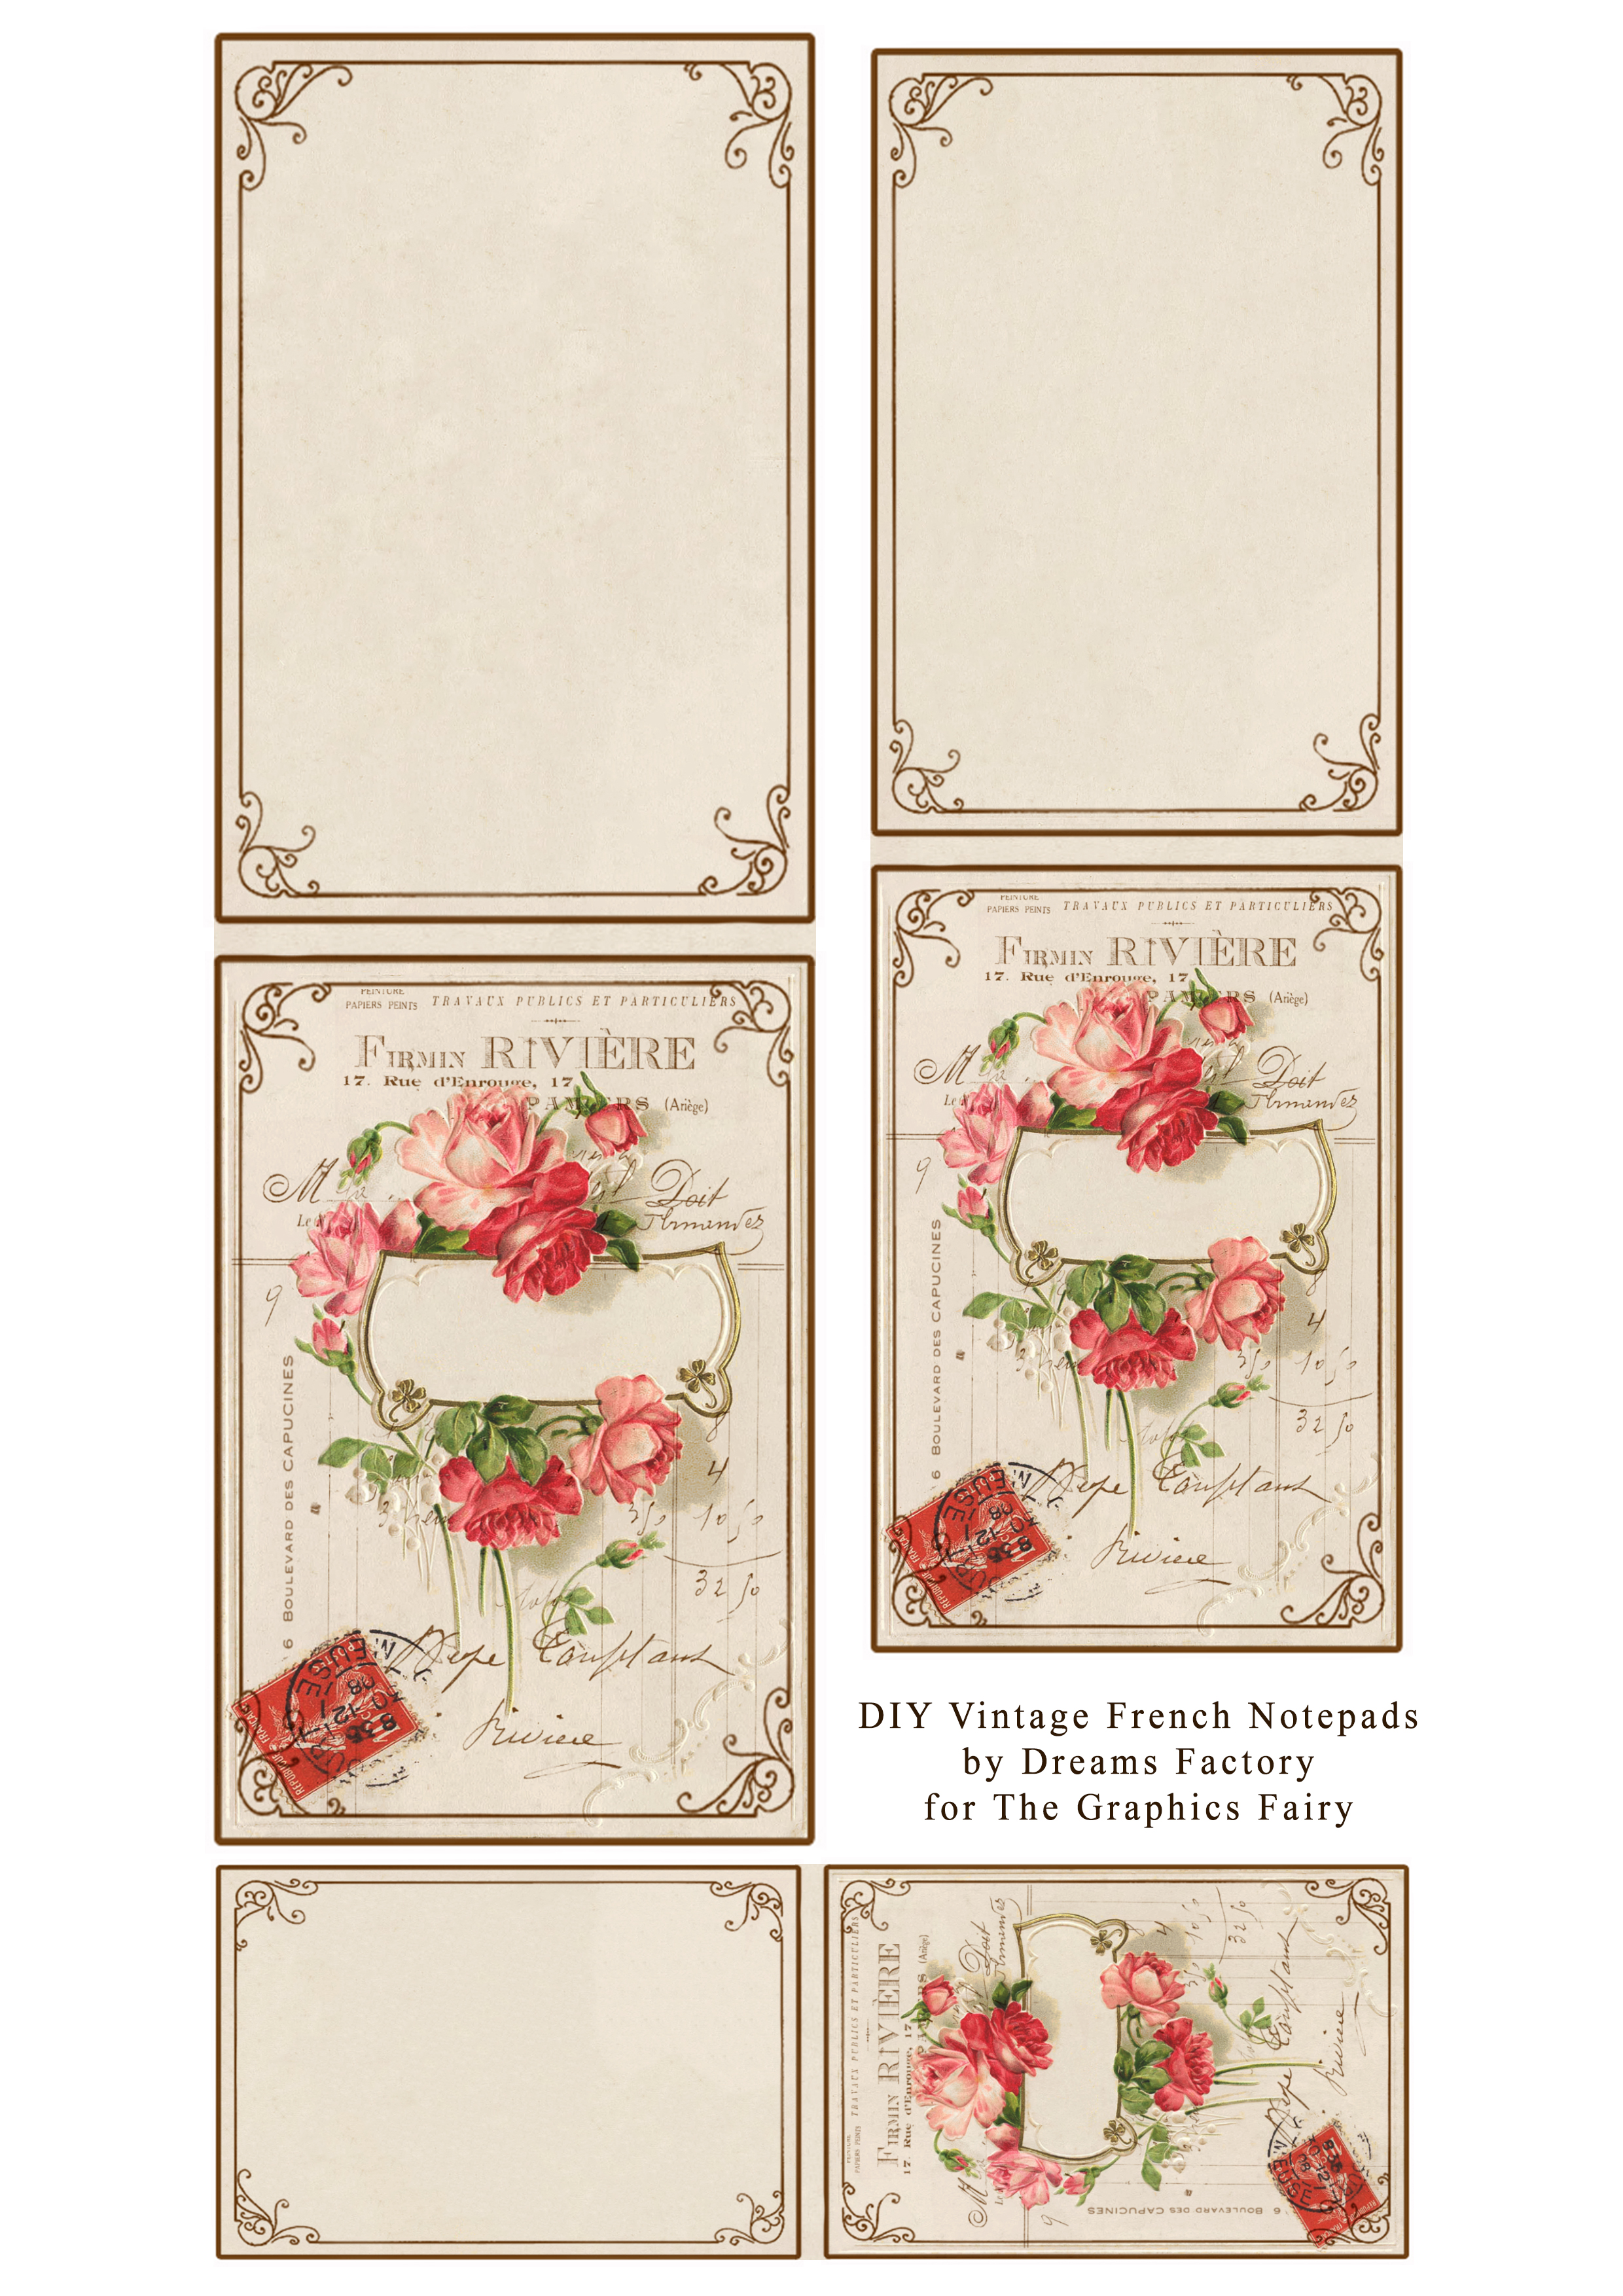
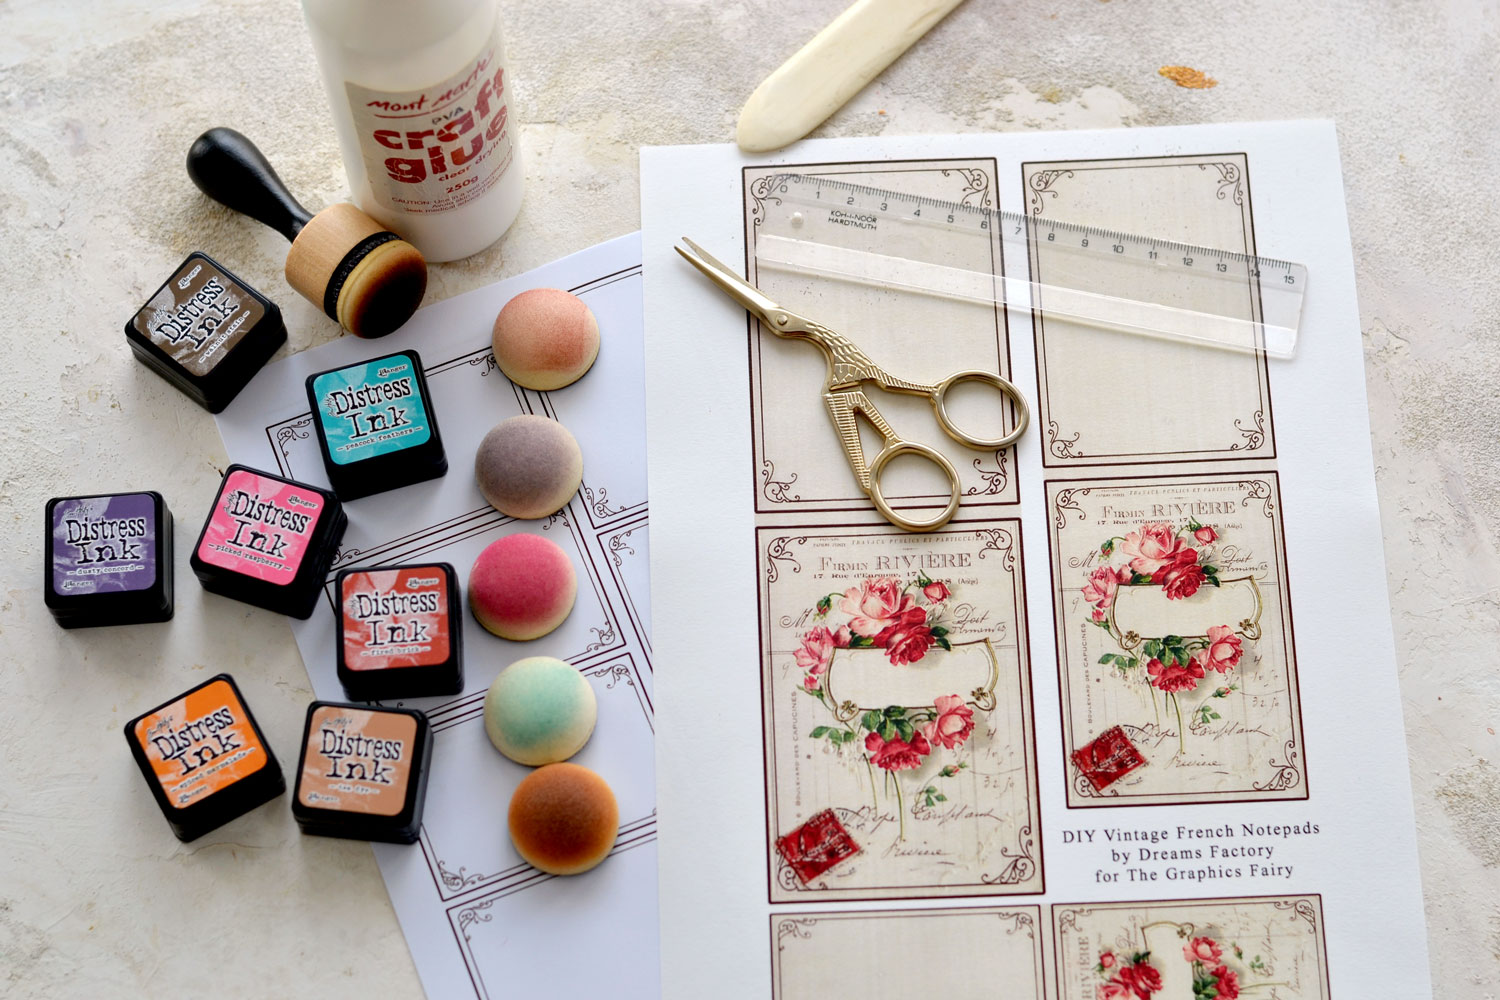
Here are all the printables that you will be needing for this project. You will have to print the covers first.
DIY Notepad Free Printable
—-> Click HERE to Download the Full Size Printable PDF <—- (the covers)
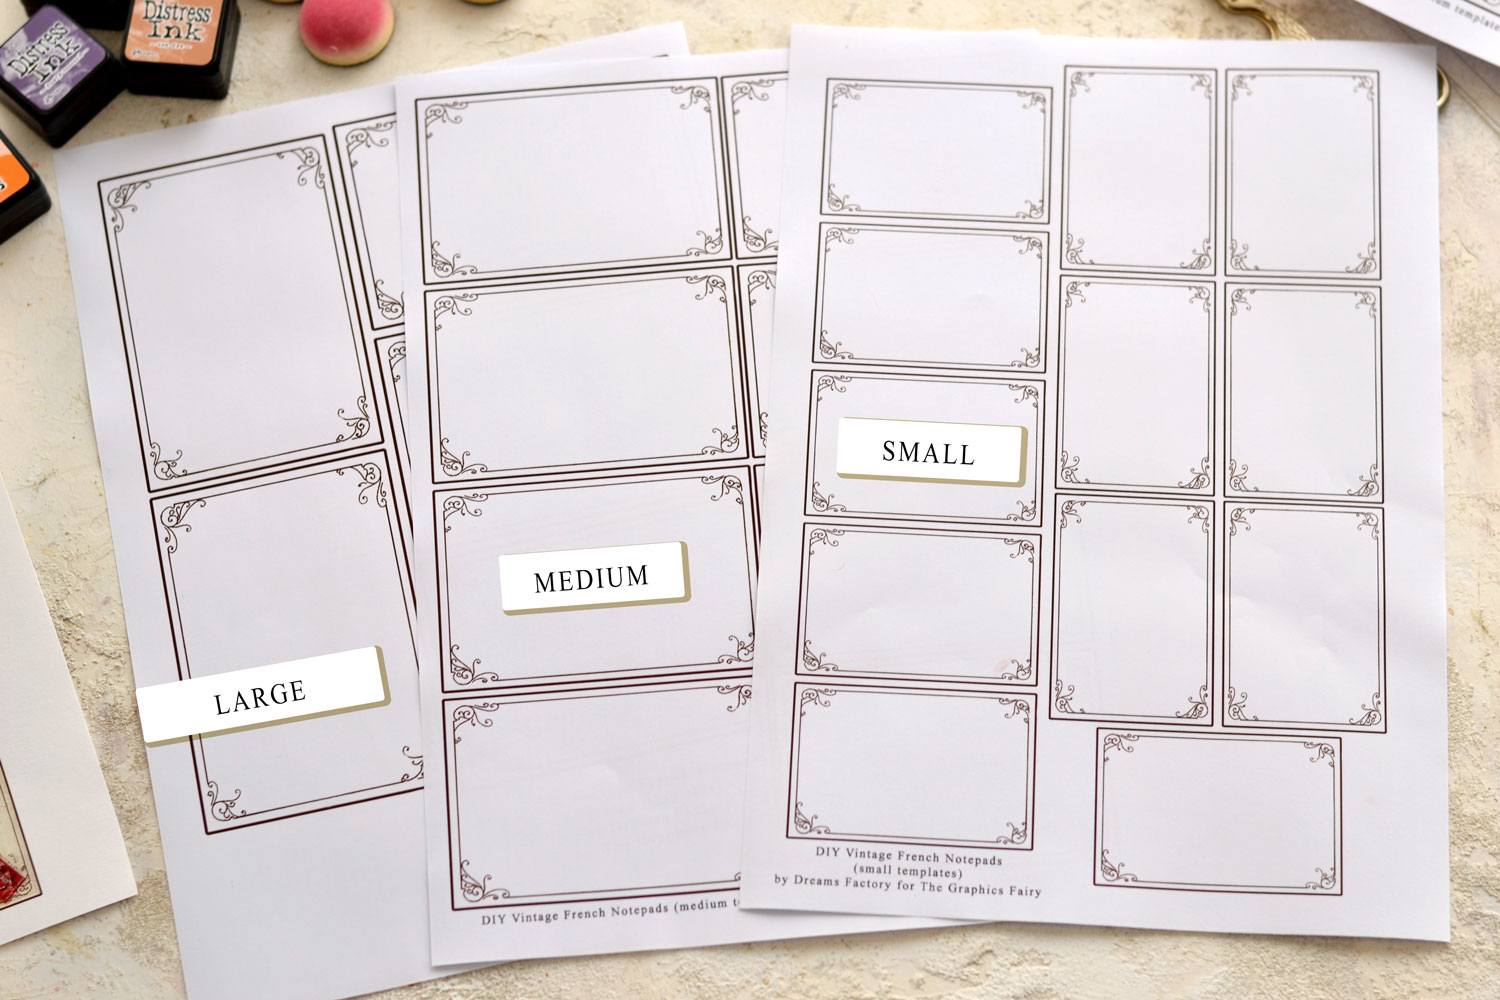
Then decide how many inserts you want to include in each notepad and print them accordingly. It’s really easy, just print as many sheets of paper for your inserts as you want, depending on how many pages you want your DIY Notepads to have. I printed them like this:
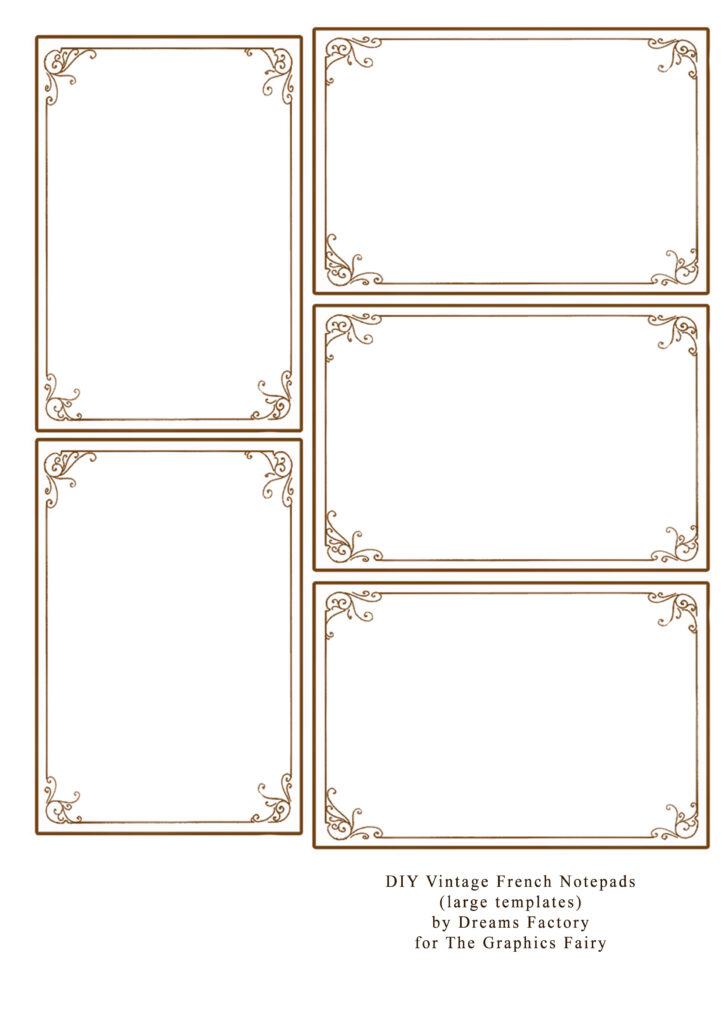
– for 1 large notepad – the large template 3 times to get 15 large inserts
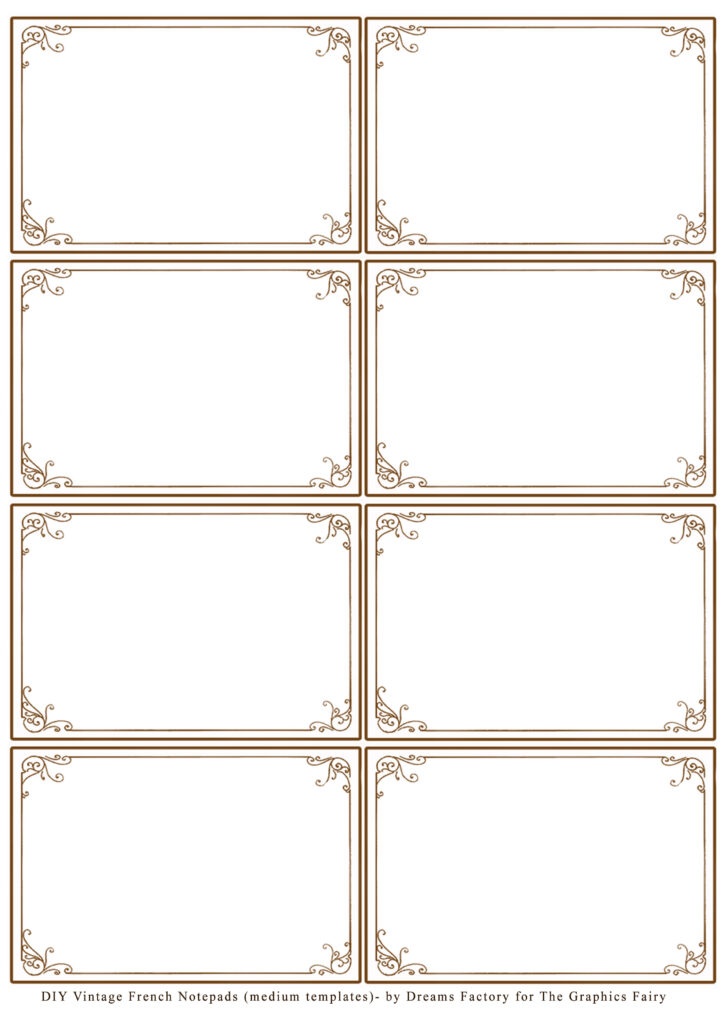
– for 1 medium notepad – the medium template 2 times to get 16 medium inserts
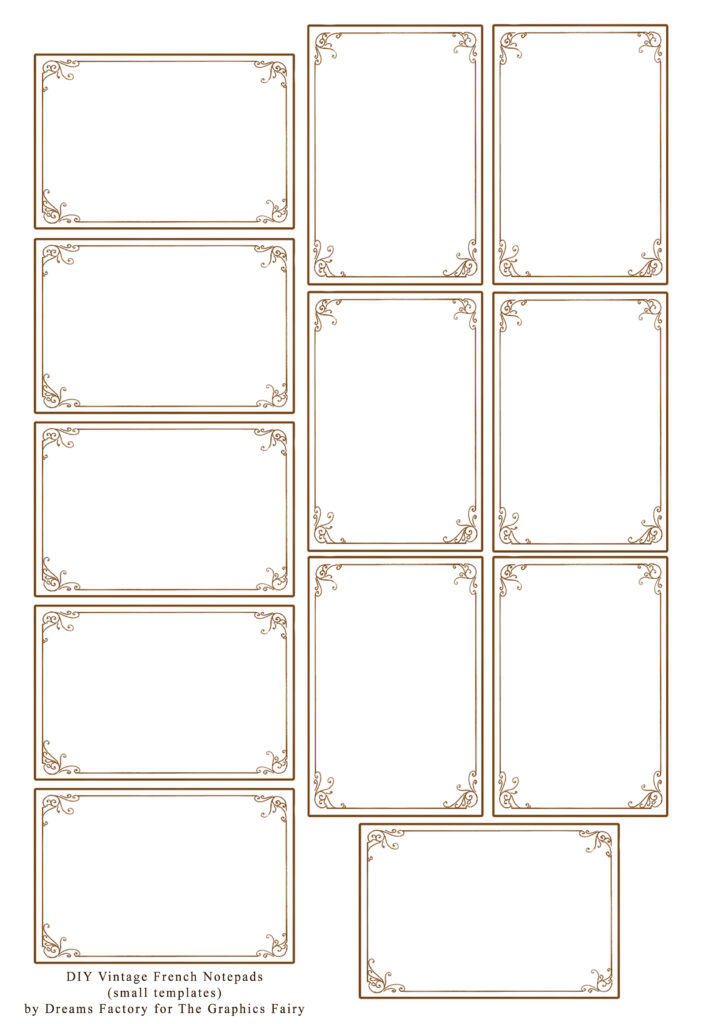
– for 1 small notepad – the small template 1 time to get 12 small inserts
—-> Click HERE to Download the Full Size Printable PDF <—- (the large templates)
—-> Click HERE to Download the Full Size Printable PDF <—- (the medium templates)
—-> Click HERE to Download the Full Size Printable PDF <—- (the medium templates)
DIY NOTEPADS SUPPLIES
- the notepad printables
- card stock paper (for the covers)
- regular printing paper (for the interior)
- laserjet printer or an Inkjet Printer (be sure and follow this extra step for inkjet)
- mini distress inks
- blending tool with foams (I prefer the domed ones)
- scissors or a paper trimmer
- binder clips (to use as clamps)
- craft glue with a fine tip
- a ruler and a bone folder (optional)
- double sided tape
- a plastic sheet or a non-absorbent surface (to protect your working surface)
Step by Step Tutorial
1. Start by printing your covers with the gorgeous red roses on a piece of cardstock paper. Cut them to size using your scissors or a paper trimmer outside the brown vintage frame and remove all the white paper.
2. Print as many inserts as you want, depending on how many pages you want your own Notepads to have, as I have mentioned before.
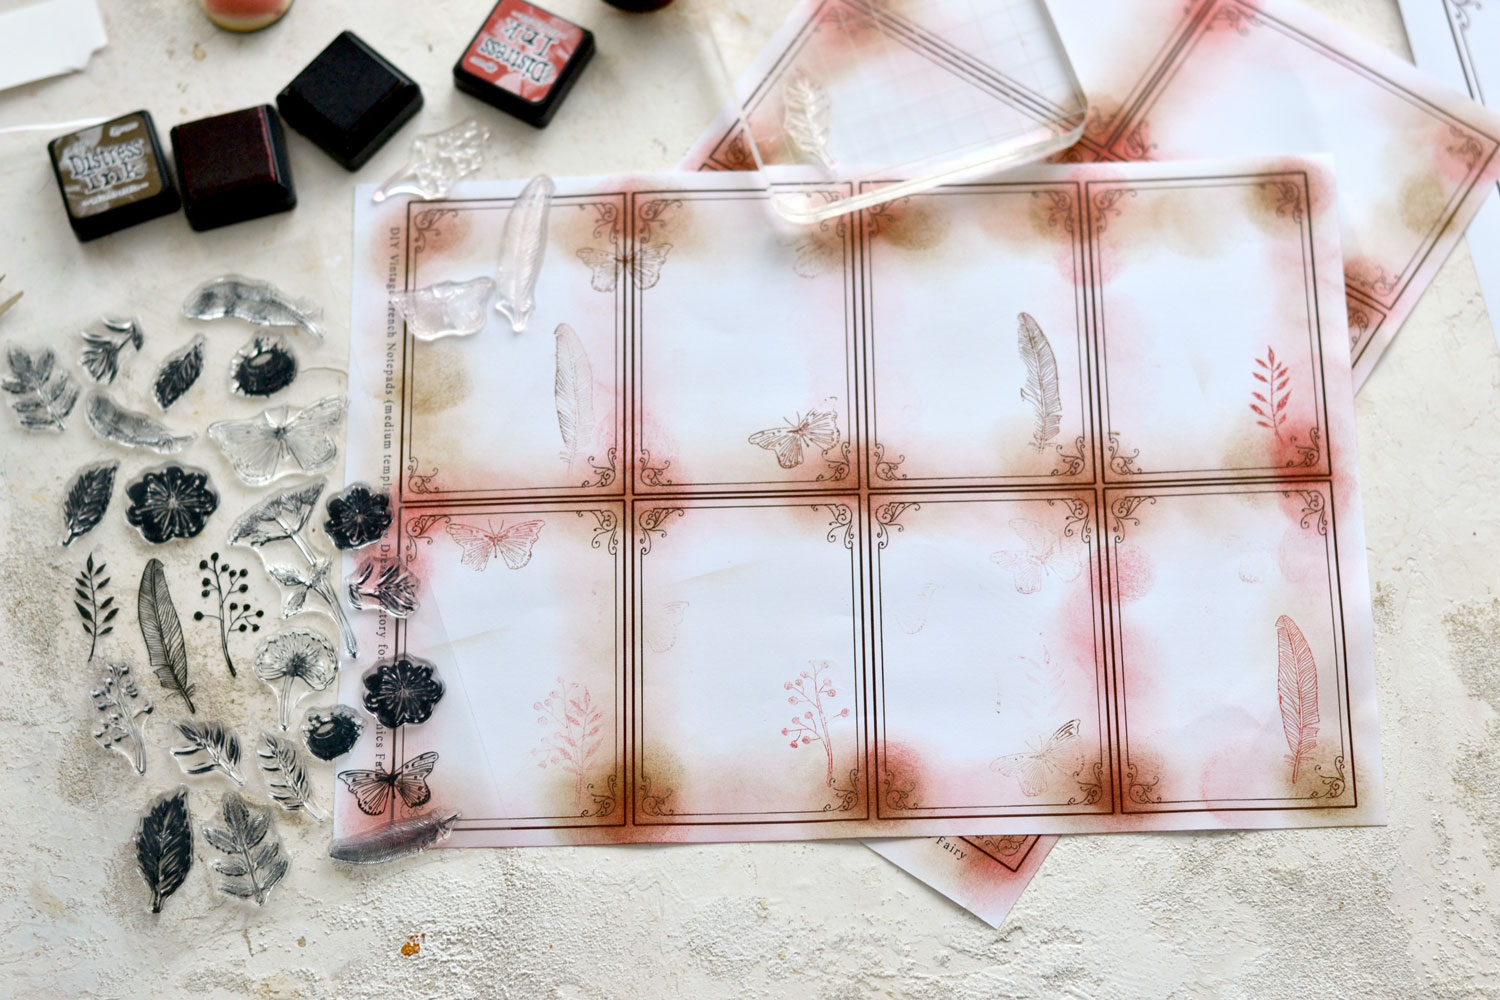
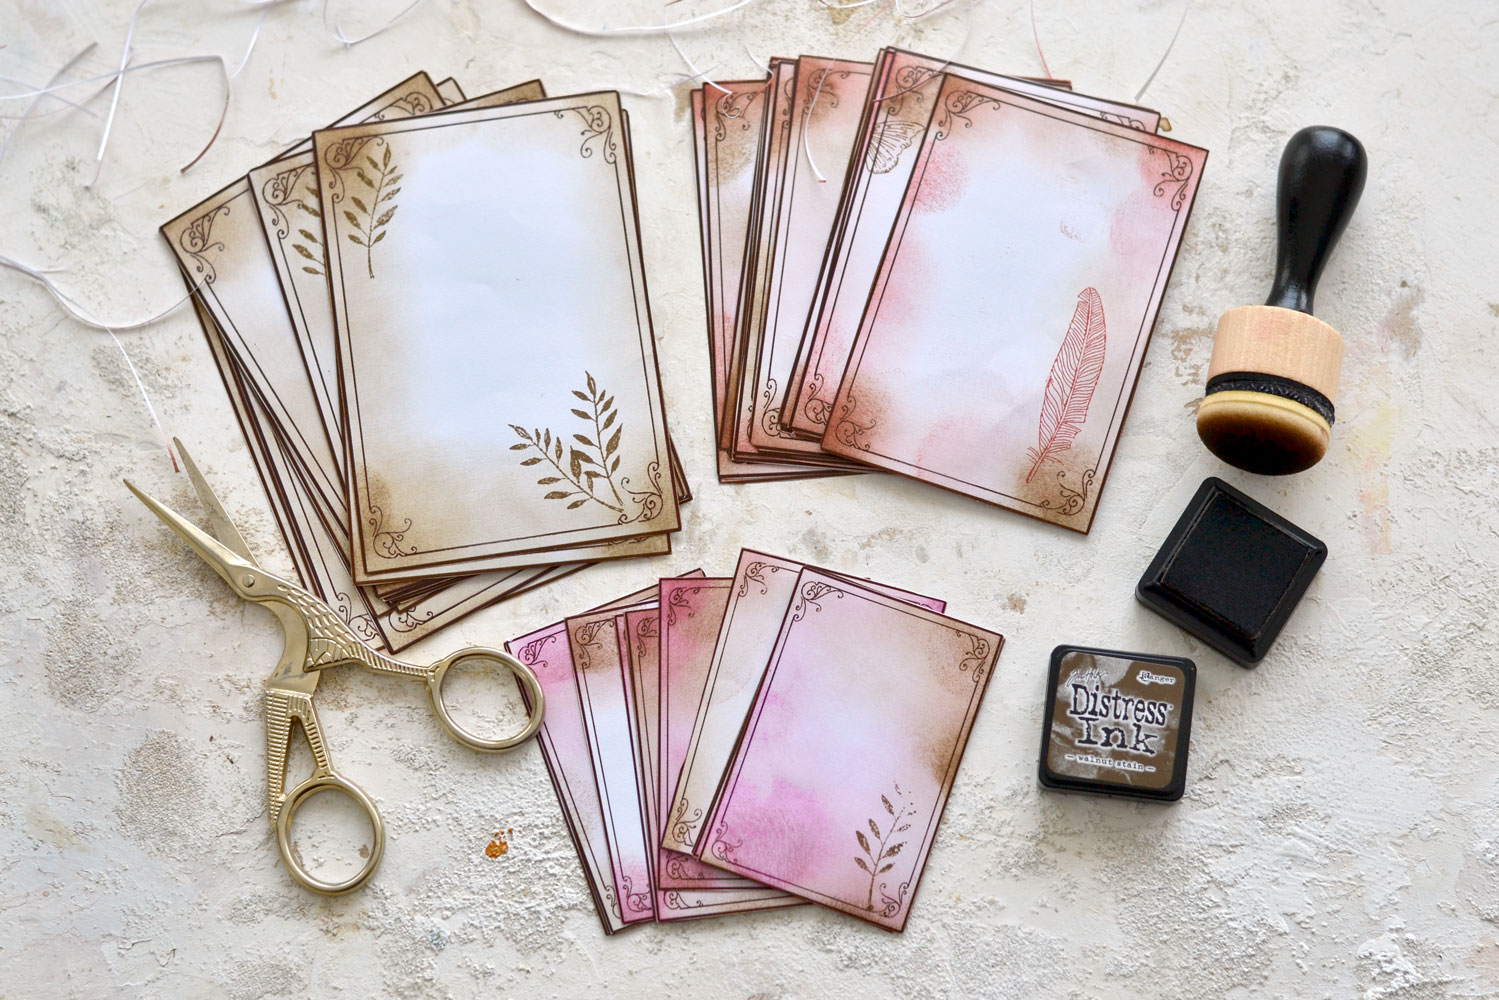
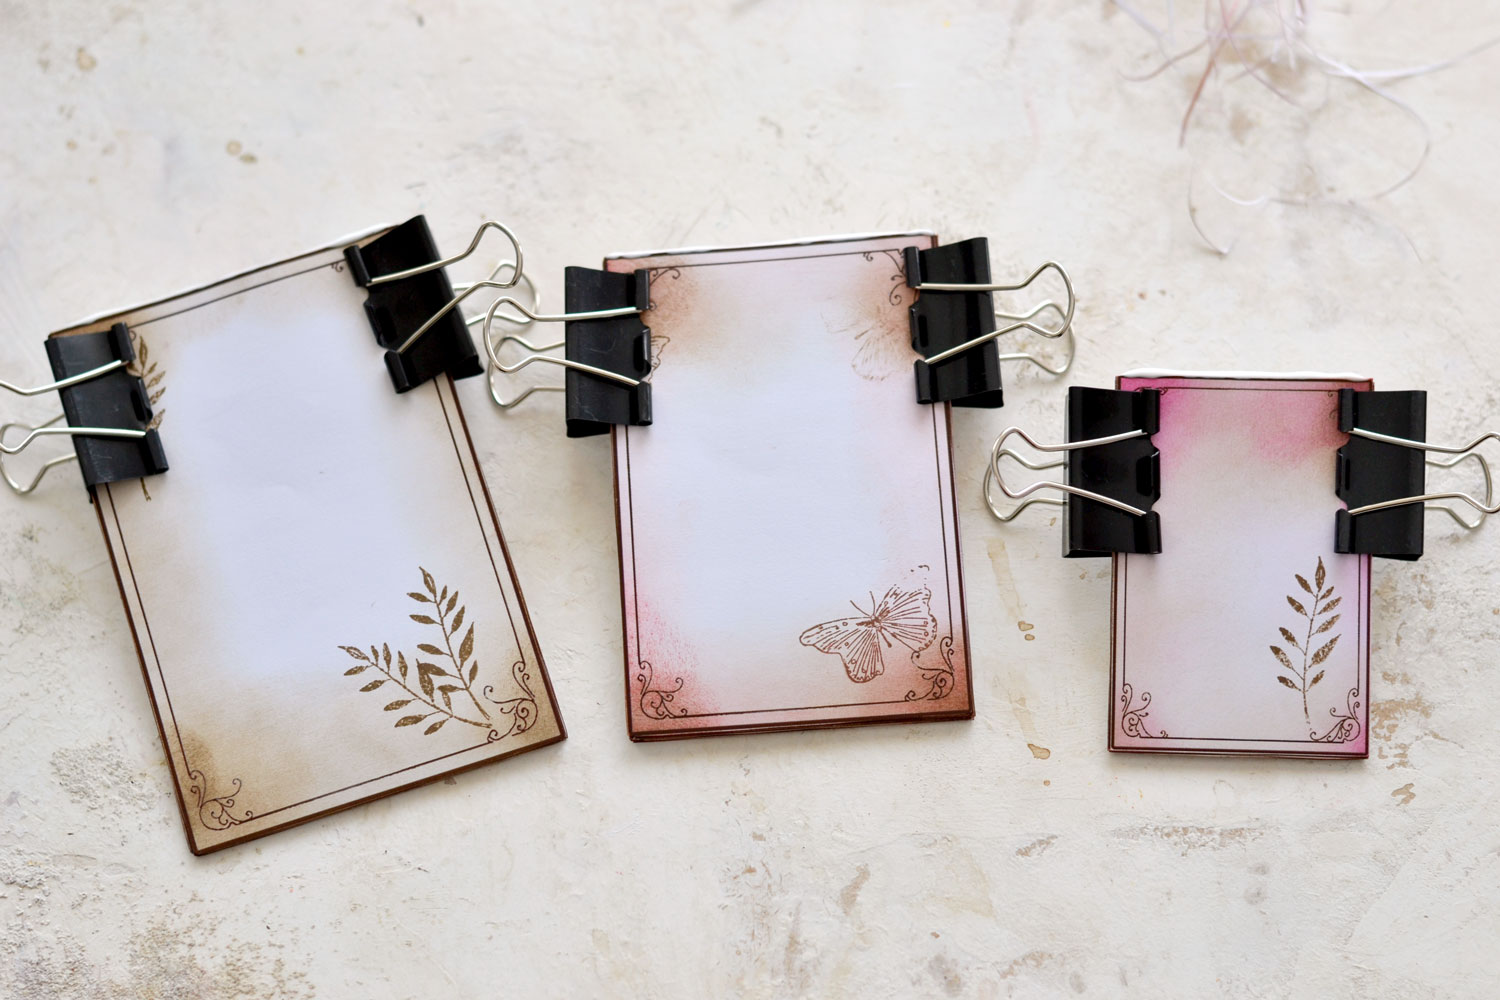
3. I thought it would be easier to ink the inserts and distress them at this point, so I just did that! You can use as many colors as you want. I used pink on the small notebooks, red on the medium ones and some brown (Walnut Stain) on all of them As a lovely addition you can also use your favorite stamps to further embellish the pages. Use small butterflies, flowers, leaves and feathers, just have fun decorating some or all the pages.
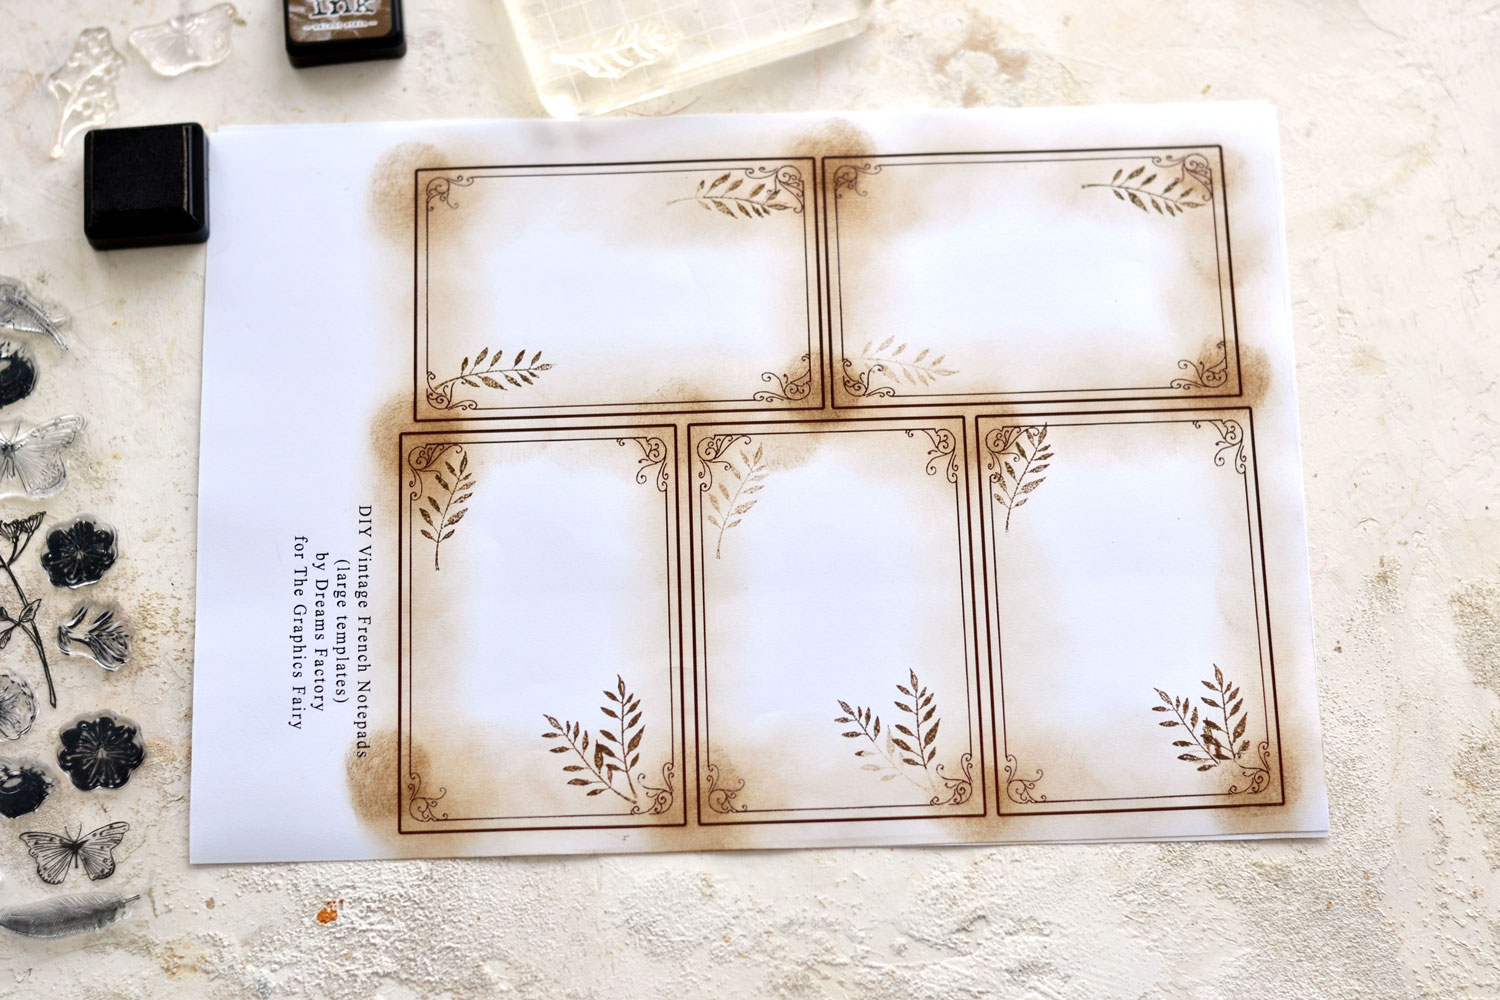
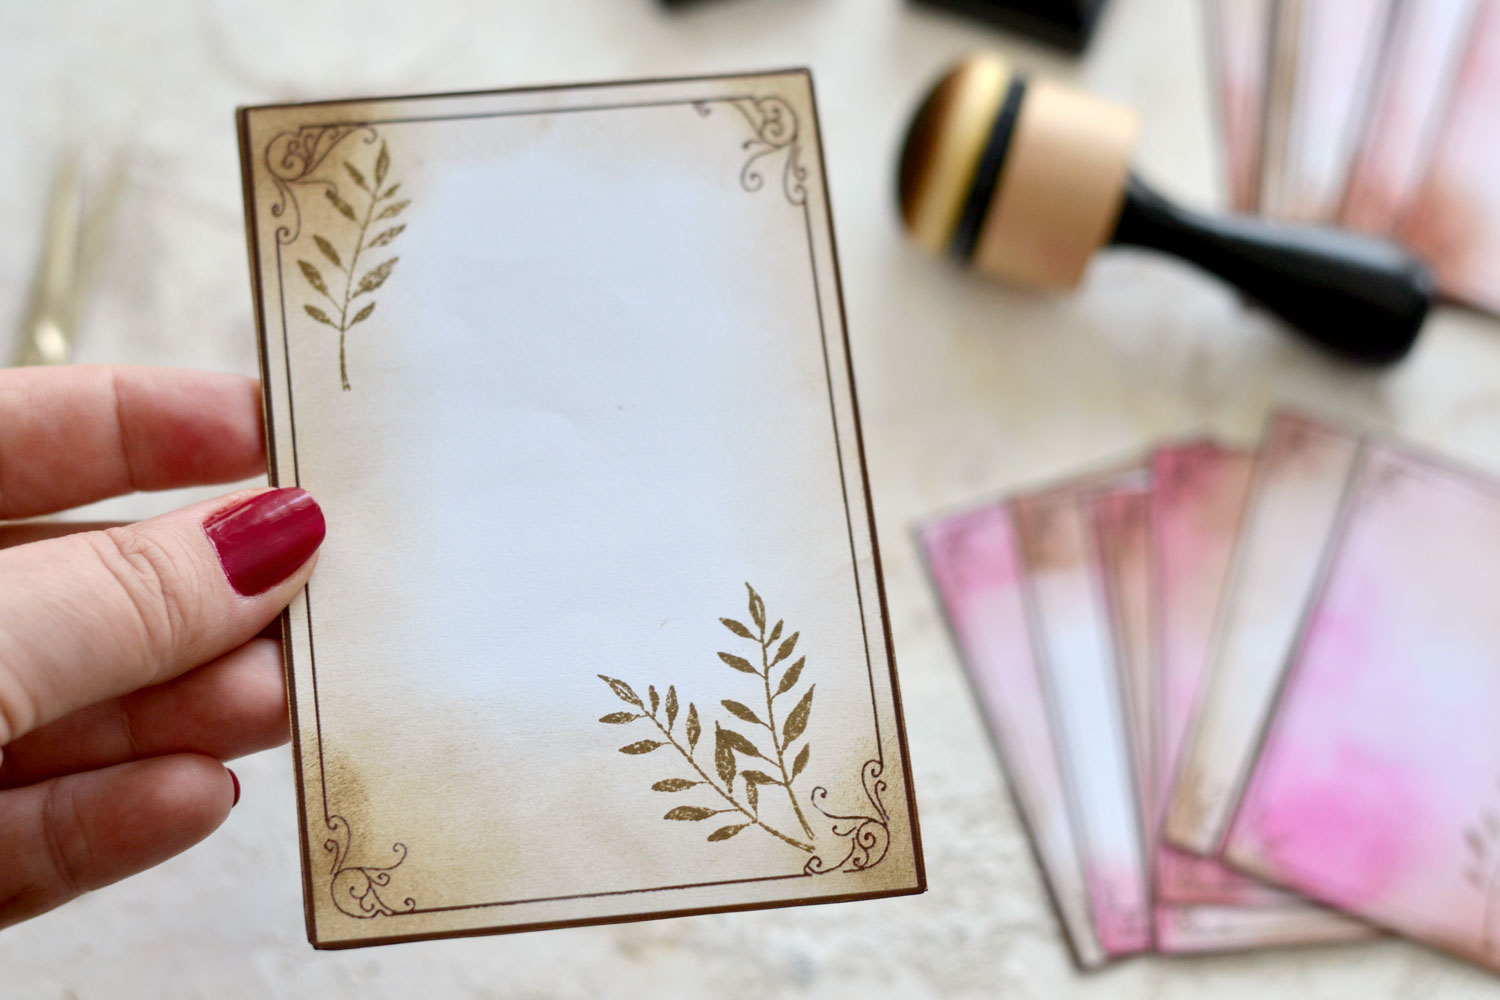
You can keep the inserts monochromatic if you want, I used walnut Stain on the large DIY Notepad to distress the pages, then I stamped some branches. Just make sure you keep in mind the page orientation and stamp accordingly.
4. This is how my lovely inserts turned out after cutting them, I love how every single page is beautifully decorated and quite unique!
5. If you want to get a cohesive distressed look, you can stack all the inserts from one of the notepads together and while holding them in your hand, go all over the edges with some more of that distress ink.
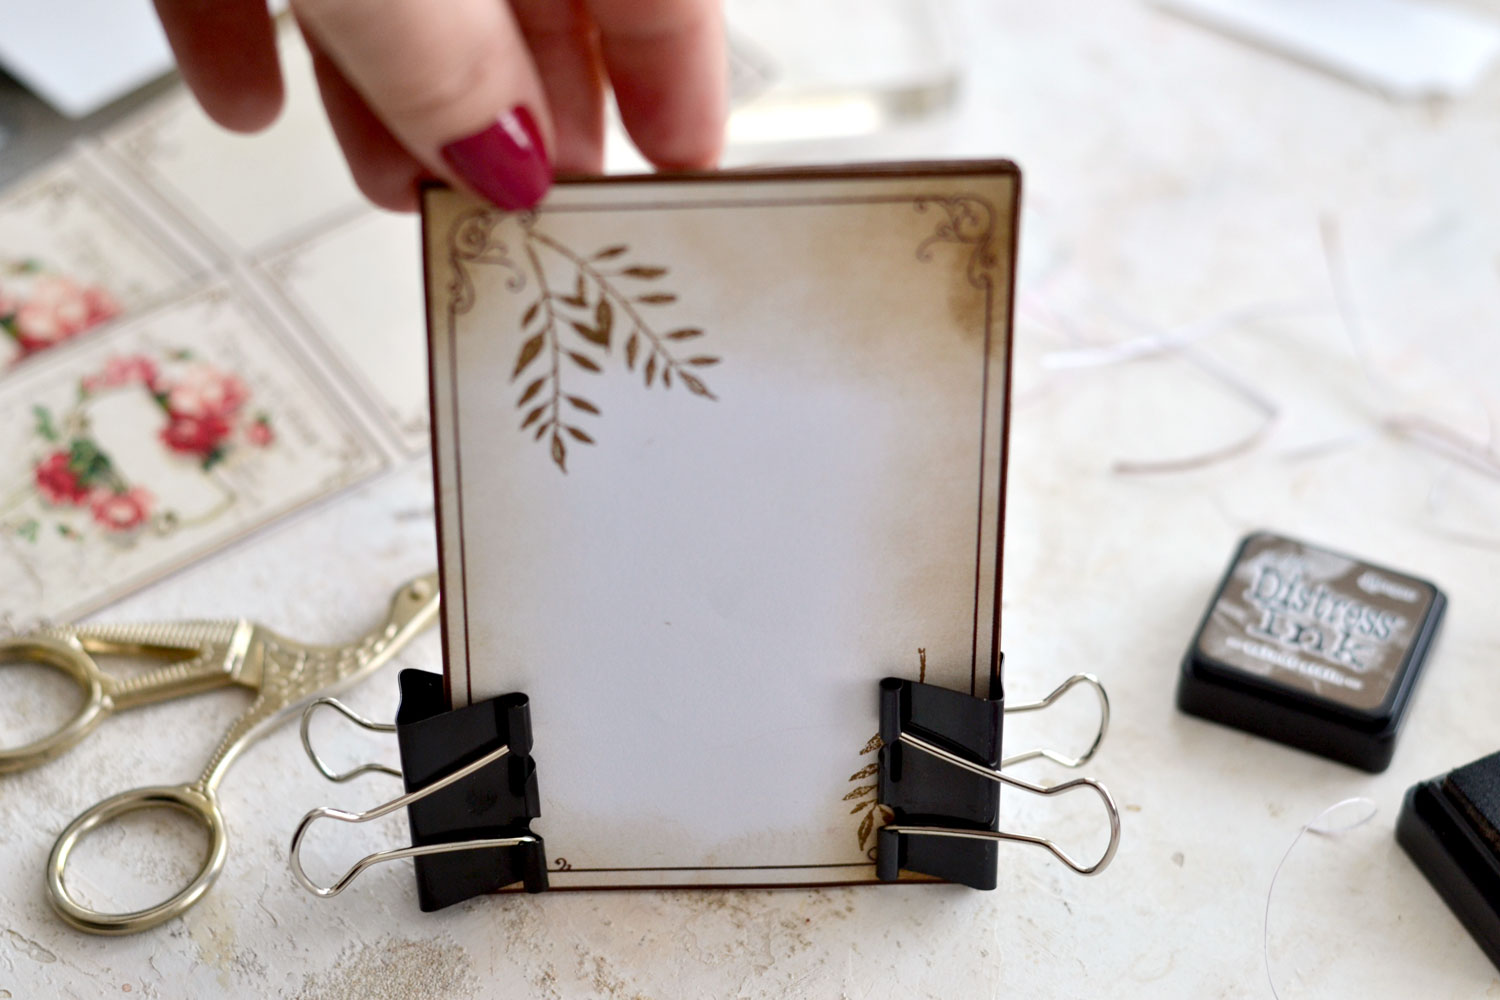
6. Turn the pages upside down and tap them on your table. Make sure they are perfectly aligned, then use two binder clips (one on each side) to keep them in place. As you can see, we are only stacking together the inserts at this stage and not the covers!
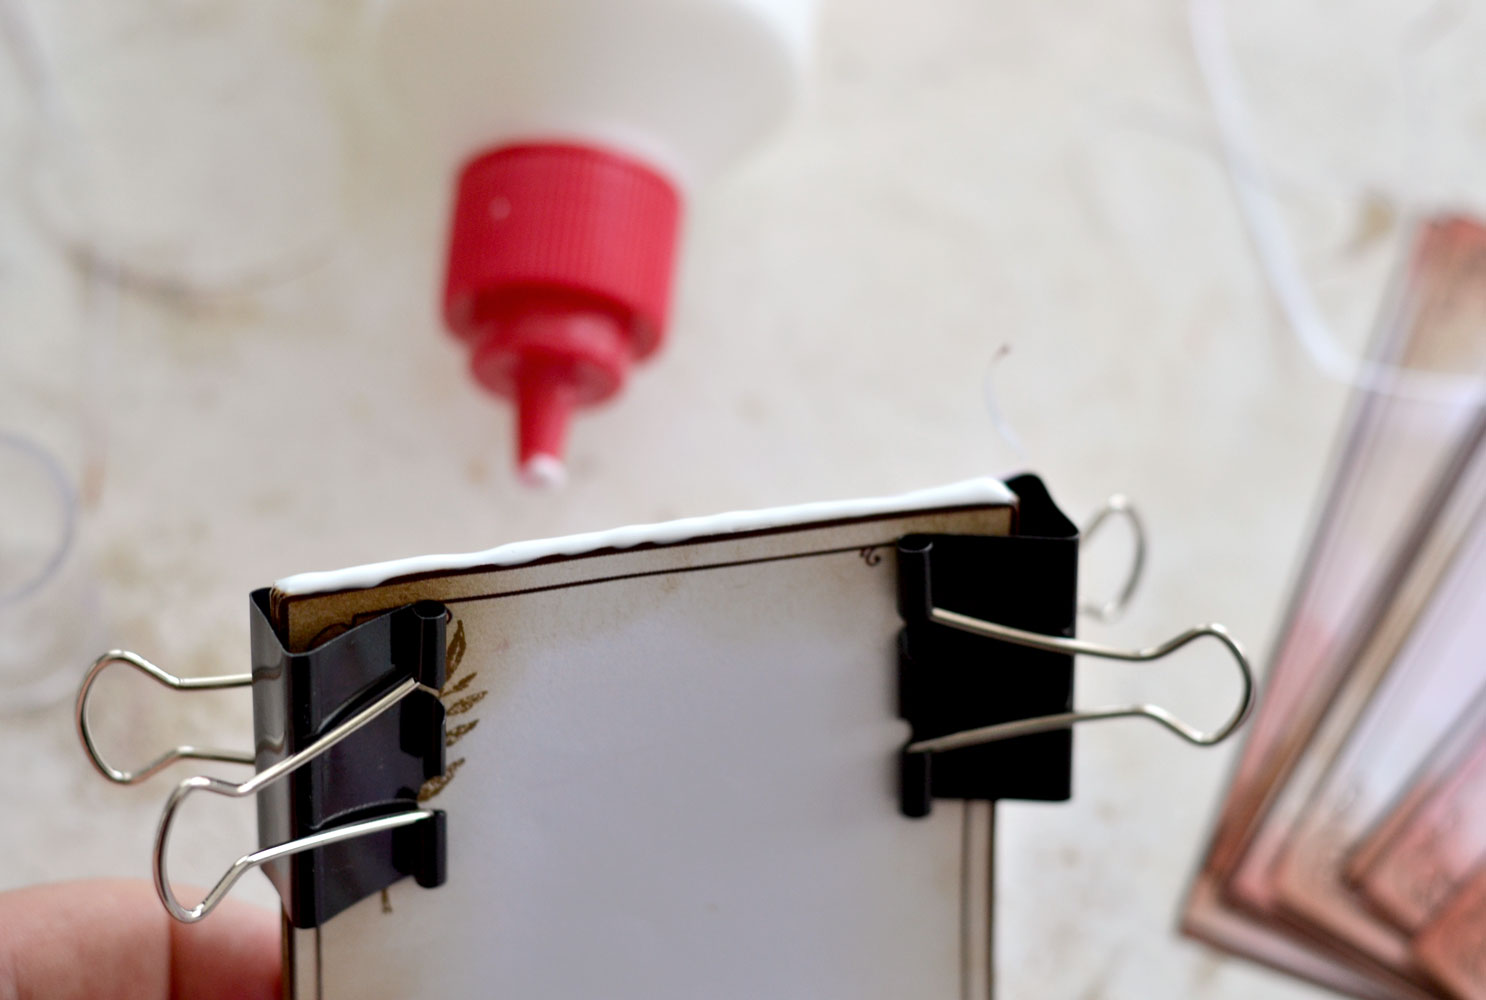
7. Return the pages to their normal position, then squeeze a line of craft pva glue all over the top edge of the notepad. It would be best to use a bottle with an applicator to create a uniform glue line, this way you won’t have to use any additional brushes to apply the glue.
8. Stack the pages together on all the other DIY Note-pads that you are making. Follow the same steps to keep the pages in place with binding clips, then carefully apply the craft glue to your stack of paper. You will want a somewhat thick coat. Let them dry on your table and check them from time to time just to make sure the glue isn’t dripping. The white glue should turn transparent after drying, then you’ll know they are ready for assembling.
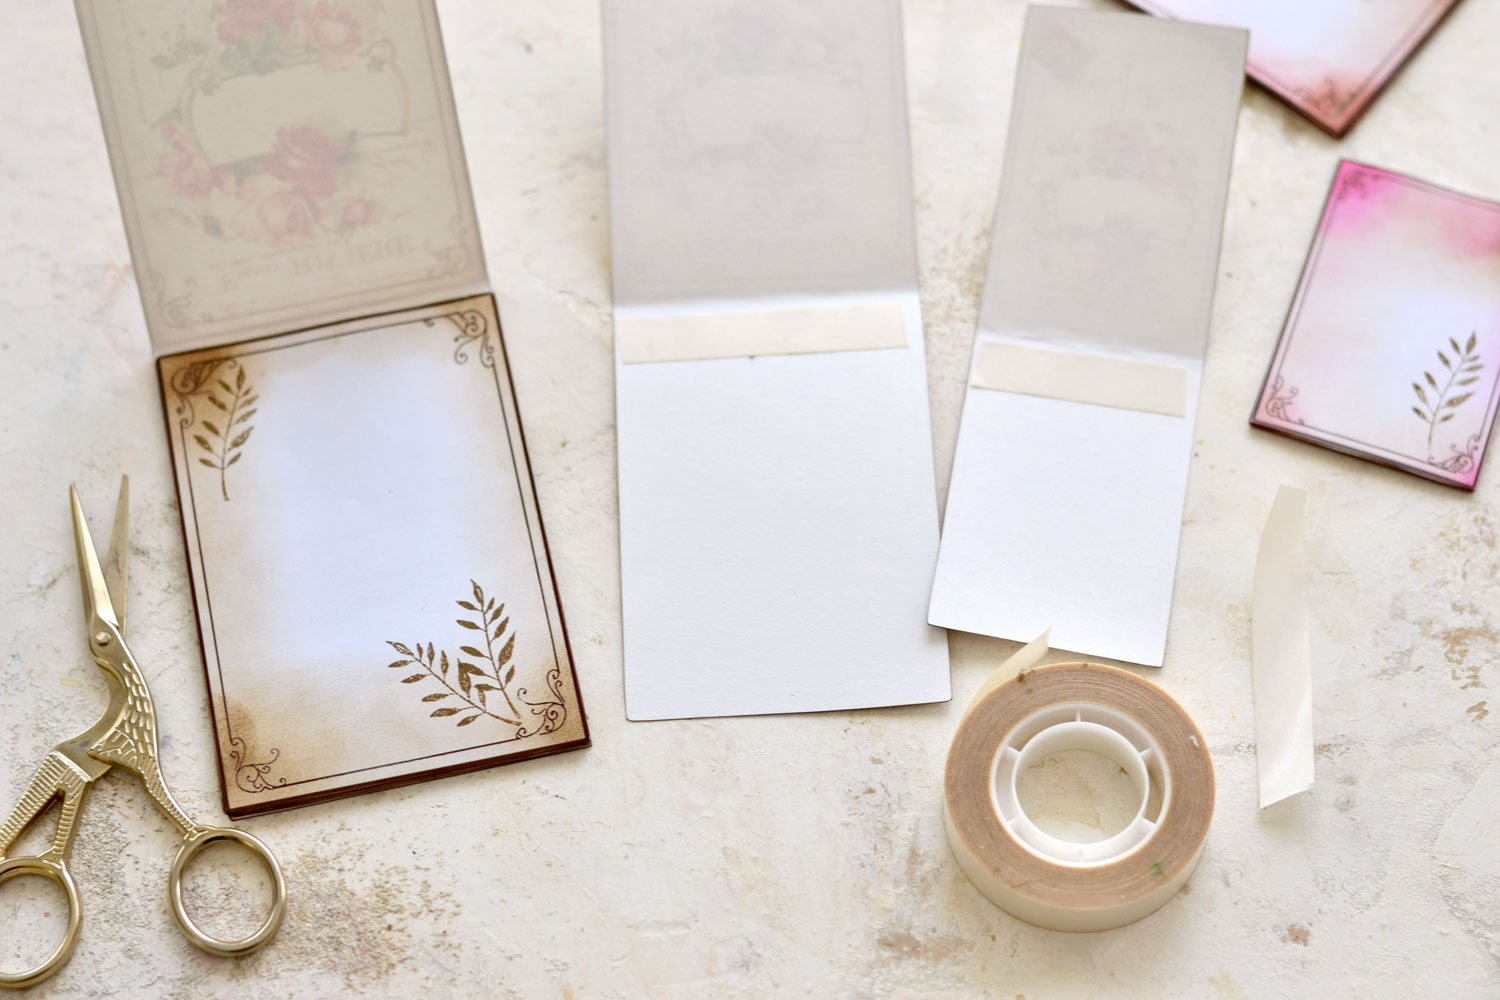
9. While the glue is drying, you can go ahead and distress the covers. Fold them in half using a ruler and a bone folder (or just your fingers), then go all over the edges and distress them as you want. I used some more of that Walnut Stain and distressed both the front and the back.
10. After the craft glue has turned clear, you can assemble your lovely DIY Notepads! You can use more glue to adhere the last page of the insert stacks on the inside cover or use some double sided tape, like I did.
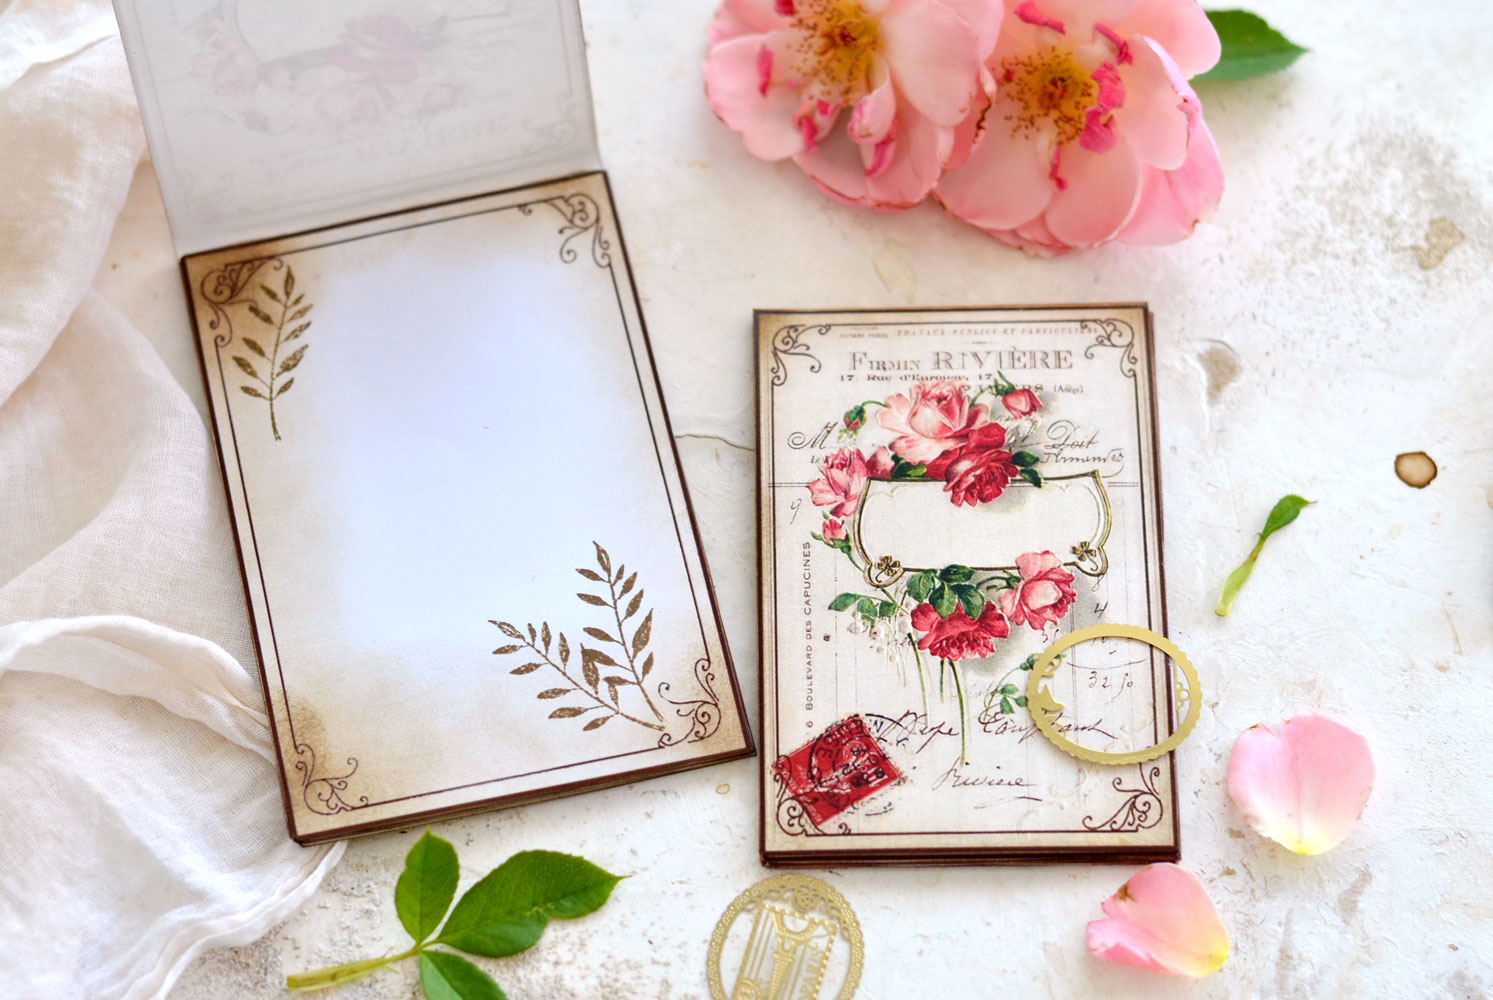
And that’s pretty much it, your absolutely gorgeous paper pads are now ready to be used! You can easily tear each insert off, the glue on top will help us to perfectly do that, just like with any other regular notepad!
I’m loving everything about my new little memo pads, I’m really hoping you will love them too and decide to give this fun stationery project a try!
These would make the perfect little companions that you can carry in your purse or keep on your table for daily tasks or shopping lists. Or maybe for your thoughts! You can use them in your art or junk journal, I’m sure they will look beautiful everywhere!
If you want, you can even use your own inserts to make things more your way and personalize the interior as you want. Use my inserts as templates to measure their sizes, then use coffee or tea stained pages, avocado dyed papers, mixed media collages, spray inked abstract backgrounds or any scrap pieces of paper that you can find!
I would suggest making tons of these, working in batches would be such a pleasure with these lovelies. They will also make a great gift for birthdays, or any other special occasion, so make sure you have plenty of them around for when in need! Perfect for Stocking Stuffers at Christmas time too.
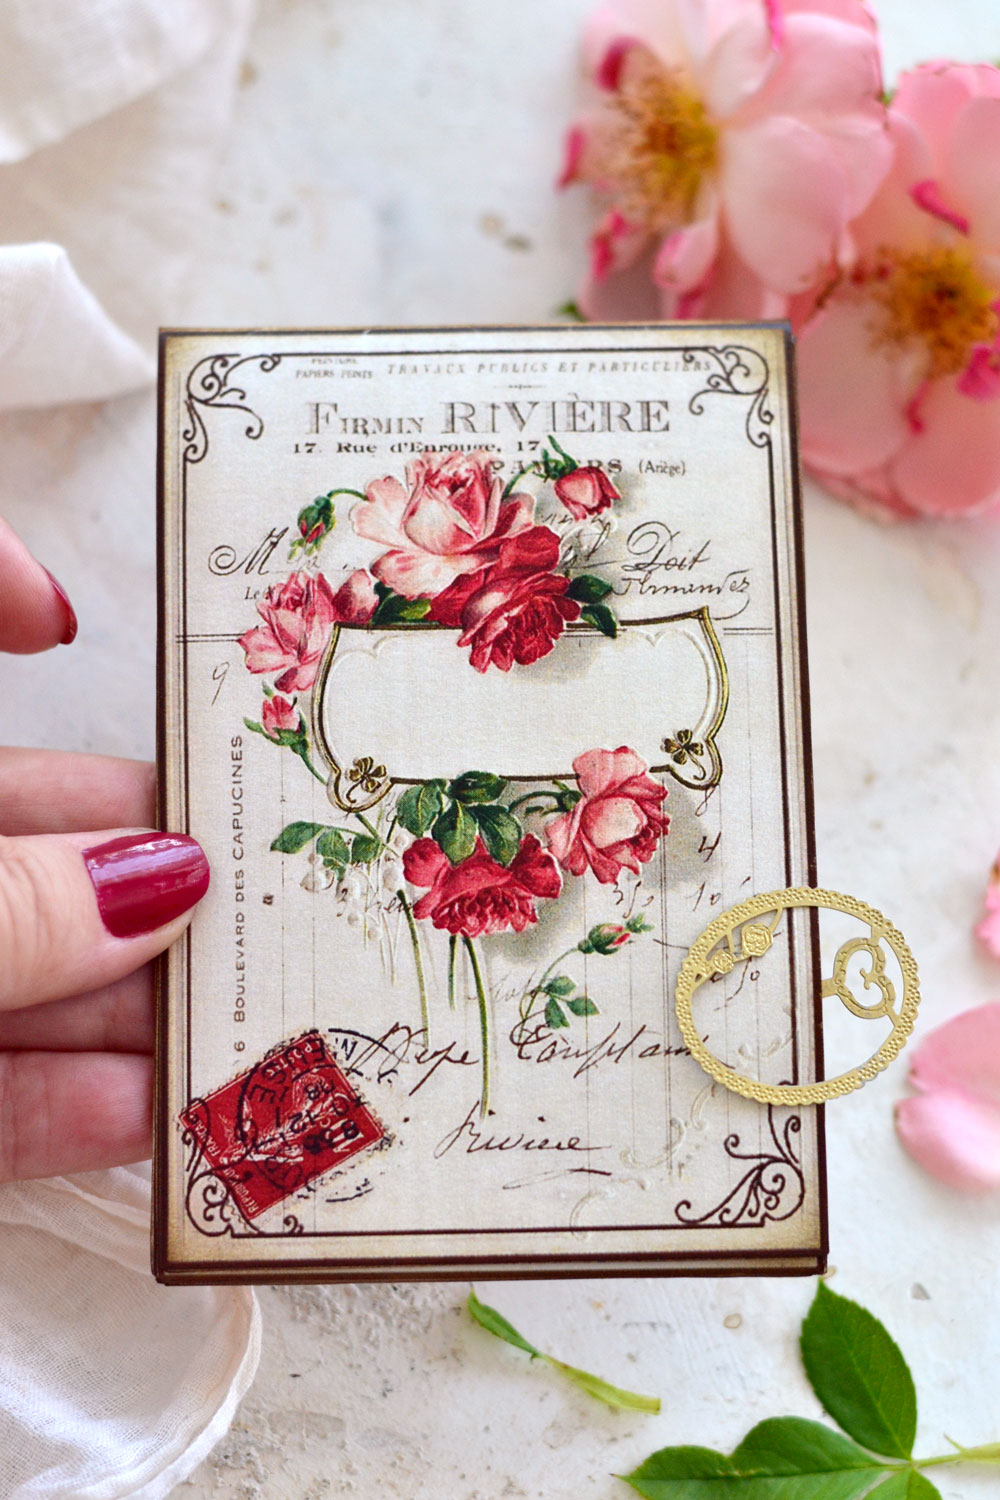 Oh, I had to use some of these beautiful gold paper clip bookmarks from Amazon Here to hold the DIY Notepads in place to photograph them for this tutorial, but these goldies add so much charm to them so it would be great to gift them like this! If you like paper crafting DIY Projects be sure and check out my DIY Washi Tape Tutorial HERE and my Printable Stickers HERE.
Video Tutorial
You might also want to check out a Video Tutorial that Lisa did for our YouTube channel a couple of years ago, where she also made these!
Happy crafting,
Diana / Dreams Factory





Ann says
I love these! Definitely on my “to-do” list!!!
Karen says
Yayy! We’re glad to hear that. Enjoy! 🙂
Patricia says
These are great. I really liked the tips on making inkjet prints water resistant. Very helpful.
Karen Watson says
Have fun making these! You can use that inkjet tip for many of Diana’s projects. 🌹
Tora says
WOW these are beautiful, thank you so much for these lovely freebies and this awesome tutorial
hugs
Tora
Karen Watson says
I’m so glad you enjoyed Diana’s project Tora! Have fun making these! 🌹
Susan says
Dianna these are darling! I can’t wait to try them. Thank you for sharing your creativity with us♥️
Karen Watson says
Have fun creating Diana’s pretty project Susan! 🌹
Isla says
Thank you, am in hospital and it helps to visit here.
Karen Watson says
So sorry Isla, hope you are feeling better soon! 🙏