DIY Transfer Paper
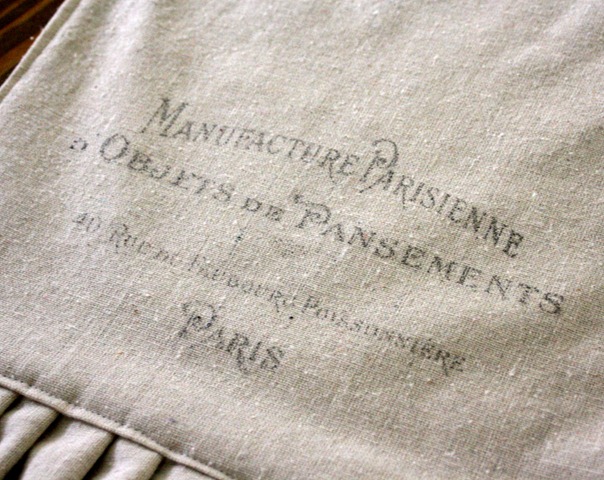
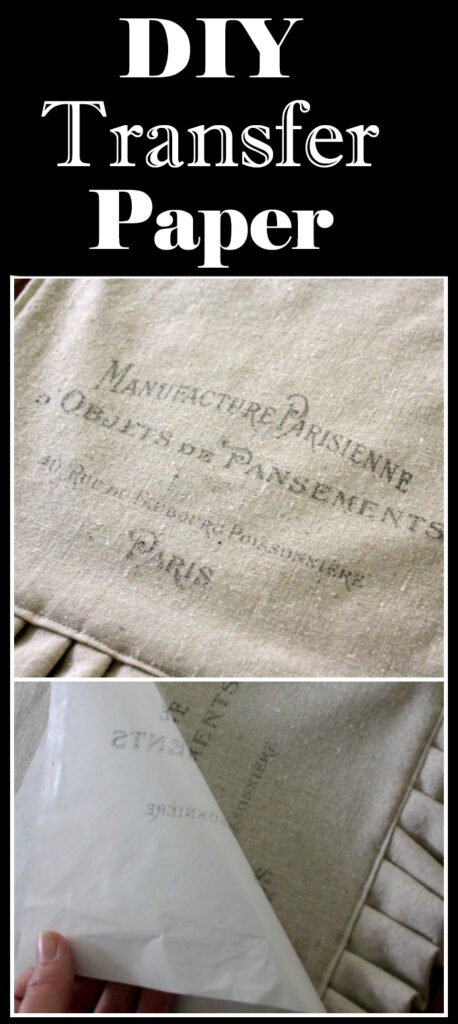
Hi, I’m Gina! I’m a blogger and crafter and you may know me from my blog, The Shabby Creek Cottage. This week, I’m sharing a pretty simple project for making our own DIY Transfer paper for an InkJet Printer. You are going to love this simple easy technique that uses Freezer Paper! {I love this awesome technique!} I started with this table runner (you can learn how to make it over at my blog, you can find the link at the bottom of this post for that.) You could make one too … or a store bought one is also fine. Ikea can be a great resource for simple linens that are inexpensive, so keep that in mind.
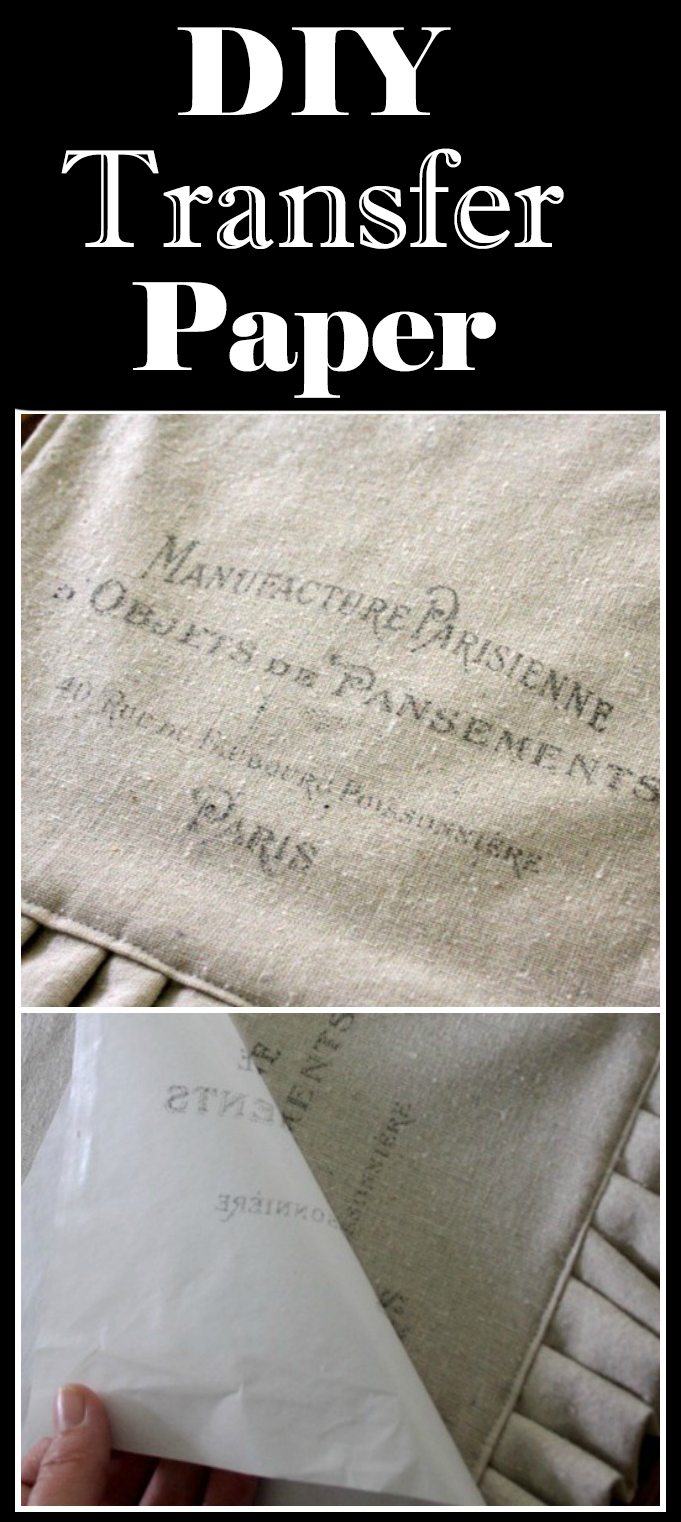
Of course you don’t have to make a runner, this technique will work with any fabric project. Just keep in mind that the ink won’t be washable so make sure you use it on decorative projects only and not on wearables. Throw pillows, fabric ornaments or soft Junk Journal covers would all be great uses for this technique too.
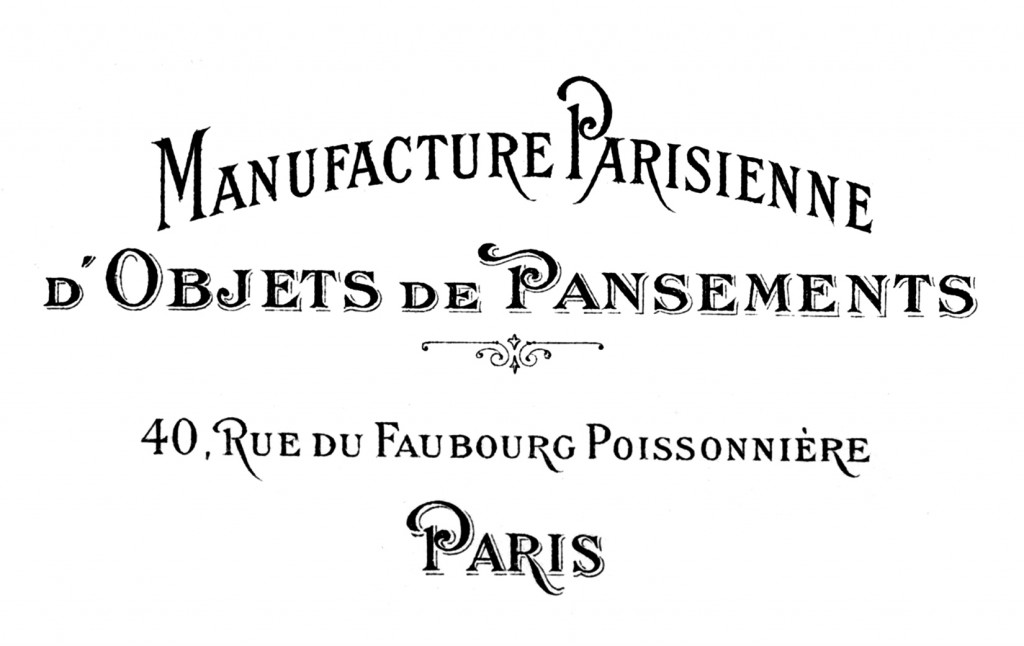
I used a French Transfer, which you can find at the bottom of this post) for this project but you can use any graphics or artwork that you like.
DIY Transfer Paper Step by Step Tutorial
Supplies:
Table Runner or other Fabric Project
Image of choice (find the transfer that I used in this project, at the bottom of the post)
Inkjet Printer
Scissors
Cardstock
Please Note: I have not tried this with Laser Printers so I do not know if it would work or not, I would be concerned that it might damage that type of printer
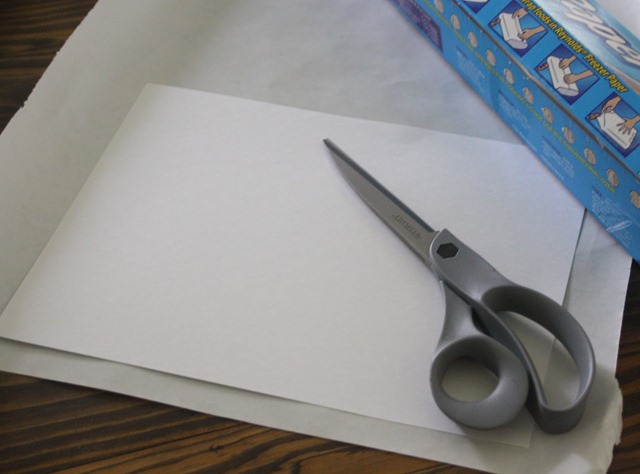
Step 1: First you need to cut your freezer paper to the size of a sheet of paper. I had cardstock on hand, so I used it as a template and cut with scissors. You could also use a mat and cut it 8 1/2 x 11. Either way works great.
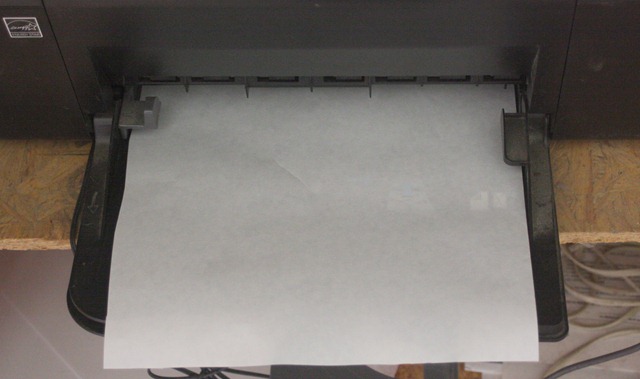
Step 2: Now put the cut piece of freezer paper in your home printer – you’ll want it so that the plastic side will receive the ink. {Please excuse my messy cabinet!} Make sure you stay close to your printer so that you can guide it through.
Step 3: If you are using an image with text or Typography on it then print your image in reverse, and be careful not to touch the ink. It will stay wet until the next step and you don’t want it to smudge.
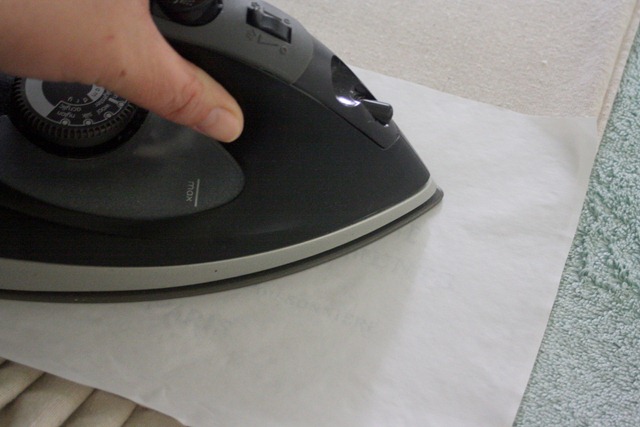
Step 4: Carefully lay the printout down on the fabric where you want the graphic and iron it down with your household iron. Make sure your iron is set on NO steam. I ironed about 60 seconds, just to make sure that everything was in place.
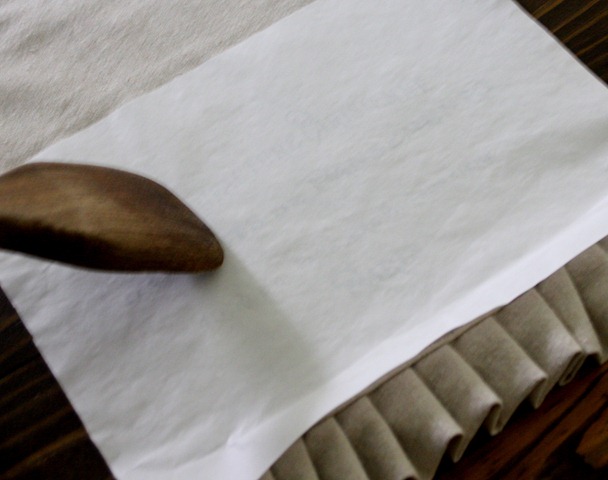
Step 5: After you’ve ironed it down, put the runner on a hard surface (like a table) and use something to burnish down the paper even more. (I used a wooden spoon for this) I did it with and without this step – it really does make a big difference! Just rub, rub, rub and make sure that you’ve went over all of the graphic.
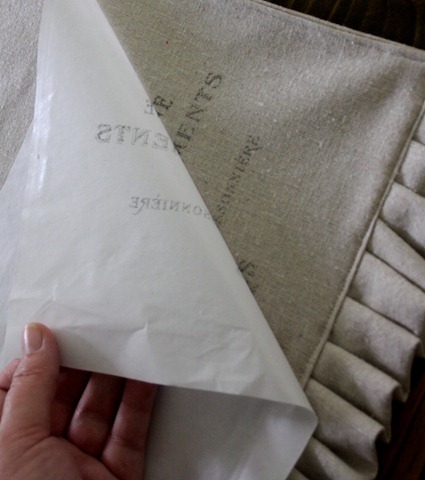
Step 6: Then peel off the paper – and you are done! It’s like magic! The ironing makes the paper grab to the fabric, so it will be a bit like peeling off tape.




Lori @ Katies Rose Cottage Designs says
Thank you for the awesome tutorial!!!
I am excited too to find waterproof ink!
Sweet Magnolias Farm says
I am trying to find out if my machine takes waterproof ink and can't find any info. on it ..any suggestions on how you found out ?
Karen Watson says
Most Epson printers use waterproof ink (although not all, so make sure you get the right one if you’re shopping for a new printer). If you don’t have an Epson, you probably don’t have waterproof ink.
Anonymous says
DOES NOT work on felt!!!! Very upsetting! I tried 8 different ways, with different settings on the printer and it just doesn’t work. 🙁
Karen Watson says
The felt is probably to fuzzy to accept the ink. Sorry it didn’t work for you. I like to use Canvas Drop Cloth, it’s a nice weight for the printer, and it takes the ink really well.
yann says
Just wonder, does the image stays after washing?
Judy Havrilla says
Wow that is a really, really great idea! The result is fantastic. It does look so vintage. Thanks for sharing!
http://www.cuteanduseful.com
Emme Toaye says
Thanks for sharing and I can’t wait to try this!!
Kim @ Cheap Chic Home says
I’m looking forward to trying this!
gme says
For future use on different graphics, can you please tell us how to print in reverse?
Kim @ Cheap Chic Home says
Hi gme, I’ve done this before on Picasa, using Ctrl Shift V for a vertical flip and Ctrl Shift H for a horizontal flip.
Genevieve says
Almost any graphics program can reverse an image. If you don’t have another graphics program, GIMP is a free download and it does all the standard things that most people ever need. In GIMP, open the image and then click “Image”, then “Transform”, and then “Flip horizontally.”
deb says
Thank you for the great tutorial!
Un Taller de Miniaturas says
Thank you very much for the tuto, Gina, so GREATTTTTT!!!
And my compliments, Karen, for an awesome blog full of lovely graphics!!!!
Hugs both of you,
Paloma
❁Velma ~Down Our Country Road❁ says
Thanks for the great tutorial. Now to see if the ink my printer uses is permanent or not!
Monica B says
Thanks so much for this tutorial using wax paper to transfer. This is so helpful. I can’t wait to try this.
Monica B says
oops! I mean freezer paper!
Rachel says
Ok, I just tried this method. I followed the directions but when I peeled the paper off, NO print stayed on the fabric! It all peeled up with the paper. What did I do wrong?
Amy says
Did you get it figured out? I printed my reverse image on 16 sheets of freezer paper and nothing is staying on the fabric for me either! I hate to waste even more paper! I have a Dell inkjet printer too, so I may try that. Just curious if you figured out your problem. Thank you.
Lou Jean Derouen says
Please read the instructions again. It is mentioned that you need to burnish the letters to be sure that they will transfer and not stay on the freezer paper.
GGBunnie says
I was so excited to try this method, while waiting for my CitriSolve to arrive…I have followed all intructions to the letter, but….my Dell inkjet printer will not print on the shiny side of the paper. Any thoughts or ideas anyone? 🙂
Karen- The Graphics Fairy says
Hi GG, Oh, that’s a shame! Maybe try some different settings on your printer and see if that works, you might try selecting a higher quality print setting or even a lower one and see if that makes a difference.
GGBunnie says
It worked!!! I had to go to “Properties” and there is a setting for “coated” paper as well as glossy, etc… My first transfer is good enough to sew into a pillow 🙂
Just want to share a few tips I also learned. My freezer paper curled and would not go throught the printer so I attached it to a regular sheet of printer paper with a small piece of double face tape at each corner…problem solved.
I now have THREE pillow (covers) to sew…Big SMILE!
I also misted my fabric with water from a spray bottle. Just a fine mist to get it damp.
VERY happy that I stuck with this and didn’t give up. Well worth the trial and error.
Teresa says
Awesome- going to give it a try.
Thanks
Marianne says
This seems like a great method for transferring a pattern. Freezing paper can not be bought at grocery stores in the Netherlands, but I order a length at a hobby shop. I am looking forward to give it a t try.
MaryB. says
Marianne, when I lived in England you could find freezer paper at quilt shops. If there is one near to where you live you might try calling them and see if they stock it or they may be able to tell you where you can get it.
JessLS says
Hi Marianne,
I’ve just found out Bol.com (same as Amazon.com) do sell freezerpaper sheets (used for quilting)- 30 sheets for €8.99! 😀 Delivery within 3 days!
Good luck! Succes ermee…:-)
Anonymous says
I too live in the UK and found is on Amazon.co.uk they even have a brand for this purpose called quilters freezer paper sheets. I am going to start trying this. I just have no way of know if my ink is waterproof or not – nothing on the packaging for HP Photosmart printers if the ink is waterproof – any guidance on the brand to use?