DIY Transfer Paper
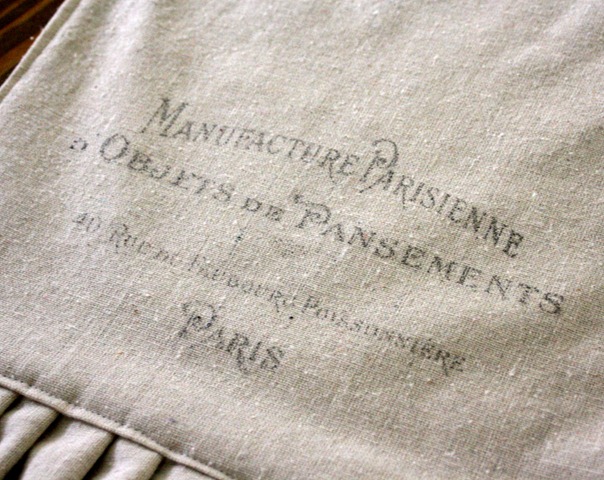
Hi, I’m Gina! I’m a blogger and crafter and you may know me from my blog, The Shabby Creek Cottage. This week, I’m sharing a pretty simple project for making our own DIY Transfer paper for an InkJet Printer. You are going to love this simple easy technique that uses Freezer Paper! {I love this awesome technique!} I started with this table runner (you can learn how to make it over at my blog, you can find the link at the bottom of this post for that.) You could make one too … or a store bought one is also fine. Ikea can be a great resource for simple linens that are inexpensive, so keep that in mind.
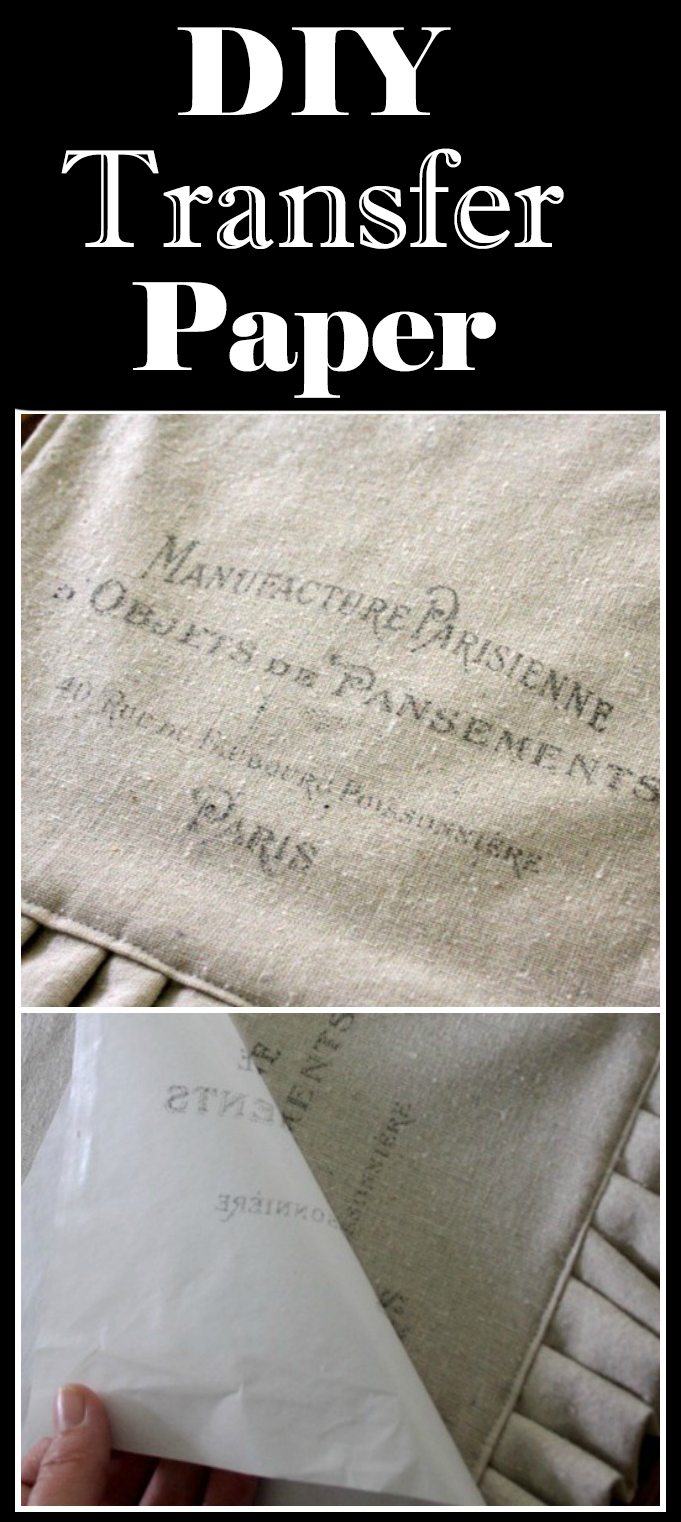
Of course you don’t have to make a runner, this technique will work with any fabric project. Just keep in mind that the ink won’t be washable so make sure you use it on decorative projects only and not on wearables. Throw pillows, fabric ornaments or soft Junk Journal covers would all be great uses for this technique too.
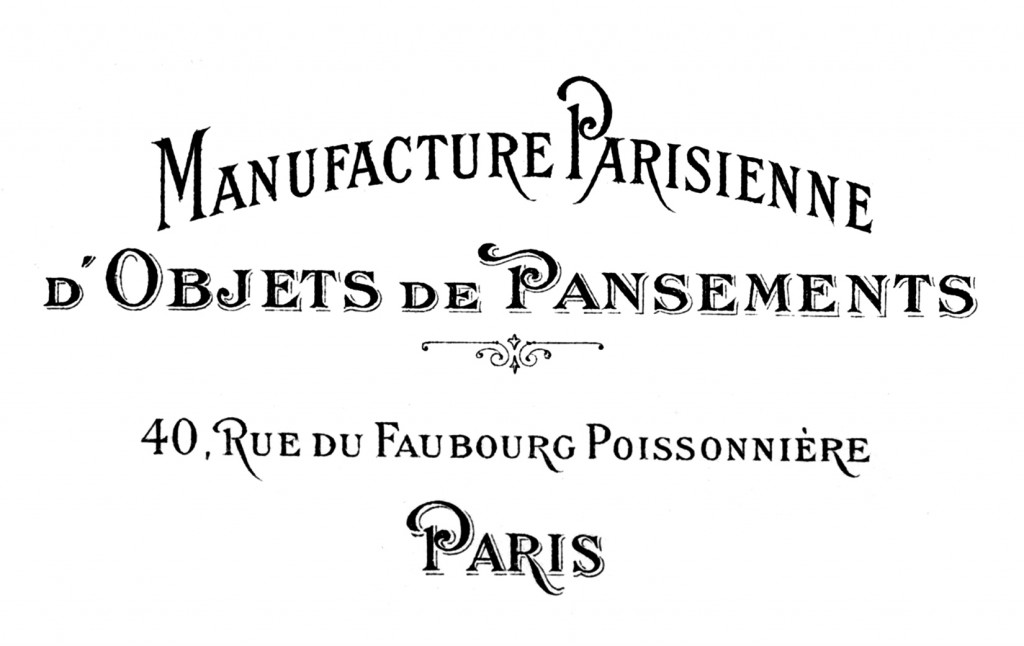
I used a French Transfer, which you can find at the bottom of this post) for this project but you can use any graphics or artwork that you like.
DIY Transfer Paper Step by Step Tutorial
Supplies:
Table Runner or other Fabric Project
Image of choice (find the transfer that I used in this project, at the bottom of the post)
Inkjet Printer
Scissors
Cardstock
Please Note: I have not tried this with Laser Printers so I do not know if it would work or not, I would be concerned that it might damage that type of printer
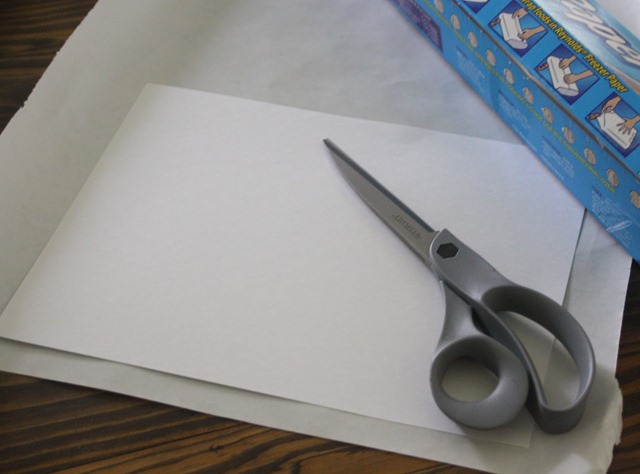
Step 1: First you need to cut your freezer paper to the size of a sheet of paper. I had cardstock on hand, so I used it as a template and cut with scissors. You could also use a mat and cut it 8 1/2 x 11. Either way works great.
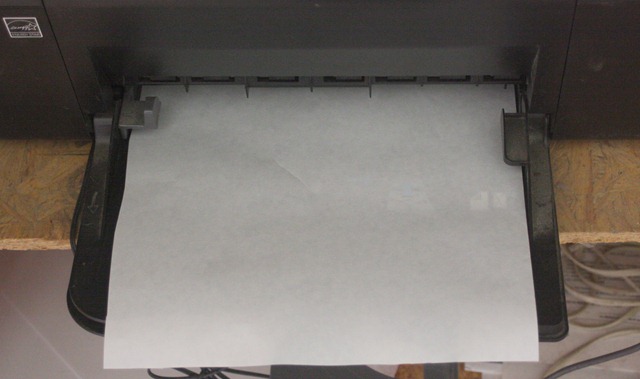
Step 2: Now put the cut piece of freezer paper in your home printer – you’ll want it so that the plastic side will receive the ink. {Please excuse my messy cabinet!} Make sure you stay close to your printer so that you can guide it through.
Step 3: If you are using an image with text or Typography on it then print your image in reverse, and be careful not to touch the ink. It will stay wet until the next step and you don’t want it to smudge.
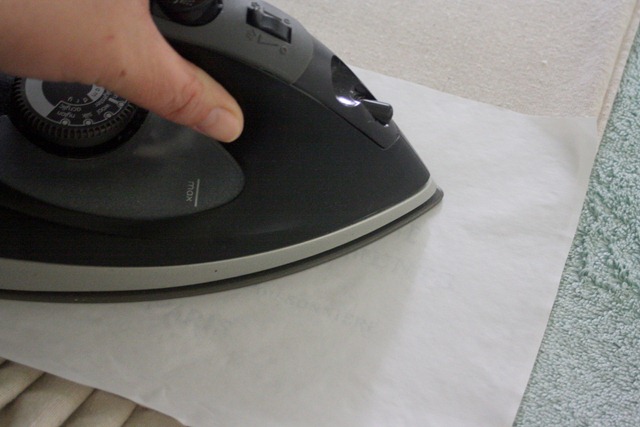
Step 4: Carefully lay the printout down on the fabric where you want the graphic and iron it down with your household iron. Make sure your iron is set on NO steam. I ironed about 60 seconds, just to make sure that everything was in place.
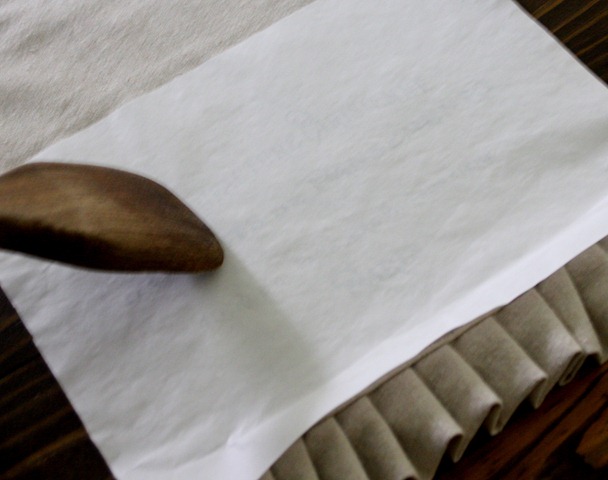
Step 5: After you’ve ironed it down, put the runner on a hard surface (like a table) and use something to burnish down the paper even more. (I used a wooden spoon for this) I did it with and without this step – it really does make a big difference! Just rub, rub, rub and make sure that you’ve went over all of the graphic.
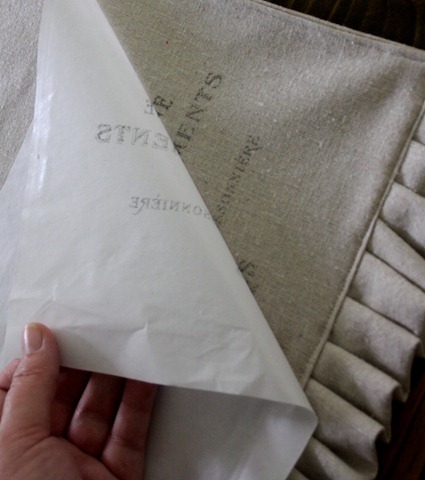
Step 6: Then peel off the paper – and you are done! It’s like magic! The ironing makes the paper grab to the fabric, so it will be a bit like peeling off tape.




Helene says
Hi
Will ordinary wax paper also work?
graphicsfairy says
No Helene, it needs to be the freezer paper, they are completely different types of paper.
Melissa says
I am curious how this would work for a large project. I have an old sofa picture that I want to put fabric on the existing picture. This fabric is what I want to put a scripture on. I know that if I used a word program it would print several sheets to form the entire wording so would that matter as for the time laps in getting it set up on the fabric to be ironed?
graphicsfairy says
I have never tried in on such a large project Melissa, maybe give it a try on scrap fabric first to see how it looks? I don’t see why it wouldn’t though. Good luck!
Naomi says
The vintage look is effective but the choice of text is not appealing. “Objets de pansements” refers to bandages mainly used in surgery by hospitals and clinics.
Bettye Harmon says
Have no idea how to print something in reverse. The method to do so was not discussed. Help would be greatly appreciated.
Bettye
graphicsfairy says
Hi Bettye,
Here is a link which will show you how to reverse images, https://thegraphicsfairy.com/how-to-reverse-images-for-transfers/
I hope this helps 🙂
BONNIE says
I JUST TRIED TO DO A FREEZER PAPER TRANSFER AND IT DID NOT TRANSFER. I HAVE A LASER PRINTER…UGGGG
graphicsfairy says
Sorry about that Bonnie 🙁 Gina said in her tutorial, “you’ll want it so that the plastic side will receive the ink.” Did you do that? I’m not sure other than that, and that you used freezer paper and not wax paper? Maybe give it another try? Sorry I’m not being more helpful!
Rita Cristina Frissong says
Hola Gina, soy de Argentina y no se a que le llamas papel congelador, es un plástico que se usa para separar los alimentos en el freezer? o puede ser papel parafinado o papel manteca que se usa en repostería? me encantaría probar esta técnica de transferencia, pero no tengo idea de que es papel congelador!!! puedes ayudarme?
graphicsfairy says
Hola Rita,
papel de congelador es papel grueso con un recubrimiento de plástico o cera en un lado. Se diferencia de pergamino, que no tiene revestimiento, y el papel de cera, que tiene un revestimiento sobre ambos lados. Es posible que pueda usar papel de cera, pero poner un paño de cocina o algo de luz en la parte superior de la tranfer antes de realizar la transferencia térmica a fin de no obtener la cera sobre la plancha ya que el papel de cera tiene la cera en ambos lados. ¡Buena suerte!
Thia says
I’m excited to try this! One question I have is: how do you preserve the image once it’s transferred?
graphicsfairy says
Hi Thia,
This post was written by Gina over at The Shabby Creek Cottage, she did not use a sealant for her table runner but you could use a spray sealant if you would like to:)
César says
Hello, beautiful article!
Is it possible to use this method on silk and cashmere?
Thank you!
Karen Watson says
I haven’t tried it on Silk or Cashmere, if you try it, test it out on a scrap piece first to see if it works. 🙂
LILOU says
Bonjour, quand vous dite du papier congelateur?? vous voulez dire du papier sulfurisé??? je vous remercie de votre réponse. et bonne continuation c’est magnifique!!!!! lilou