Embossing with Toilet Paper
Hello my sweet paper crafters. It’s Rebecca back today with a super easy and oh so fun Mixed Media technique tutorial – Embossing with Toilet Paper! Who knew we could use Toilet Paper as a mixed media tool? Embossing folders have always added wow to any of our junk journals, books, card making, scrapbooking, and every other art and craft that we enjoy here on The Graphics Fairy. The TP looks and feels like a high end fabric… soft and flexible. It reminds me of fine, embroidered Irish linen that has been starched to perfection! I hope you enjoy this embossed paper tutorial with TP. And PS you can Emboss paper without a machine… I’ll show you how at the bottom of this post.
Who Knew Toilet Paper Could be so Pretty?
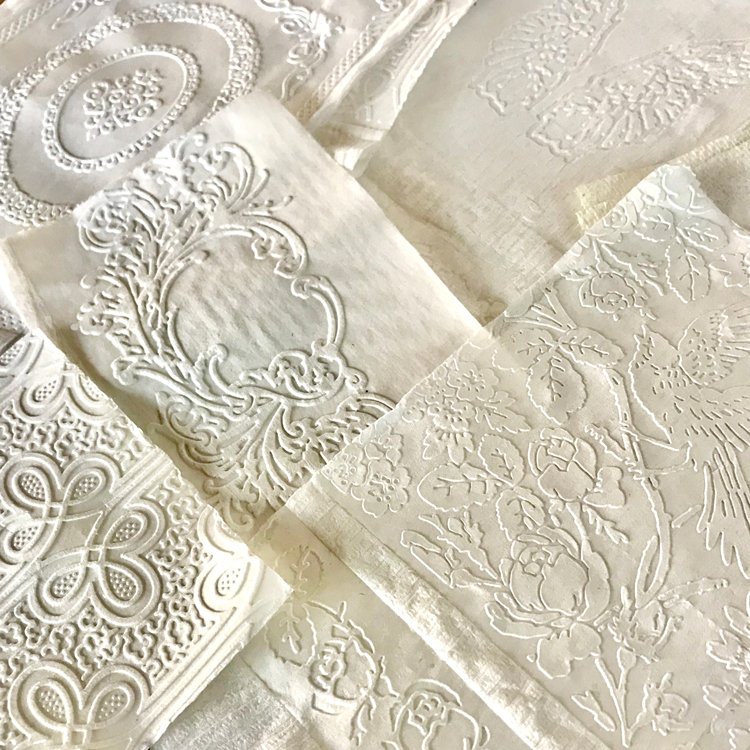
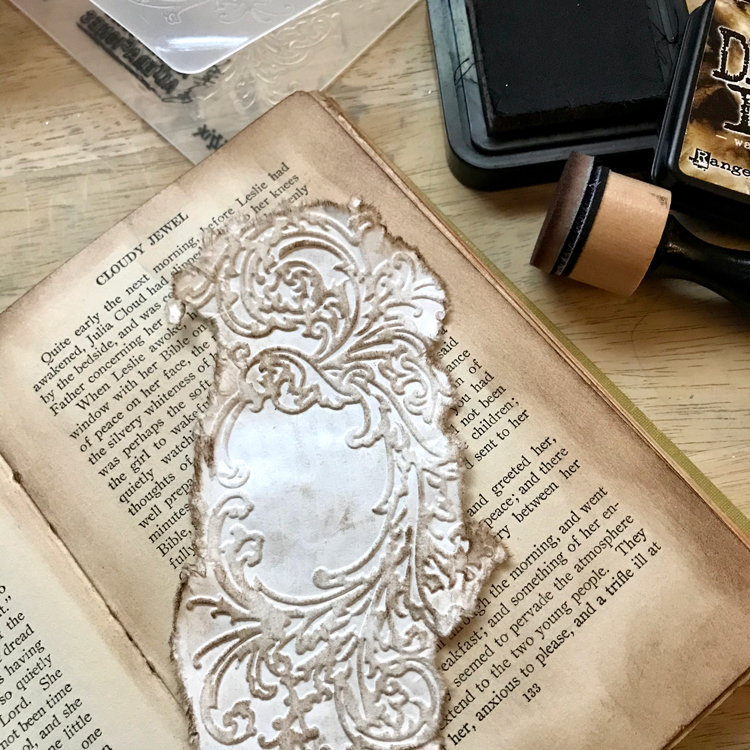
Embossing with Toilet Paper is one of those magical techniques that you could do for hours and still be delighted! You really must do it to believe how gorgeous these images are. I love the simple look of the plain white toilet paper with an embossed pattern.
How can you use these Embossed Papers?
The toilet paper molds so easily to embossing folders. These little wonders would be so pretty as a background page in a junk journal or on the front of a handmade card. You could also use them in a Collage or Mixed Media type art project. Who knew?
Supplies
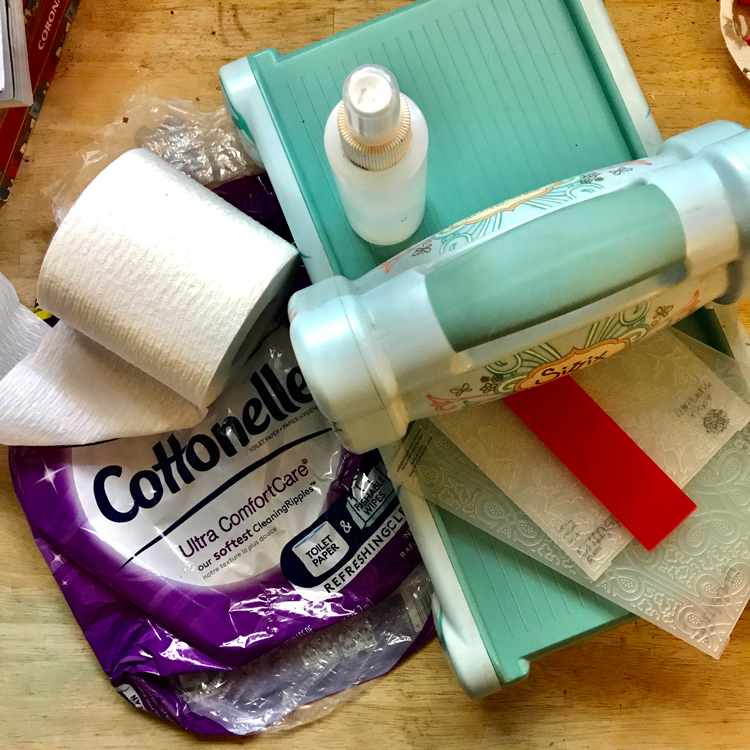
Toilet Paper – any kind. I use Cottonelle® Ultra Comfort Care
Embossing Folders – all seem to work
Spray Mist bottle of water
Embossing Machine
Step-by-Step Directions
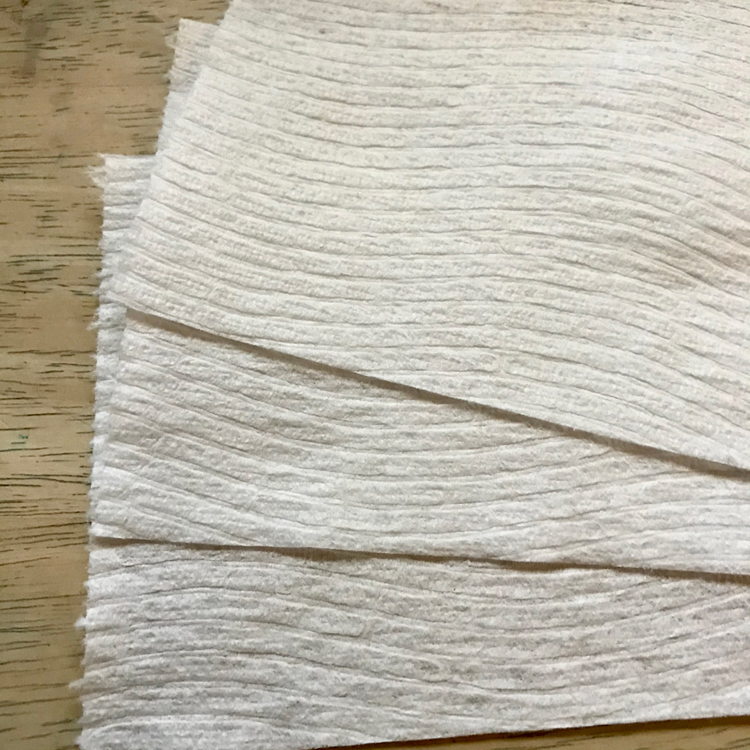
A word about brand of toilet paper. I assume that any brand will work. For this article, I used Cottonelle® with ripples. It is 2-ply. I also tested paper towels and white high-quality napkins as well. They all worked beautifully. I love the Cottonelle because it is thick, super soft, and the results blew me away!! At first, I was concerned that the ripples would be a problem. However, they disappeared and I believe that they actually added an element of texture to the overall look of the embossed toilet paper images. Wait until you see below!!
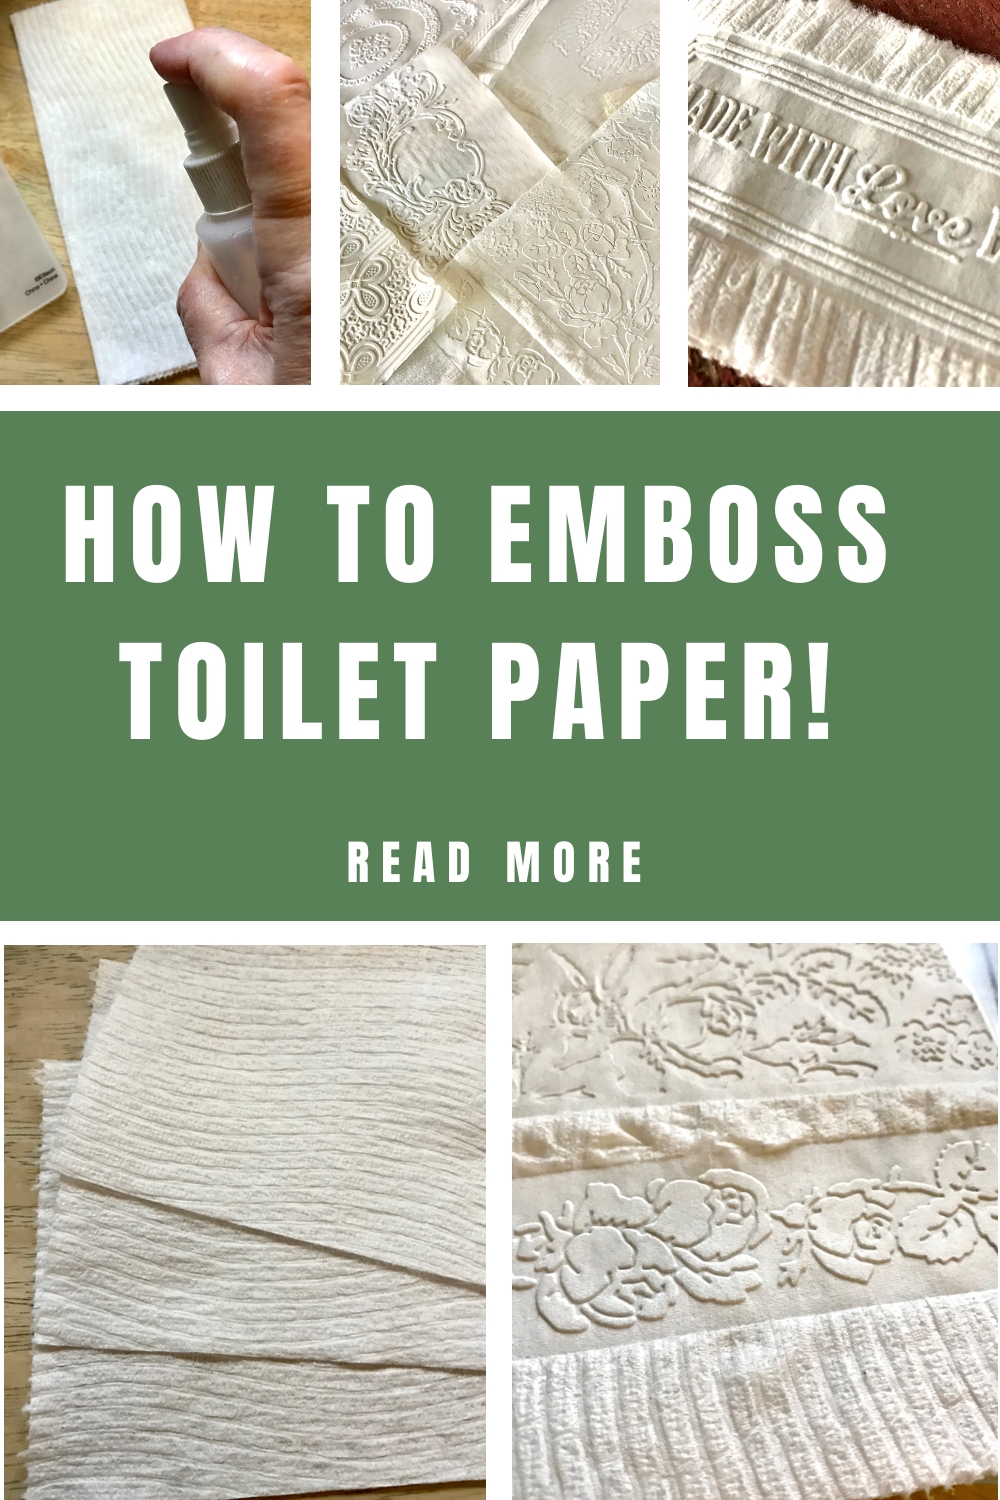
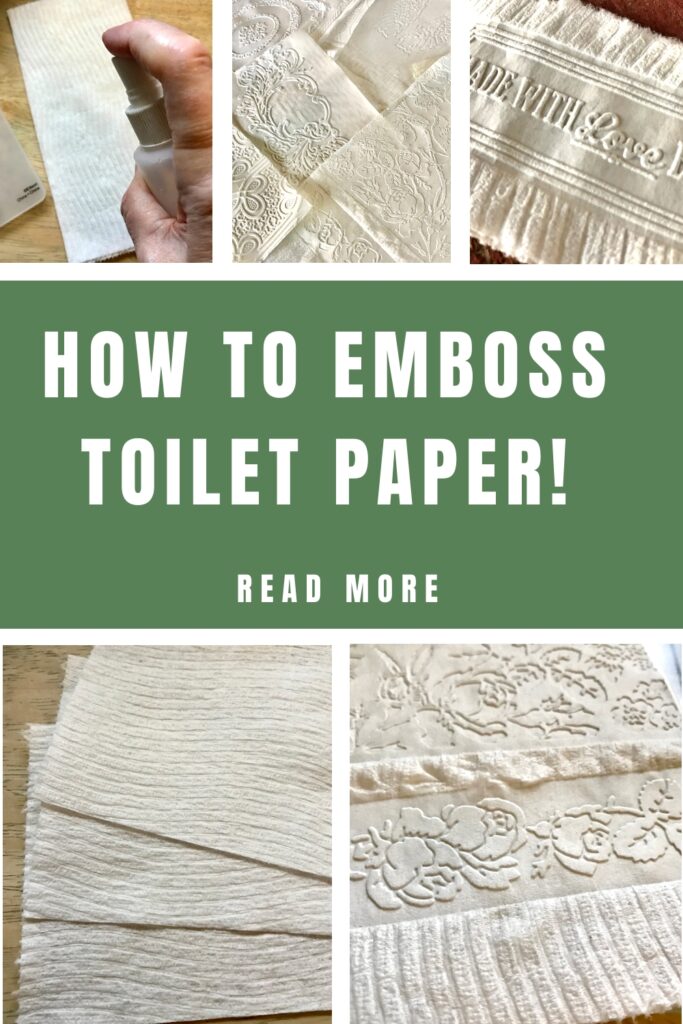
Step 1 – Prep the Toilet Paper: Tear toilet paper into strips of three squares. You can do any size, but this length fits most of my embossing folders. Use your best judgement for fit.
Step 2 – Layer the TP: I found that three layers of the 2-ply TP was ideal for my projects. You can also use two layers for a nice look as well. The 2 layer image is a little less sturdy, so it may be good for some applications.
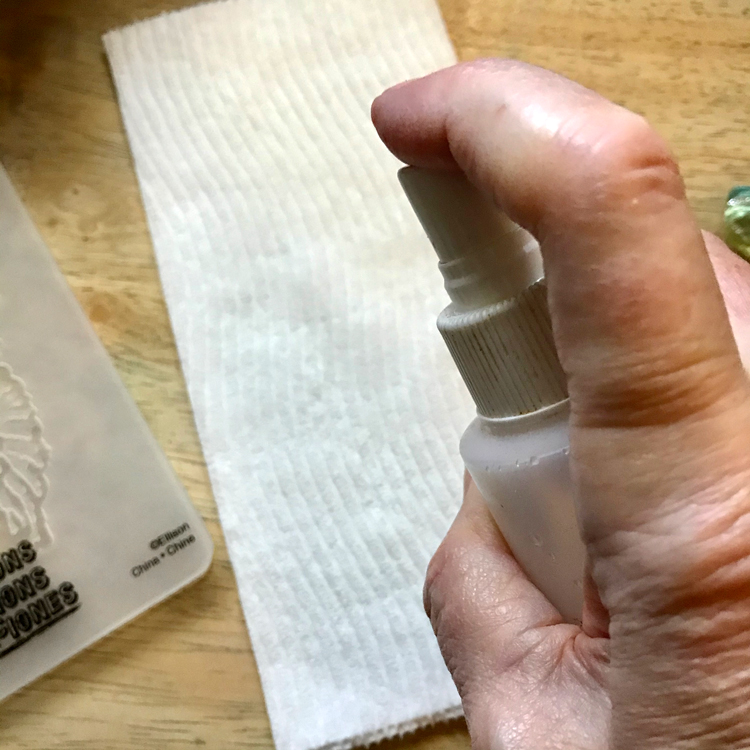
Step 3 – Mist the Toilet Paper: I have a fine mister. I found that 3-5 squirts of water on each side was good for moistening the TP. You want it slightly damp, not dripping wet! It can tear if too wet.
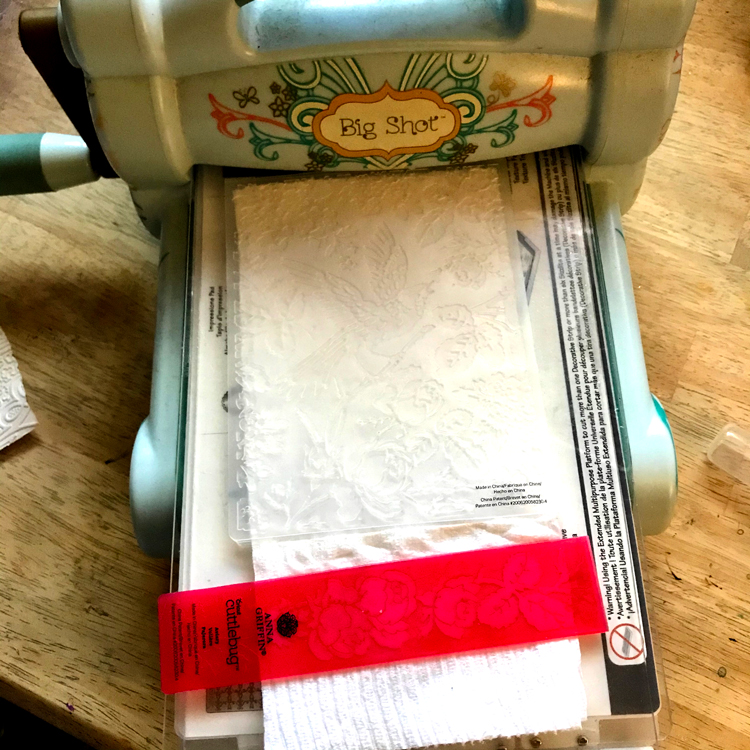
Step 4 – Embossing: Lay the damp TP into an embossing folder and close it. Place it between the layers of acetate and run it through your Embossing and Die Cut Machine. There are so many different machines out there today. I have a Sizzix® Big Shot Pro, a CuddleBug®, and Sidekick®. Others are Gemini, Anna Griffin, Tim Holtz, Spellbinders, and Evolution, to name a few. Let the embossed images air dry. It takes 15-30 minutes typically. TIP: As you see below, I used 2 folders at once so I would not waste any of the TP.
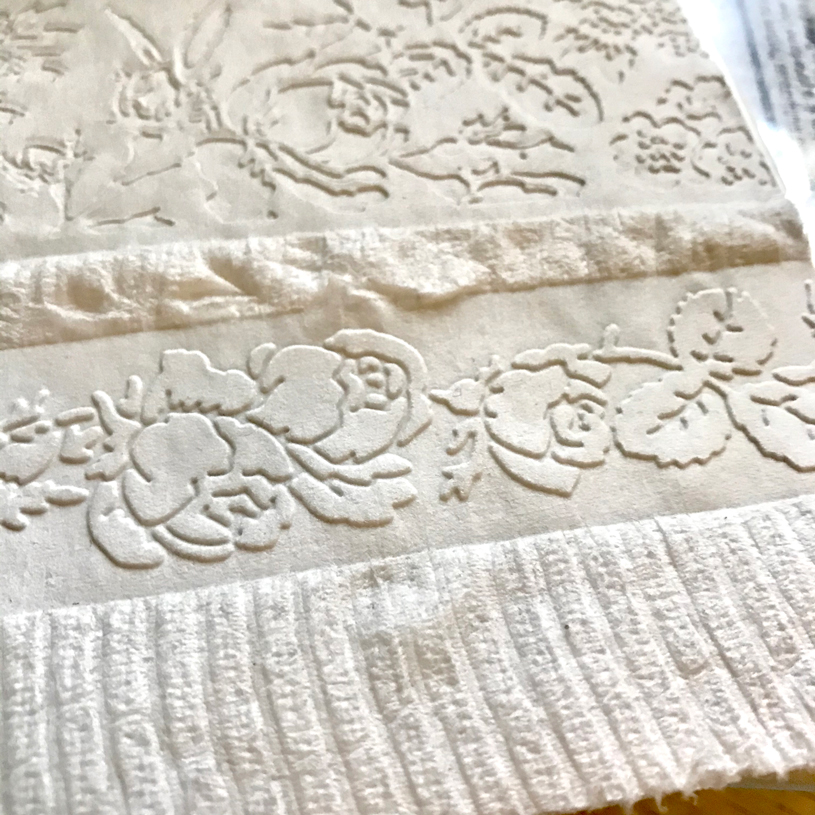
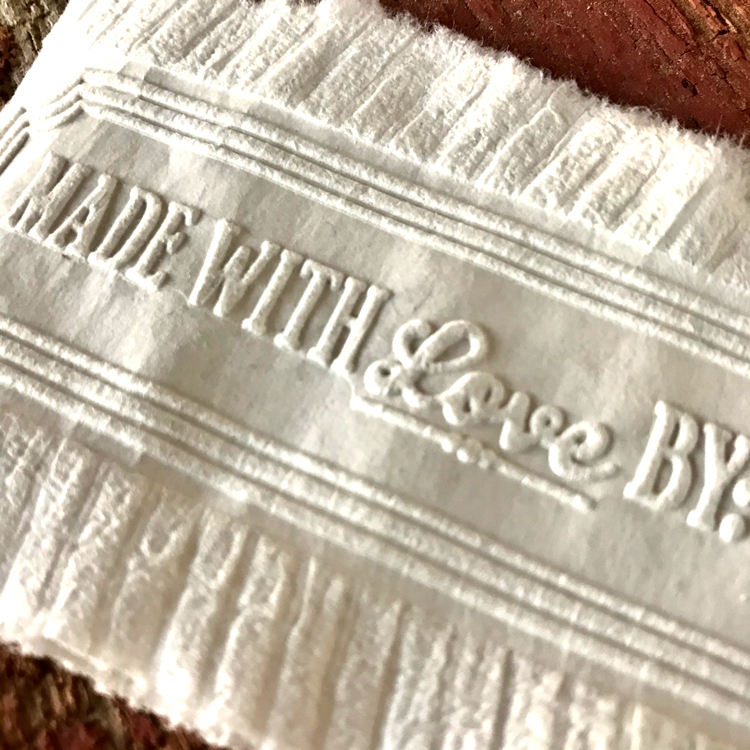
The stamped Toilet paper embossed like a dream. Here you can see the deboss side on the top section and the embossed side at the bottom. See how lovely the piece is with the ripples in between? SWOON! This look was a happy accident. I was pleasantly surprised and have so many ideas for using this look!
Letters and words emboss beautifully as well.
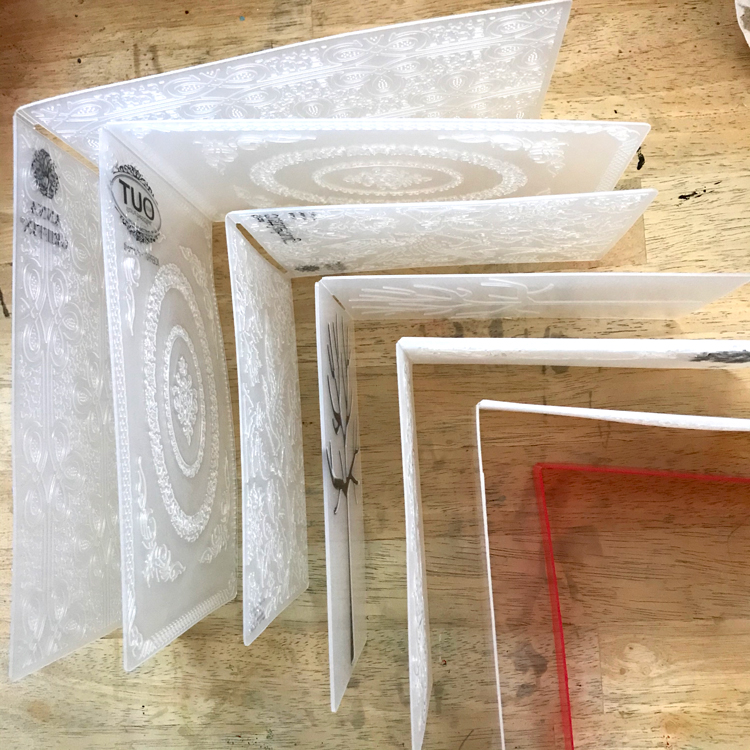
Allow the embossing folders to dry before putting them away. I stand mine up like this:
How to Emboss Paper without a Machine
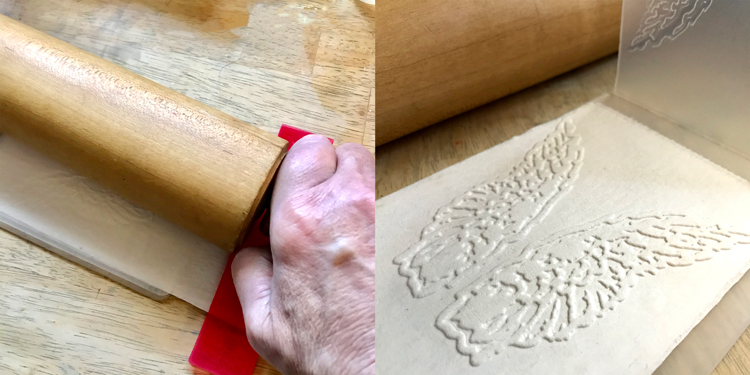
Did you know you could emboss paper without even owning an embossing Machine. Well you can with a rolling pin! Yep! It works almost as well, depending on how strong you are! HA HA I have pretty weak hands and you can see my results at the right!!
Finishing Options
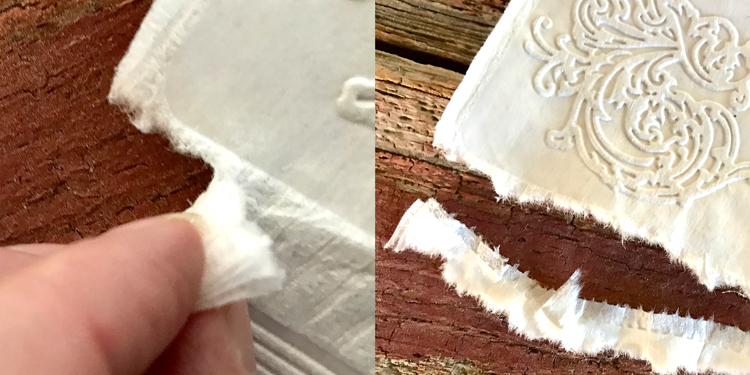
When you finish embossing with toilet paper, you can punch it, die cut it, framelit it, and more. The edges can be torn beautifully. TIP: Don’t throw that torn piece away. It can be used to embellish!!
You can also stain, paint, distress (age), and ink them.
I hope that you had fun learning How to Emboss Toilet Paper with me!! When I am not exploring with new and old Techniques for Mixed Media in my Graphics Fairy sandbox, I also create Photoshop Elements tutorials and craft project videos over on The Graphics Fairy Premium Membership site. You can find even more of my books, junk journals, mixed media art, classes, and whimsical shenanigans on Rebecca E Parsons Dot Com.


jennifer says
i love your embossing folders. maybe the brands aren’t carried any longer, but i would love to know the manufacturer and the style if you can take the time to do that. i haven’t seen any so beautiful. thank you for this tutorial.
Karen Watson says
Hi Jennifer, I believe that some of the ones that Rebecca used are by Anna Griffin. I didn’t see them on her site, I’m guessing she no longer makes these exact ones. But maybe you will find others that you do like there, or perhaps you might find used ones on Etsy or Ebay. I hope that helps!
Vera Moore says
Thank you for your generosity!
Karen Watson says
I’m glad you enjoyed this fun technique Vera!
Marina says
To make it even prettier, put some coloring in your mist bottle of water.
I usually have a few small sprits bottles of water to which I add mica powder: gold, silver, perfect pearls, and a few others that I use more often. A light spritz of any of those colors brings your fabulous creation to the next level. Although I found it being white is perfectly fine…mmm maby just perfect pearl sprits 😉
It can be very successfully used in any other paper craft project.
Thanks for sharing your workshop, always enjoy them.
Keep them coming.
Karen Watson says
Great ideas Marina, thanks for sharing those tips! I bet that the metallics would look really pretty!
Kim says
Never would have thought of this 🙂 What a great idea! Was wondering how to attach this to mixed media projects. Would the embossing disappear if Modge Podge or similar product was used to apply to paper, etc?
Thanks
Karen Watson says
Hi Kim, test it out first on some scrap paper and see how it reacts with the mod podge. My guess is that if you use a light touch when pressing the tp to the glue that it should be ok. Have fun playing with this technique!
Tom says
I love this technique! The unbleached brown paper napkins from Popeye’s work great, too.
Karen Watson says
Ooh! Good to know. Thanks for the tip Tom! 😊
melody says
Years ago I did this and then die cut the embossed TP, dyed with alcohol inks and glazed them for earrings. Fun and so lightweight. They are shown on my blog lilacs & butterflies, search categories for jewelry. I don’t know if I can put a link here.
Karen Watson says
Oh wow Melody, I found them on your site! Those are so cool! I had no idea you could make something that with tp. So clever thanks for sharing!
Emily says
Awesome! I love the results. So delicate & no one has to know what the raw materials are! 😊
Kaz says
How beautiful..thanks so much for the rolling pin tip. I don’t have a embossing machine so this is a great alternative. So cool..thanks again 😊
graphicsfairy says
So glad you enjoyed it Kaz, I hope you feel inspired!
Carole Morrison says
Rebecca, this technique is beyond cool!!! Thanks so much for your hard work and inspiration!!
Carole from Chicago
Karen Watson says
We’re so glad you enjoyed this technique Carole!
MaryJo says
This gives a whole new meaning to recycling your toilet paper! Ha! I have used napkins and Reynolds Wrap, but never toilet paper! Thank You for sharing and I am going to try it. Also would love to see a card that you made using the toilet paper technique.
graphicsfairy says
Thanks MaryJo, LOL, you are right, a whole new meaning 🙂 So glad you enjoyed it!