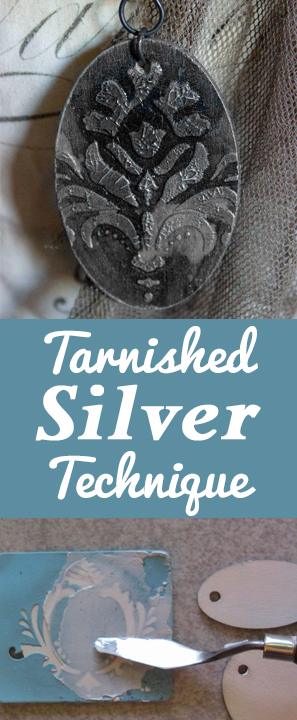
Tarnished Silver Technique
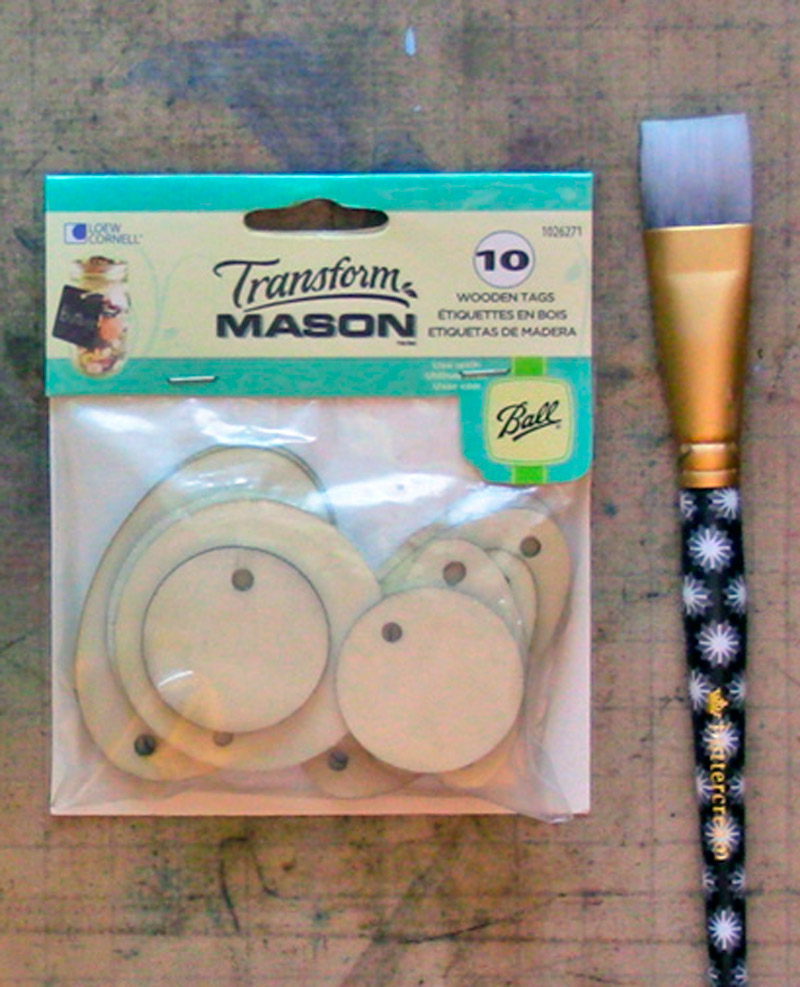
Hello, Heather from Thicketworks here. It’s such a pleasure to be able to spend time with you, and show you some of Tarnished Silver Techniques that give me joy! As usual, this transformation begins with humble materials: wooden tags form the basis. Don’t worry – they won’t bear any resemblance to wood once we’re finished with them! It’s wonderful to be able to create this rich metallic finish on just about anything!
In order to create this fun finish, you’ll need the following:
Tarnished Silver Technique Supplies:
- Wooden Tags
- White Gesso
- Heat Tool
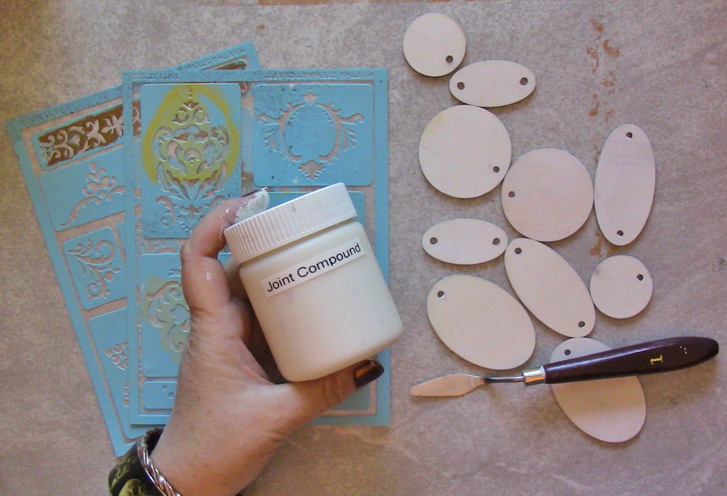
- Joint Compound
- Dainty Adhesive Stencils
- Sanding Sponge, Emery Board or Medium Grit Sandpaper
- Gray Craft Paint
- Distress Ink: Black Soot
- Ranger Inkssentials Ink Blending Tool
- VersaMark Ink
- Sentiment and ornamental rubber stamps
- Silver Embossing Powder
- Inka Gold: Old Silver
- Distress Crackle Paint: Clear Rock Candy
- Distress Stain: Black Soot
- Distress Stain: Picket Fence
- Spray Sealer
How to do Tarnished Silver Technique:
Begin by coating one side of the tags with Gesso. Allow to dry.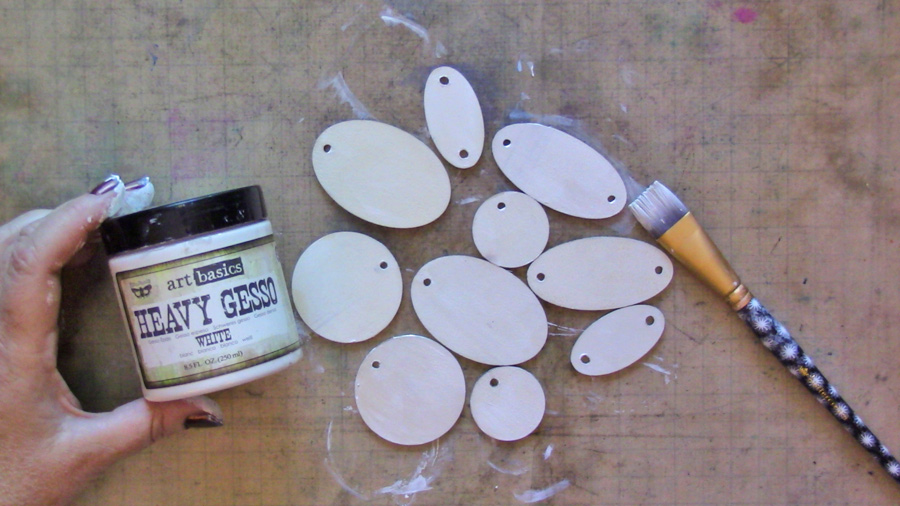
Next, flip the tags over.
Gather your favorite small scale stencils, a palette knife and Joint Compound.
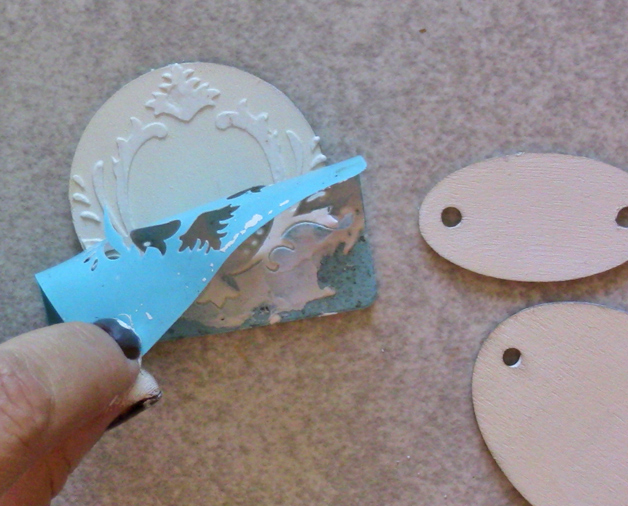
Spread a layer of Joint Compound through the stencil designs with the palette knife.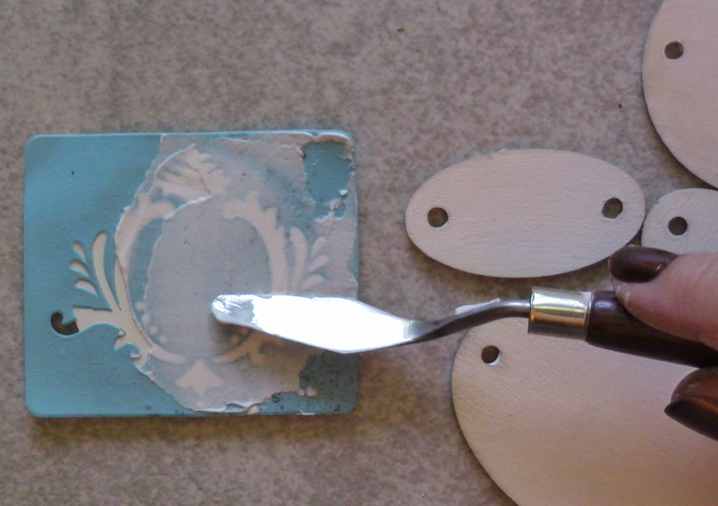
Immediately and gently peel the stencil away.
Note: make certain to wash the stencils with water before the Joint Compound sets. It will make your life easier!
Continue this process until all of the tags are complete.
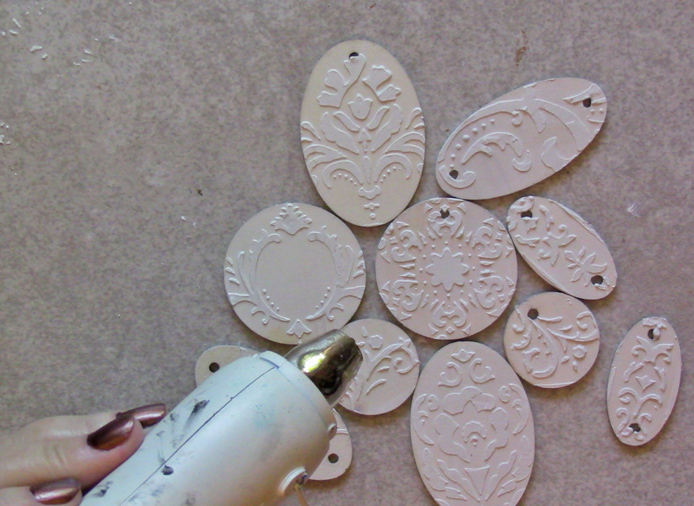
Use a heat tool to speed the cure time…make sure the joint compound is dry as a bone before continuing.
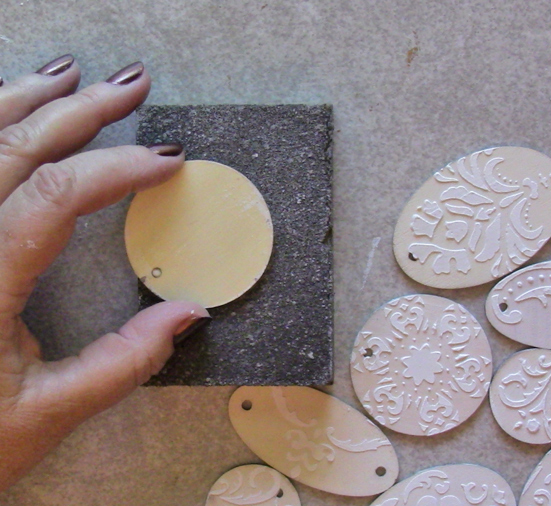
Gently sand the surface of the raised designs to remove any roughness.
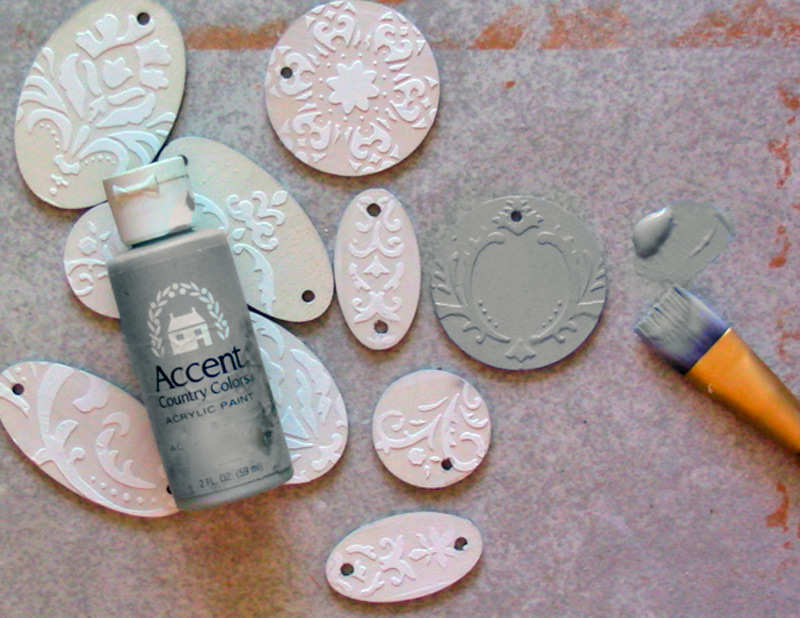
Paint a layer of neutral gray over the tags, front, and back.
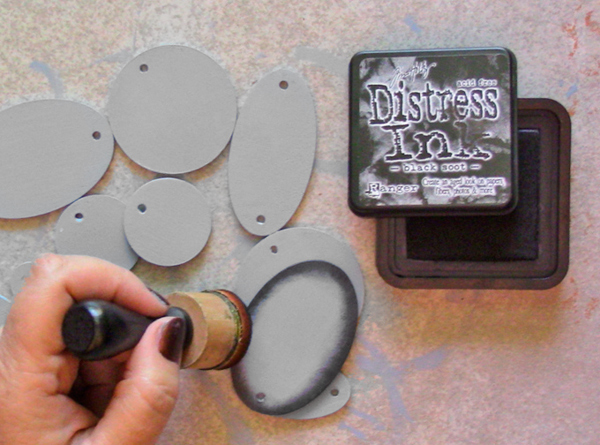
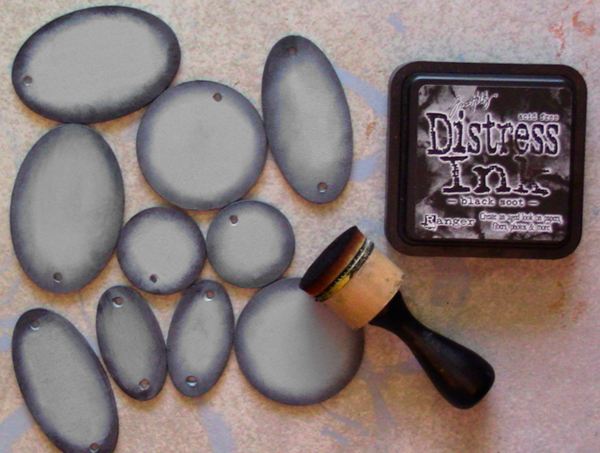
Add a soft border of Distress Ink: Black Soot to the smooth side of the tags. A Blending Tool is perfect for this step.
Continue until all the tags have a dark halo.
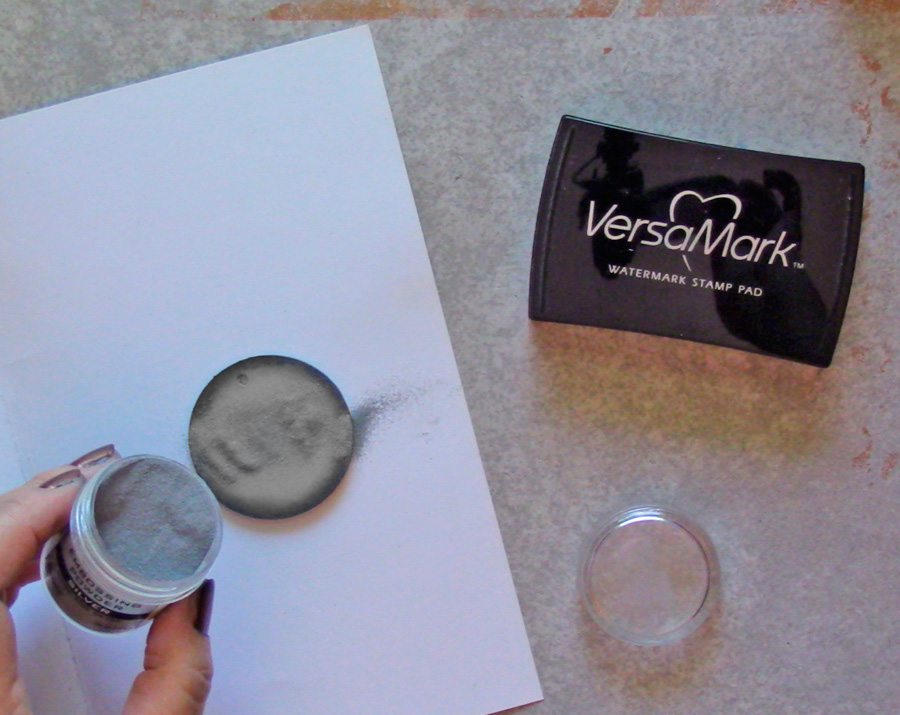
Use your favorite sentiment stamps, VersaMark Watermark Ink, and Silver Embossing Powder to add inspirational words to the smooth side of each tag, if you wish.
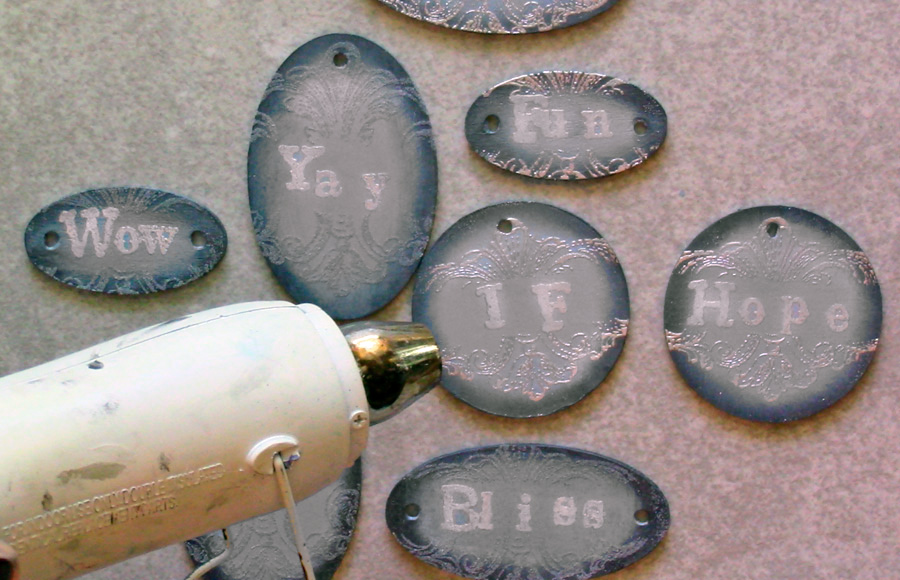
Tap off the excess, and heat set the Silver Embossing Powder.
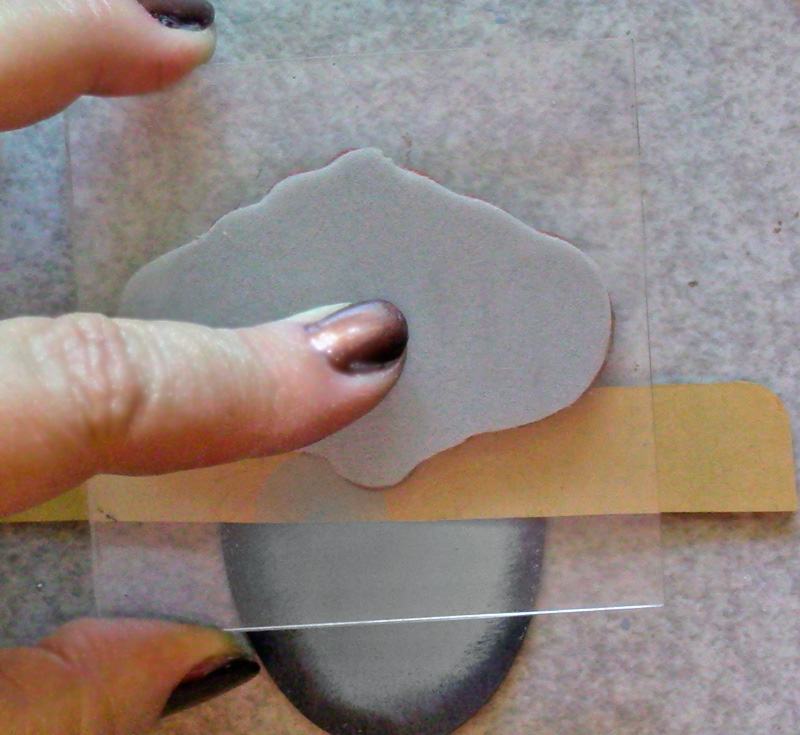
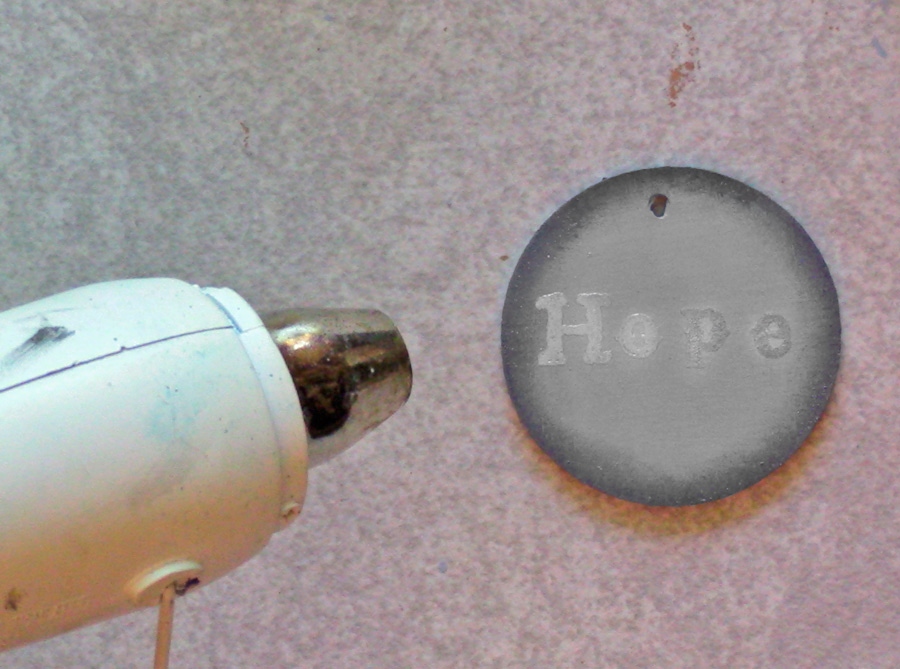 Add decorative motifs with VersaMark and Silver Embossing Powder.
Masking the already embossed sentiment with a small strip of paper will allow the design to surround the word without obscuring it.
Continue the process until all of the tags are decorated.
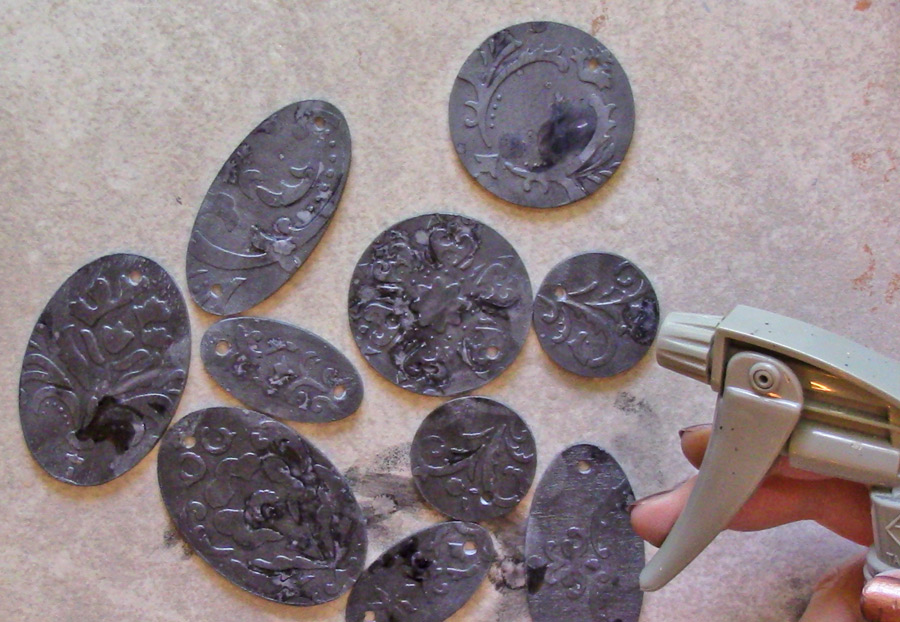
Once the tags have cooled, flip them over and apply a layer of Black Soot Distress Ink to the raised designs.
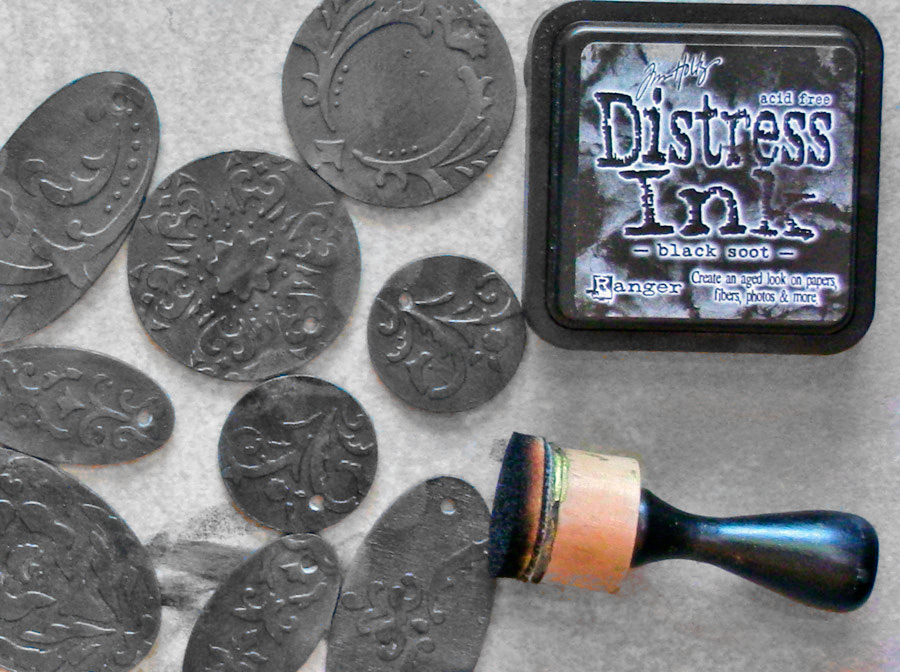 To create a more interesting effect, spray the surface with drops of water, to ‘bleach’ water-spots into the inked surface.
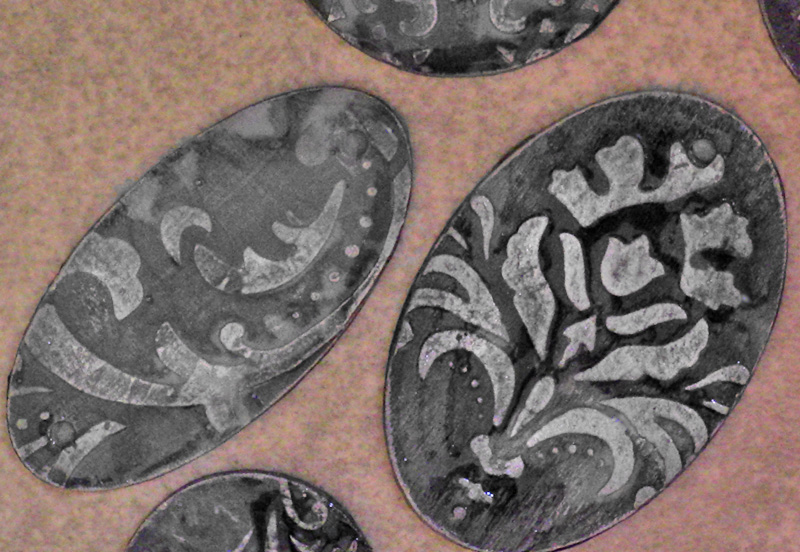
Inka Gold: Old Silver will create rich metallic highlights on the raised designs.
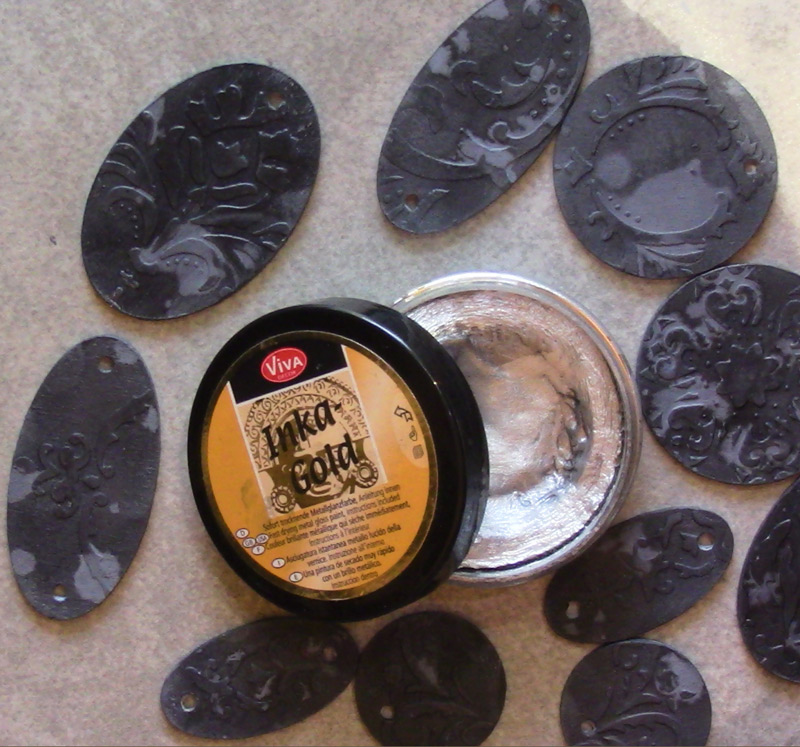 I like to apply it this way:
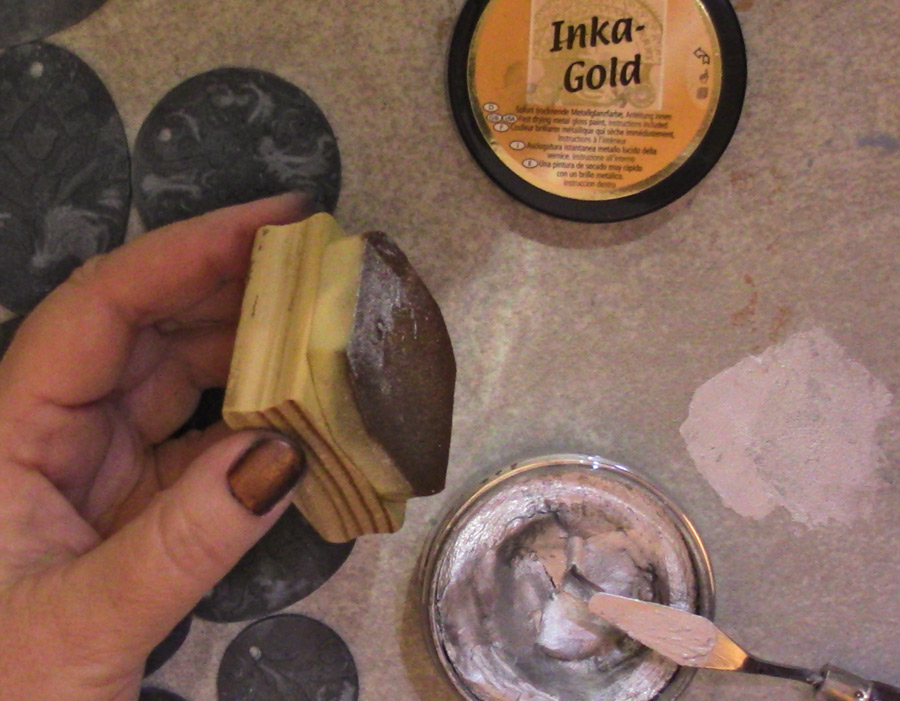
Scoop a bit of the paste onto the work surface {this is a ceramic tile}
Blend just a drop or two of water into the paste.
Pick up the pigment with a makeup sponge that has been firmly glued to a wooden block.
Gently swipe the sponge across the surface of the texture. This allows us to add the Inka Gold only to the raised areas.
So now, we have metallic highlights over an organically distressed subsurface…
Allow the Inka Gold to dry.
Flip the tags over.
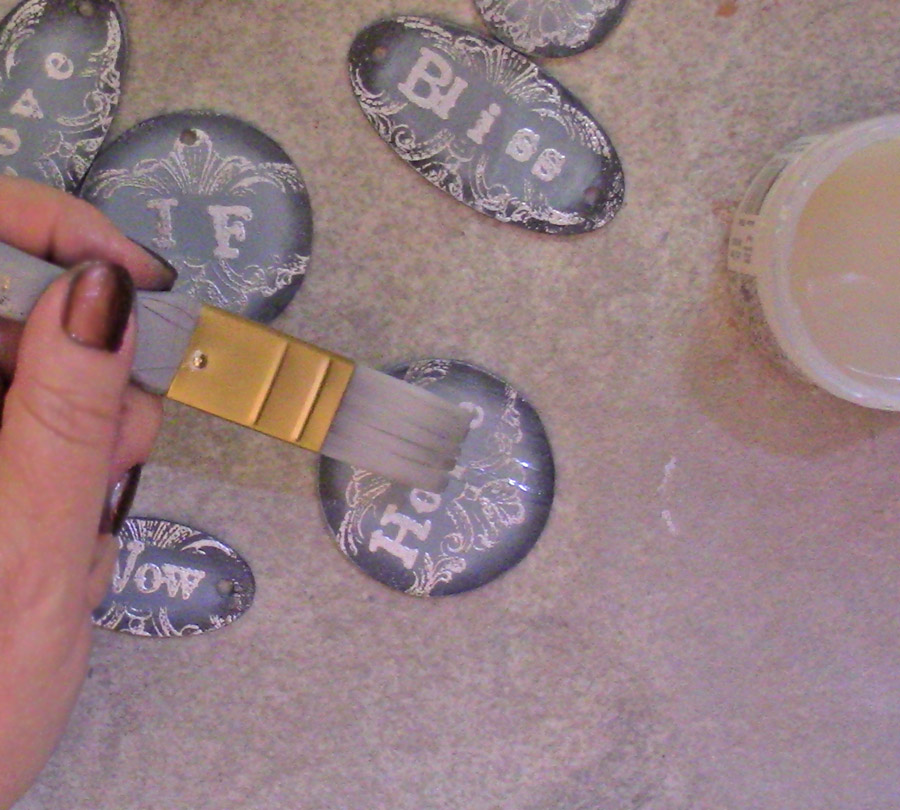
Now for a layer of Distress Crackle Paint: Clear Rock Candy!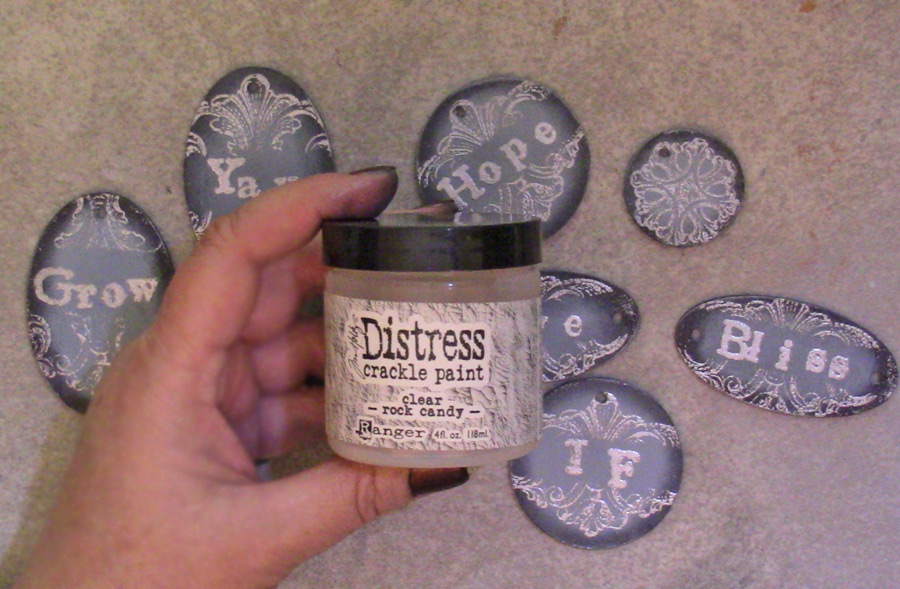
Gently paint a thick layer of the Crackle Paint over the embossed designs:
Allow this to set up to point that you can begin to see cracks appearing in the surface.
Speed the curing time with a Heat Tool at this point, if you wish.
Note: Avoid overheating the Embossed Motifs…keep the heat tool moving!
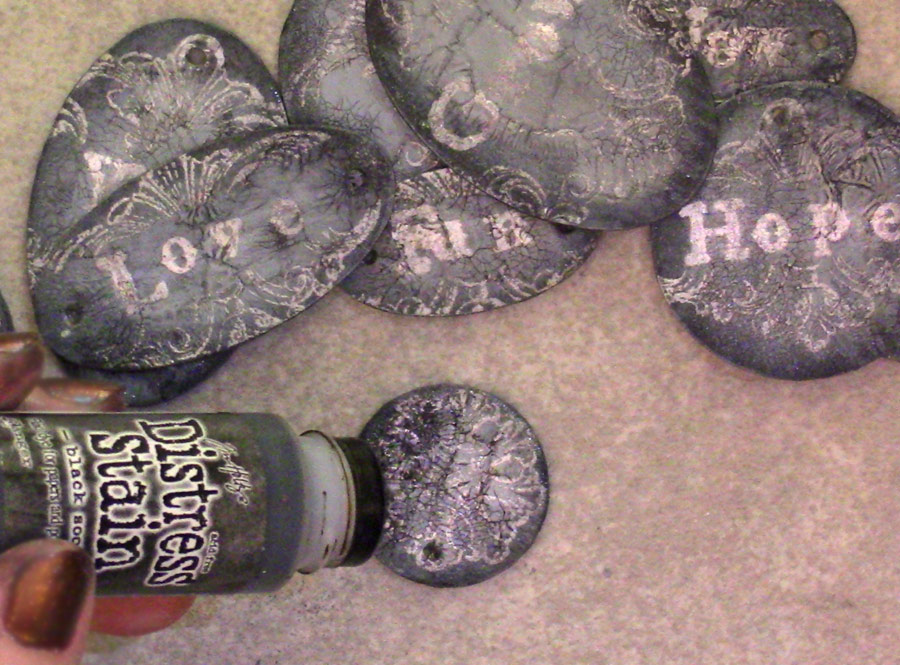
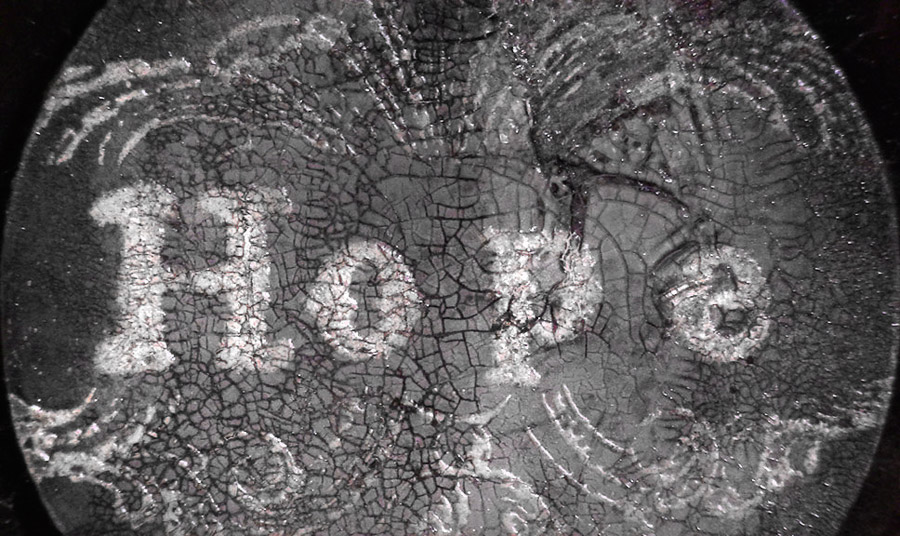
Once the Crackle Paint has completely cured, add drama to the texture by swiping a light layer of Distress Stain: Black Soot over the surface.
Gently wipe away the excess.
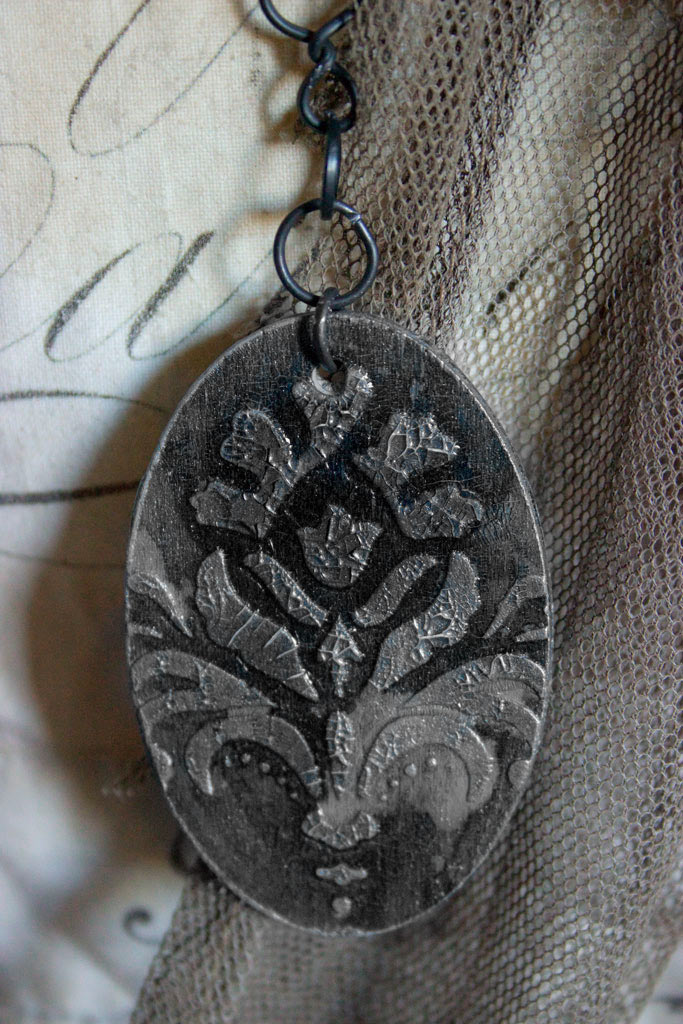
The stain will seep into the cracks, leaving a beautifully nuanced craquelure effect.
Repeat the same process on the raised stenciled surface.
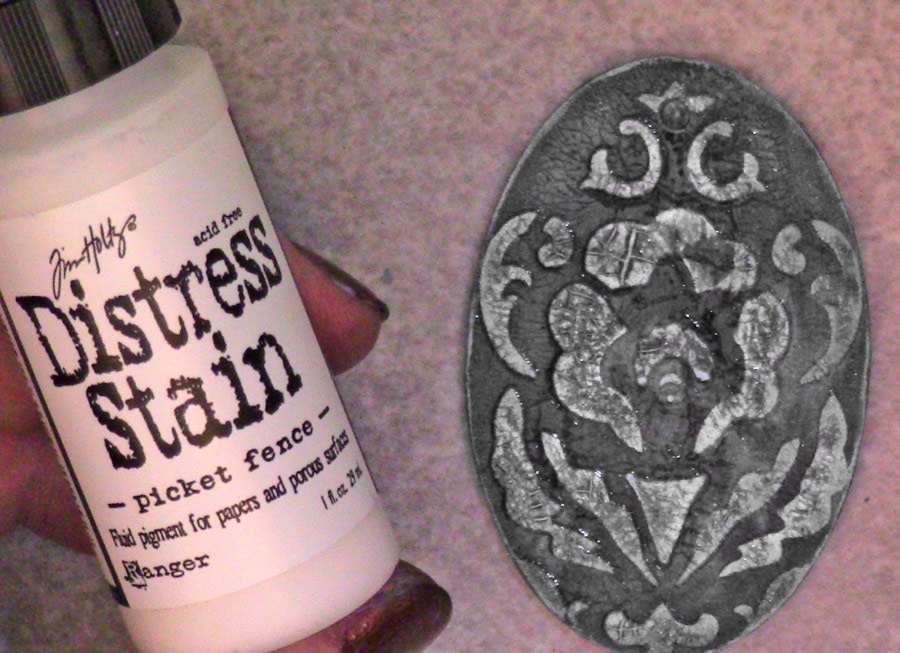
Add an additional layer of Distress Stain: Picket Fence to the stenciled surface.
Gently wipe away the excess.
This will help to enhance the crackle effect against the darker background areas.
Completed Crackle Finish on the stenciled side:
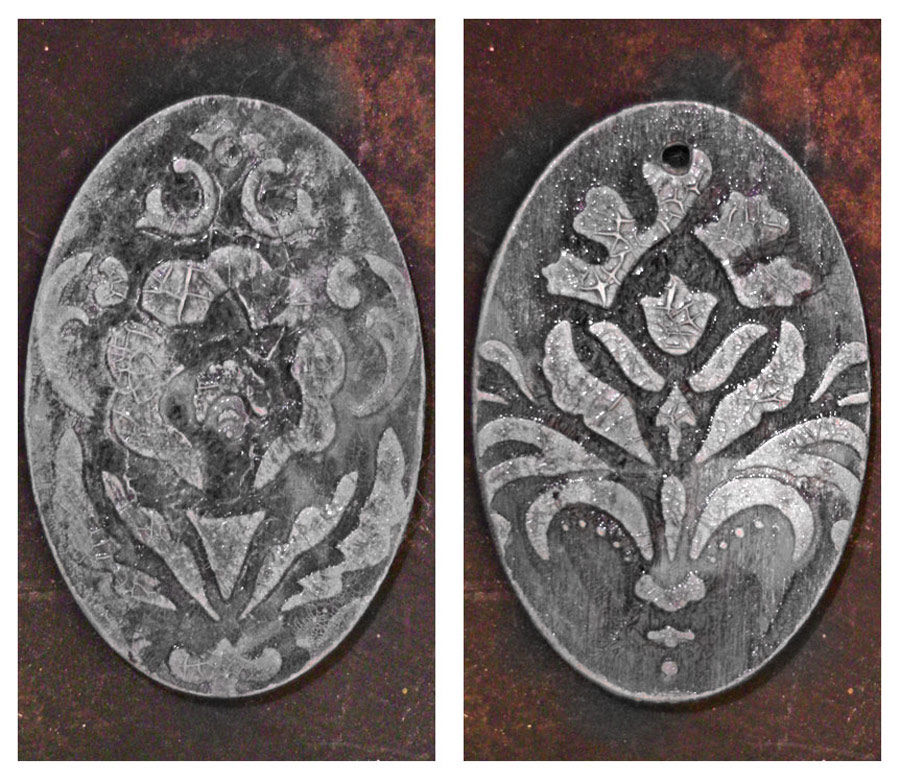 And on the Heat Embossed Side:
Add a final coat of your favorite Spray Sealer to protect your tarnished silver.
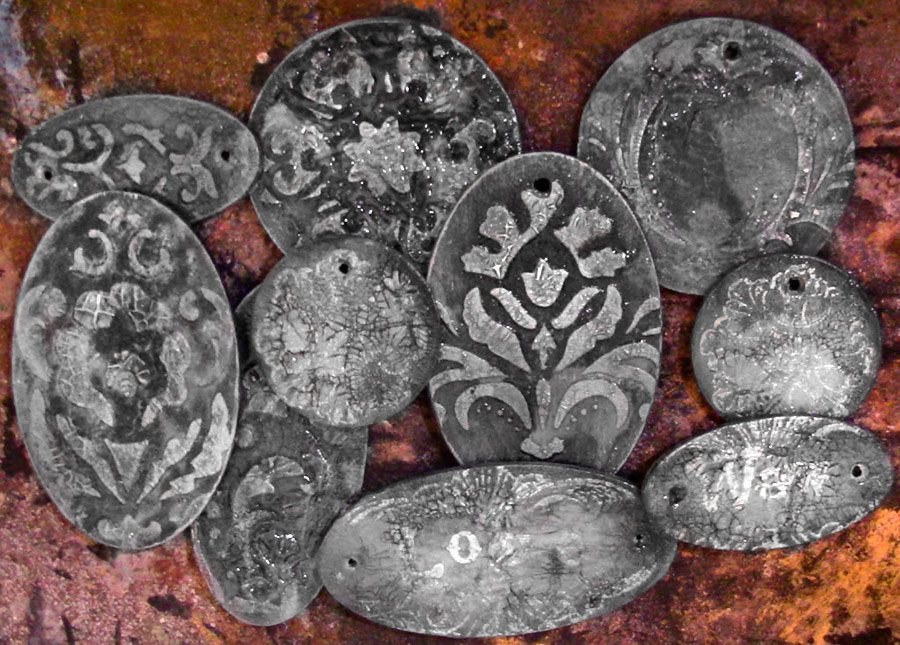
The collection of tags will make quite a statement!
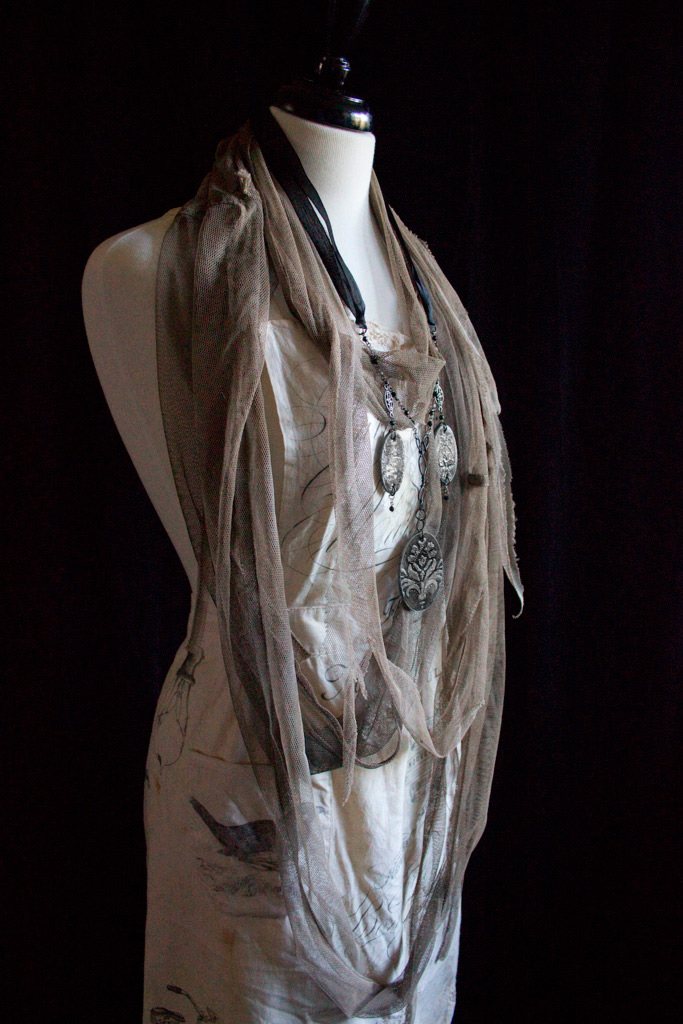
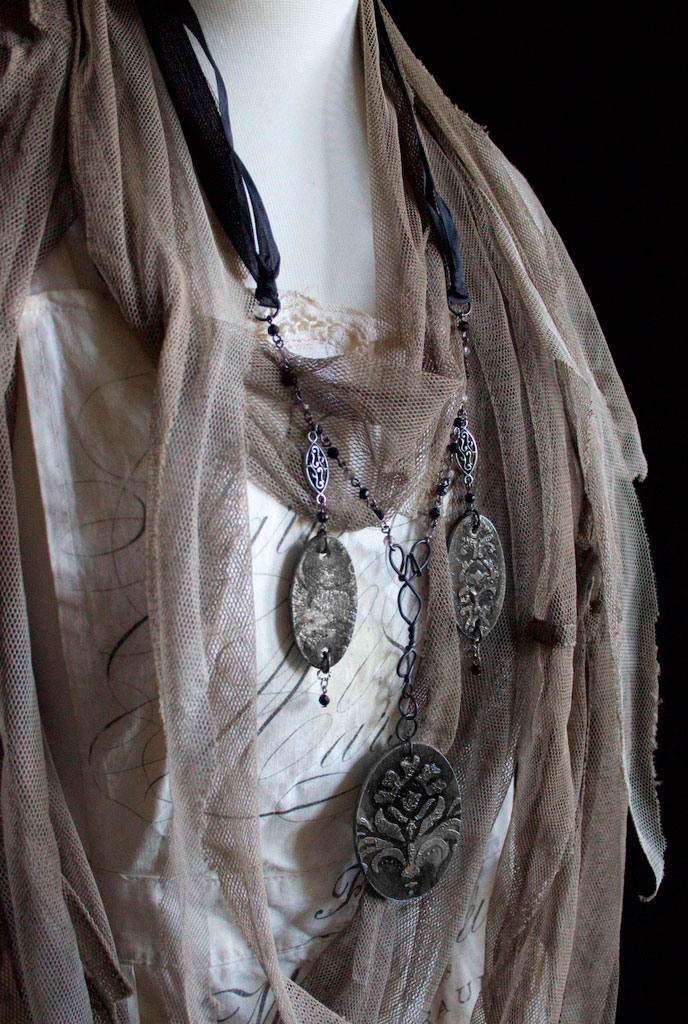
Use them in any way you like…these will look amazing gracing the neck of any antique bottle, incorporated into a mixed media assemblage piece, dangling from a bookmark, or used as medallions in a striking pendant:
Light as a feather, but rich and multidimensional:
Such a lustrous effect. Love this!
Thank you so much for visiting The Graphics Fairy today, my friends!
Here’s to exploring Tarnished Silver Technique to create ‘treasures’ from ordinary materials!
You might also like How to Antique Glass HERE.
Come see me at Thicketworks to dive even more deeply into a world of quirky crafting!
Until next time,
Heather



Mary says
Wow, what a cool idea and they totally look like metal! Too often I come across projects or tutorials, where I don’t have this element or that type of paint. So happy to say—I have everything on hand to make these awesome pieces today. Your mind has a magical way of thinking and we all get to benefit by creating your inspiring ideas. Thanks so much for the detailed tutorial, Heather!
Heather Tracy says
Yay! I love it too, when I actually have everything needed for a new technique. Creativity IS magic, Mary, and I’m so happy to get to share! Thank you for reading, and taking the time to leave such lovely remarks.
Linda Knox says
Great project. thanks so much for sharing this.
Heather Tracy says
Hey Linda! Thank you so much for your kind remarks…it’s so much FUN to share the cool stuff!
Lynne says
Thanks so much for providing a “step-by-step” tutorial….I can never catch everything on a video.
Heather Tracy says
Hi Lynne – Oh, I’m so glad you found it helpful! Thanks for sharing that – it helps me to learn what ‘works’ when presenting information. Have a great day!
tracey says
I cant believe these began as wooden disc! What a fabulous alternative to those that don’t want to stamp metal for tags!!! Thank you for such beautiful sharing!!
Heather Tracy says
Thank you for stopping by, Tracey! It’s so fun to create alternatives for working with metal!
Jo Murray says
WOW! Have pinned this one…I LOVE it. A million ideas are fighting each other in my head.
graphicsfairy says
That’s awesome Jo, enjoy 🙂
Rupa says
Seriously woman! When do you get sleep when a million amazing ideas are swirling in your head and you feel like trying them all out in that instant? lol! This whole process is so awesome. It seems like there are a lot of steps but they are not. I just had to re-read them so that I wouldn’t get confused between what is done on the paste embossed front and what is done on the powder embossed back. Once again, your techniques are so versatile to be applied on many different surfaces. What would we all do without you Heather?!!! Thanks for constantly experimenting and keeping us anxiously waiting to see your next gorgeous creation. PS: I wish Inka Gold was called just Inka as Inka Gold: Silver throws a loop on my brain some days 🙂
Heather Tracy says
Hey Rupa! Oh, you’ve just made my whole week! Sleep? You’re right – there are always a beckoning billion ideas clamouring to be created…You always seem to see the wider picture – I just love that about you! I’ve often thought the exact same thing about Inka Gold! xox
Paula says
Don’t know how you do it, but I’m amazed at every one of your posts! Halloween is on the way and I’ve been collecting bottles to decorate. This will be a great addition!! Do you think I could stencil joint compound directly onto the bottle? I loved your Memento Mori Plaque.
Heather Tracy says
Hi Paula! Thank you SO much for your kindness.
Here’s what I would do: try mixing a portion of white glue into the joint compound, test it on a piece of glass, and see what happens! {The joint compound by itself won’t adhere permanently to glass} Don’t forget to crackle your glass bottles – they will be so COOL!
Candi Harris says
OMG, woman! These are amazballs!!! Adding to my ever-growing list of things I must do that you’re inspiring! Amazon, the craft stores & the hardware stores thank you! 🙂
Heather Tracy says
Hi Candi! You are a woman after my own heart! Thank you for your sweet and giggle-inducing remarks…now, go make something AWESOME!