Wax Paper Crafts
Hello, my dear Graphics Fairy Friends! It’s Heather from Thicketworks…this technique has been around for quite some time, but this Wax paper crafts technique is so much fun that we just HAD to take a fresh look at it! It’s one of my all-time favorite methods to achieve quick and easy raised/textured patterns when working with paper…. I love it that we can also transfer embossed patterns to paper, and create smooth and subtle (or not!) backgrounds using the Embossed Waxed Paper Resist Technique!
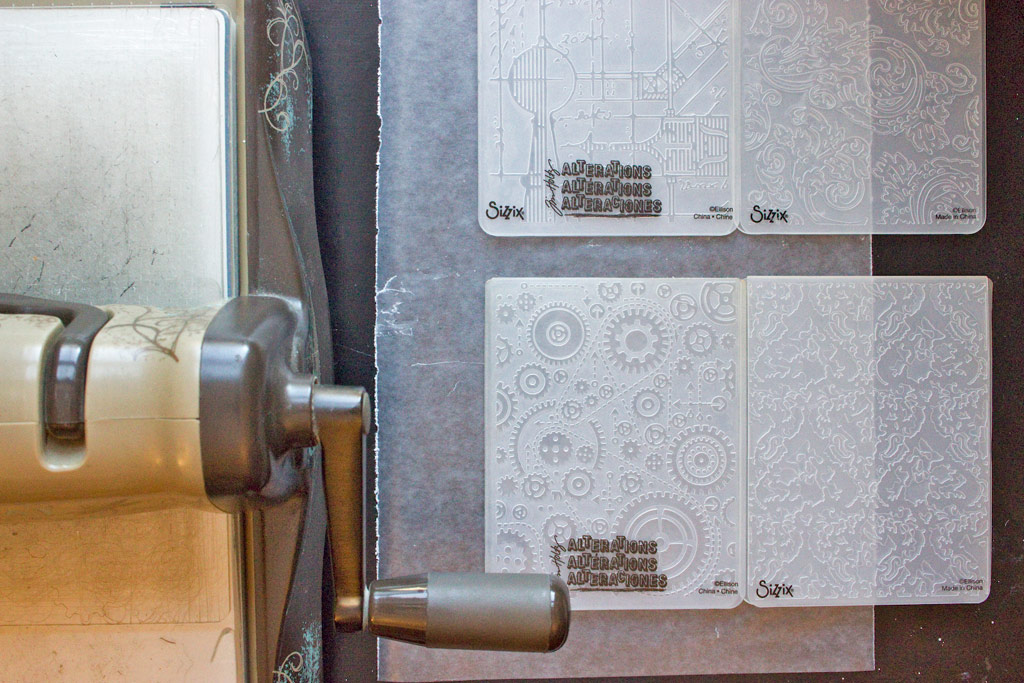
So, bring out your Big Shot, Cuttlebug, etc…and rummage through those embossing folders. We have some Happy Messes to Make!
To get us started, I’ve gathered a list of the stuff you’ll need…
Wax Paper Crafts Supplies:
- Waxed Paper (Yep, it’s time to raid the Kitchen again!)
- Your Favorite Embossing Folders
- Your embossing machine (I swear by my Sizzix)
- An assortment of papers to experiment with (I used both plain white cardstock & glossy photo paper)
- Several sheets of plain printer paper
- A Craft Iron (in my world, this just means: “this iron will never, EVER, touch a garment again!”)
- A suitable surface to iron on (I keep a large ceramic tile in the studio for this purpose)
- A variety of Distress Inks & a Blending Tool
- A variety of Distress Stains
- Baby Wipes
- Your favorite Spray Inks
- Assorted Stamps & Stencils
- VersaMark Inkpad & Gold Embossing Powder
- Texture Mediums (I used DIY Aqua Patina Mix and Brass Metallic Highlighting Gel)
- Protective Gloves if you don’t want to stain your fingers!
- An uninterrupted hour or two…ahhhh
How to Employ the Embossed Waxed Paper Resist Technique!
Begin your wax paper crafts by tearing or cutting plain old waxed paper into roughly 8.5″ x 11″ rectangles. If you’re like me, you’ll want to create several patterns / papers, so be generous…
(I used 6 sheets for this demonstration) Select your favorite Embossing Folders!
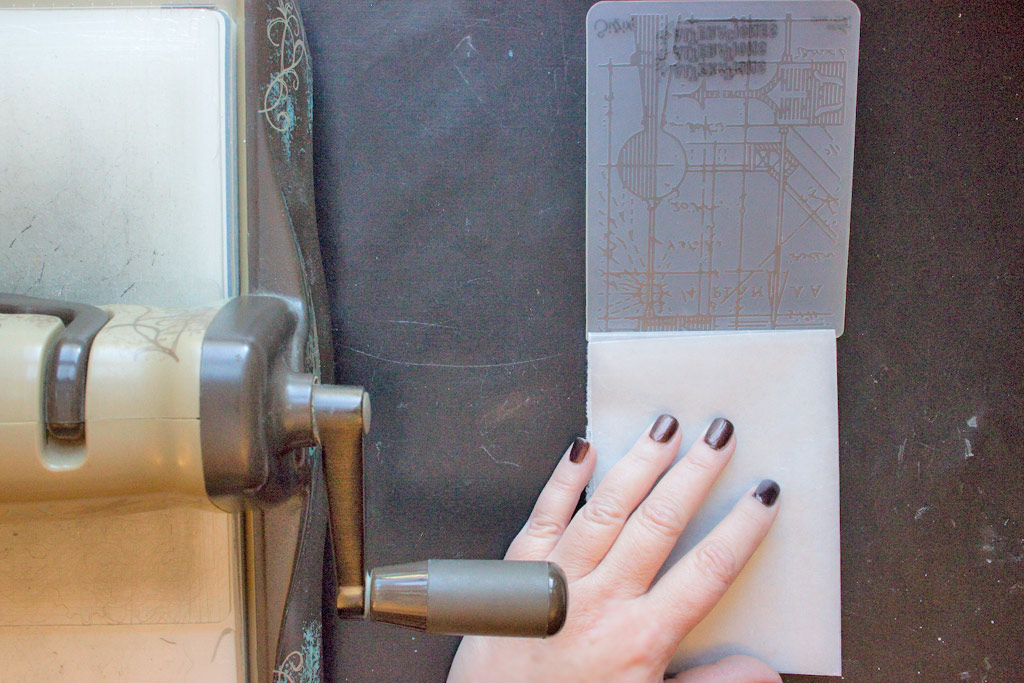
Fold each sheet of waxed paper in half…
And in half, again… This will result in a folded sheet that should fit nicely into most embossing folders.
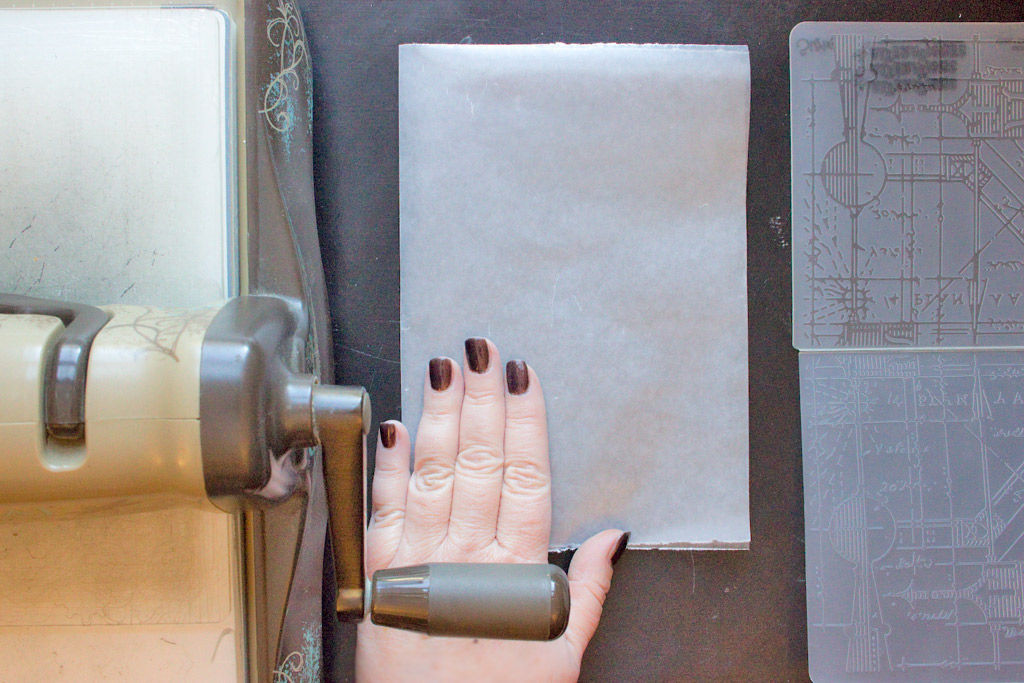
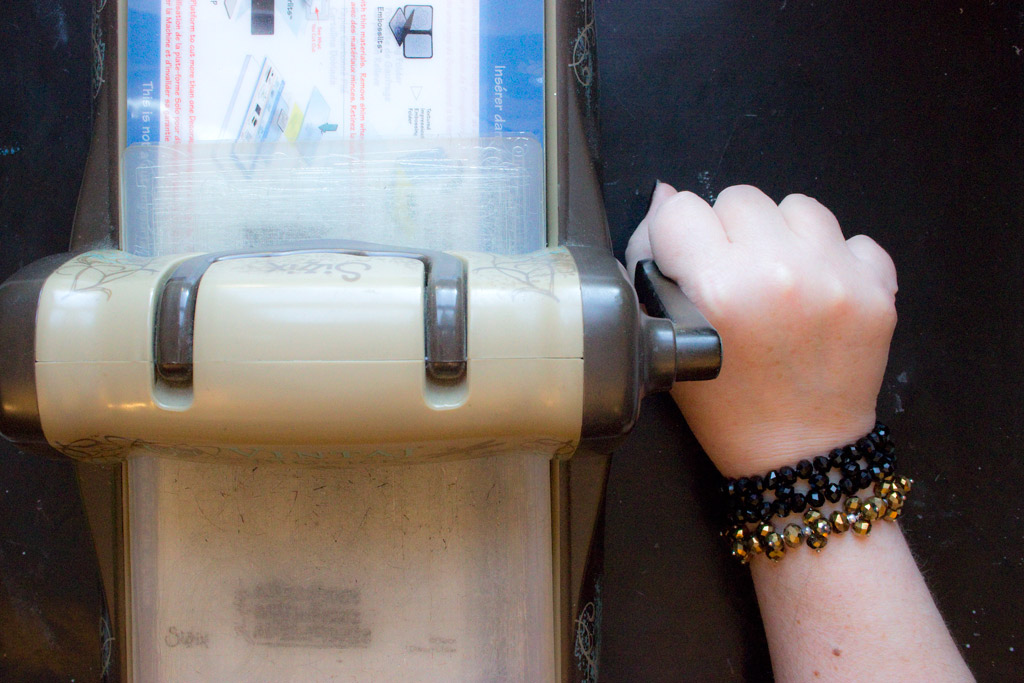
Crank your embossing folder through your machine!
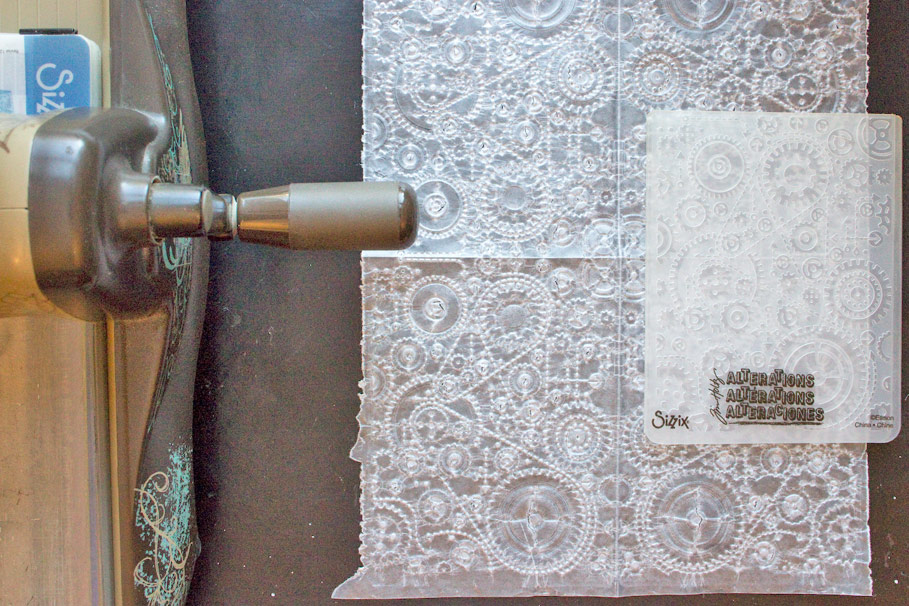
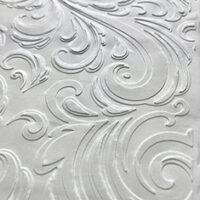
Gently unfold the embossed waxed paper, revealing a FULL sheet of Embossed Goodness! Of course, you can work in any size sheet of paper you choose – I just like to GO BIG!
Sandwich the waxed paper between a sheet of plain white cardstock and a sheet of glossy photo paper.
This will transfer the resulting pattern onto BOTH sheets at once! You’ll find that you achieve different results with each paper type, so this will give you a variety of effects from one operation…Yay!
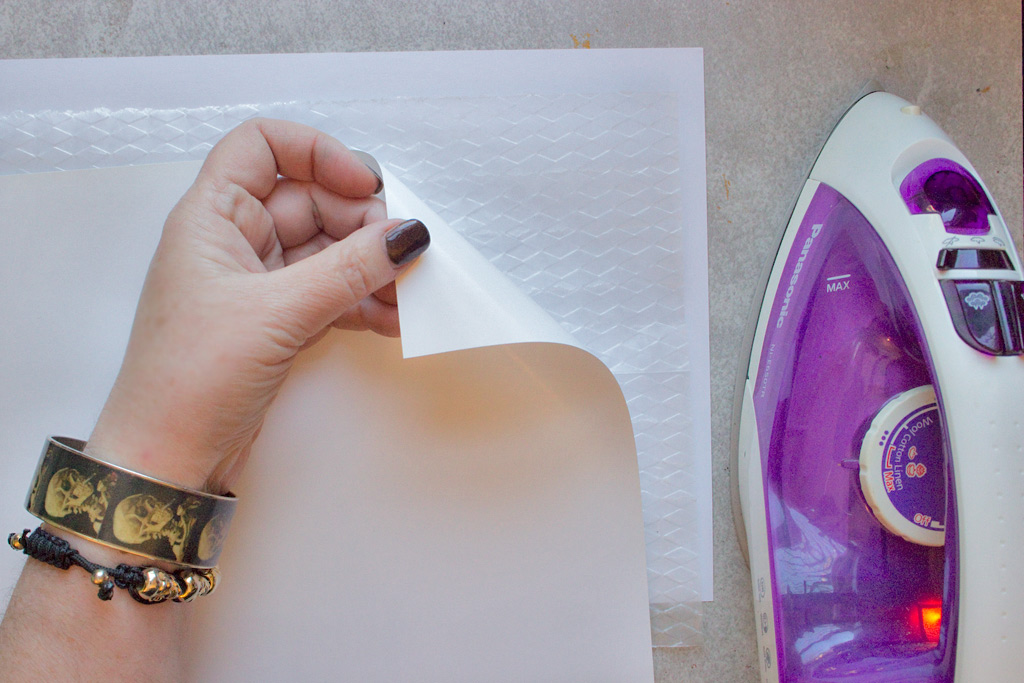
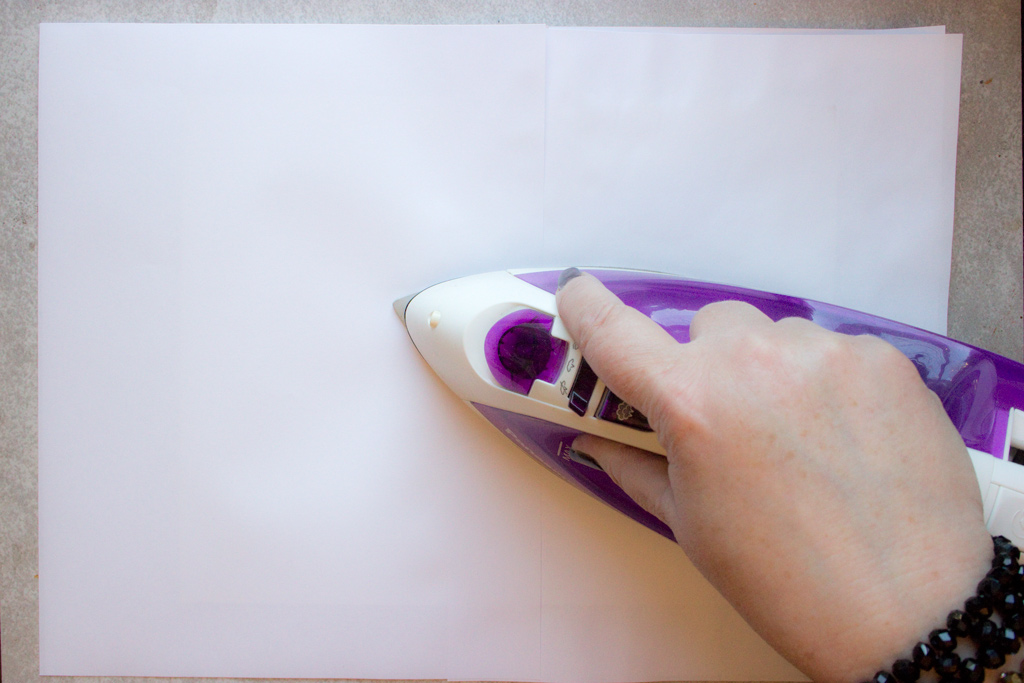
Place plain sheets of printer paper over and under the resulting sandwich, covering any stray waxed paper peeking out of the edges. With the iron set to the hottest setting, and NO steam, iron away! There is no set time for this stage…
The goal is to melt the wax coating of the paper sufficiently that it transfers to your intended paper surfaces. ‘Tis better to err on the side of ‘too long’… I typically just iron until I’m sure I’ve overdone it!
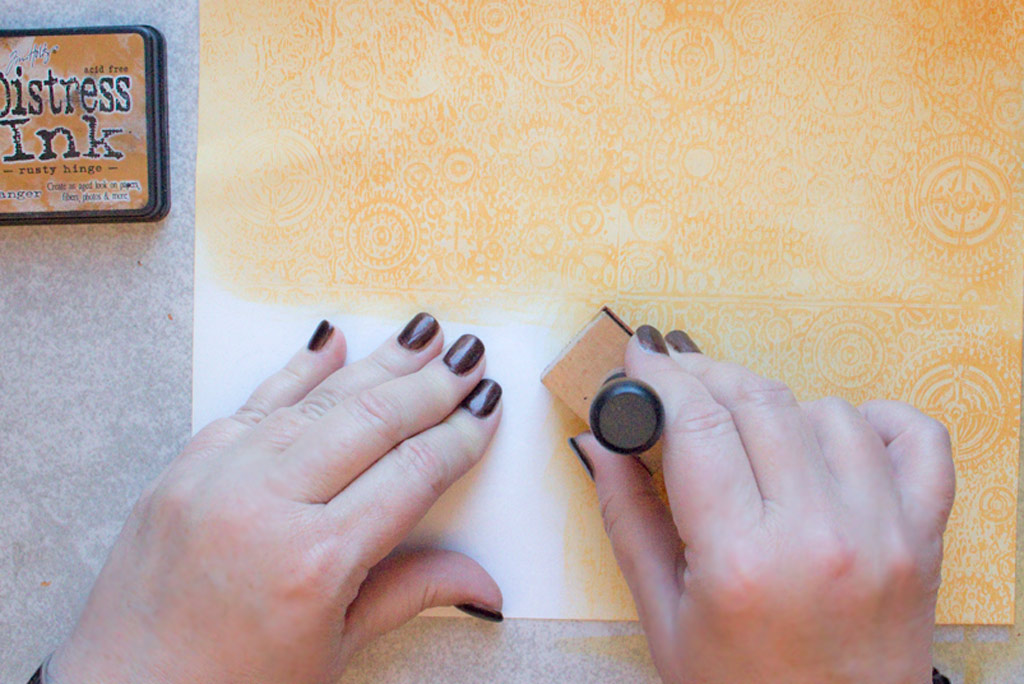
Unpack your ‘sandwich’, and blend a ‘lightish’ shade of Distress Ink over the surface of the paper.
Rusty Hinge was used over glossy photo paper here:
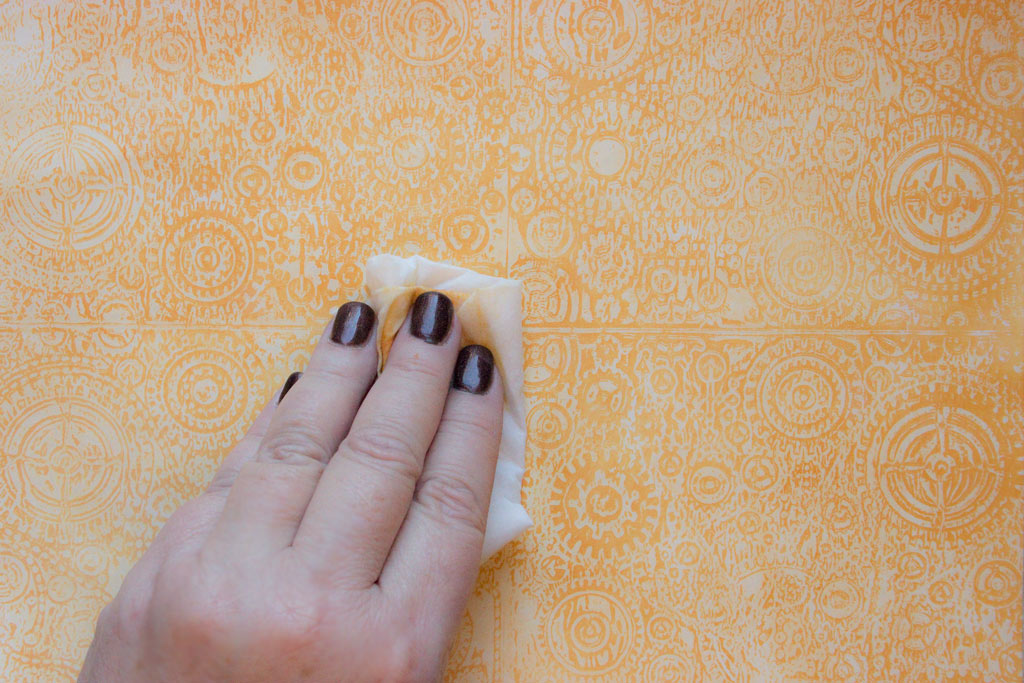
Wipe the ink from the wax resist areas with a baby wipe:
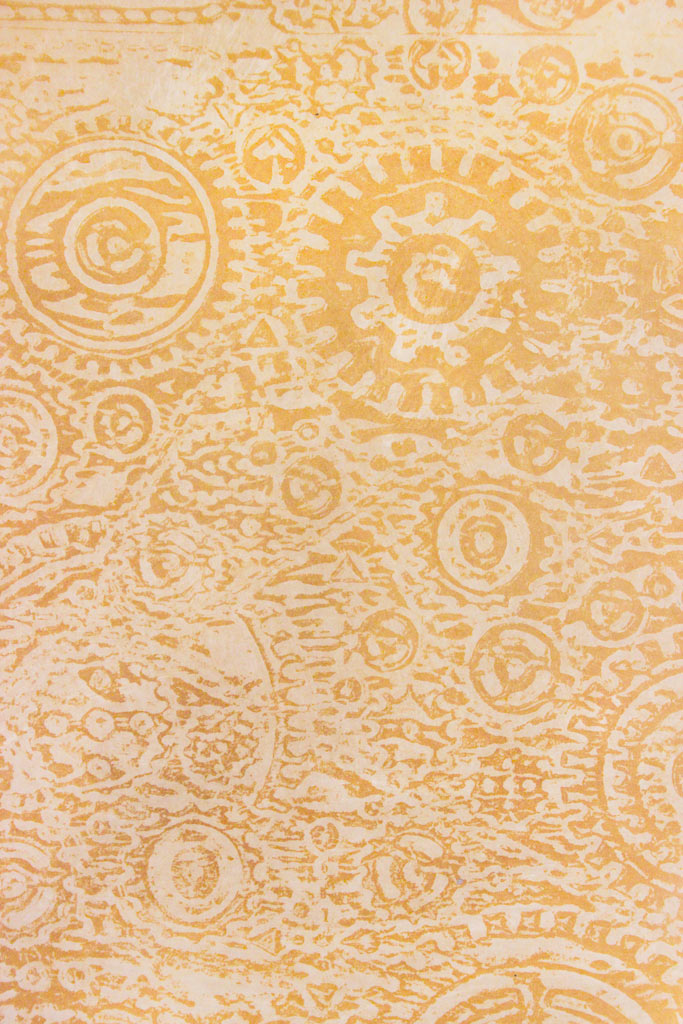
This will leave pigment in the areas that did NOT receive melted wax:
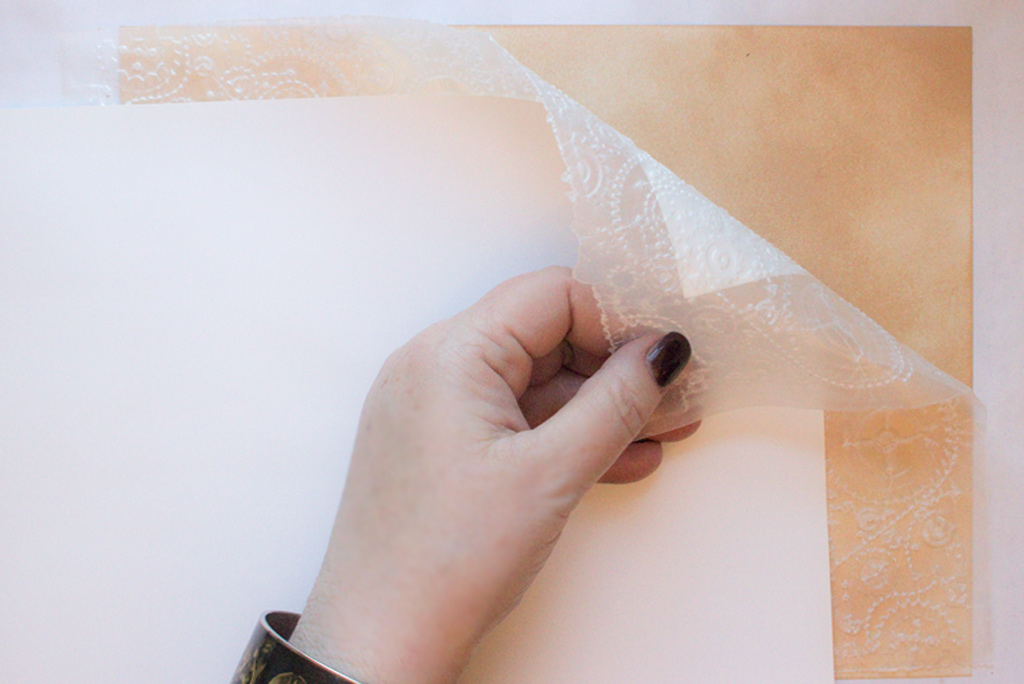
For a fun variation, iron the Embossed Wax Paper onto the surface of a sheet of either cardstock or glossy photo paper that has been tinted with Distress Ink…
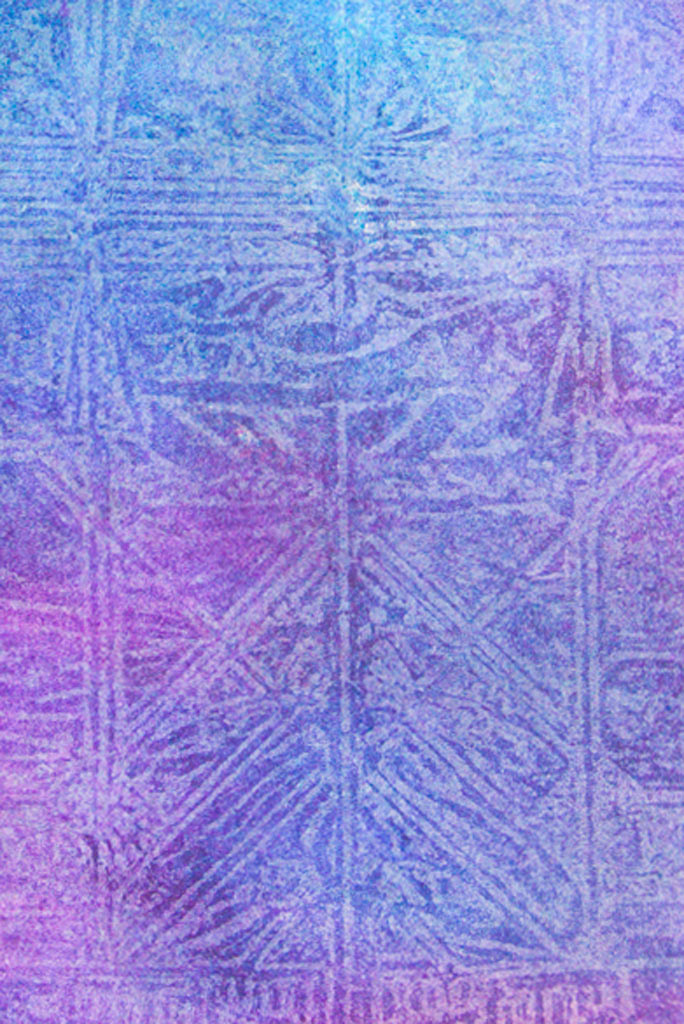
Then, once you apply a darker color of Distress Ink, you’ll get a Moody, Grungy result:
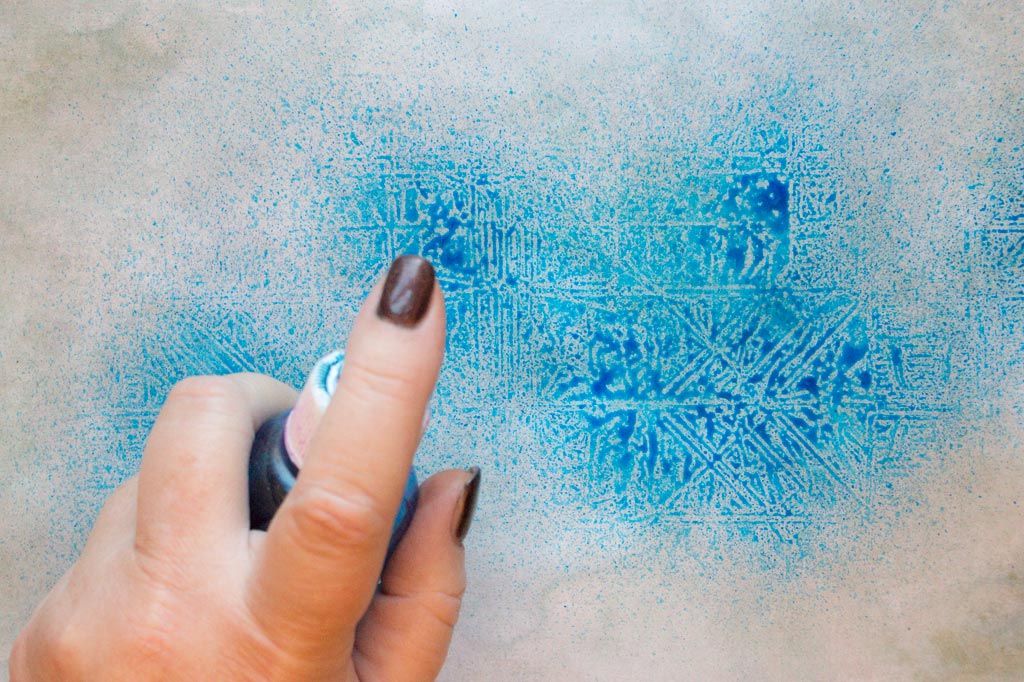
Try using a water-based Spray Ink over the top of the resist:
Wipe away the excess, and reveal the cool patterning!
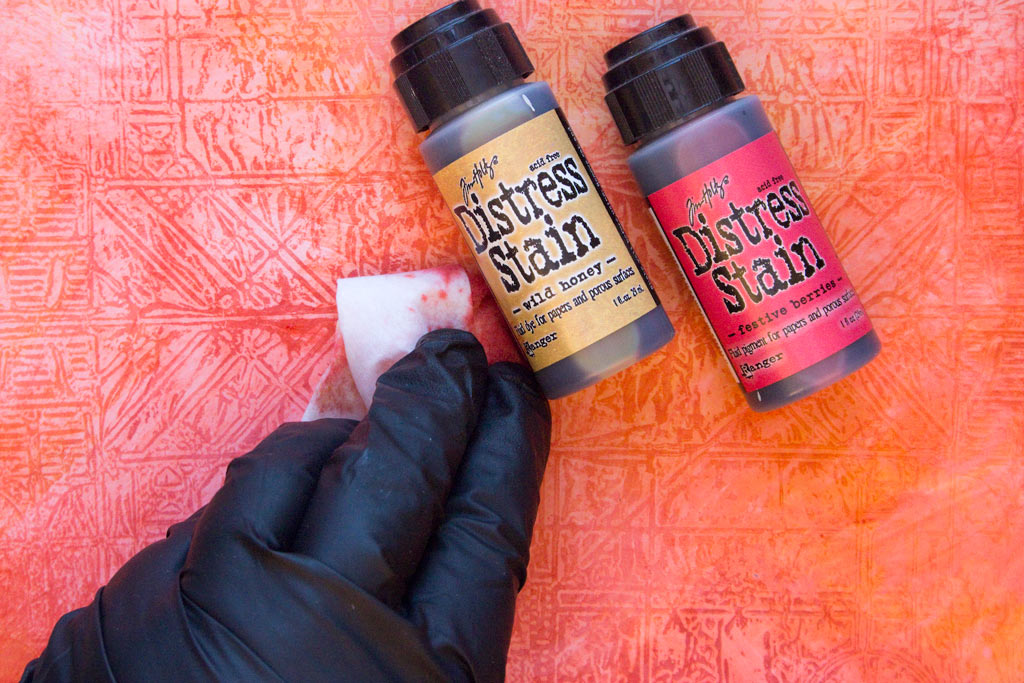
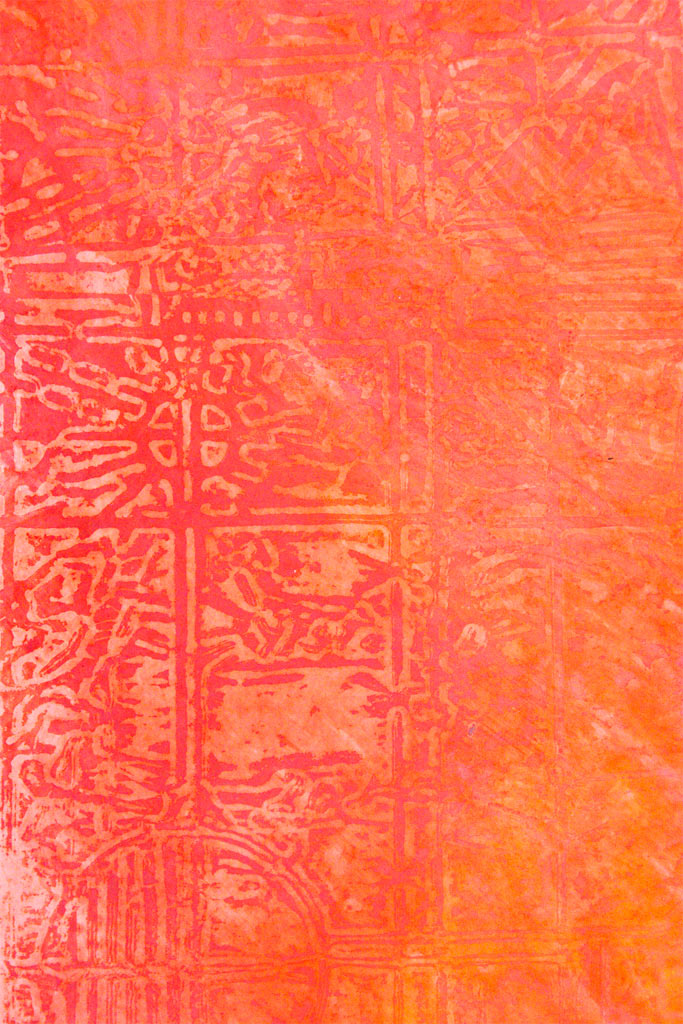
This Wax Paper Crafts Technique works beautifully with Distress Stains, too:
Yum!
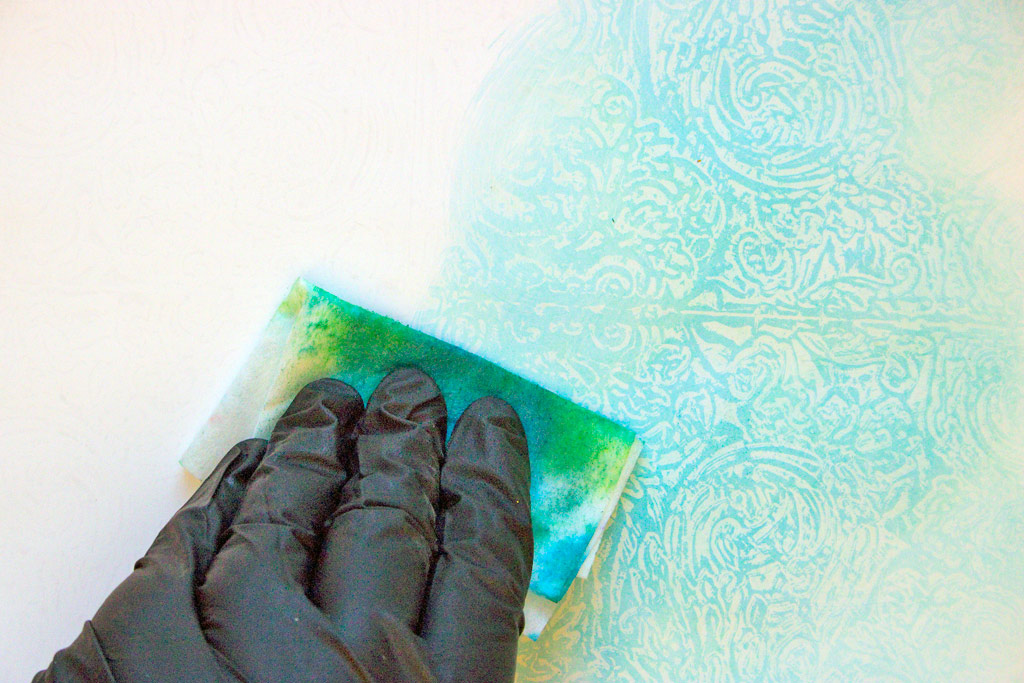
You can even pick up pigment like Distress Stain with a baby wipe and apply it to the paper surface:
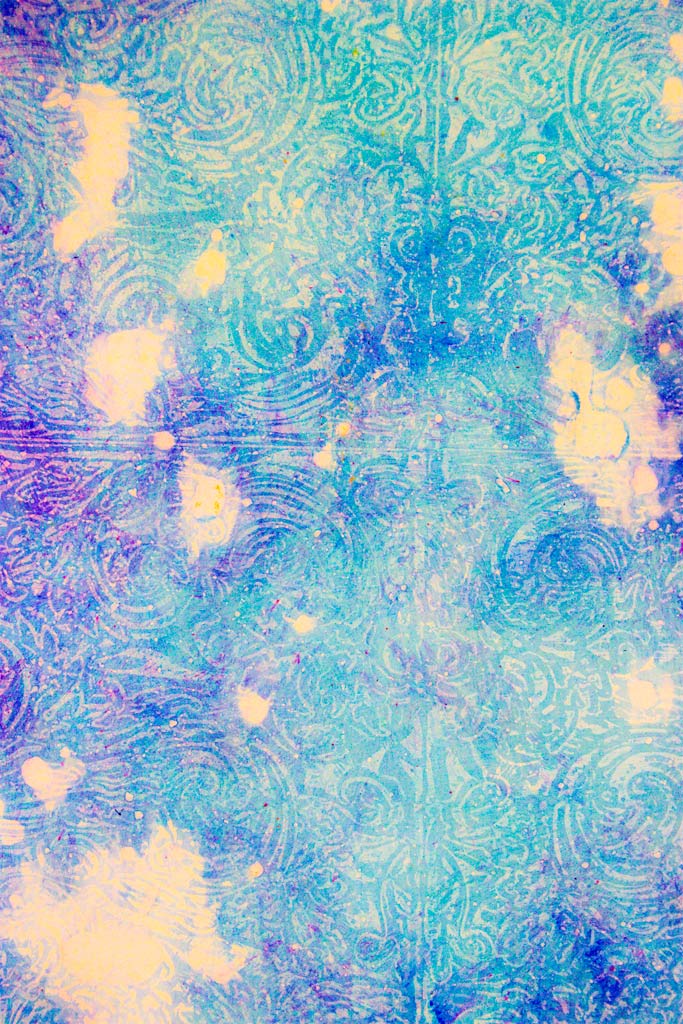
Once you’ve added all kinds of water-based pigment, you can create awesome splotches with water drops, if you’re weird, like me! Just flick ’em on, wander away for a minute, then sop up the water and pigment to reveal Distressed Splats!
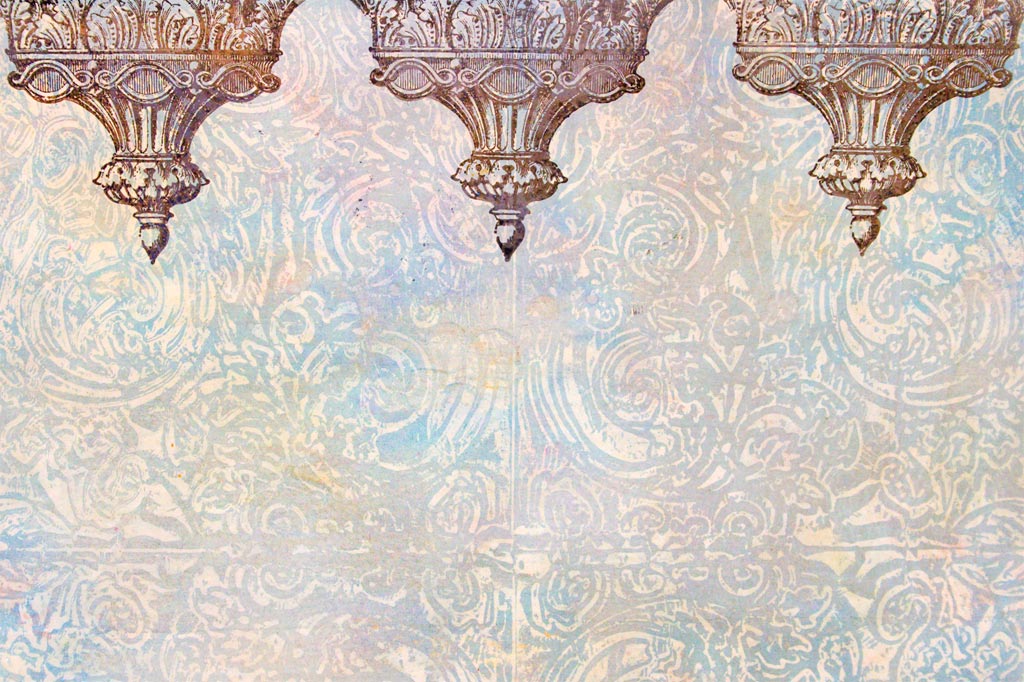
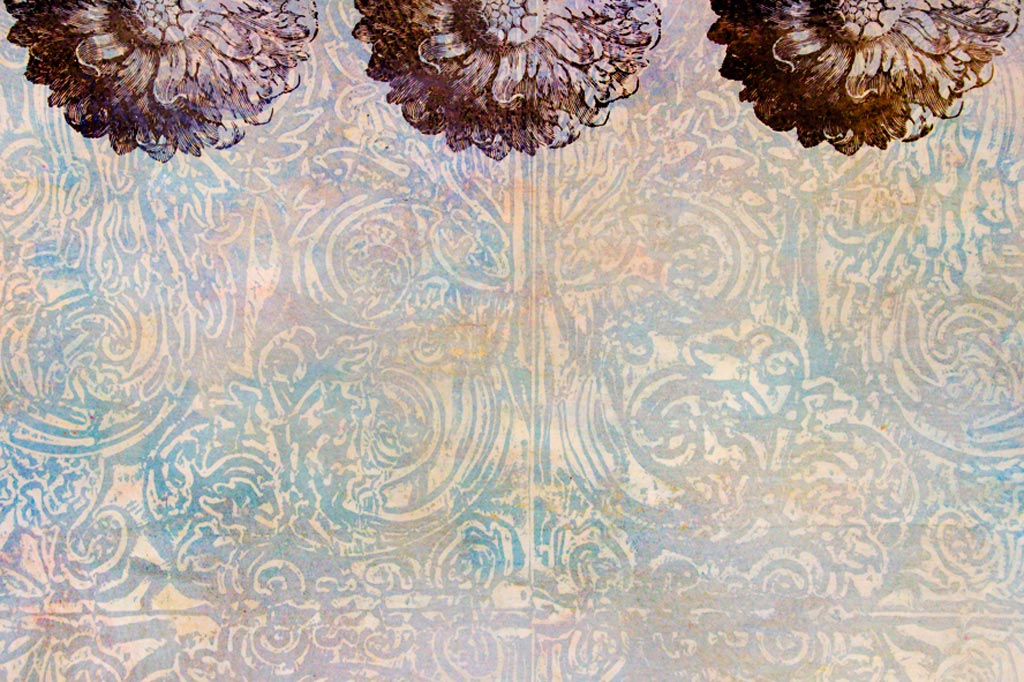
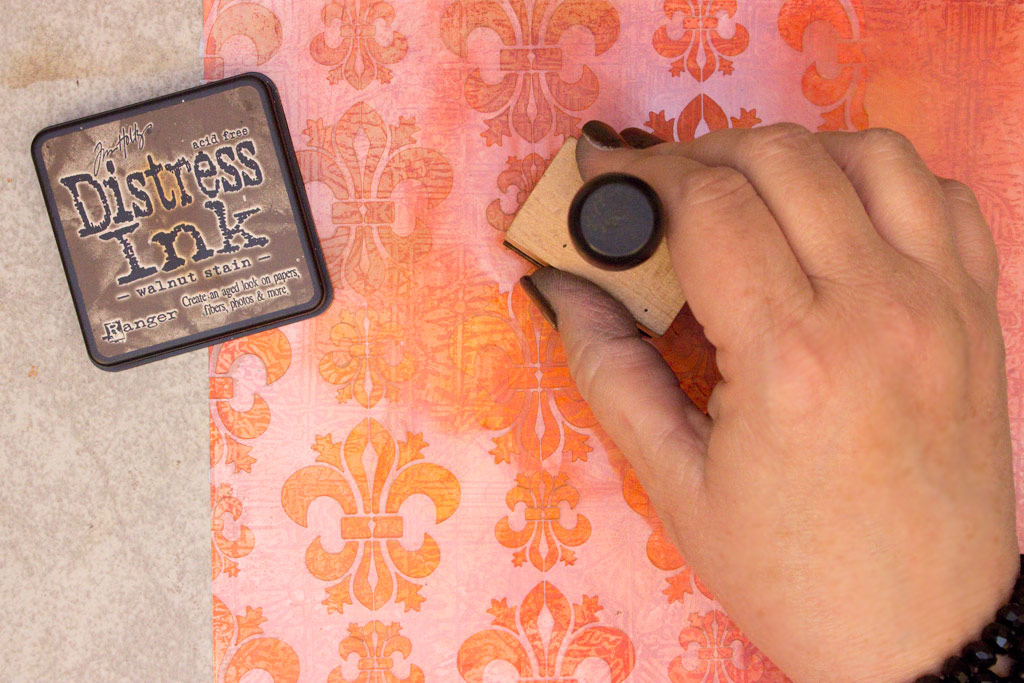
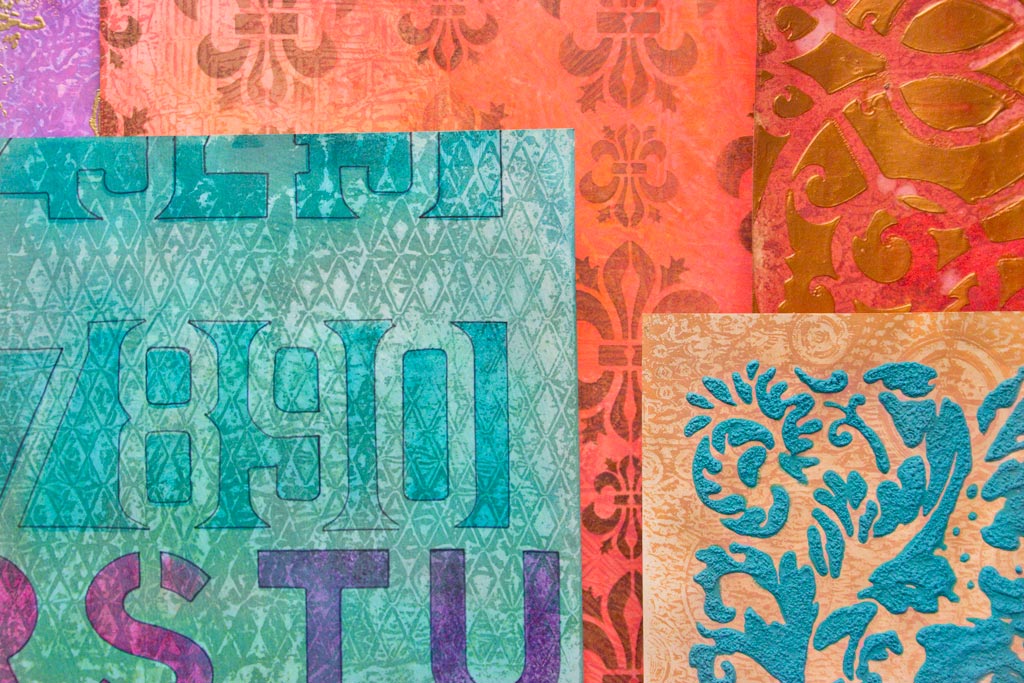
If you’re feeling a bit less MESSY, you can add refined graphics over the top of your patterned background with elegant stamps:
Ah, yes… all is orderly and peaceful! And PRETTY!
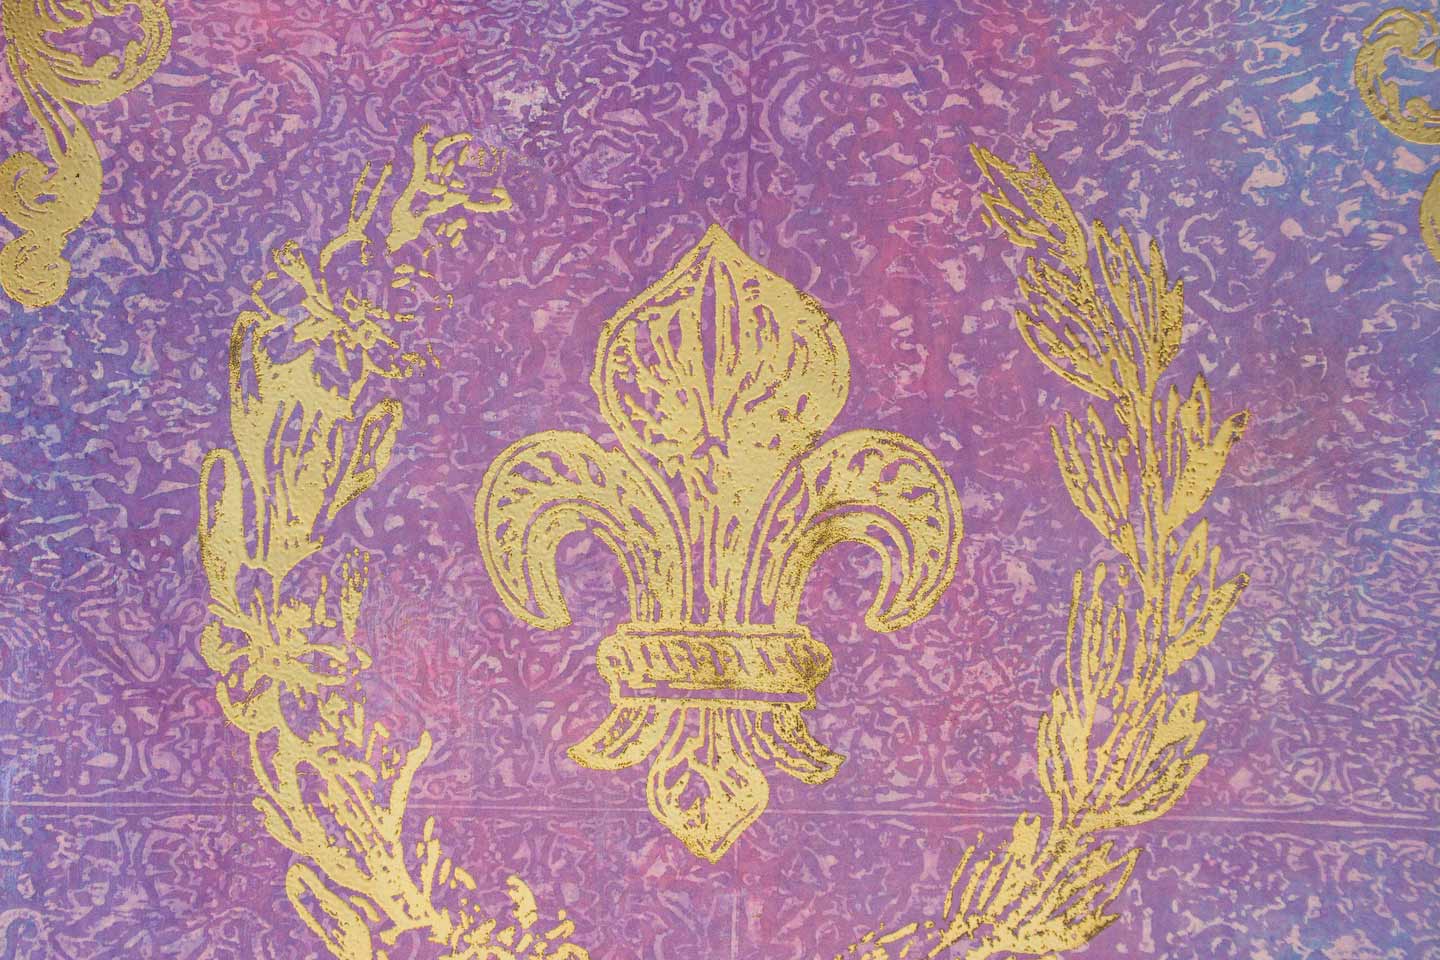
Or, grab your VersaMark and Gold Embossing Powder to add some BLING!
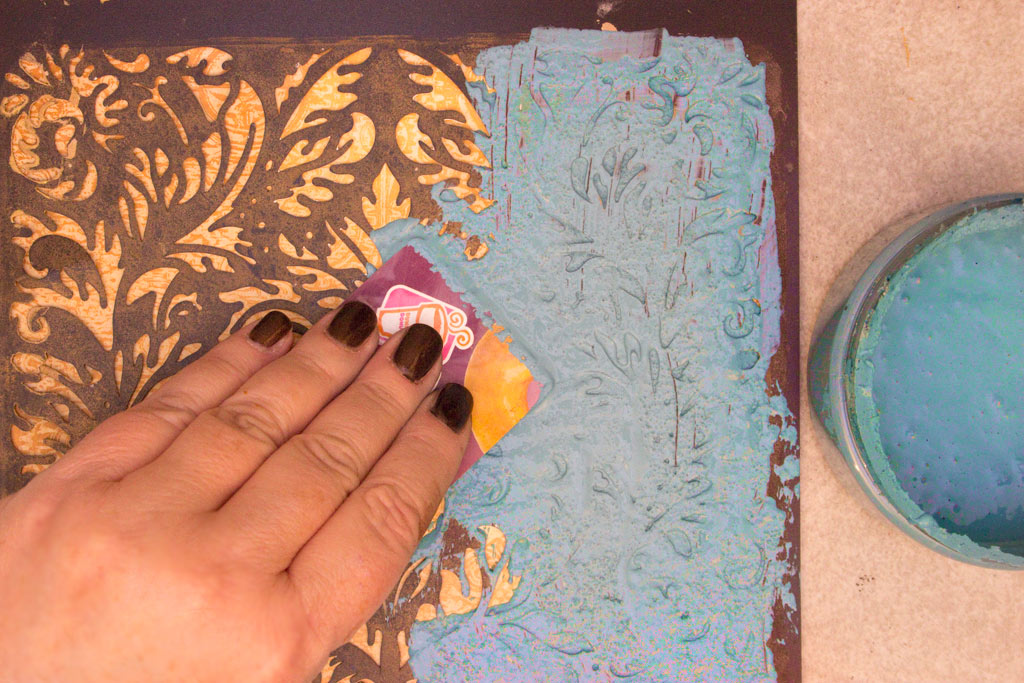
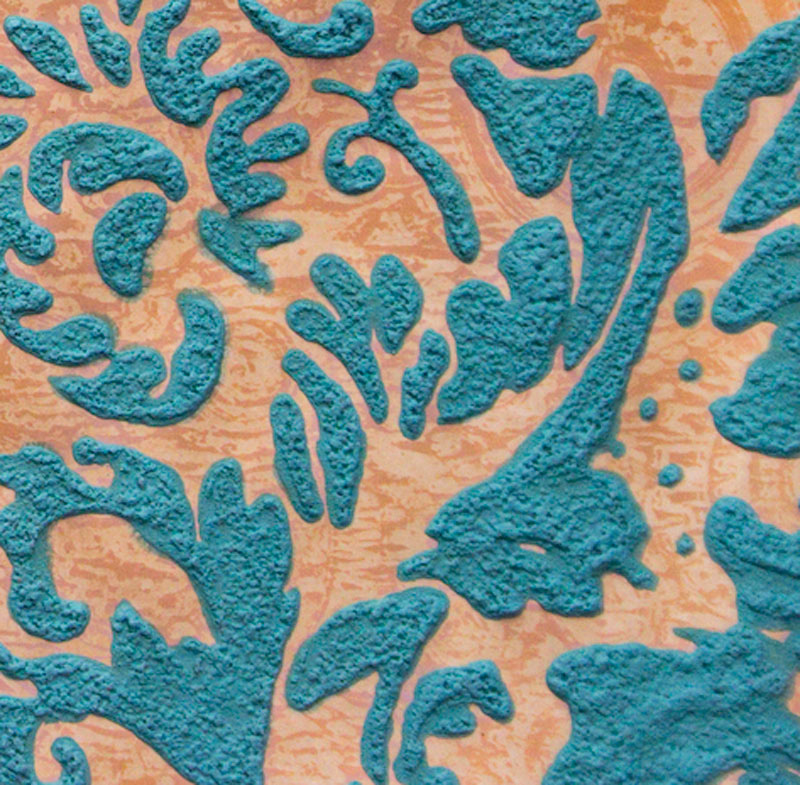
Grab some DIY Patina Mix, and add tons of texture through a stencil!
The results are less-than-perfect, but perfectly delicious!
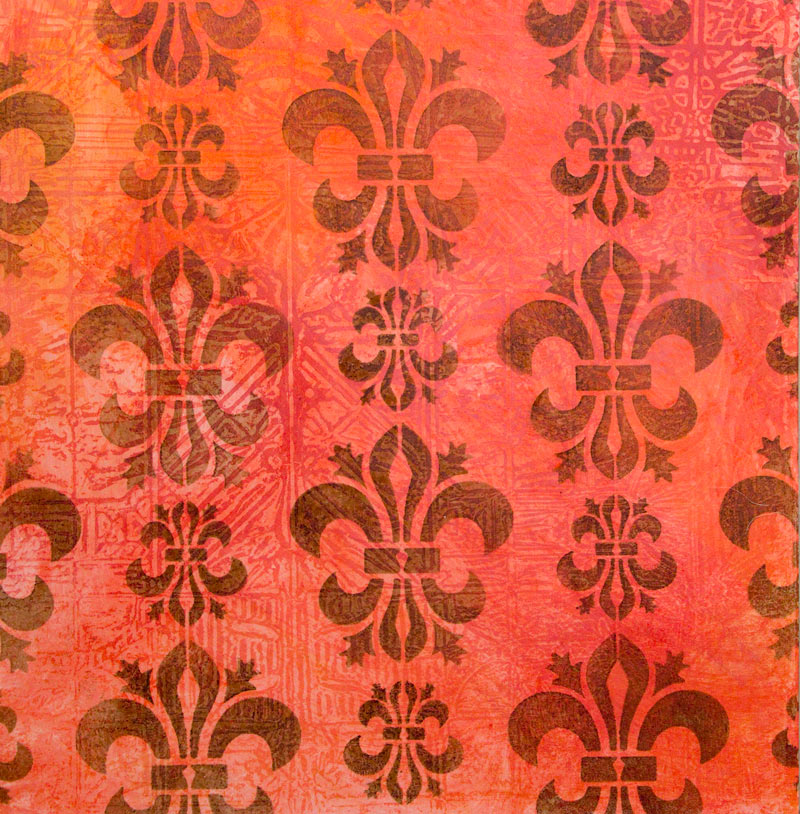
Add a layer of deeper Distress Ink through a stencil!
Now, you’ve created a subtly complex surface with very little effort:
Outline the Distress Ink Stenciling for a graphic effect:
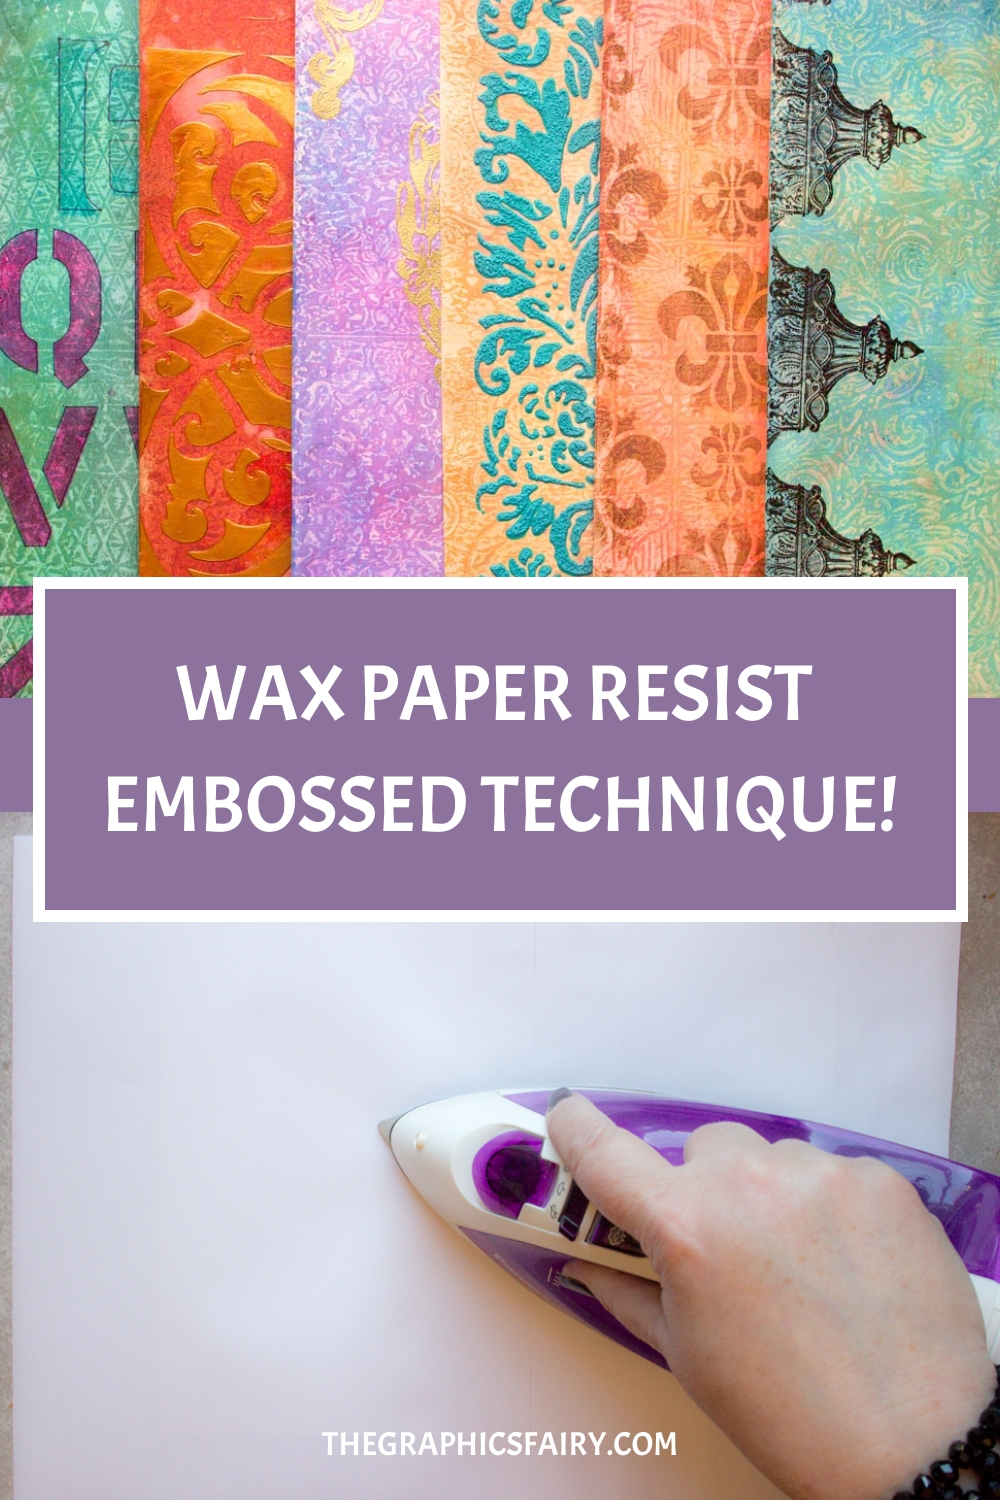
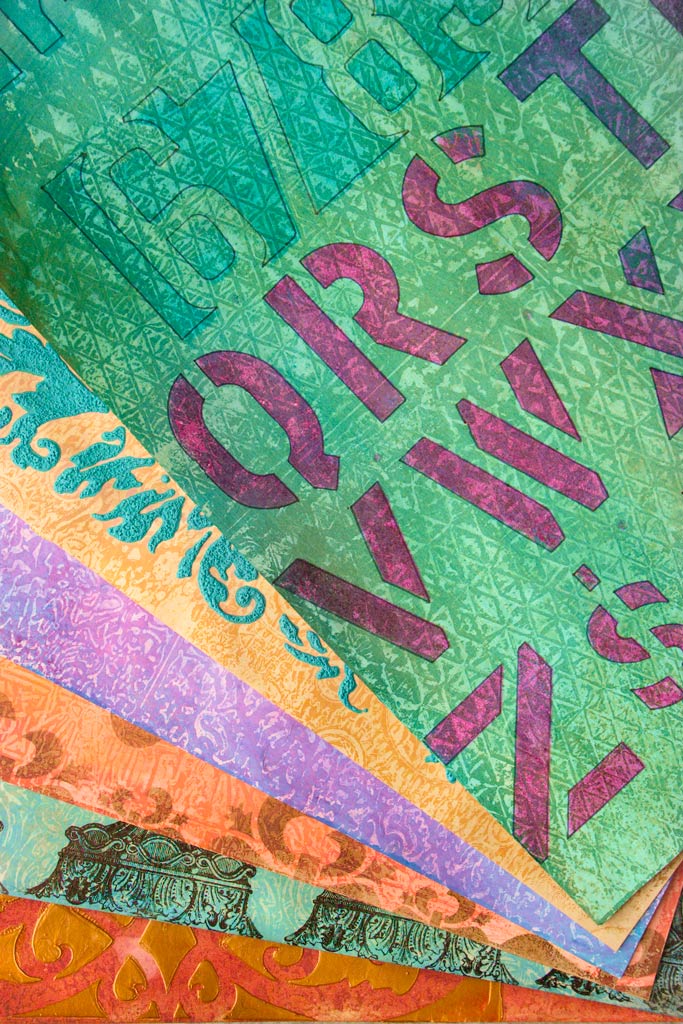
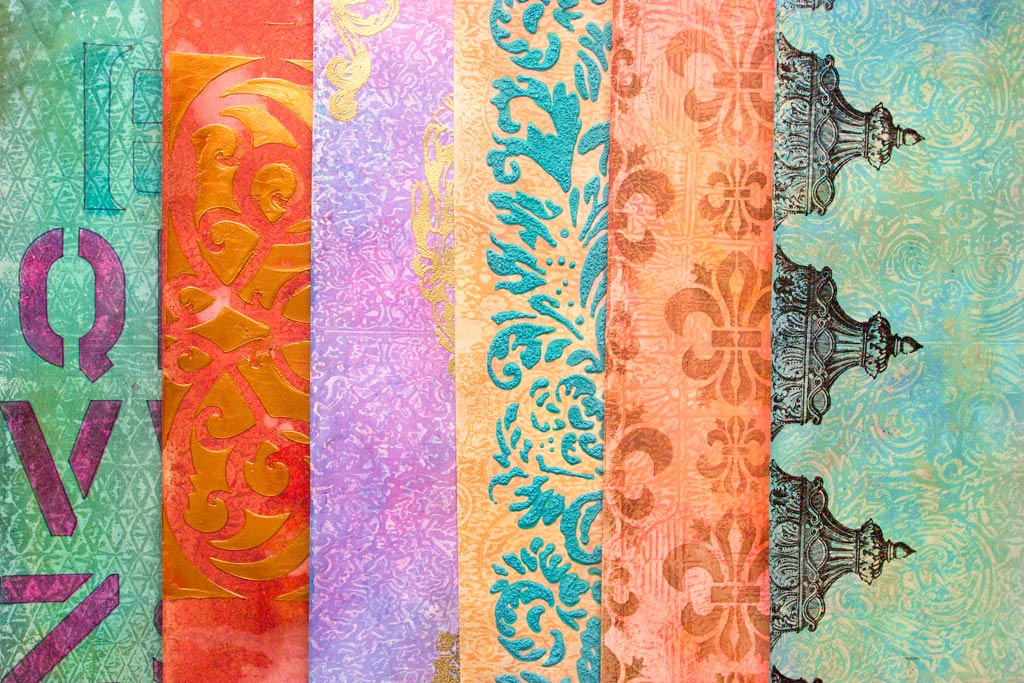
What to do with all your cool Wax Paper Crafts Embossed Resist papers? The sky’s the limit! I plan to use many of these in my Art Journal, as starting points for themed pages. Of course, they will be wonderful for card-making, scrap book layouts, mail art… You get the idea!
It’s been so much fun experimenting with this tried and true technique for these Wax Paper Crafts! I hope you grab some supplies and create a batch of these fun papers for YOUR projects! After all, you can never have too many background papers! You might also like the Marble Paper Technique HERE.
Thanks for visiting The Graphics Fairy today! Come see me at Thicketworks, and we’ll make even MORE Happy Messes!
Until next time,
Heather



Marie Andersson says
What a great idea to use waxpaper! Love the posibility to use your stash in several ways. Have to test this tomorrow, just have to see if my waxpaper is on both sides first.
Karen Watson says
Have fun playing with Wax Paper Marie!
Martha says
This is wonderful! It’s the first thing I’ve seen that makes me want an embossing machine!
graphicsfairy says
Thanks Martha, I know, so cool!
Tish MacFarlane says
This is a cool technique! I am still experimenting, but I did run into one problem. Evidently, my wax paper only had wax on one side so it did not work trying to do both the glossy photo and regular cardstock at the same time. I had no idea that all wax paper wasn’t waxed on both sides. Thank you, though, for the wonderful tutorial. So far, I am loving what I have done so far.
graphicsfairy says
Good luck Tish! It can be tricky and takes some practice but it is a fun and wonderful technique 🙂
Becky says
Hello! I am trying this out, but having trouble. I am using a curio machine to emboss the wax paper, which seems to work fine – the paper looks embossed. Then, I am placing a watercolor paper underneath the wax paper, with the embossed side down and placing a sheet of paper on top. I use my iron at the highest setting and iron over the top sheet, but when I take it off, none of the wax has transferred to the watercolor paper, and the embossing is just ironed out so that the wax paper is just flat again. Any idea what I am doing wrong?
Heather Tracy says
Hi Becky! Oh no! I’m so sorry this is happening – while I can’t know for sure, it seems to me that perhaps the watercolor paper just keeps
absorbing the wax. The fibers of watercolor paper are meant to be extremely porous to handle tons of wet media. Please try the method onto a sheet of smooth cardstock – or even better, glossy cardstock. I’m confident that you will get good results. Hope this helps, my friend! xox
Terry says
thanx for a wonderful tutorial. can’t wait to try this out. enjoy everything you offer on your site.
graphicsfairy says
Thanks Terry, have fun!!
Julie Blake says
As I started reading, I thought, oh my, another lengthy project! But I was wrong! Beautiful effects quite quickly and with not much effort – just like you say! The only lengthy time is the afternoon you might while away trying all the different ways you presented. Thank you – Julie
graphicsfairy says
Thanks Julie! So glad you enjoyed it and yes, it is easy to get caught up in the creation and while away the afternoon 🙂
peggy gatto says
Thank you so much!!!!!!!!!
graphicsfairy says
You are so welcome Peggy 🙂
Rupa says
Oh Heather! These are EXQUISITE! I told you I am running out of superlatives to appreciate your techniques and the resulting art! Just gorgeous papers that no one would believe to be home made! I love every pattern and I especially love the architectural stamps on the subtle gray backgrounds. The embossed wax paper reminds of Chikan Embroidery (no, not chicken lol) and the other papers have some resemblance to batik prints. Whatever one wants to label them as, they sure are DROP DEAD GORGEOUS! How on earth do you come up with these unique ideas I don’t know but I am forever grateful to you my friend!! Time to pull out that large roll of wax paper from the cubpoard. Hugs to you.
Heather Tracy says
Yay! I’m so glad you like this technique, Rupa! I certainly didn’t think it up, but I have given it my own spin…I saw the resemblance to batik, too! Now I have to go research Chikan Embroidery! It’s SO wonderful to be able to share these little gems – the more the merrier! Thank you for being such a bright light in the world, my lovely friend. xox
Julie says
Wow thanks for the tutorial I love the look of this technique, now where did I put my wax paper?!!
Heather Tracy says
I’m so happy you like this look, too, Julie! Have fun, my friend! xox
graphicsfairy says
Ha ha, too funny Julia 🙂 So glad you liked it!
Marion Rivas says
Beautiful, thank you!!
Heather Tracy says
So glad you like it Marion! Thank YOU! xox
Dorthe Hansen says
Oh, my Heather, you are really amazing, fantastic, and beautiful, dear 🙂
These are so stunning results, now I only hope I can find papers waxed heavy enough to make it work.
They are gorgeous, all, and you make it look so easy, I know it is not always the same , as easy for me,lol- you are a gifted wonderful artist, dear !! XOxoxo
Heather Tracy says
Dearest Dorthe! Thank you so much for taking the time to visit and leave such a lovely message!
I promise, it IS easy…especially for someone as creative and delightful as YOU are. xox