Mason Jar Pin Cushion
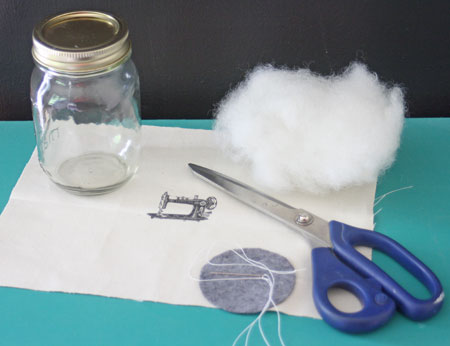
First you’ll need a few supplies:
- A mason jar with ring and lid, I used a pint size jar
- Polyfil (just a small hand full)
- Needle & thread
- Small piece of felt (the size of the lid)
- Fabric Printed with Sewing Machine Graphic
- Scissors
- Hot glue gun & stick
Let’s make it!
Step by Step Tutorial
Before beginning the pincushion top, you can add the Sewing Machine Graphic by printing directly onto the fabric with your home printer. Follow the easy instructions on this post HERE to do that. You will love that process! Alternatively, you could also rubber stamp an image onto your fabric, or use some fabric with a print that you like.
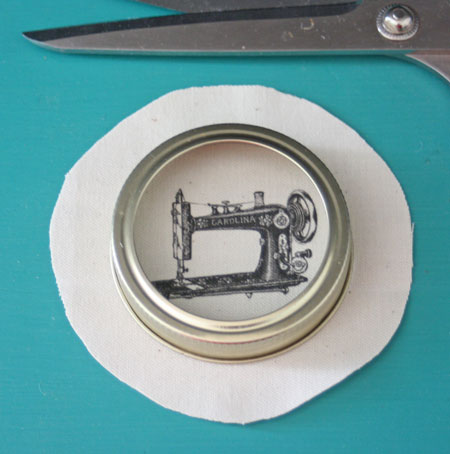
Step 1: First take your fabric print and trim it out using the ring from the mason jar as your guide. You want to center the graphic and give it about 1 1/2 inches allowance all the way around.
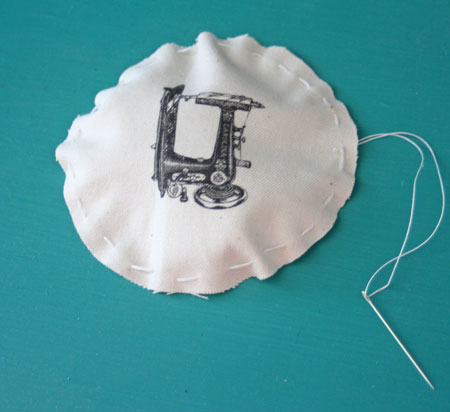
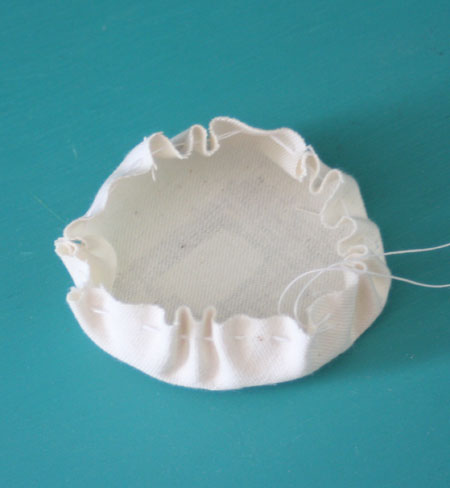
Step 2: Next, take your needle and thread and stitch close to the edge, all the way around the fabric circle.
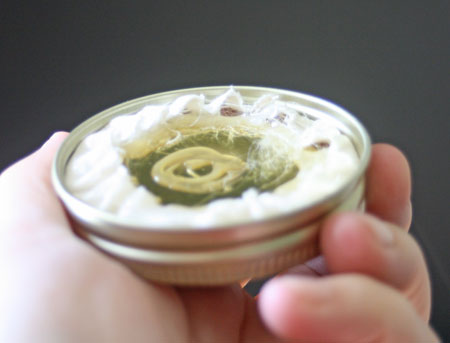
Step 3: When you get to the end, slightly pull in the thread, making the circle cup like you see above.
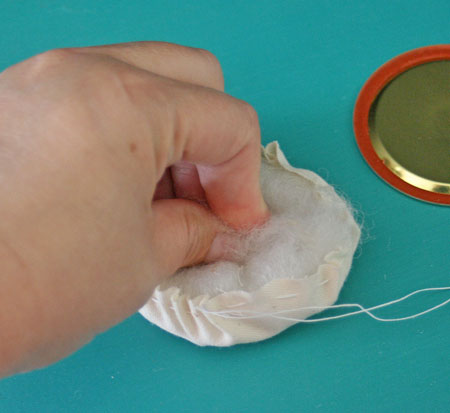
Step 4: Insert your polyfil (it will only take a small bit), stuffing it in as best as you can.
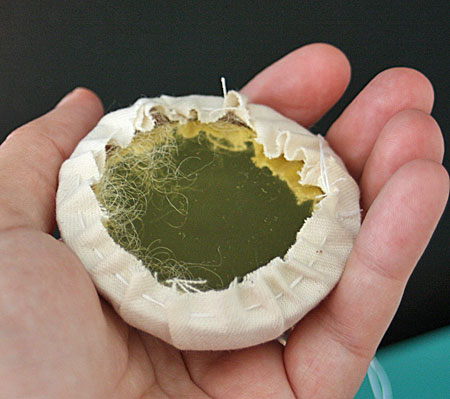
Step 5: Pop the lid on top and tighten up the circle to hold the stuffing in.
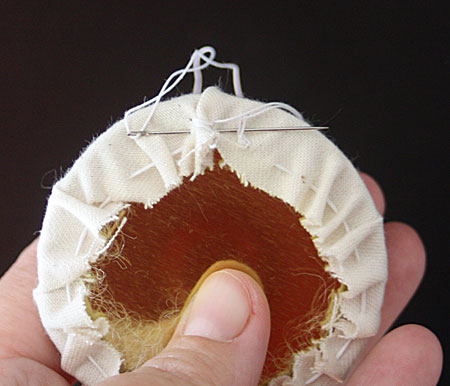
Step 6: Then sew in a couple of stitches to hold it all in place, and then tie off the thread and trim it off.
Step 7: Run some hot glue under the edge of the fabric to hold the edges down, then run a bit all of the way around on top and in the middle too.
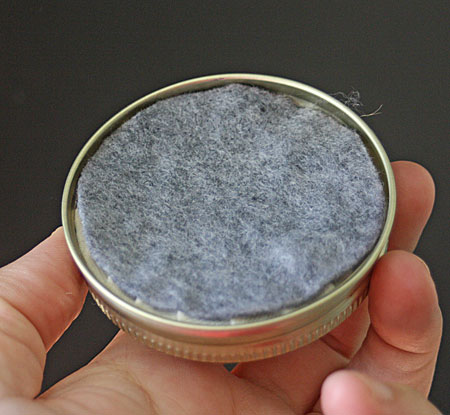
Step 8: Lastly, put the felt circle on top of the hot glue, finishing off the edges and holding your fabric in to place.
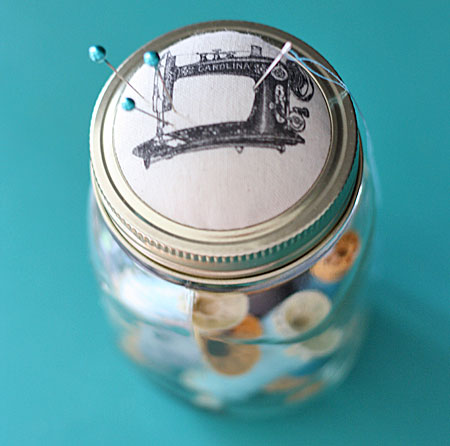
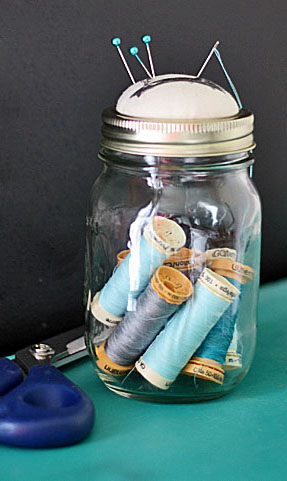
What’s next you say? Just put your thread in the jar, then screw on the lid and you’re done! It’s such a simple pincushion project, one that you can make in minutes. And, they are so handy – not only do they keep your pins and needles safe, but they help to organize your thread and your buttons, too! It’s actually the perfect little sewing kit. I hope you will make this project 🙂
I hope you had fun checking out this Mason Jar idea! See ya soon for another Graphics Fairy crafting project. You might also like making your own Washi Type Tape with this Tutorial HERE.
In the mean time, I would love to see you over on my blog at The Shabby Creek Cottage!
Gina



Kristin says
Cute idea, but I cannot get lid to screw back on unless I remove the felt. I even tried paper to cover the back but it still doesn’t screw on.
graphicsfairy says
Hi Kristin,
You may need to cut your felt a bit smaller and/or use less filler to allow the lid to be able to be screwed on 🙂
Anne Wise says
Just did this project with a 10 and an 8 year old. The girls loved it, but I did alot of the work. Not bad for an after school project.
graphicsfairy says
Good for you Anne, I’m sure they loved it!
makdeniz says
Çok kullanışlı…Çok beğendim.Fikrinize & emeğinize sağlık…İyi çalışmalar
Gina Mendoza says
I just stumbled across your web page while goggling a “how to” and she had mentioned your page and I am in love with it! Thank you so much for the fantastic and super easy ideas!
Leena Milligan Lanteigne says
This is so cute! I love the vintage sewing machine! I have decorated jars like this in similar fashion before when filling them with food treat such as a coffee or hot chocolate mix, baking mix, even pet treats! Such fun! Thanks for sharing! Hugs, Leena
Donna OShaughnessy says
I don’t sew and yet I want to make this project. Crazy me
Kathy @ Creative Home Expressions says
Very cute project, Gina! I haven’t done one of these yet either and I do have some mason jars here. Maybe . . .