DIY Rust Paste
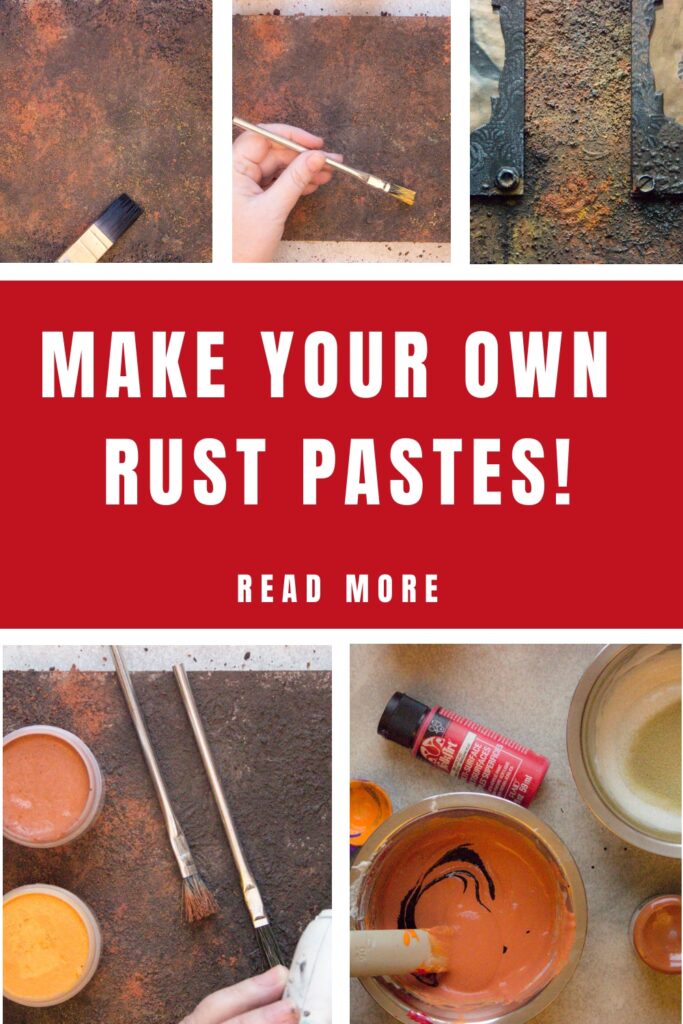
Hello, my beloved Graphics Fairy Friends! Heather from Thicketworks here, with a useful and fun Product Hack … DIY Rust Paste! Experiments with commercially available Rust Pastes have resulted in experimenting to come up with my own sort of rusty type concoctions. I hope you enjoy these Craft Paint Recipes!
You can make your own – and I’ll walk you through the process! Join me for this super messy, {totally worth it} fun and rewarding jaunt.
DIY Rusty Pastes Creation!
Before we begin, please know this:
I do NOT claim that my version of this wonderful product is “as good” as the commercially available Rust Pastes.
Nope. I love them, and will continue to use them, too.
What I DO claim is this:
- If you need RUST, and you need it NOW, you do not have to wait until your local or online supplier has it in stock.
- If you have a LARGE project, or you know that you’ll be using this stuff on EVERYTHING, it’s possible to make an up-front investment in the raw materials that will keep you in DIY Rusty Pastes for months!
- The satisfaction that you’ll experience by blending your own Custom Rusty Tints is priceless!
- If you have friends that might want to play, this will make a FABULOUS gift!
Alright, so let’s dive in, shall we?
You’ll need some STUFF!
Supplies for DIY Rust Pastes:
- A protected work surface (a sheet of cardboard or similar should do the trick)
- Fine Sand
- Measuring Spoons
- Mixing Spatula
- 3 Mixing Containers
- Lots of damp rags and access to a sink! Very messy indeed.
- Small Empty Jars with Lids
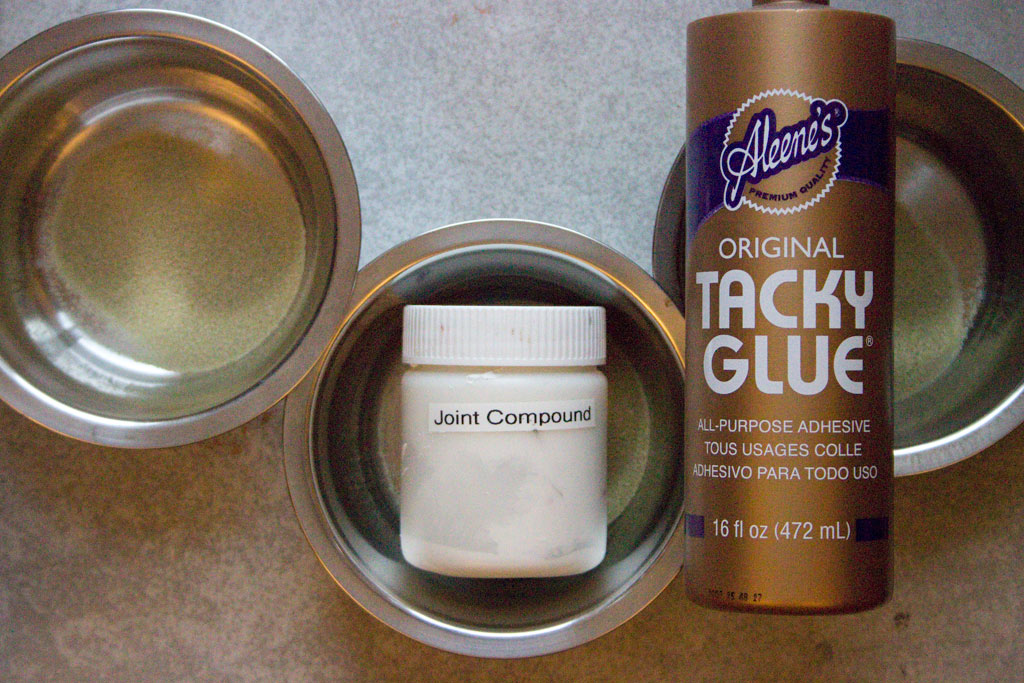
- Aleene’s Original “Tacky” Glue
- Joint Compound
- Disposable Scruffy Brushes (or any stiff bristle brushes you don’t mind abusing!)
- A flat brush for dry brush effects
- Cheap Acrylic Craft Paints (I get the .79 versions at Michael’s)
- Brown
- Orange
- Yellow
- Red
- Black
- Inka Gold: Hematite
- A Heat Tool comes in handy
Note: scrape and wipe as much of the mixture off of your tools and hands as possible, and dispose in the garbage – we don’t want the mixture to go down the drain!
The Graphics Fairy Source Images used in this Demonstration:
How to create DIY Rust Pastes:
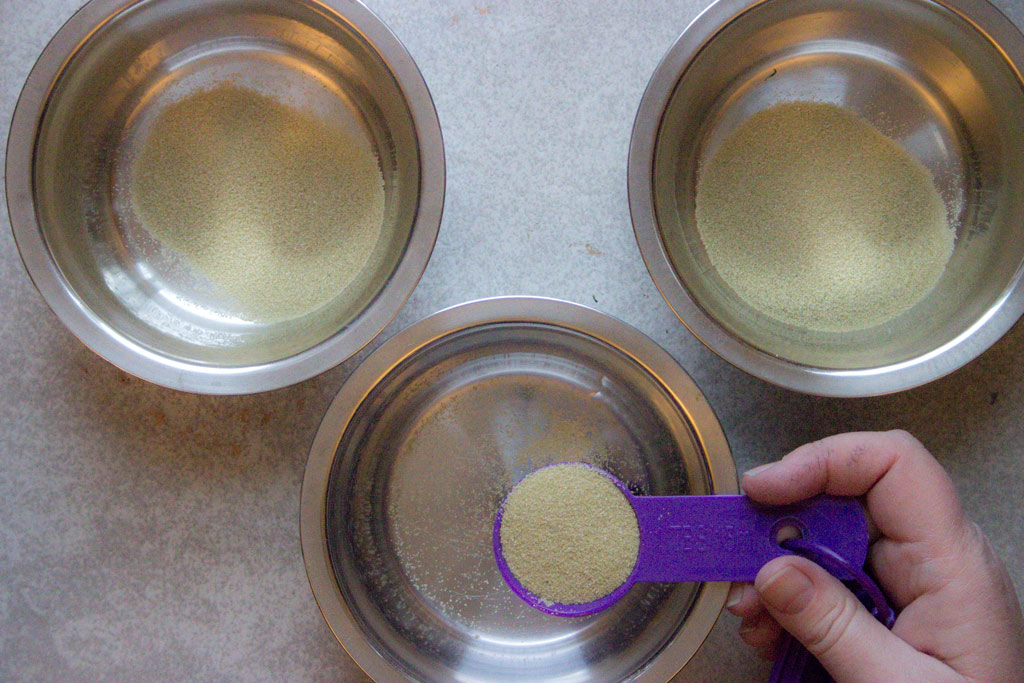
Begin by adding Two Tablespoons of Fine Sand to each of the 3 mixing containers:
Here comes the MESS!
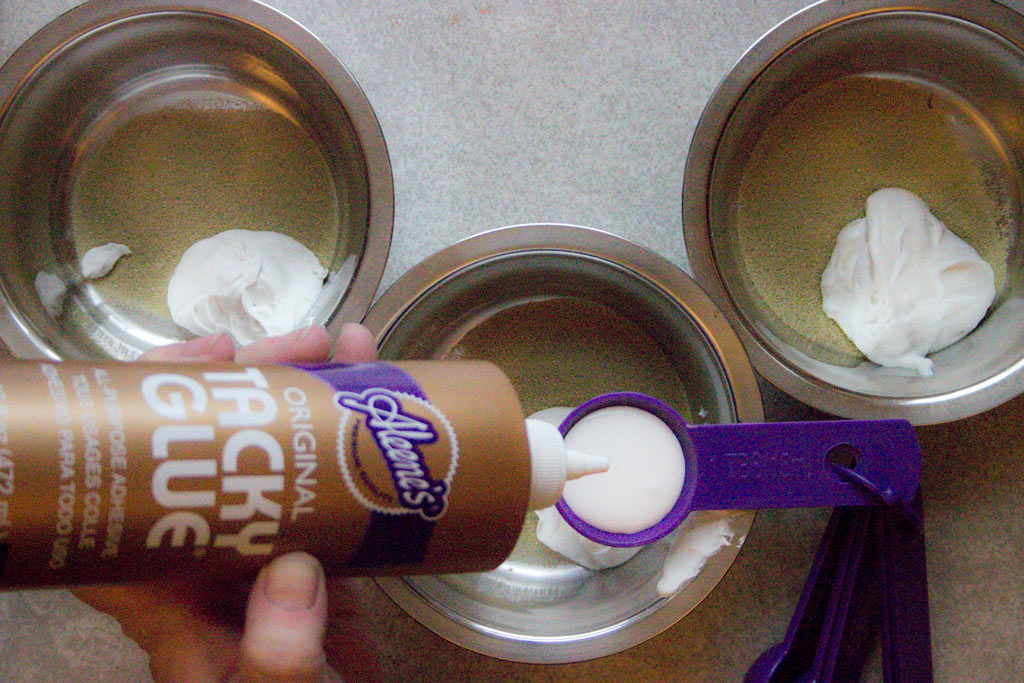
Add One Tablespoon each of Joint Compound and Tacky Glue to the Fine Sand:
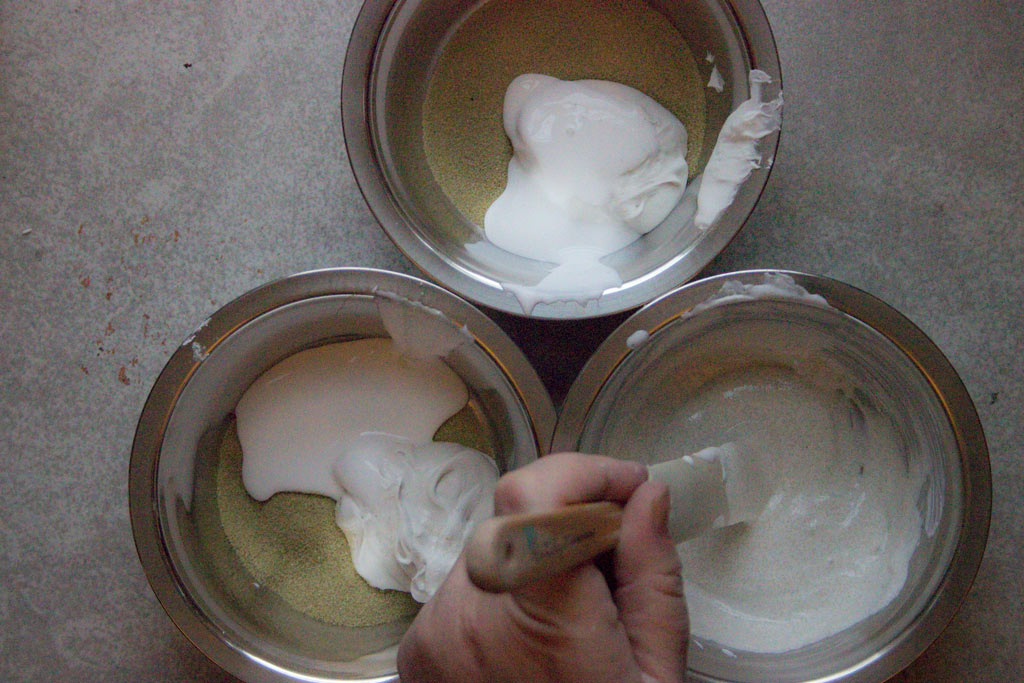
Mix this goopy mess until well blended!
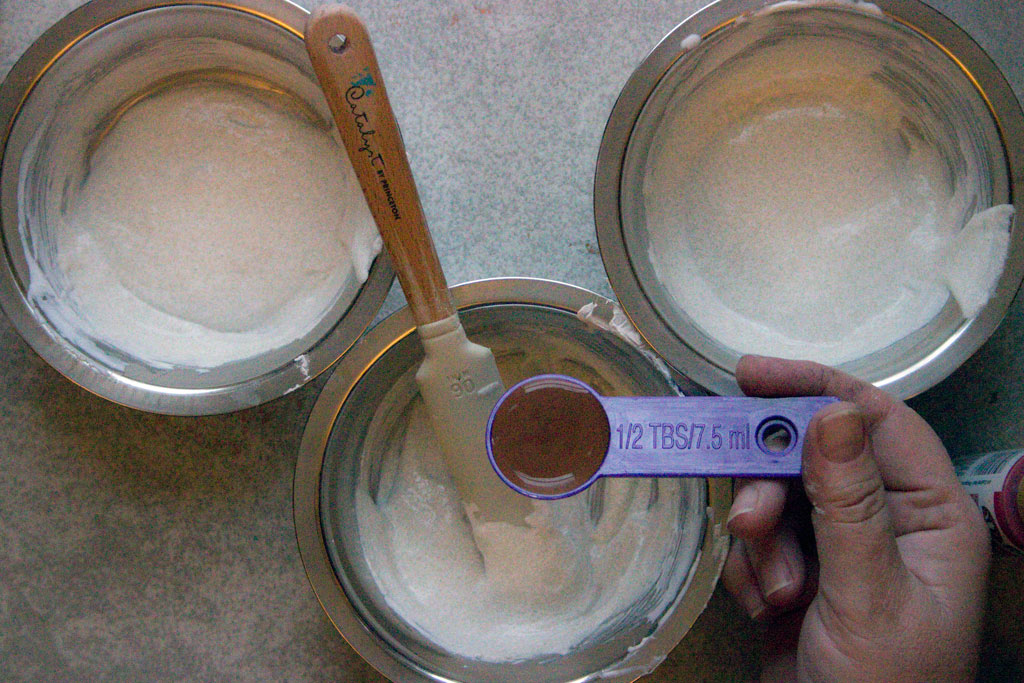
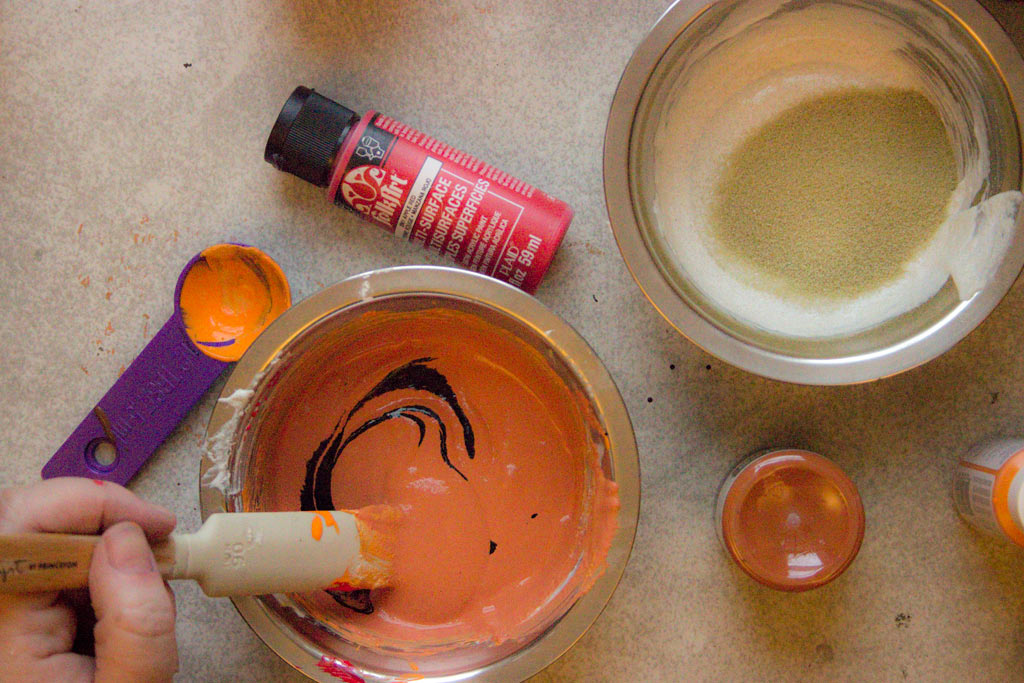
Add 1/2 Tablespoon of Brown Acrylic Craft Paint to the first mixture:
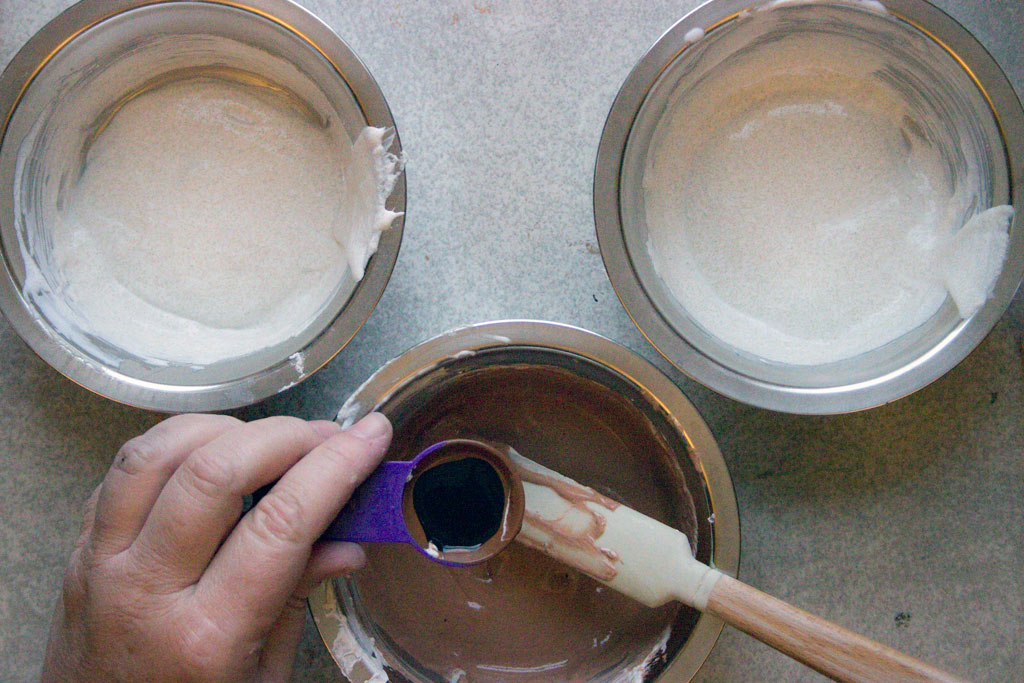
Add a scant 1/4 Tablespoon of Black Acrylic Craft Paint:
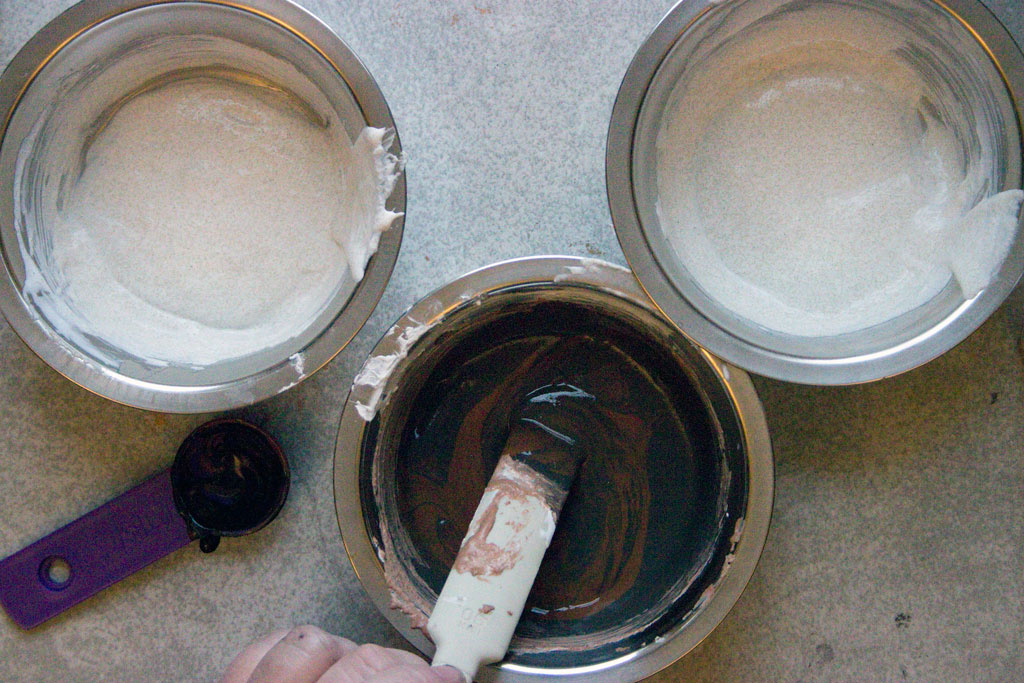
Mix until thoroughly blended:
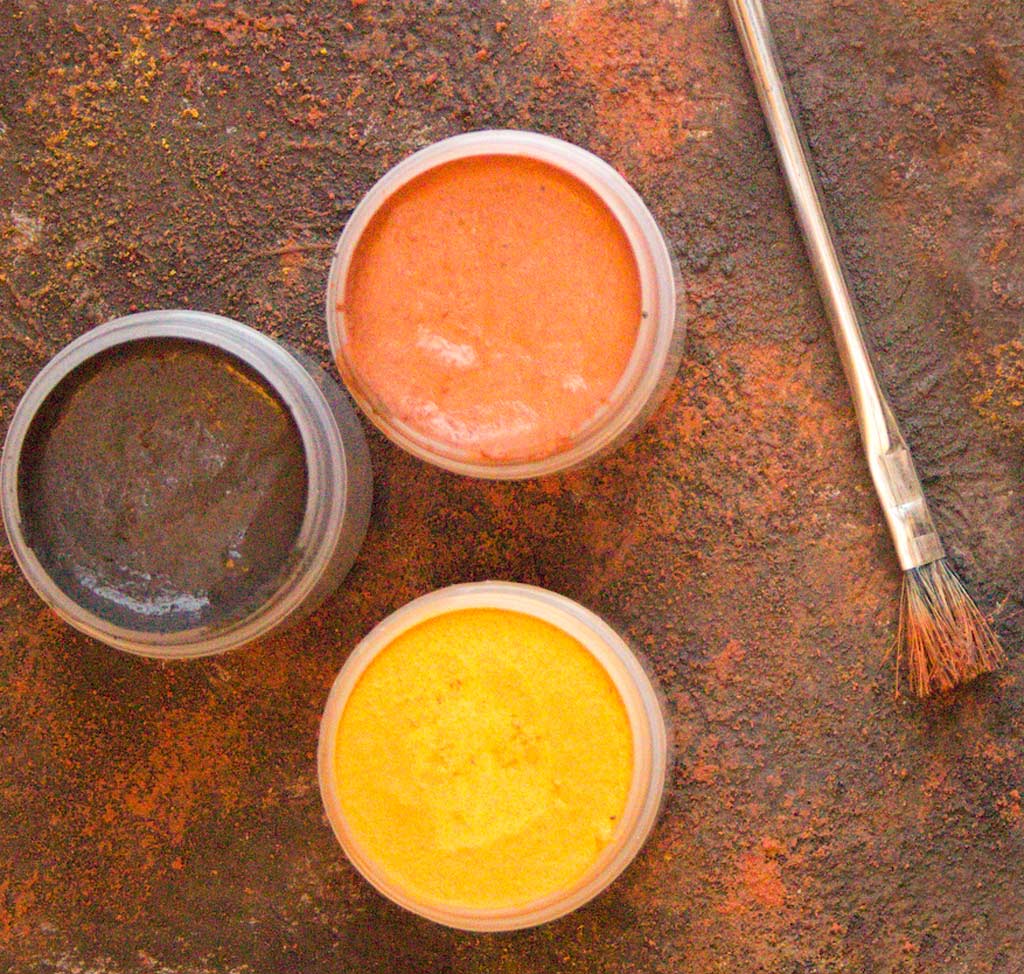
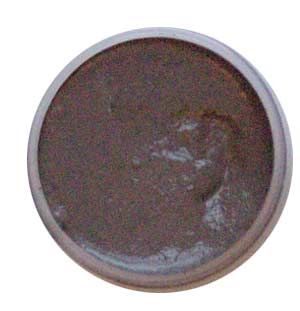
Transfer the Brown DIY Rusty Paste to a jar with a lid, and you have finished Stage One!
Clean your implements and proceed to create the second color.
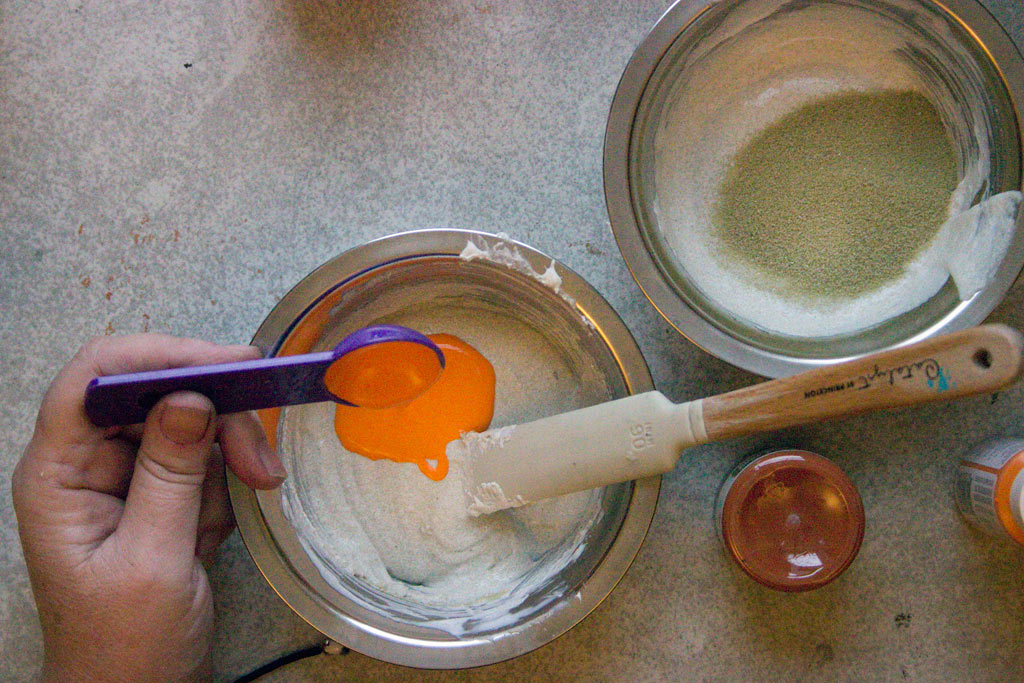
This time, add 1 Tablespoon of Orange Acrylic Craft Paint to the gritty mixture:
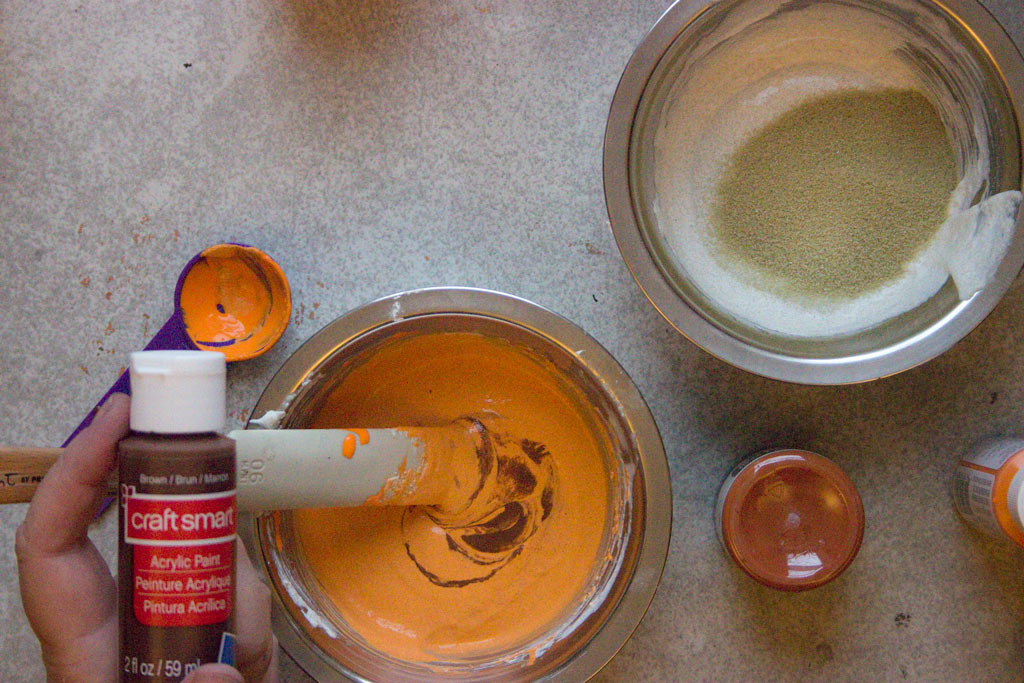
Add 2 Drops of Brown Acrylic Craft Paint to the Orange Mixture:
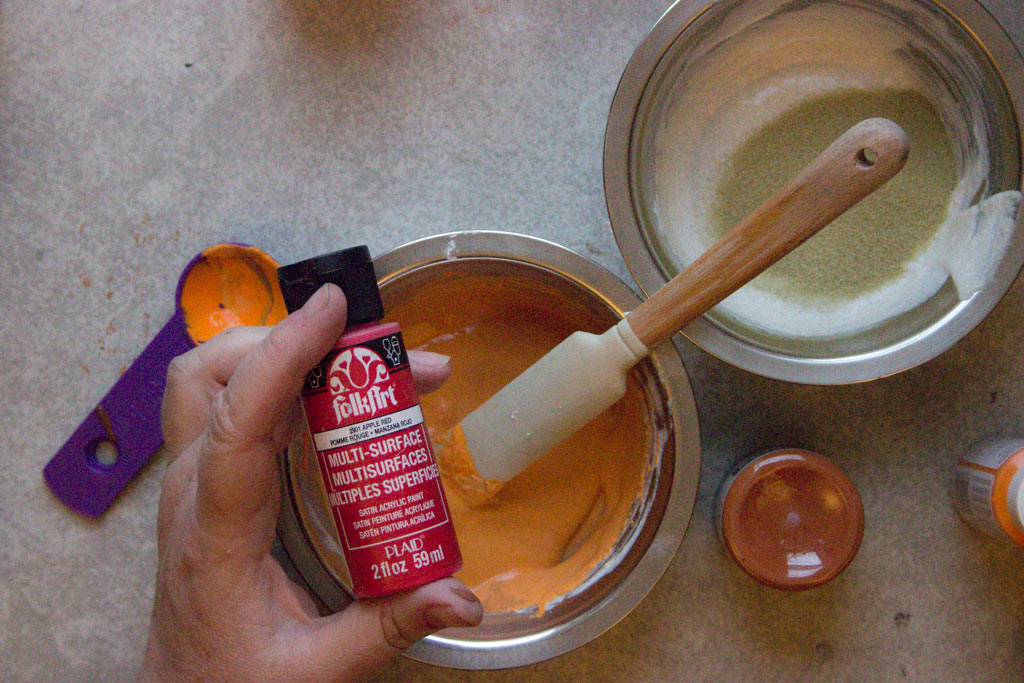
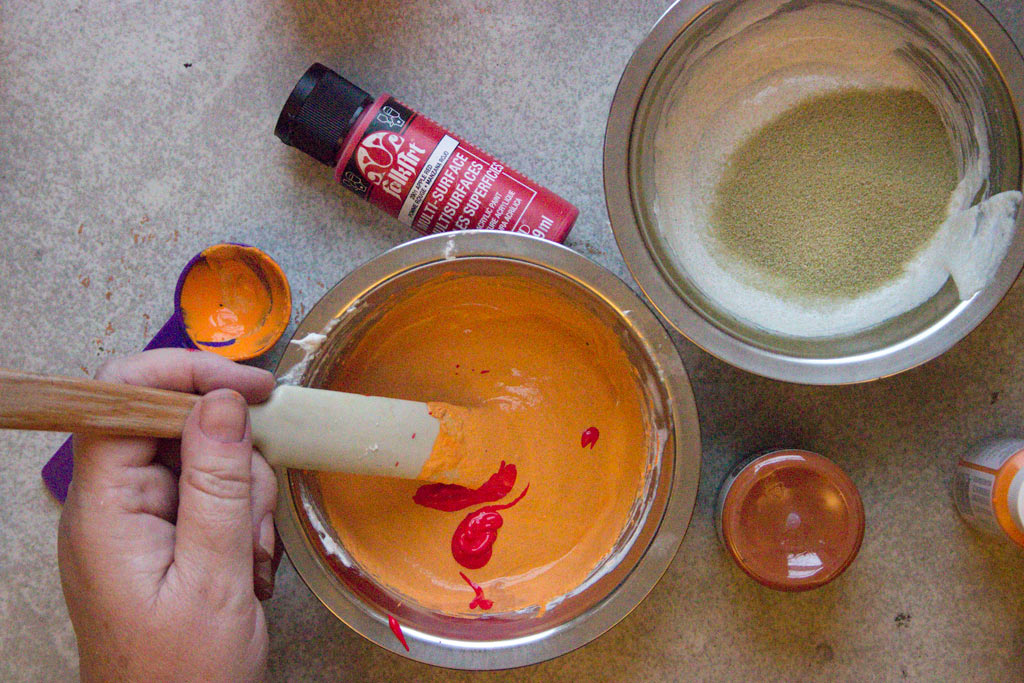
Add 2 Drops of Red Acrylic Craft Paint:
Mix ’em up!
Tone down the tint by adding 1 Drop of Black Acrylic Craft Paint:
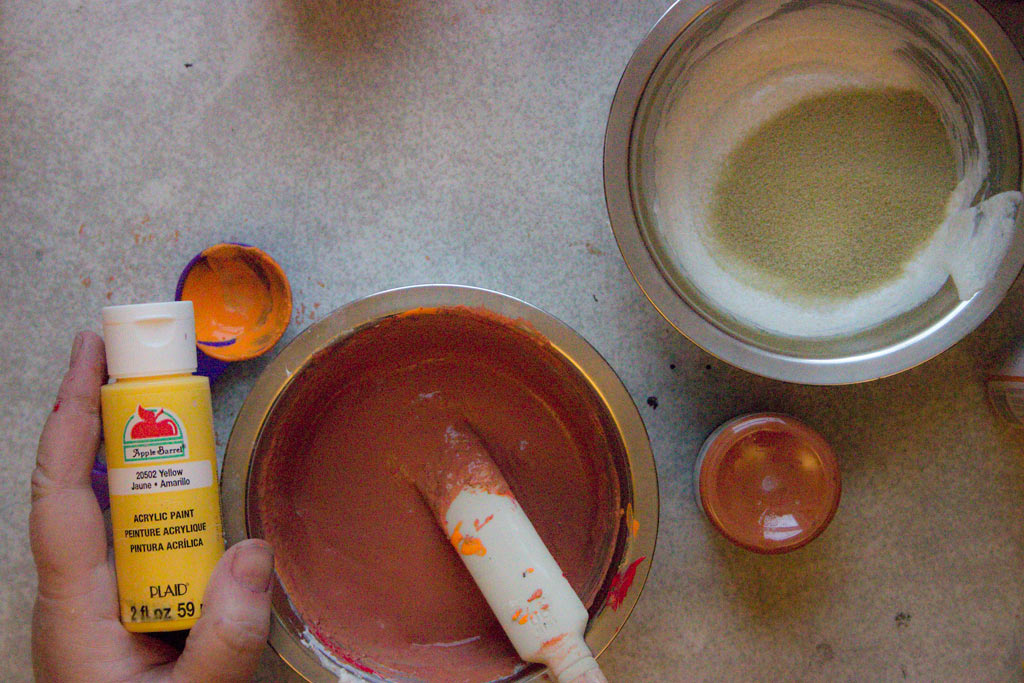
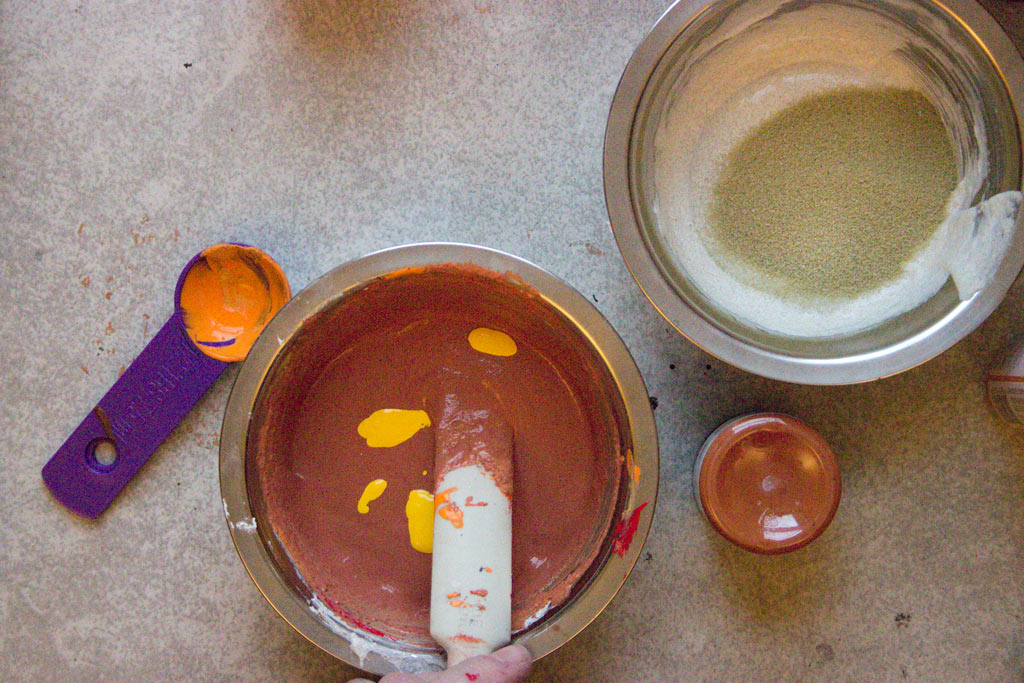
And finally, warm the color up with Yellow!
4 Drops of Yellow Acrylic Craft Paint should do it!
Feel free to adjust the recipe to your own liking…
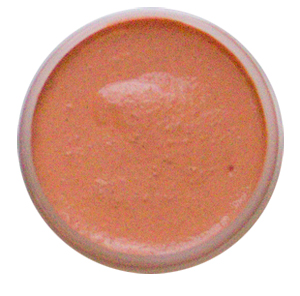
Transfer the Orange DIY Rusty Paste to a lidded jar!
On to the final color..
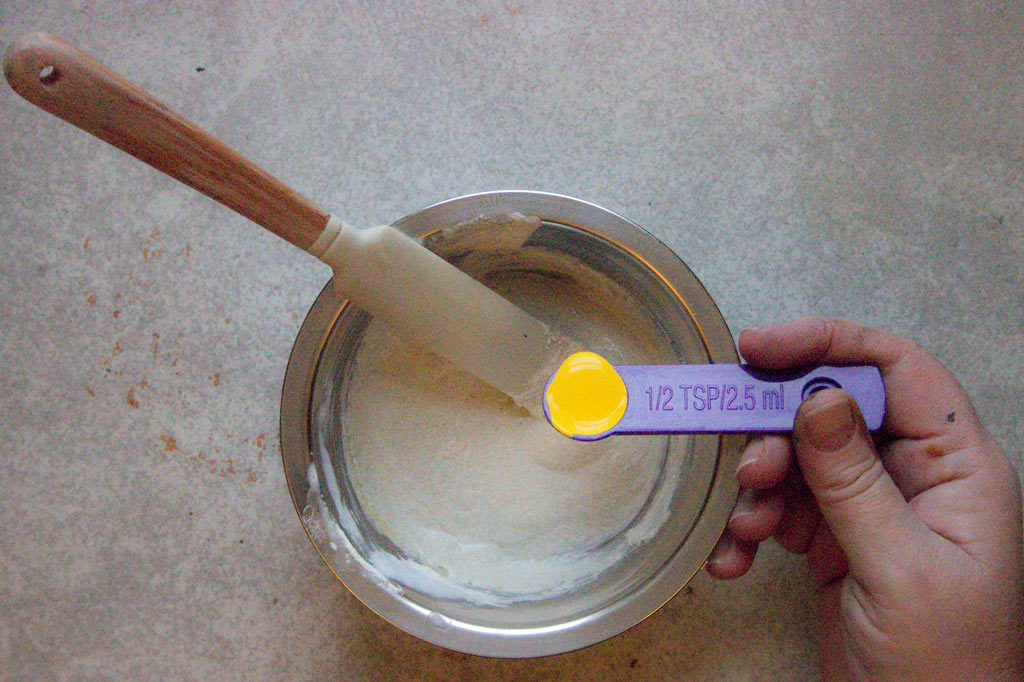
This time, add only 1/2 Teaspoon of Yellow Acrylic Craft Paint to the slurry:
Add 2 Drops of Orange Acrylic Craft Paint:
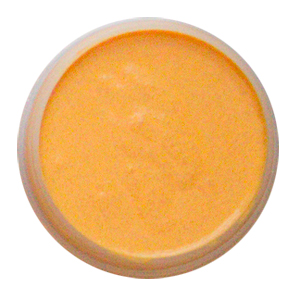
Transfer the Yellow DIY Rusty Paste to a lidded jar:
You are finished!
Yep, that’s all there is to it…now go wash those hands and implements!
Time to PLAY!
How to Apply DIY Rusty Pastes:
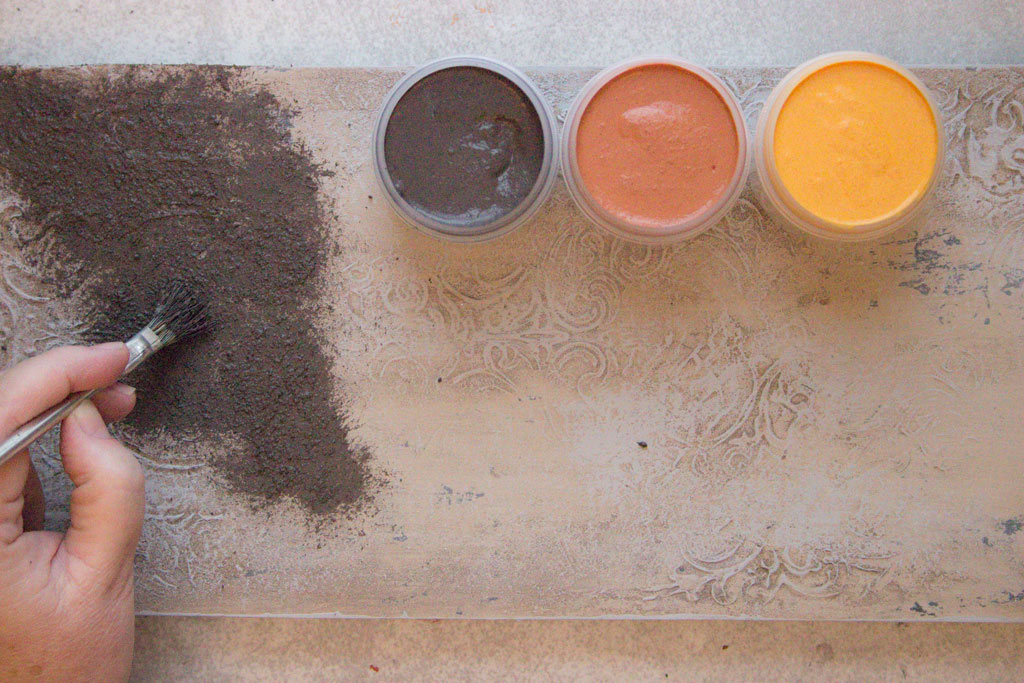
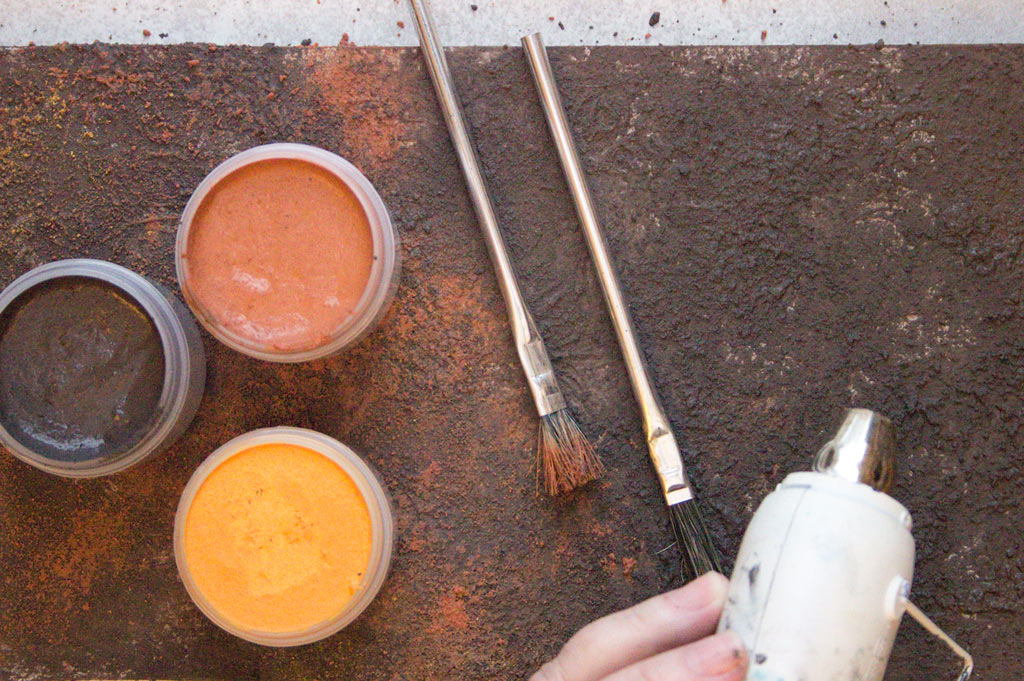
Use a scruffy, STIFF bristled brush to DAB a thick layer of the Brown DIY Rusty Paste onto your project.
(I grabbed an old sample board that had a bit of texture, but in theory, you should be able to add DIY Rusty Pastes onto just about any substrate!)
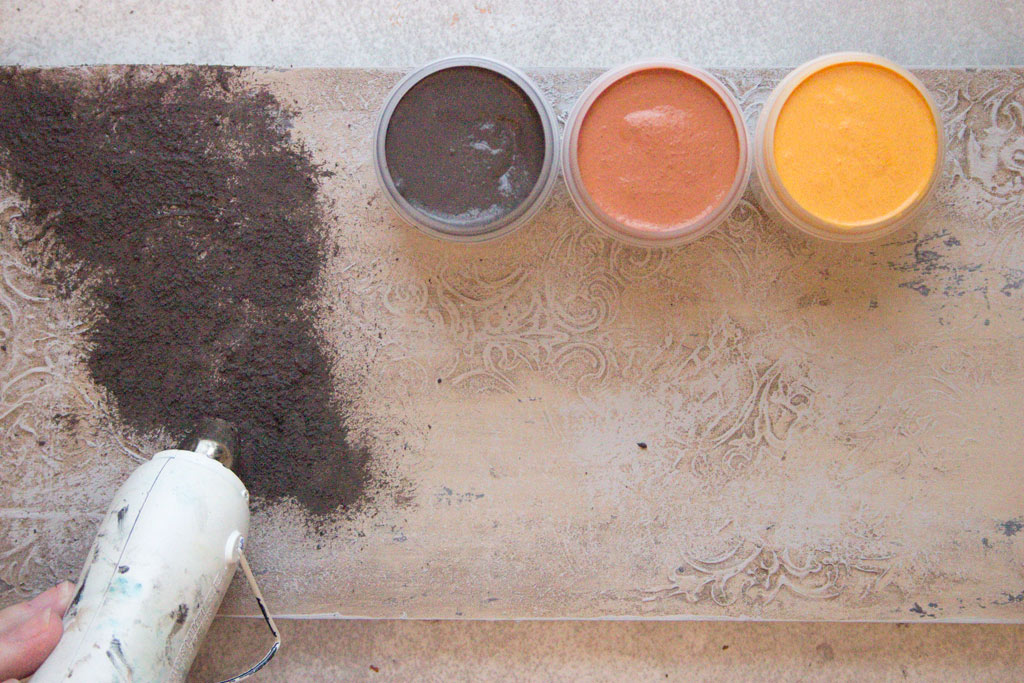
Dry with a Heat Tool.
Add a less intense layer of the Orange DIY Rusty Paste, in as organic a pattern as you can achieve:
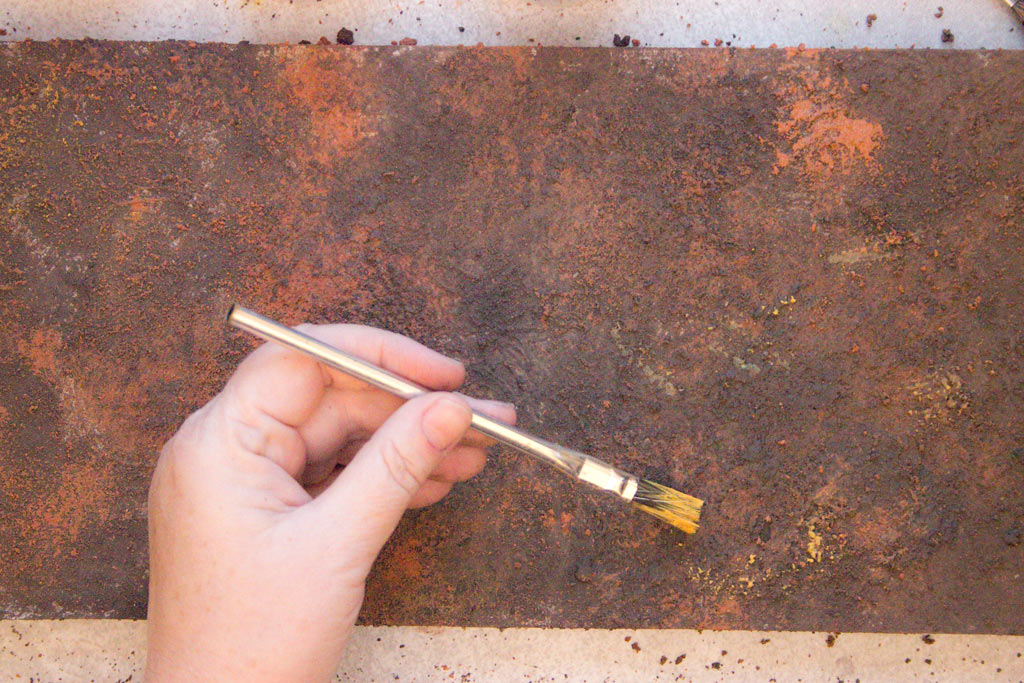
Add tiny touches of Yellow DIY Rusty Paste using a dry-brush method:
Dry with a Heat Tool, then very cautiously add subtle touches of Black Acrylic Paint, with a very dry flat bristle brush.
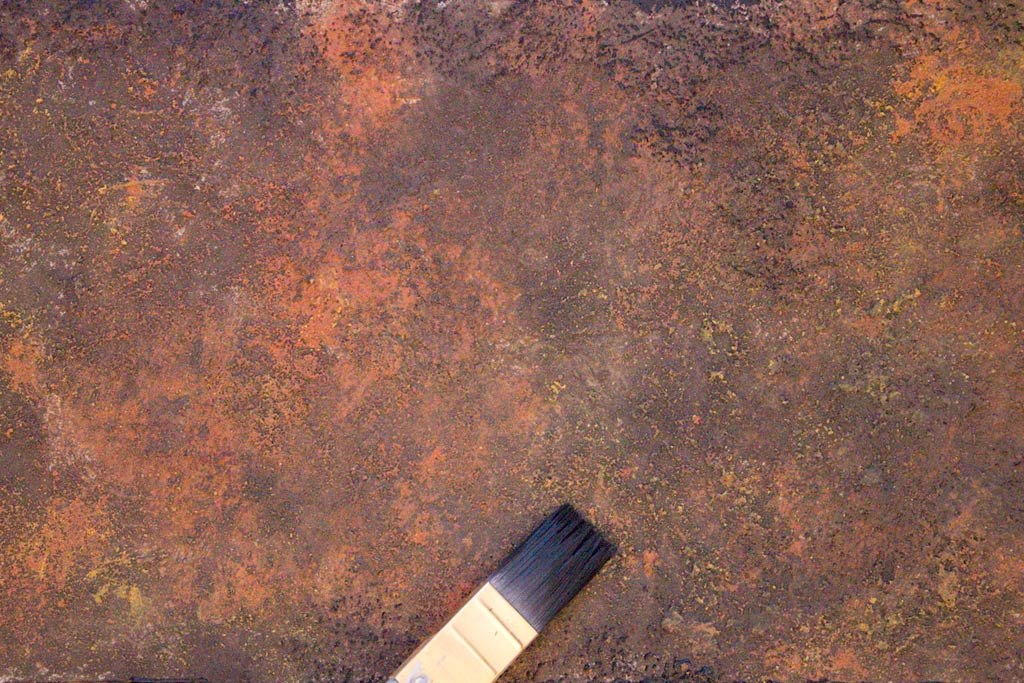
I have to say, this is MAGIC IN A JAR!
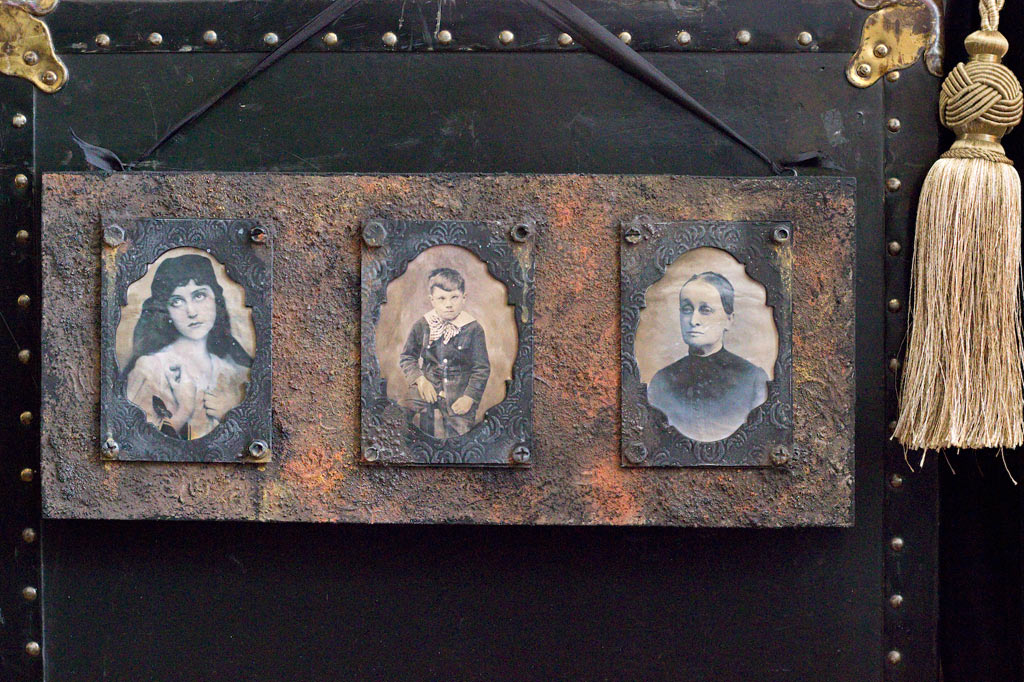
Just LOOK at the result!
For a final touch, you can add a smidgen of Inka Gold: Hematite with your fingertips, to just barely indicate the shine of metal on the high points.
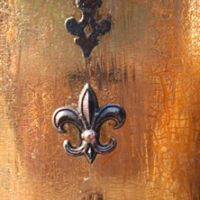
I couldn’t resist showcasing a few of my favorite Graphics Fairy images…the Vintage Rustic feel is the perfect complement to these quirky portraits!
Note: to create these fun and funky frames, follow the directions included in this post: DIY Antique Keepsake Frames!
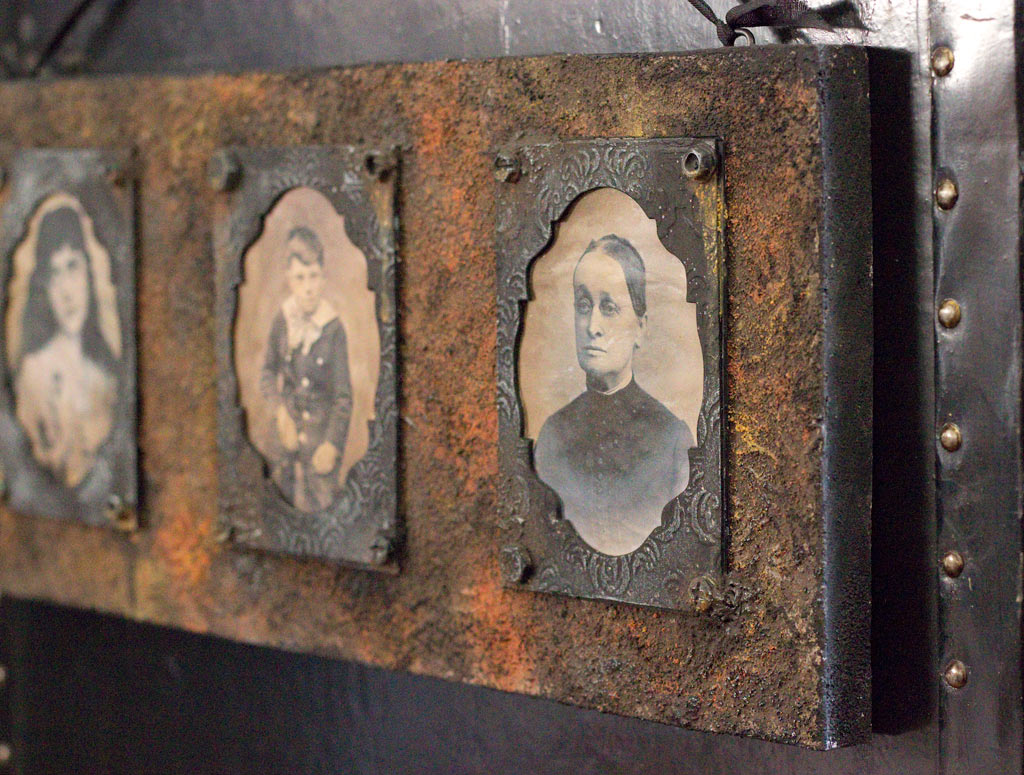
Here, you can see the tiny touches of Inka Gold: Hematite, adding a very subtle hint of metallic sheen:
By the way – the screw heads and bolt heads that you see here are created using a technique from the Mixed Media for Beginners Online Course!
This Cranky Boy just melts my heart….and the DIY Rusty Pastes are just as gritty and delicious in person as they LOOK!
The final project:
How fun! I’ll be mixing up batches of DIY Rusty Pastes whenever I crave the look of deliciously corroded metal.
In other words: ALL THE TIME!
I love the way the color combination creates a glowing and organic background for these portraits! Note: because the Tacky Glue is such a strong binder, it’s not necessary to seal the surface, but if you choose to, make sure to use a Matte Sealer!
Thank you SO much for visiting The Graphics Fairy today! I hope that this little DIY Rust Paste Product Hack will be of use to you! You might also want to check out my DIY Patina Paint Mixes HERE.
Come see me at Thicketworks, if you crave a bit of Quirky Crafting!
Until next time,
Heather
It’s finally here! Our first online crafting eCourse! If you’ve always wanted to try the art of Mixed Media, be sure and check out this amazing course by Heather Tracy!
Click HERE to learn more about it.






Saskia Huis says
Hello,
Thank you so much for this tutorial, ik love it and i was searching the web for een tutorial like this, i have only one question about a product i cannot translate and that is the joint compound, what do hou use for that, for a binder these,s ussually gom Arabic or something like that, but a joint compound……….?
I hope hou can help me solve this question and hopefully cheaper than gom arrabic.
Sencerly
Saskia
Heather Tracy says
Hi Saskia! Joint compound is very inexpensive – it is used to help cover the seams between sheets of drywall, and is available at most hardware stores and lumber yards. The binder is actually the glue – the joint compound gives volume to the mixtures. Hope this helps! xox
Mrs. Nelsen says
Thank you for the receipe, i have 2 very old crystal lamps, this will be perfect for tbe damaged brass base and crystal holders.
graphicsfairy says
That is wonderful, have fun 🙂
Missy Wilson says
I know just the project I want to try these pastes with. Thanks so much for your detailed instructions….
Heather Tracy says
That’s exciting, Missy! So glad you’ll find a good use for ’em! xox
Susan Arseneault-Ruchard says
Oh my goodness! I am just giddy with the possibilities of this technique. Can’t wait to try it. You are fabulous!
graphicsfairy says
Go for it Susan!! Thanks so much 🙂
Jocelyn says
I will definitely try this! Thanks so much for the tutorial.
Do you know if this would this be able to be used on something that would be outside, like a flower planter?
Thanks!
Heather Tracy says
Hey Jocelyn – I would use a good sealer, like Thompson’s Water Seal and try it on a small piece. Let us know how it holds up! xox
Martha Berends says
Thank you very much for the tutorial, I love it!!
Could you please tell me how long they will keep? or do I just have to make a batch for one time only?
Thanks again!! xo
Heather Tracy says
I have no idea, Martha! I checked mine today, and they were fine…so we know at least 2 weeks. Fingers crossed that if we keep ’em tightly covered they will last for months. They are so fun to work with – I hope you give it a shot. xox
Martha Berends says
Thank you, I will definitely try it, it cannot wait!! xo
Heather Tracy says
Yay! Hope you have as much fun as I did, Martha! xox
Carol Richard says
I want to start this project – love rust – in any shape or form! Thank you for sharing. xoxoxo
Heather Tracy says
Hi Carol! Oh, a woman after my own heart…rust is so beautiful. And now, we can slather it on just about anything! Yay! xox
Diana says
Just love this. As I have just moved away from the beach to the desert. I will have to find sand to use. What kind of paper weight for this mix. Thanks so much for the great step by step pics.
graphicsfairy says
Hi Diana,
You can use whatever paper weight you choose 🙂
Fernie says
Love It! Can’t wait to mix this up mess and all. Thank you for this tutorial was well explained and the results are beautiful.
Heather Tracy says
I’m so glad you will be getting messy, too! It was great fun to do, and I was pleasantly surprised at how well it turned out…thanks for taking the time to leave such a kind message.
Vika says
Pięknie! Też często stosuję własne mieszanki farb i mediów w swoich projektach dla uzyskania rdzy.
Twój przepis jest idealny! 🙂
Pozdrawiam z Polski, Vika
Heather Tracy says
Dziękuję, Vika! To była zabawa do tworzenia!
Linda Knox says
You ROCK Heather. Now I can make a bucket full if I want….Yippeeee
Heather Tracy says
Uh oh! We have a rust aficionado here! Yay! I’m so pleased that you like it, Linda! I hope it comes in handy! xox
Kristie says
Omg woman!!! You never cease to amaze me!!!! Thank you for the awesome recipe!!
Heather Tracy says
Hey Kristie! This was such fun to cook up – I hope you find it useful, my friend! xox
Rupa says
Wow! Exactly as I said last week, you imagine and you make it happen…..ingenious as always. Love the effect it creates and if it can be made at home without blowing up anything, even better! Thanks for being the “go to source” for all finishes/techniques and inspiration.
Heather Tracy says
Yay! I’m an inveterate tinkerer, that’s for sure, Rupa. 🙂 Total bonus that nothing was destroyed in this process! Thank you for being a source of kind and loyal support, my dear friend. It makes me so happy to share! xox
Julia says
Lovely Heather! Thanks for sharing!
Heather Tracy says
I’m hopeful that this will get us through those times when the commercially available pastes are unavailable, Julia! Thank you for visiting, and for your kindness. xox
Jo Murray says
THANK YOU !!! This is just the best instruction. I can sure use these pastes in my work.
Heather Tracy says
Hey Jo! I’m glad you’ll find it useful – I was thrilled at the results! xox
Gunnvor Karita says
Yum, Yum, Gimme Some! I’ll definitely be experimenting with your concoction, just need to run to the hardware store for some joint compound! Love your recipes Heather 🙂 xoxoxo
Heather Tracy says
Yay! I hope you like it as much as I do, Gunnvor! Have fun! xox