DIY Rust Paste
Hello, my beloved Graphics Fairy Friends! Heather from Thicketworks here, with a useful and fun Product Hack … DIY Rust Paste! Experiments with commercially available Rust Pastes have resulted in experimenting to come up with my own sort of rusty type concoctions. I hope you enjoy these Craft Paint Recipes!
You can make your own – and I’ll walk you through the process! Join me for this super messy, {totally worth it} fun and rewarding jaunt.
DIY Rusty Pastes Creation!
Before we begin, please know this:
I do NOT claim that my version of this wonderful product is “as good” as the commercially available Rust Pastes.
Nope. I love them, and will continue to use them, too.
What I DO claim is this:
- If you need RUST, and you need it NOW, you do not have to wait until your local or online supplier has it in stock.
- If you have a LARGE project, or you know that you’ll be using this stuff on EVERYTHING, it’s possible to make an up-front investment in the raw materials that will keep you in DIY Rusty Pastes for months!
- The satisfaction that you’ll experience by blending your own Custom Rusty Tints is priceless!
- If you have friends that might want to play, this will make a FABULOUS gift!
Alright, so let’s dive in, shall we?
You’ll need some STUFF!
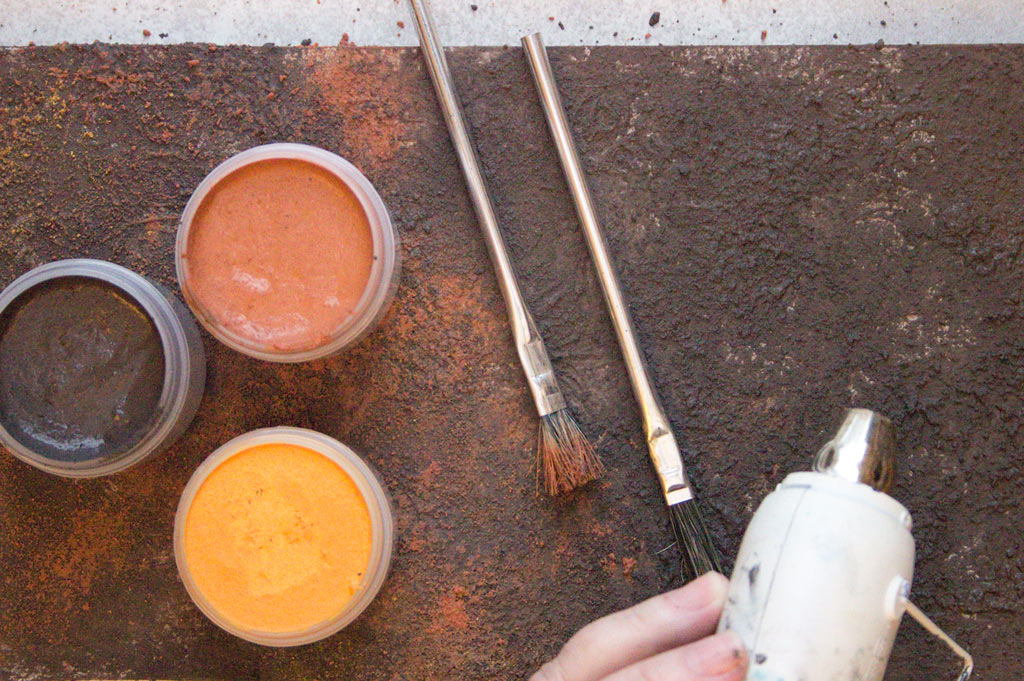
Supplies for DIY Rust Pastes:
- A protected work surface (a sheet of cardboard or similar should do the trick)
- Fine Sand
- Measuring Spoons
- Mixing Spatula
- 3 Mixing Containers
- Lots of damp rags and access to a sink! Very messy indeed.
- Small Empty Jars with Lids
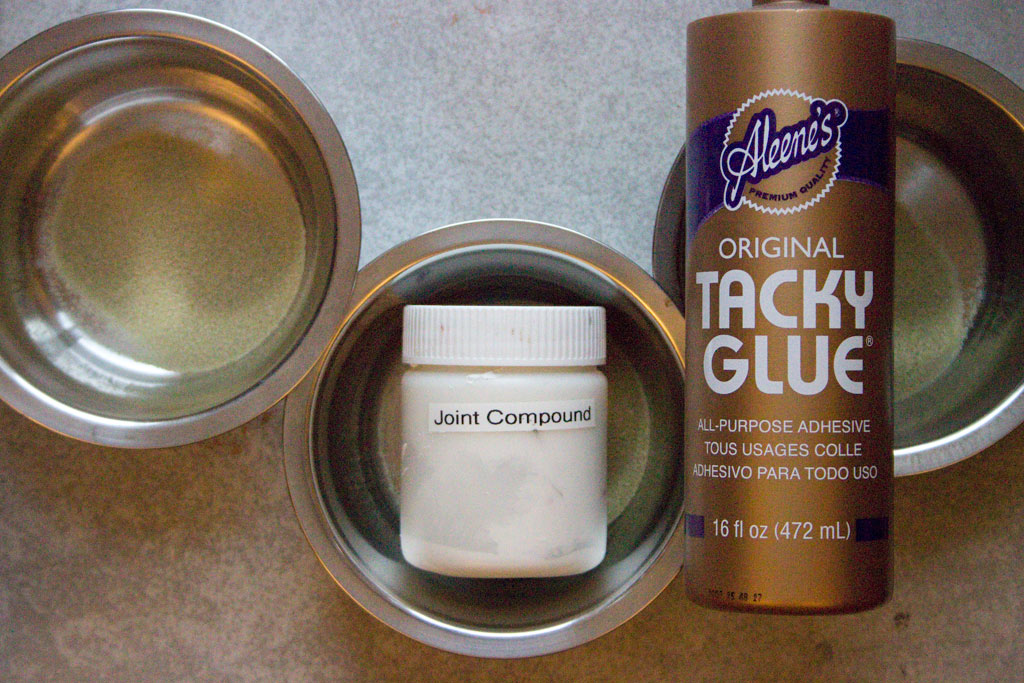
- Aleene’s Original “Tacky” Glue
- Joint Compound
- Disposable Scruffy Brushes (or any stiff bristle brushes you don’t mind abusing!)
- A flat brush for dry brush effects
- Cheap Acrylic Craft Paints (I get the .79 versions at Michael’s)
- Brown
- Orange
- Yellow
- Red
- Black
- Inka Gold: Hematite
- A Heat Tool comes in handy
Note: scrape and wipe as much of the mixture off of your tools and hands as possible, and dispose in the garbage – we don’t want the mixture to go down the drain!
The Graphics Fairy Source Images used in this Demonstration:
How to create DIY Rust Pastes:
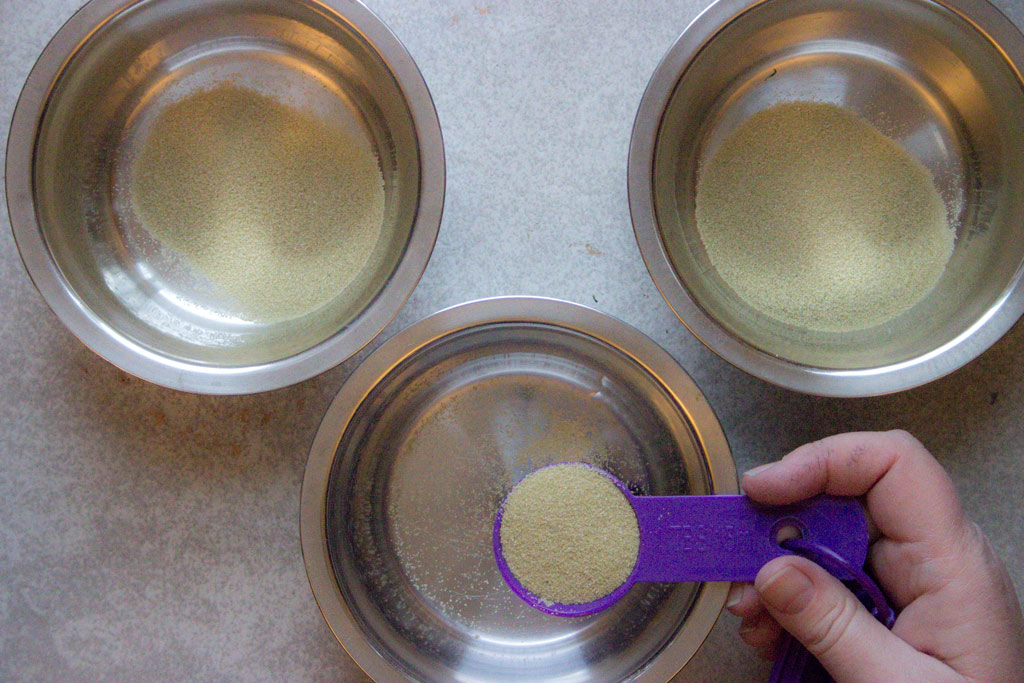
Begin by adding Two Tablespoons of Fine Sand to each of the 3 mixing containers:
Here comes the MESS!
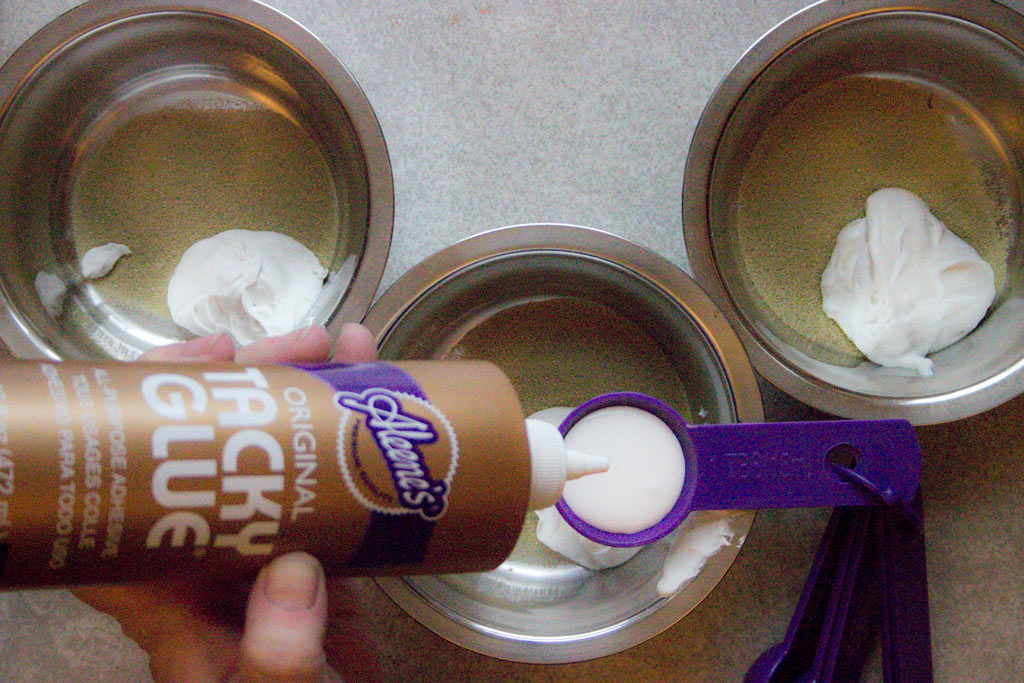
Add One Tablespoon each of Joint Compound and Tacky Glue to the Fine Sand:
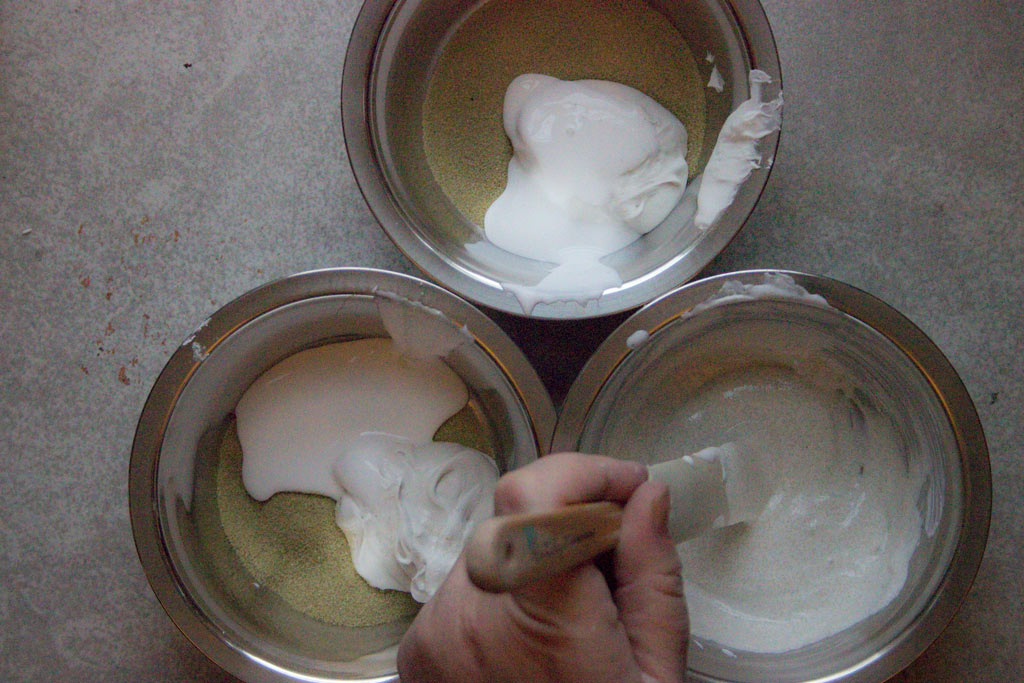
Mix this goopy mess until well blended!
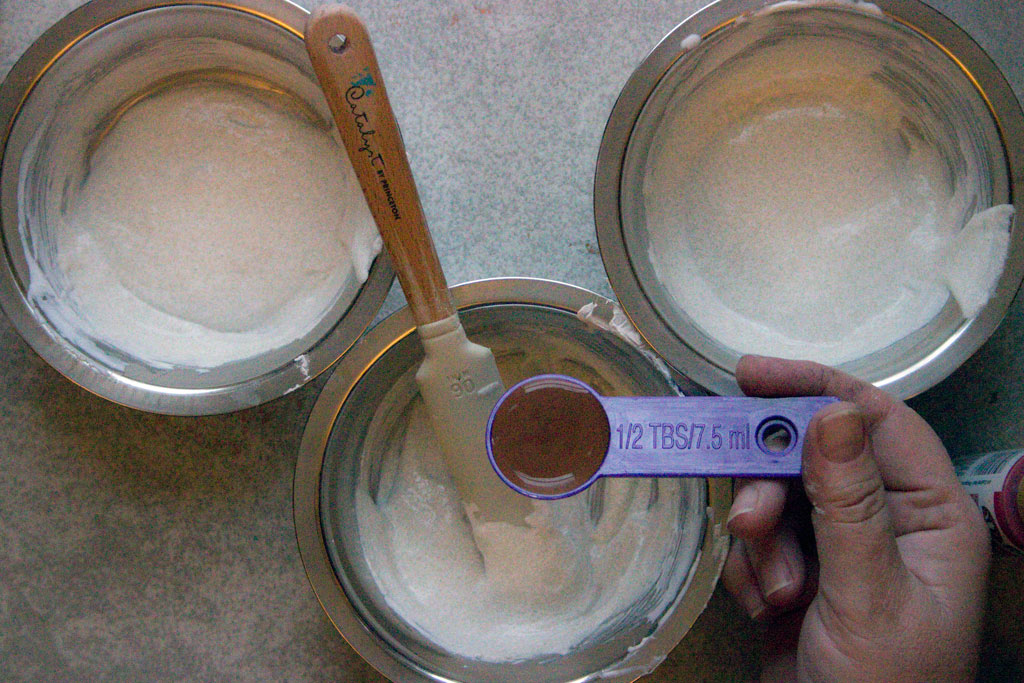
Add 1/2 Tablespoon of Brown Acrylic Craft Paint to the first mixture:
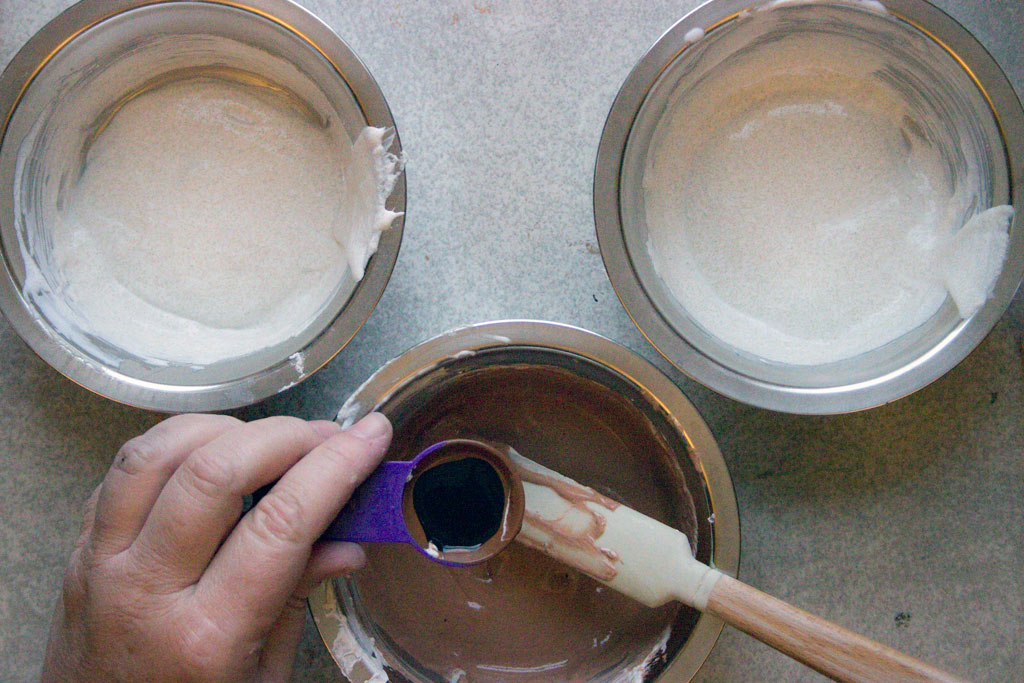
Add a scant 1/4 Tablespoon of Black Acrylic Craft Paint:
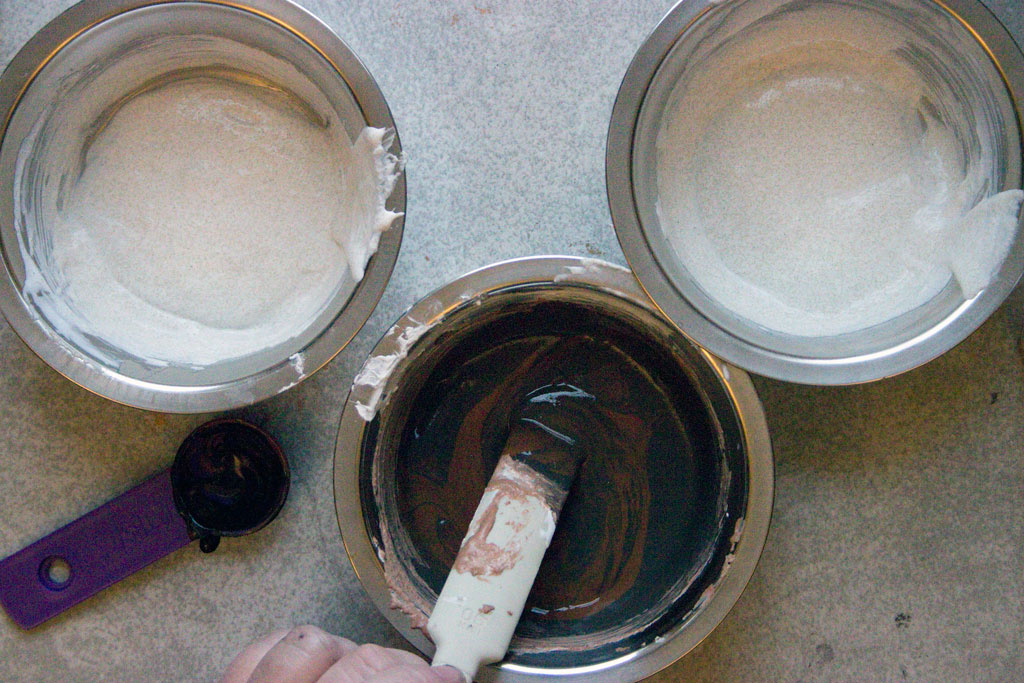
Mix until thoroughly blended:
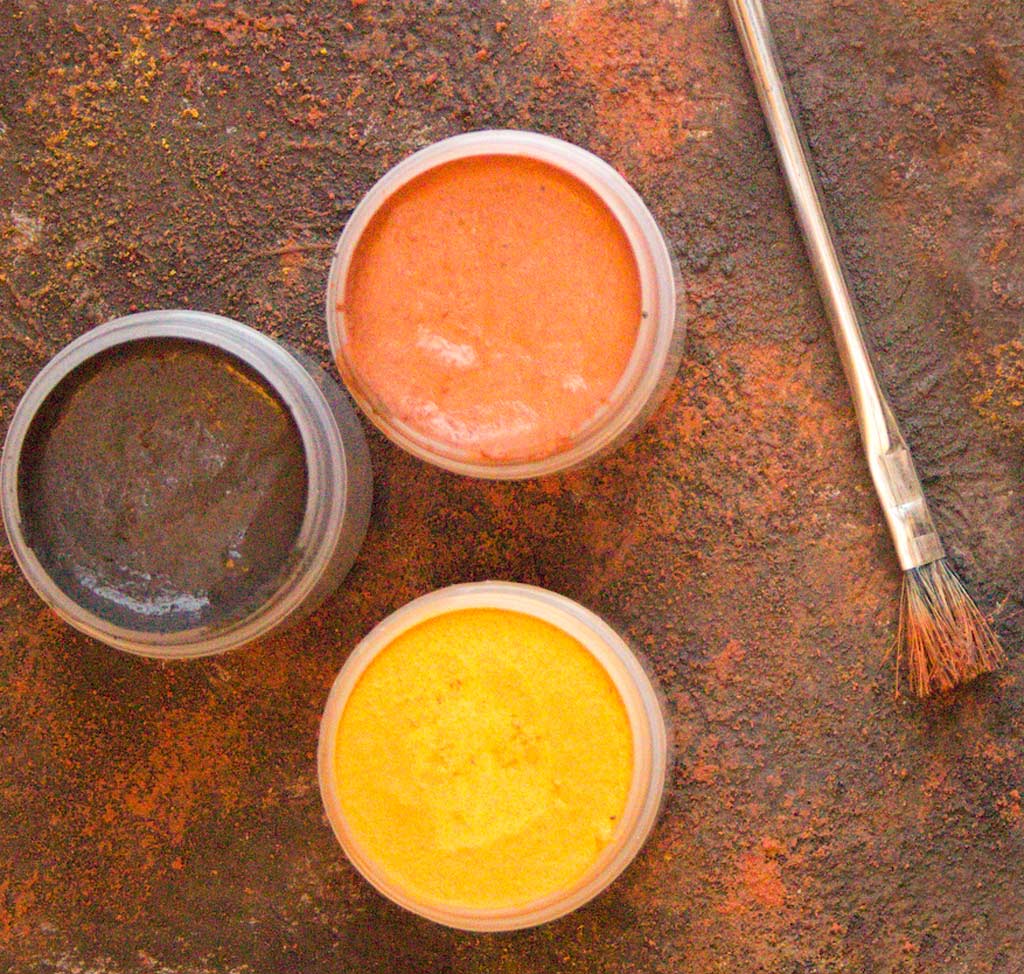
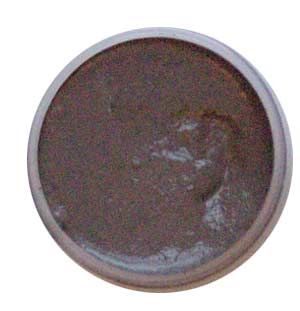
Transfer the Brown DIY Rusty Paste to a jar with a lid, and you have finished Stage One!
Clean your implements and proceed to create the second color.
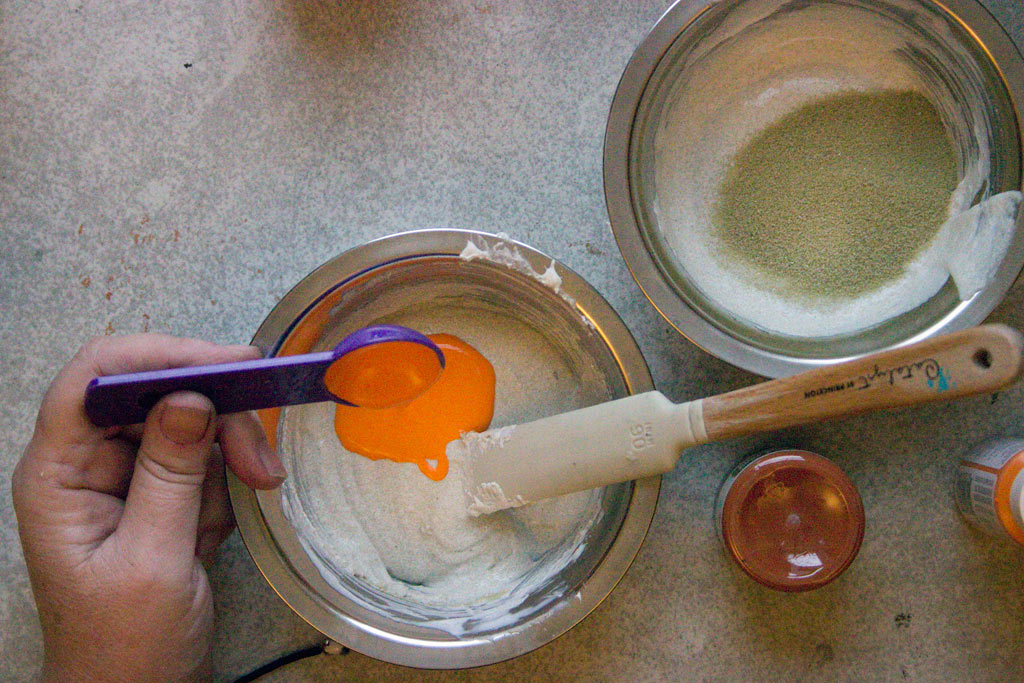
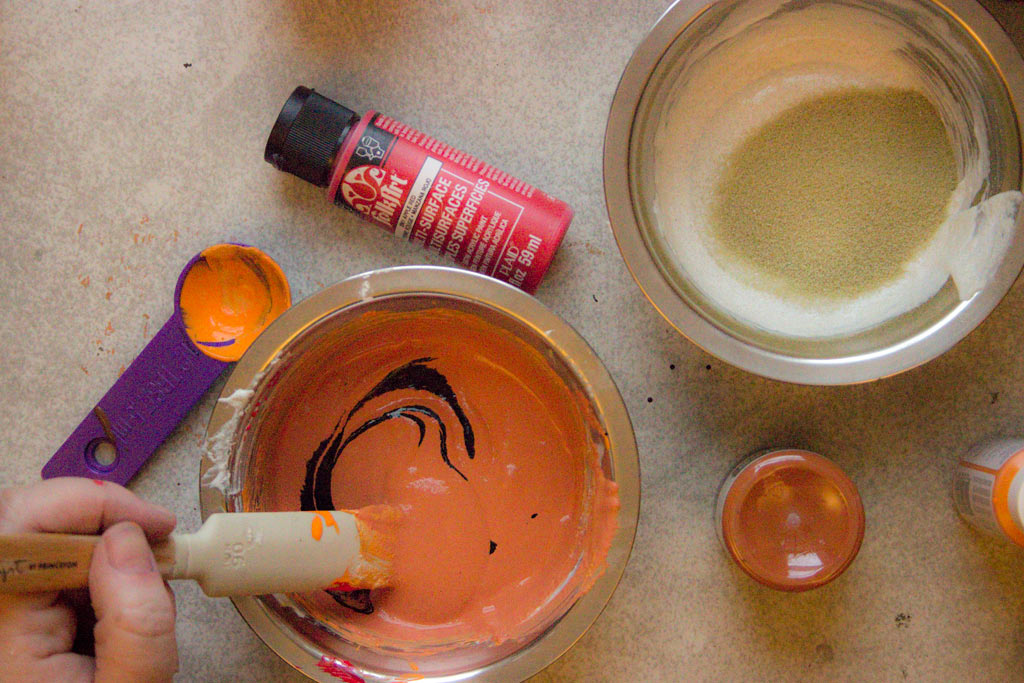
This time, add 1 Tablespoon of Orange Acrylic Craft Paint to the gritty mixture:
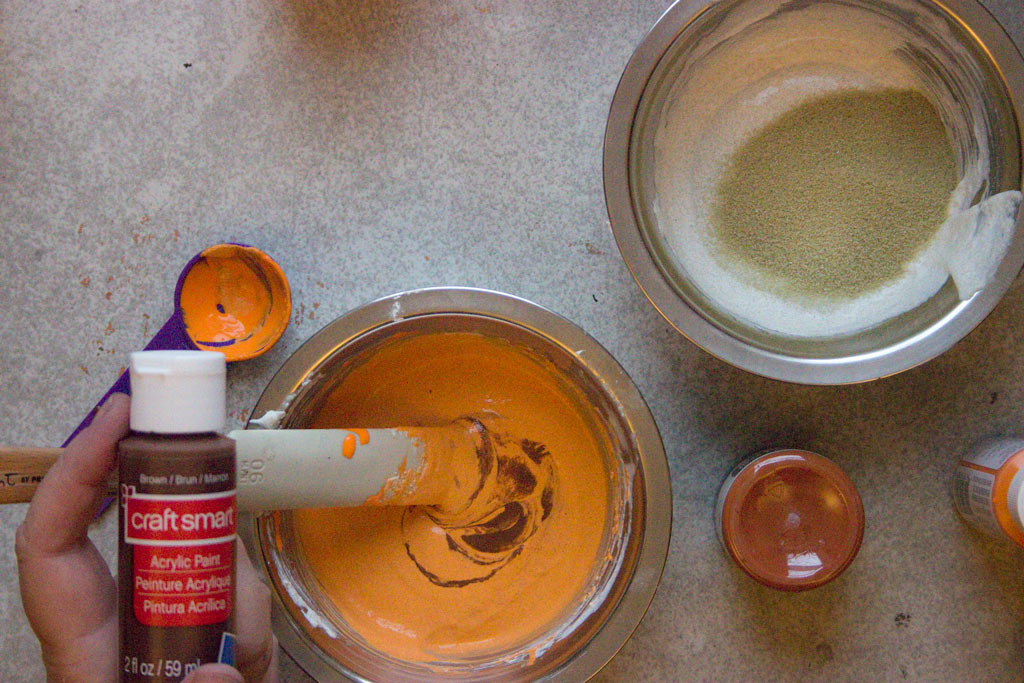
Add 2 Drops of Brown Acrylic Craft Paint to the Orange Mixture:
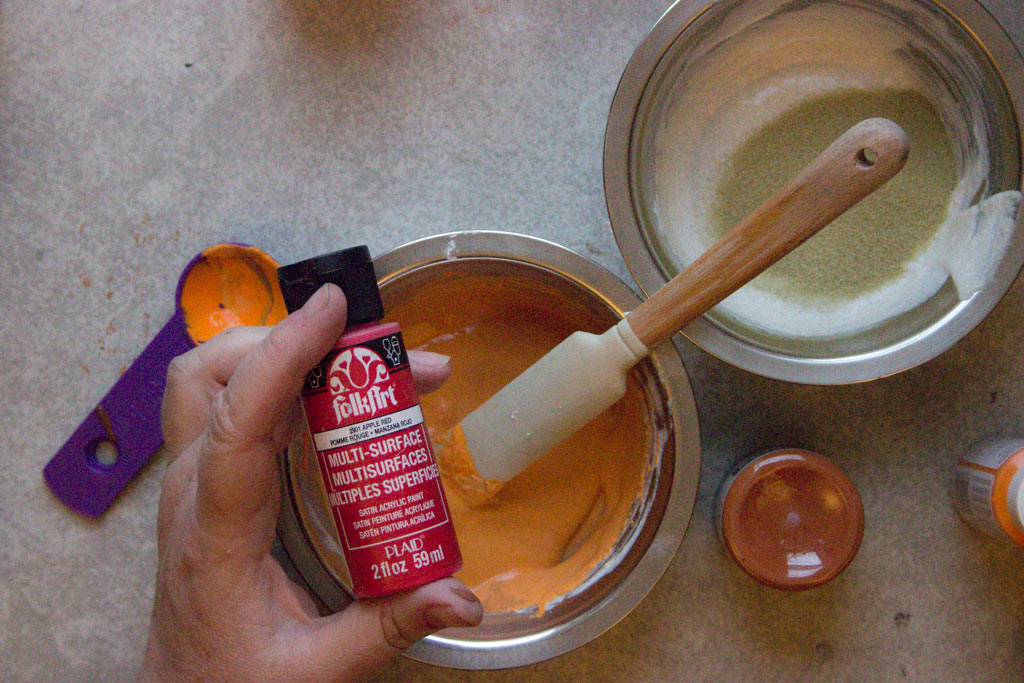
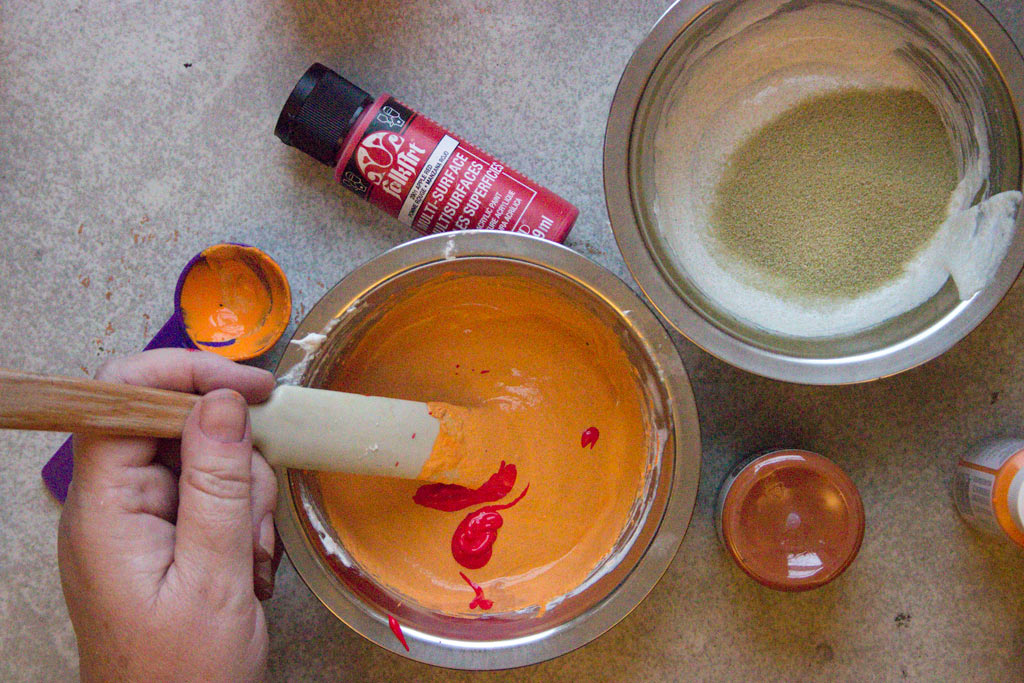
Add 2 Drops of Red Acrylic Craft Paint:
Mix ’em up!
Tone down the tint by adding 1 Drop of Black Acrylic Craft Paint:
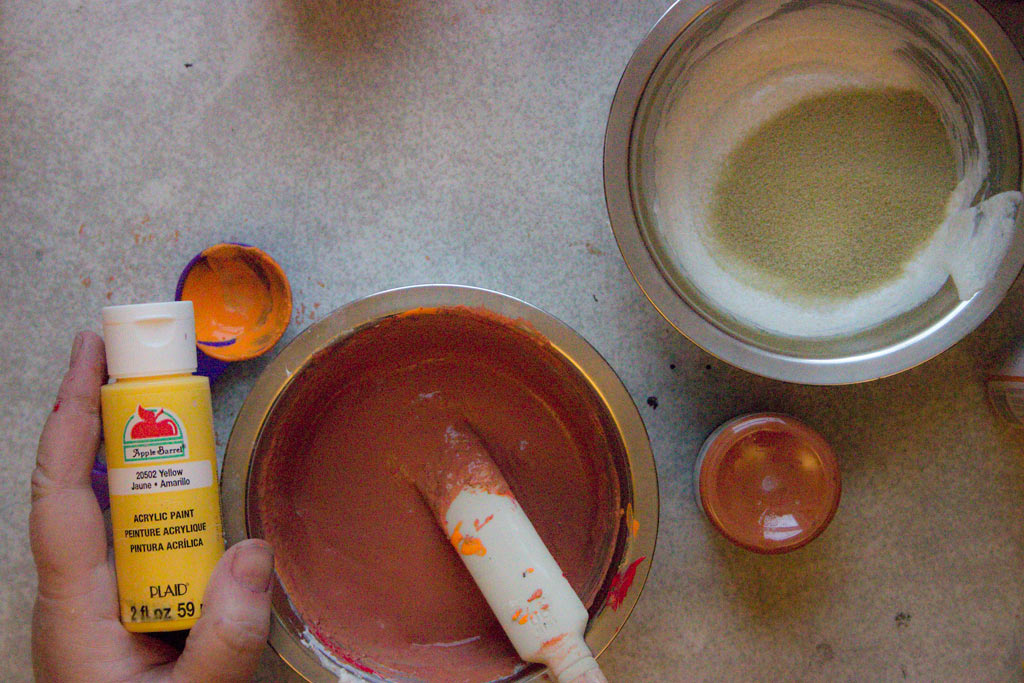
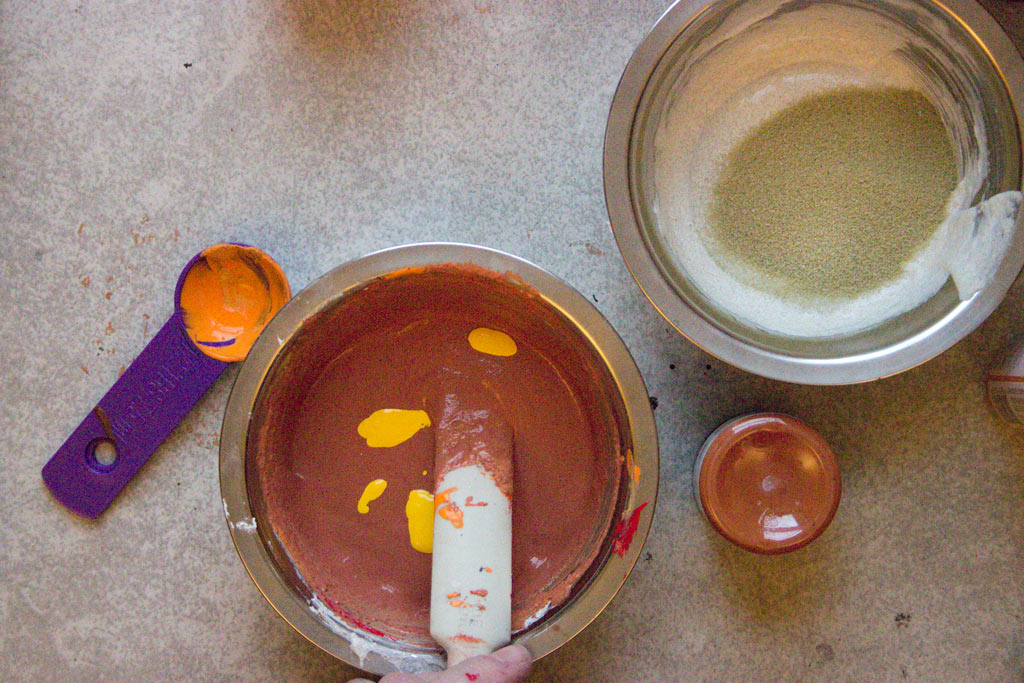
And finally, warm the color up with Yellow!
4 Drops of Yellow Acrylic Craft Paint should do it!
Feel free to adjust the recipe to your own liking…
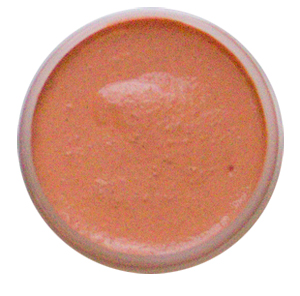
Transfer the Orange DIY Rusty Paste to a lidded jar!
On to the final color..
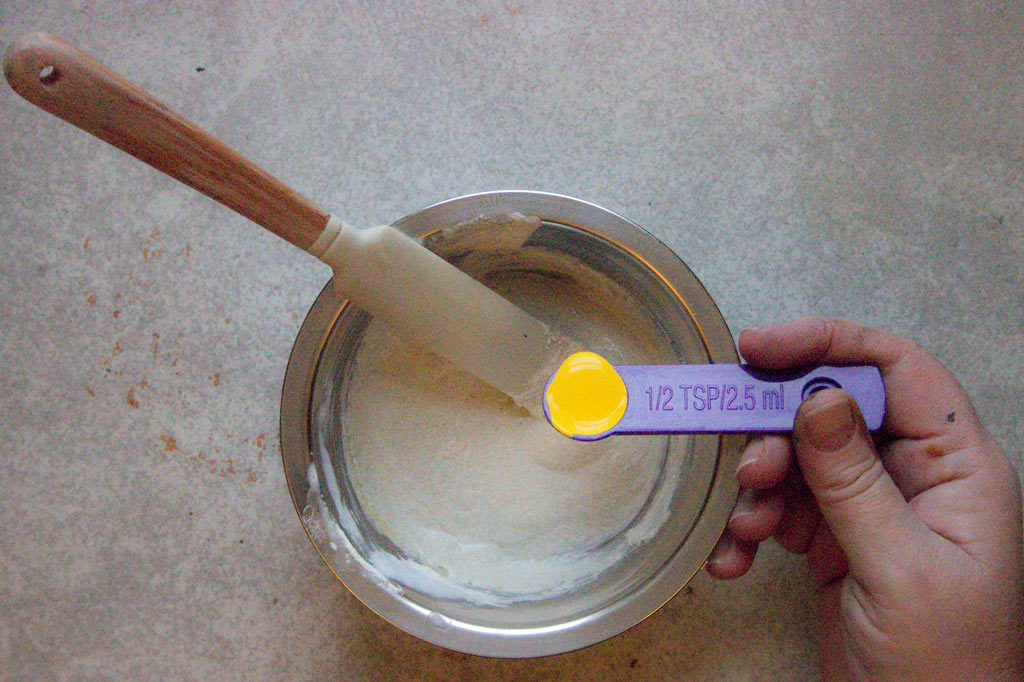
This time, add only 1/2 Teaspoon of Yellow Acrylic Craft Paint to the slurry:
Add 2 Drops of Orange Acrylic Craft Paint:
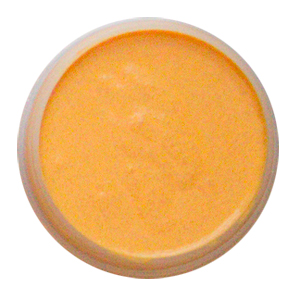
Transfer the Yellow DIY Rusty Paste to a lidded jar:
You are finished!
Yep, that’s all there is to it…now go wash those hands and implements!
Time to PLAY!
How to Apply DIY Rusty Pastes:
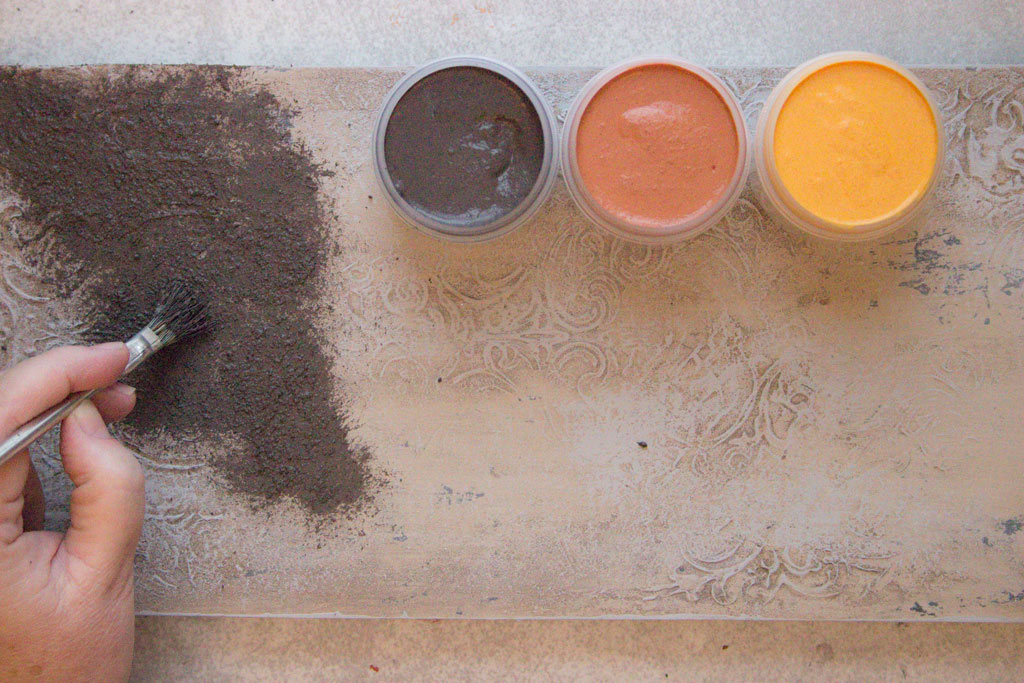
Use a scruffy, STIFF bristled brush to DAB a thick layer of the Brown DIY Rusty Paste onto your project.
(I grabbed an old sample board that had a bit of texture, but in theory, you should be able to add DIY Rusty Pastes onto just about any substrate!)
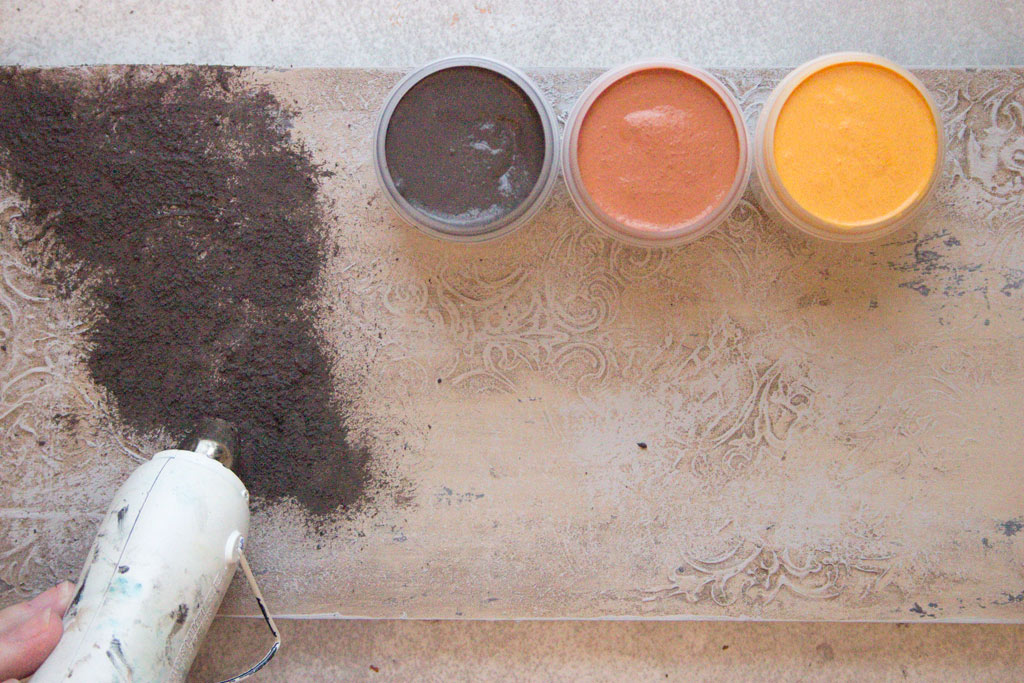
Dry with a Heat Tool.
Add a less intense layer of the Orange DIY Rusty Paste, in as organic a pattern as you can achieve:
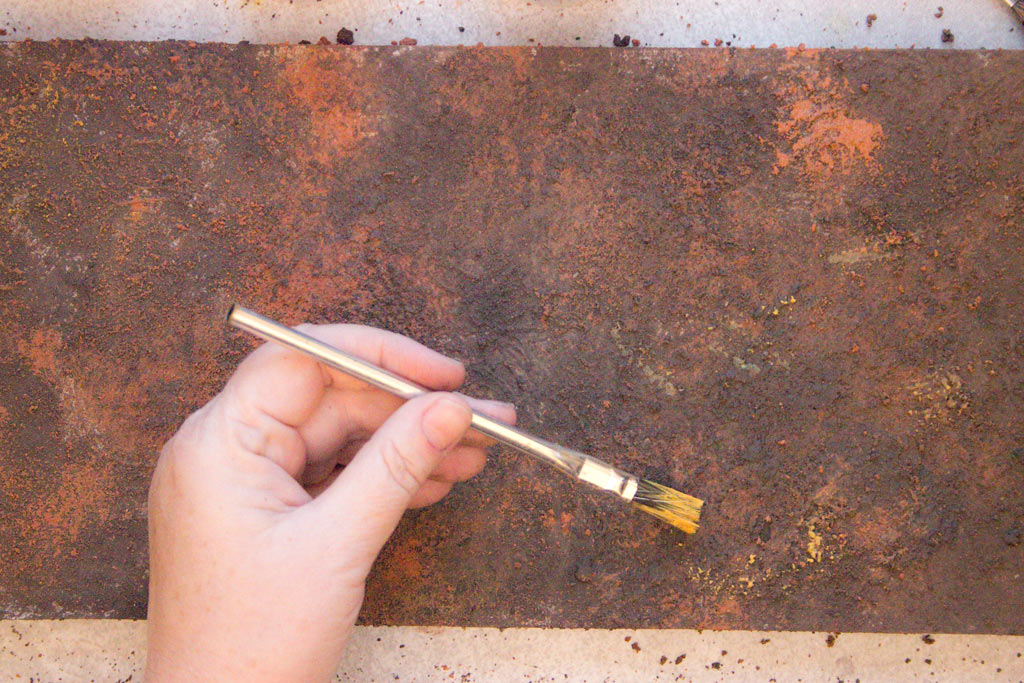
Add tiny touches of Yellow DIY Rusty Paste using a dry-brush method:
Dry with a Heat Tool, then very cautiously add subtle touches of Black Acrylic Paint, with a very dry flat bristle brush.
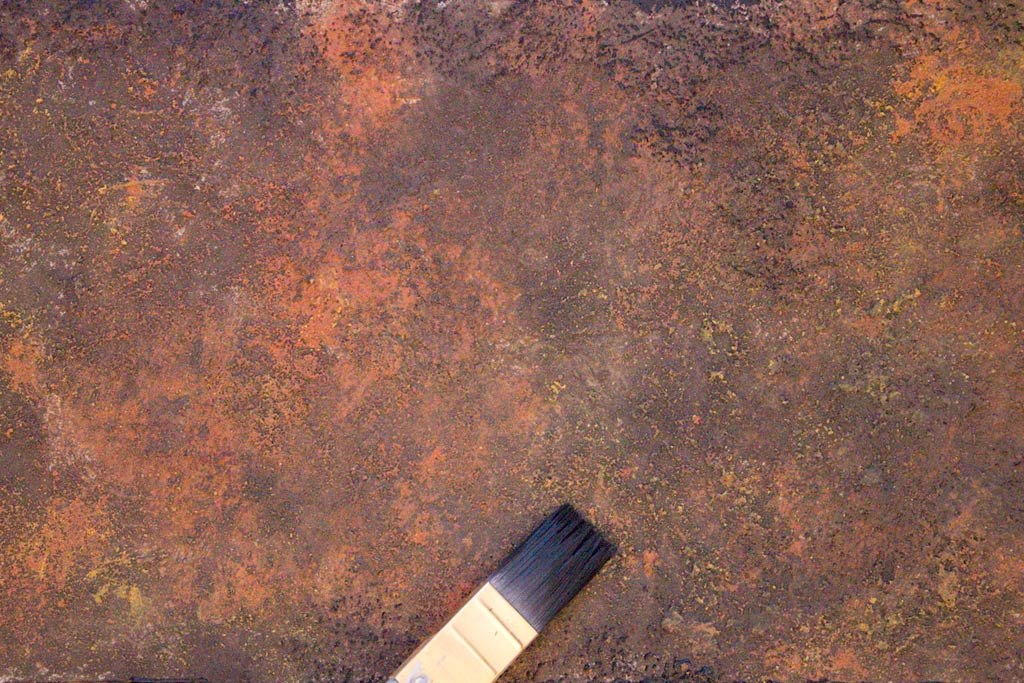
I have to say, this is MAGIC IN A JAR!
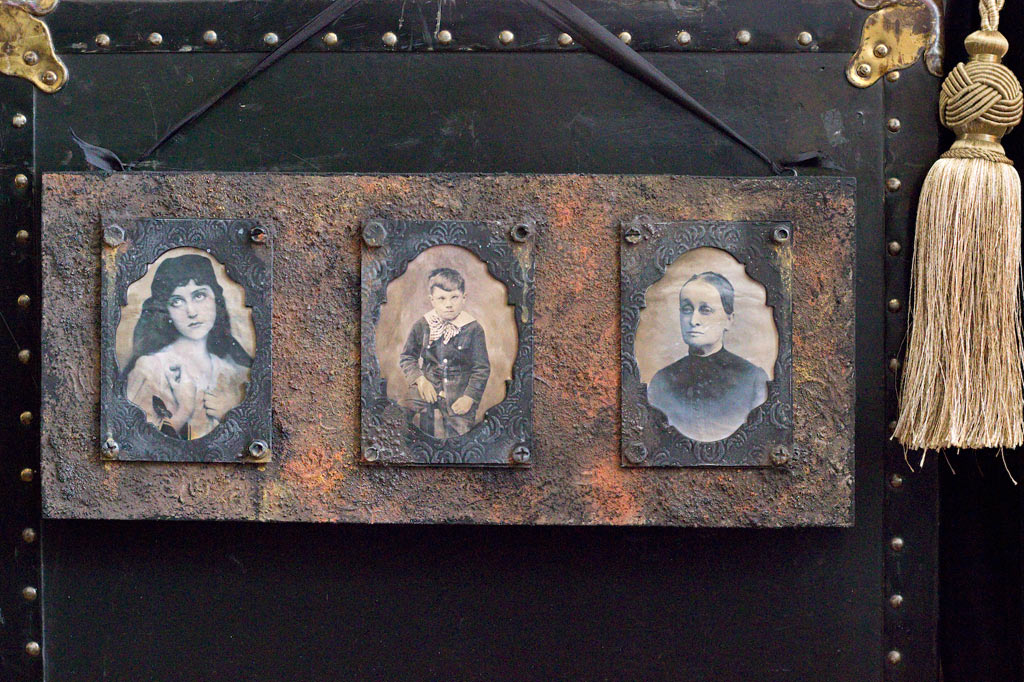
Just LOOK at the result!
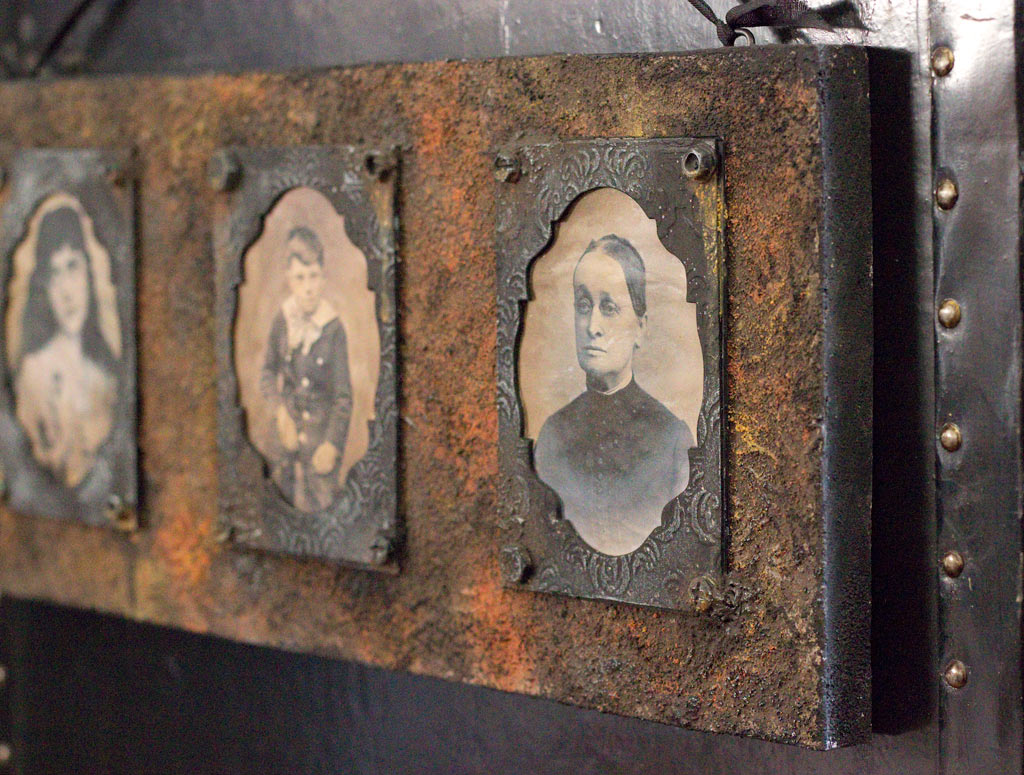
For a final touch, you can add a smidgen of Inka Gold: Hematite with your fingertips, to just barely indicate the shine of metal on the high points.
I couldn’t resist showcasing a few of my favorite Graphics Fairy images…the Vintage Rustic feel is the perfect complement to these quirky portraits!
Note: to create these fun and funky frames, follow the directions included in this post: DIY Antique Keepsake Frames!
Here, you can see the tiny touches of Inka Gold: Hematite, adding a very subtle hint of metallic sheen:
By the way – the screw heads and bolt heads that you see here are created using a technique from the Mixed Media for Beginners Online Course!
This Cranky Boy just melts my heart….and the DIY Rusty Pastes are just as gritty and delicious in person as they LOOK!
The final project:
How fun! I’ll be mixing up batches of DIY Rusty Pastes whenever I crave the look of deliciously corroded metal.
In other words: ALL THE TIME!
I love the way the color combination creates a glowing and organic background for these portraits! Note: because the Tacky Glue is such a strong binder, it’s not necessary to seal the surface, but if you choose to, make sure to use a Matte Sealer!
Thank you SO much for visiting The Graphics Fairy today! I hope that this little DIY Rust Paste Product Hack will be of use to you! You might also want to check out my DIY Patina Paint Mixes HERE.
Come see me at Thicketworks, if you crave a bit of Quirky Crafting!
Until next time,
Heather
It’s finally here! Our first online crafting eCourse! If you’ve always wanted to try the art of Mixed Media, be sure and check out this amazing course by Heather Tracy!
Click HERE to learn more about it.






Steve says
Heather your a Super Star,
I’m trying to create a Roman garden which includes large black plastic wall planters.
After months of searching, expensive blue patina on plastic solutions, I found your website.
Can’t wait to get started.
Can’t thank you enough,
Regards,
Steve.
graphicsfairy says
Thanks so much Steve, good luck!
Jacquelynn Zuzulock says
Hello!
I just started trying out some diy’s & thankfully stumbled upon yours! I’m def a newbie to all of this but I wanted to ask if joint compound is used just for volume, could I substitute baking soda, baby powder etc? I made chalk paint with baby powder (def smooth results & baking soda as a textured paste) Okay it was just used as wood filler BUT it worked! LOL!!!
By any chance, can any other type of glue work???
Thanks for your informative post which I can’t wait to try on an old trunk!!! YAH!!!
graphicsfairy says
Hi Jacquelynn,
So glad you found us 🙂 This was a guest post by Heather from Thicketworks. She does amazing work!! I am not sure about your questions about substitutions, sorry. You can always give it a try on a scrap piece before trying on your old truck 🙂 Good luck!!
B J Westerhaus says
Could I use this rusty recipe and technique and paint a large ceramic piece?
Heather Tracy says
Hey BJ! The answer is: maybe. Here’s what I mean: if the ceramic piece you are describing has a smooth, glazed surface – it will be very difficult to adhere anything permanently to that surface – conventional adhesives will tend to ‘flake’ off. But, if the ceramic has a matte or rough texture, then yes – this method will work. Just don’t expect it to survive the elements – this won’t stand up to weather. Hope this helps!