Hi Everyone! It’s Emily, I’m Karen’s partner over on the Graphics Fairy Premium Membership Site!
Today I’m going to be using Photoshop Elements to teach you a super useful technique…
How to Create Reverse Saturated Graphics
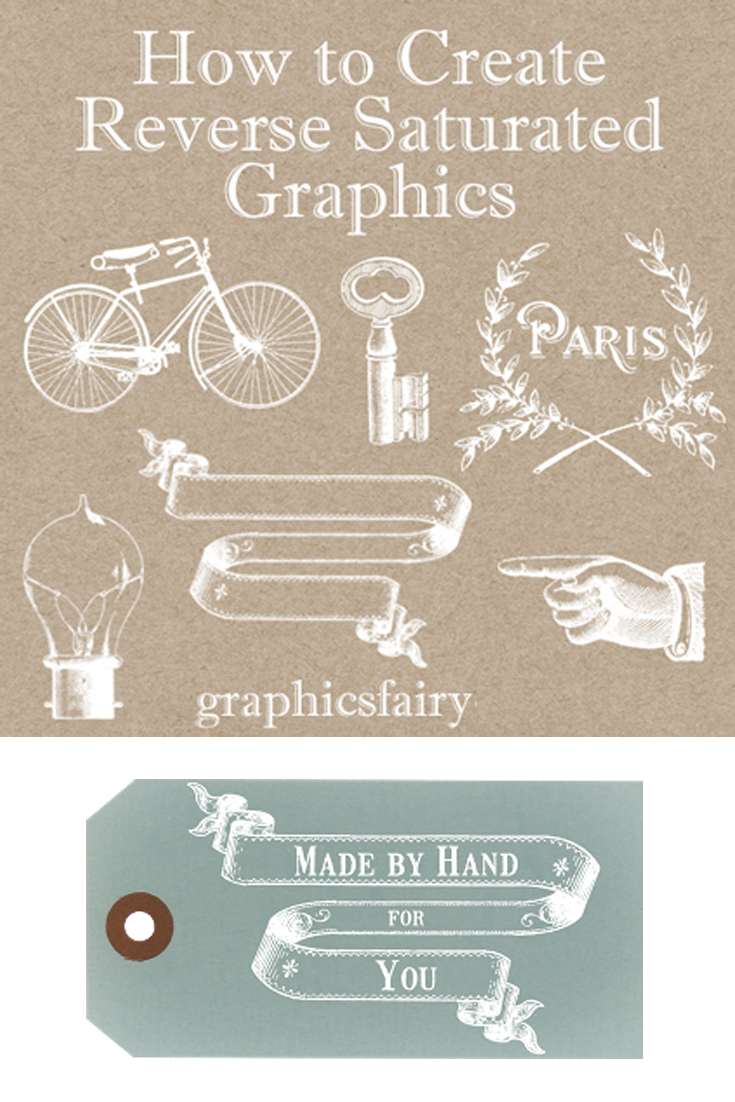
Reverse images, or white text or imagery on dark backgrounds, has become quite popular, especially with the recent chalkboard graphics craze. I personally love this look for invites, wedding projects, and logos.
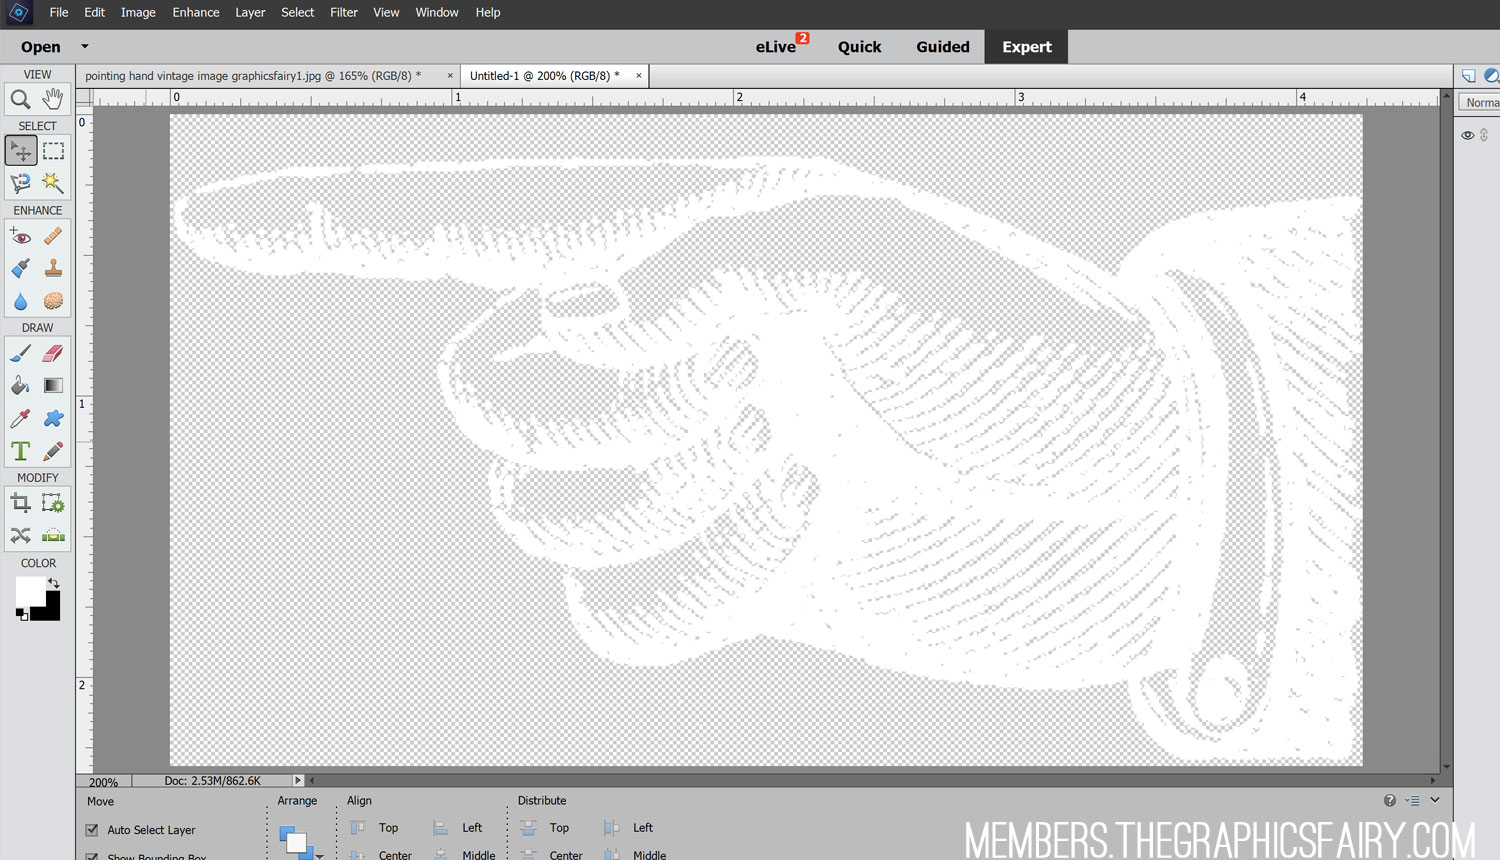
I wanted to teach you a trick on how to create these white images in PhotoShop Elements (PSE). You can really get a high end look for your digital art projects with existing graphics and a few easy steps. If you don’t have PSE that’s okay. I’ve included the images I created in this post as downloadable files for you right below.
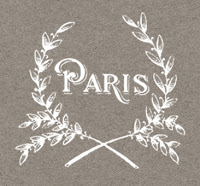
{Click on the name to view and save the white transparent .png images shown above} Bicycle, Vintage Lock & Key, Paris Wreath, Light Bulb, French Ribbon Banner, Finger Point Left, Finger Point Right
This technique works best when you start with pure black and white images. I’ve found line drawings and Victorian etchings like the one below work particularly well.
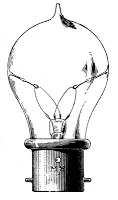 |
| Old Fashioned Light – Graphics Fairy |
For this project I used The Graphics Fairy’s: Bicycle, Vintage Lock & Key, Paris Wreath, Light Bulb, French Ribbon Banner, Pointing Finger.
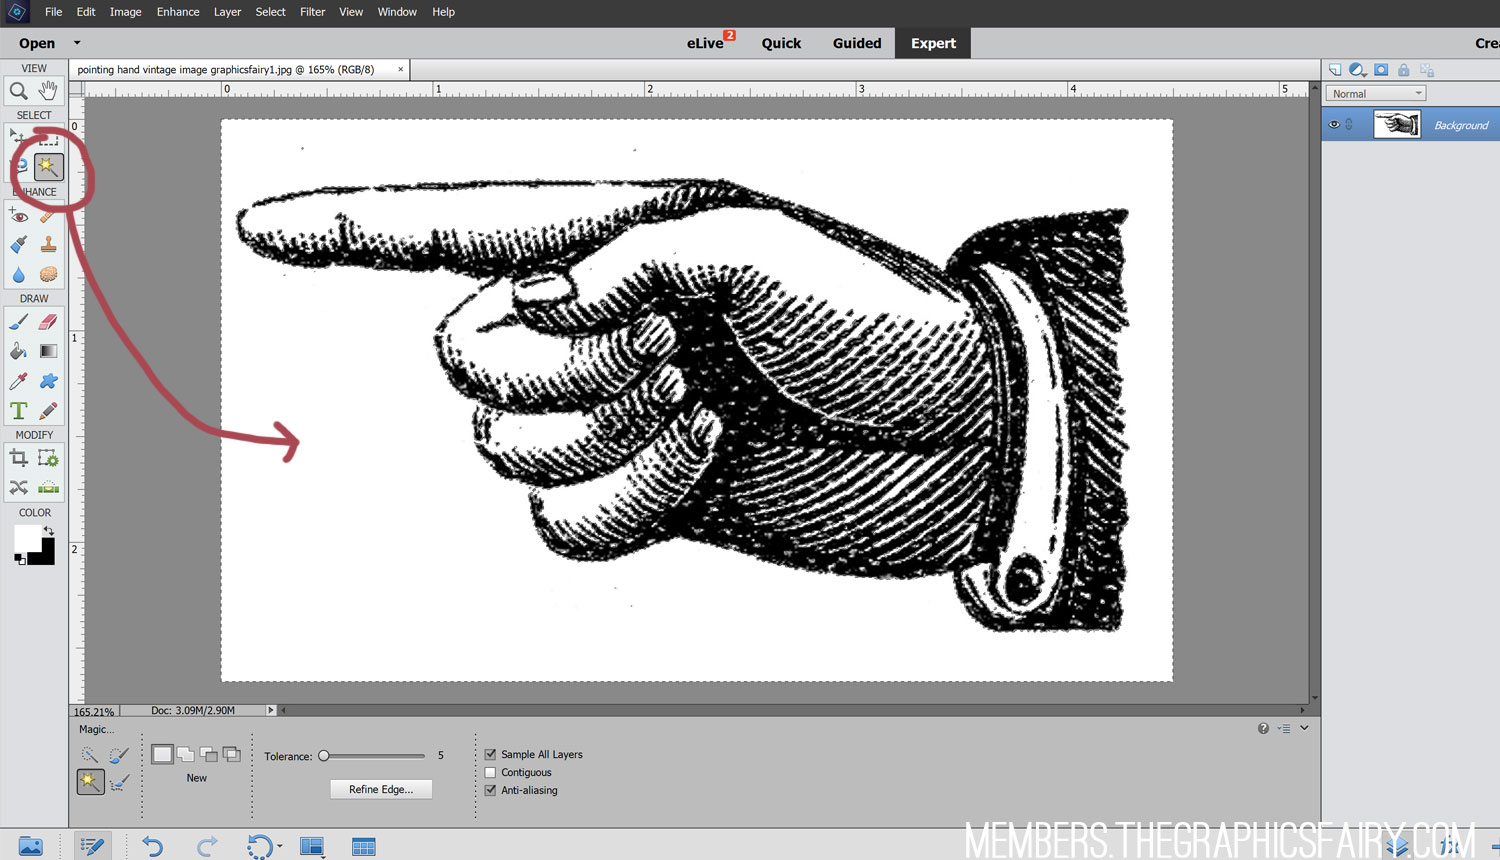
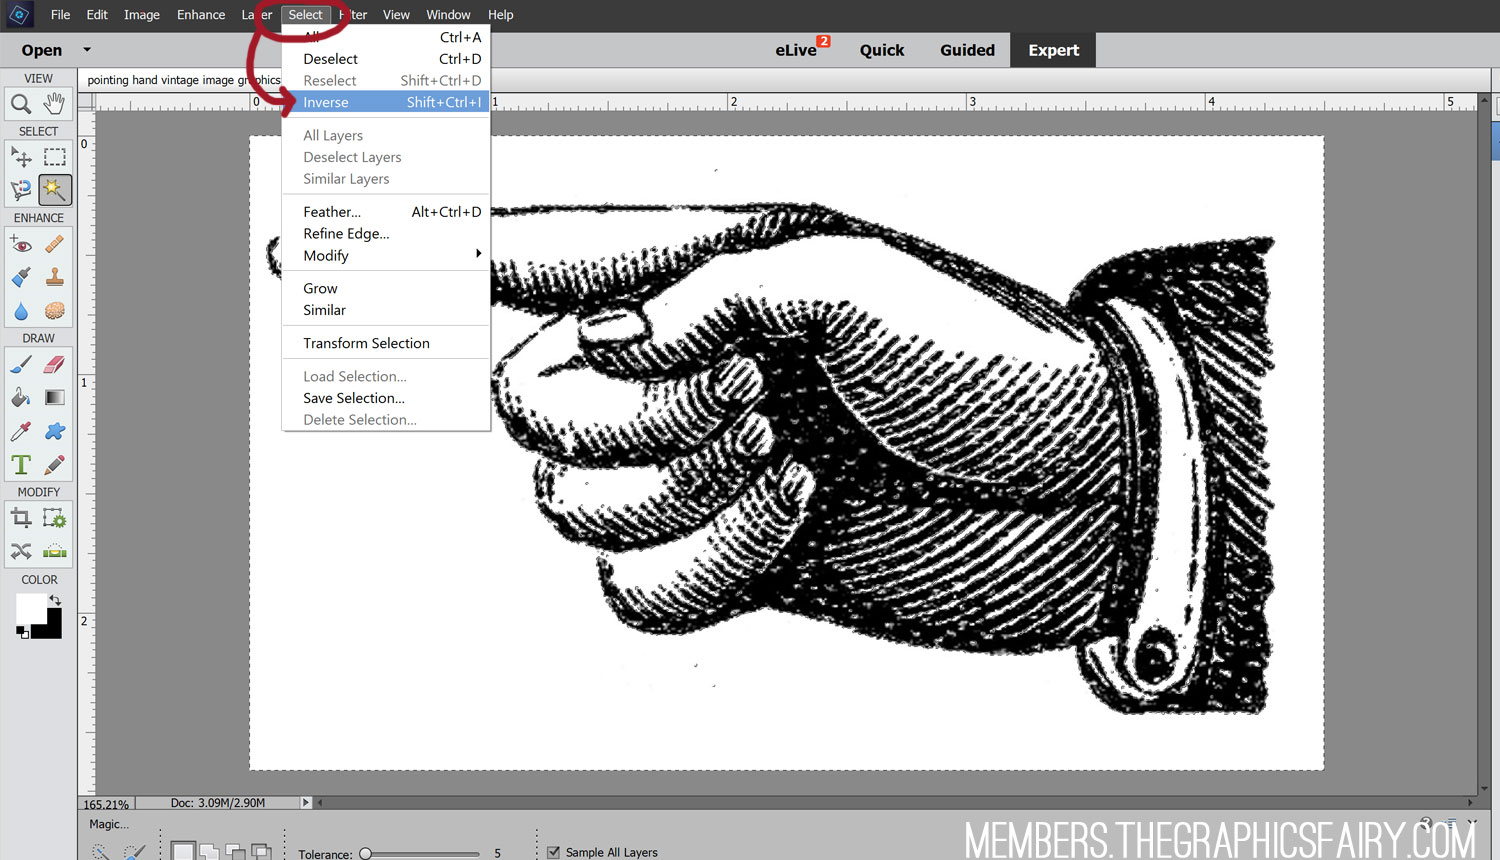
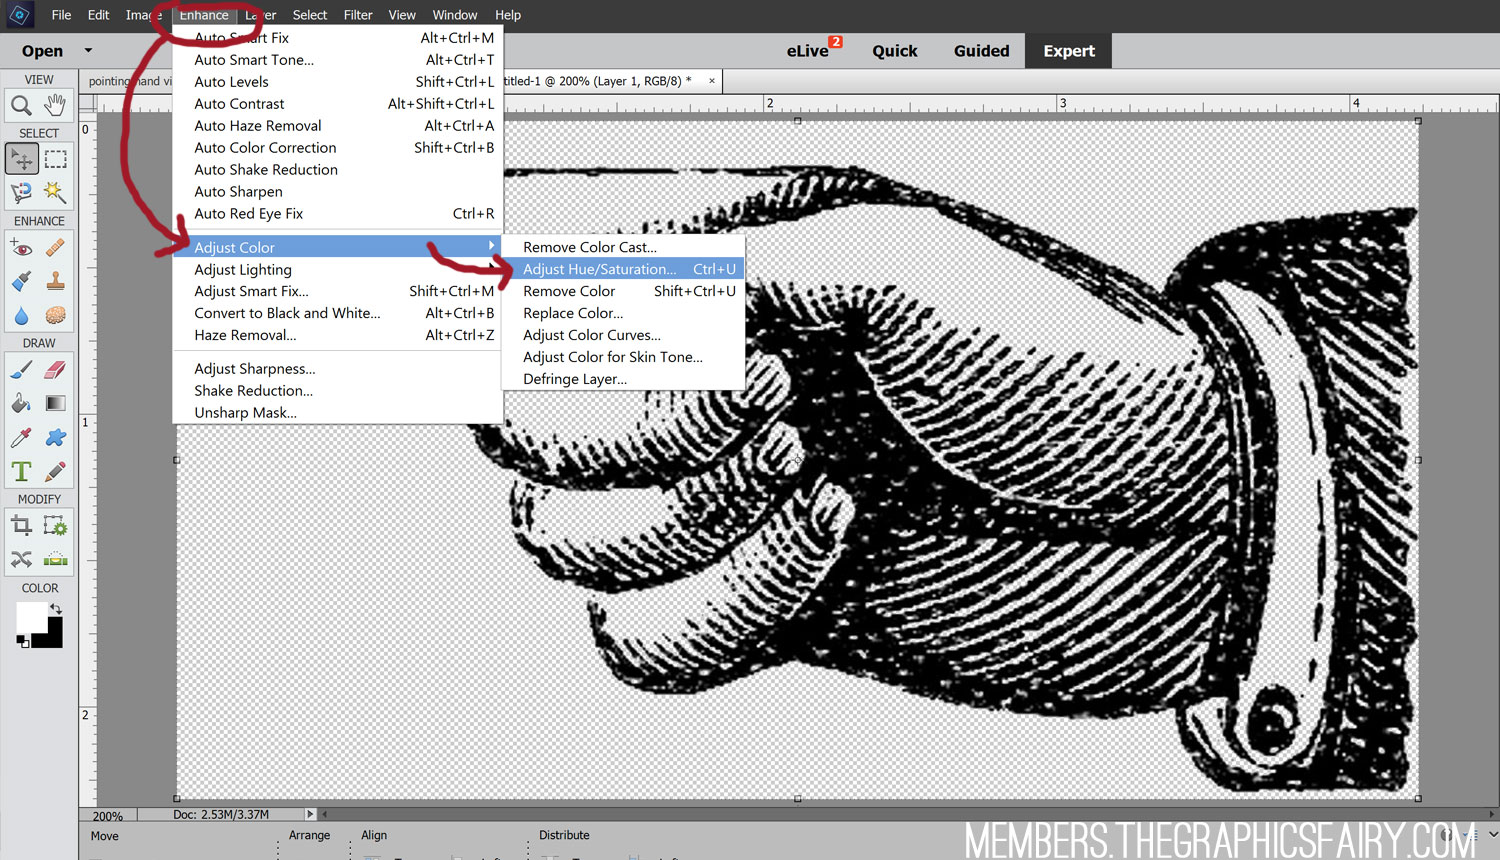
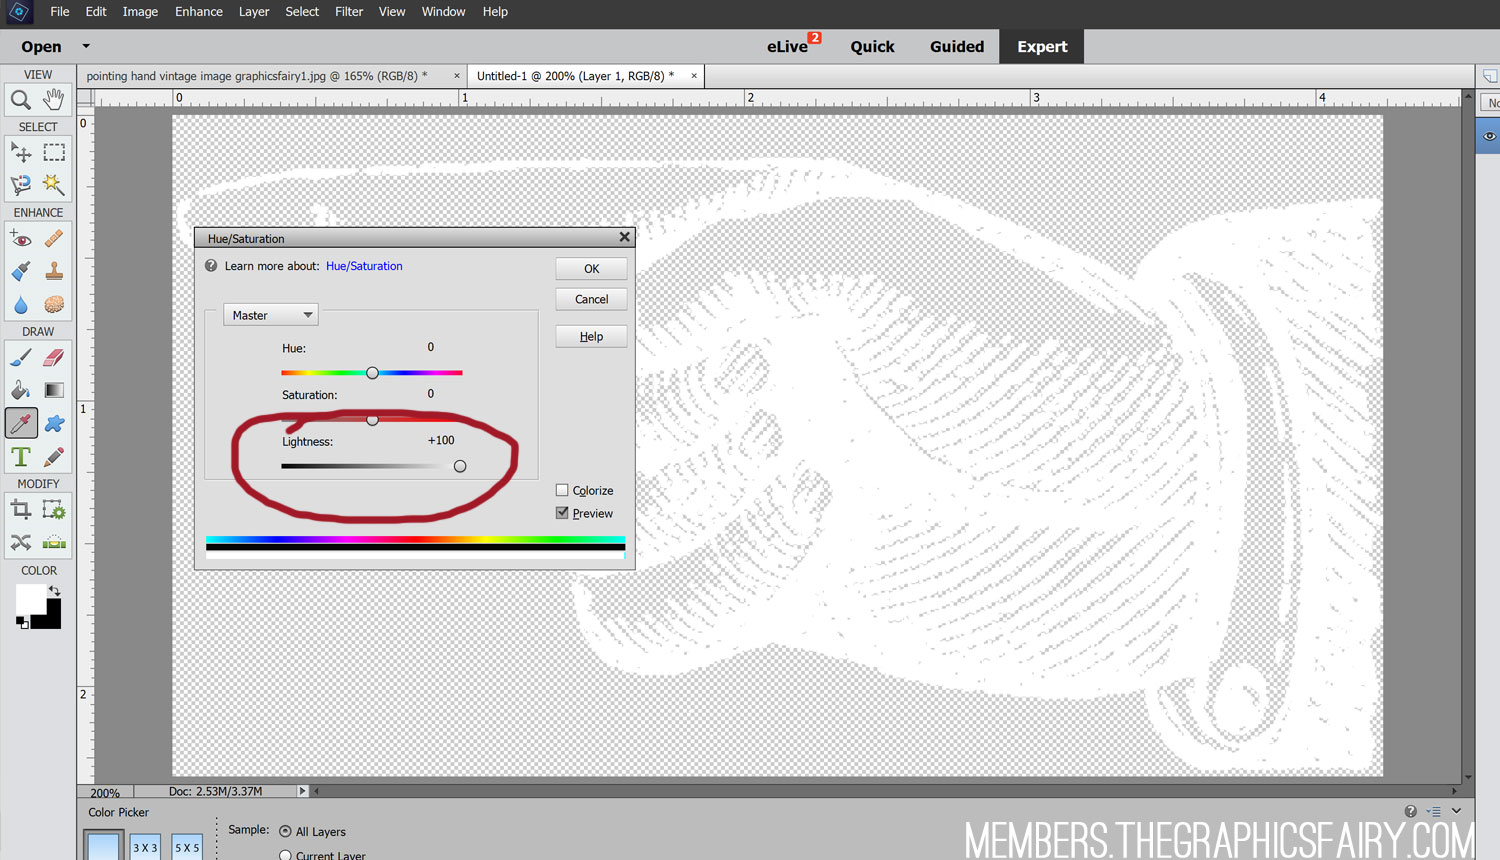
1. Open up your image in PhotoShop Elements. If you notice any stray pixels in your image (for example, there is a black pixel above his finger, you can erase them or use your brush tool to cover over them).
Click the Magic Wand Tool and select the white space on your image {much easier then zooming in and selecting a black pixel}. My Magic Wand Tool’s tolerance was set to 5 and the Contiguous check box at the bottom was not checked (this lets the white portions inside the image be selected too).
2. Now click Select > Inverse to reverse your selection to select just the black portions of the design {the ones you want to eventually be white}.
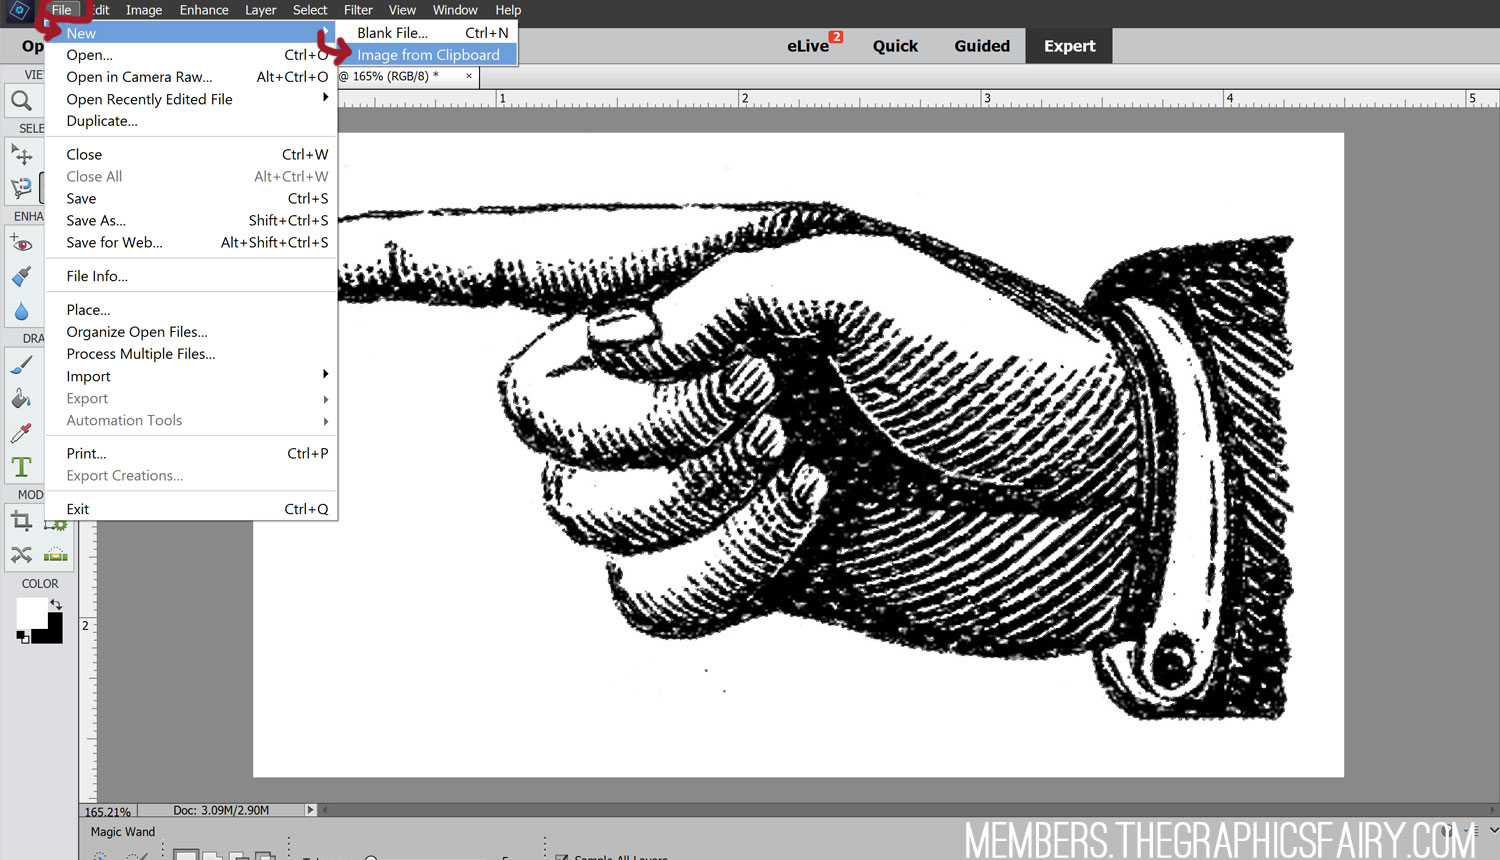
3. Now you want to copy just that portion and put it in a new file. Hit Edit > Copy or if you like keyboard shortcuts, CTRL+C.
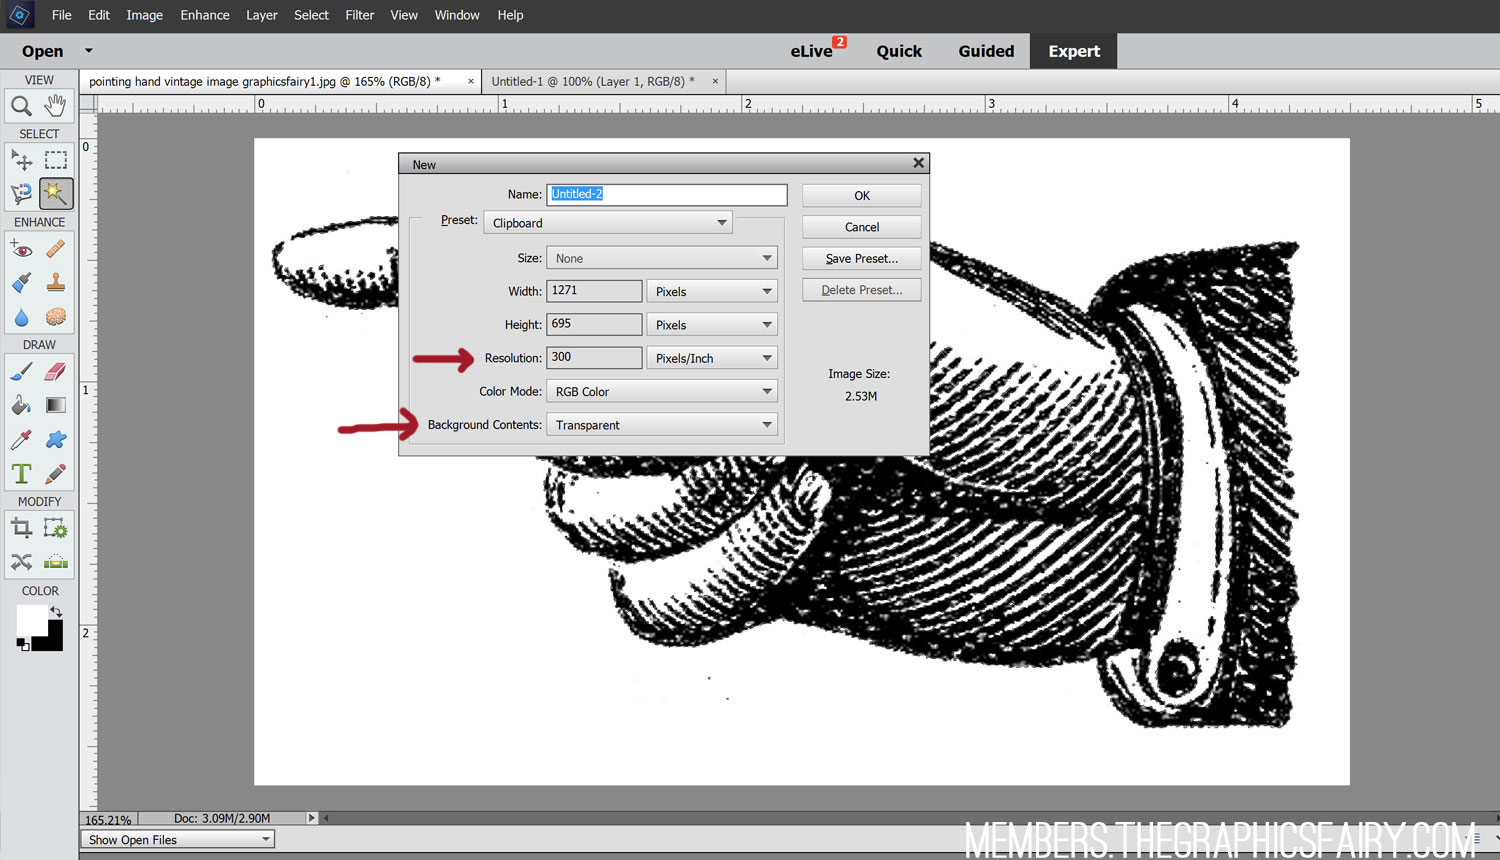
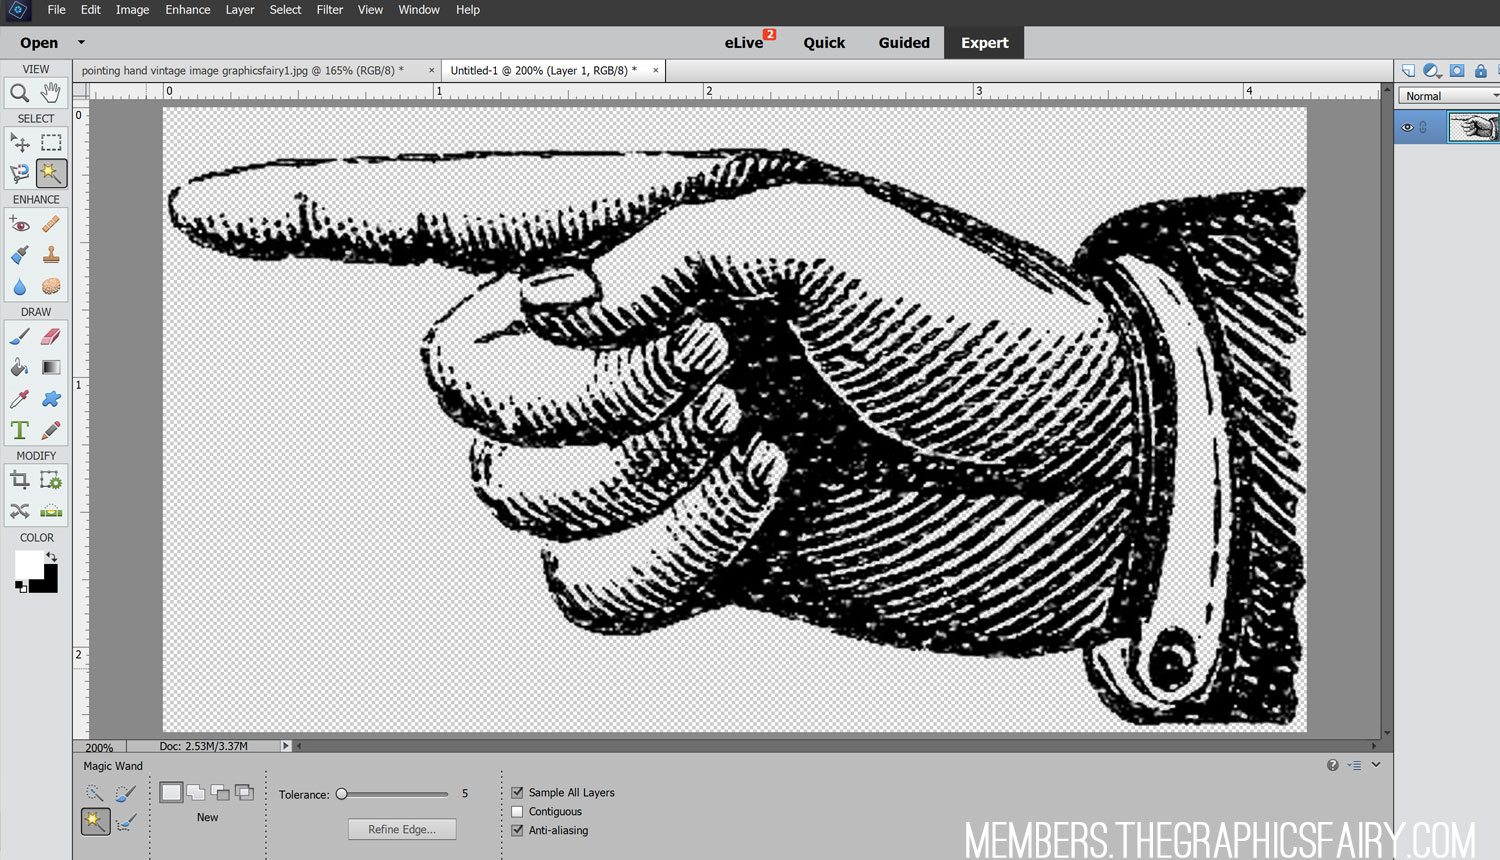
4. There are two options to create a new file. Create a new blank drawing by going to File > New > Image From Clipboard or create a new image {or CTRL + N}. If you choose the second option, you’ll be prompted to select a Resolution and Background Contents. A resolution of 72 is good for web-viewing; I choose 300 pixels if I’m going to print it out. Make sure the Background Contents section says Transparent. Click OK.
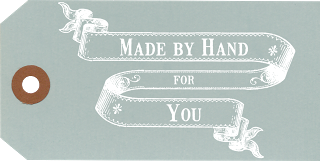
Here’s a quick graphic I added to a chalkboard texture.
I really like how these white graphics look when you add white text. I think they’d be really pretty on cards and invitations.
Thanks for joining me today. I hope you enjoyed learning How to Create Reverse Saturated Graphics and I hope this inspires you to use Karen’s graphics in new ways!
Emily
P.S. Do you want to learn more skills with Photoshop Elements, so that you can improve your digital art & design skills?! Read Below!





Intan says
really good tutorial and easy to follow step by step.
Karen Watson says
Thanks!
Sharon says
Thanks so much! I have PSE, but am just learning how to really use it. This was great & so clear.
Emily Martin says
Thanks Sharon, I’m glad you enjoyed it. It took me a while to figure out (I got PSE last year and there is so much more to learn!)
Folk Heart says
Thanks a million!
Emily Martin says
You’re welcome!
Suzann Poufcas says
Karen, thanks so much for this tutorial. I have PSE 5 & 6 and photosudio 5.5. I use PSE 5 the most, but really need to get into 6 more. Love them all for various reasons. Can’t wait to give this a try. Thanks again and have a blessed day~Suz
Abbe Odenwalder says
This is a good tutorial. I use photoshop elements a lot and love learning new ways to try it!