What is Mod Podge?
This is Rebecca back with another comprehensive guide – What is Mod Podge? It is a versatile and flexible craft supply that is found in almost every craft room. Mod Podge can be considered a type of glue that was created to be a ‘chemically balanced decoupaged medium.’ That is where the ‘Podge’ comes from. It works well for our paper crafting, collage, paper mache, and of course decoupage. I am sharing three different recipes below – Matte, Gloss, Satin, and a bonus kid safe mixture that is even edible just in case. It is easy to make and super fun.
This post may contain affiliate links which won't change your price but will share some commission, you can find our privacy policy here.
Mod Podge is a popular all-in-one glue plus sealer product. It looks like and is applied similarly to basic white craft glue, but Mod Podge is different. It dries clear and smooth and is a strong and durable sealer topcoat. The protective sealing factor is what makes it superior to white glue. The bond it forms is better than glue as well. It simply lasts longer and is more durable than school glue.
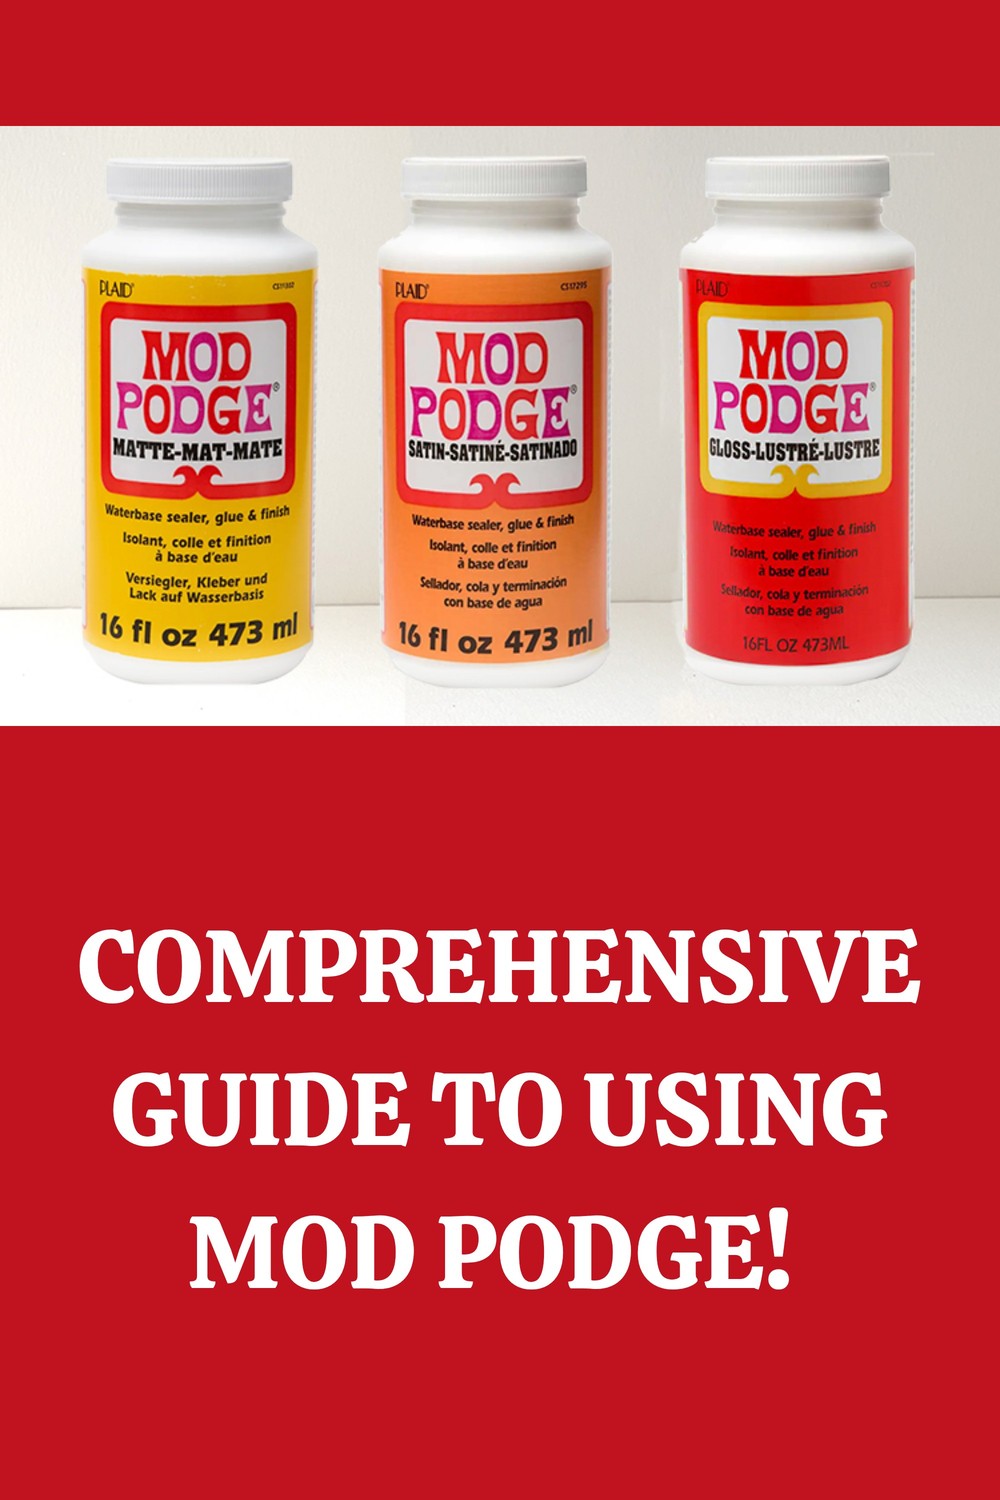
Great for arts, crafts, and decoupage, Mod Podge is considered to be weather resistant for outdoor use and dishwasher safe after 28 days of curing for items like mugs and plates. Clean tools and brushes with soap and water immediately, before it dries. It can ruin a brush left unwashed as it dries hard!
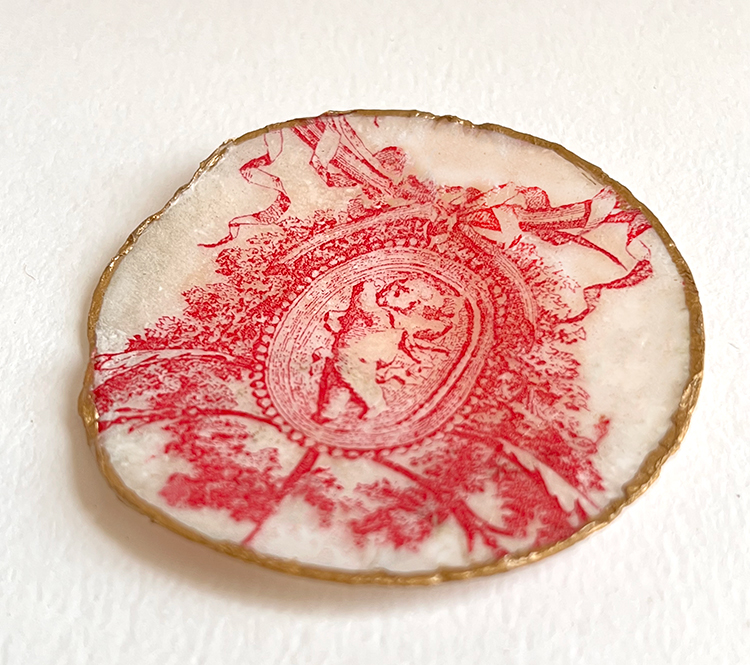
Decoupage is often known colloquially as ‘Mod Podging.’ Decoupage involves gluing thin paper and tissue cut-outs (or other materials of choice) to wood, plastic, or glass. Then several coats of Mod Podge are applied allowing each coat to dry and then wet sanded. Eventually, the paper and wood become one smooth surface, with no ridges where the edge of the paper is.
Ingredients in Mod Podge
The basic ingredients in all Mod Podge products are essentially the same with the exception of the final sheen and consistency that you choose. It primarily consists of polyvinyl acetate (PVA), which is the active ingredient in basic white craft glue. Unlike the white ‘school glue’ like Elmer’s, Mod Podge contains a synthetic resin, acrylic polymers, water, and preservatives. Plus, there are proprietary additives mixed in that control drying time so that it doesn’t dry too rapidly.
The Different Types of Mod Podge
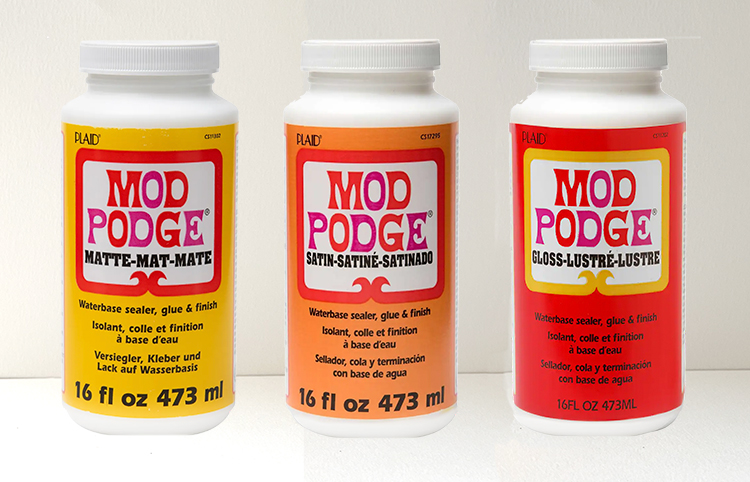
Mod Podge does three things: glue, seal, and protect. Like house paints, it is available in three basic sheens – matte, satin, and gloss. There are a few variations of these as well. The specialized MP formulas have different ingredients and different price points. Let’s look at some of the Mod Podge options to choose from. Plaid, creator of Mod Podge, is always coming up with new formulas so there may be others that you find.
- Matte: Has a flat-ish finish with minimal shine. Diffuses light.
- Satin: Known as Mod Podge Hard Coat, it is directly in between matte and gloss with a mild shine to it.
- Gloss: Has a shiny and glossy finish. Reflects light.
Some Unique and Special Mod Podge Products
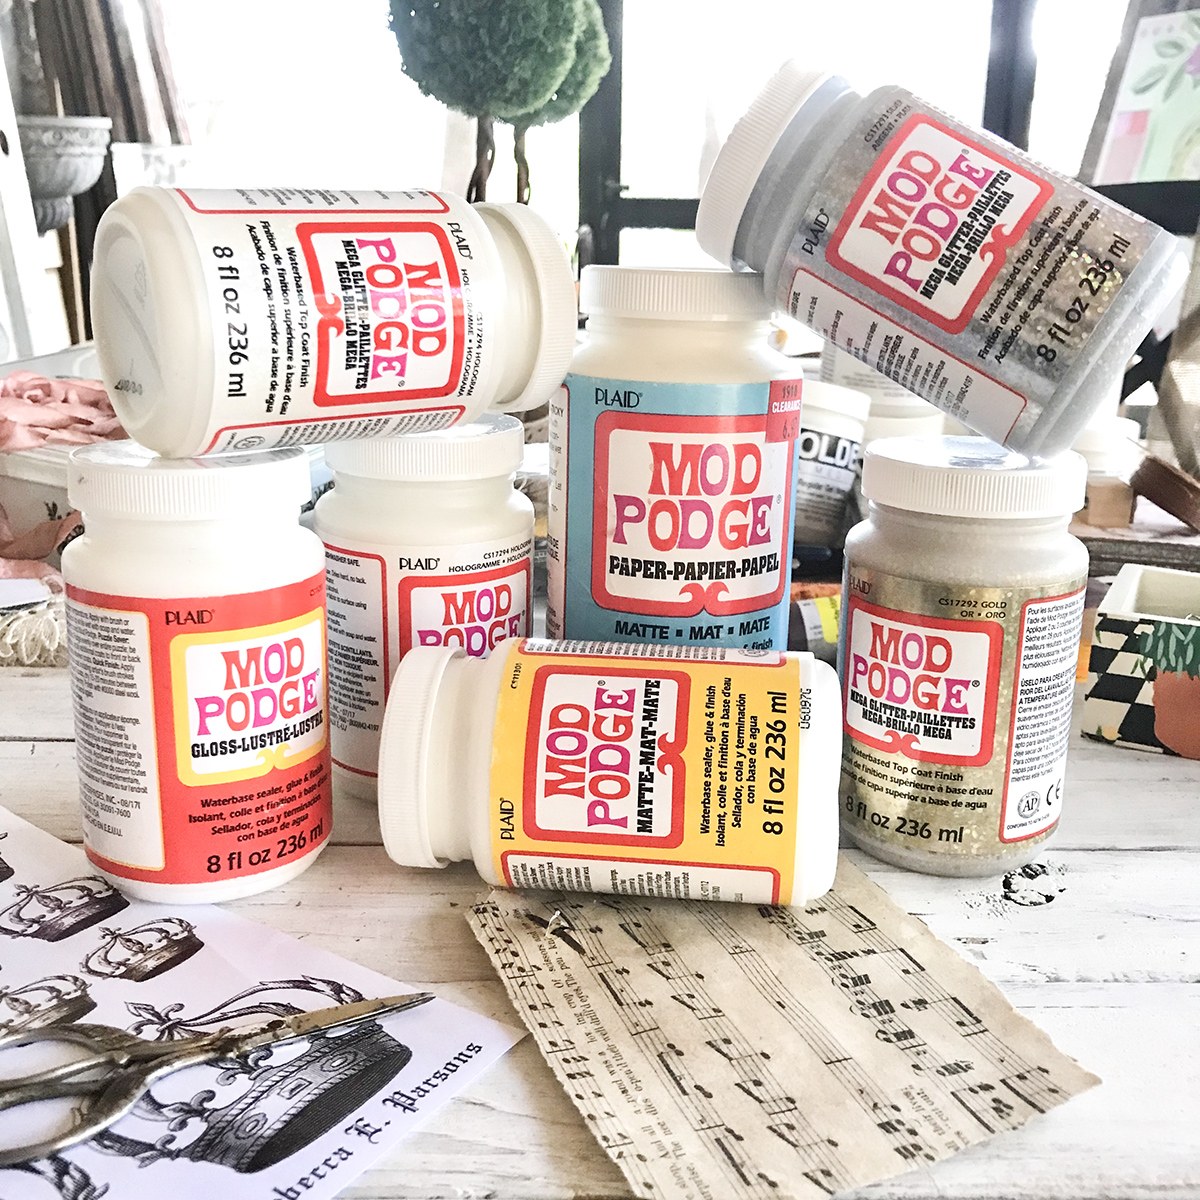
- Super Gloss: Very glossy finish that is only to be used as a finish.
- Antique Matte: Flat with a brown tint. Yummy for a vintage look.
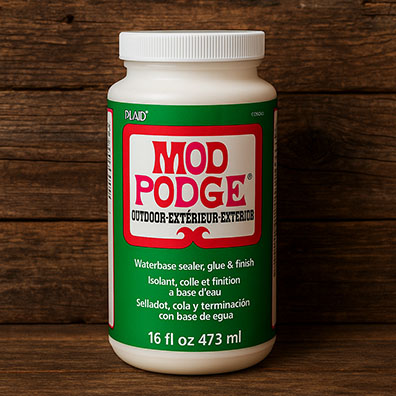
- Outdoor Mod Podge: Shinier finish than gloss for durability.
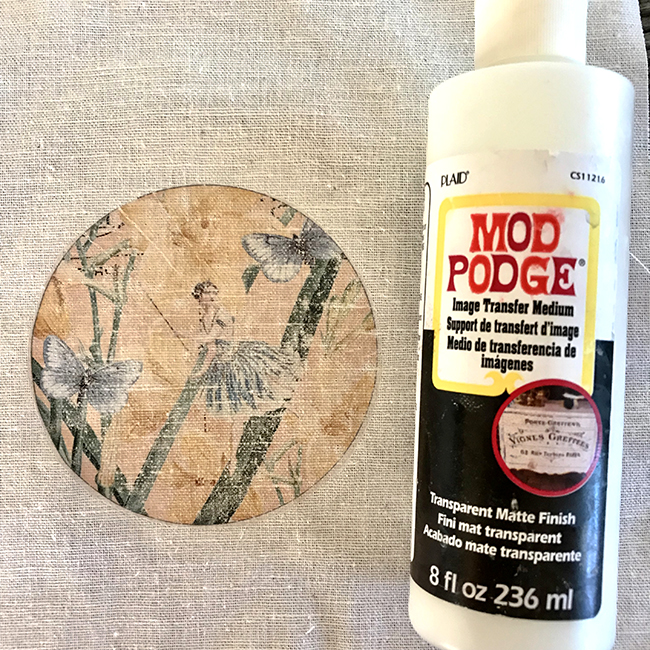
- Fabric Mod Podge: Allows you to transfer images to textiles.
- Mod Podge Transfer Medium: A great transparent matte finish for our TGF images. This image is on fabric.
- Dishwasher Safe: If you want extra protection for washing plates, glasses, etc. in your dishwasher.
- Glow in the Dark: Shiny finish that glows in the dark after being subjected to light.
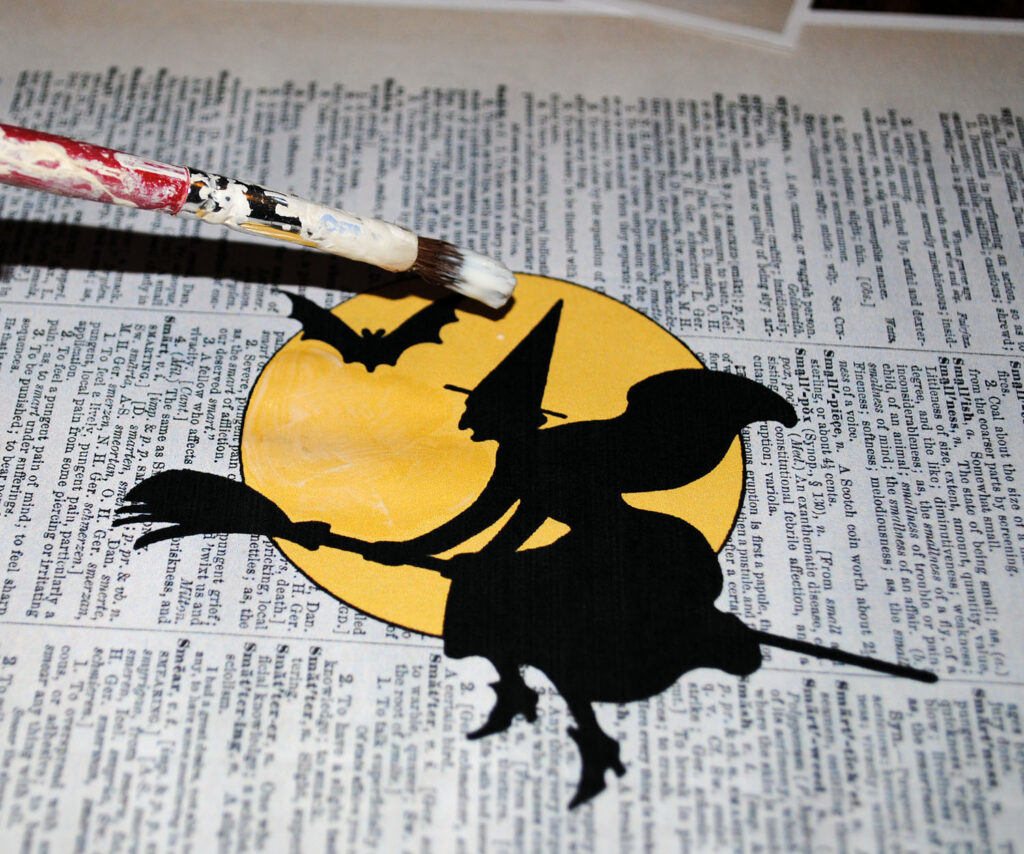
- Mega Glitter: Contains glitter… lots of glitter.
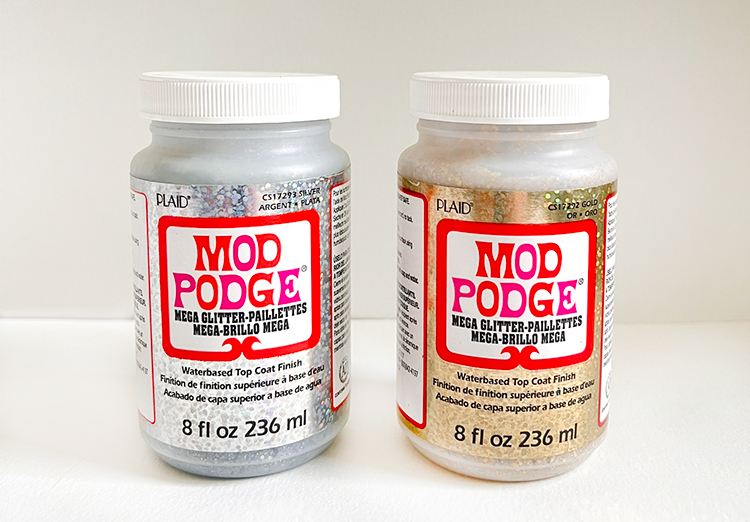
- Brushstroke: Designed to add texture to a decoupaged surface.
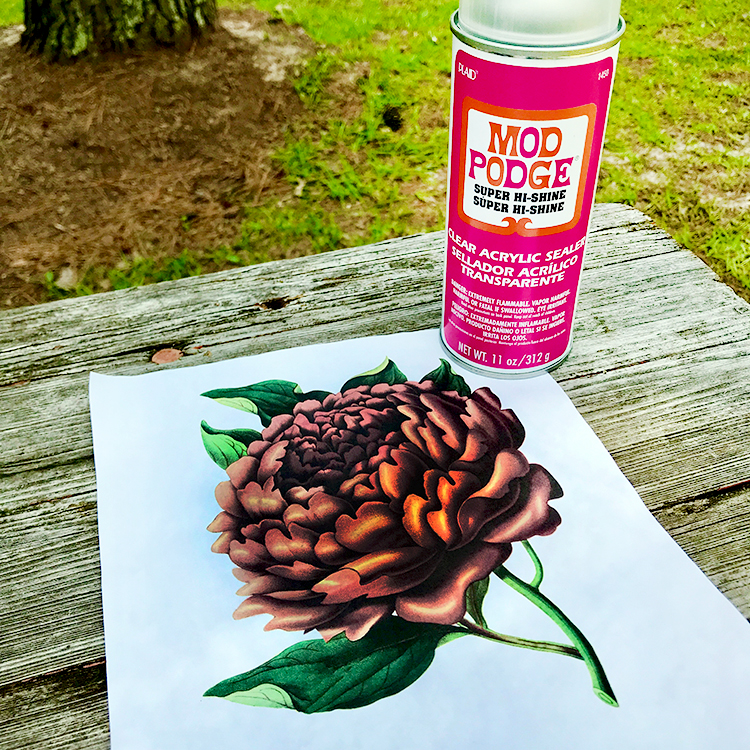
- Mod Podge Clear Acrylic Sealer Spray: Works great with ink jet prints.
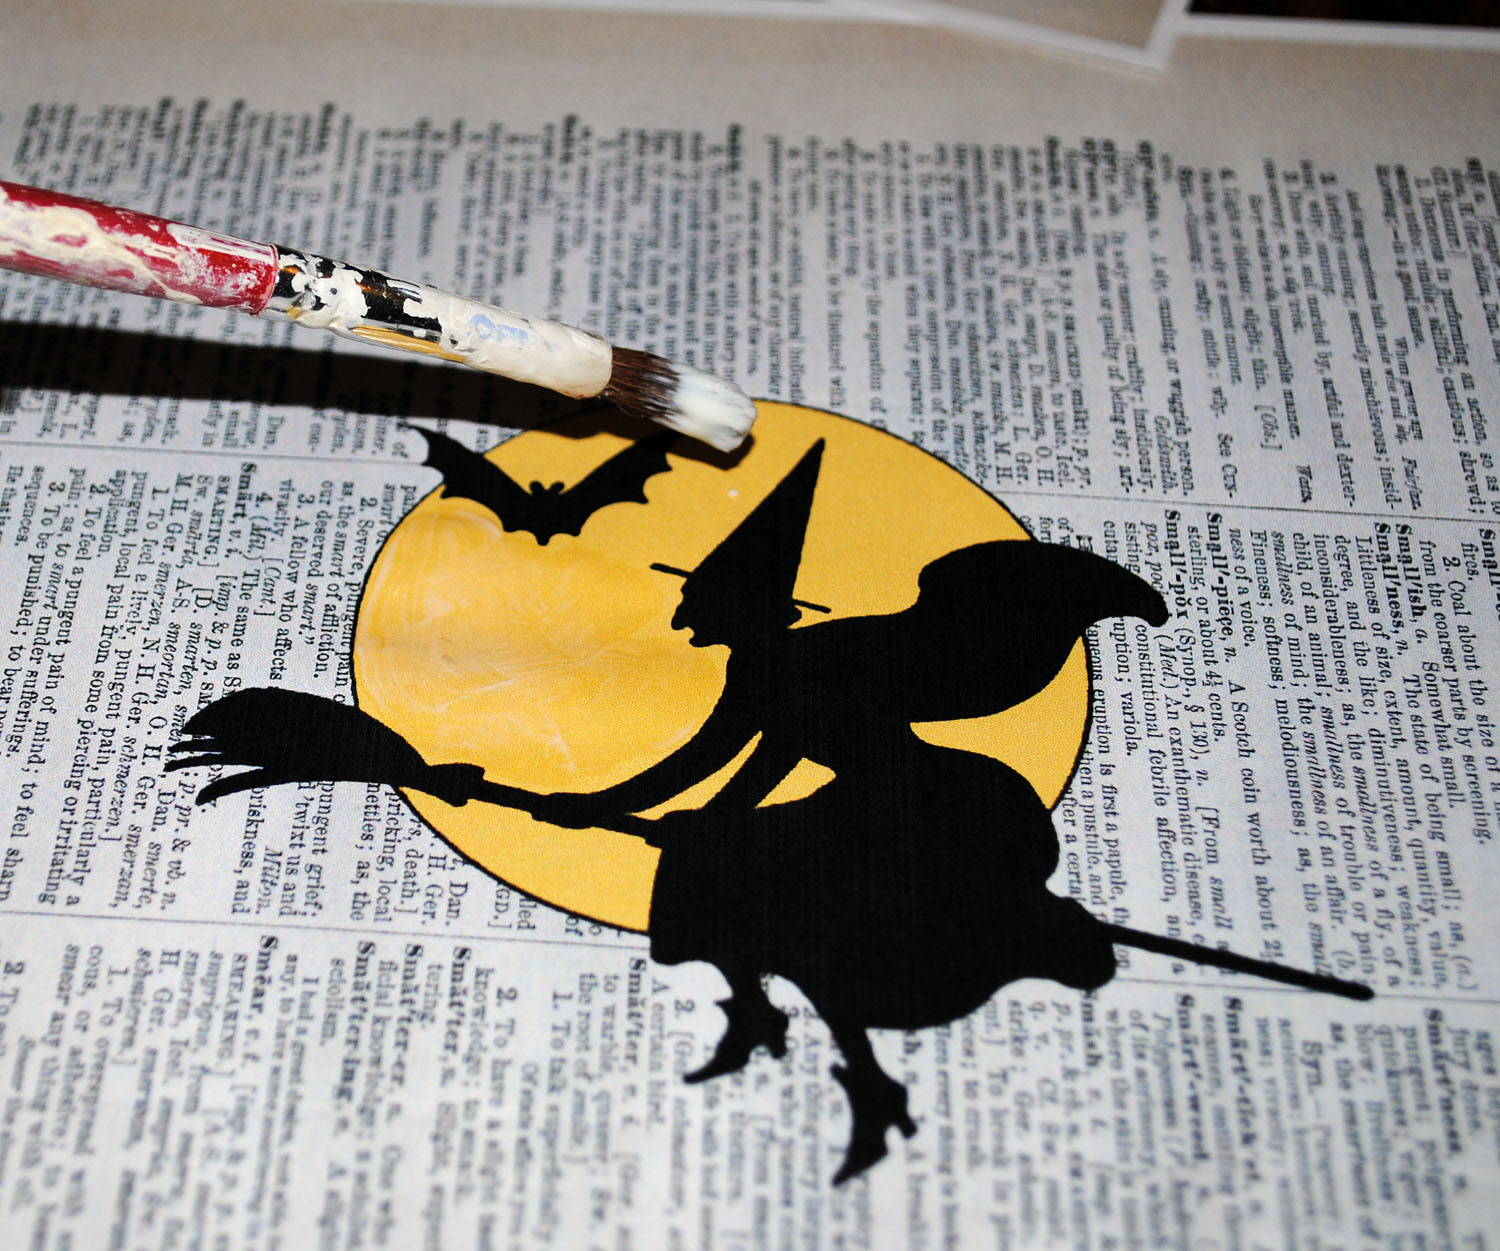
Different Uses for Mod Podge
Here are a few tips for using Mod Podge. It is recommended that Mod Podge be applied in thin layers as thick coats can be too sticky and can wrinkle paper. It generally dries to the touch in around 15-20 minutes but takes 28 to fully cure. Additionally, since it is water based it is easy to clean up with soap and water.
Let’s address some common uses out of so many others using Mod Podge based on the standard categories of matte, satin, and gloss finishes.
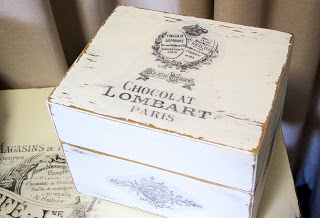
Matte – superb at hiding imperfections or brush strokes.
- Decorating furniture and home decor.
- Decorating glass jars and vases.
- Gluing colored or printed paper to different wood items.
- Projects involving vintage or rustic items like old photographs or scrapbook paper that would be damaged if there is excessive glare.
- Projects that are supposed to have a flat appearance such as painted furniture and canvases or clay crafting.
Satin – probably my favorite Mod Podge; not too shiny, not too matte… just right.
- Also ideal for decorating vintage and rustic items if you want to add a little ‘pop’ to them.
- Home decor projects where you want to embellish the look but don’t want the result to be either overly dull or bright.
- Your mixed-media collages that need a bit of enhancement without overdoing it and taking the emphasis off of your creation.
- Projects that you determine would enhance the appearance with a factory painted type of look.
- Gluing fabric onto wood items like drawer fronts or wooded boxes.
- Gluing types of paper like scrapbooking and napkins to hard surfaces.
Gloss – ideal as a sealer, dries hard with lots of image protection.
- Producing a glass-like look on things like jewelry, special ornaments, or gifts.
- Projects like acrylic paintings and collages.
- Colored tissue paper and wrapping paper-oriented crafts.
- Perfect for sealing and protecting artwork including decoupage and mixed media, providing a shiny and polished look.
- Use paper mache to create your person decoupage letter ornaments and magnets.
Resolving Mod Podge stickiness
One issue with Mod Podge is stickiness after drying. Some pieces seem to stay sticky forever. The solution I have found that fixes this is to apply a few coats of water-based sealer after your piece has cured fully. You can sand in between coats to keep the surface smooth. Just remove the dust with a damp cloth before spraying again.
Homemade Glue Recipes
There are a several recipes for making a so called ‘homemade’ Mod Podge type mixture. I am sharing three different types below – Matte, Gloss or Satin, and a fun kid safe mixture. Remember these are not waterproof, may crack and yellow, and are not as good as the real Mod Podge product. These homemade formulations are just for fun! They are not recommended for fine furniture or art projects.
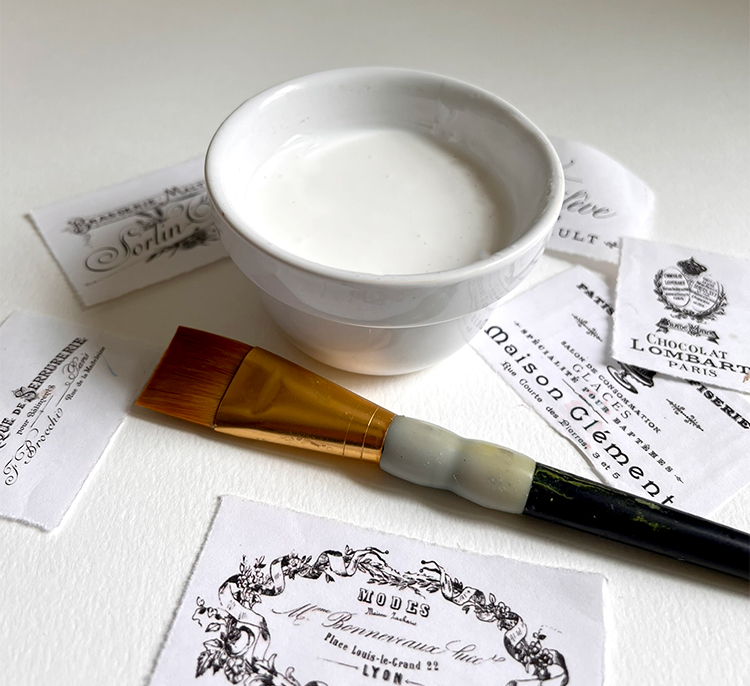
PRO TIP: My best tip for making a high-quality Mod Podge-like mixture is using a professional-grade, archival-quality PVA adhesive, which is pH-neutral and acid free. Over time, it prevents yellowing, paper damage, and will not become brittle with age. It is fast setting, clear drying and flexible. It is formulated specifically for conservation and preservation purposes. Inexpensive white school glue is not professional grade as their formulations can be acidic and can degrade with time. Here are a few of the best PVA glues:
- Lineco pH Neutral PVA
- Jade 403
- Gaylord Archival White pH Neutral Adhesive
As with Mod Podge, it takes a few weeks to fully cure. It can remain sticky when applied too thickly or not allowed to cure. My best finishing tip: After the piece is fully cured, lightly sand the surface with very fine-grit sandpaper (220+ grit) to ease some of the tackiness. Wipe the dust with a slightly damp cloth. Then spray with a clear acrylic sealer. Store your mixtures in airtight containers like Mason jars or clean Mod Podge jars.
NOTE: These recipes really cannot typically match the quality of real Mod Podge for a variety of reasons. Homemade Mod Podge type mixtures tend to yellow and cloud over time whereas real Mod Podge holds its sheen regardless of matte, satin, or gloss. DIY versions do not include proprietary resins, resulting in not being as strong and having potential flaking and peeling over time. DIYs tend to often be somewhat ‘runny,’ which can damage things like paper and tissue.
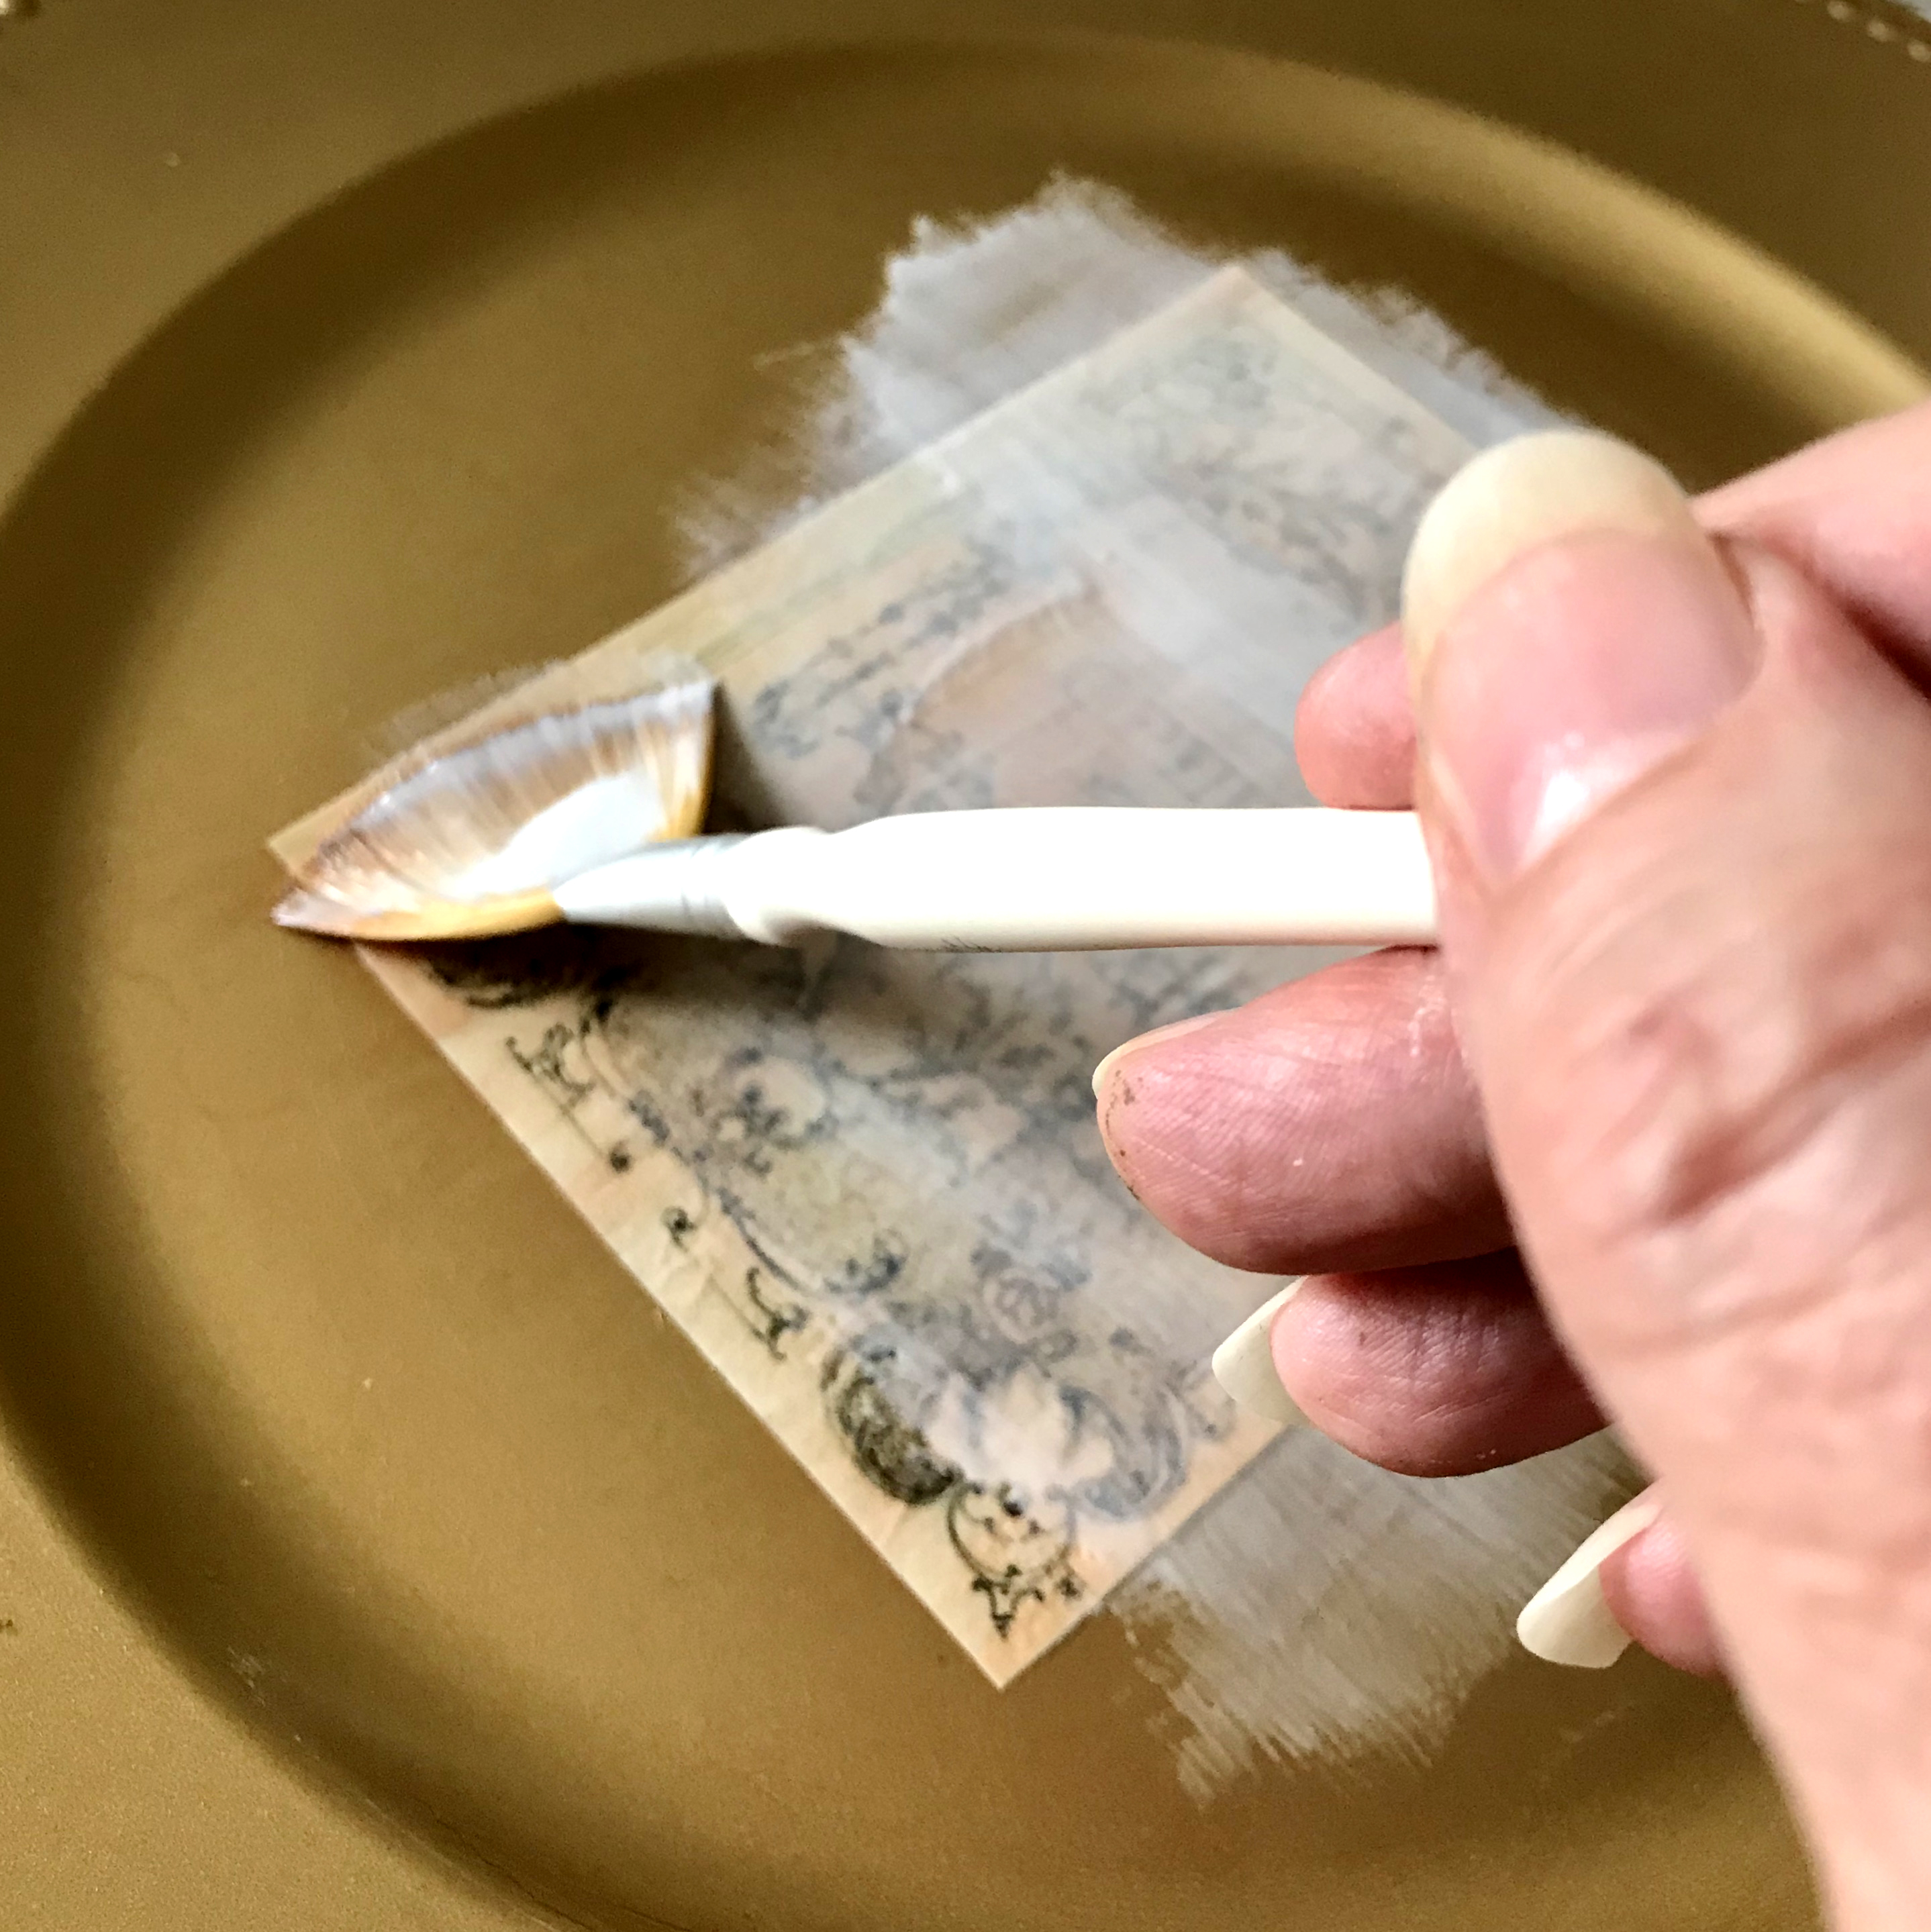
Consistency and Ratios
One of the most important things to think about when making homemade Glue is viscosity or how thick or thin to make it. This is done by adjusting the amount of water in the recipe. It really just comes down to personal preference.
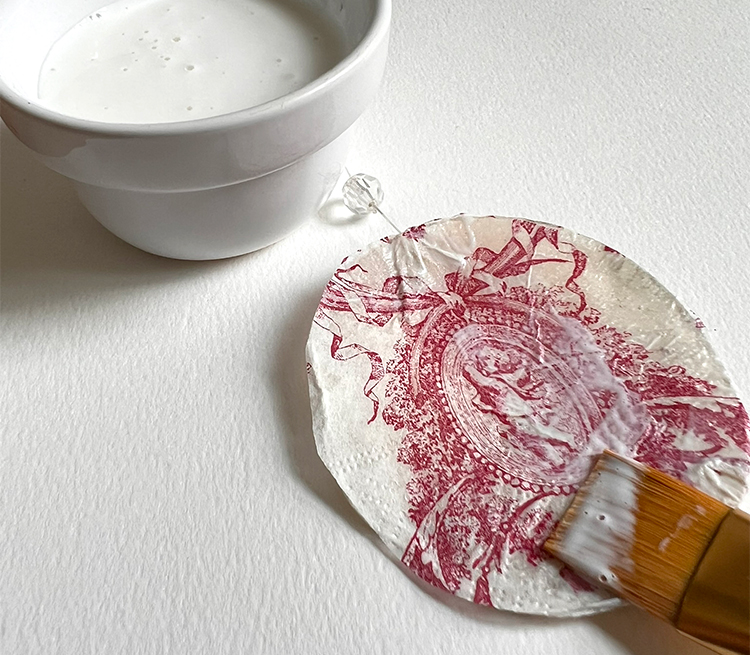
I have different dilution ratios of water to glue for different uses. That is why I gave a range of water in the recipes. In my art, especially collage, I prefer a thicker consistency (3:1 ratio of glue to water) to ensure that the pieces stay put. When I use it in my books, I prefer a thinner consistency (1:1 ratio of glue to water). For papier mache, I like a more medium consistency (2:1 ratio of glue to water). Sometimes I want to have some texture, so I add a tiny amount of flour or cornstarch to the mixture. It is truly a flexible recipe.
Matte Finish Recipe
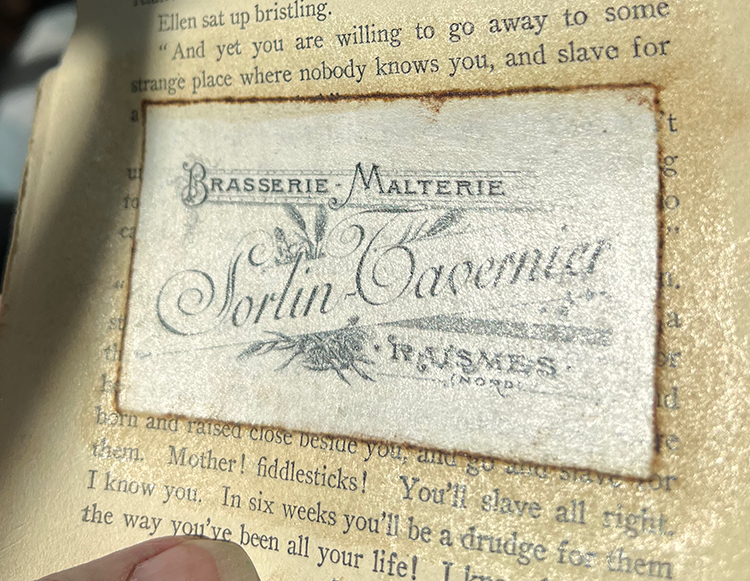
Ingredients
1 cup PVA Glue
1/3 to 1/2 cup Water
Instructions
- Pour the glue into a sealable glass jar or empty container.
- Measure and add water into the glue.
- Stir or shake vigorously until the consistency is smooth. PRO TIP: I use an old immersion blender to mix mine. It makes it silky smooth.
Thicker Option: Add a small amount of flour or cornstarch if you need a thicker paste with more texture. No more than 1/3 cup for this recipe.
Satin Finish Recipe

Ingredients
1 cup PVA Glue
1/3 to 1/2 cup Water
2 tablespoons water-based satin clear, water-based varnish (not oil based)
Instructions
- Mix the glue and water together in a clean jar.
- Add 2 tablespoons satin polycyclic sealer or varnish.
- Stir or shake vigorously until the ingredients are fully mixed together.
Gloss Finish Recipe

The recipe is for both sheens of our mixture. They are made by using different types of sealer or varnish. Simple and easy.
Ingredients
1 cup PVA Glue
1/3 to 1/2 cup Water
2 tablespoons water-based glossy clear, water-based varnish (not oil based)
Instructions
- Mix the glue and water together in a clean jar.
- Add 2 tablespoons glossy polycyclic sealer or varnish.
- Stir or shake vigorously until the ingredients are fully mixed together.
Nontoxic Kids’ Craft Glue
Ingredients
- 1/3 cup flour (sifted) or cornflower
- 1/4 cup granulated sugar
- 1/4 teaspoon olive oil
- 1/2 cup Water
- 1/4 teaspoon white vinegar (mold inhibitor)
- Extra Water
Instructions
- Combine the ingredients, except vinegar and extra water, in a saucepan, stirring until smooth. No lumps.
- Heat on low heat. Stir continuously for about 5 minutes until the mixture thickens to a glue-like consistency. DO NOT BOIL!! If it heats too long, it will become paste.
- Remove from the stove and let it completely cool. Stir in vinegar.
- Add more water 1 tablespoon at a time to create the consistency you desire.
- Store in air-tight jar for a few days.
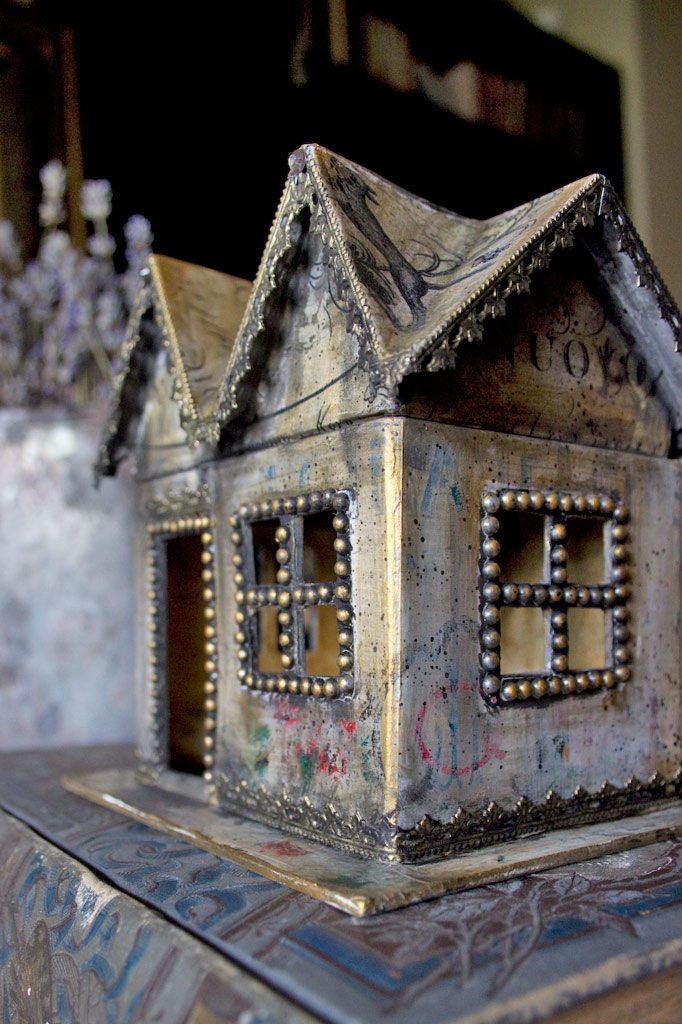
For a great decoupage “how to,” see this Golden Grunge Decoupage Tutorial HERE! You might also like my Homemade Sticker and Envelope Glue Recipe HERE.
I hope you enjoyed learning how to create your own Homemade Mod Podge. I can’t wait to hear your thoughts on the process! You might like my other Comprehensive Guides: Decoupage Glue and Mediums, Best Glue for Paper Crafts or Top Coats and Sealers for Crafts. When I am not creating for TGF, I also create Photoshop Elements tutorials and craft project videos over on The Graphics Fairy Premium Membership site. You can find even more of my books, art, and whimsical shenanigans on my website – The Bookery.
May joy be with you all,
Rebecca