How to Make a Junk Journal
Hello creative friends! I am Heather from Ruby & Pearl xo. Today we will be learning how to make a Junk Journal from start to finish! This 3 part series is easy to follow and a perfect way to learn how to create a journal of your own! This is a mini free online course to get you up and running with your first journal. It’s perfect for a beginner, but even if you have already been crafting your own junk journals for awhile, you will hopefully still find lots of inspiration.
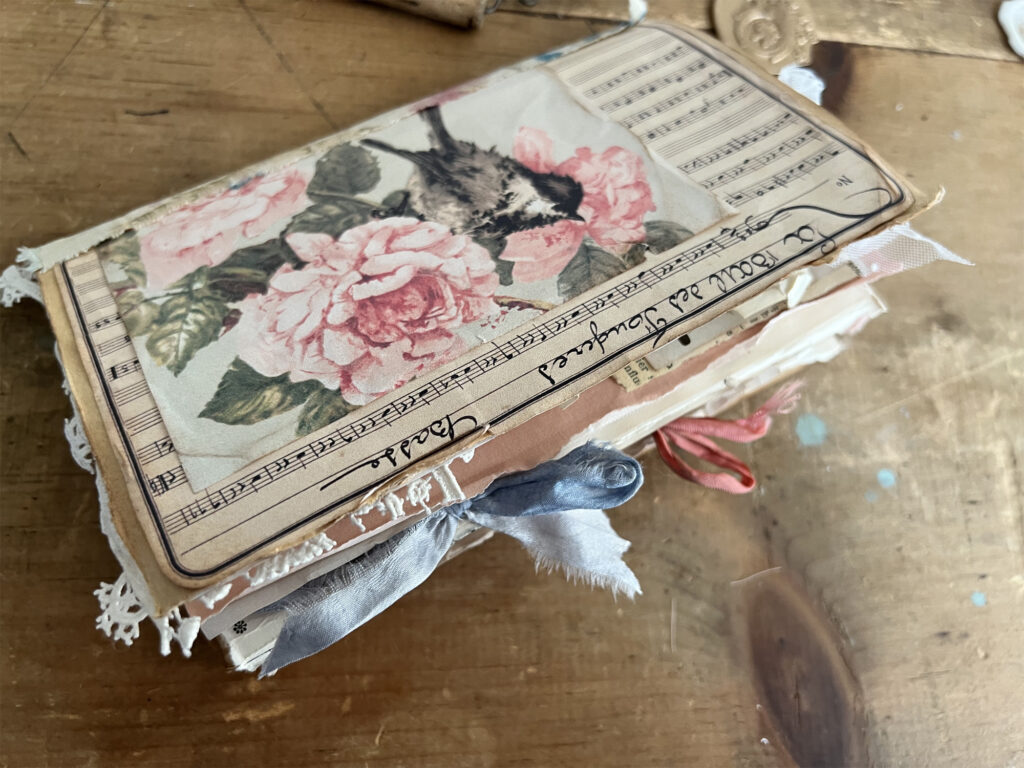 A junk journal in its simplest form is a handmade journal created using an eclectic mixture of various papers and ephemera. There are usually pockets, tuck spots and scraps of this-and-that clipped to the pages. It is the perfect place to write your thoughts, tuck your photos or fill with whatever makes you smile!
To get started we will begin assembling the cover.
How to Make a Junk Journal Supplies for Cover:
Kraft Colored Cardstock (I am using 65lb)
Scissors
Printed Images (see links at bottom of post)
Fabric Strip
Instructions:
The first step is to cut your cardstock to size. For this journal I will give you my measurements but you can adapt this to whatever size you like.
To create the base for the cover, measure with a ruler, and cut a piece of kraft colored cardboard to 9” horizontal x 7” vertical. Tearing the edges of the cardstock instead of cutting with scissors creates a pretty organic look too. Once you have your base cut out.. You will fold it in half and crease with the back of your scissors to give a nice crisp edge.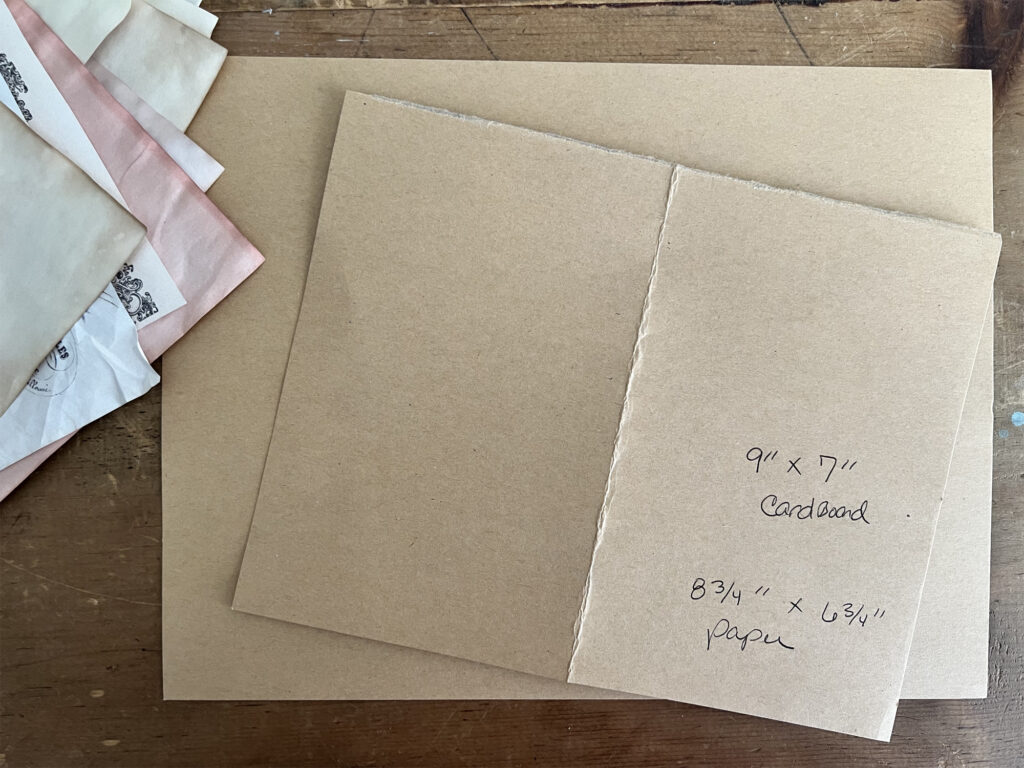
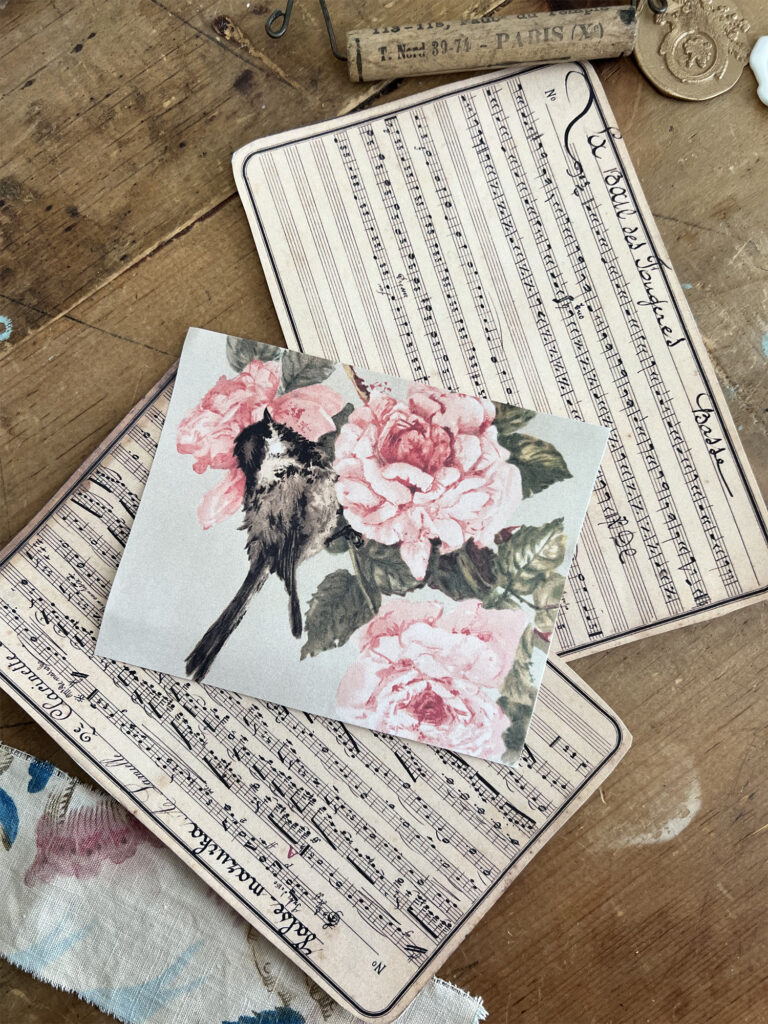
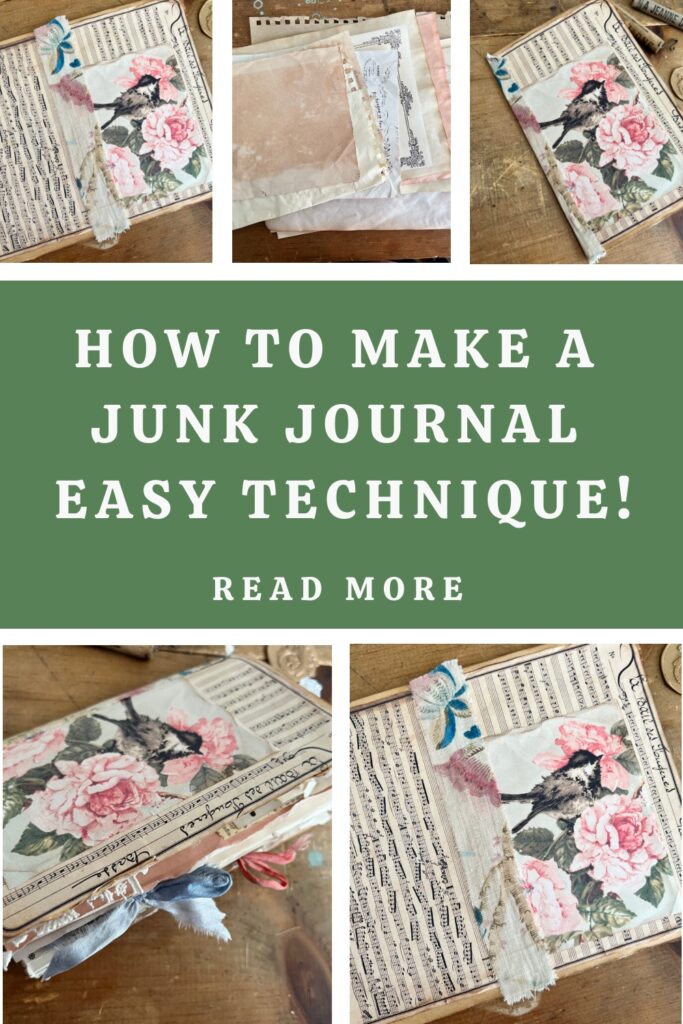
Next we will be using these 2 pretty vintage music pages from the Graphics Fairy and also the little bird image to add to the front cover.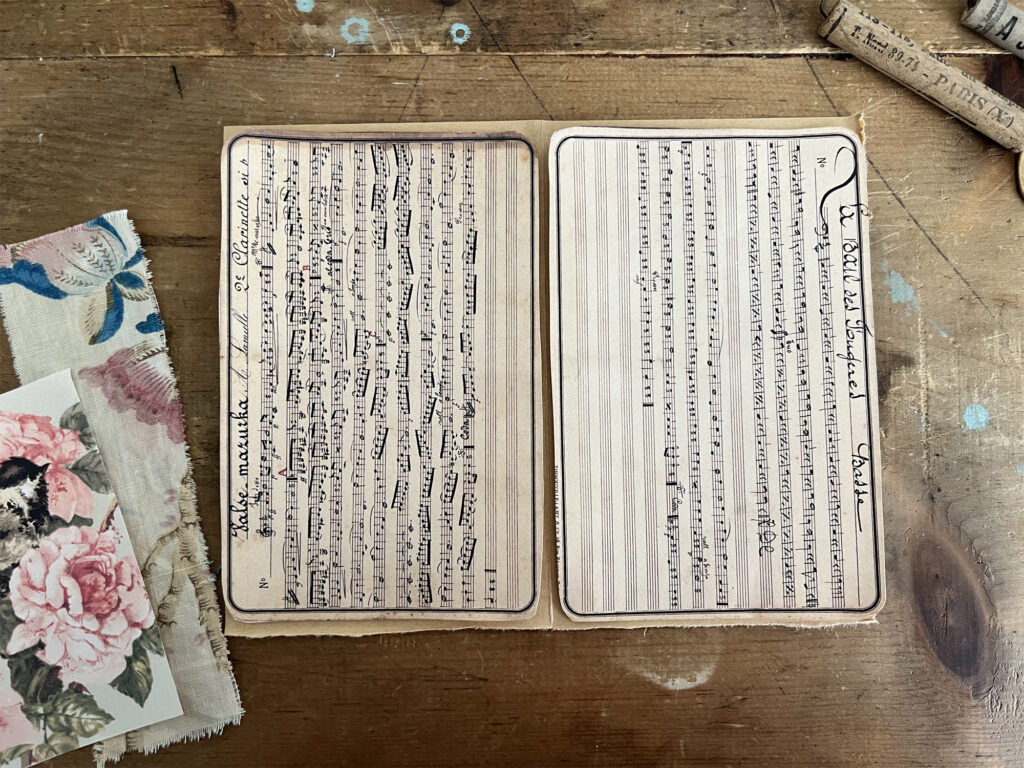
I used some distress ink along the edges of the images and also crinkled the paper along the edges with my fingers to give them a worn and imperfect look. I printed these at 5” x 7” size on my printer. They are the perfect size for our journal.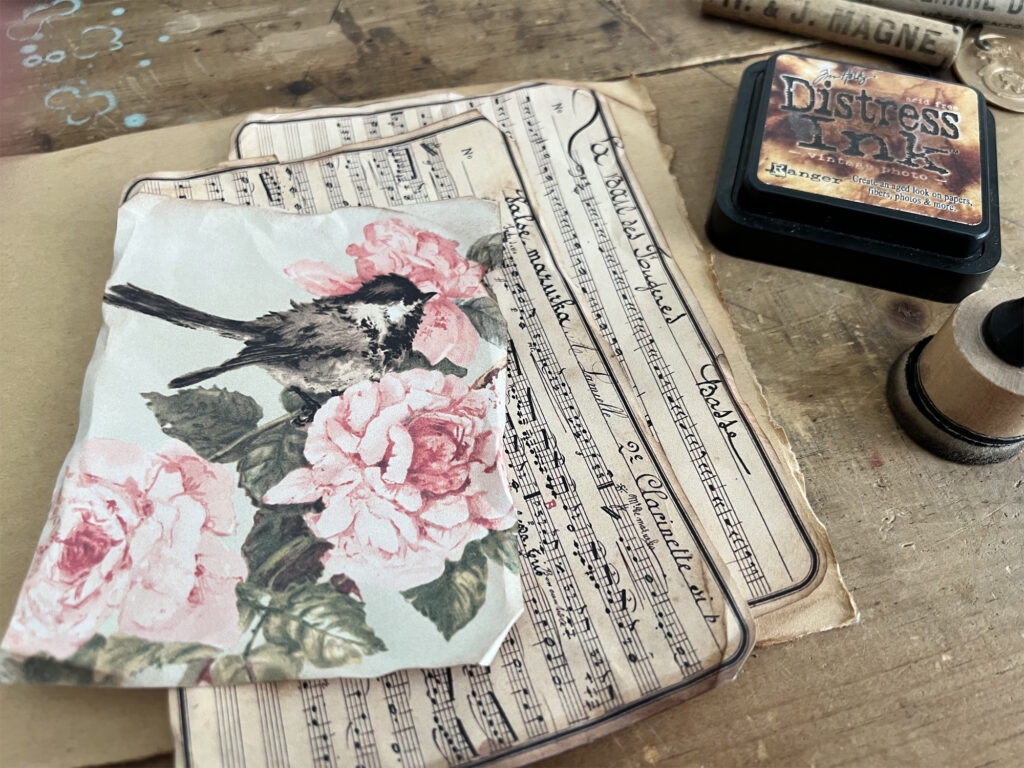
Next we will glue the music pages to the front and back cover and then collage the little bird image to the front. I love how pretty the pink flowers look with the sheet music. The glue I am using is Fabri-tac glue.. It dries quickly and adheres very well.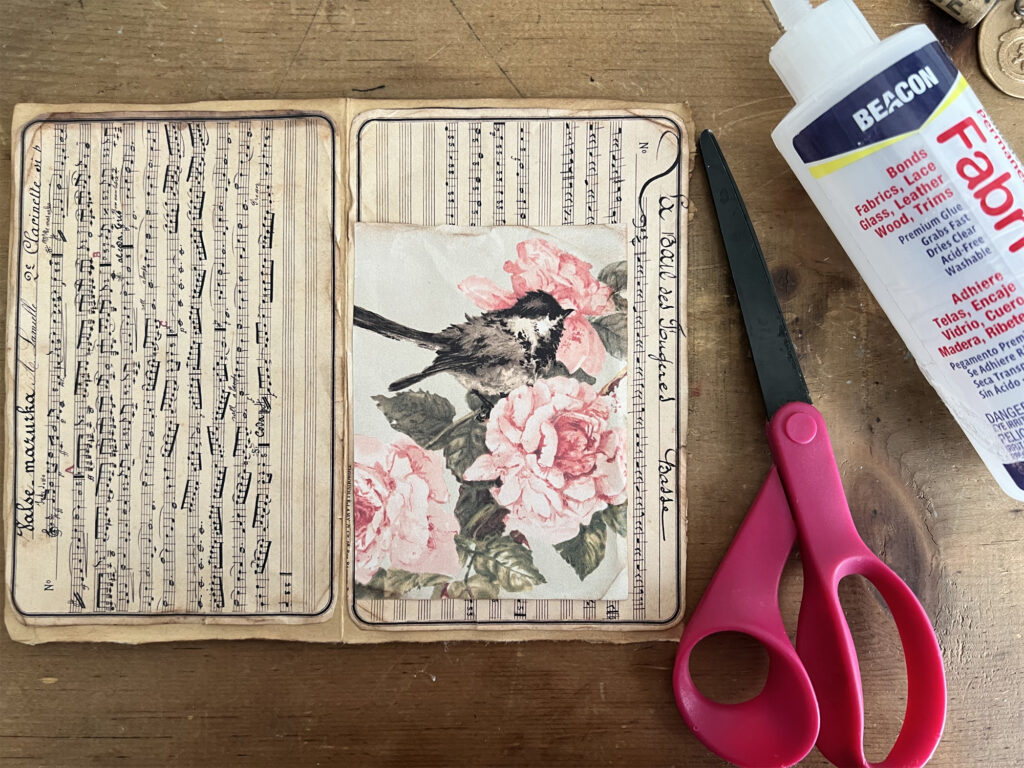
Now we are going to add a thin strip of fabric to the middle crease which will be the spine of the journal with glue.. This is just to give a little texture and pattern to the cover and when the journal is closed it will cover the spine beautifully.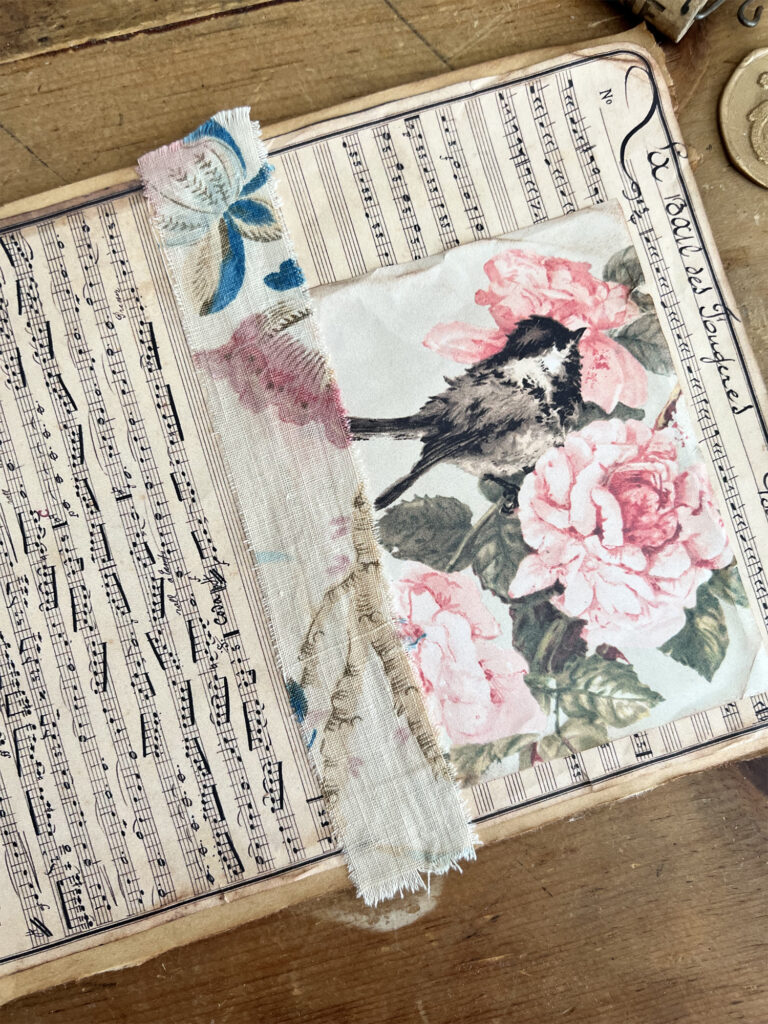
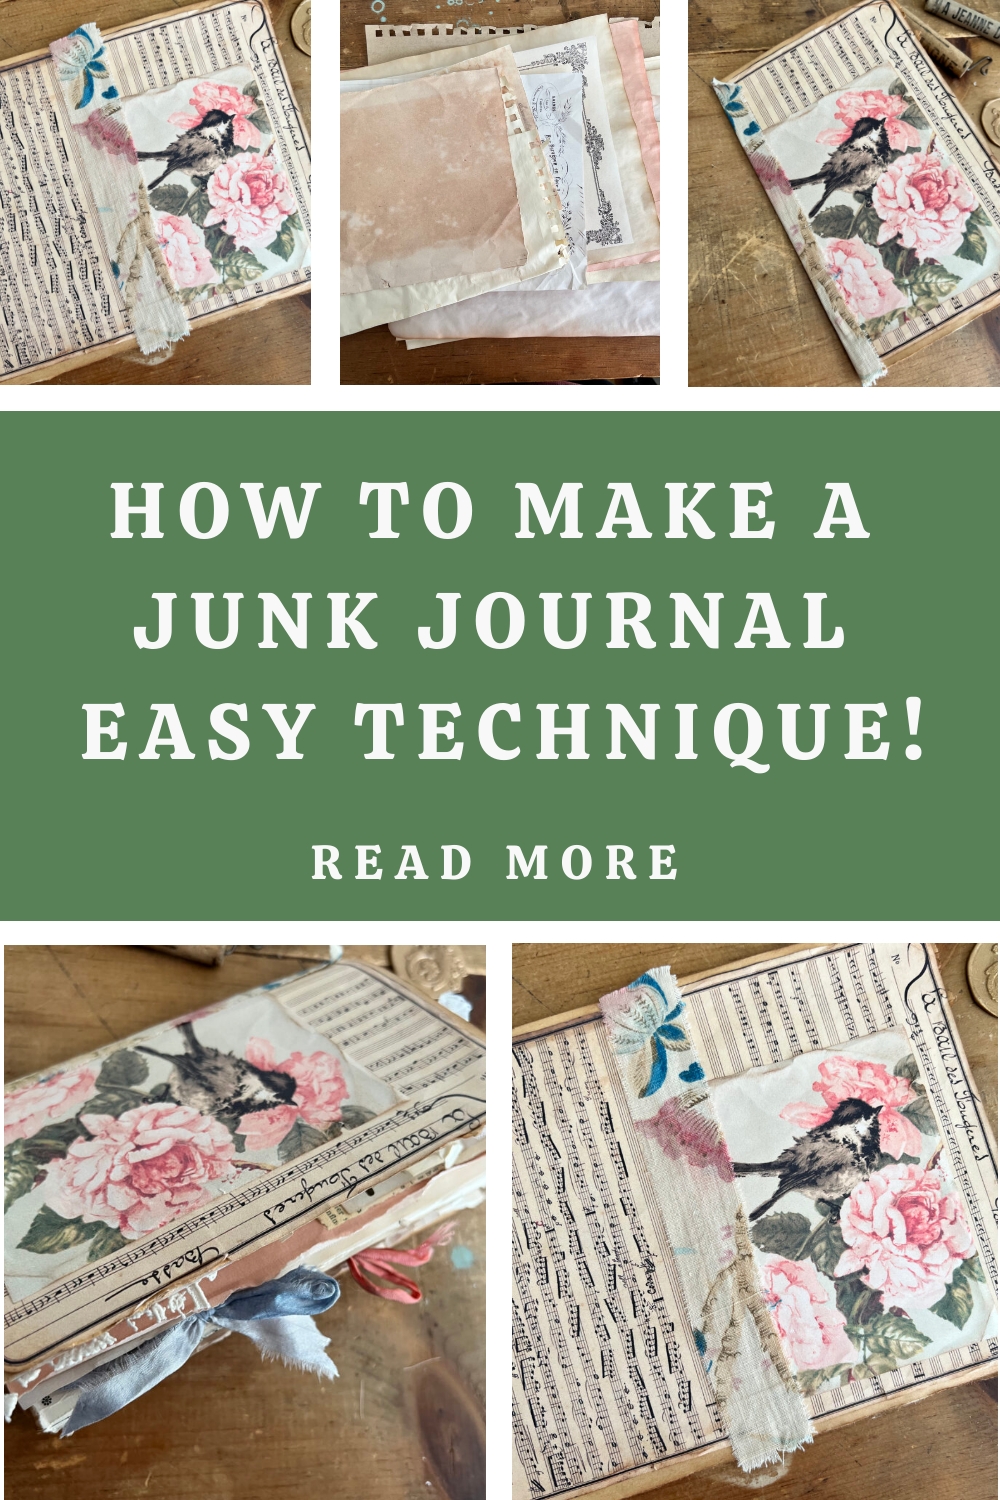
So now the cover is complete! It looks so beautiful.. and really is so simple to get your journal started! I didn’t really have a specific theme for this journal, but of course you could create themed Junk Journals if you wanted to. 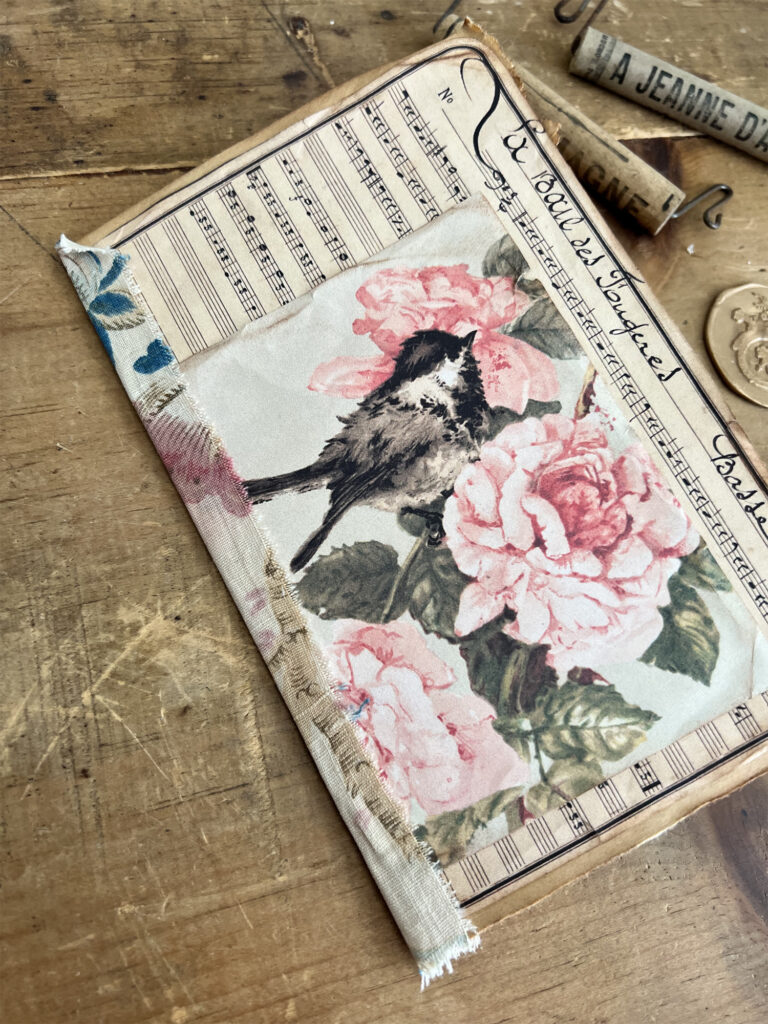
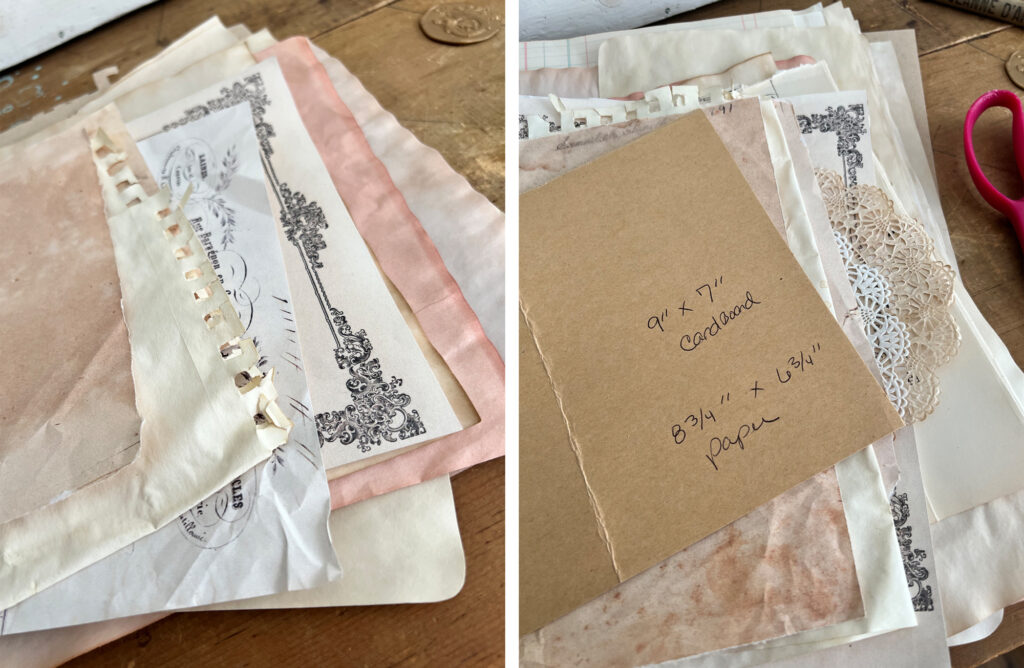
Next we will need to think about the types of papers to add inside. You can choose any type of papers you like. Some of my favorites are tea dyed papers, avocado dyed paper, sheet music, drawing paper with the little torn bits still attached, book pages, old envelopes, paper scraps, vintage greeting cards, printed french documents… really whatever you like. I love to mix different shades and textures, and different types of paper, to get a really pretty time worn look when assembled.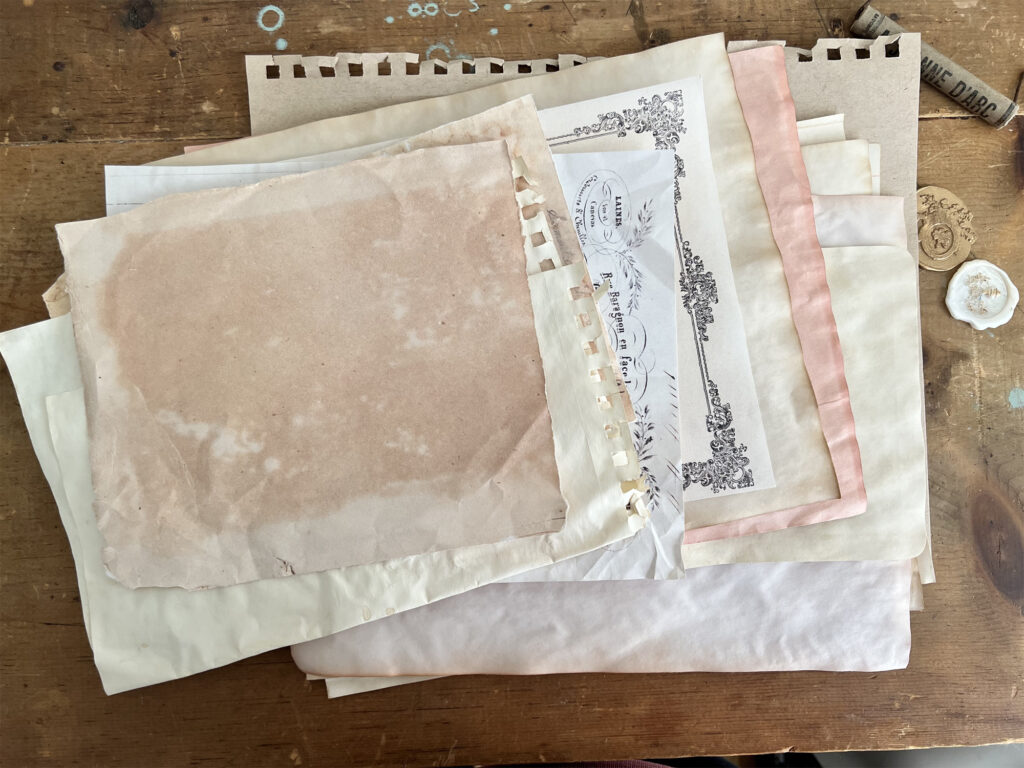
We will create a template for the page sizes we need. Here I am showing you how I folded a sheet of paper to the inside of the journal cover leaving just a tiny space on each edge so the papers will nestle inside the cover. The measurement for this paper to go inside the journal is 8 ¾” x 6 ¾” .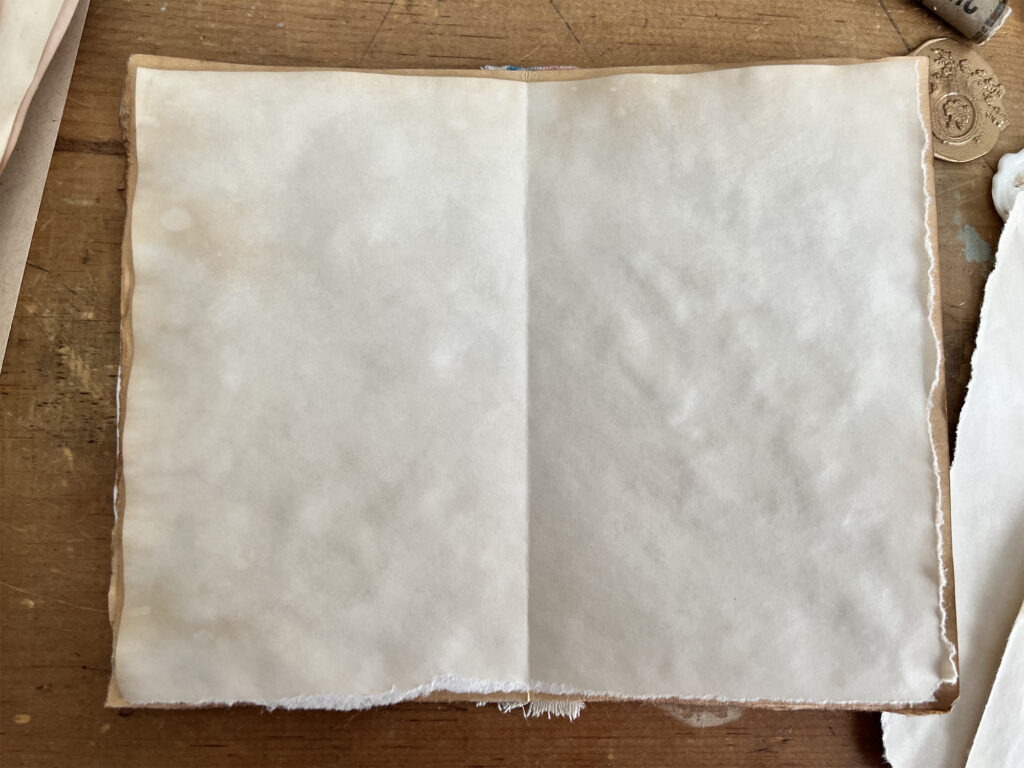
Next I am going to start folding papers… some smaller and some the same size. I like to vary the sizes of my papers inside because it makes for an interesting look when flipping through your journal if all the papers are not the same size. I like to make a few of the first papers a little smaller and build up to a larger sheet so when you open your journal you can see the edges of the papers in a layered way.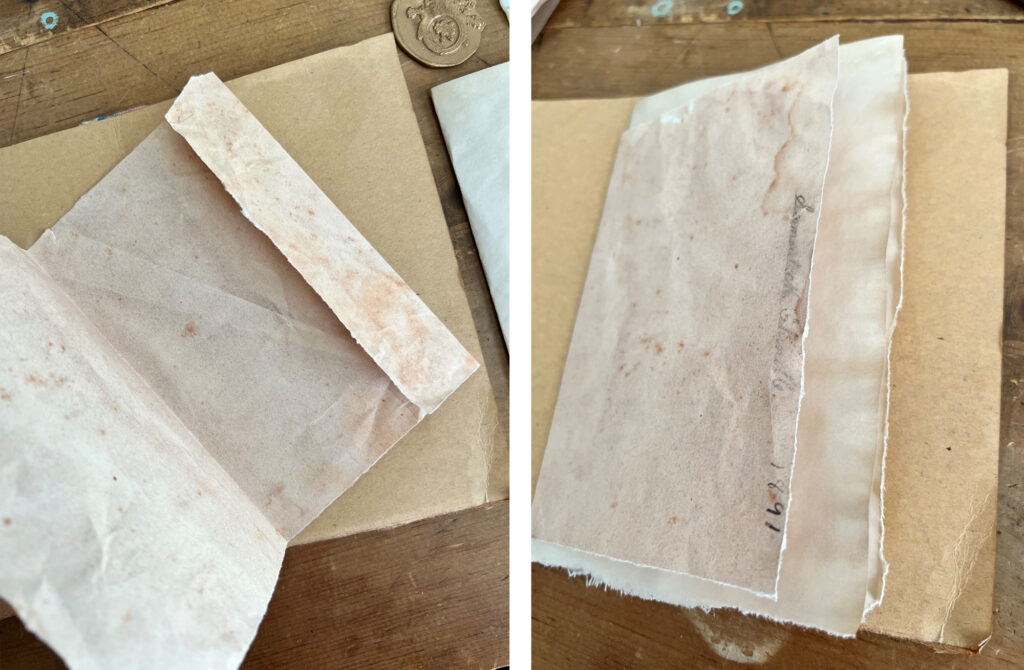 This Graphics Fairy image above of this old aged paper made a great addition to to my tea dyed papers.. I printed on both sides.
I keep adding various papers.. some I printed and some I dyed with tea or avocado. I also added a tea dyed paper doily as well for some added interest. This process is called creating a signature.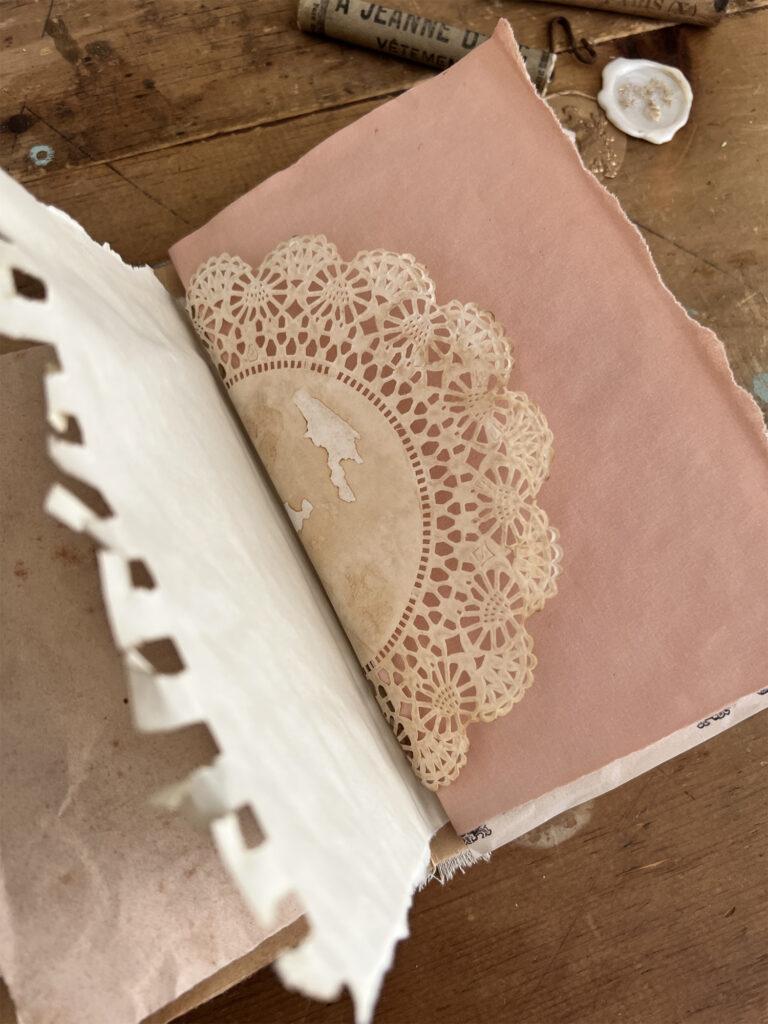
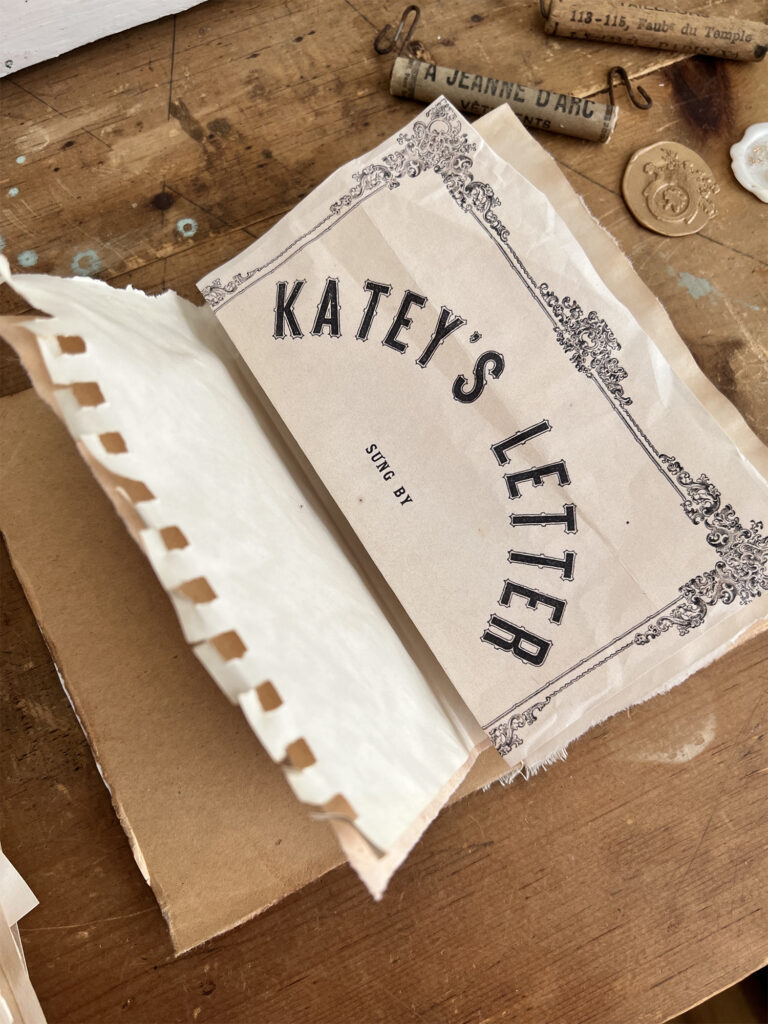
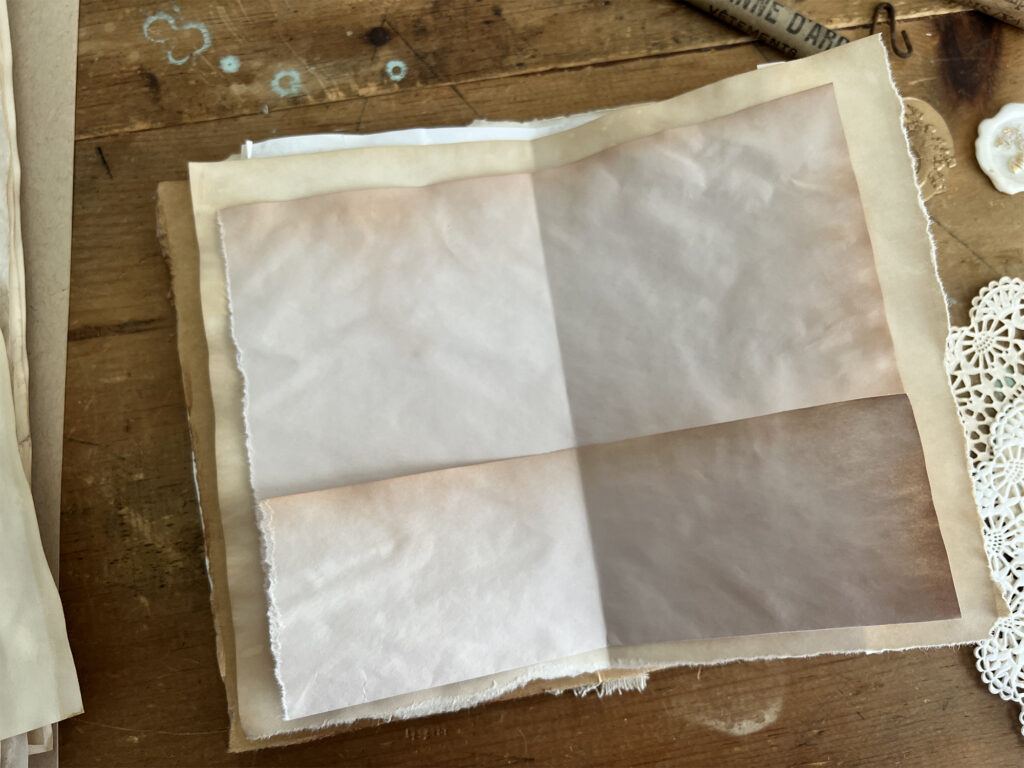 This will be the center page.. I folded the bottom of the paper up which will create a pocket once we bind it together. All together I used 10 different sheets of paper at varying sizes folded in half. This will give us a 40 page journal.
I hope you will follow along with this how to make a junk journal tutorial you can find Part 2 of this series for Journal Binding HERE . Next we will be binding all of this together to create our journal!
Images used in How to Make a Junk Journal Tutorial:
Take a Video Tour of one of my past Junk Journals:
Happy Creating!
Heather ~ you can find more of my art at Ruby & Pearl xo
A note from Karen & Emily… Heather Naggy was one of our instructors on our Premium Membership Site for several years. She has taught dozens of wonderful tutorials via instructional video on our Membership site. If you enjoyed this content you might want to consider joining our Premium site HERE to access lots more Junk Journal instructional tutorials and videos, as well as thousands of premade Printables to put in those books!



Denise says
Just found your post and I’d love to join in. I have TONS of scrapbook cardstock. Is it too heavy for this project?
graphicsfairy says
Great Denise, it should be just fine, have fun!!
Lisa says
I’m excited to do this, though I’m getting a bit of a late start. Thank you for all the hard work you’ve put into presenting this; much appreciated!
graphicsfairy says
Thanks so much Lisa and I hope you have fun!!
Lorna sommer says
I visited France 50+ years ago so this us pulling on ne to give it a try! Thank you for the free tutorials. How wonderful!
graphicsfairy says
Thanks Lorna, I hope you do give it a try 🙂
Ms Joey says
May I ask if this class has already started. If not I would love to join. I love French and would love to someday visit Paris. I love that city and anything French. I did download the papers and all but have not heard or received any emails as of yet. Could you please let me know? Thank you for your help in advance. Ms Joey
graphicsfairy says
Hi Ms. Joey,
This is not an actual class it is a summer project so you can work on it at your own pace 🙂 Please let us know if you have any questions. Oh, and I love Paris too 🙂
Michelle says
This looks like great fun and I love all the links to gain additional wisdom. Looking forward to this adveture.
graphicsfairy says
I am so glad Michelle, enjoy!
Tom Gray says
Math was NEVER my strong suite…. Thank you for the clarification. Signatures completed.
Rebecca E. Parsons says
Me either. I had to put them together and count them one by one! Glad you are joining in!!
Joy McClintock says
This sounds like so much fun. I have been working on junk journals the last few months, but really wanted to do acParis theme one. So excited to do this along with you.
graphicsfairy says
Thanks so much Joy, I hope you enjoy it!!
Rebecca E. Parsons says
We will have so much fun with this Joy.
Carla says
I’m really looking forward to this!
graphicsfairy says
Oh yea Carla, I hope you have fun!!
Rebecca E. Parsons says
Me too Carla!!
Sylvie Roussel says
OH LA LA REBECCA, I am so happy to be able to follow you with this first class (tutorials) to do my first “junk journal”. Of course, as I am French (I live in Paris), it is easy for me to recover old images, tickets, and even the packaging of “bread sticks”. But most of all, as I have just retired (I’m 65 years old), I have already passed all my old pay slips and other paperwork in coffee and tea :)))). Let’s stay in touch and if you need pages of dictionaries, encyclopedias etc … french, think of me. I can scan them and send them :))). I kiss you . and welcome to France :))))
Rebecca E. Parsons says
Oh Sylvie! Merci. You make my heart sing. I would LOVE LOVE LOVE to have scans. I have one friend in France who runs a popular site that sells French brocante items. I always hate to bother her with my requests. Feel free to email me so we can communicate without taking over this thread. [email protected]. We are the same age also!!
Sylvie Roussel says
Hello Rebecca . So sorry , i have had ( j’ai du ) to be near my old mother , but now it’s good . Ouf 🙂 I scan the dictionnary pages and another images this week end . I try to send its by your mail and have a good time. See you later 🙂
Joyce l Thatcher says
Looking forward to making one! Will there be emails letting us know when next section is up?
graphicsfairy says
Have fun Joyce, yes, we will keep you posted in the emails 🙂
Jane Holt says
Can’t wait to learn new techniques and have fun creating! Thank you!
graphicsfairy says
We are so glad Jane, have fun!!
Rebecca E. Parsons says
Let me know how you are doing as we move along this Summer Jane!
Eileen says
I have my book cover and my stained pages are laying in the sun to dry.
One question: my book cover is really ugly. May I gesso over it now or should I wait?
I’m excited about this class. Thank you so much, Karen & Rebecca. I’ve never made a junk journal but have admired the ones my friends make.
Rebecca E. Parsons says
I am so tickled that you are joining the journey Eileen. YAY! We will make the cover in the last tutorials. We might possibly need to expand the spine, so you can wait and concentrate on your pages for now. Your cover will be amazing! And your friends will be admiring yours! WINK WINK!
Lynn Harrell says
Looks like a fun summer project. Already have the coffee dyed papers and a book with the pages taken out. Can’t wait for the next lesson. Thanks for your inspiration.
graphicsfairy says
It is our pleasure Lynn 🙂
Twana says
How wonderful!!! I get to go to a creative class and not leave my home! And it couldn’t be at a better price!!!! Thank you so much for sharing this with me! You don’t know how much it means to go on this journey with a bunch of women from everywhere, enjoying creating something beautiful! And I love the imagination part! If you can’t travel, pretending is the next best thing!!! What an absolutely great idea and bonding experience! I look forward to this! Now I have to get started! Hello Dollar Tree!
graphicsfairy says
Enjoy your creative journey Twana, I am so glad you are going to give it a try, good luck!
Laurel Becker says
Exciting! Looking forward to this project.
graphicsfairy says
I am so glad Laurel, good luck!!
Rebecca E. Parsons says
I am looking forward to seeing what you create Laurel!! 😉