How to Make a Junk Journal
Hello creative friends! I am Heather from Ruby & Pearl xo. Today we will be learning how to make a Junk Journal from start to finish! This 3 part series is easy to follow and a perfect way to learn how to create a journal of your own! This is a mini free online course to get you up and running with your first journal. It’s perfect for a beginner, but even if you have already been crafting your own junk journals for awhile, you will hopefully still find lots of inspiration.
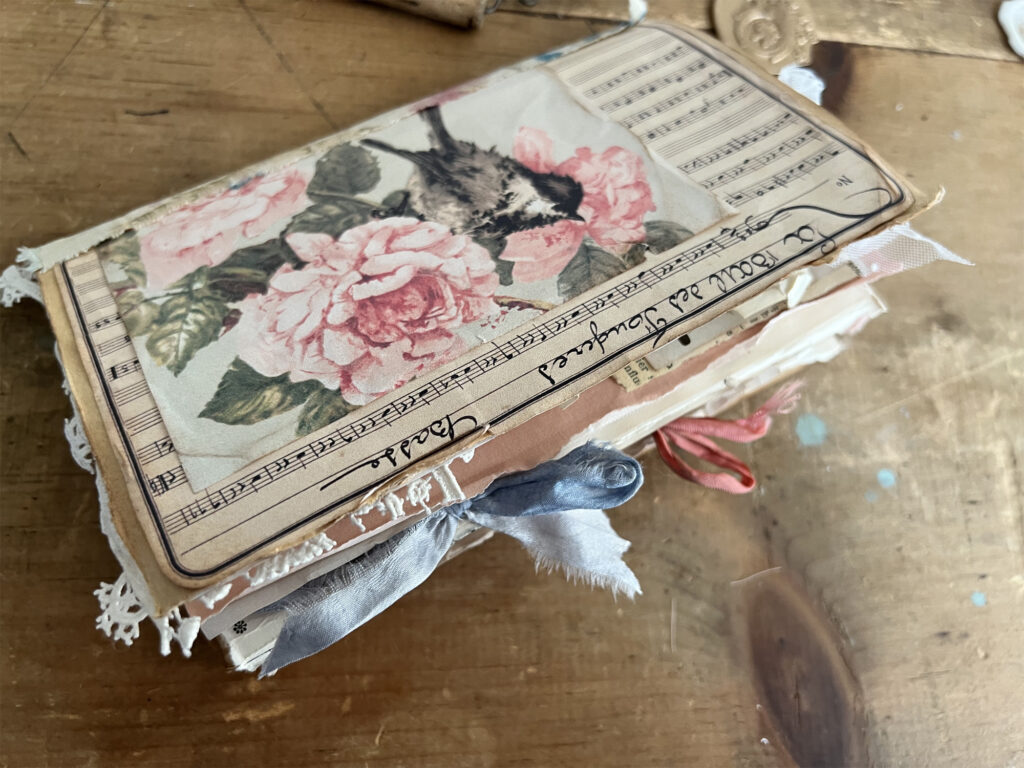 A junk journal in its simplest form is a handmade journal created using an eclectic mixture of various papers and ephemera. There are usually pockets, tuck spots and scraps of this-and-that clipped to the pages. It is the perfect place to write your thoughts, tuck your photos or fill with whatever makes you smile!
To get started we will begin assembling the cover.
How to Make a Junk Journal Supplies for Cover:
Kraft Colored Cardstock (I am using 65lb)
Scissors
Printed Images (see links at bottom of post)
Fabric Strip
Instructions:
The first step is to cut your cardstock to size. For this journal I will give you my measurements but you can adapt this to whatever size you like.
To create the base for the cover, measure with a ruler, and cut a piece of kraft colored cardboard to 9” horizontal x 7” vertical. Tearing the edges of the cardstock instead of cutting with scissors creates a pretty organic look too. Once you have your base cut out.. You will fold it in half and crease with the back of your scissors to give a nice crisp edge.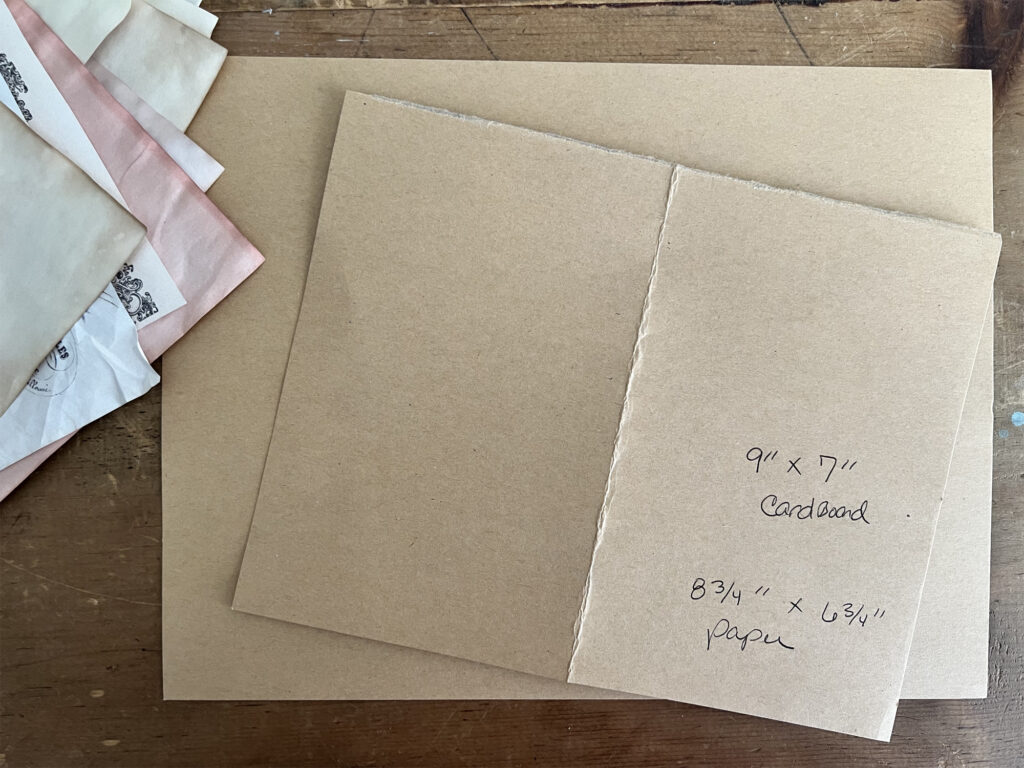
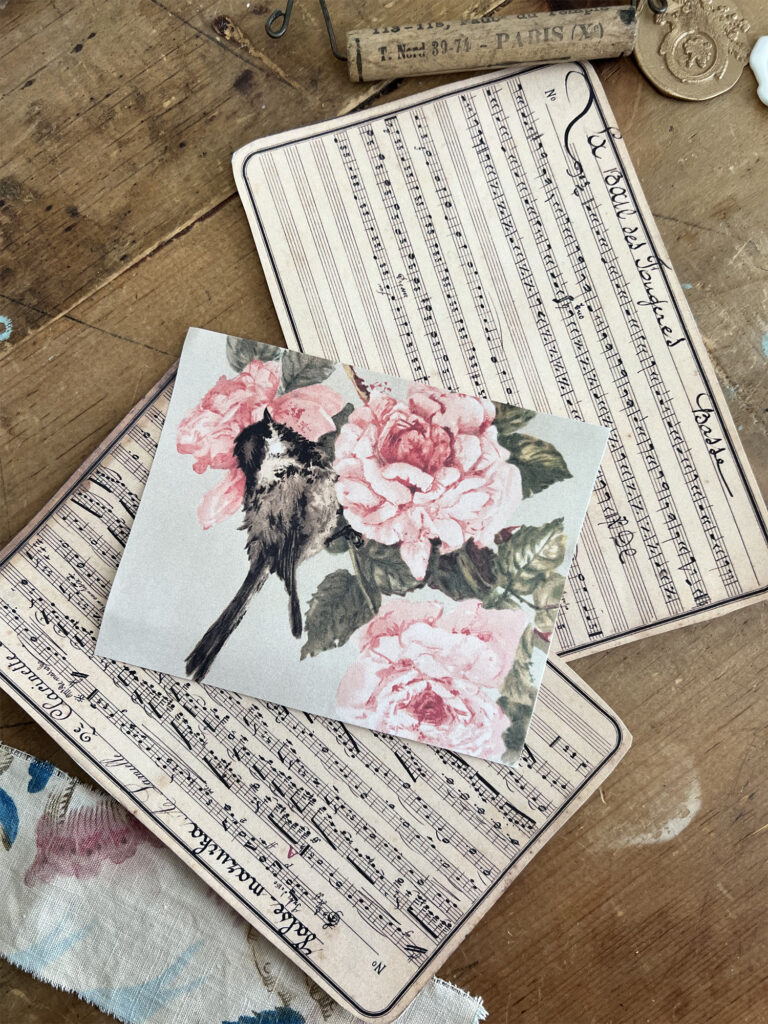
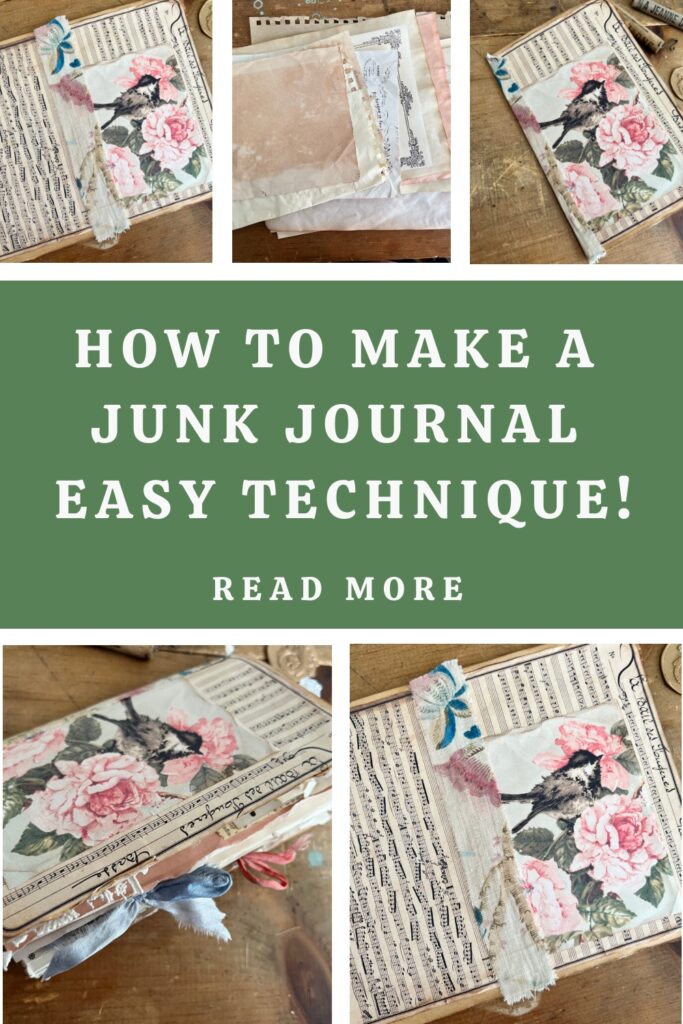
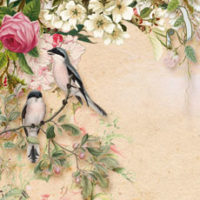
Next we will be using these 2 pretty vintage music pages from the Graphics Fairy and also the little bird image to add to the front cover.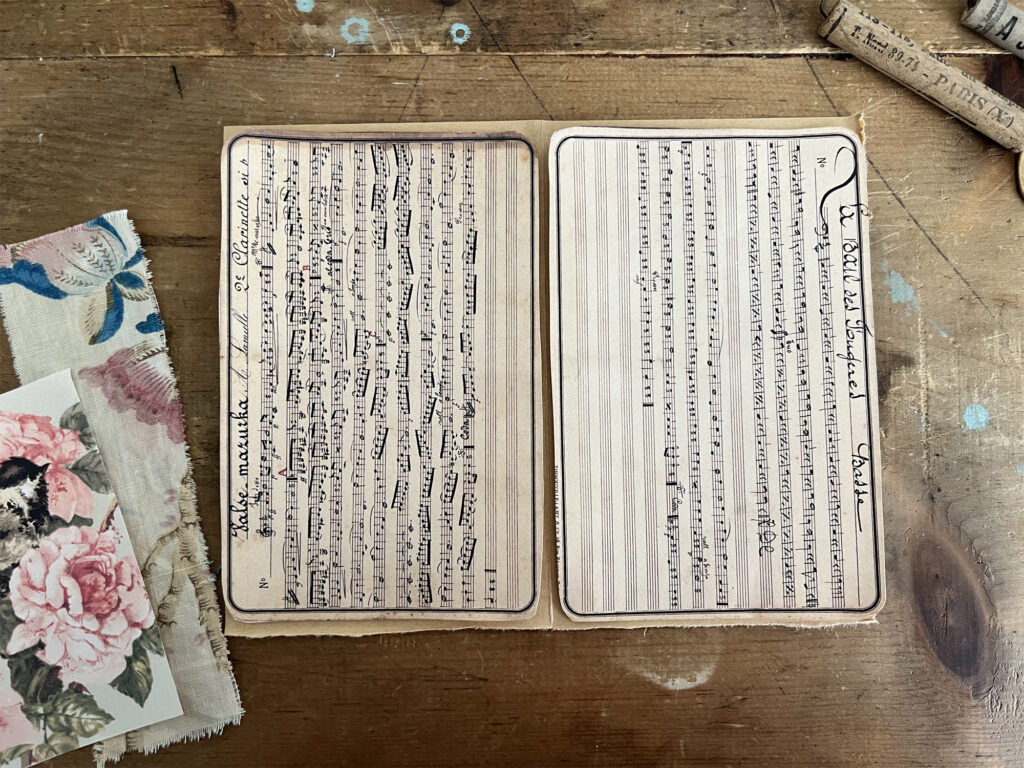
I used some distress ink along the edges of the images and also crinkled the paper along the edges with my fingers to give them a worn and imperfect look. I printed these at 5” x 7” size on my printer. They are the perfect size for our journal.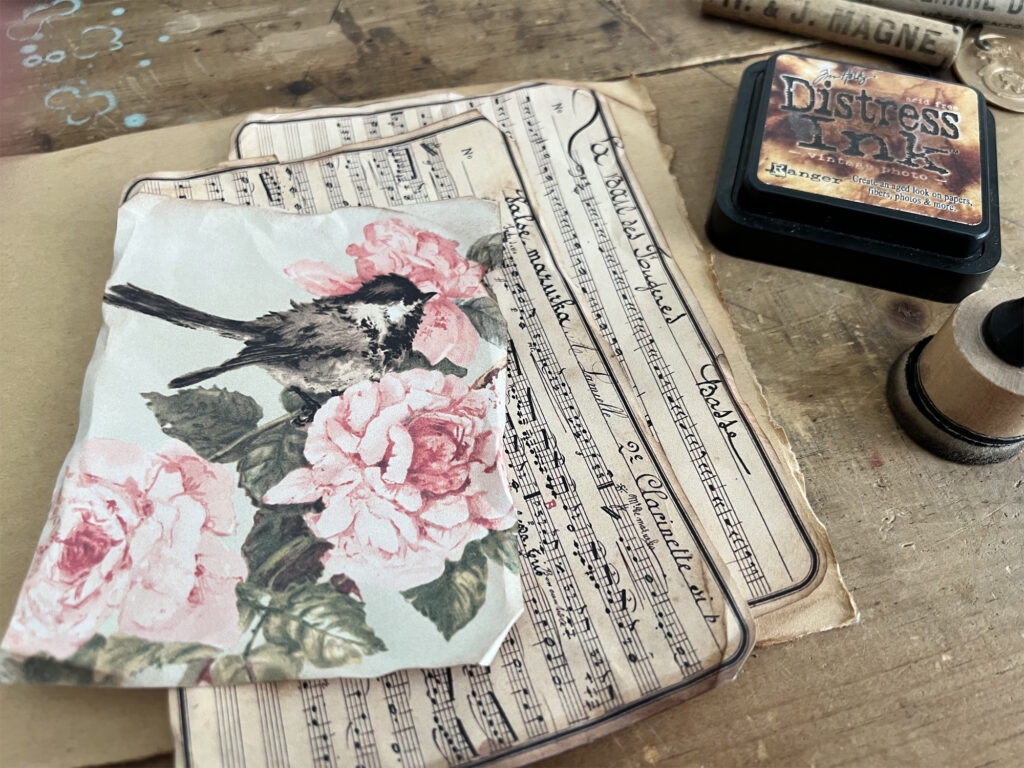
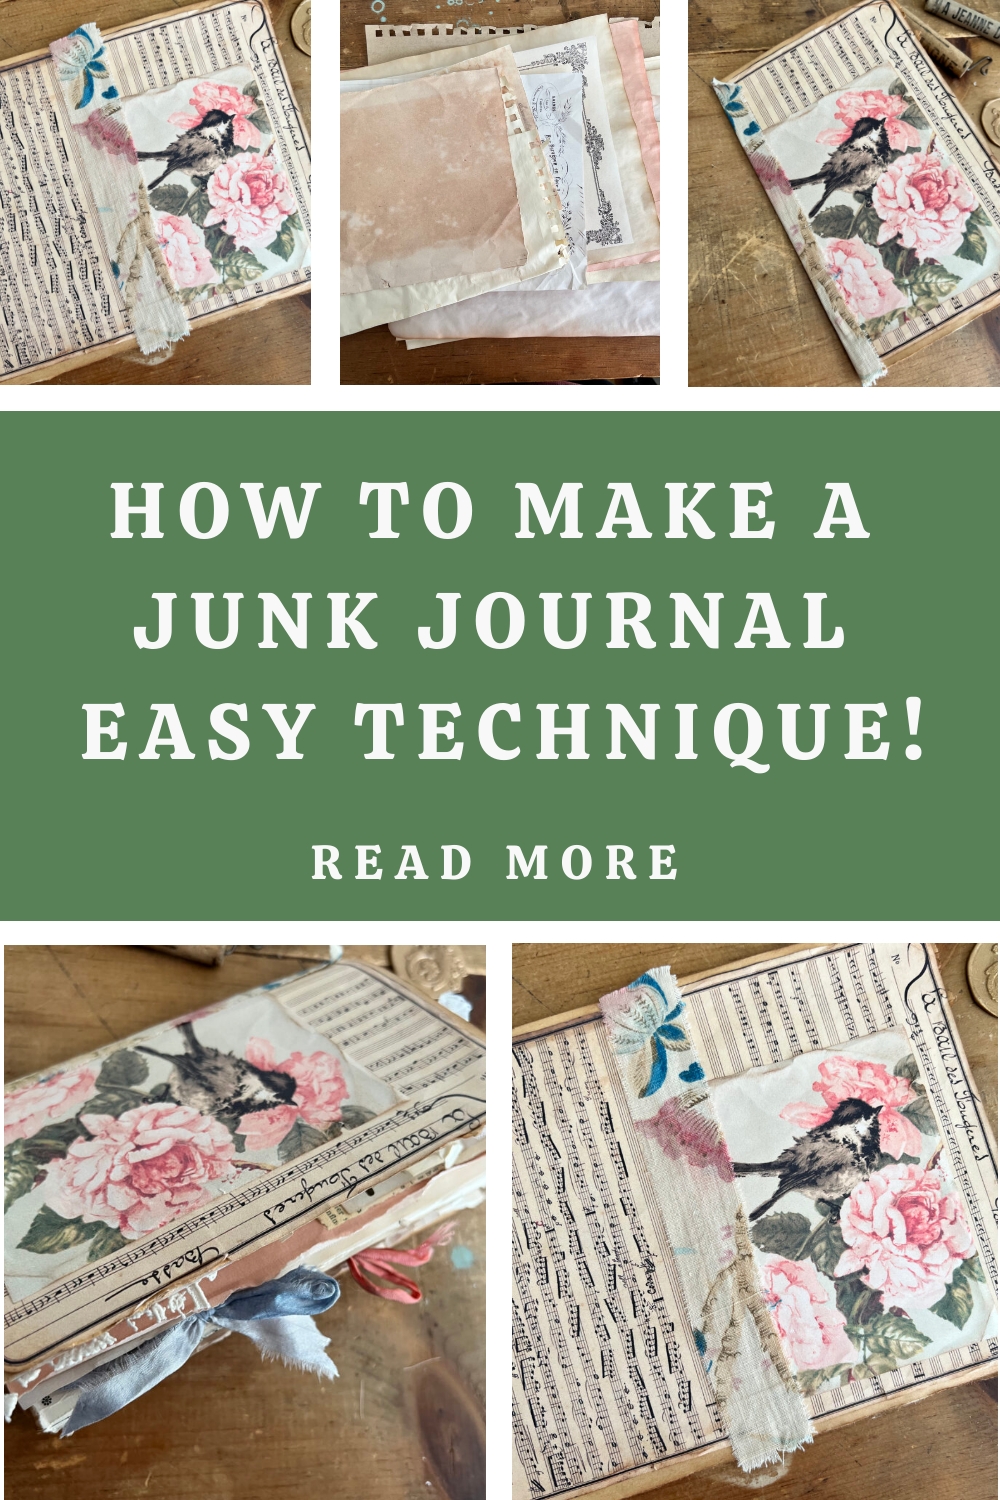
Next we will glue the music pages to the front and back cover and then collage the little bird image to the front. I love how pretty the pink flowers look with the sheet music. The glue I am using is Fabri-tac glue.. It dries quickly and adheres very well.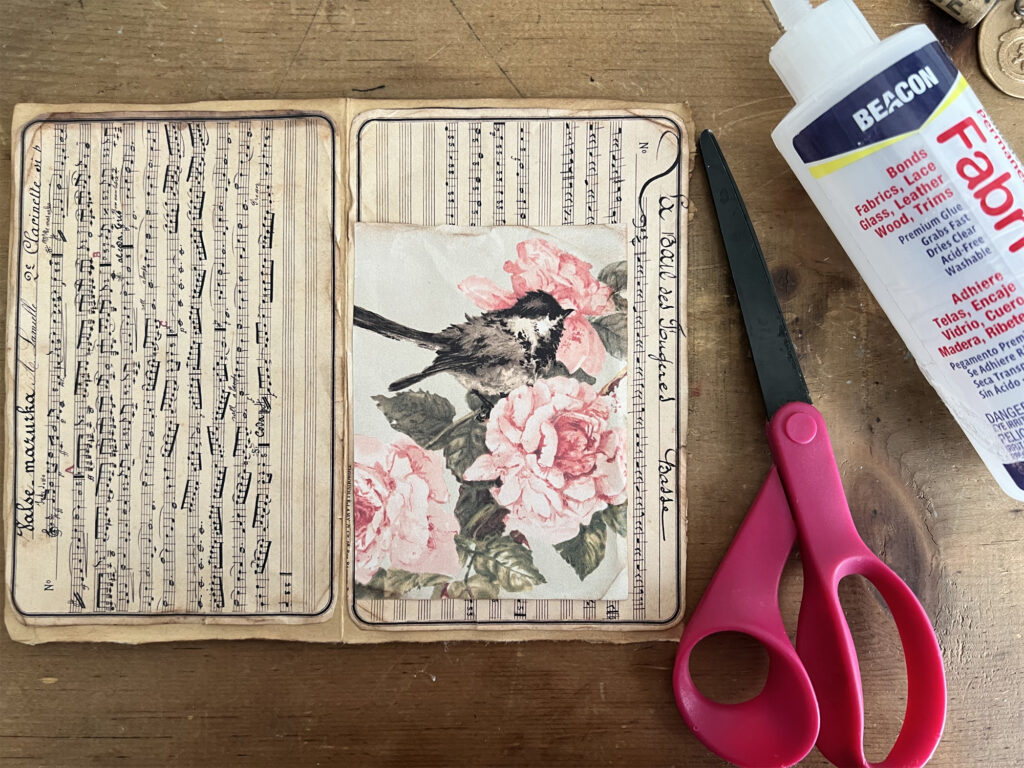
Now we are going to add a thin strip of fabric to the middle crease which will be the spine of the journal with glue.. This is just to give a little texture and pattern to the cover and when the journal is closed it will cover the spine beautifully.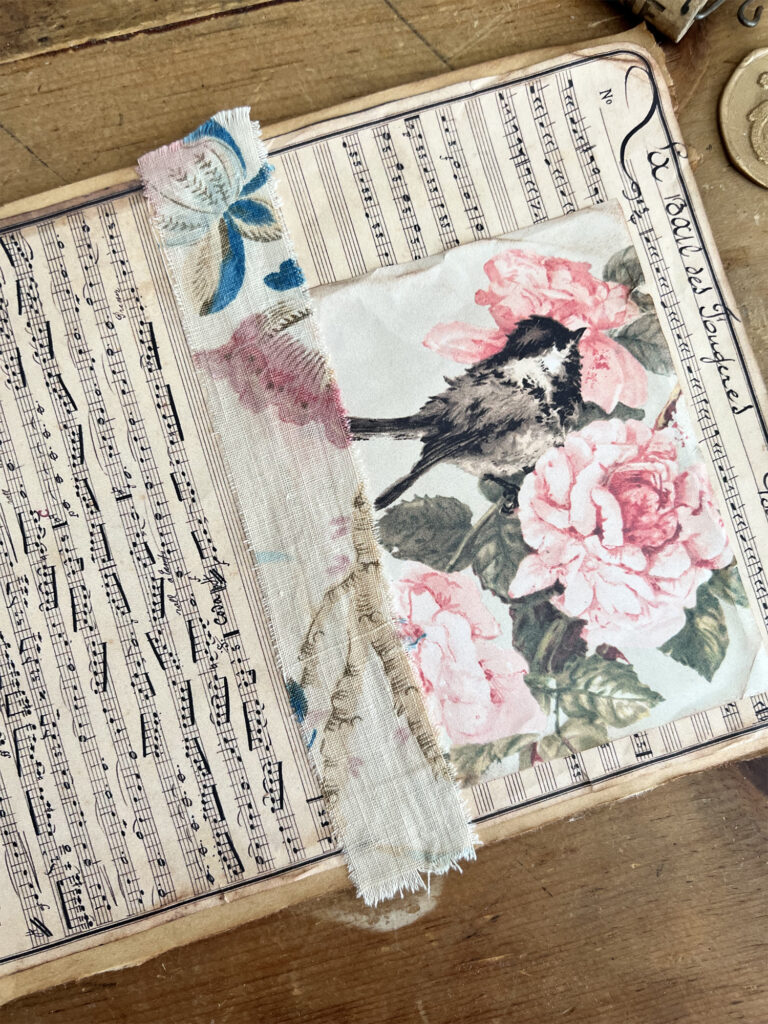
So now the cover is complete! It looks so beautiful.. and really is so simple to get your journal started! I didn’t really have a specific theme for this journal, but of course you could create themed Junk Journals if you wanted to. 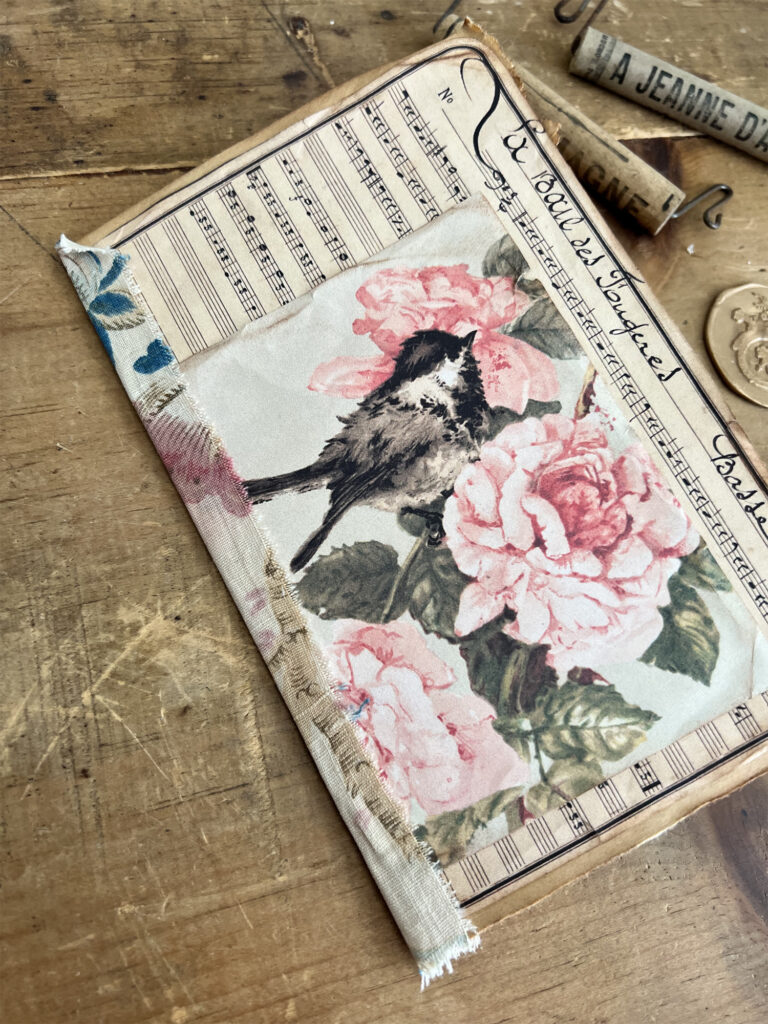
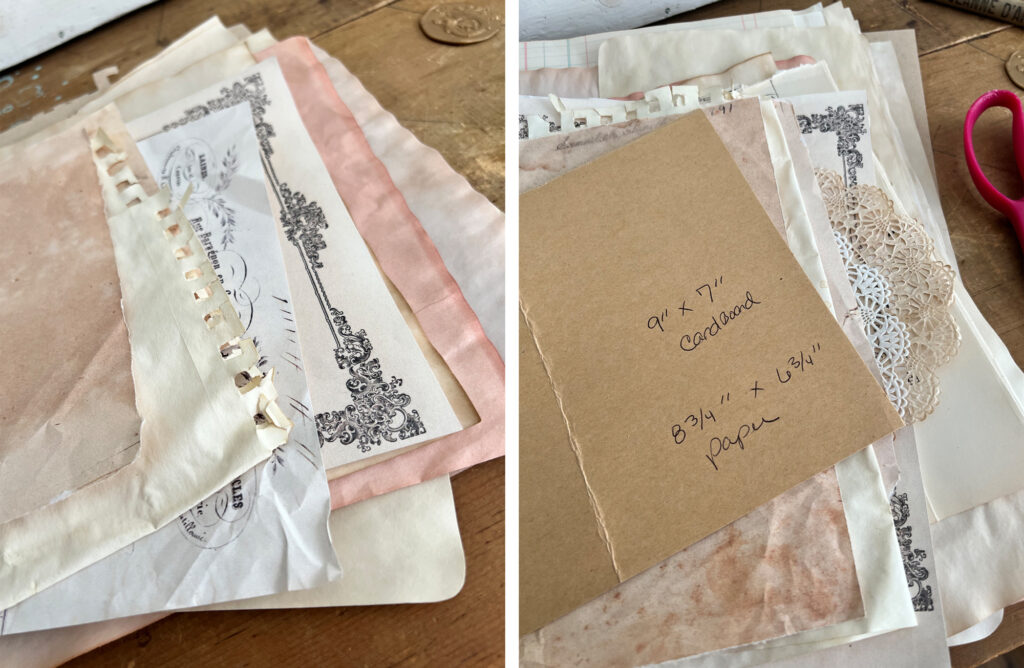
Next we will need to think about the types of papers to add inside. You can choose any type of papers you like. Some of my favorites are tea dyed papers, avocado dyed paper, sheet music, drawing paper with the little torn bits still attached, book pages, old envelopes, paper scraps, vintage greeting cards, printed french documents… really whatever you like. I love to mix different shades and textures, and different types of paper, to get a really pretty time worn look when assembled.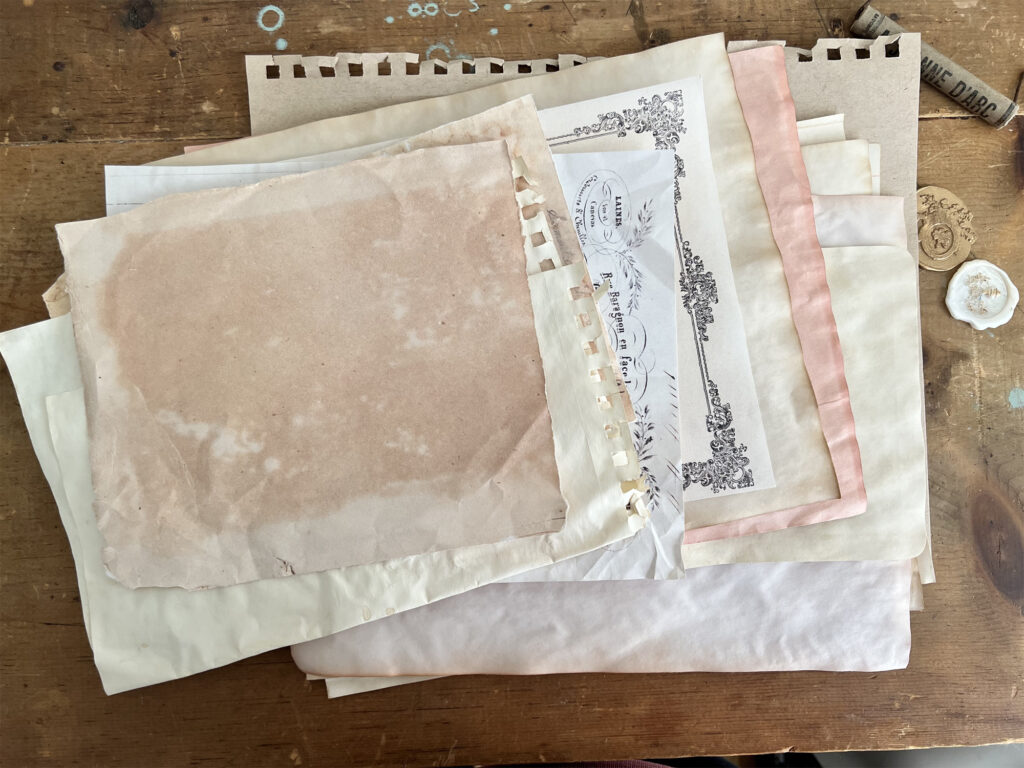
We will create a template for the page sizes we need. Here I am showing you how I folded a sheet of paper to the inside of the journal cover leaving just a tiny space on each edge so the papers will nestle inside the cover. The measurement for this paper to go inside the journal is 8 ¾” x 6 ¾” .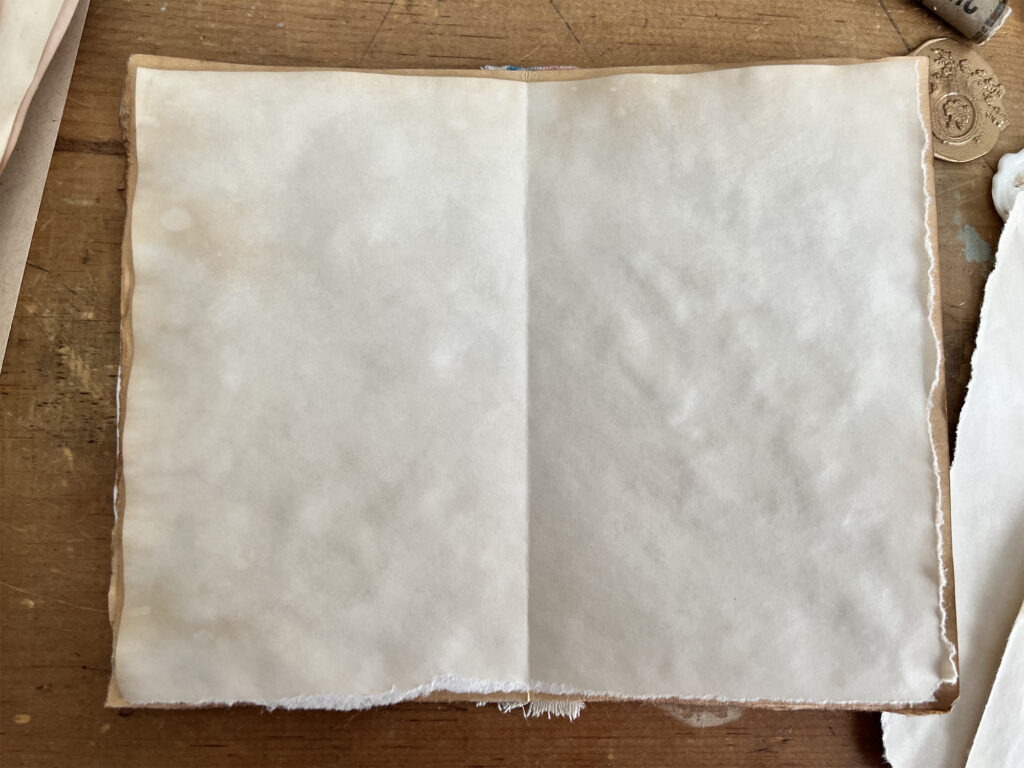
Next I am going to start folding papers… some smaller and some the same size. I like to vary the sizes of my papers inside because it makes for an interesting look when flipping through your journal if all the papers are not the same size. I like to make a few of the first papers a little smaller and build up to a larger sheet so when you open your journal you can see the edges of the papers in a layered way.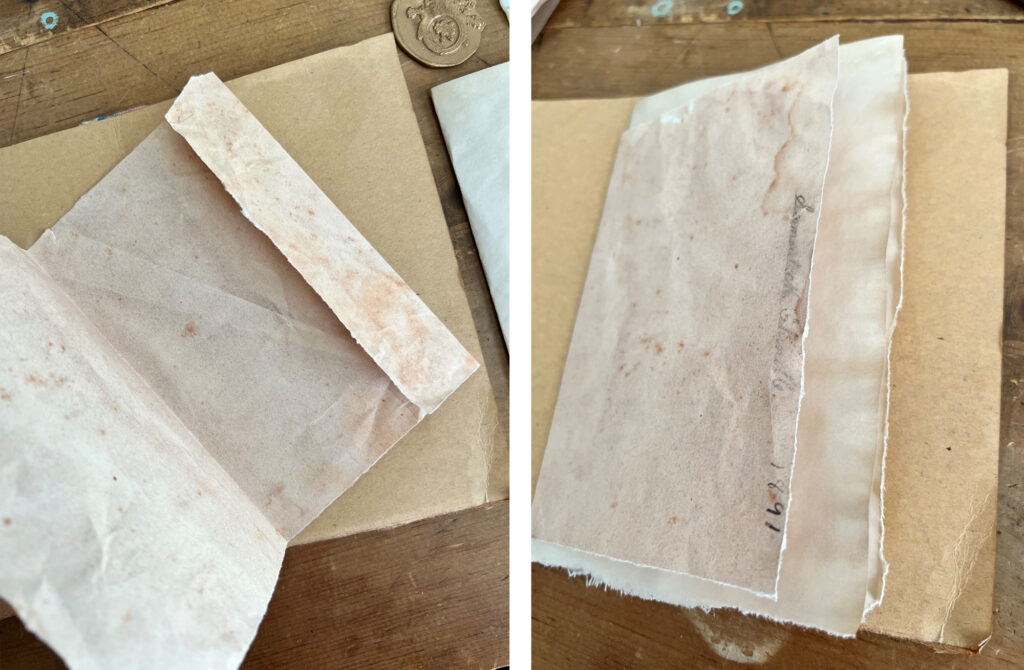 This Graphics Fairy image above of this old aged paper made a great addition to to my tea dyed papers.. I printed on both sides.
I keep adding various papers.. some I printed and some I dyed with tea or avocado. I also added a tea dyed paper doily as well for some added interest. This process is called creating a signature.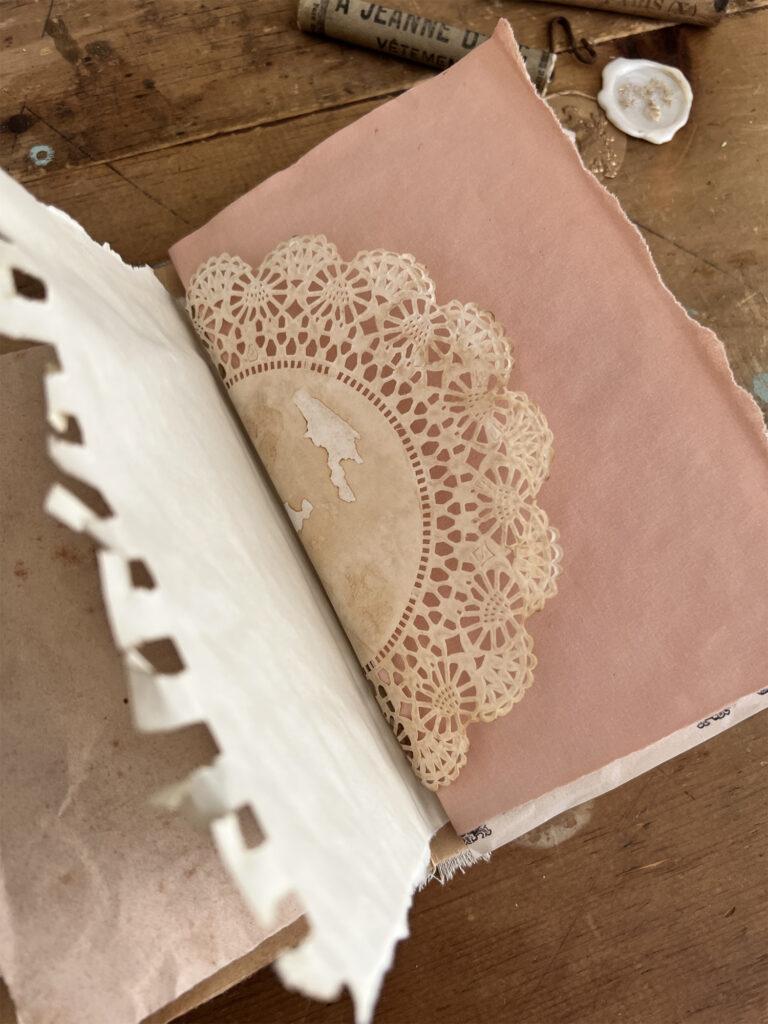
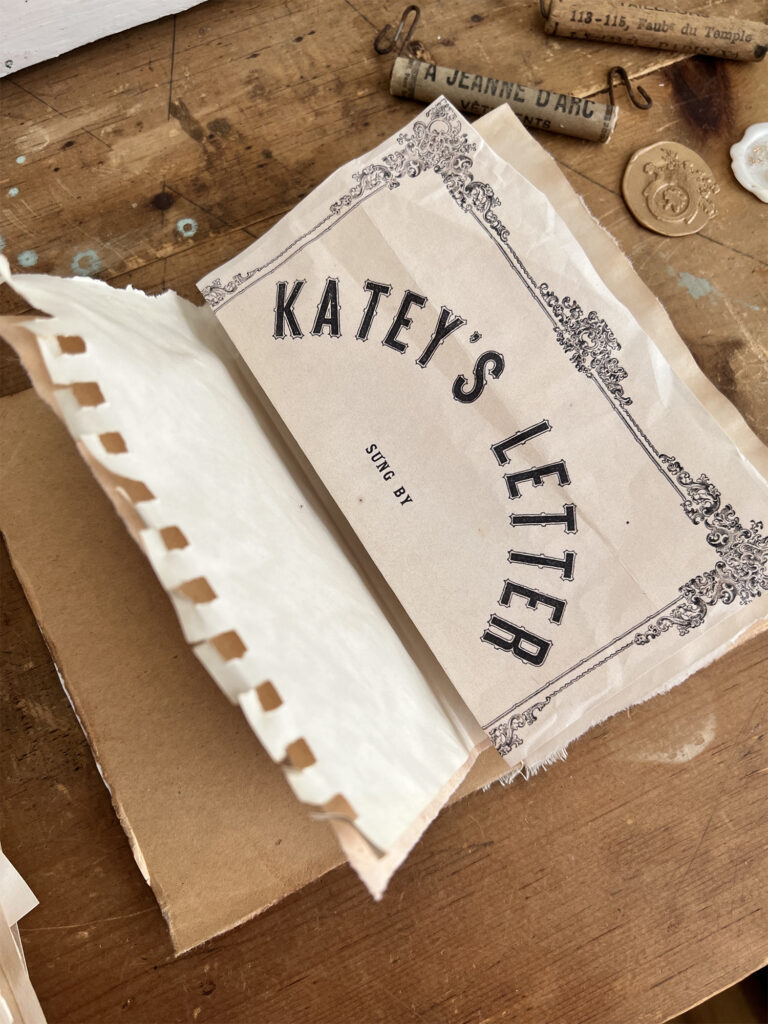
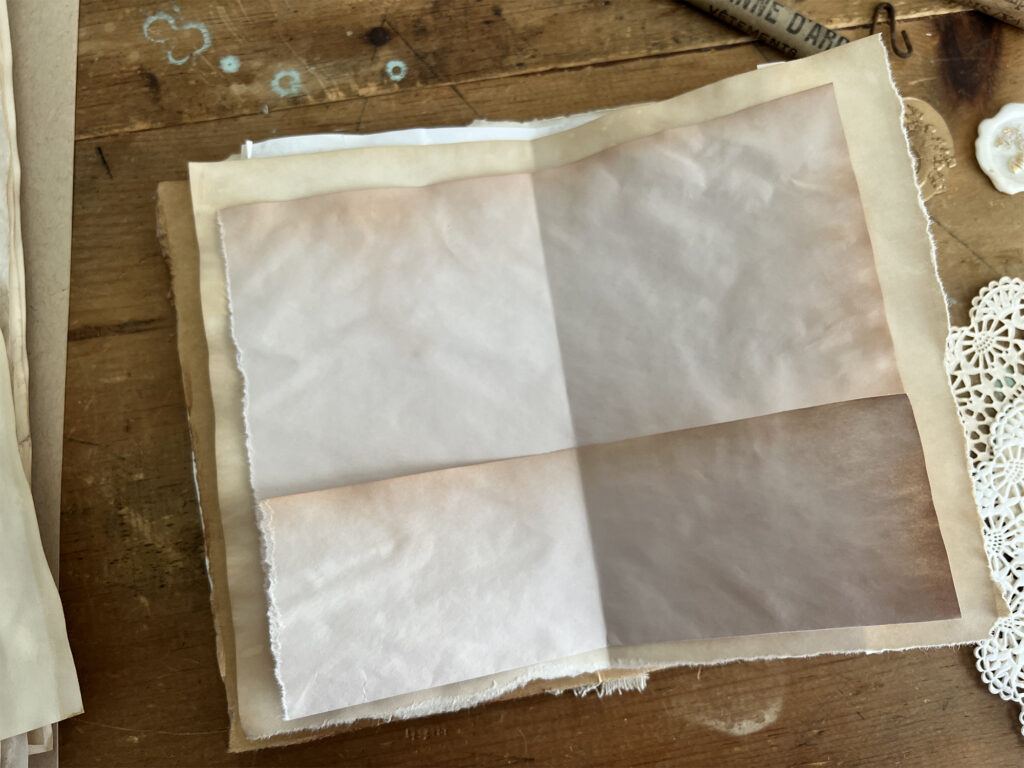 This will be the center page.. I folded the bottom of the paper up which will create a pocket once we bind it together. All together I used 10 different sheets of paper at varying sizes folded in half. This will give us a 40 page journal.
I hope you will follow along with this how to make a junk journal tutorial you can find Part 2 of this series for Journal Binding HERE . Next we will be binding all of this together to create our journal!
Images used in How to Make a Junk Journal Tutorial:
Take a Video Tour of one of my past Junk Journals:
Happy Creating!
Heather ~ you can find more of my art at Ruby & Pearl xo
A note from Karen & Emily… Heather Naggy was one of our instructors on our Premium Membership Site for several years. She has taught dozens of wonderful tutorials via instructional video on our Membership site. If you enjoyed this content you might want to consider joining our Premium site HERE to access lots more Junk Journal instructional tutorials and videos, as well as thousands of premade Printables to put in those books!



ileana says
Hi Rebecca! How I wish I could have time to join in the fun right now!!! but knowing the blog post will live forever I´ll start doing it when I have less work to do (at work…), I hope that will be in a couple of months! Thank you so much for sharing, can´t wait to start making my own
Have a great day!
graphicsfairy says
Thanks Ileana! Can’t wait for you to start too 🙂
Vickie says
Above in the Blog, it states at the end “Surprise Gift”: “I have scoured the archives here at The Graphics Fairy to find some of the most amazing, beautiful vintage French images and ephemera to tell the story of our travels and place in our vintage French junk journal.” Was this a link to free pages? If so, are they no longer available? I do not find a link.
Thank you.
graphicsfairy says
Hi Vickie, the links are in the Junk Journal tutorials. They are all over on the blog, if you do a search for Junk Journal it will bring them all up for you. Enjoy 🙂
Shelley Dicks says
How do you attach the prepared papers to the book cover? I can’t seem to see it in your post. Thanks.
Rebecca E. Parsons says
Hi Shelley:
The finishing of the book, including the cover, is in the final post of this series. You can find it here: Finishing-and-Binding/
If you need anything else, just let me know.
Rebecca E. Parsons says
Beth, that is a valid point and I would advise to work accordingly. I will pass this along in my future classes so students can make their own decisions on heirloom quality. Thank you.
Debbie says
Hello Rebecca. I want to join, but I know I’m late. I have never put a journal together. I have only done the mixed media covers and boxes through graphic fairy, Heather Tracy.
When you say 3 signatures of 16 pages that would equal 48 pages. Do these pages stay white? Im a little confused because you then say to distress/age 4 pieces of paper and fold then nestle together. Could you tell me the 4 pages are separate from the 3 signatures of 16? Do we distress/age all 48 pages? Thank you for any feedback you can provide. I’m very excited to be doing this journal. Debbie (Hi Karen, thanks for providing ongoing free classes. I’m excited to try this. Thank you, Debbie)
Rebecca E. Parsons says
Hi Debbie…I am so glad you are joining in. It is always a good time to make a book. I hope it open up a whole new adventure for you. It is hard to understand initially and fairly difficult to explain in words.
Let me try to simplify the pages and signatures for you.
– each sheet of paper, when folded in half, creates 4 pages (think of it like a book)
– 4 sheets of paper folded in half and nestled together create a 16-page signature
– each signature is created with 4 whole 8-1/2 X 11″ sheets of paper, folded in half along the short side – 12 sheets of paper total
– you will need to coffee or tea stain 12 sheets of paper to complete the journal if you want that vintage look, it is not required
– the tea and coffee staining process is given in the Intro post for this series
I hope this helps. It is easy to understand once you do it. I usually have students take 4 sheets of printer paper stacked together, fold the stack in half, then count the pages as you turn them.
Beth says
Hi Rebecca, Really enjoying reading through this fun tutorial and thinking of trying my own variation, probably more nature-themed than Paris. Thank you for all the good ideas delivered so enthusiastically and in such lovely detail!
Anyway, you mention archival and acid-free supplies on the next lesson. What you may not be aware of is that tea and coffee staining is definitely NOT archival. These liquids leave tannic (and other) acids in the papers, fabrics and whatever else, which considerably accelerate the eventual degradation of the materials. Some people don’t care how long their art lasts, and for them tea dying may be fine. But crafters should be aware that it’s rather futile using archival adhesives and acid-free papers with tea-dying if long-term survival of the art is important to them. Similar, but more archival effects can be obtained (perhaps at slightly higher cost) using diluted watercolors, inks, fabric dyes and even acrylic paints for staining – it’s worth experimenting to see what works best for one’s own preferred papers, fabrics and other materials.
graphicsfairy says
Thanks so much for sharing your amazing knowledge with us Beth, it is very much appreciated!
Addie says
I am wanting to print/download the 3 postcards but they are only very small and won’t enlarge…..help please!!
graphicsfairy says
You could use an editing software like Photoshop to edit the image and enlarge it to your desired size. There are many editing software options out there, I hope that helps 🙂
Eileen says
I did lesson 1 and am anxiously awaiting more. Did I miss something? I’m subscribed to the Graphics Fairy . I hope Rebecca is okay.
graphicsfairy says
Hi Eileen, you didn’t miss anything, everything is always available for you on the blog 🙂 Here is a link to Rebecca’s 2nd post, https://thegraphicsfairy.com/junk-journal-page-layouts-1/ and she just released her latest today, https://thegraphicsfairy.com/how-to-make-a-junk-journal/ they are all on the blog if you need to refer back to them. Enjoy!
Mandy Jansen says
Even though it’s a bit ‘late’, I’d love to participate if possible please?
graphicsfairy says
It’s never too late Mandy 🙂 We would love to have you join us. This is the first post for the project so a great time and place to start! Here is a link to the 2nd tutorial, https://thegraphicsfairy.com/junk-journal-page-layouts-1/ Have fun!!
Mandy Jansen says
Thank you so much – will start tomorrow as it’s almost bedtime here…. kind regards
graphicsfairy says
Enjoy Mandy 🙂