22 Easy Image Transfer Methods (Photo Transfers)
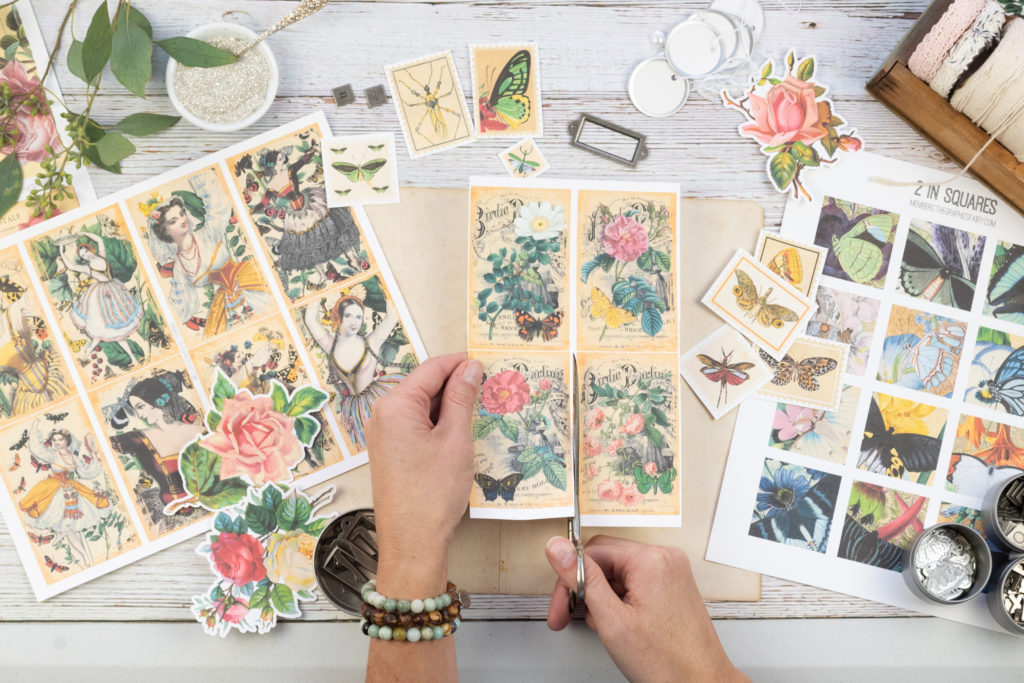
This is a comprehensive post about Image Transfer Methods and Photo Transfer Techniques! Some of these can be done with Inkjet Printers, some with Laser Printers and some only work with old fashioned toner from a photocopier or copy machines. We covered so many different ways to create this nearly magical process, and we’ve covered all sorts of surfaces, like Furniture, Fabric, Paper, Clay, Wood, Glass and more. While we mainly use graphics for these projects, as we are a graphics site, many of these methods will work with photos too. Time and time again, the question that I get asked most frequently by my readers, is “How can I transfer your images on to _____”. There are numerous Transfer Methods on this blog, and this post attempts to consolidate it all in one place so that you can easily find the method that you want to use for your particular project. Below you will find links to 23 different ways to Transfer onto pretty much any type of material. We are always trying out new products and new techniques on this site, so I have updated this post to include the new ones. I hope you find it helpful!
How to Transfer Onto Furniture
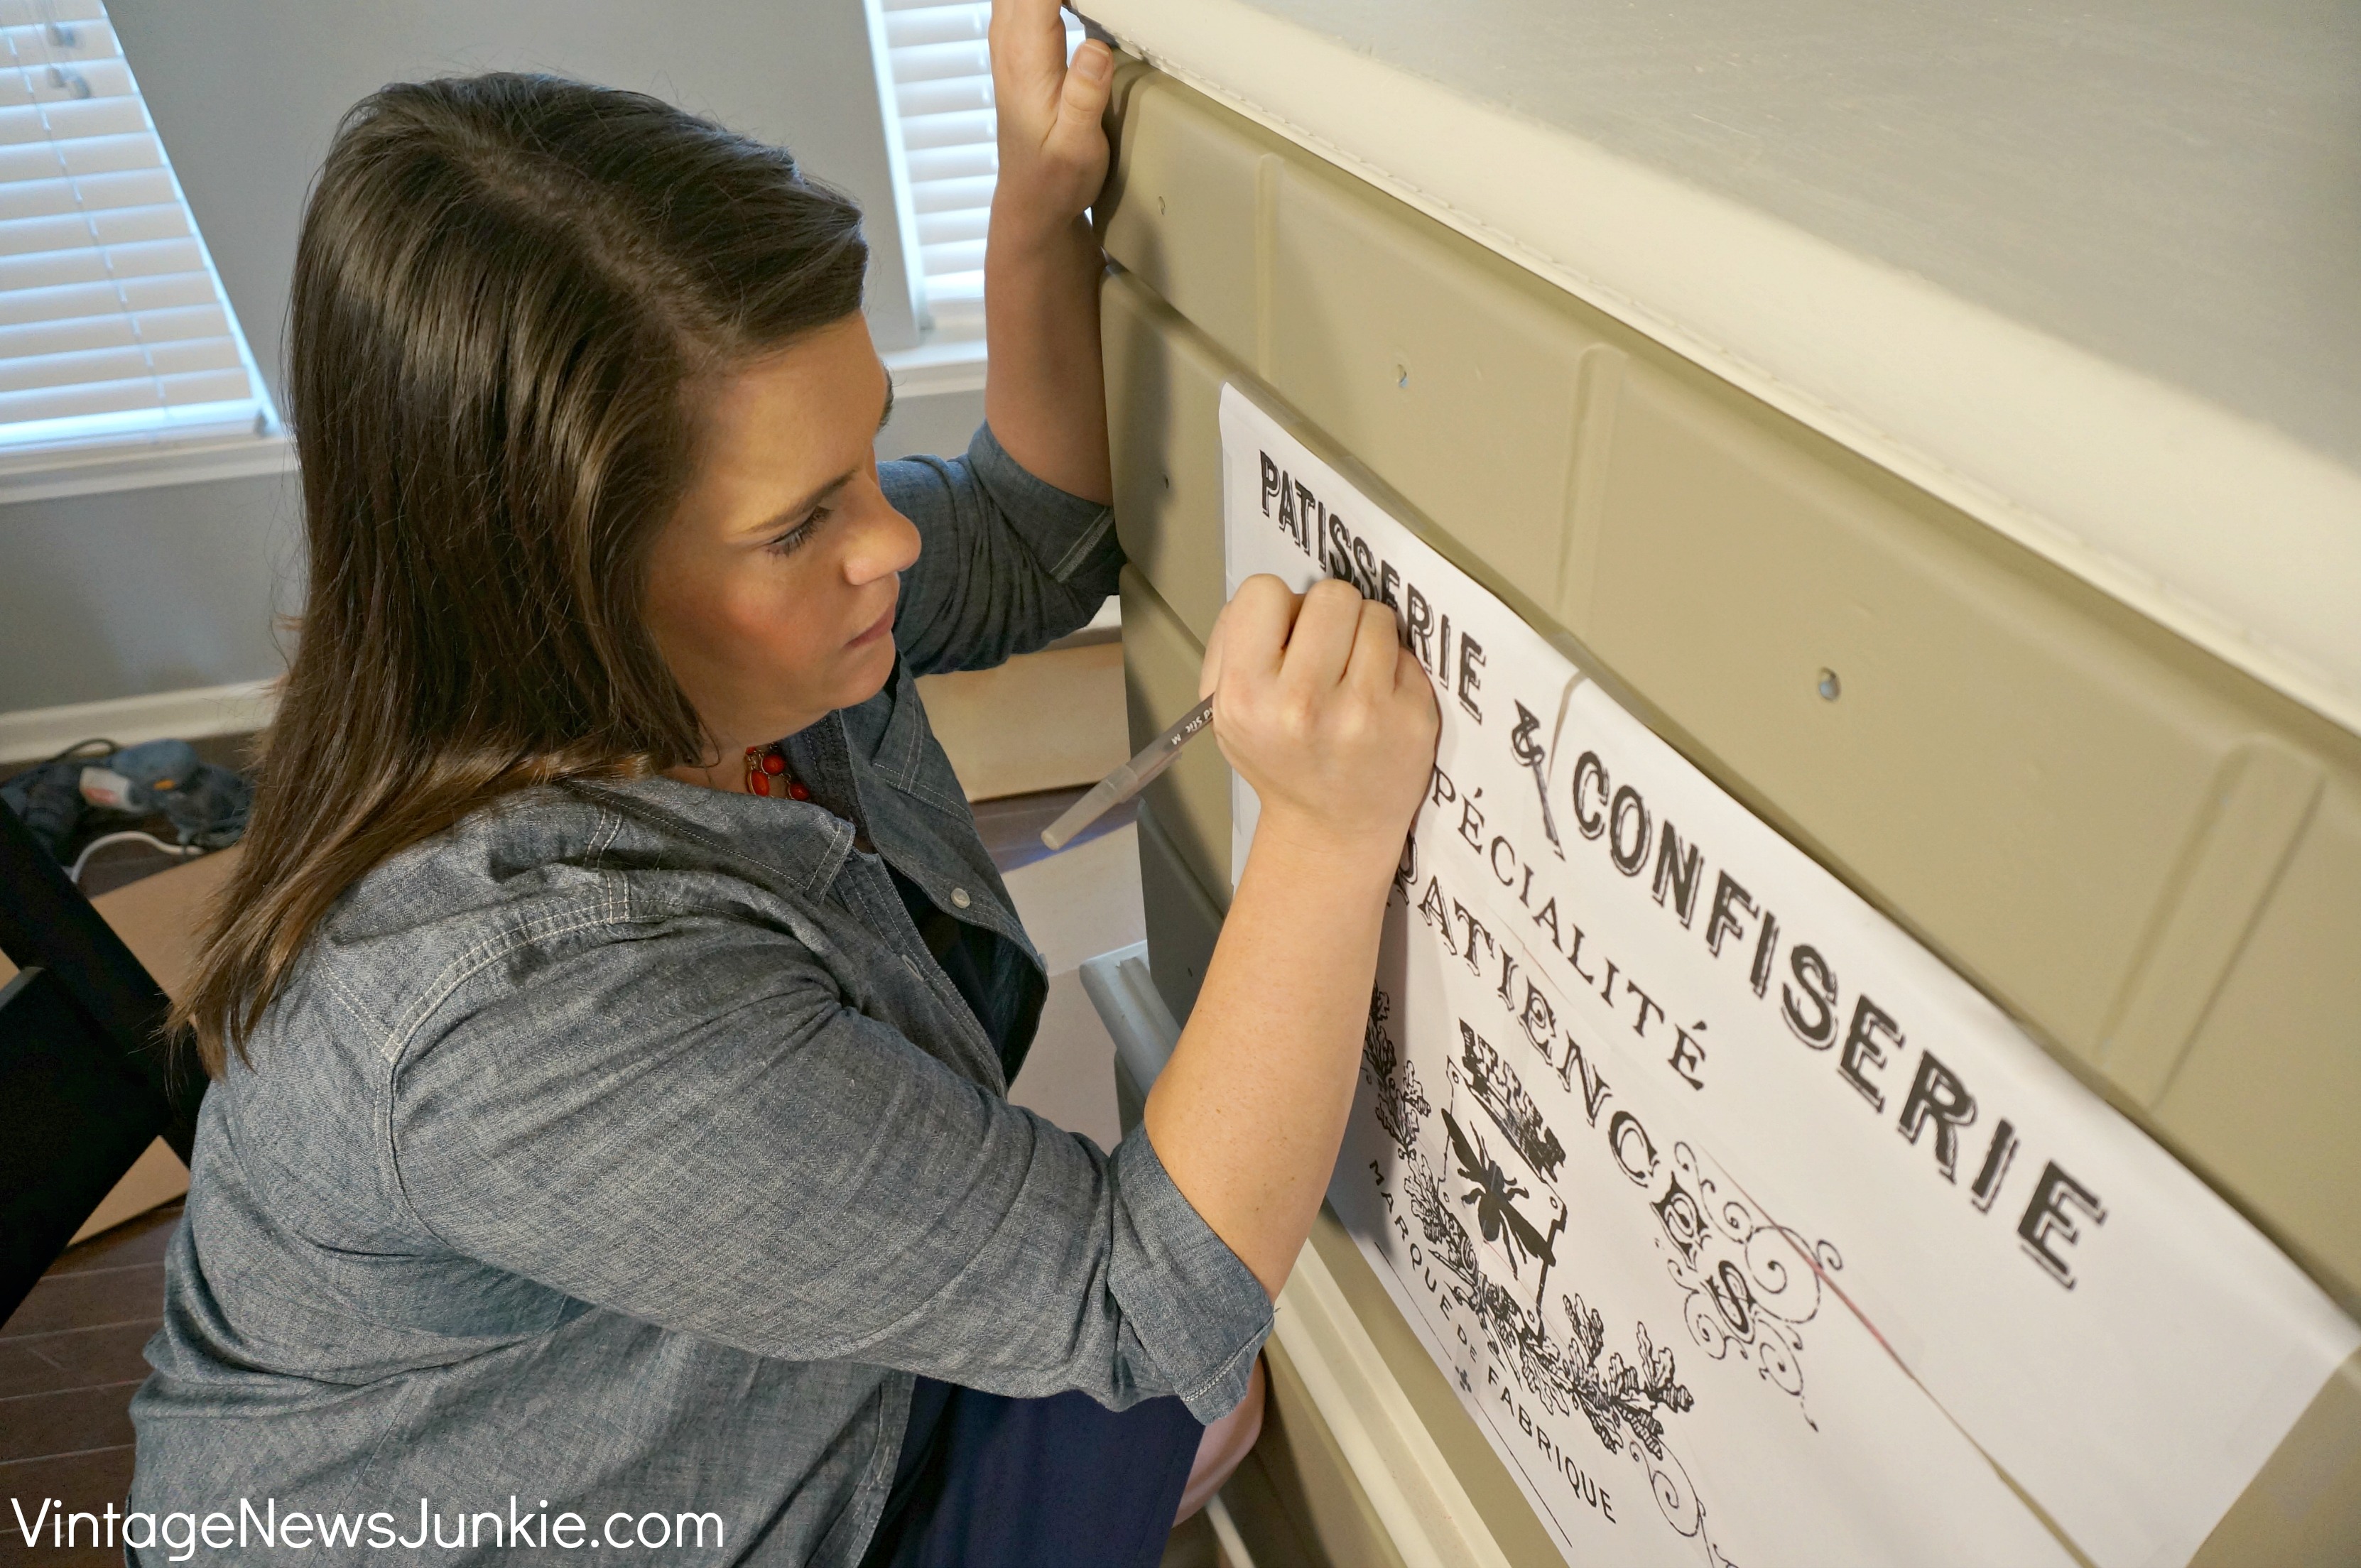
How to Transfer Typography onto Furniture : This is a two part written Tutorial showing how to blow up your image really big, using a free program, and an easy cheap transfer method, so that you can paint your image on large or small pieces of Furniture, Walls or Signs. Great for painted wood pieces or natural wood.
How to Transfer an Image onto Furniture Video Instructions : This is the Video version of the original Furniture Transfer Tutorial that I created several years ago. My friend Candice is great on Video and she kindly put this Tutorial together! The Video will show you instructions for how to blow up your image really big, using a free program, and an easy cheap transfer method, so that you can paint your image on large or small pieces of Furniture, Walls or Signs. Great for painted wood pieces or natural wood. Works best with simple designs like many of theFrench Typography Printables that I offer here on my blog.
Transferring onto Fabric
The Citra Solv Method : This method uses a cleaning product called Citra Solv. This one works well with Fabric projects, like Towels, Pillows, Chair Seats and Lampshades. This method will give you a slightly faded, slightly imperfect, transfer for an old world look.
The Iron On Method: In this Tutorial I show you how to do an Iron on Transfer, using my favorite Transfer Paper. I consider this brand to be the “Holy Grail” of Transfer Papers, as it completely blows away the other stuff out there. If you’ve tried doing Iron Ons in the past, with crappy results, you will love this stuff! Great for any Fabric Projects. Great for Image transfers or Photo transfers.
Printable Fabric Sheets Learn how to use precut Printable Fabric Sheets that are made specifically to be used in your Home Ink jet Printer. (Printable Canvas Sheets are another alternative) Fun and easy!
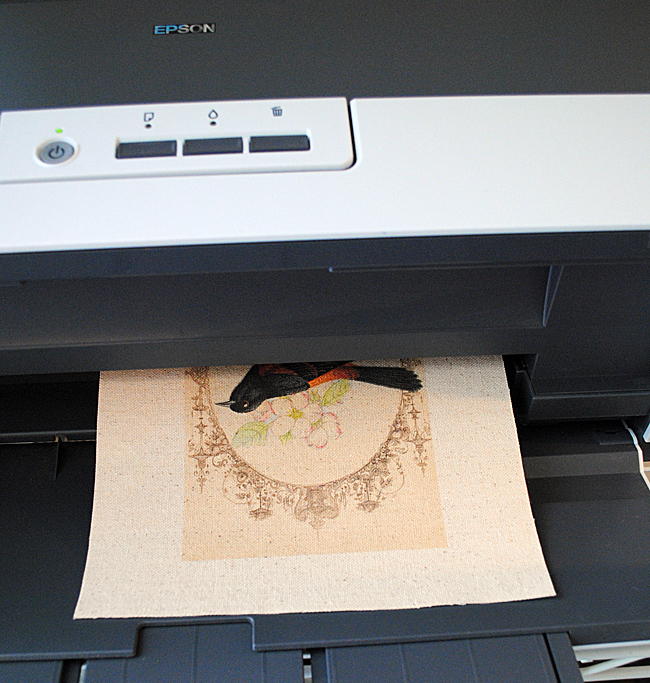
Printing on Fabric: This technique shows you how to cut out the middle man, and print directly onto fabric, with your home printer! For those of you that sew (or don’t mind gluing your projects) this is a really fun method!
The Iron On Method: In this Tutorial I show you how to do an Iron on Transfer, using my favorite Transfer Paper. I consider this brand to be the “Holy Grail” of Transfer Papers, as it completely blows away the other stuff out there. If you’ve tried doing Iron Ons in the past, with crappy results, you will love this stuff! Great for any Fabric Projects.
How to Transfer onto Paper
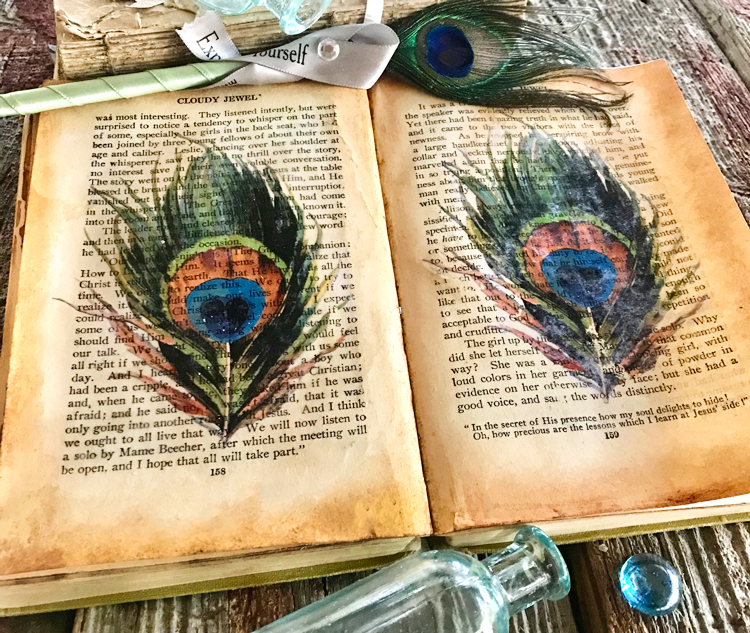
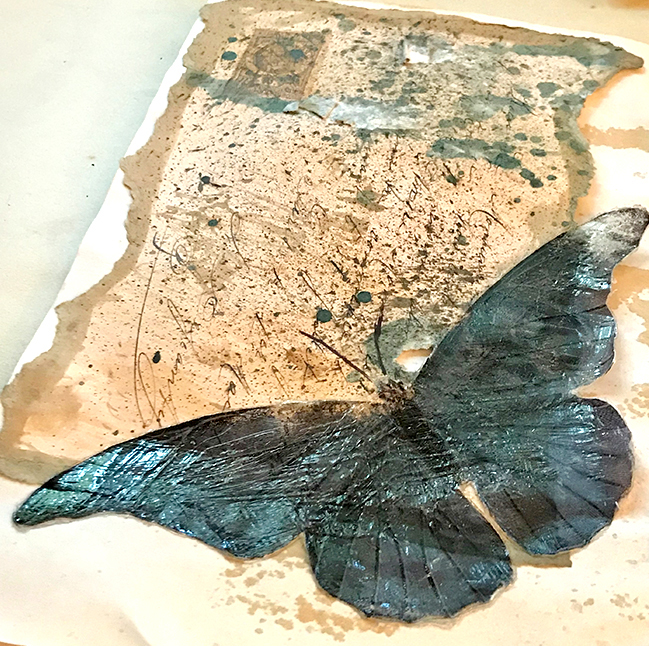
Transfer an Image to Paper Perfect for Junk Journal artists, collage artists and mixed media artists. You’ll learn how to lay an image directly onto paper, cardboard or bold books, to create gorgeous effects with this fun method.
Acrylic Paint Technique If you are a crafter you probably already have the supplies for this one in your craft room! Rebecca walks us through these simple steps for acrylic transfers, to add pictures to paper. She demonstrates on some cute paper gift tags.
Printing on Paper Bags Did you know that you could print on paper bags with your home inkjet printer? Learn how to make some cute custom bags, that are perfect for Holiday party favors and more.
Transferring onto Glass
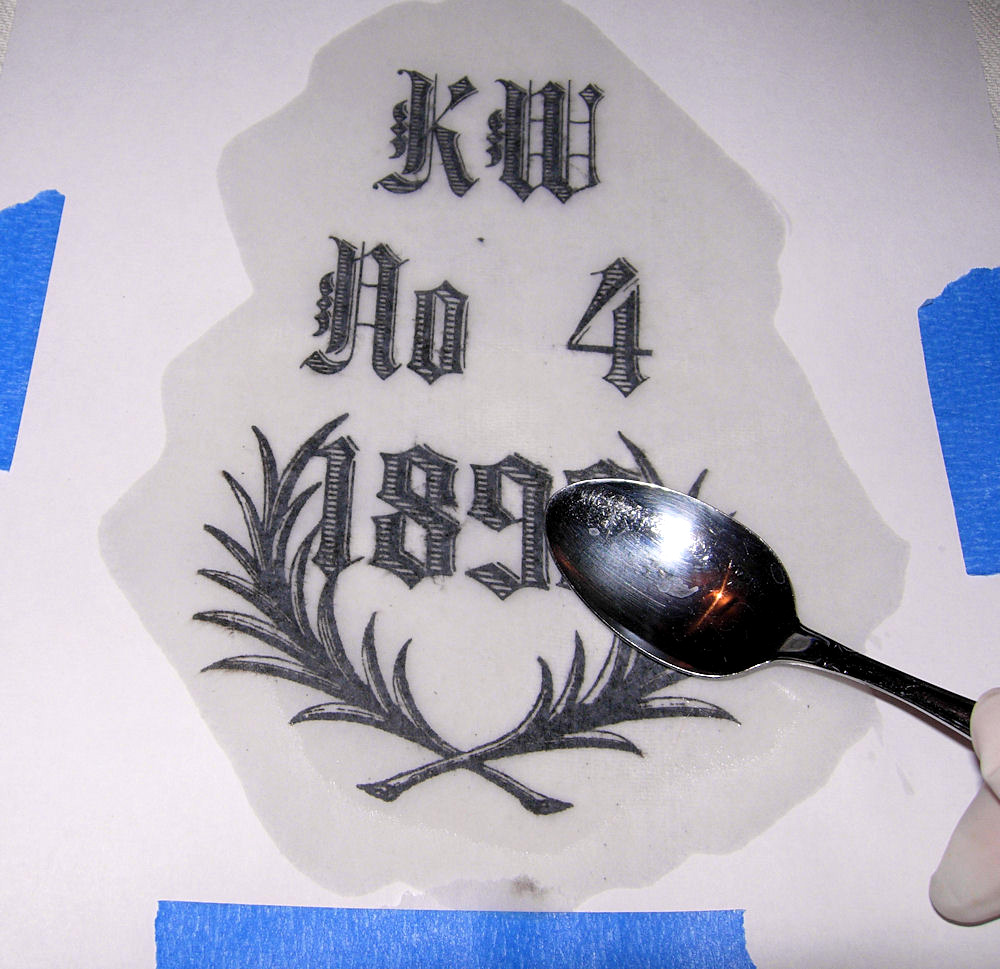
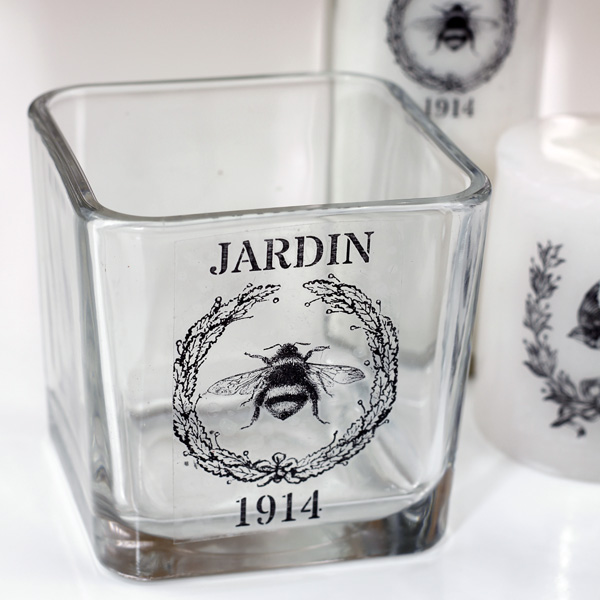
DIY Packing Tape Transfers: This is a superfast and fun Technique! This works great with Glass, and although, we haven’t tried it, some of readers have mentioned that it’s good for shiny Ceramic pieces too! The effect is similar to a decal, so best used on Decorative pieces only, like Votives and Vases etc.
Clear Contact Method: Learn how to use Clear Contact Paper to transfer Color Images onto Glass!Similar to the Packing Tape method, only you can do larger pieces since the Contact Paper is so much bigger! Easy and fun!
Transferring onto Wood
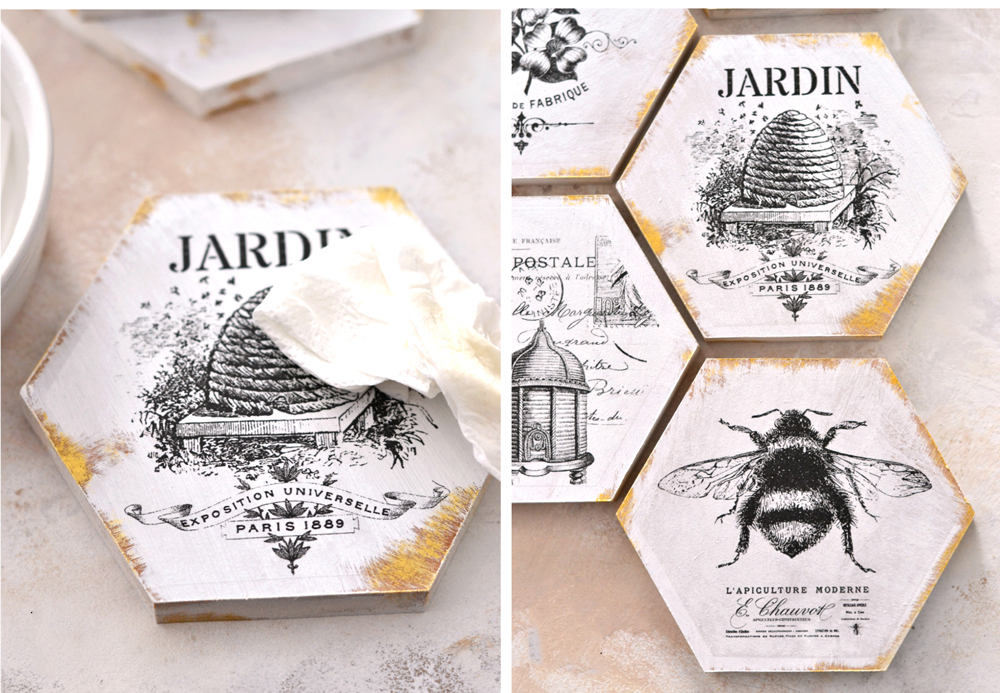 Using Water Slide Decals Make some adorable Bee themed wood Coasters with Diana, as she walks you through the steps of using water slide decals. Such a cute idea! Use the Free printable provided or just follow the instructions to transfer photos onto wood that you took yourself, to make your own unique creations. You can purchase decals for inkjet image transfers or laserjet ones, just make sure that you buy the appropriate product for your home printer.
The Wax Paper Method: I have yet to try this method, but it looks amazing! The only supplies you need are your Printer and a piece of Wax Paper and the super simple Tutorial from Angela at Unexpected Elegance! I’ve seen this one used on Painted and Natural Wood and Painted Metal.
The Projector Method: Marian from Miss Mustard Seed shares her Sign Making secrets, using an Overhead Projector to transfer images onto wood! This method can be used for Painted or Natural Wood.
Transfers onto Clay
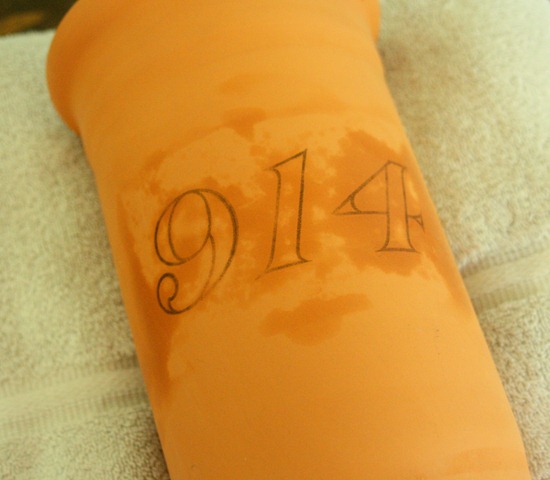
Transfer onto Clay Pots Gina from The Shabby Creek Cottage came up with this simple and innovative way to transfer an image onto a Clay Flower pot.
Easy Clay Image Transfer: You’ll find this one over on my pal Johnnie’s blog! She’ll walk you through the steps of Image and Photo Transfers onto Polymer Clay so that you can make the cutest Vintage Image Jewelry ever!
Multi Surface Image Transfer Methods
The Omni Gel Method: In this Tutorial I explain how to use a liquid substance called Omni Gel, to transfer images onto Tumbled Marble Tiles for Coasters. I’ve also used this on Painted Wood.
Mod Podge Photo Transfer Medium: In this Tutorial I test out a new product by Mod Podge made specifically for image or Photo Transfers. There’s also a Printable and a fun DIY Project for making your own customized Furniture Knobs! This Medium works great for Small Wood Projects or Light or Dark Fabric Projects.
Image Transfer Product Comparison: In this post Rebecca compares 3 popular products used for this technique. Lots of great info here and you’ll be able to see all of the results! The comparison includes Matte Medium, Mod Podge Photo Transfer Medium and a product by Deco Art.
How to Make Gel Medium Transfer Skins Rebecca teaches us how to make Skins from Gel Medium that can be applied to a variety of surfaces.
Unique Methods
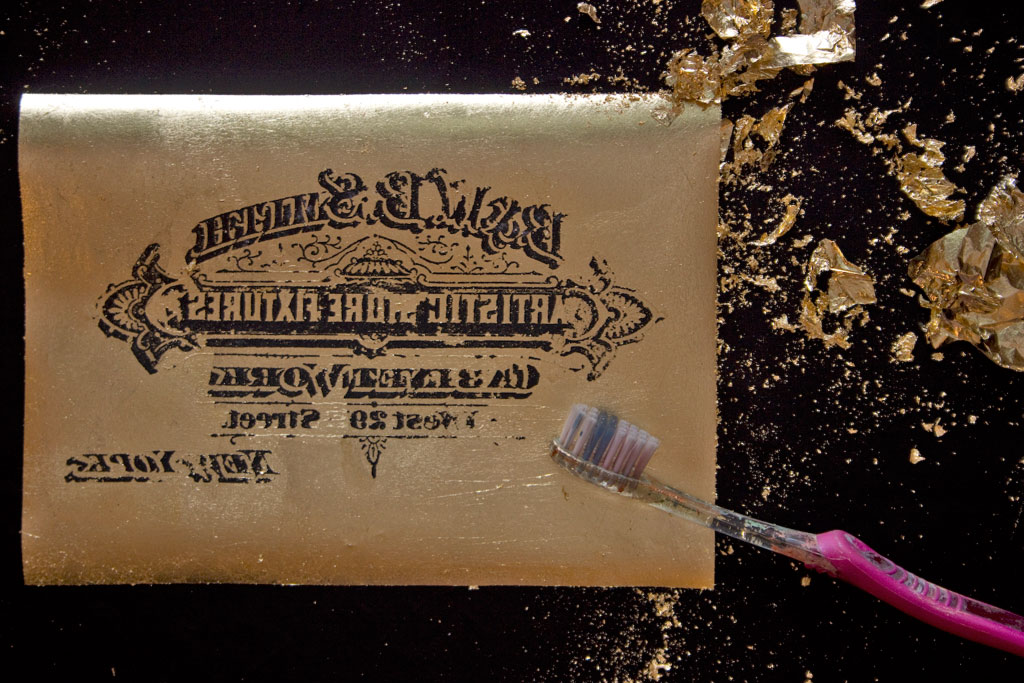
Gold Leaf Technique Combine Transfers with Gold Leaf for stunning results! Heather will walk you through this process to create a gorgeous Antique Typography Sign.
More Info on Transfers
How to Mirror Image: Learn how to easily Mirror Images in Paint! You probably already have this free program installed on your PC.
Top Tip for Transfers: This is a great post to read before you get started! This tip will save you some headaches and frustration!
Favorite Transfer Products: These are my favorite all time Transfer Products rounded up into one place.
Well hopefully that will clear things up and you will find lots of inspiration for your projects. Feel free to grab my Transfer Printablesto use in your DIY projects. Have fun working with Image Transfers and Photo Transfers!
Be sure and check out our Premium Membership site HERE, for loads of PNG images, with transparent backgrounds, these types of images are perfect for Transfer Projects!






Diane Lyman says
Instead of using a credit card is it possible to use a warm, steam iron for rubbing off the transfer?
graphicsfairy says
I’m not sure Diane, let me know if you try it 🙂
Melissa Gardiner says
Do you know how I can make colorable images with raised lines so kids can stay inside the lines EASIER? Thanks!
graphicsfairy says
Now that would be very cool Melissa! I do not know of a way to do that unfortunately. Good luck though 🙂
Bhavana says
Hi. Could you please guide me a bit?
I have a few pieces of wooden ply-board and want to transfer using mod podge. Can it be transferred onto ply-board. If yes, then do i need to smoothen the board with sandpaper or a slightly rough texture will do??
My boyfriend’s birthday is in a week’s tome and i really wanna make a photo transfer in wood for him.. Please help.
Love,
Bhavana.
graphicsfairy says
Hi Bhavana,
You should be fine with the wooden texture provided it isn’t splintery which might make it harder for the Mod Podge to adhere. I always recommend that it’s a good idea to try any project out on a scrap piece of wood first just to get the technique down, practice makes perfect 🙂 Good luck with your project!
Kathleen Riggs says
I did read the above comments however I would like to use these as wallpaper to attach
to the wall. What method would you use or do these come as wallpaper? I’m most interested
in the Vintage Robin, Bird Nest Frame and Bird-Frame-Vintage.
Any help you can suggest would be most appreciated. Thank you.
Kathleen
graphicsfairy says
Hi Kathleen, check out transfer method 1, the link to the video on step 5 shows you how to do that on walls. Good luck 🙂
Sarah Eaton says
I have found that using the overhead projector transparency sheets (not the inkjet ones) work really well. The ink stays wet and allows a great transfer without having to cut paper to size!
graphicsfairy says
Thanks Sarah, great to know!!
Nancy says
Always see lots of great ideas! Love it!
jools Thatcher says
Woo Hoo! I’ve been trying to transfer my rather complex original design onto a dark blue fabric for embroidery. I didn’t want to trace it because I wanted to get the line thicknesses accurate. I tried sew and tear but the fabric was too stretchy. I then tried the print and iron method but both the original and the copy on the fabric was much too faint. Finally I read through your post and all of the comments and I tried the wax paper/freezer paper idea (although I used transparency film – because I have lots of it-that was agreat suggestion) and it worked! I am so happy. Thanks to you and your commenters I can finally finish this project that has languished for months.
graphicsfairy says
Yea!!! That is wonderful Jools, so happy for you!
Pat Wright says
I have only recently found your site and it is great. I have a question though. I haven’t done anything other than painting furniture yet, but does the image transfer work on what we in the UK call emulsion paint. Please Thank you, Pat
Karen Watson says
Hi Pat, I’m afraid I don’t know, but this post should help you to figure it all out https://thegraphicsfairy.com/top-tip-for-working-with-transfers/ We use Annie Sloan paint here in the states quite often, since she is based in the UK, you might want to give that a try. I hope you will give transfers a try as well!
Jacqueline Woodward says
This is awesome! Love that you gathered all in one place! Thank you!?
Karen Watson says
You’re welcome Jacqueline!
Anita riley says
Wow I can’t wait to get started after seeing you designs. Thanks for putting it all together.
Karen Watson says
You’re welcome Anita!
Jo Anne says
Very excited about image transfers on to fabric. Can you recommend a product that will work with a laser printer?
Karen Watson says
Hi Jo Anne, I don’t own a laser printer, so I’ve never tried it. I know that there are products that are made just for laser printers. Lasertran is the name of one I believe.
Dre Madrid says
This came in so helpful for my wedding DIYs. Thanks a lot! keep up the good work 🙂
Siobhan says
Hmm. Still missing method of Annie Sloan chalk paint transfer to chalk painted surface using decoupage, I know it can be done but don’t have copy of her book. Decided after I painted (before wax) to do transfer but no one seems to have relevant details. Do I remove some of the existing ascp? Does it have to be smooth? Do I put the AS decoupage OVER the printed image, or just on the furniture side?. Only utube I found was saying to use inkjet copy &.I know THAT is wrong. I don’t want to wreck it. Sigh.
Karen Watson says
Siobhan, Before doing a big project, I always recommend testing out your transfer method on a scrap piece of wood first. Practice makes perfect and since we are all using various different types of paint, and different printers/copies and different waxes, it’s really the best way. Grab a couple of scrap pieces of wood and do some practice boards and take notes on what you did and which products you used, then you will have your own perfect recipe and the confidence to work on your larger pieces!
J K Weigle says
I would love to Pin these directions. Can you tell me how?
Karen Watson says
Sure! Just hover your mouse over the picture, until you see the word “Pin” pop up. Click on it, and save it to one of your boards. Easy peazy!
Serena says
I have an easy way to transfer things to any hard surface. A friend of mine showed me this years ago and I was able to paint Disney babies on the side of my son’s crib. These days I use it to make customized gift bags. Find an image you like and print it, doesn’t matter what kind of printer. or if you’re like me and too cheap to buy ink (seriously I can just buy another printer cheaper than the ink for mine!) hold a piece of paper up to the computer screen and trace it (if it’s simple enough!) After you have your image, turn the paper over to the wrong side and mark where the top, bottom and sides are of your image. Keeping the paper on the wrong side, color in with a pencil (I just use a standard no. 2 pencil) and color in where your tick marks are. You have to color the entire back of the image with pencil, using a little pressure. Then turn the image around and retrace over the image onto your surface. Take the paper away and now you have your image on whatever it is (in my case, those paper brown gift bags!). You can then paint the image. After the paint dries, go over the outline again with a fine tip sharpie, and fill in details like eyes, mouth, etc.